Sew leg seams and turnup hem #BE03
In the following video and illustrated text instructions, I will show you how to sew leg seams and turnup hems on trousers. Working this way, I finish both trouser legs separately before closing the crotch and seat seams. Pockets on the back and front of the trousers should already be worked in. If you have configured your trousers with inseam pockets, the side seams are already closed.
1. This is required:
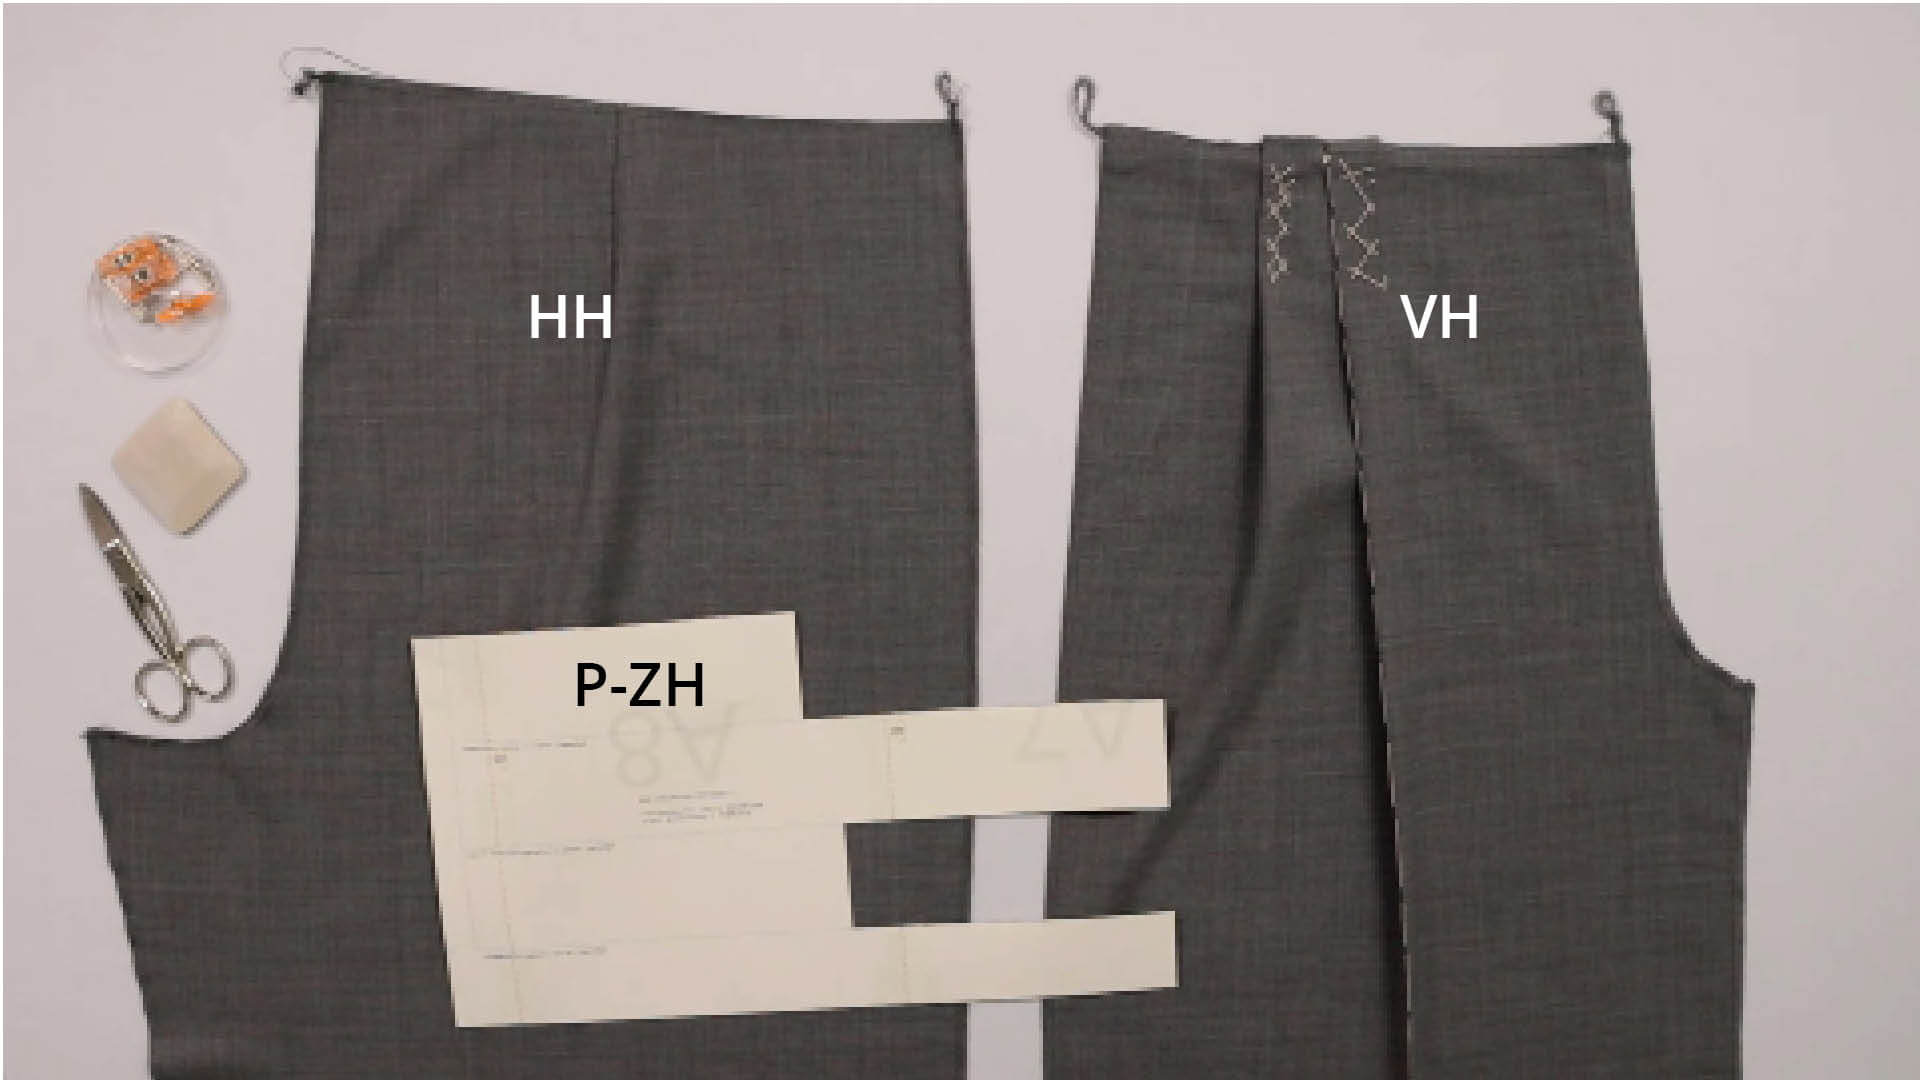
Pattern pieces made from main fabric:
- prepared back trousers (HH) – 1 pair
- prepared front trousers (VH)- 1 pair
Paper pattern pieces:
- the template for the turnup hem (P-ZH)
Tools and aids:
- pins or clips
- scissors
- chalk or fabric marker
- long ruler
2. Iron the back trousers into shape
If you have already ironed your back trousers into shape when trying them on, you can go straight on to the next step.
You can find the ironing instructions here in step 3.
3. Close the outer leg seam
If you are sewing your trousers with seam pockets and the outer leg seams are already closed, continue with step 4.
If your trousers do not have knee lining, you must first neaten the inside and outside edges of the legs, the top edge and the crotch seam before closing the leg seams. You can cut back the front edge of the front trouser part to which the fly facing will later be sewn, according to the marking on the pattern.
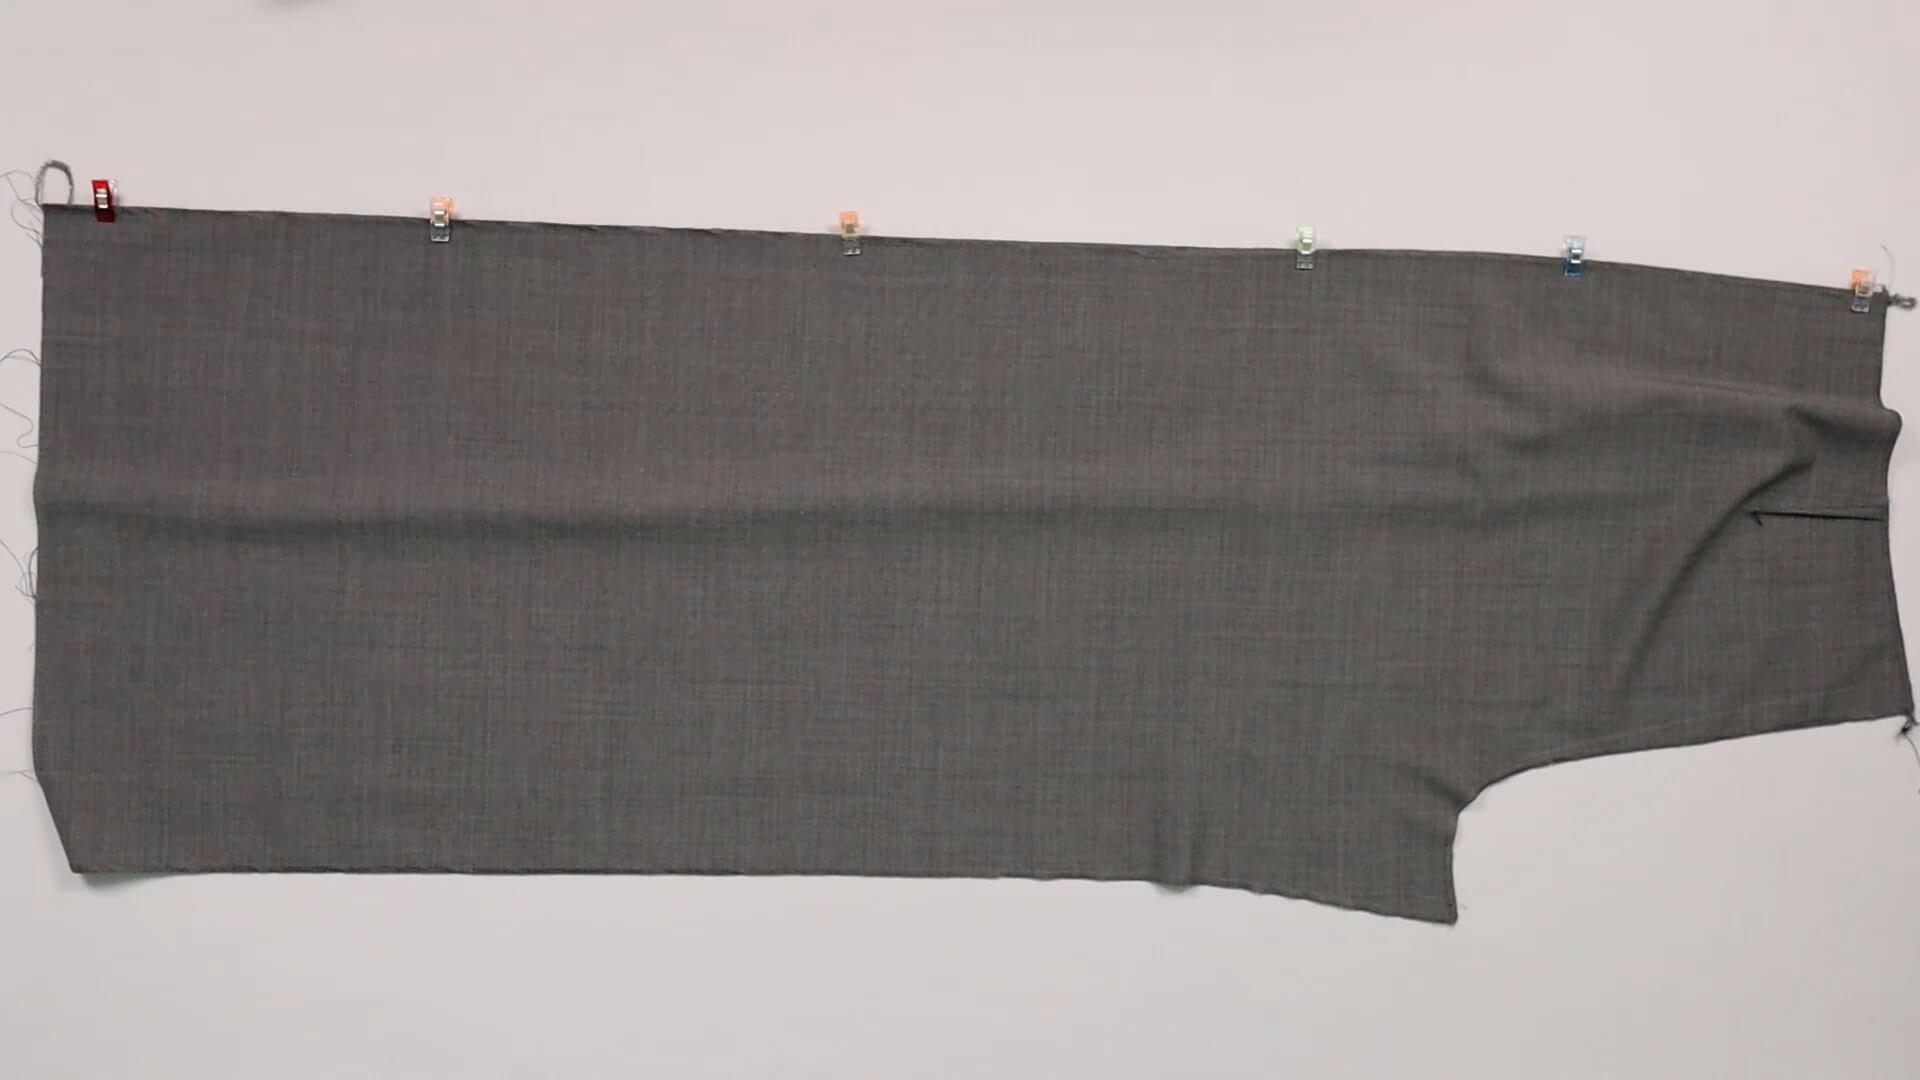
I place one front and back piece right sides facing, align the side seam, making notches meet, and pin in place.
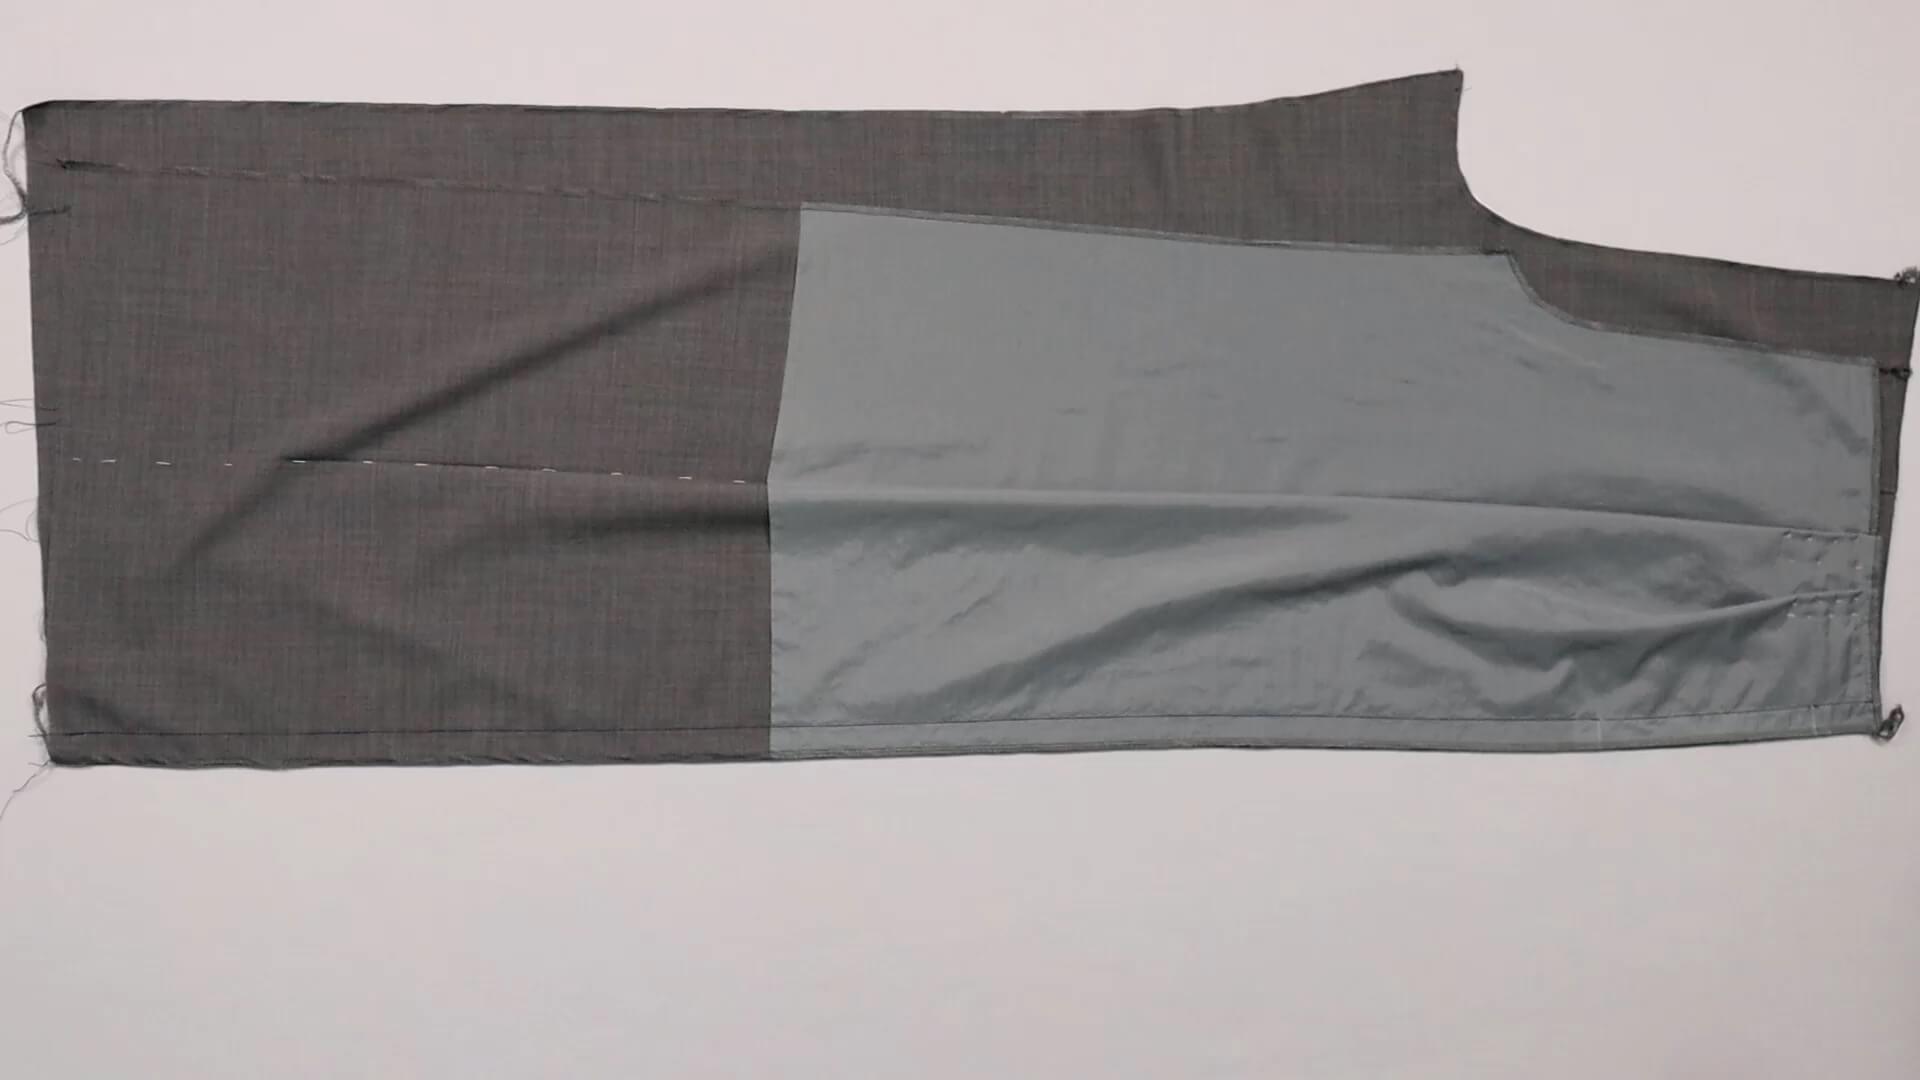
Then I sew the side seam. Pay attention to the correct seam allowance, indicating on the pattern.
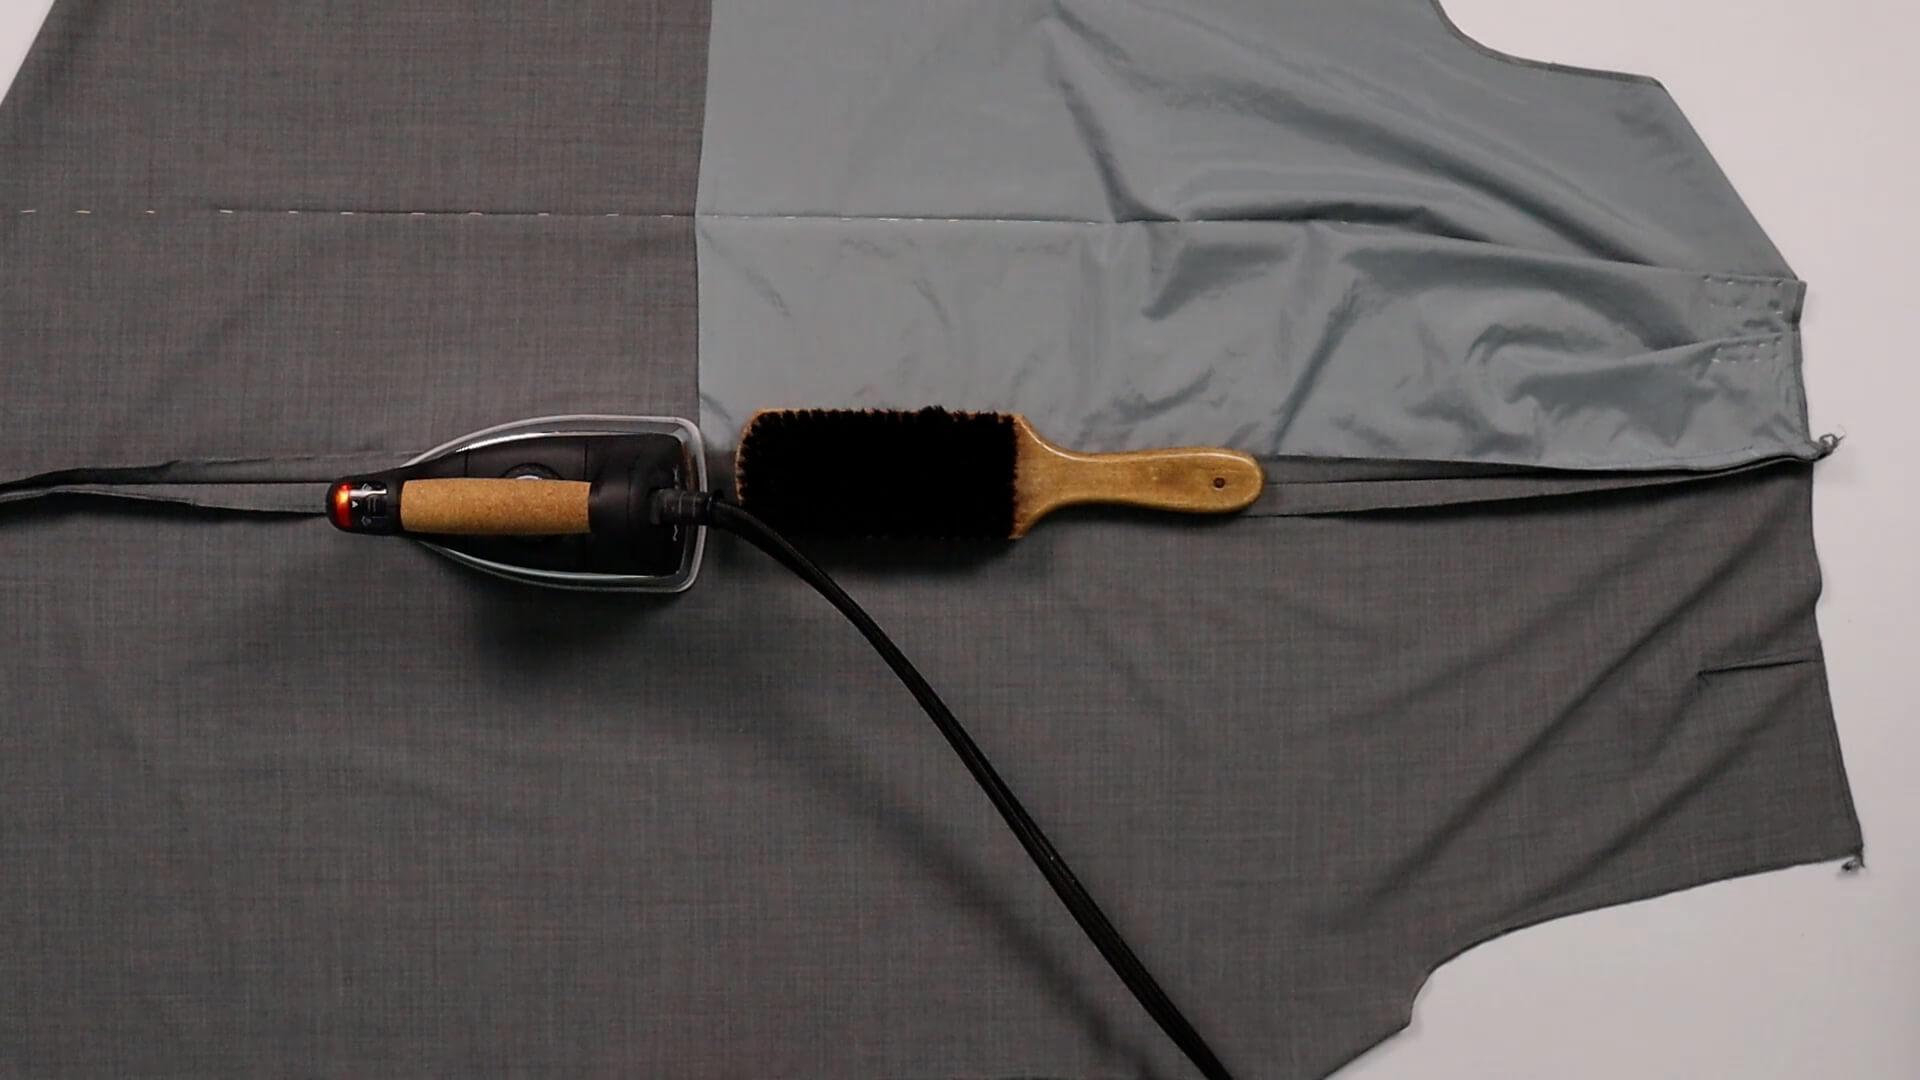
I press open the seam allowance.
In this step I like to use my wooden brush or tailor’s clapper to make the seam nice and flat.
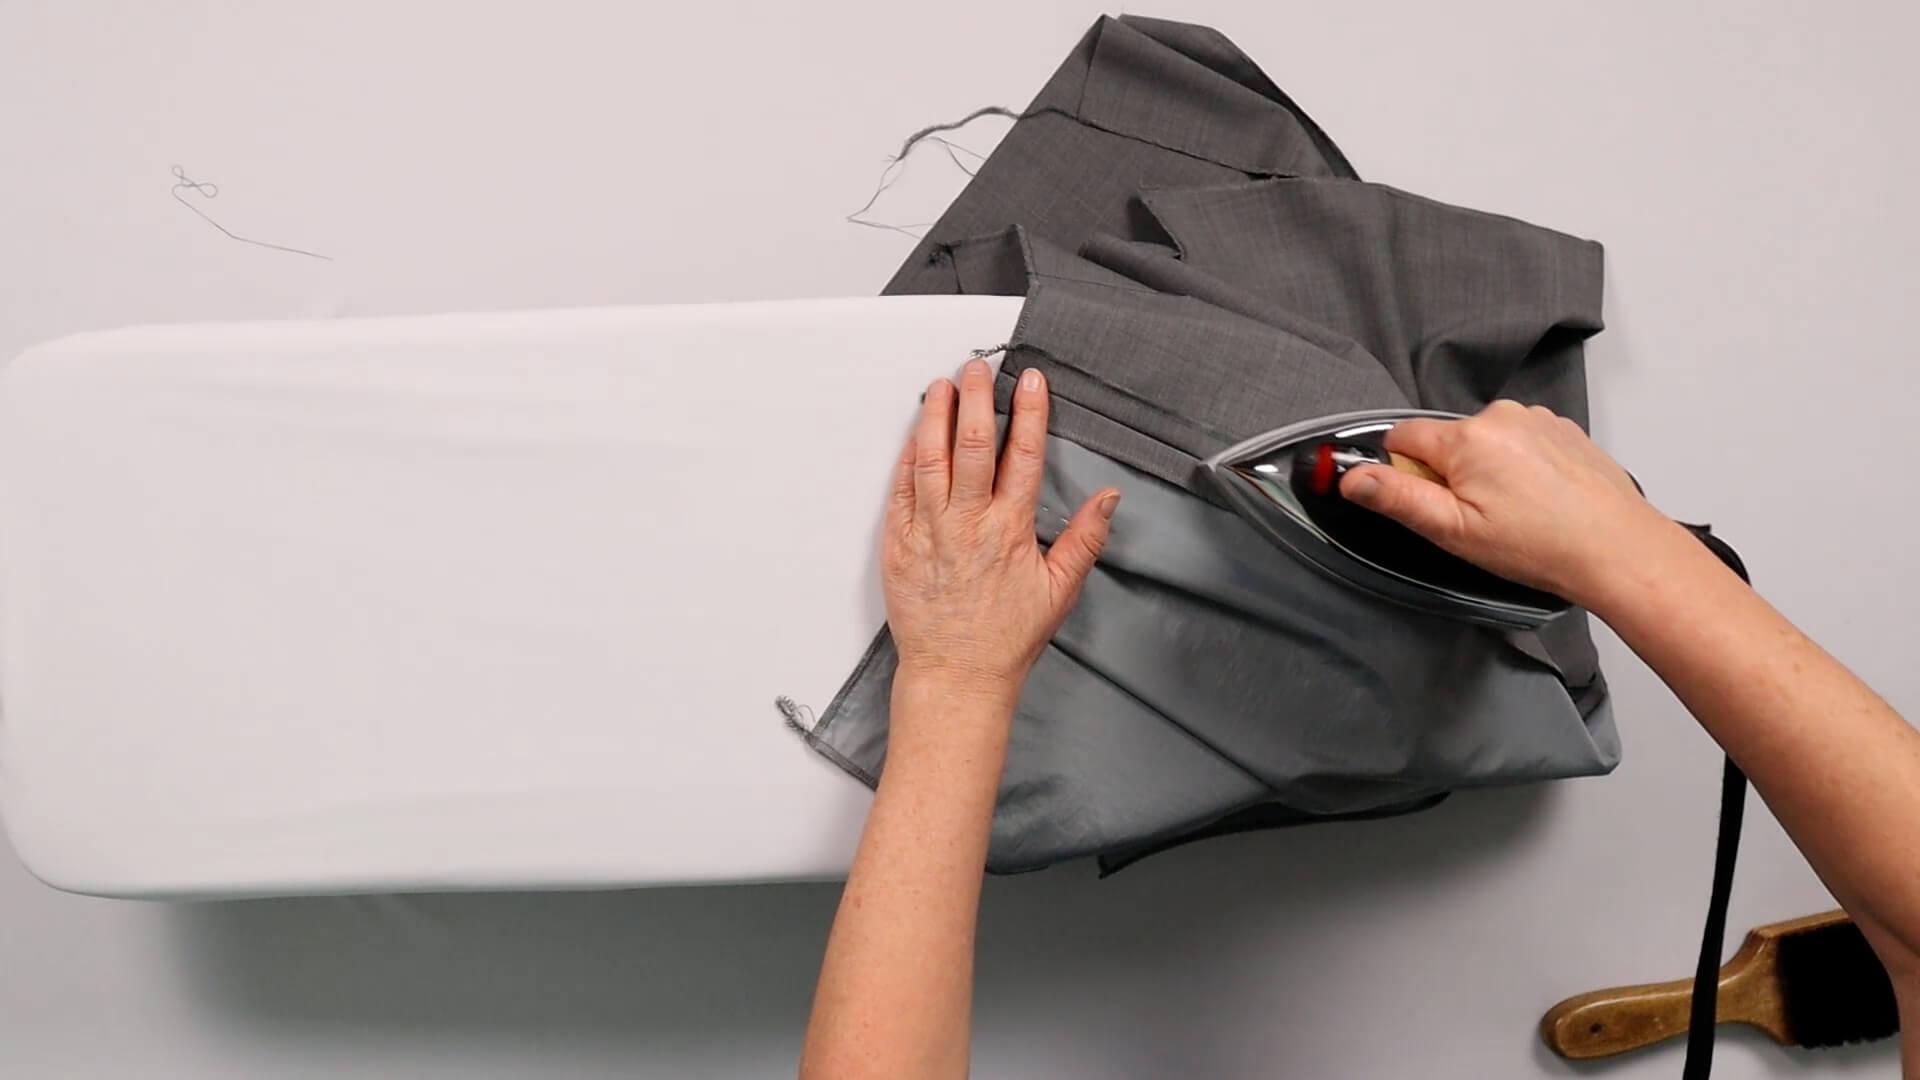
I press open the seam allowance at the top of the trousers using an ironing pad or the round end of the ironing board.
4. Prepare the turnup hem
In the following pictures, the legs of my trousers have already been joined. Don’t let this confuse you. The crotch seam is sewn later, after the inside leg seam is closed. I will point this out again.
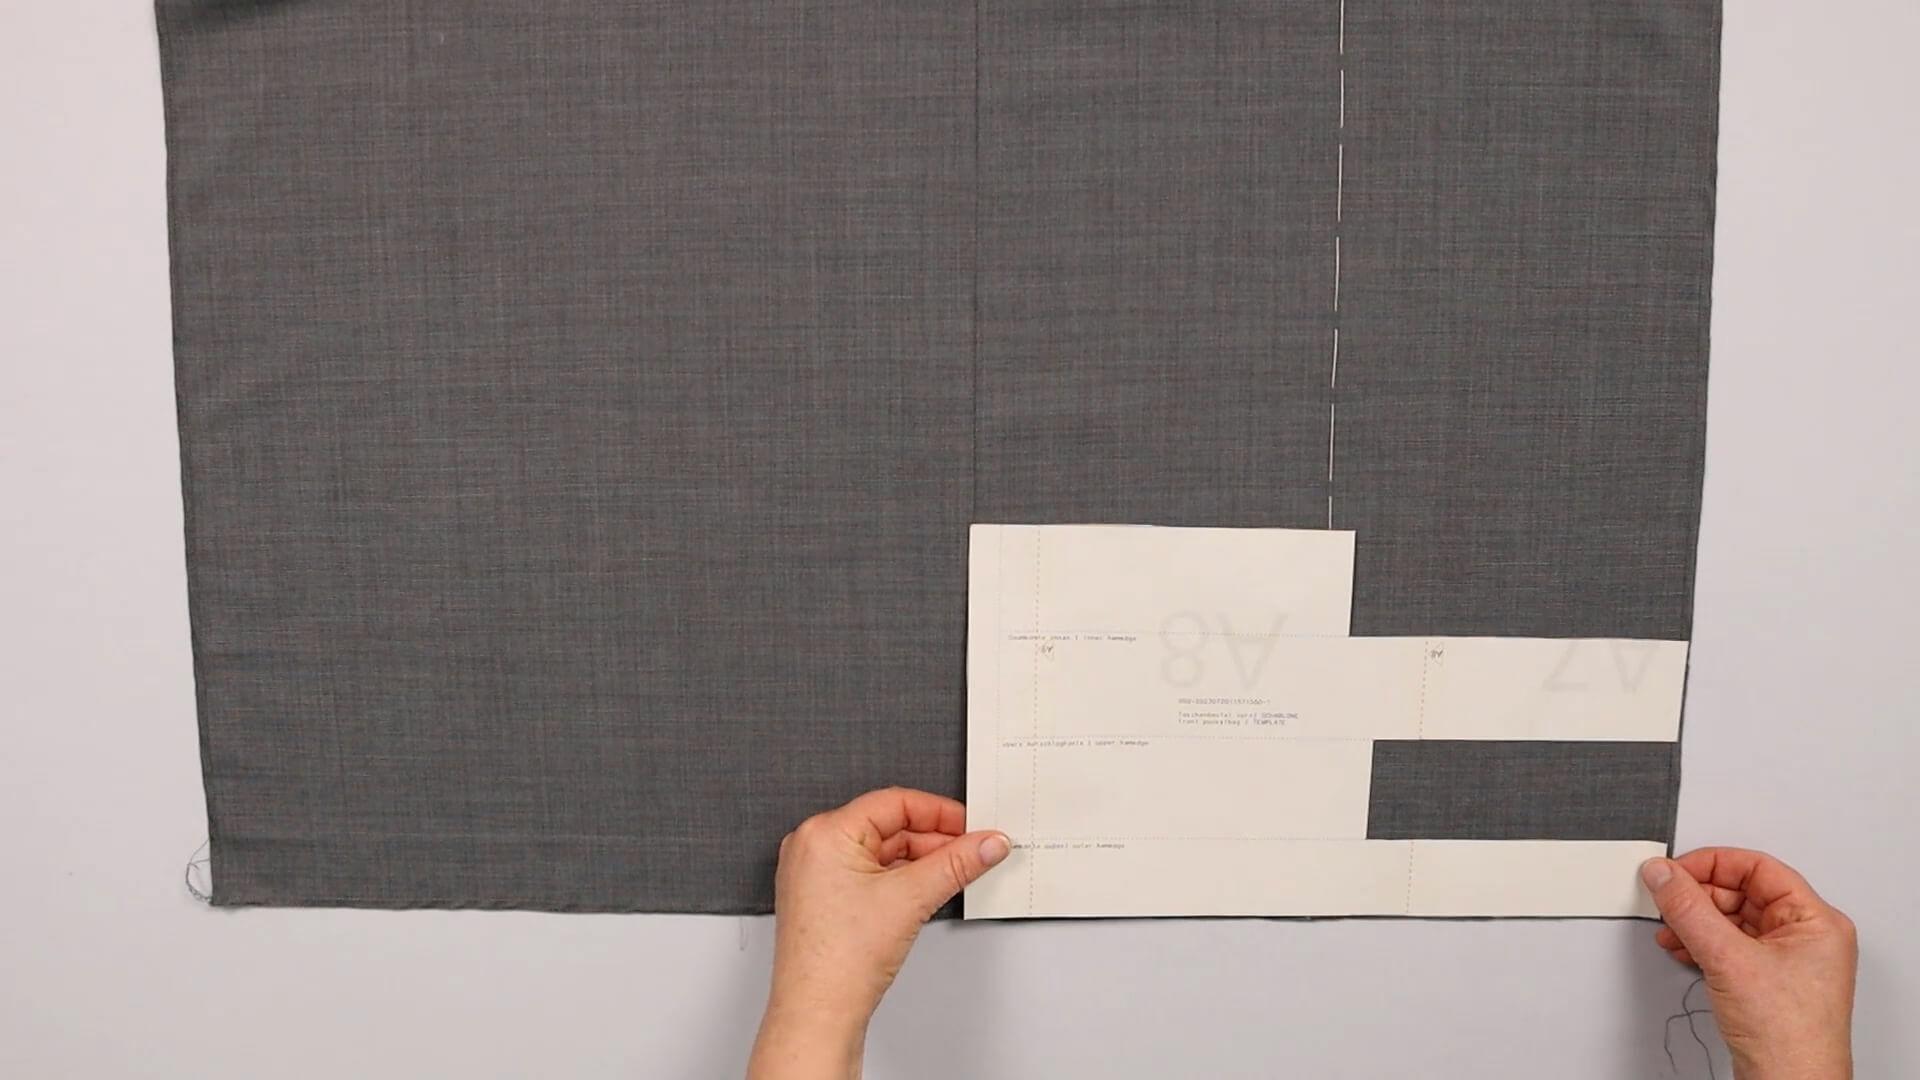
Marking
I place the template for the turnup hem aligning with the bottom edge.
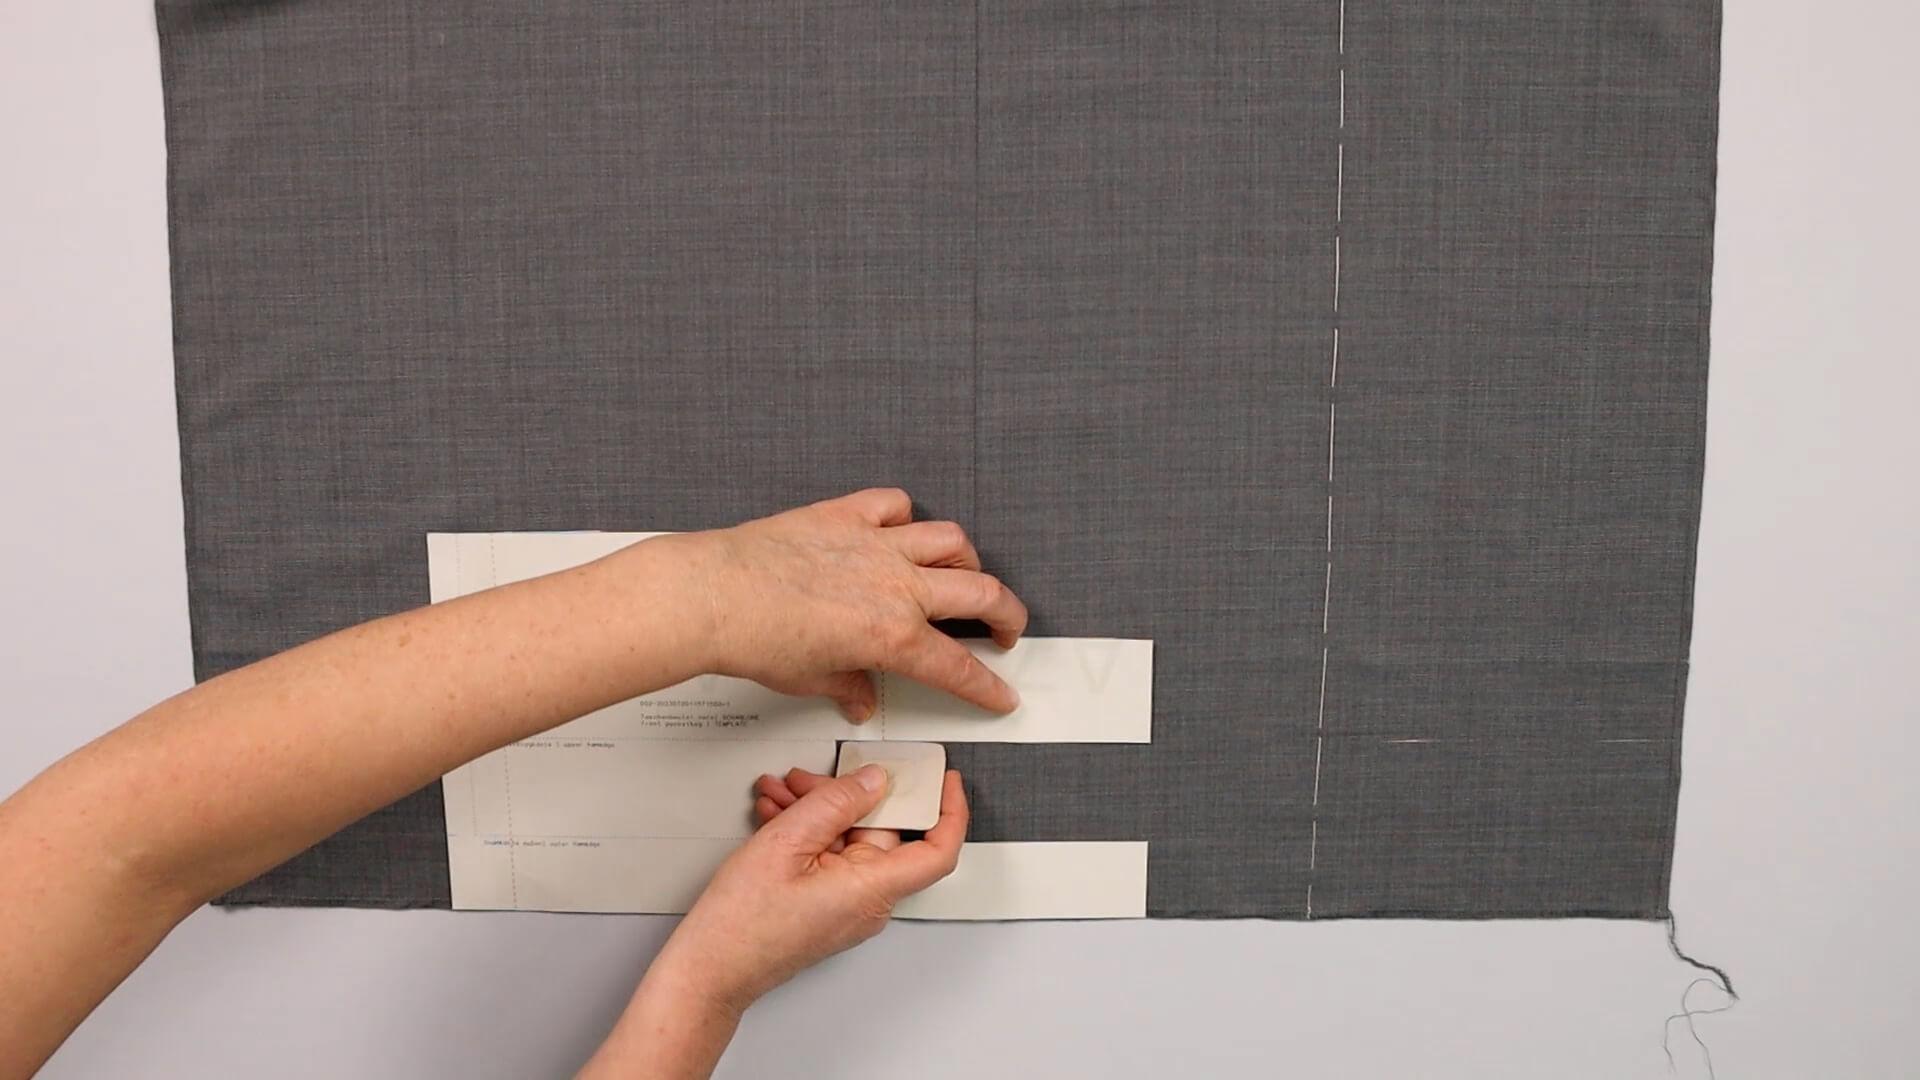
Then I mark the upper turnup edge across the entire width of the trousers.
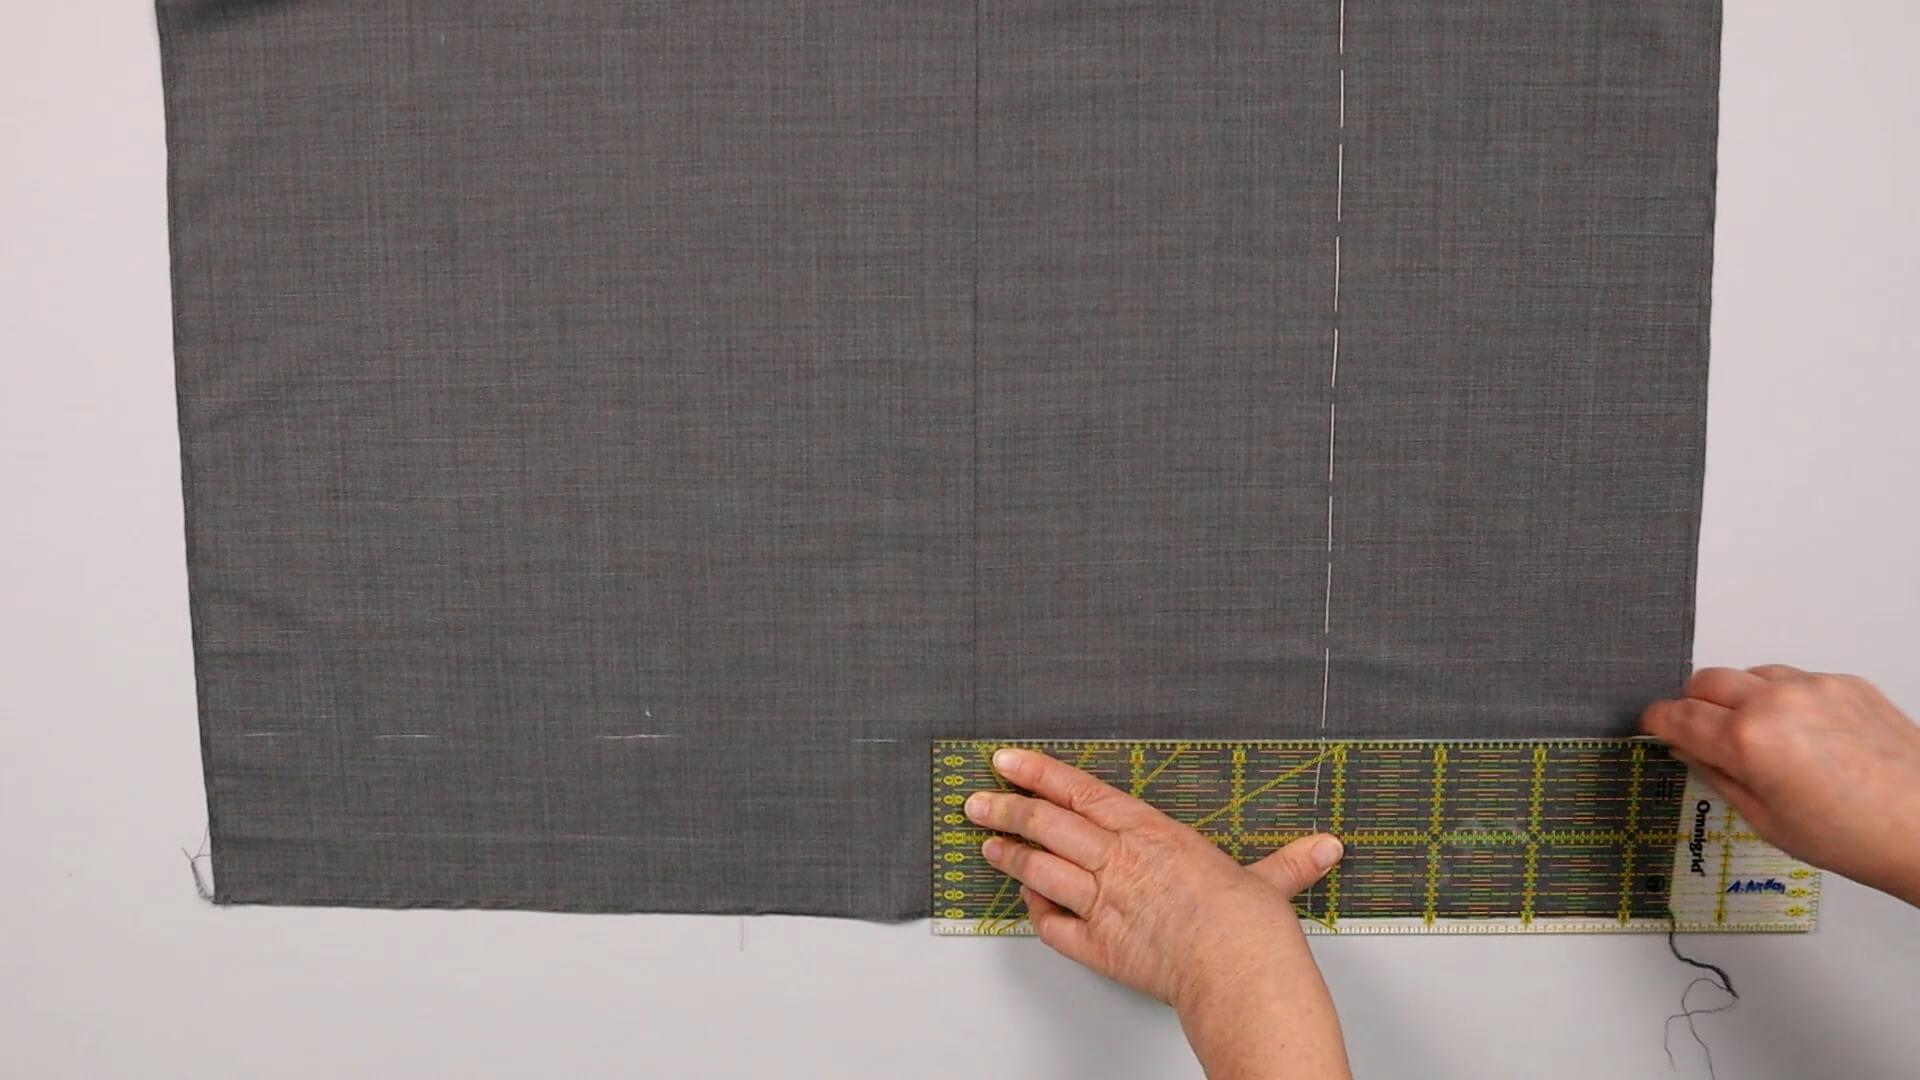
I connect the markings with a long ruler.
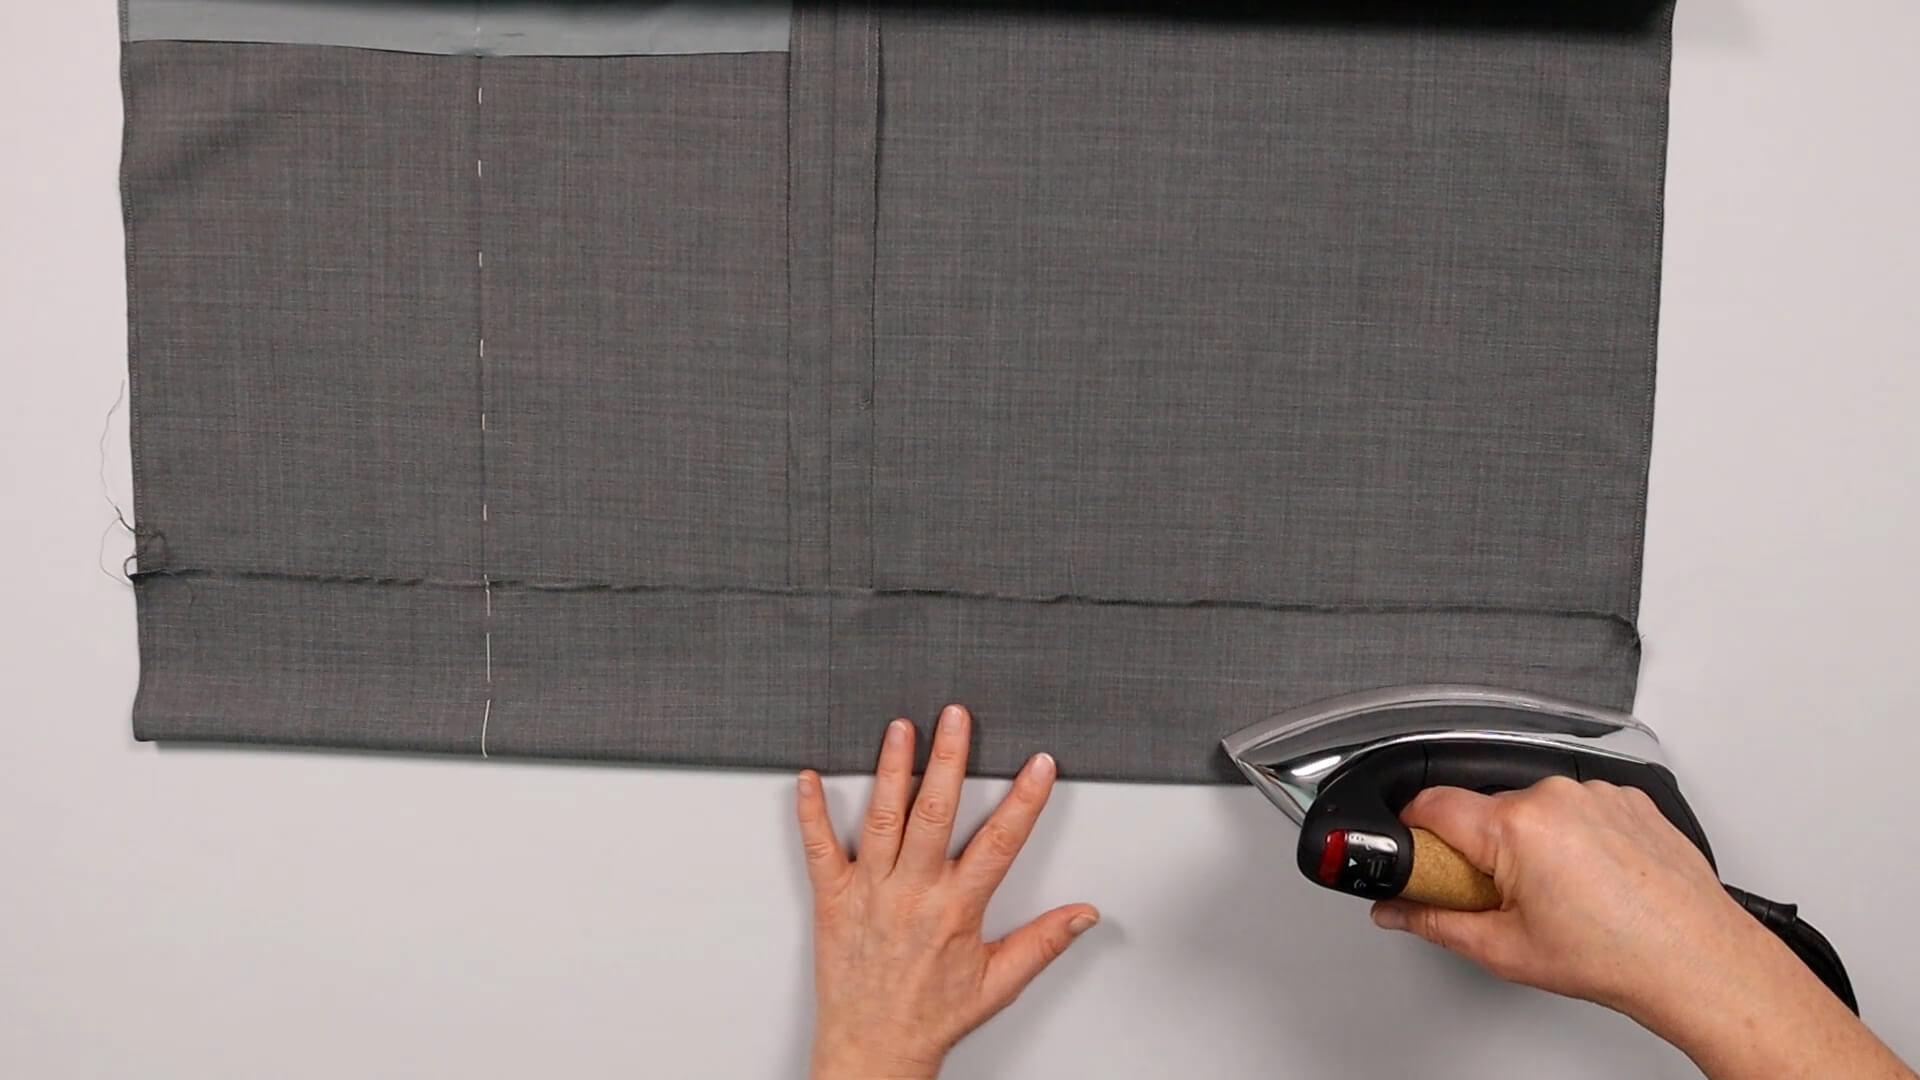
I then turn the trousers inside out and press the hem wrong sides together at the marking.
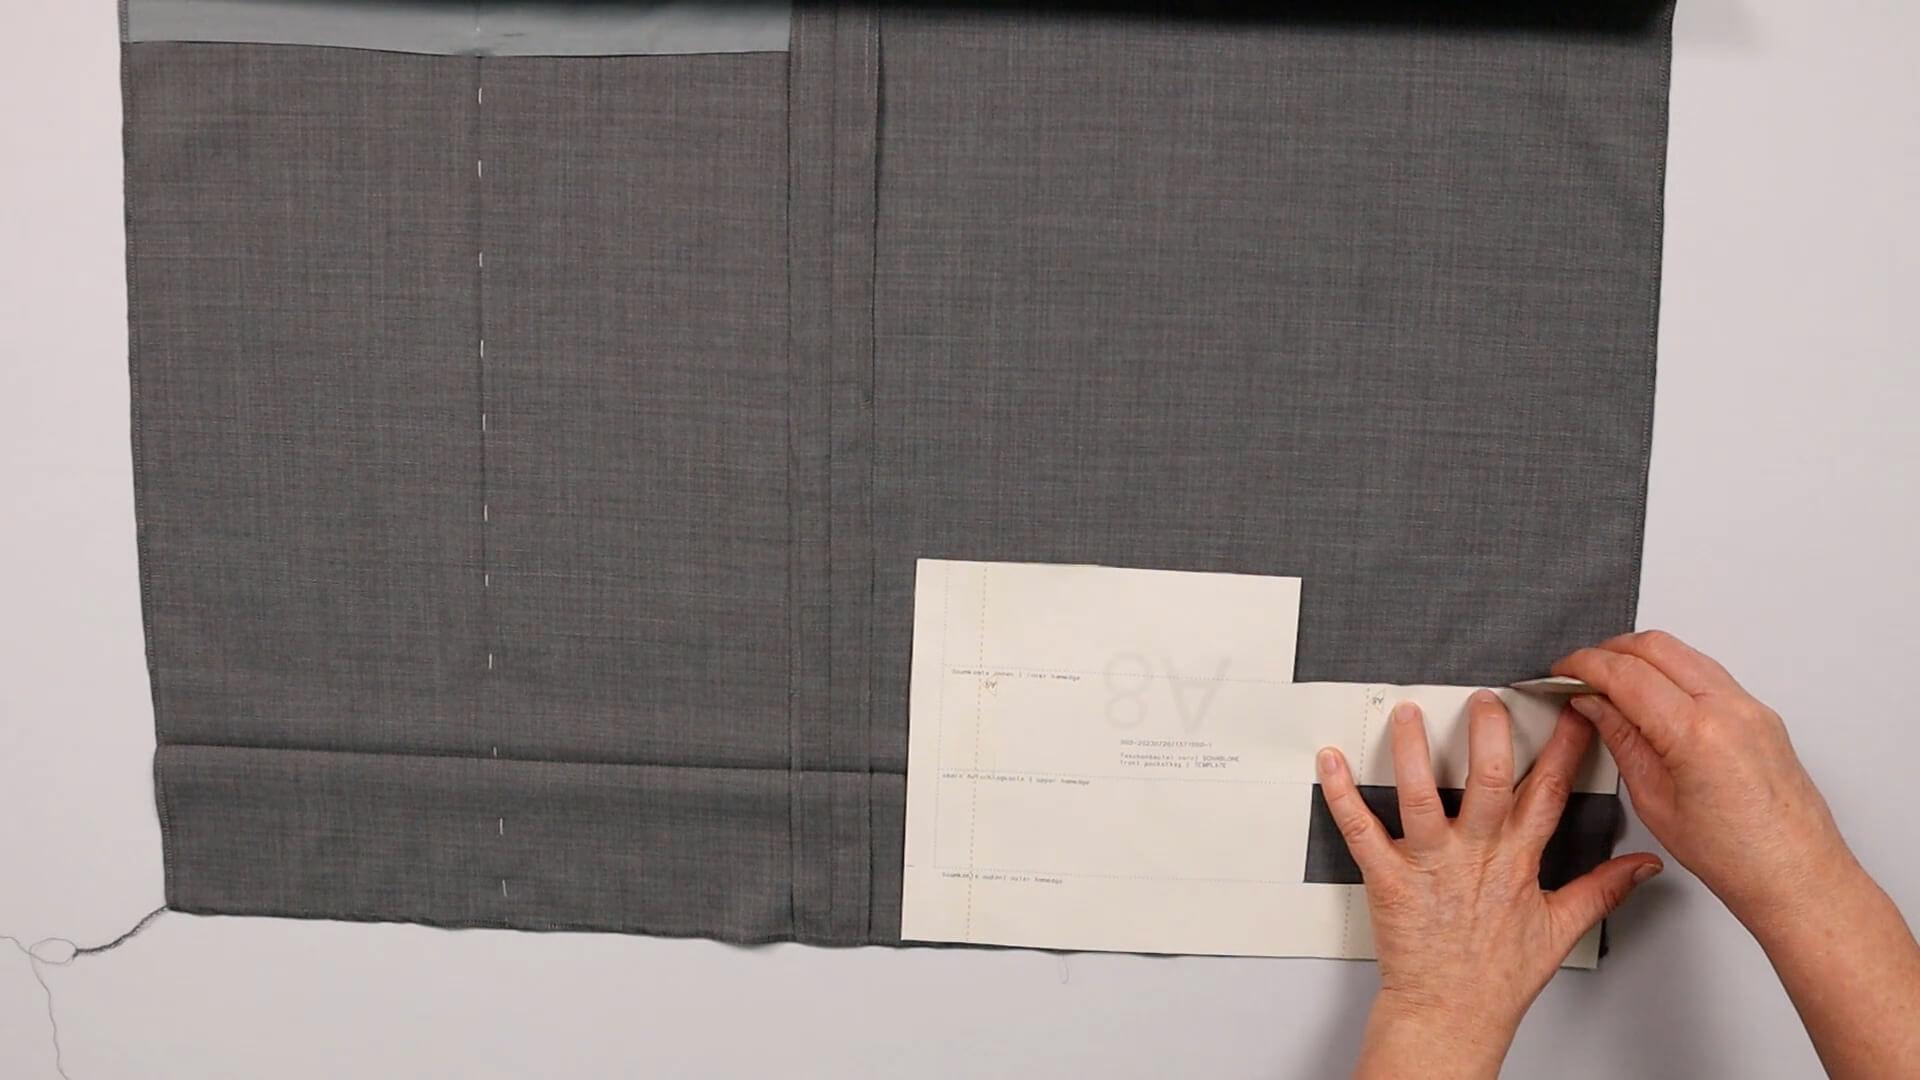
The hem is now folded back again and the template is placed on the folded line that has just been created. Now I mark the inner hem edge across the entire hem width.
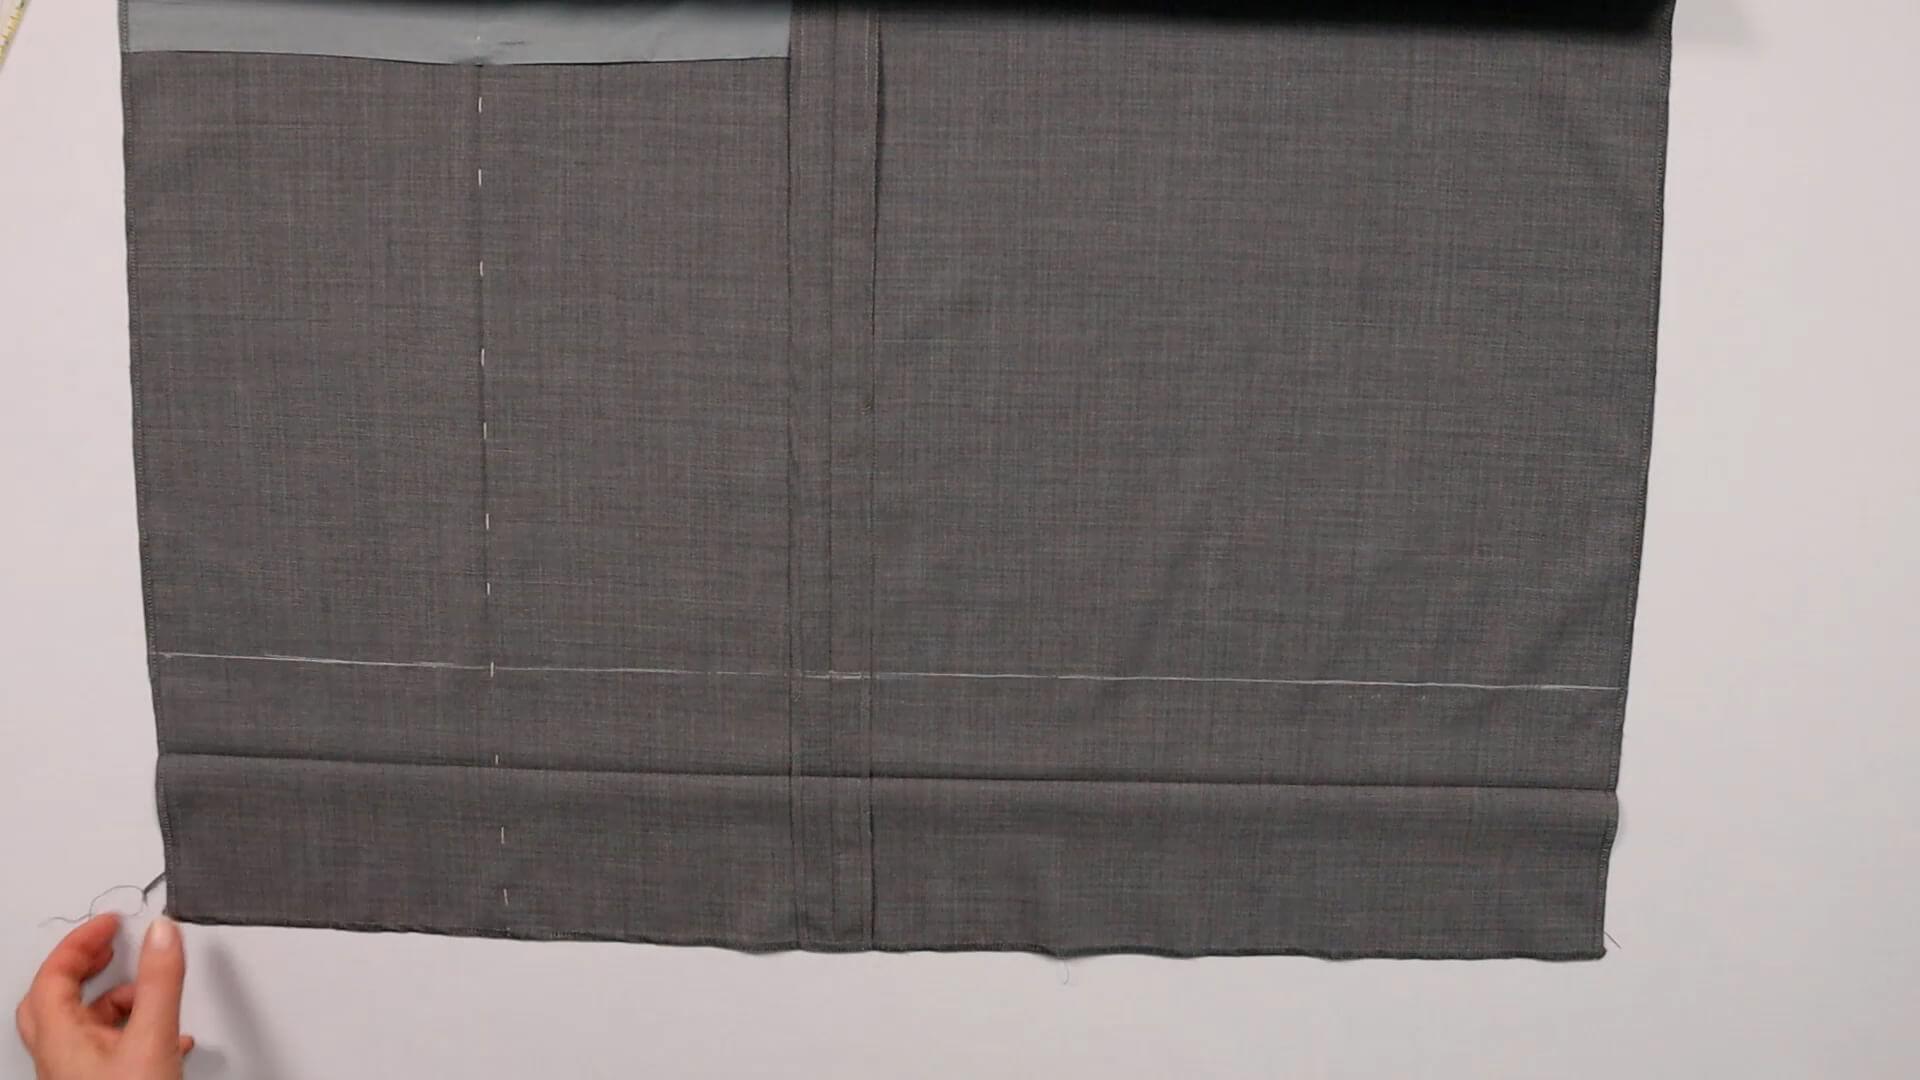
Again, I connect the markings with a long ruler.
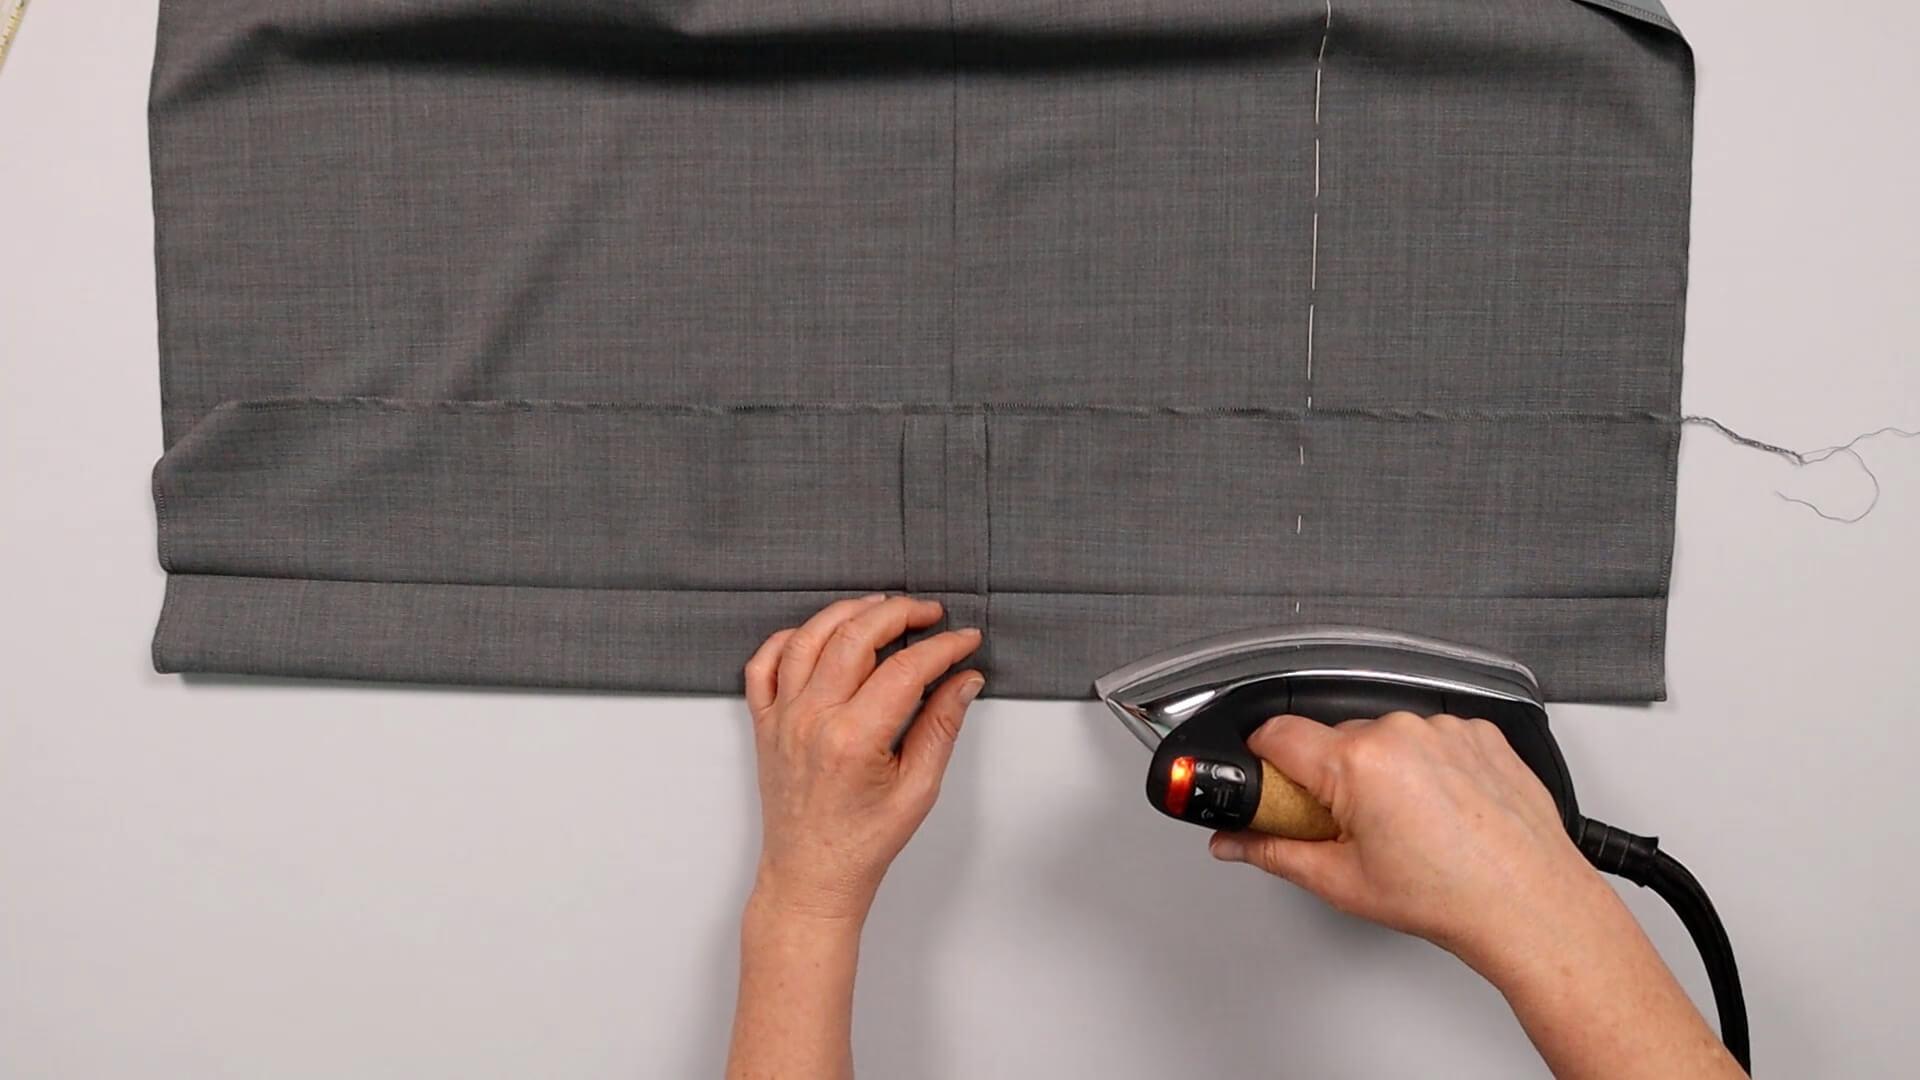
Ironing
Turing the pants again right side facing up, I fold the hem right sides together along the drawn line and make sure not to remove the pressed edge.
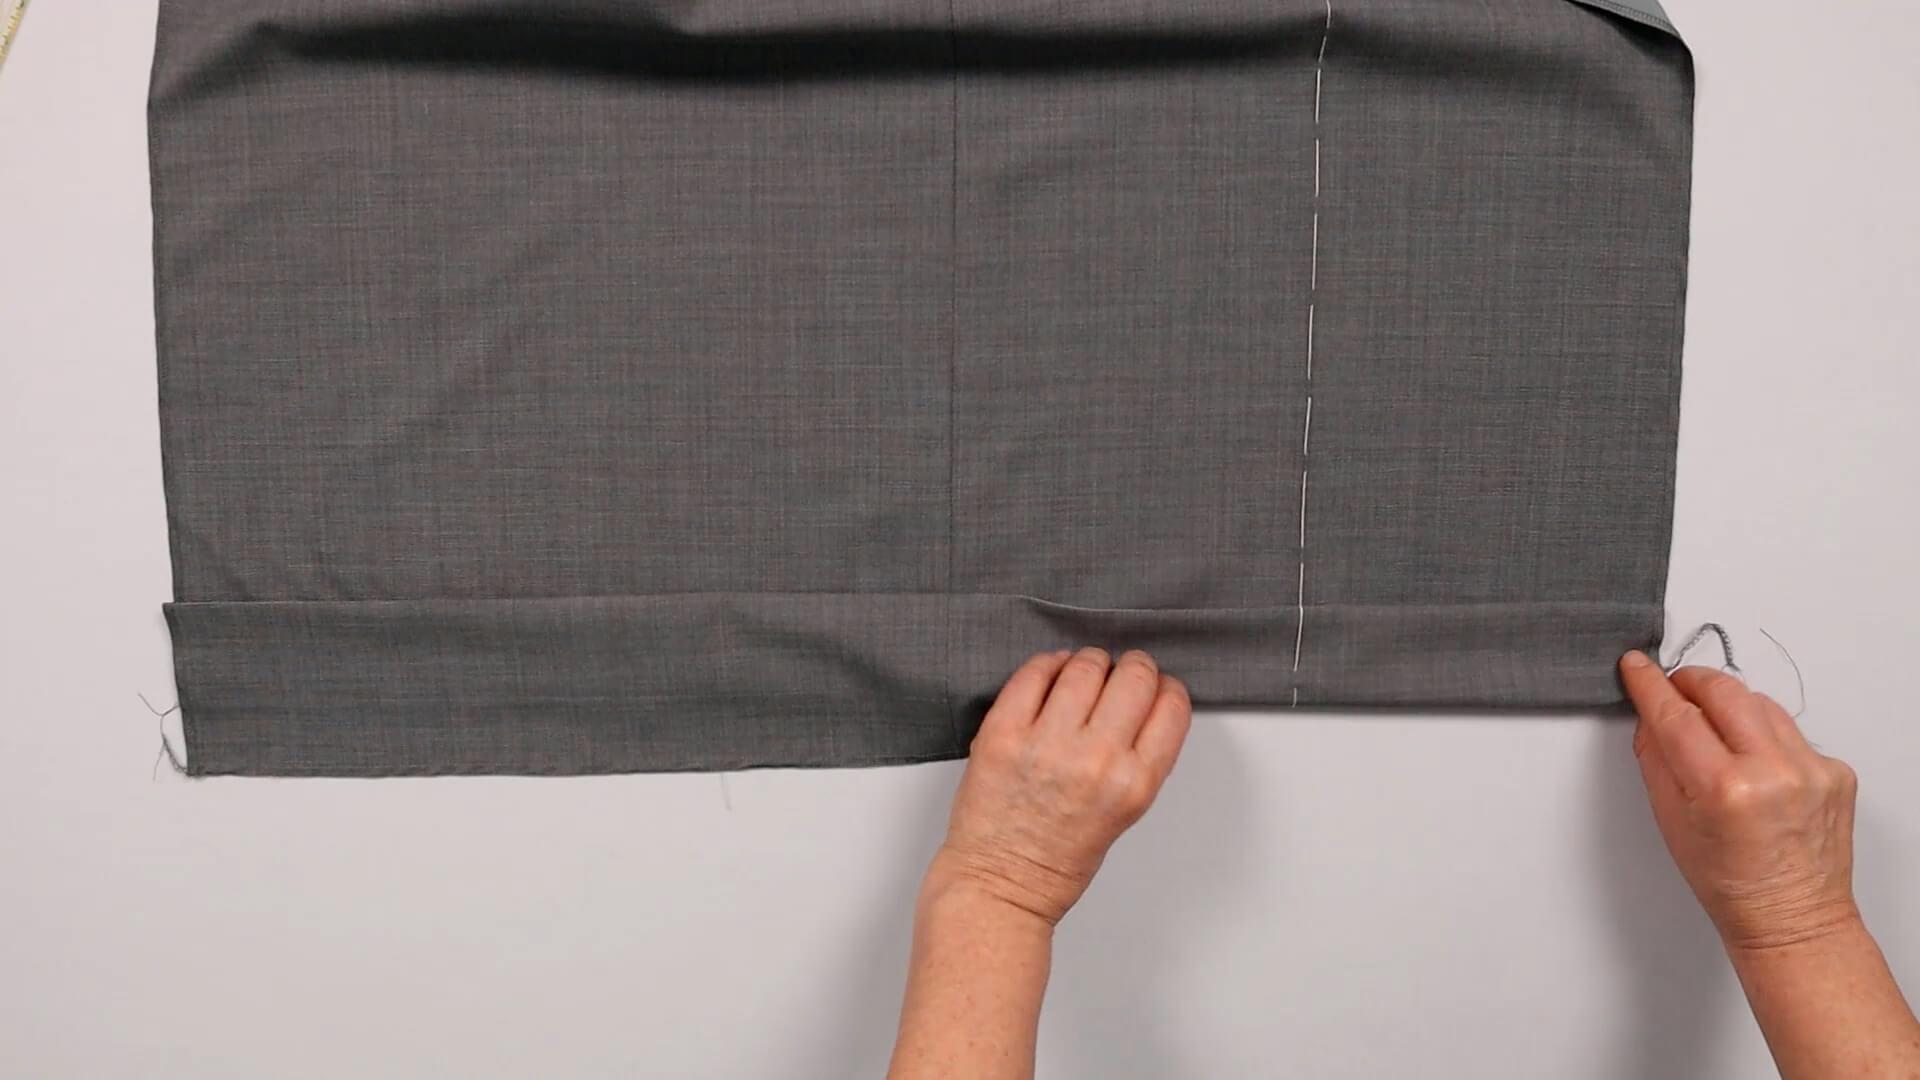
I fold the raw edge of the hem along under the ironed fold towards the left side of the trousers.
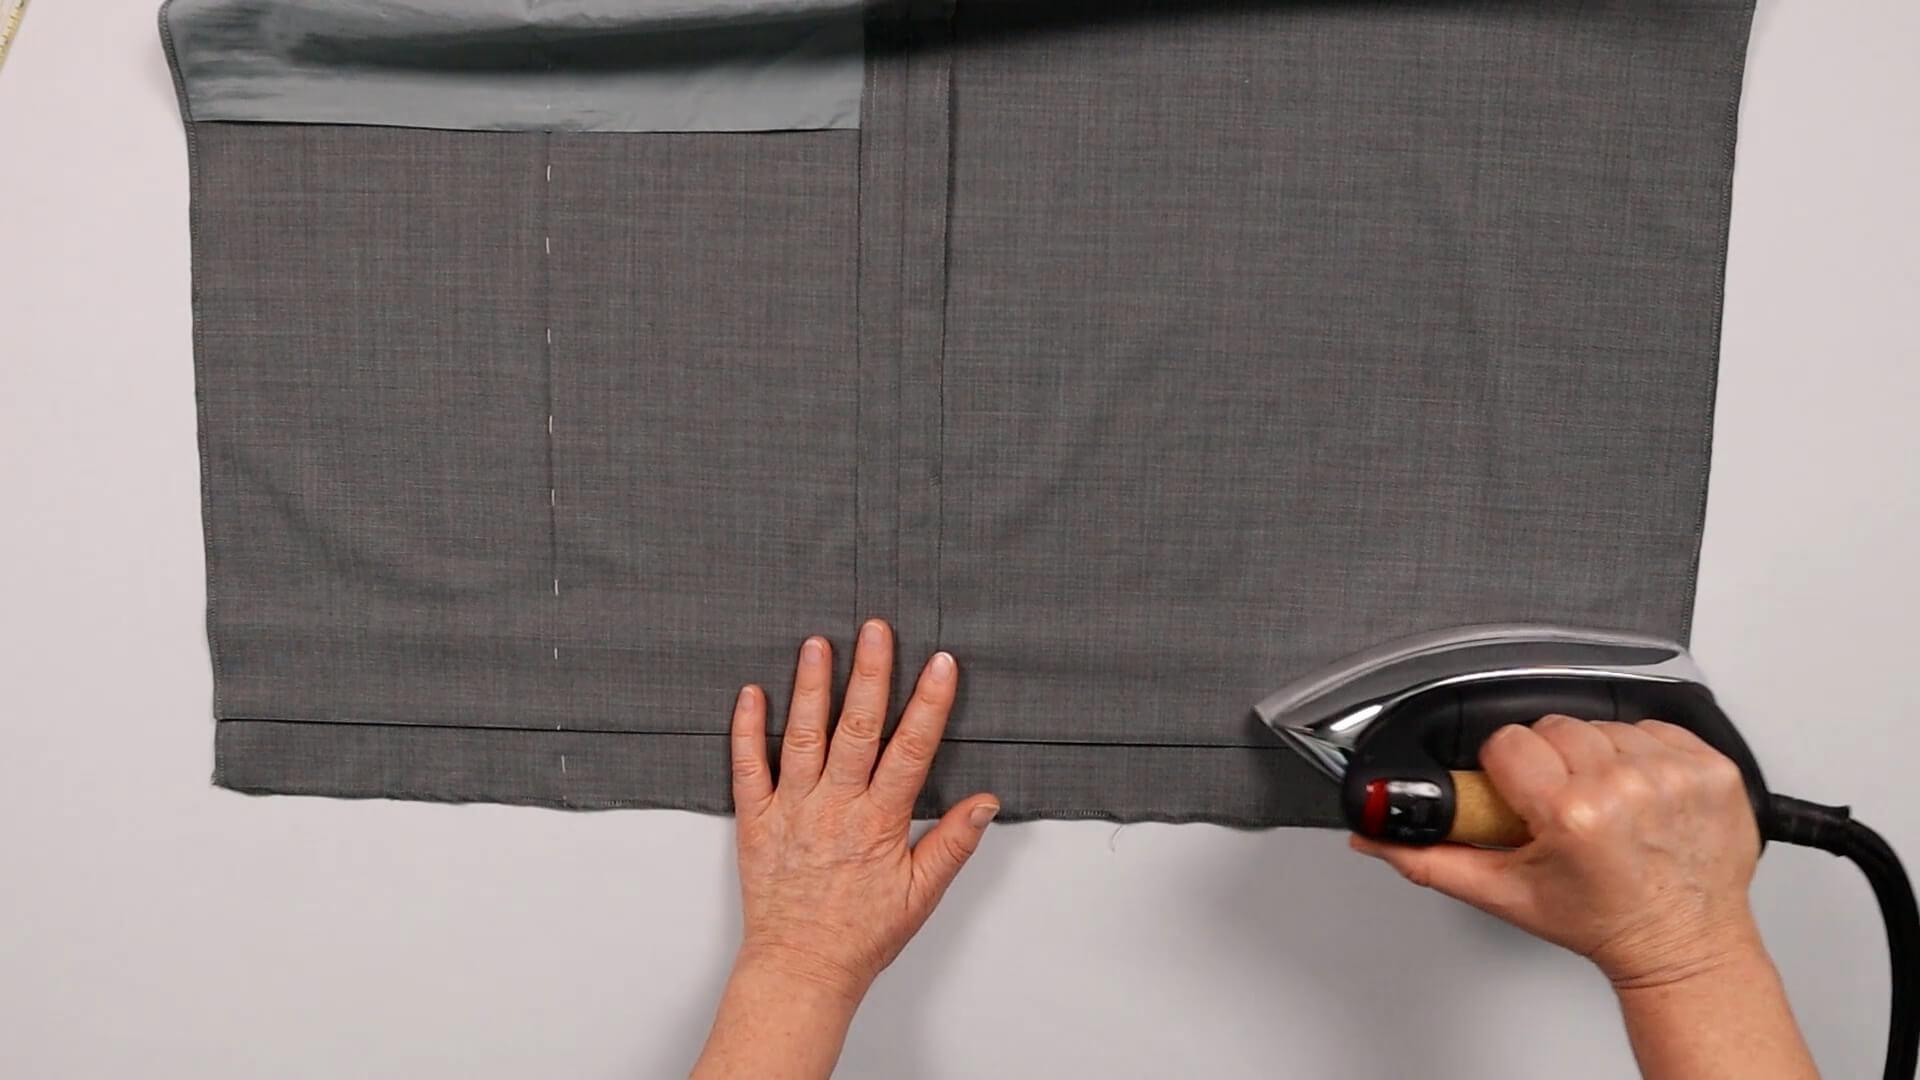
I turn the trousers left side up and iron the raw edge left sides facing.
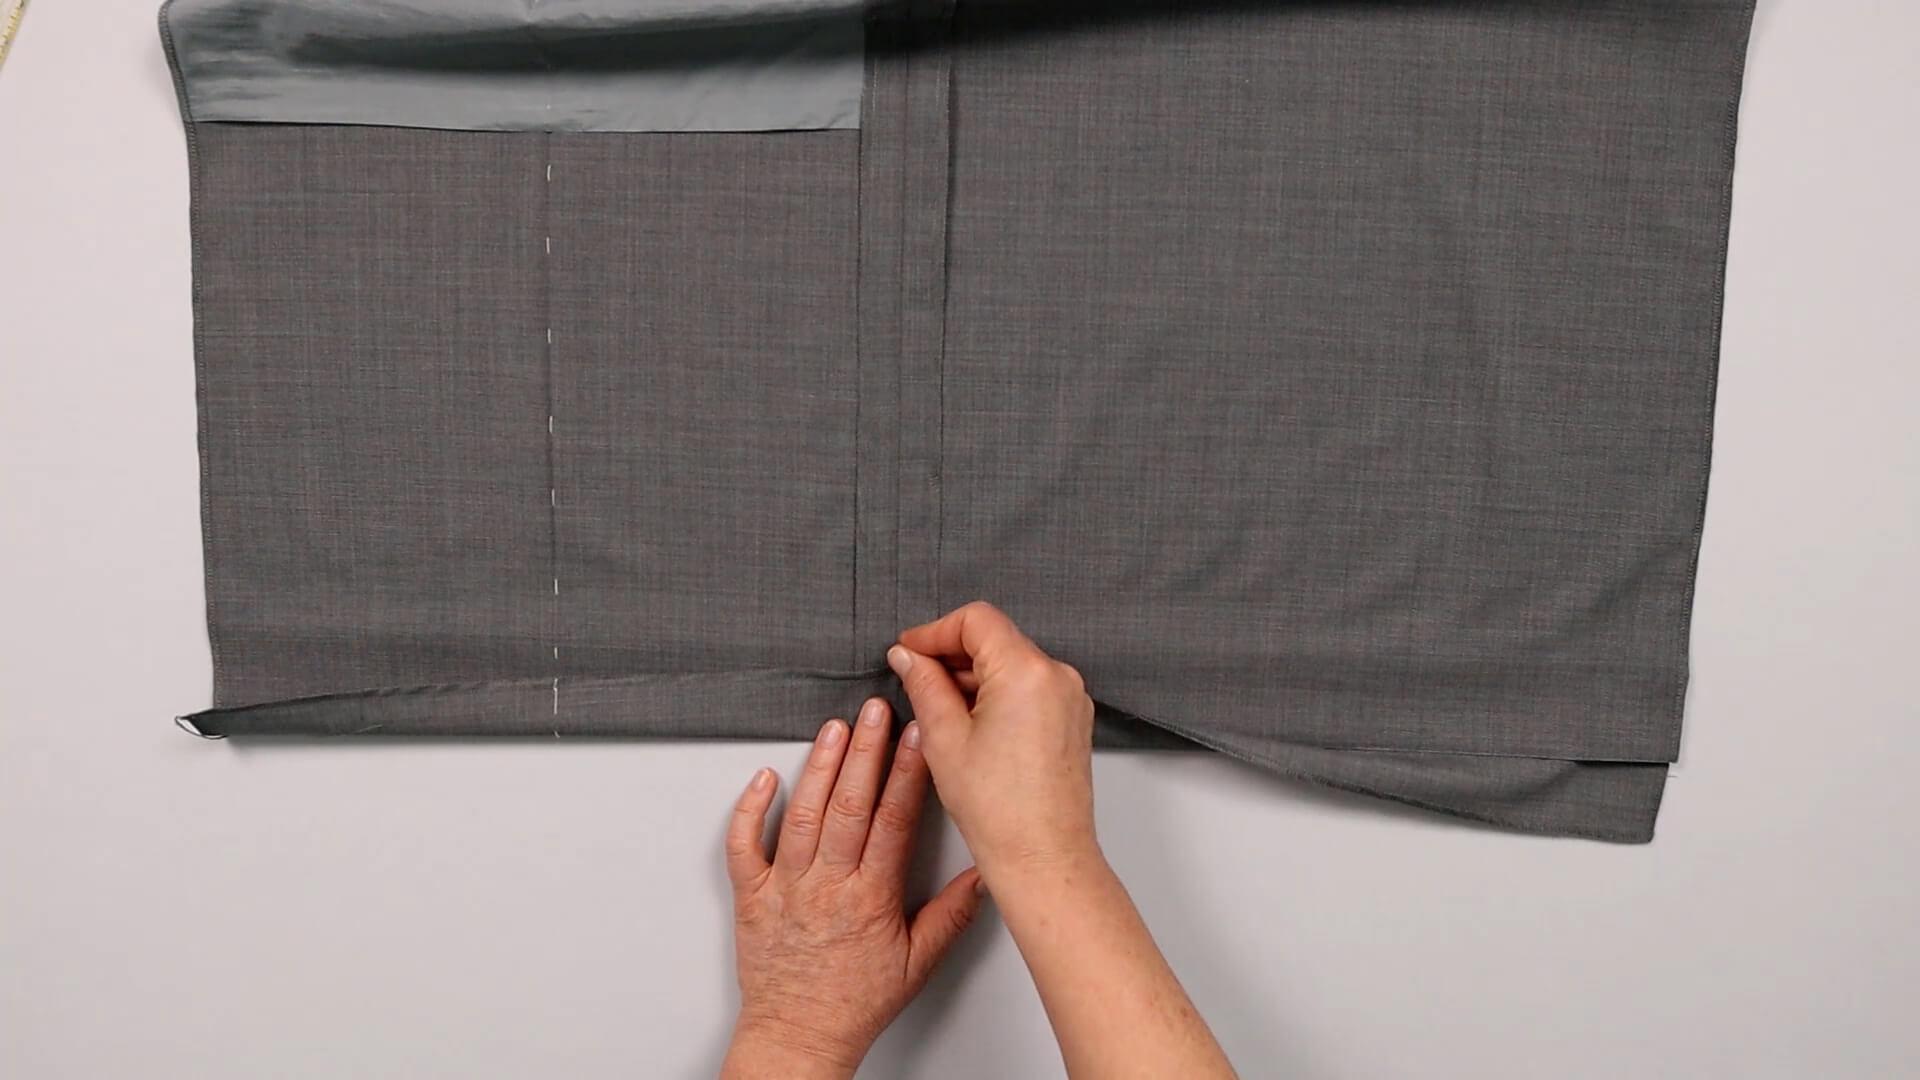
Alternatively, I pin the hem edge to the outer leg seam.
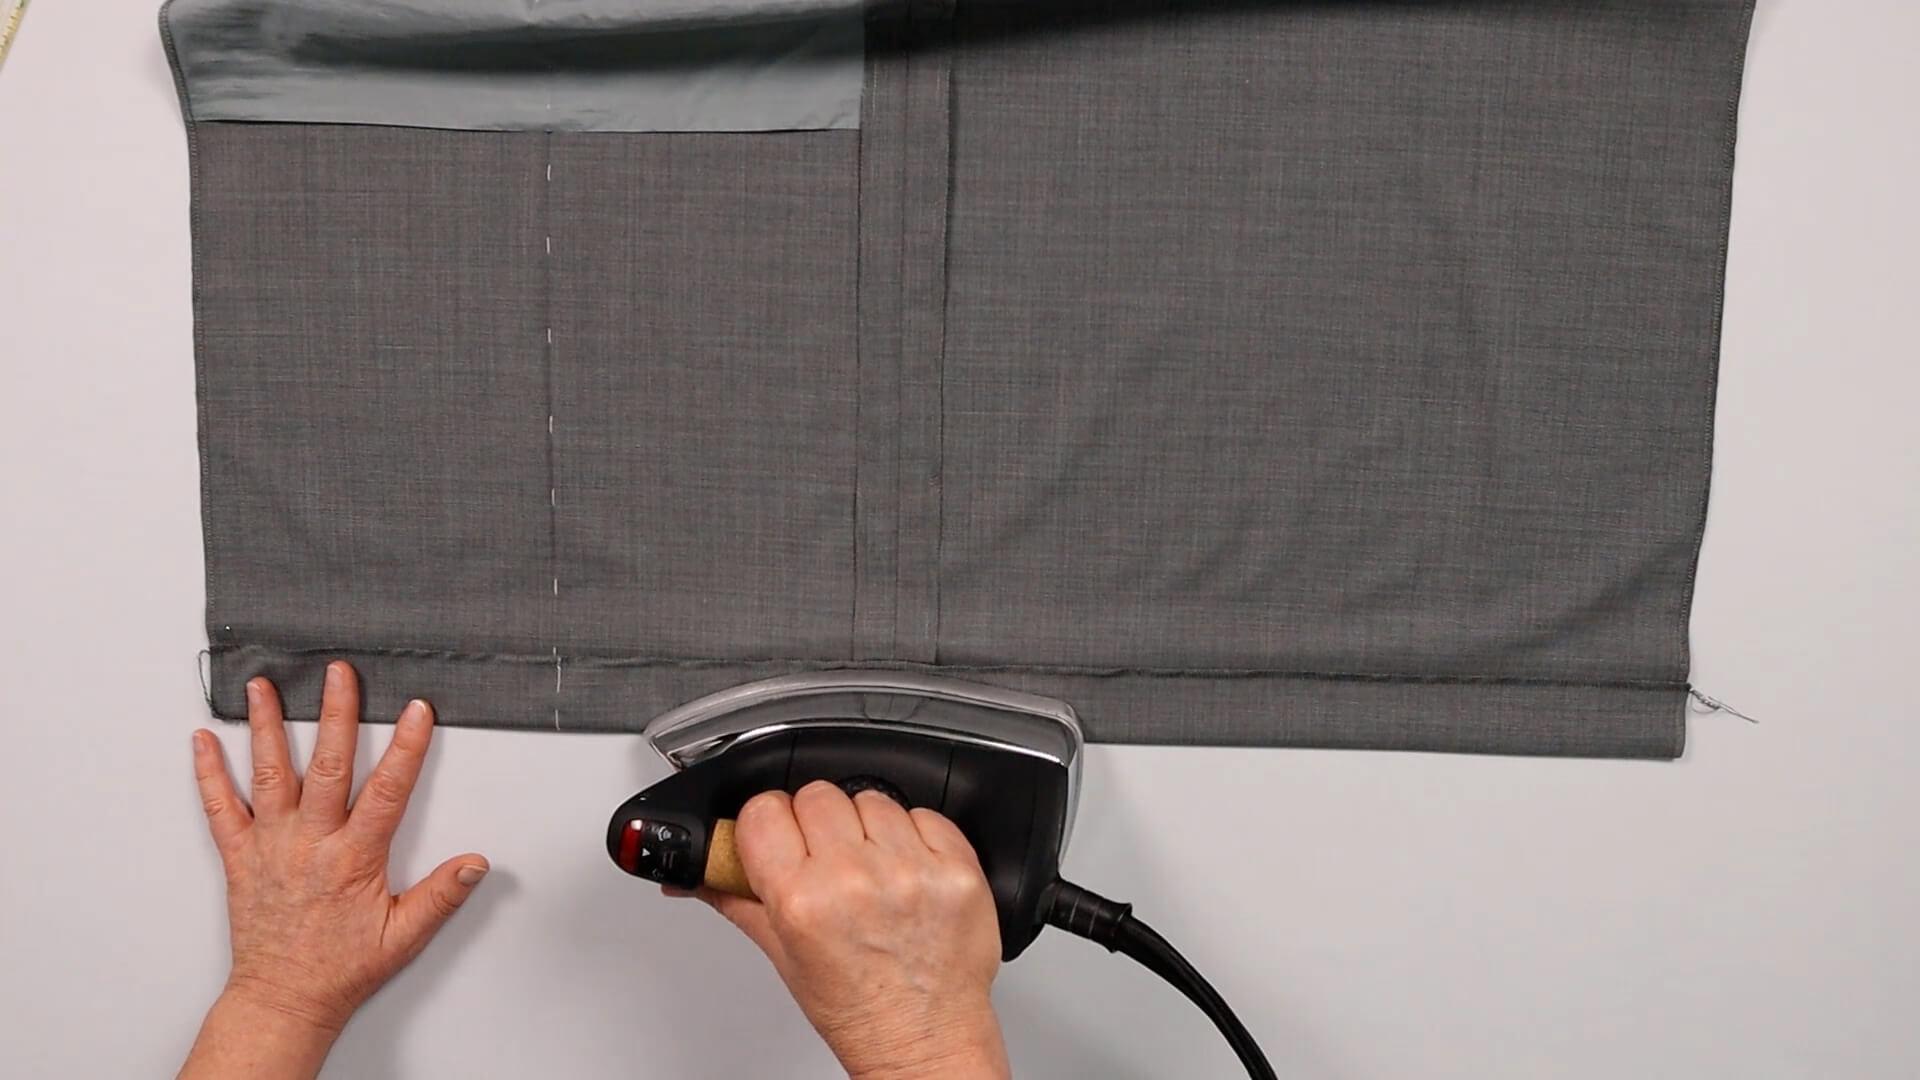
Then I place the bottom hem edge around the inner hem edge and press it upwards.
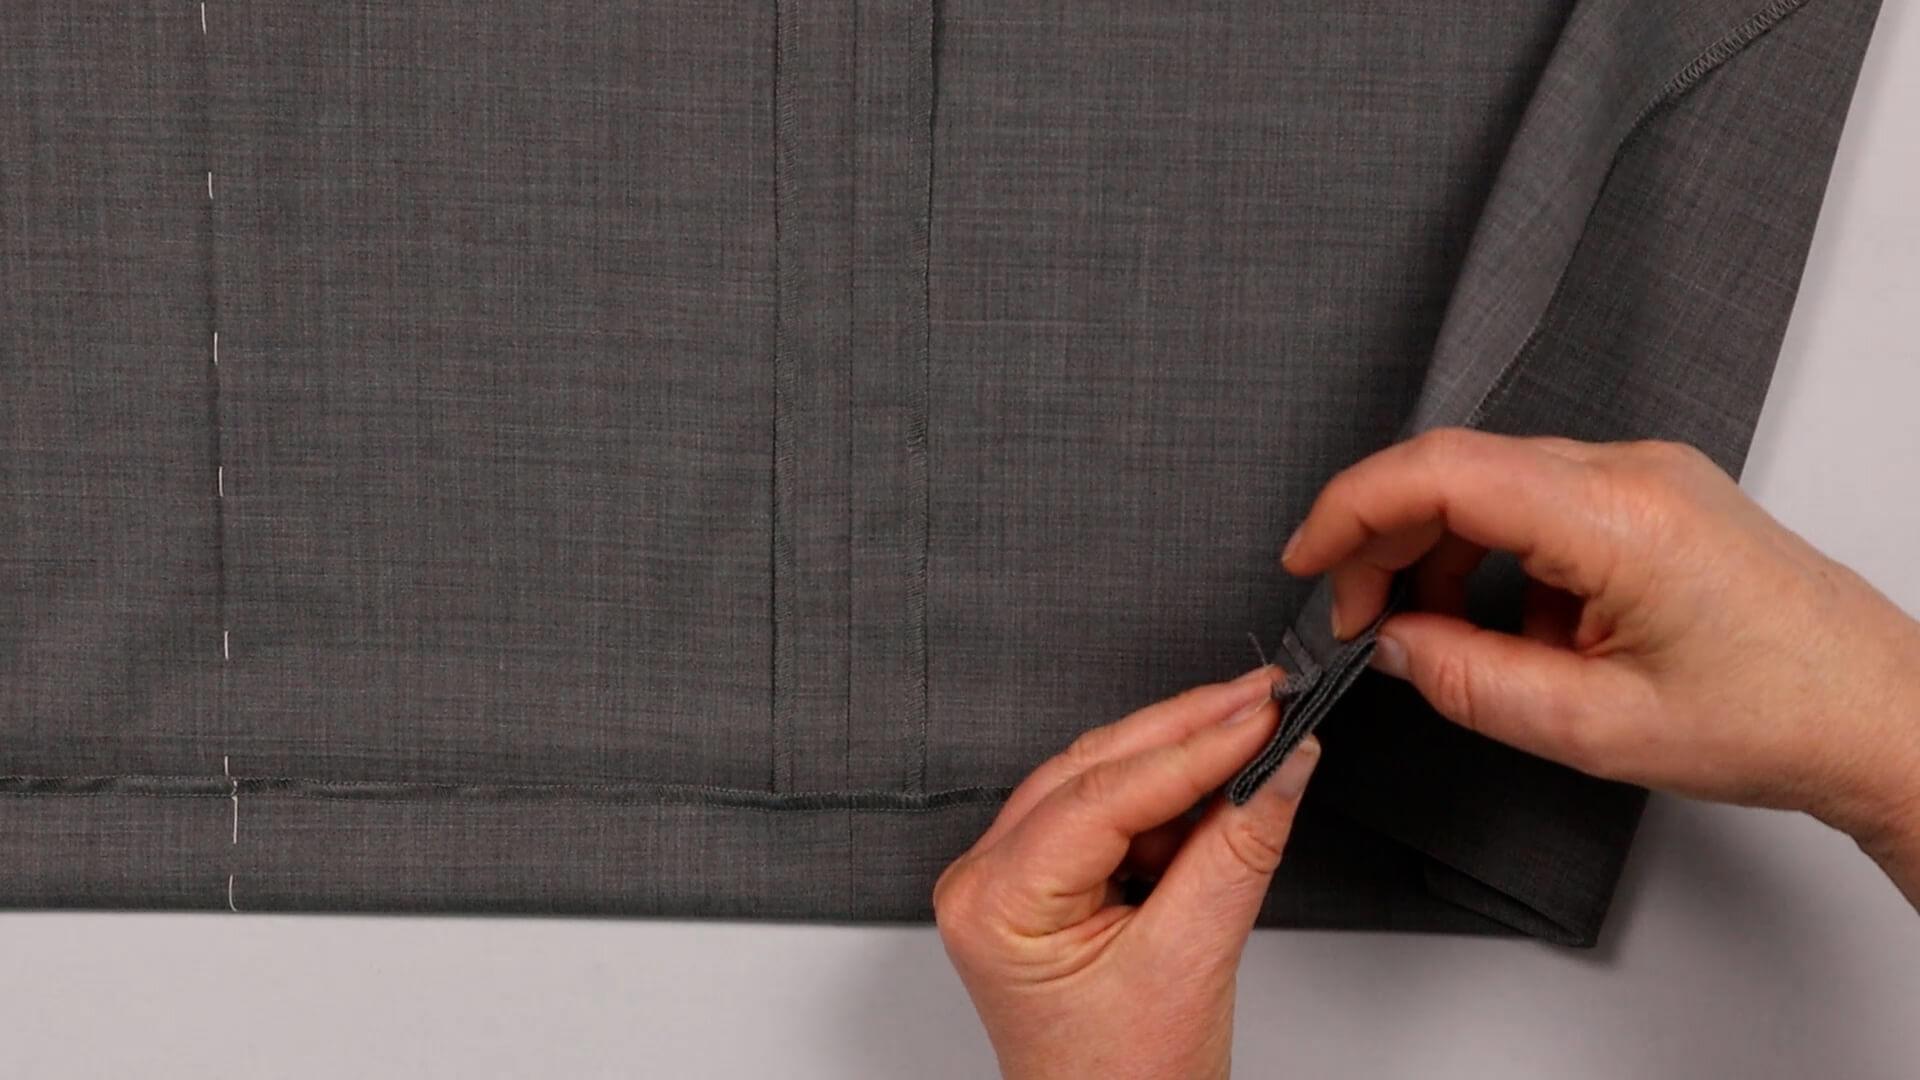
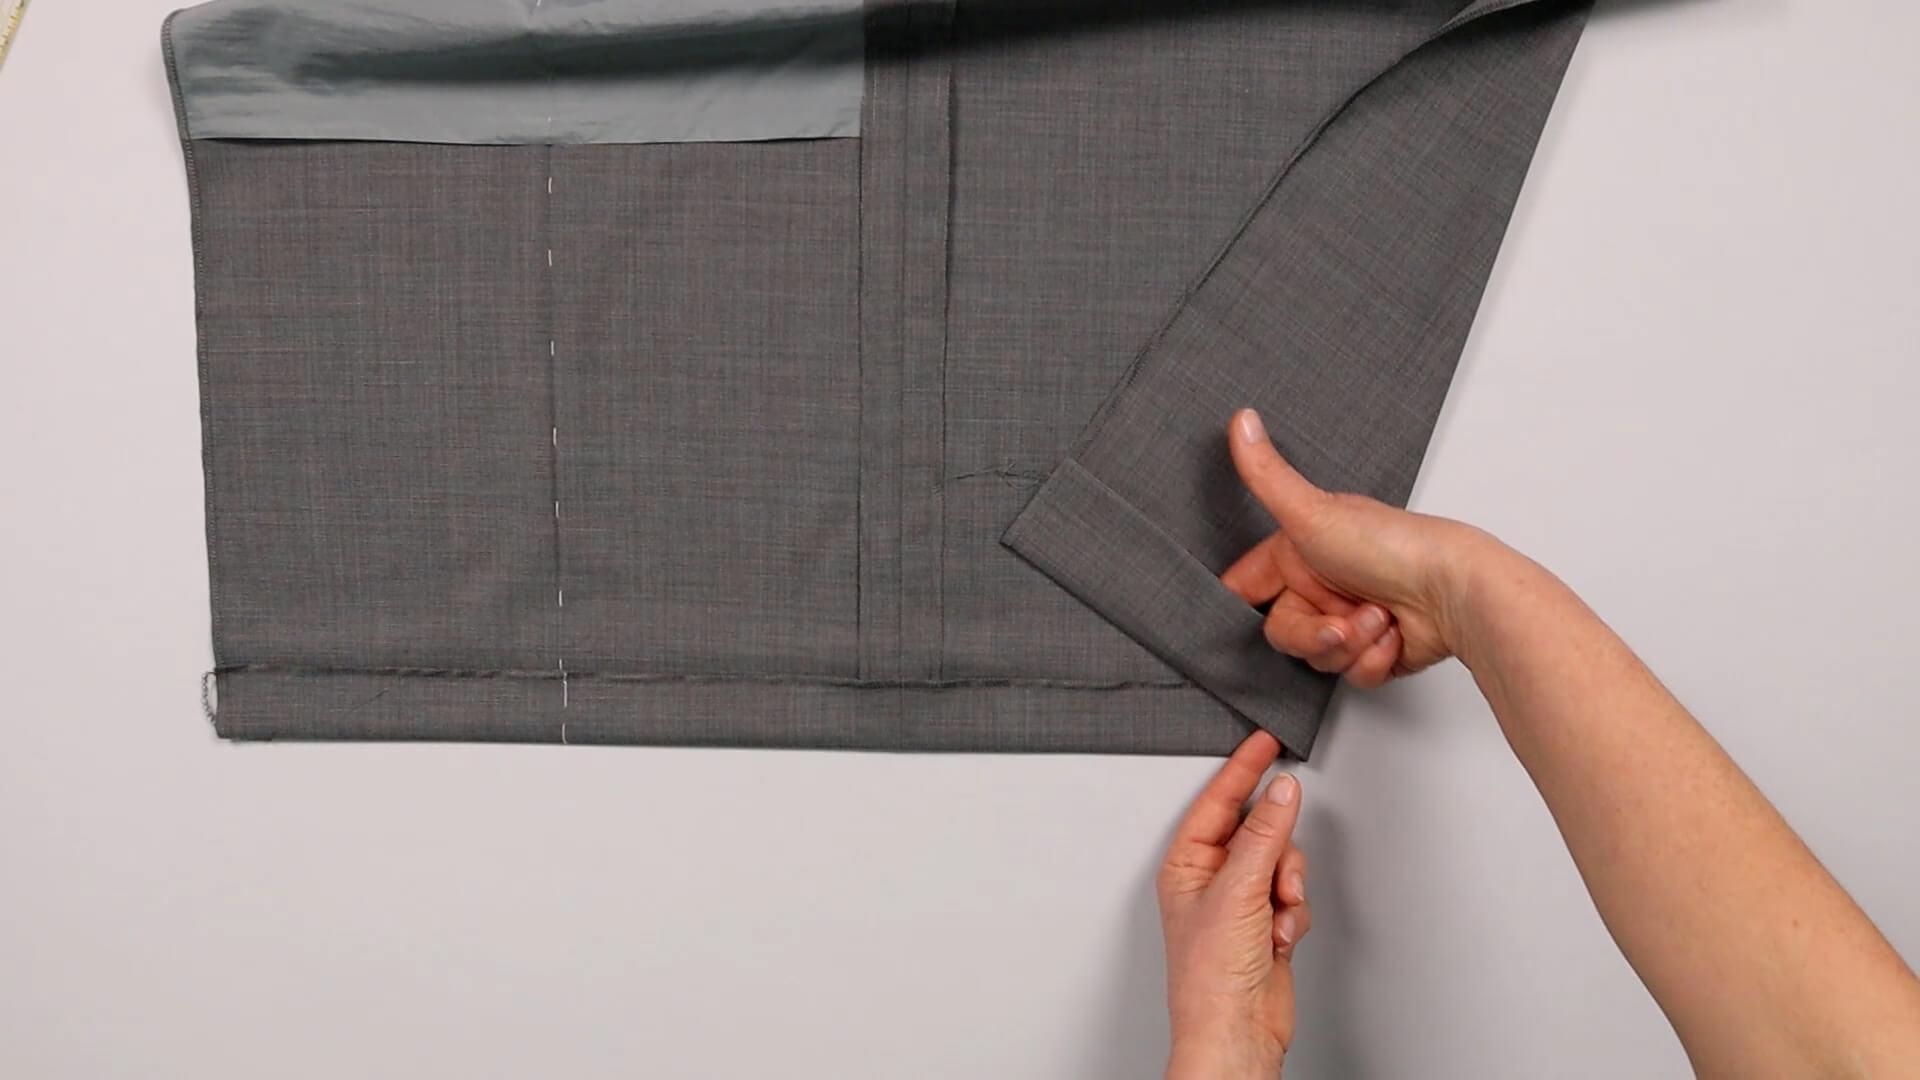
And this is what the turnin in the area of the inner leg seam looks like. Here you can clearly see how the layers of fabric are positioned.
The turnup hem is now prepared. You can see the turnup on the right, the leg seam in the middle and the inside view or turnin on the left.
To close the inner leg seam, I unfold the turnup hem again.
5. Close the inner leg seam
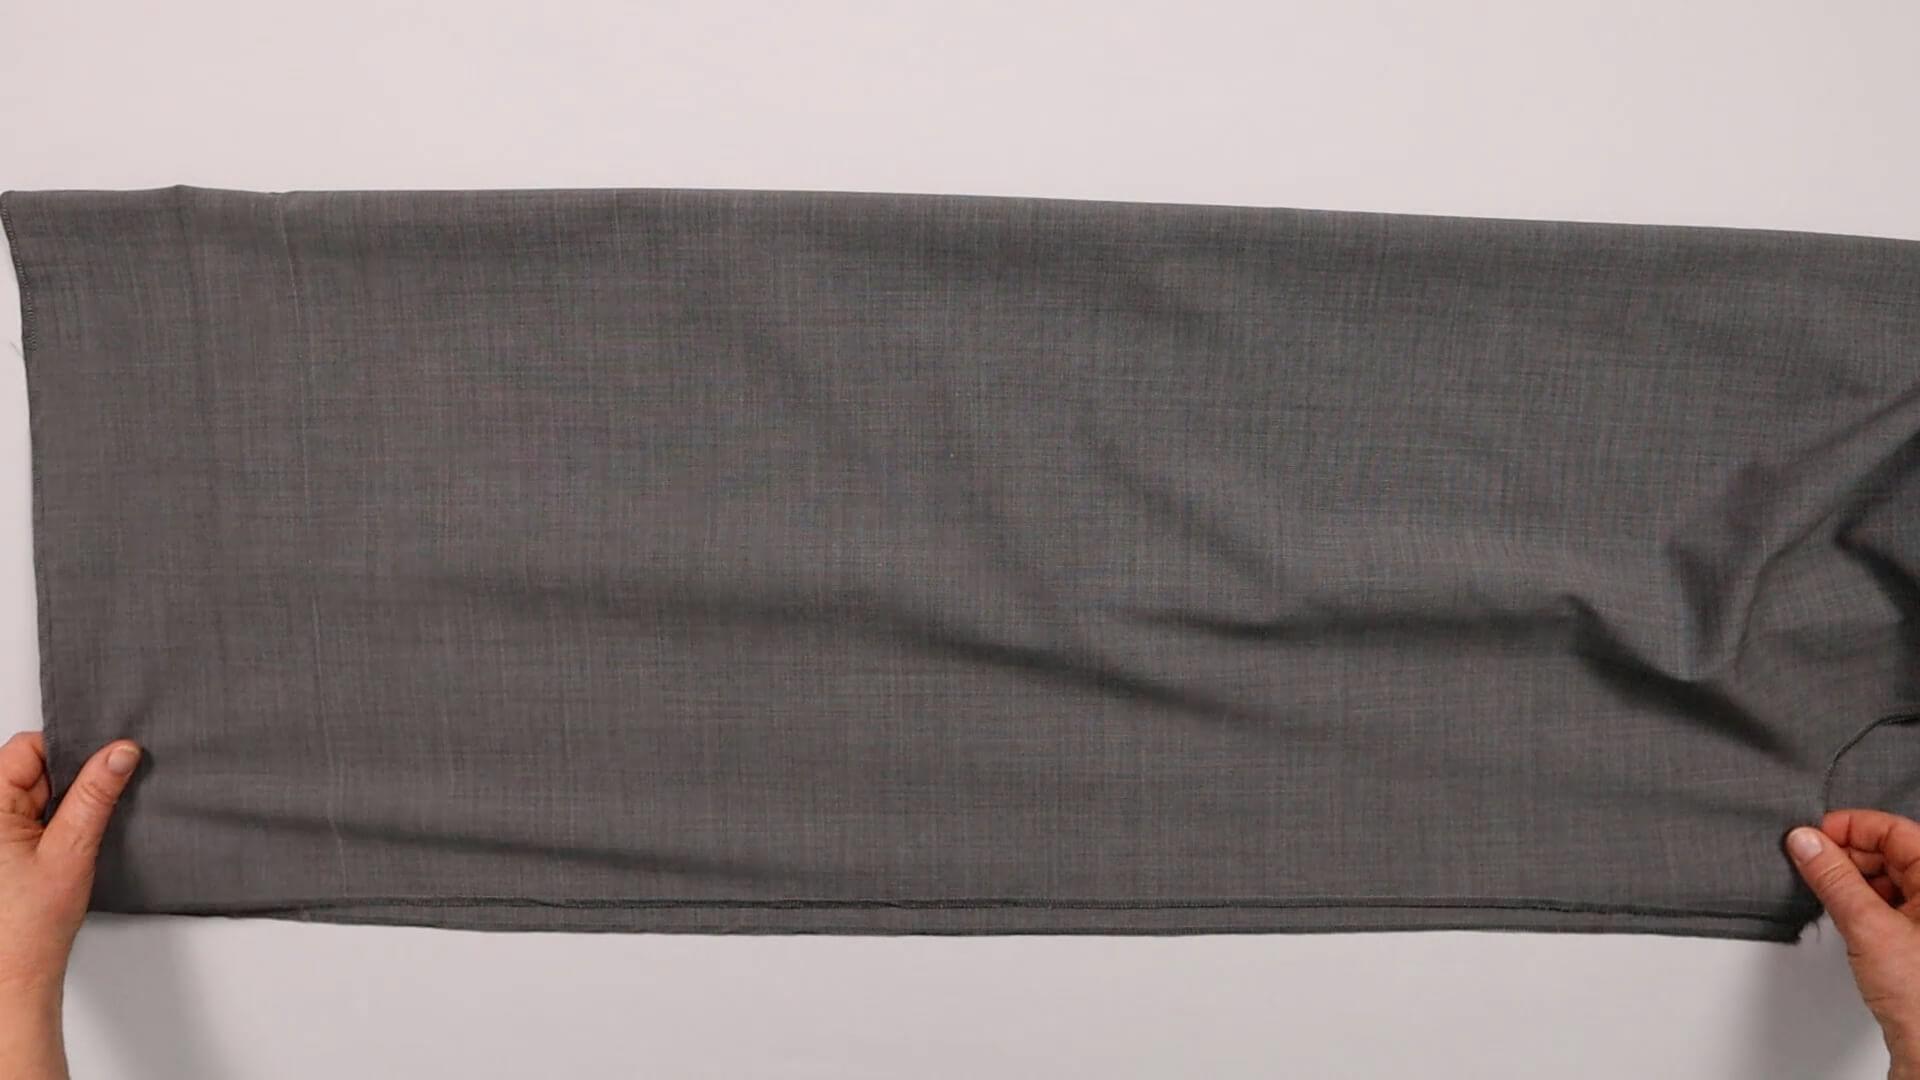
I lay the inside edges of the front and back trousers right sides together.
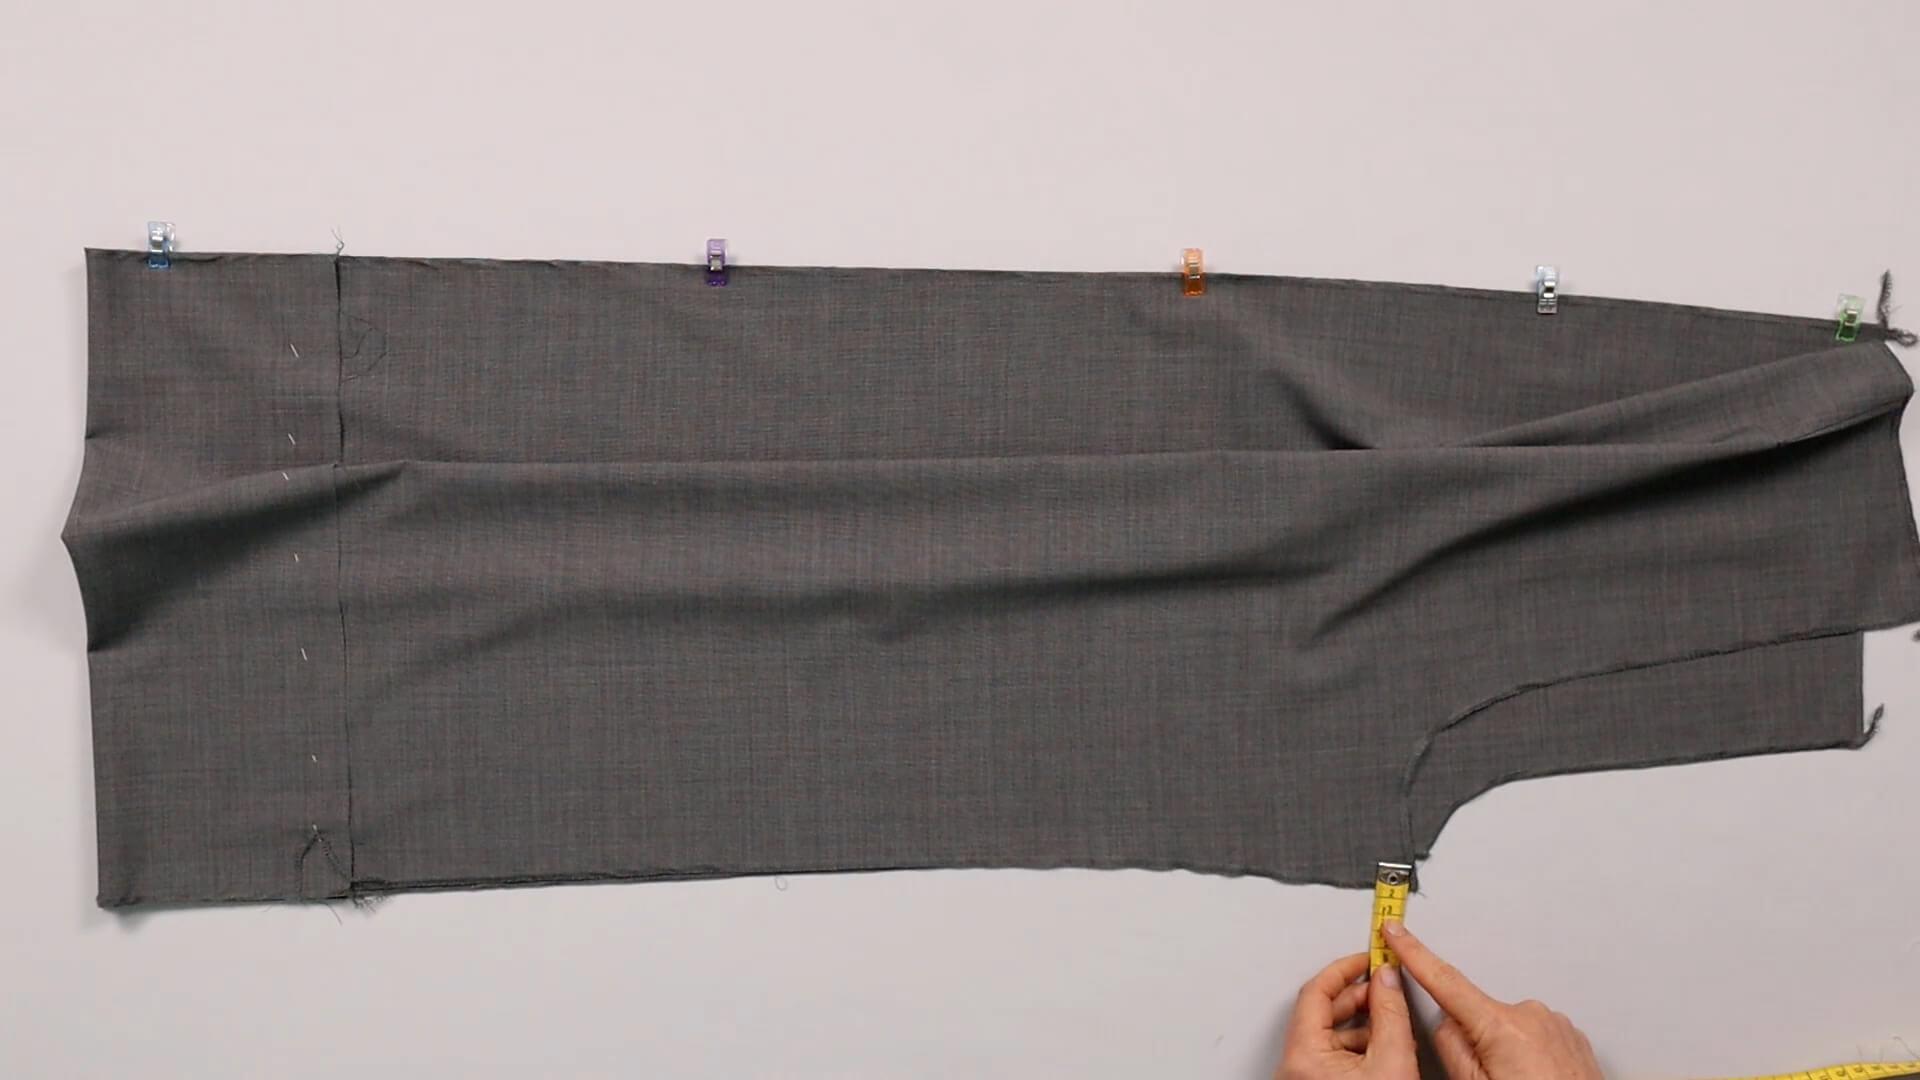
At the top of the inside leg seam, I mark the width of the seam allowance on the back trousers.
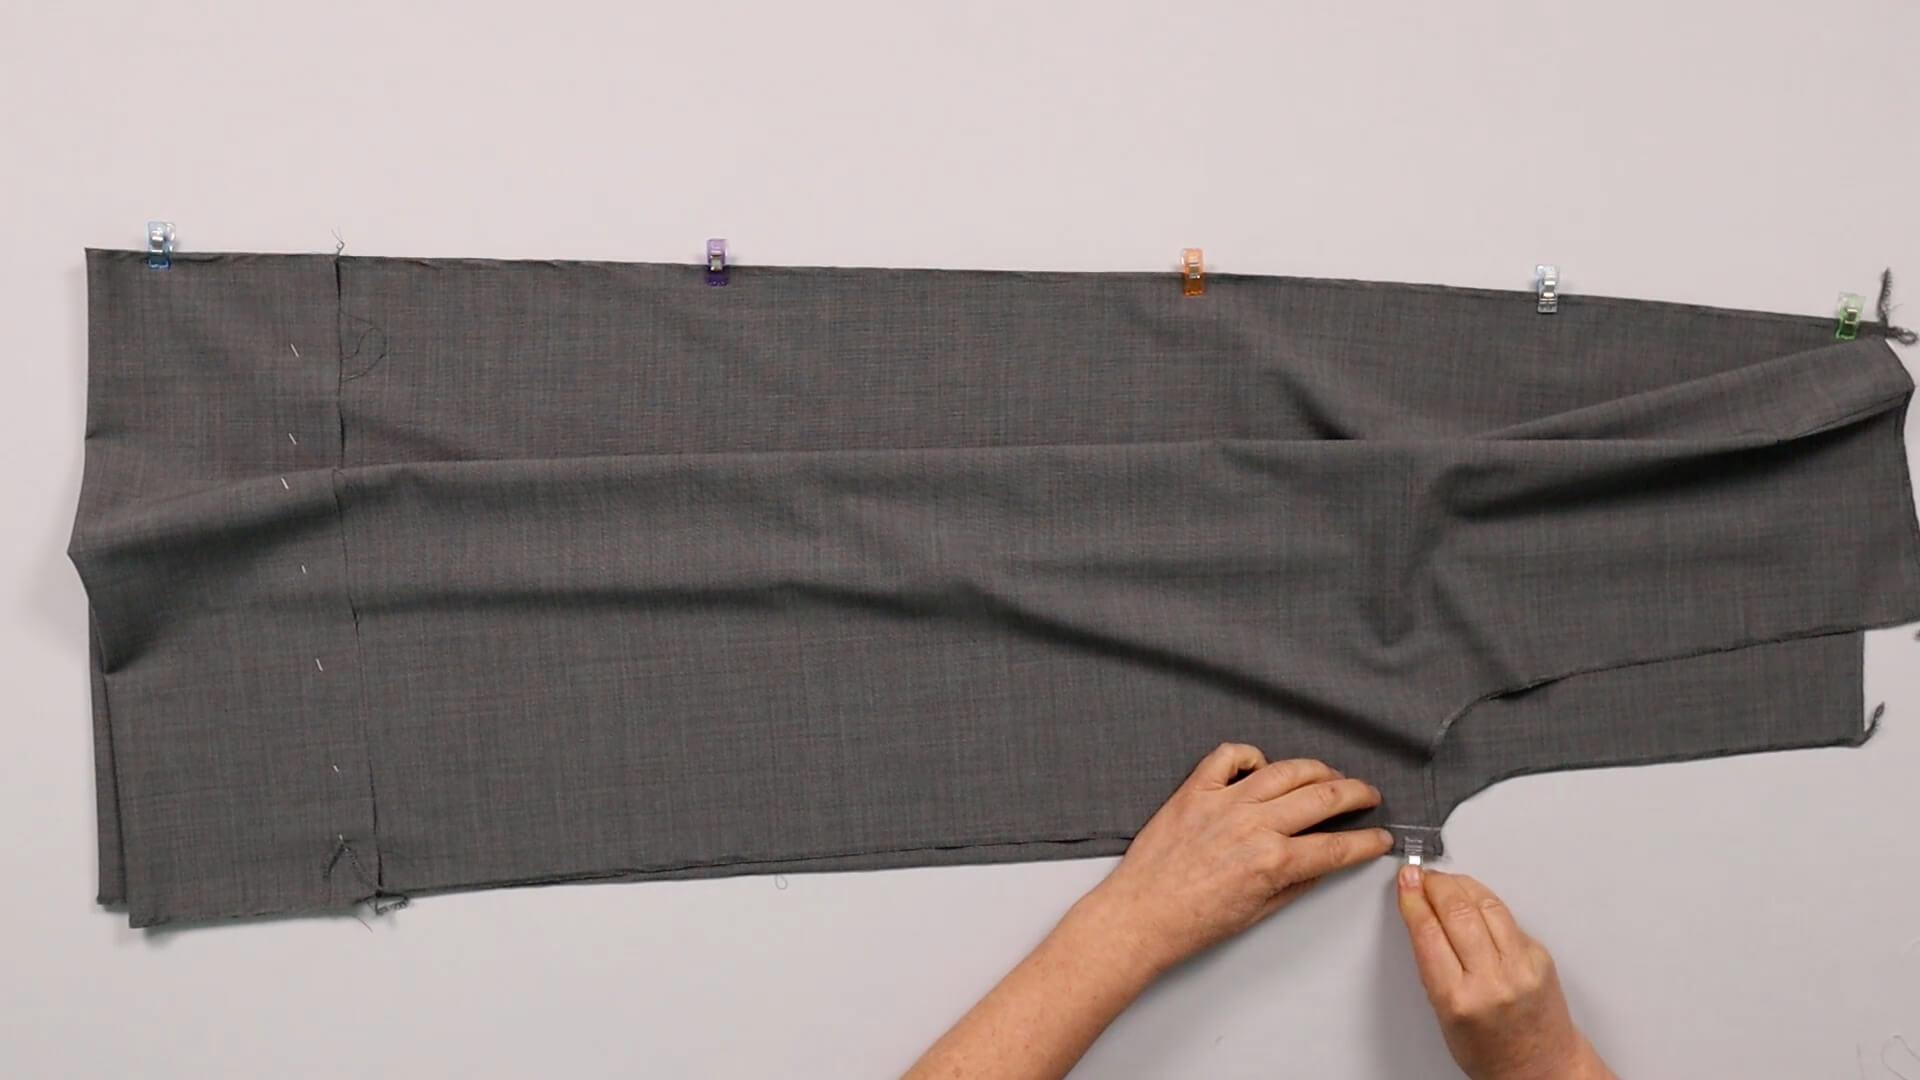
In this position, I secure the upper end of the inner leg seam with a clip or pin. The front and back trousers meet exactly at the marking in the crotch curve.
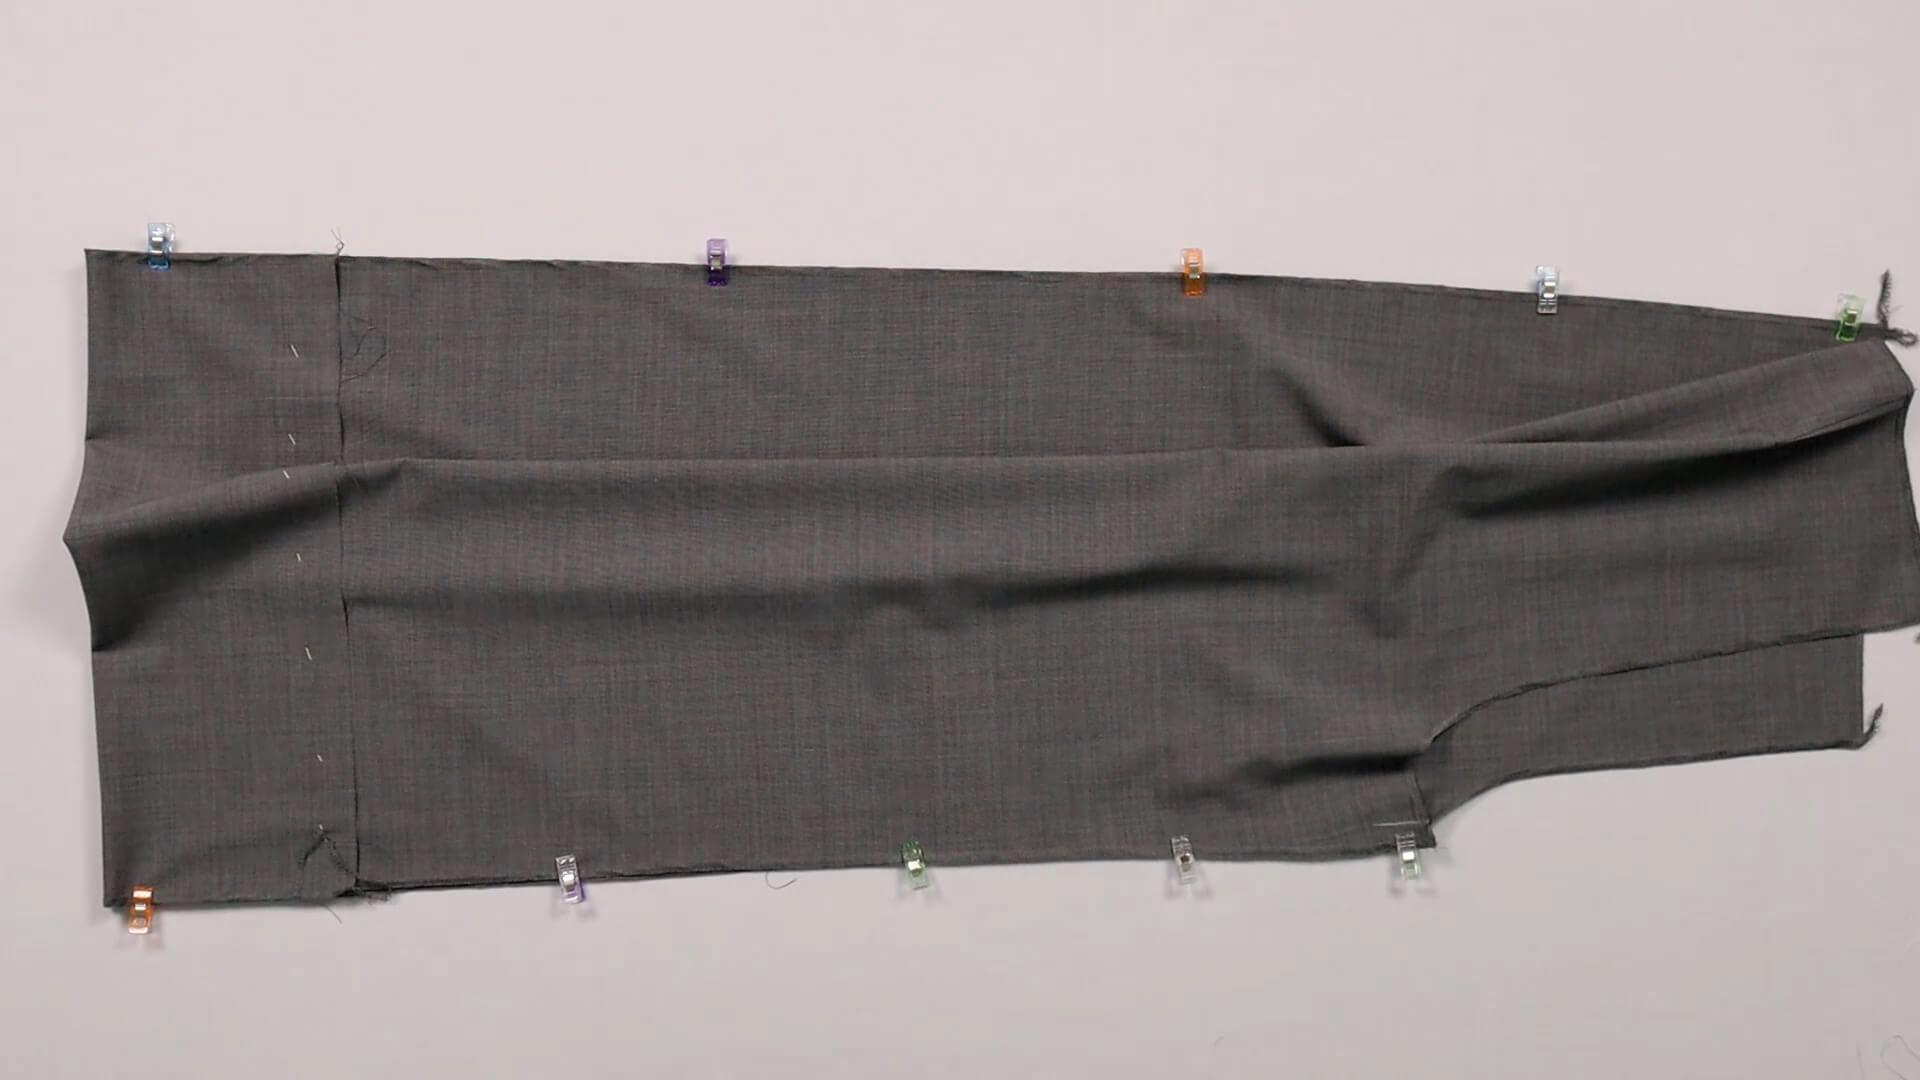
Then I pin the remaining section of the inner leg seam together. When doing this, I make sure that the notches meet at knee hight. From the knee towards the inseam, the back trousers must be stretched to the length of the front trousers. You may have already prepared this when ironing the hind trousers.
I sew with the seam allowance indicated on the pattern.
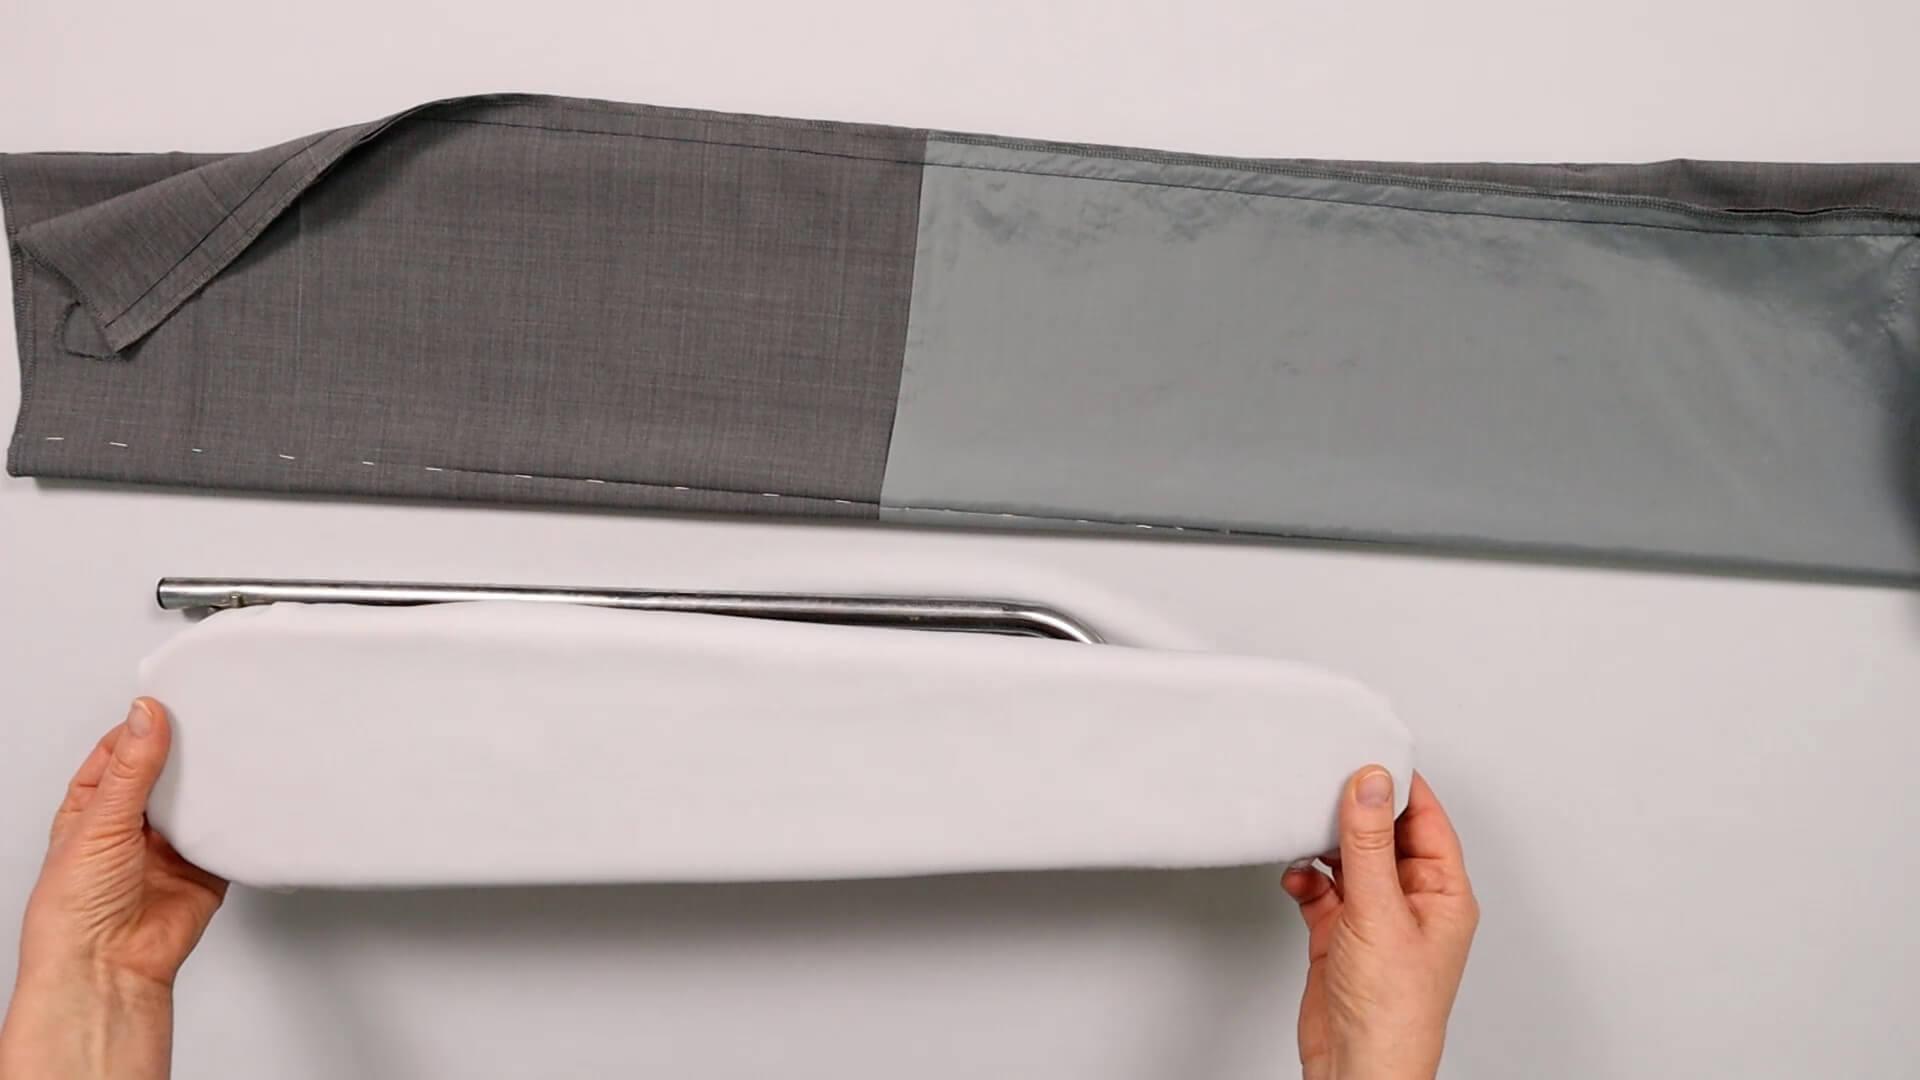
I use a sleeve board to iron out the inner leg seam.
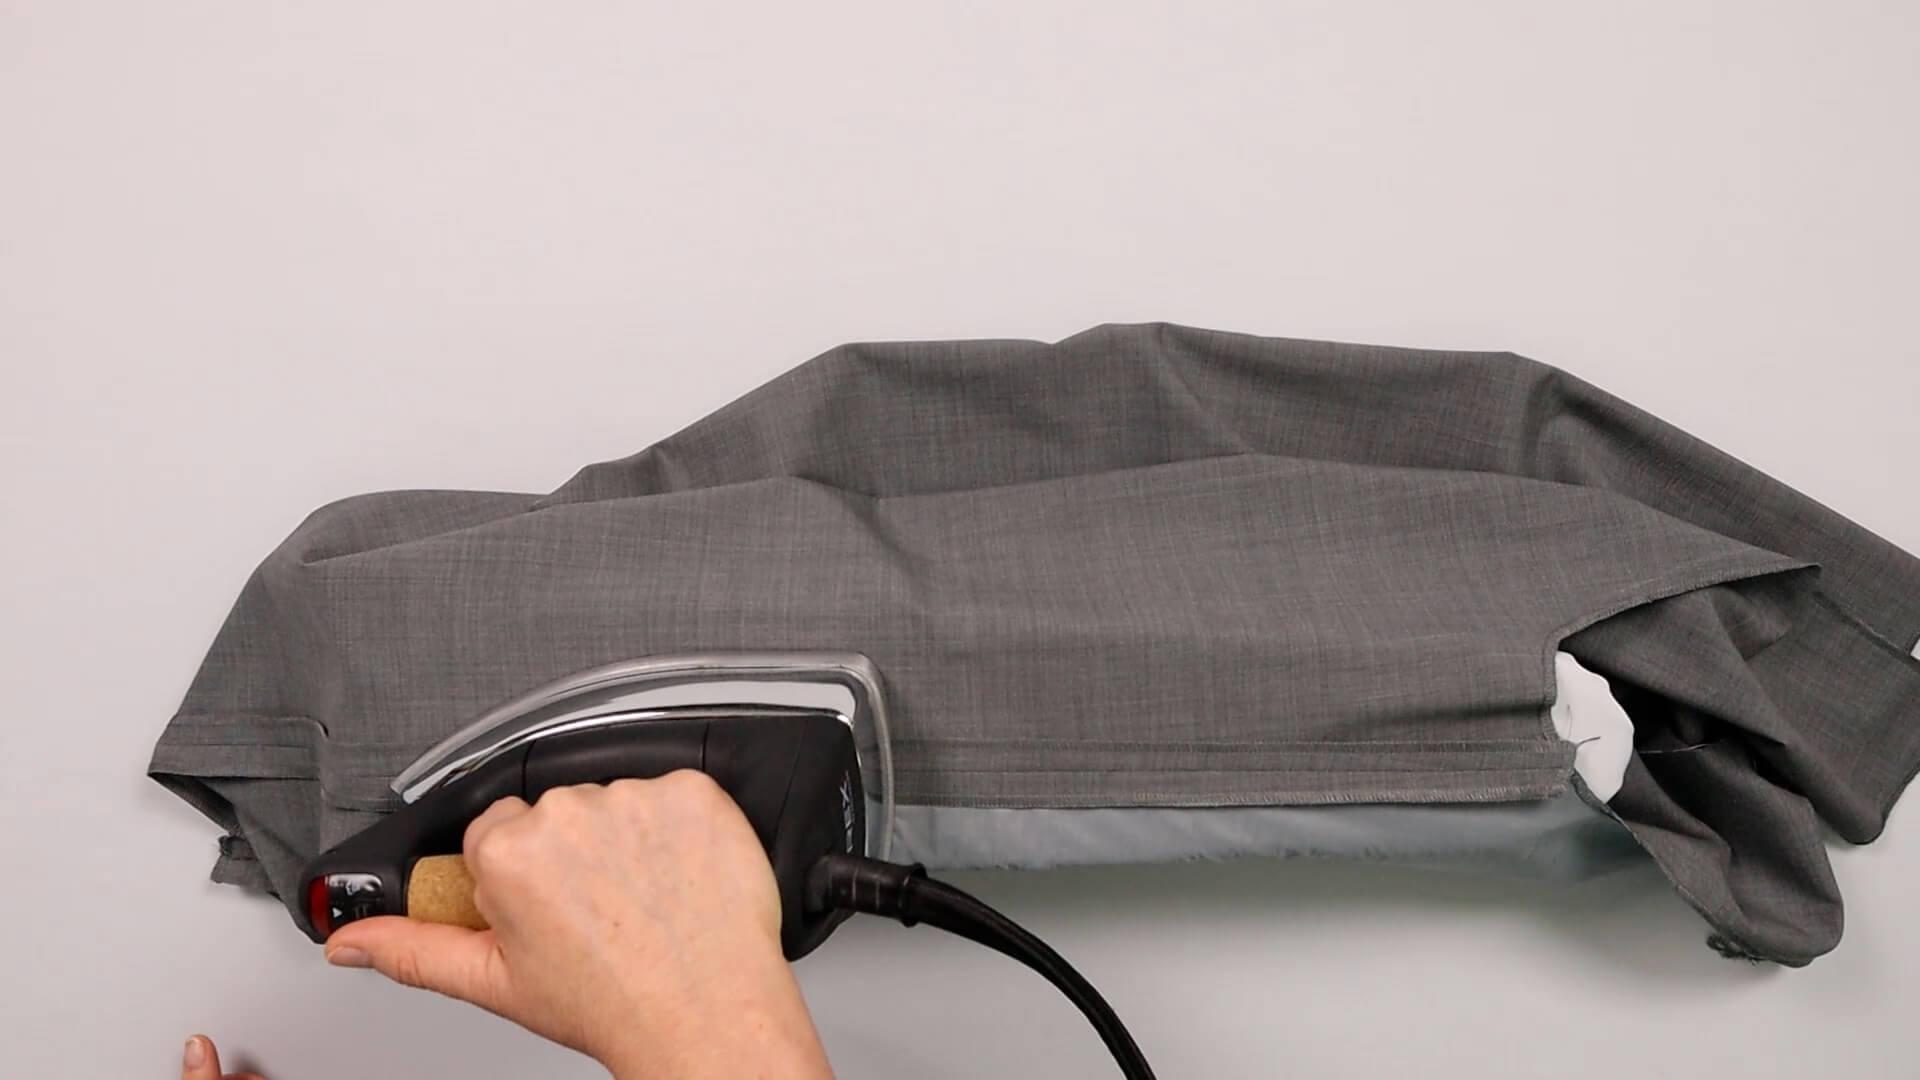
I press the seam allowances open as done previously with the other side seam. I work with a lot of pressure and take some time to flatten the seam completely. Of course, you can also use a wooden brush or tailor’s clapper again.
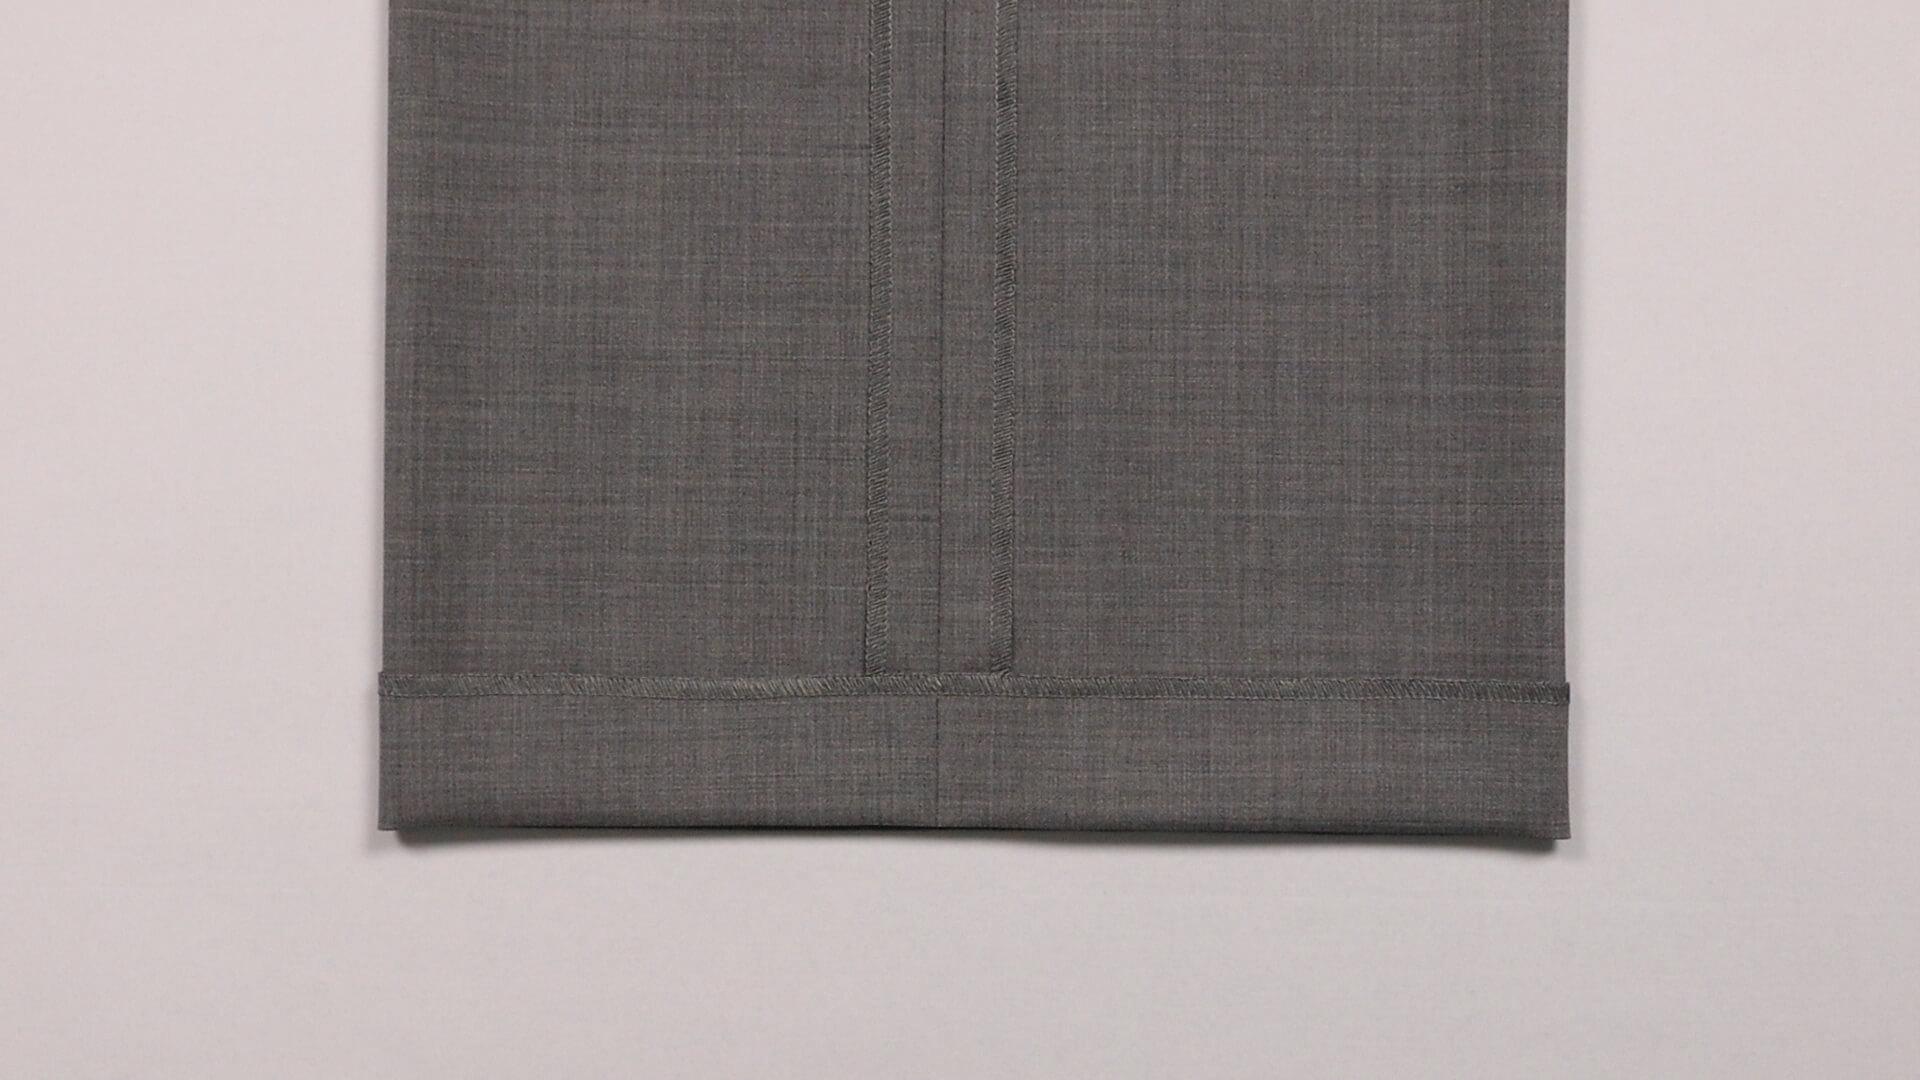
Then I finish the hem edge with the overlocker or a zig-zag stitch.
6. Iron the turnup hem
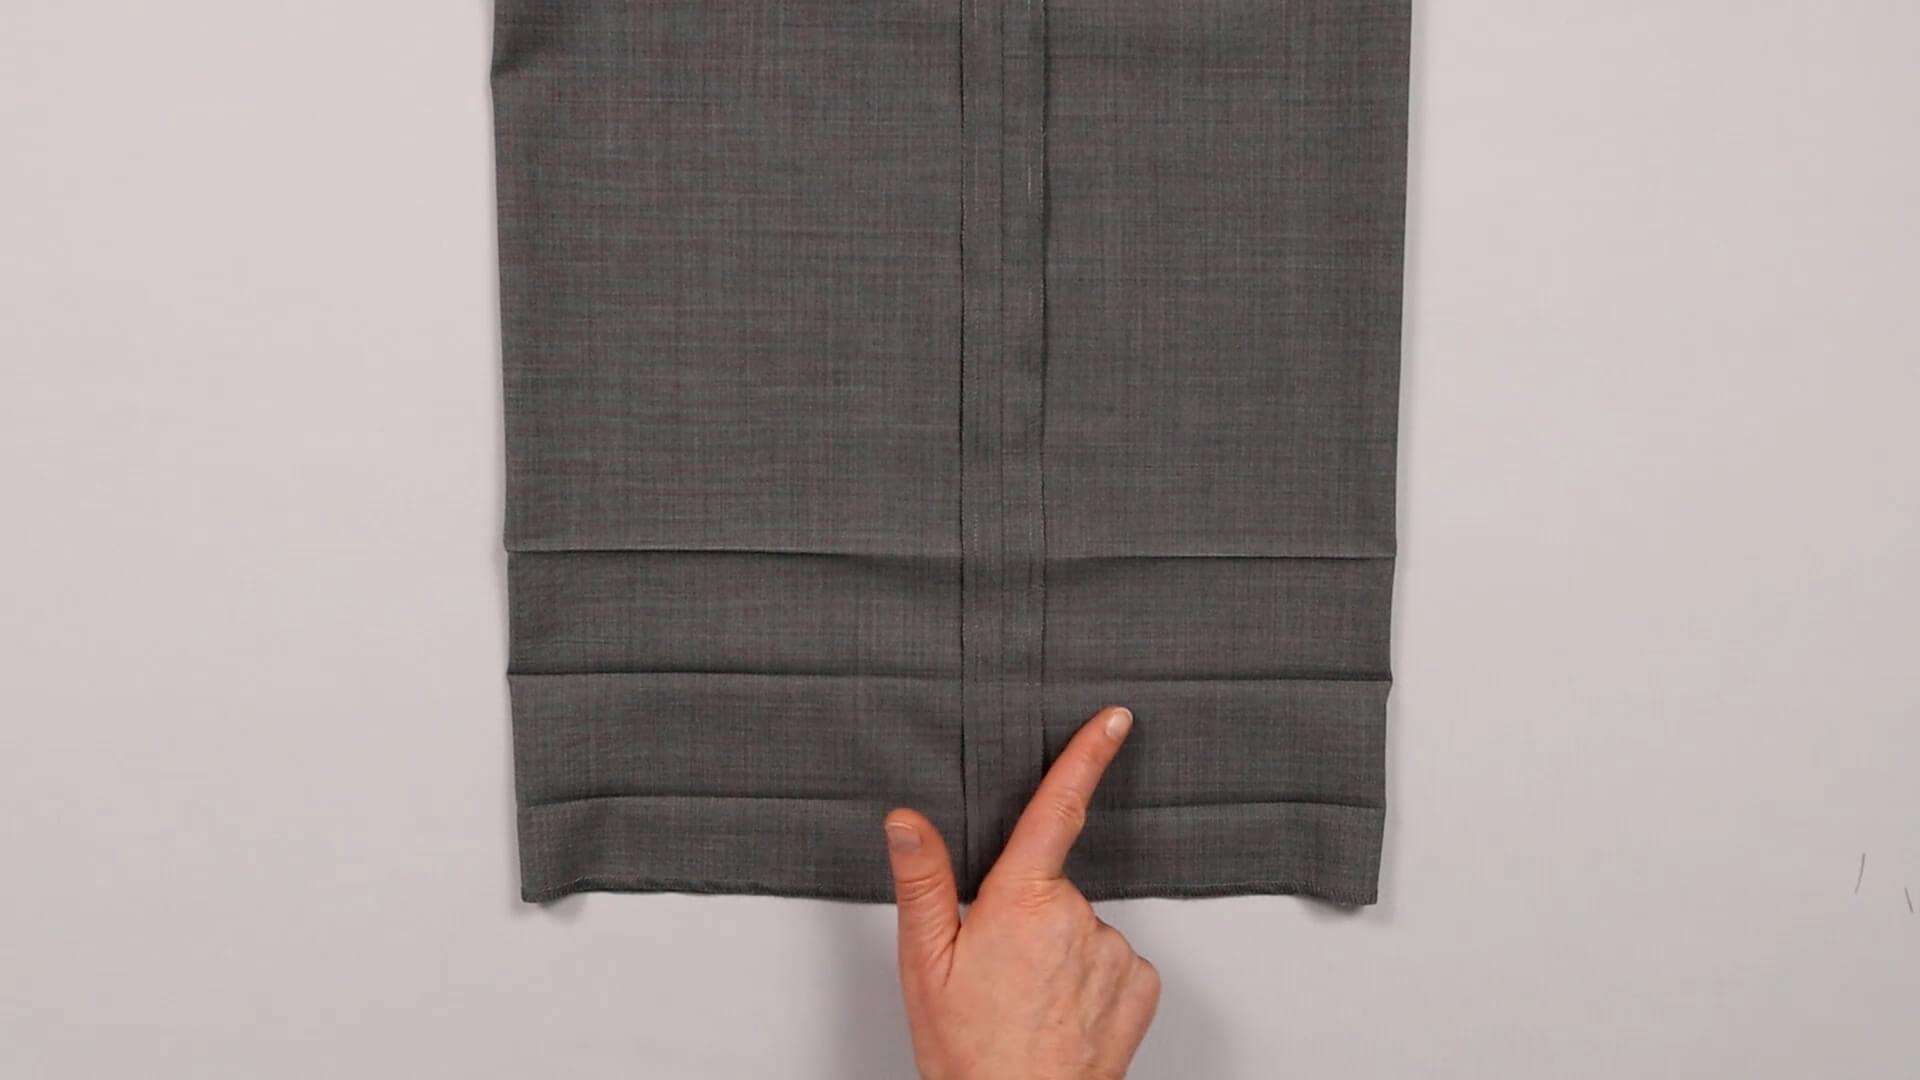
By ironing out the side seam, the break lines of the turnup hem are no longer clearly visible in this area.
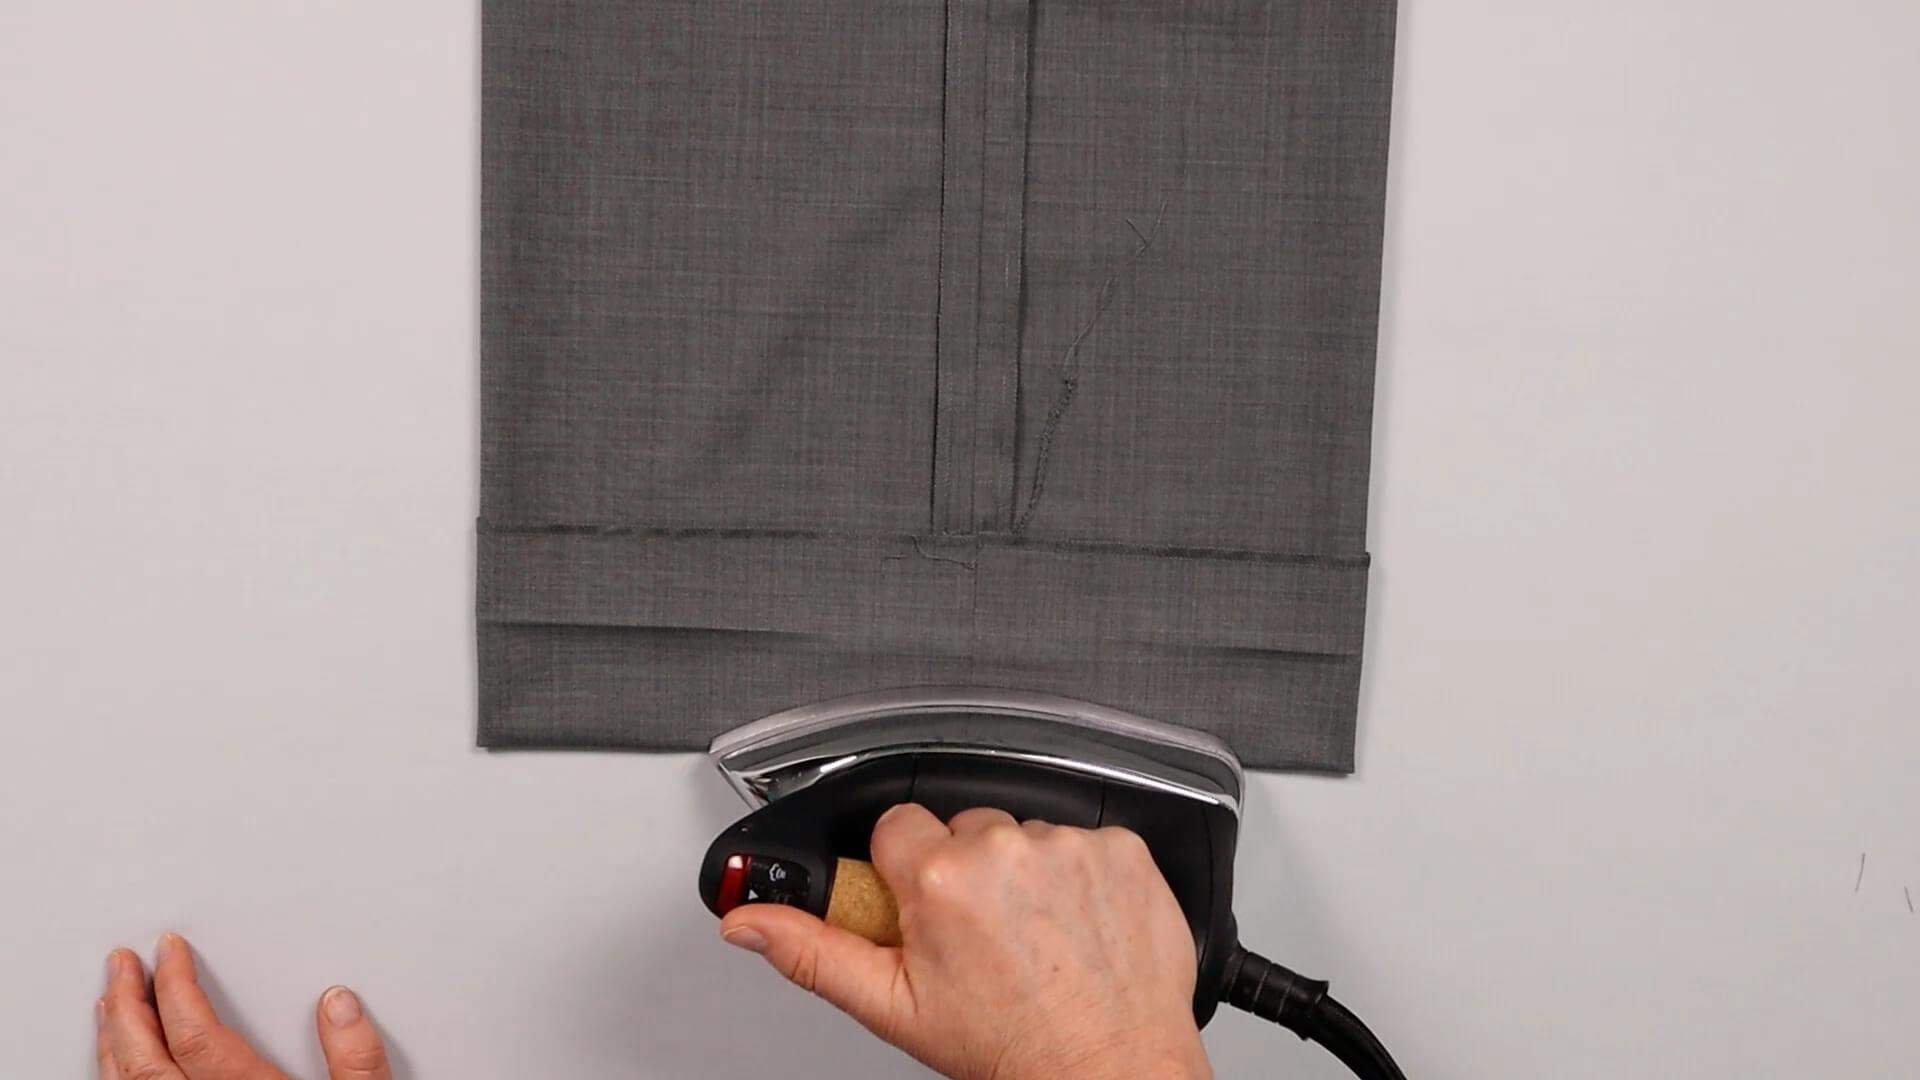
I therefore iron the top edge of the turnup hem first.
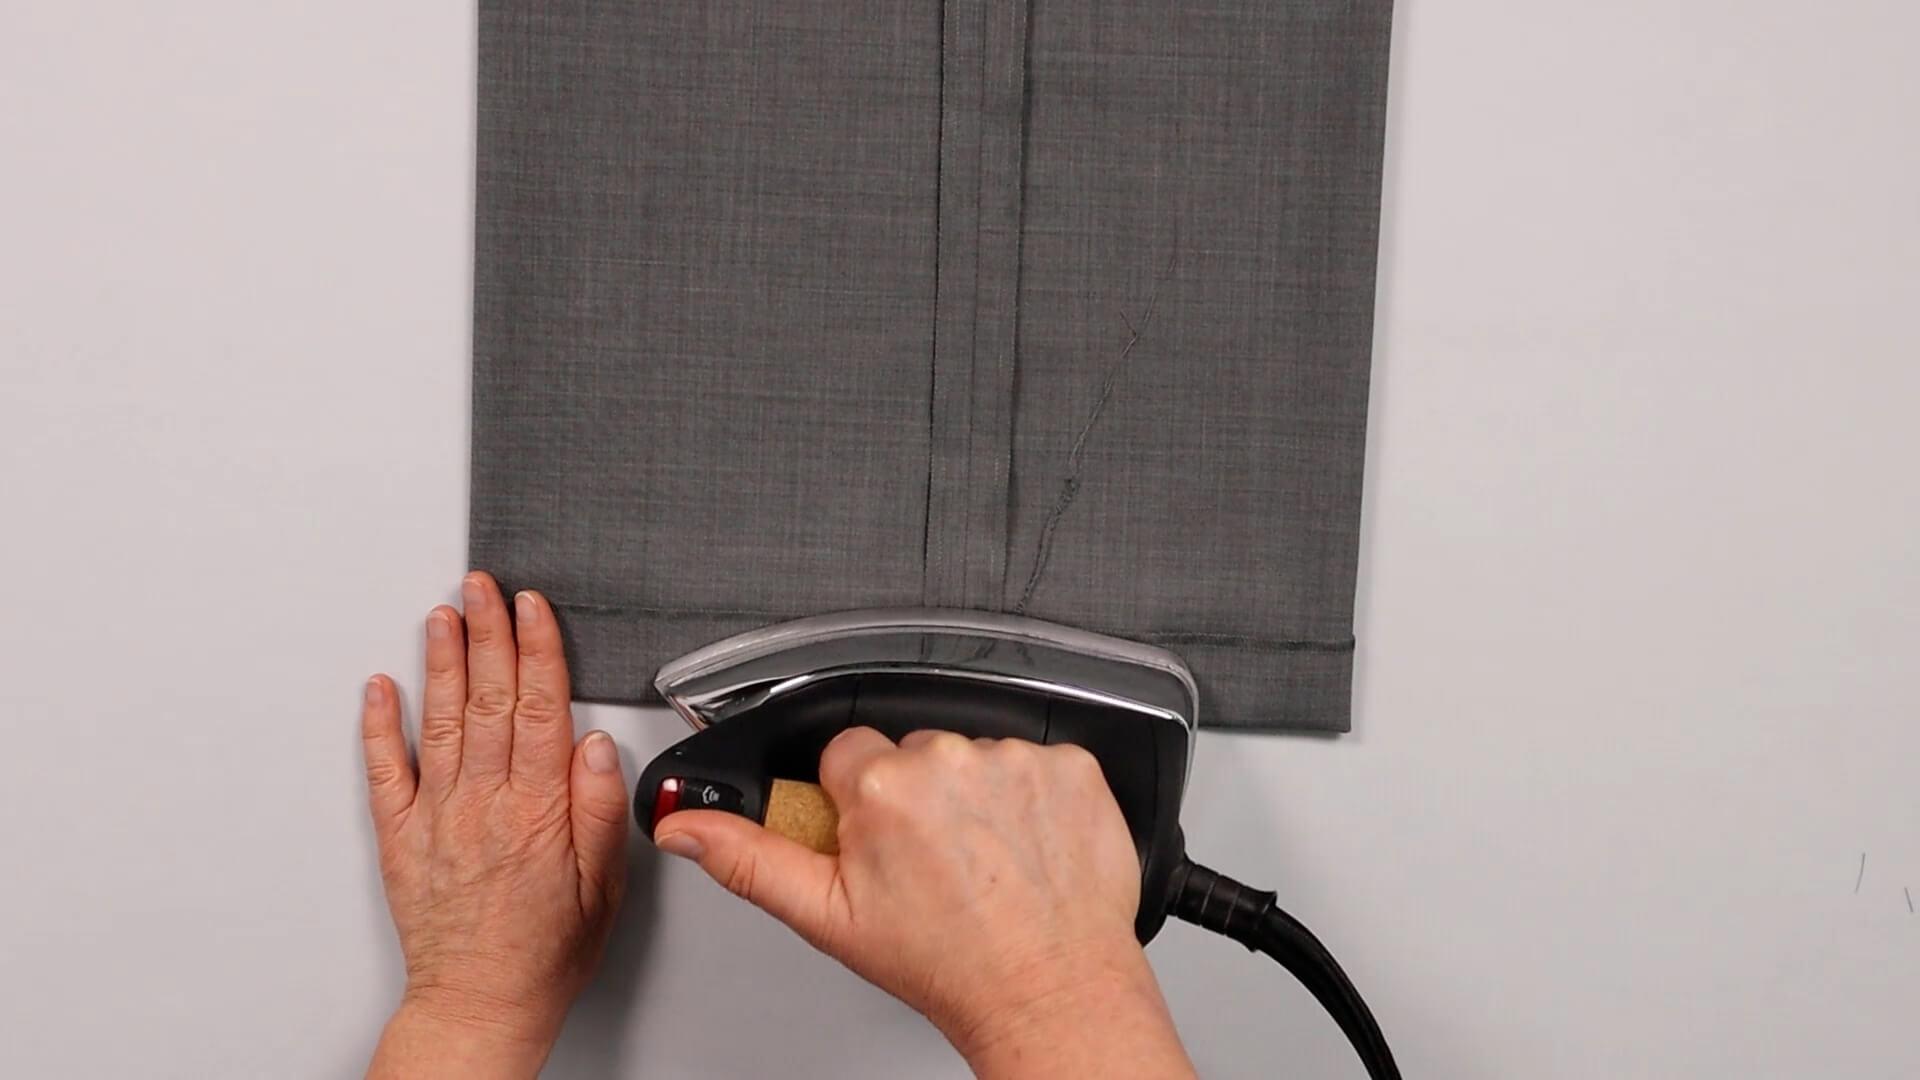
Then I fold the turnup inwards and iron the hem edge again.
7. Attach the turnup hem
Sewing the hem into place will prevent it from unfolding later.
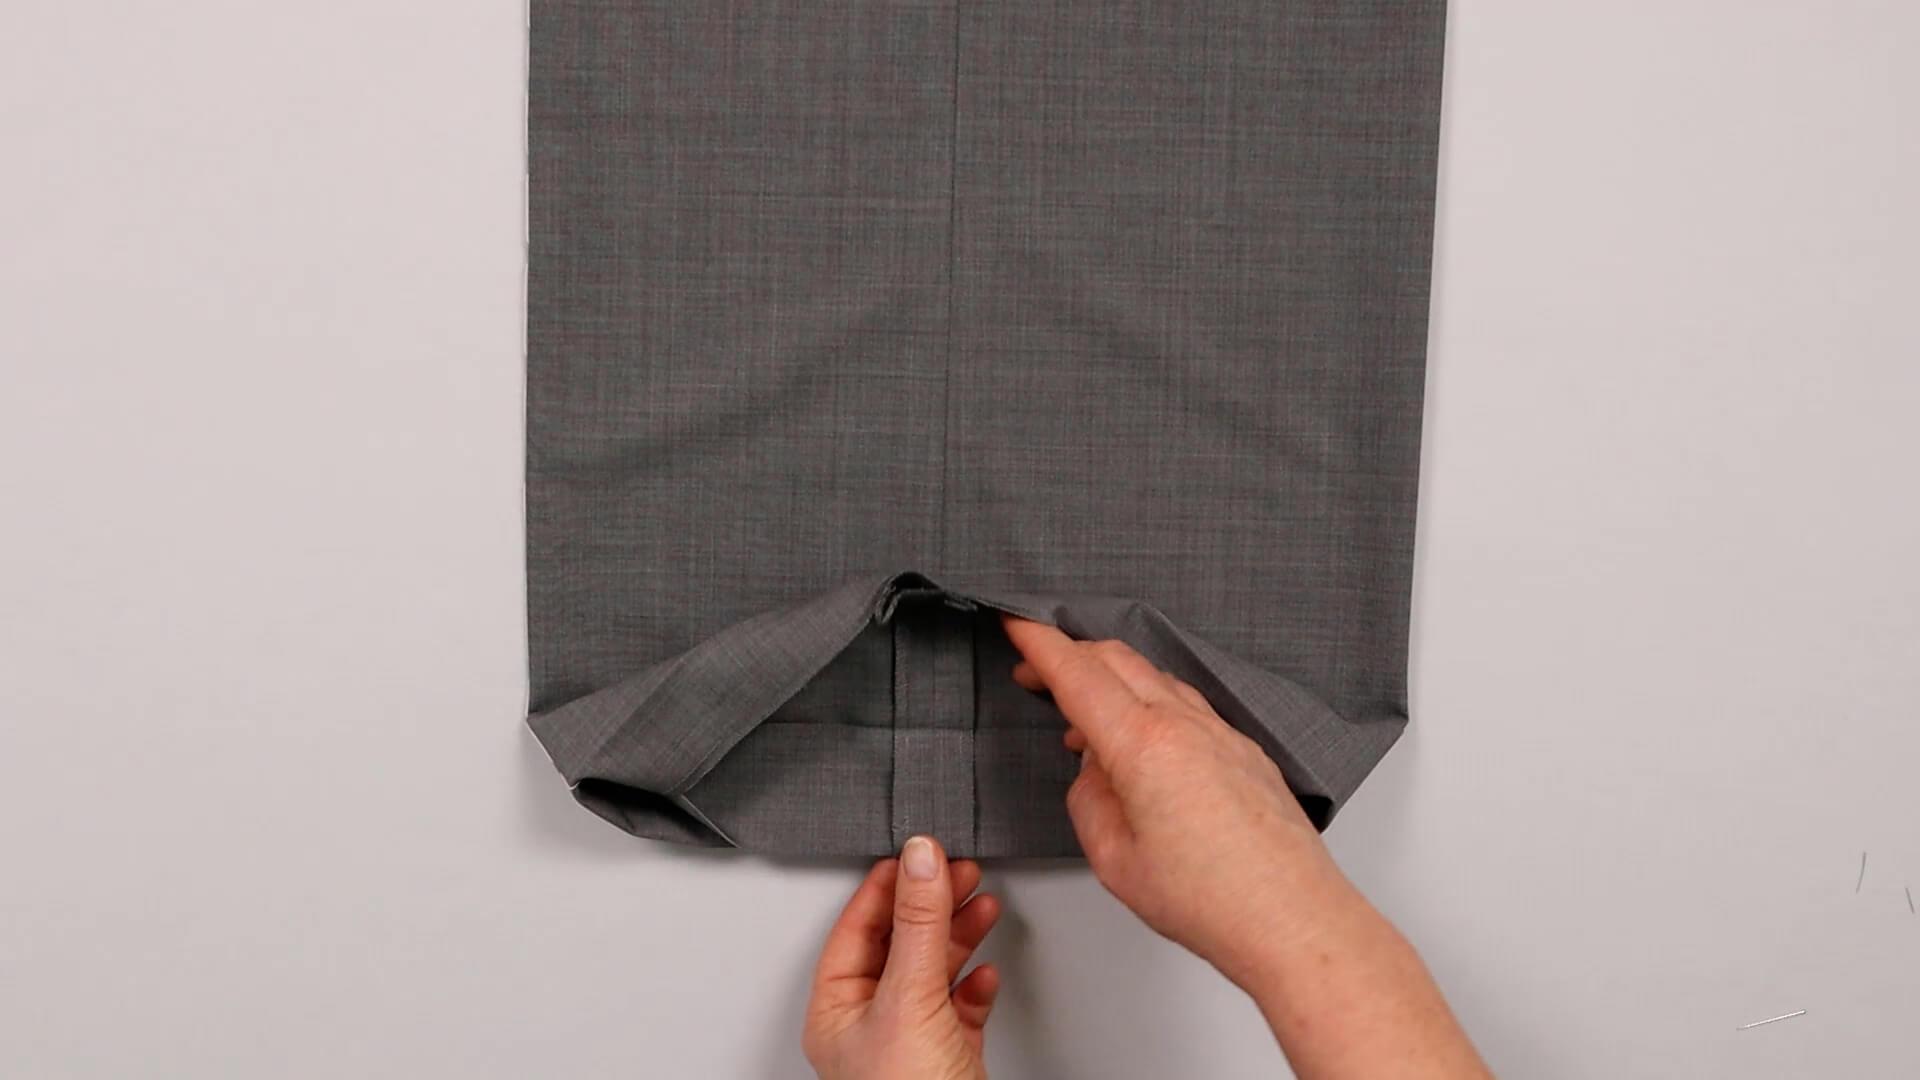
First, I turn the trousers right side up. Then I fold the hem upwards.
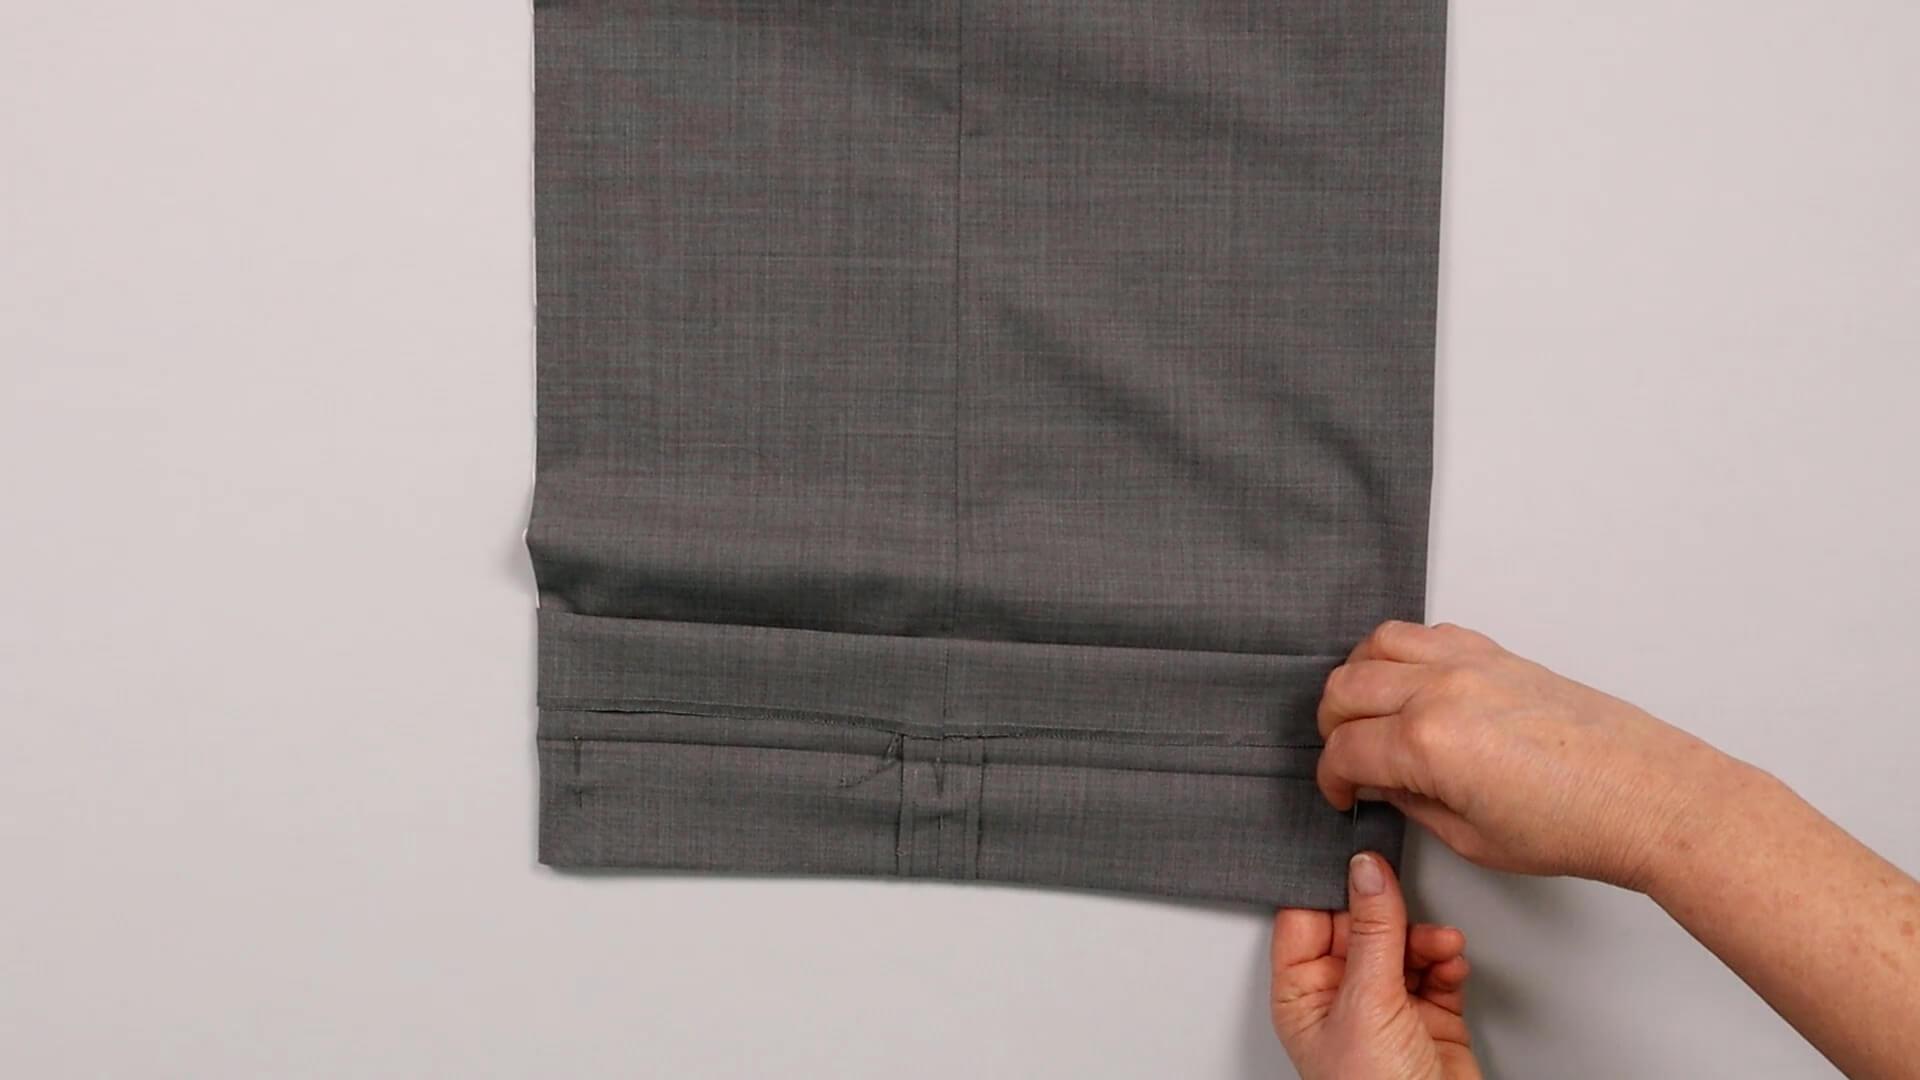
I fasten the lower part of the turnup with a few pins and make sure the seams meet exactly at the side seams.
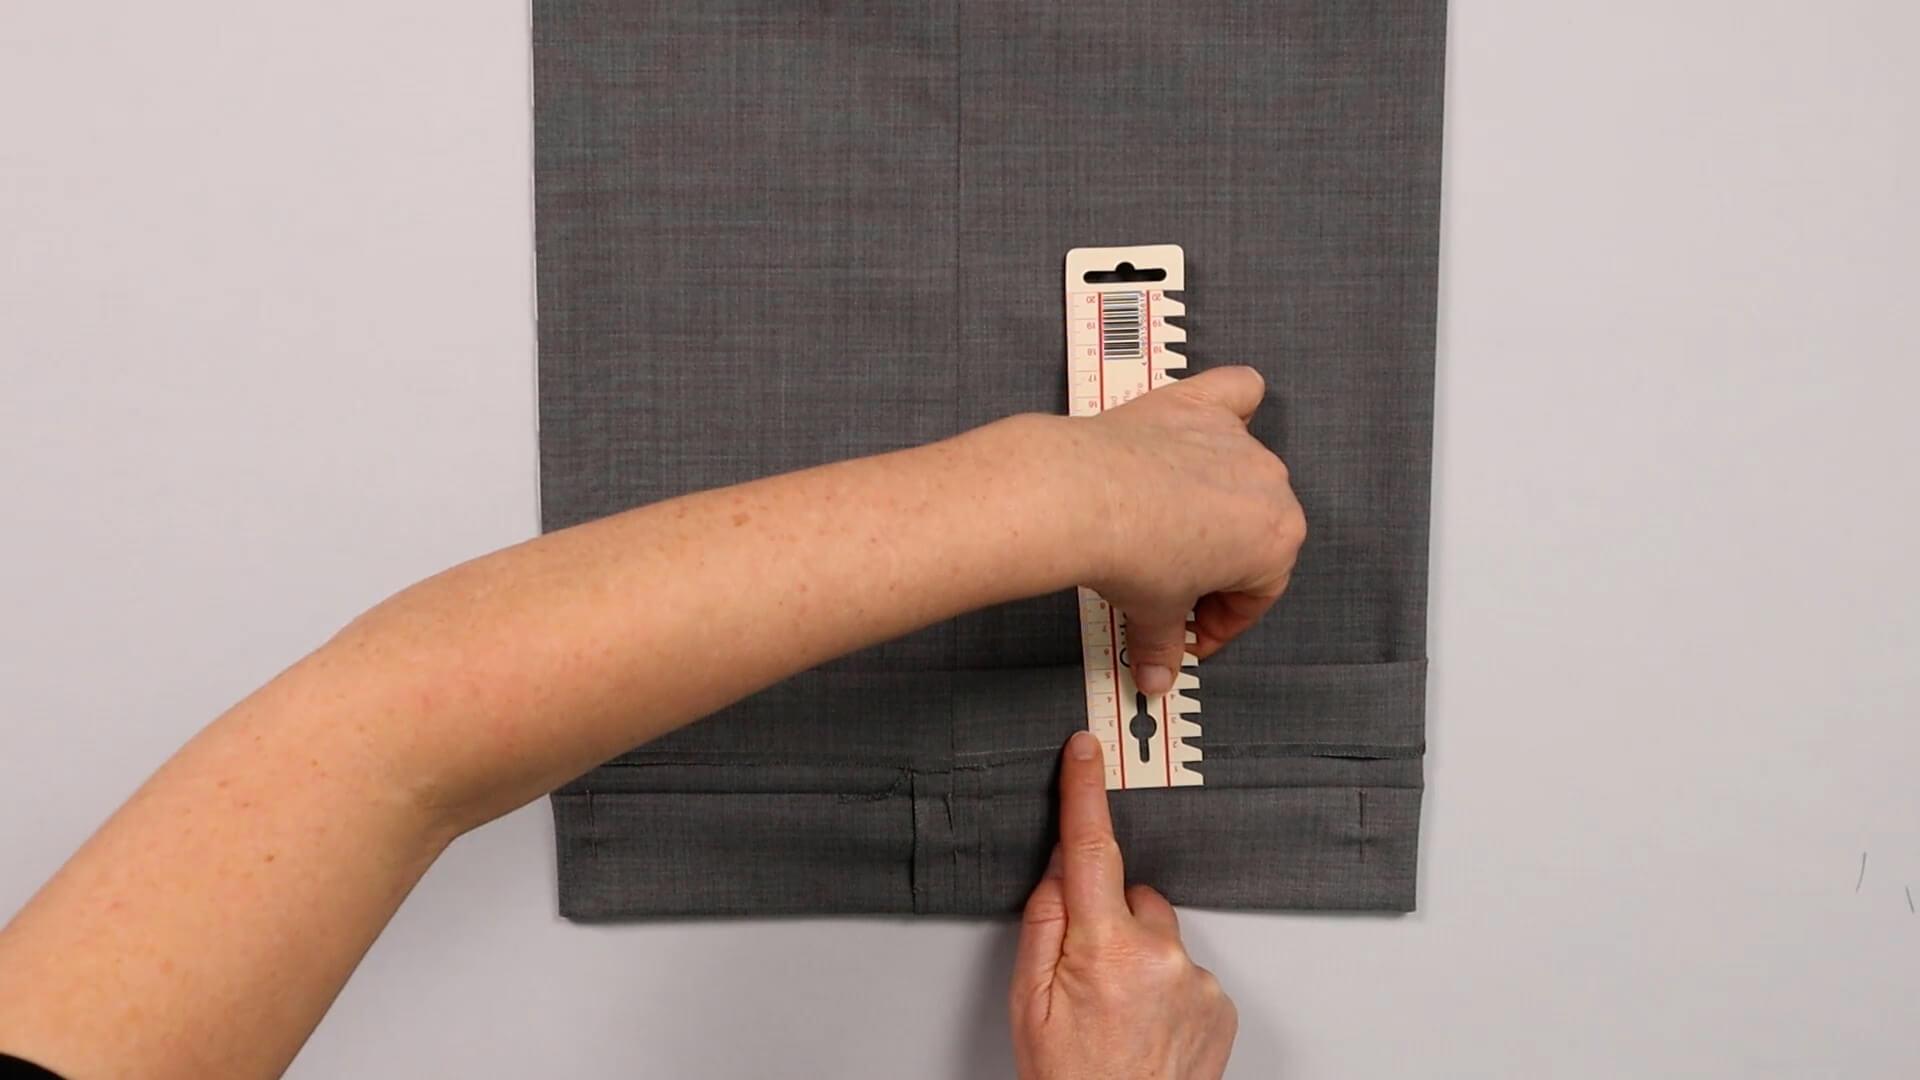
I measure the distance from the fold to the hem edge and add 10 mm and take a note of this amount.
In this example, the distance between the fold and hem edge is 15 mm, so I note an amount of 25 mm.
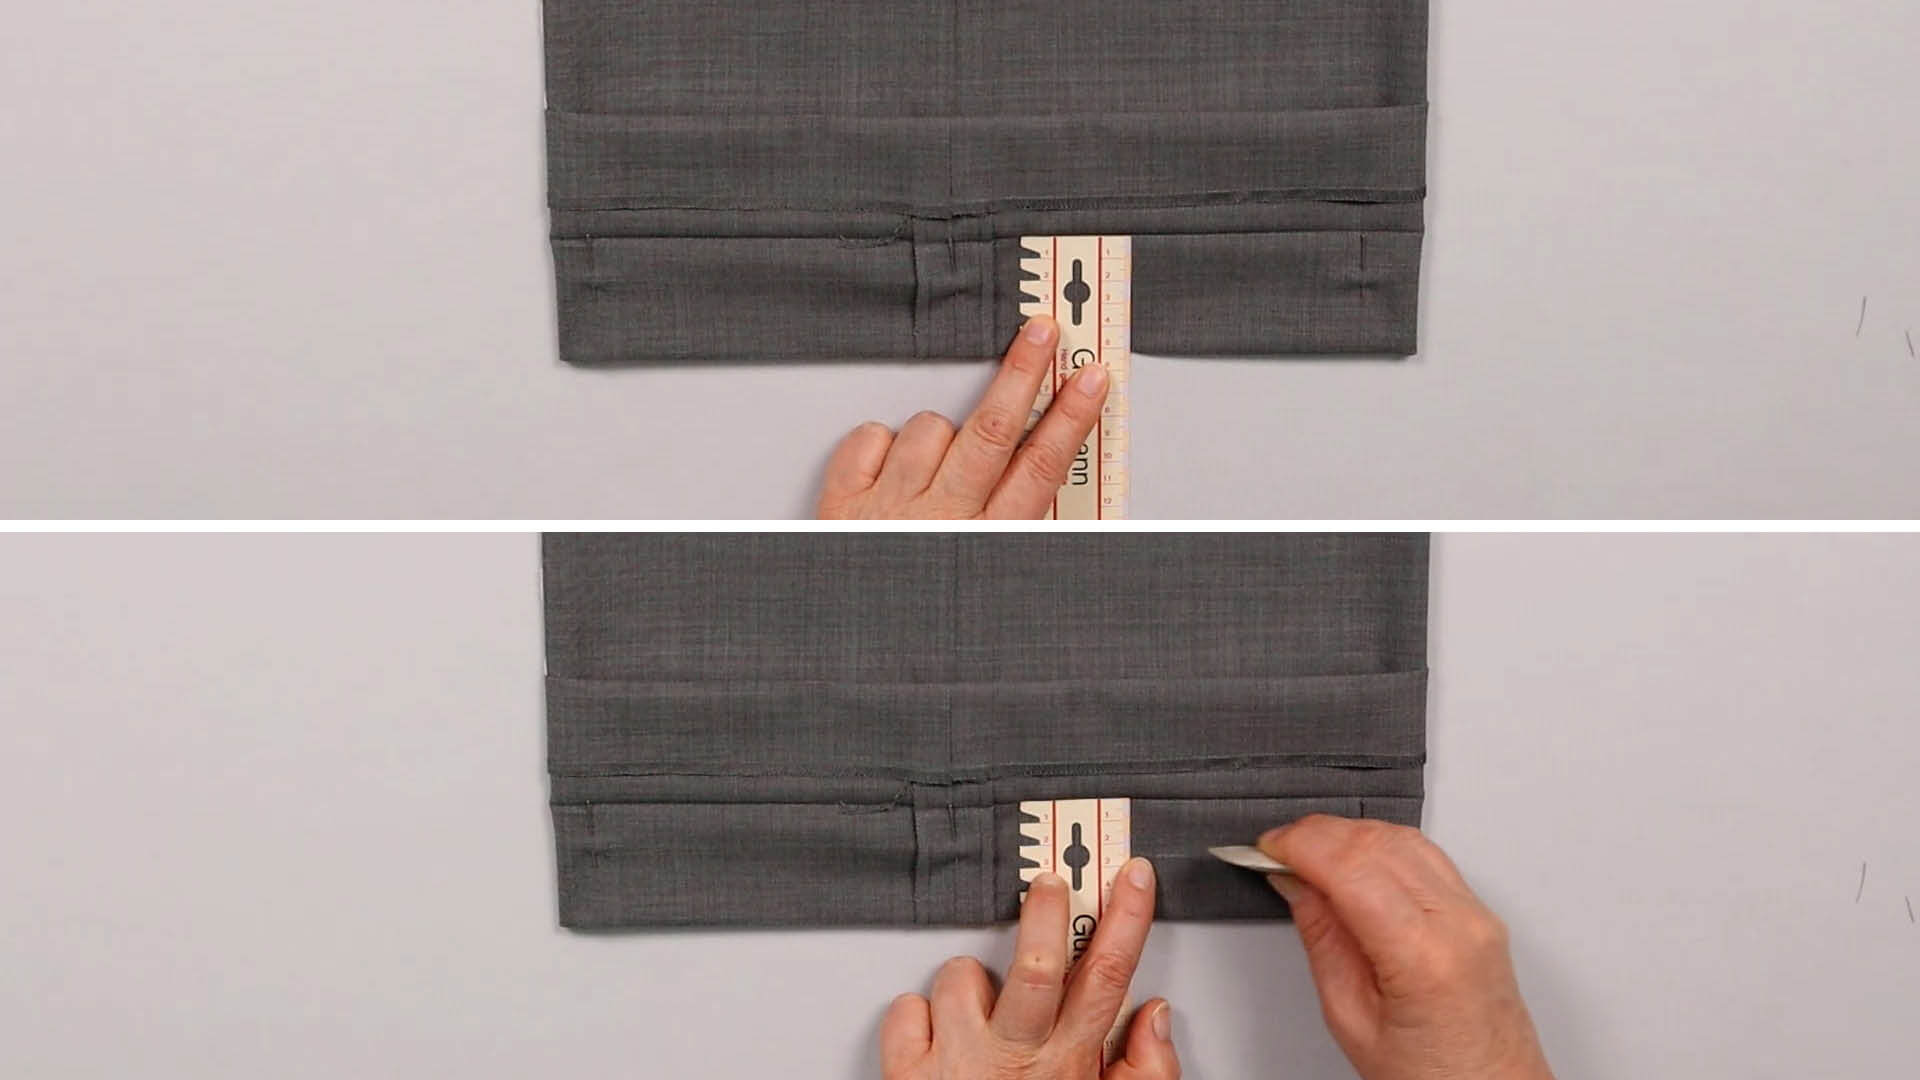
I place the ruler on the folded edge and mark the amount I just determined (in my case 25 mm) from the folded edge downwards.
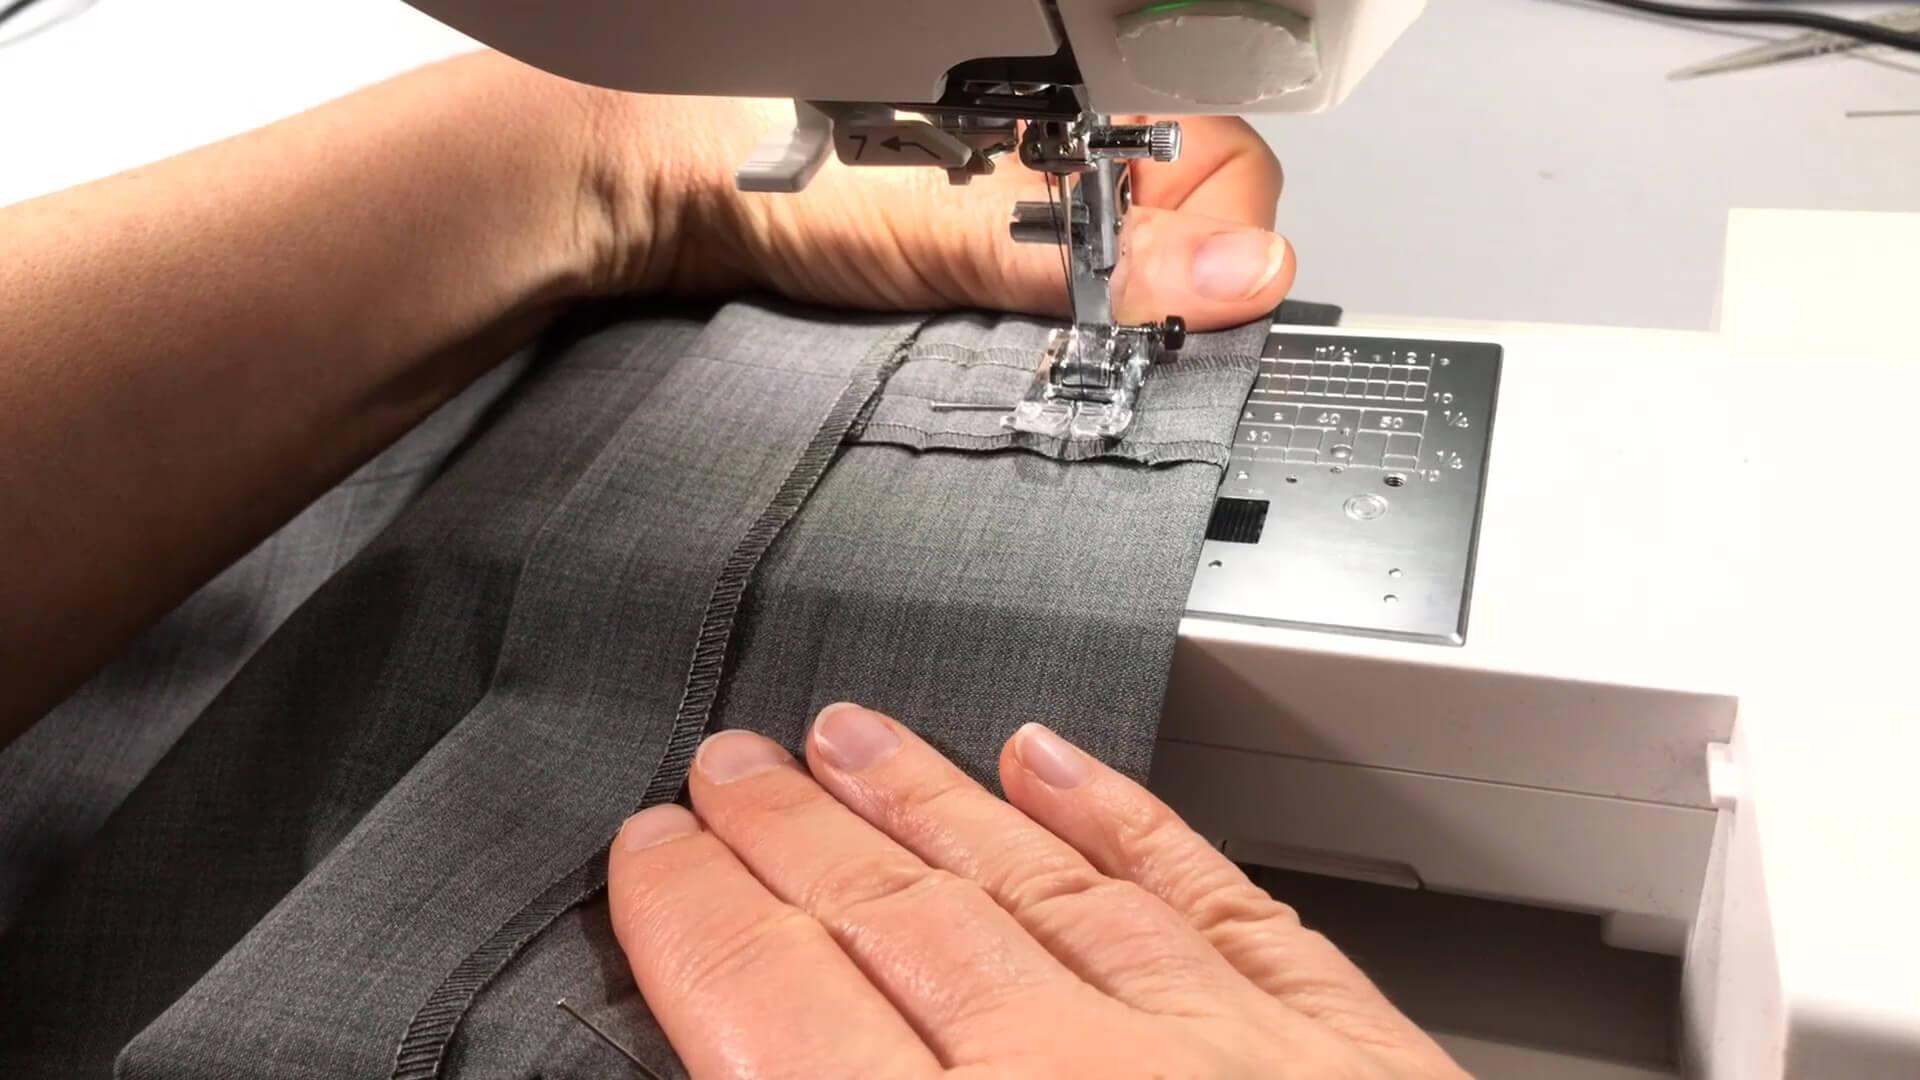
Fold the turnin down again and sew all the way around along the marking.
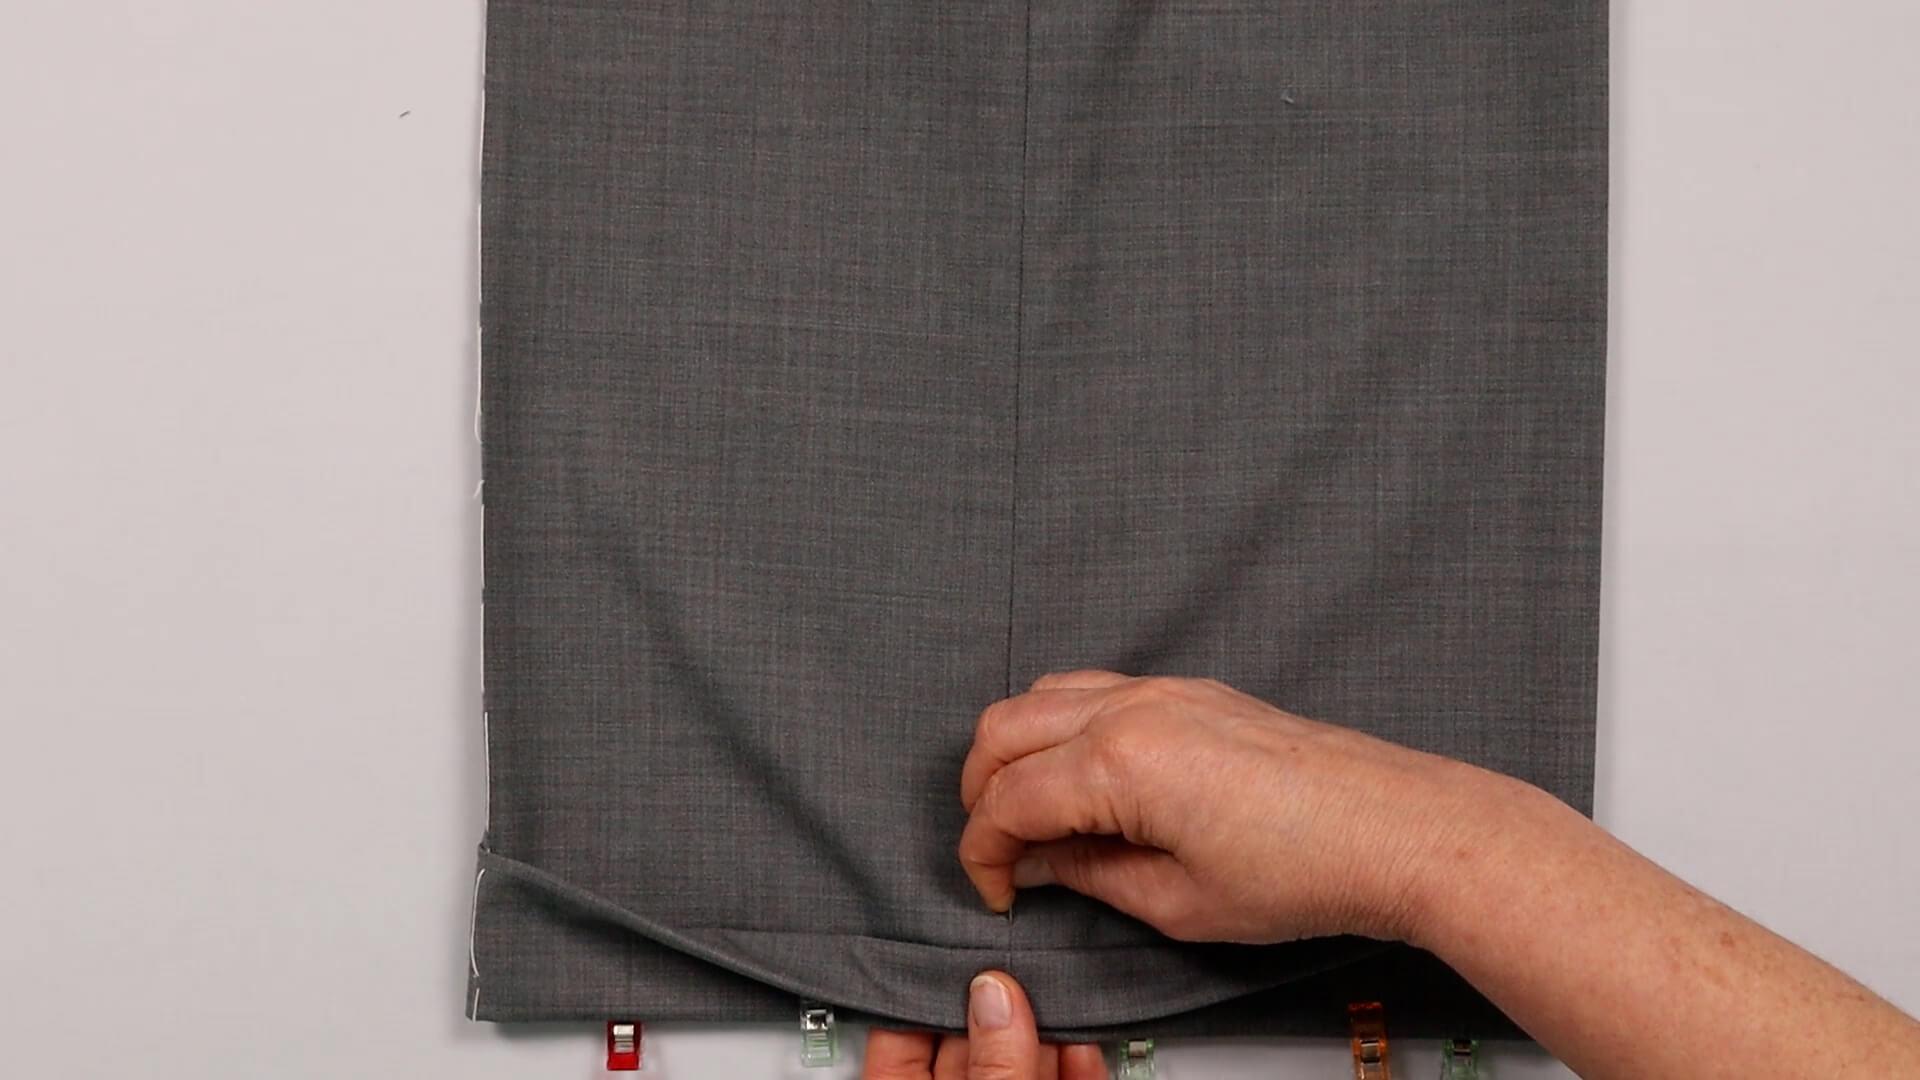
I then fold the turnup back up and pin the hem at the edge to prevent it from slipping. I pin the seams exactly together.
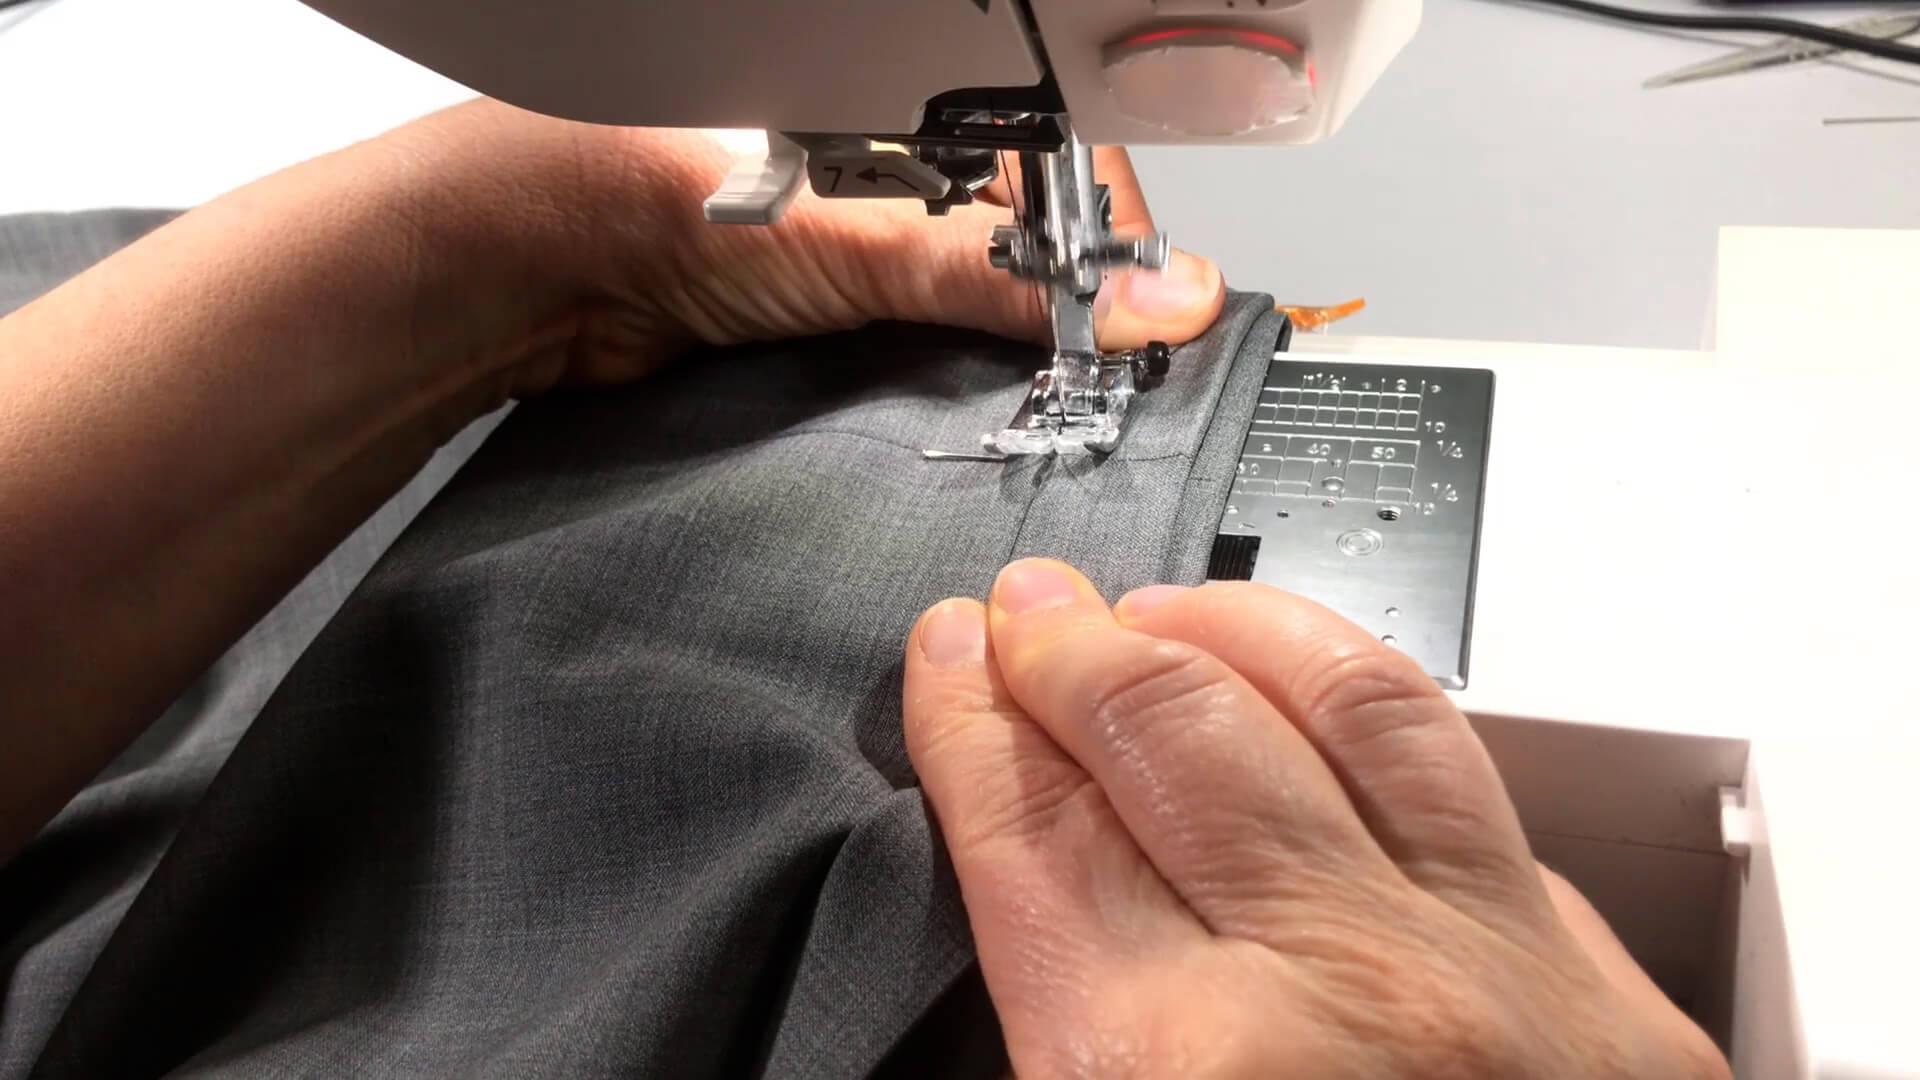
I fold the upper end of the turnup hem to the side and sew all the way around just next to the previously sewn seam. This is how I stitch the inner fold.
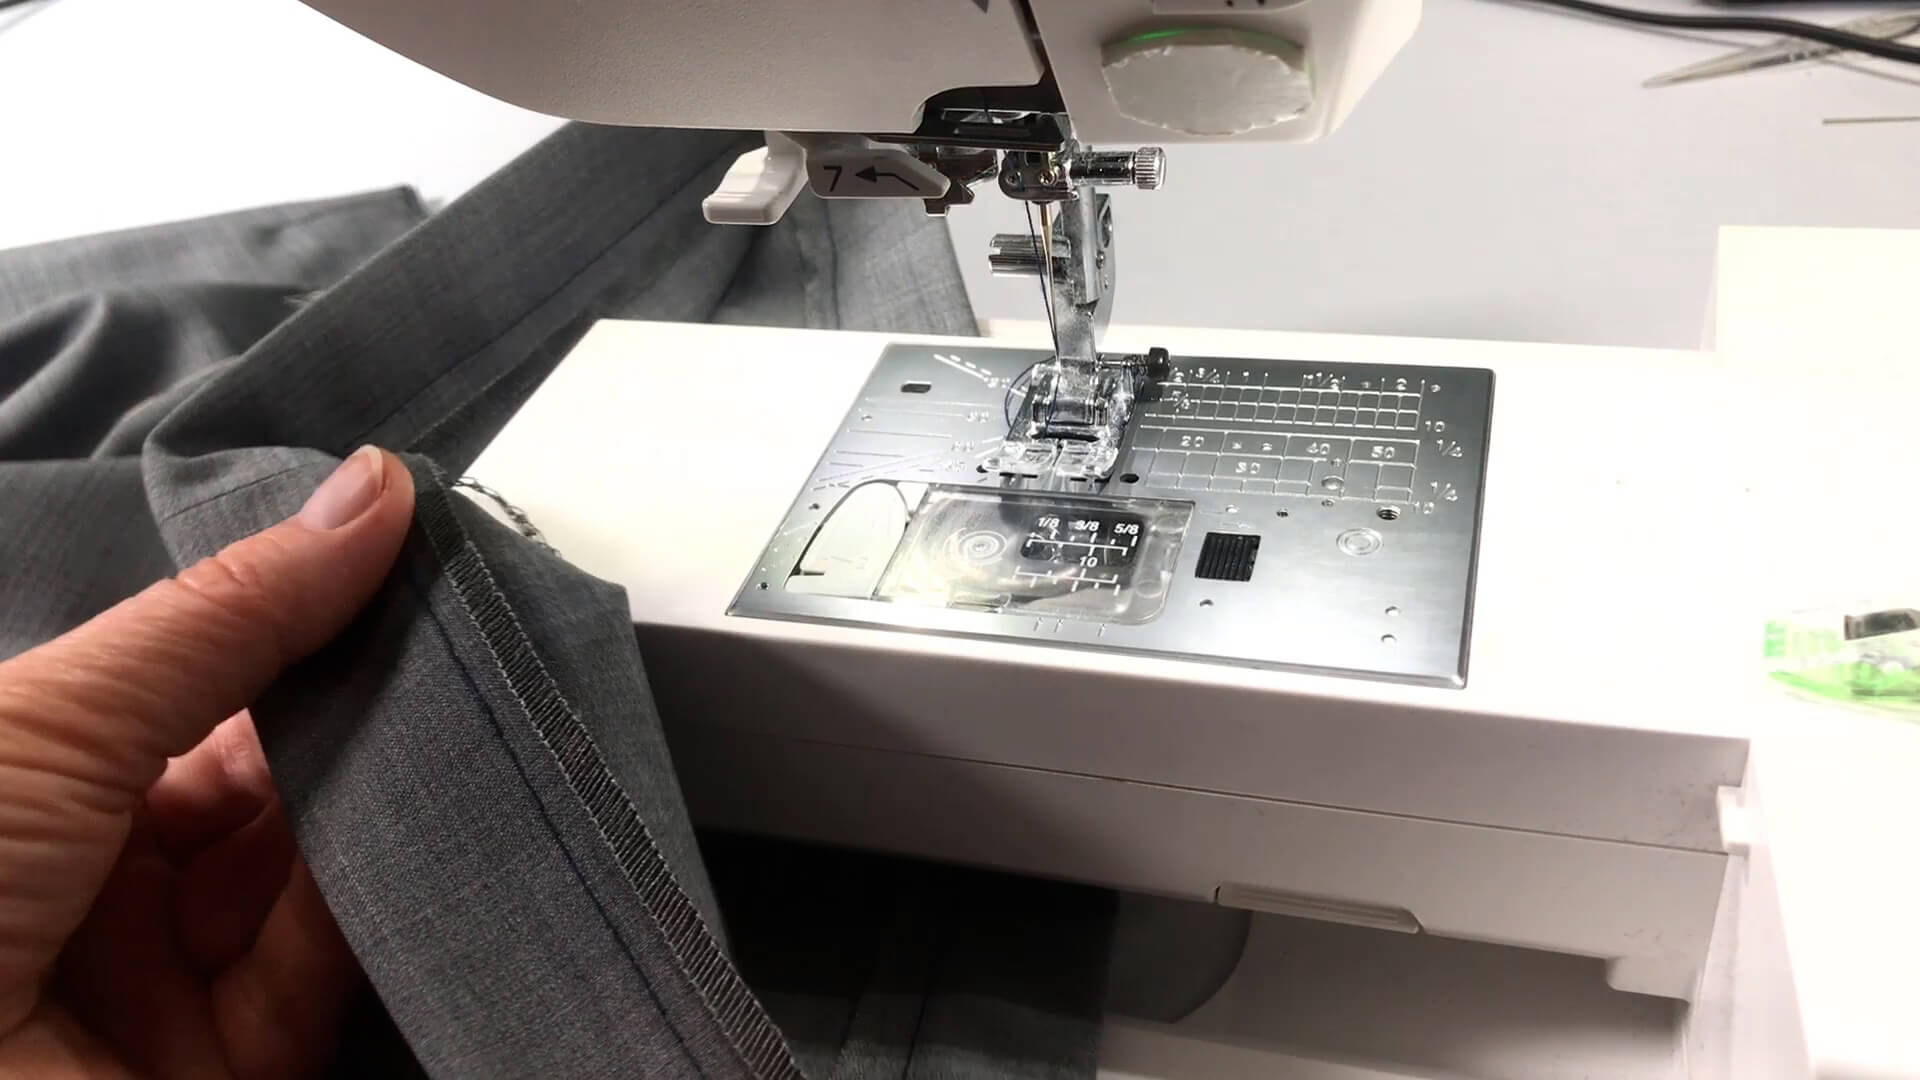
It looks like this from the inside. The seam is not visible from the outside.
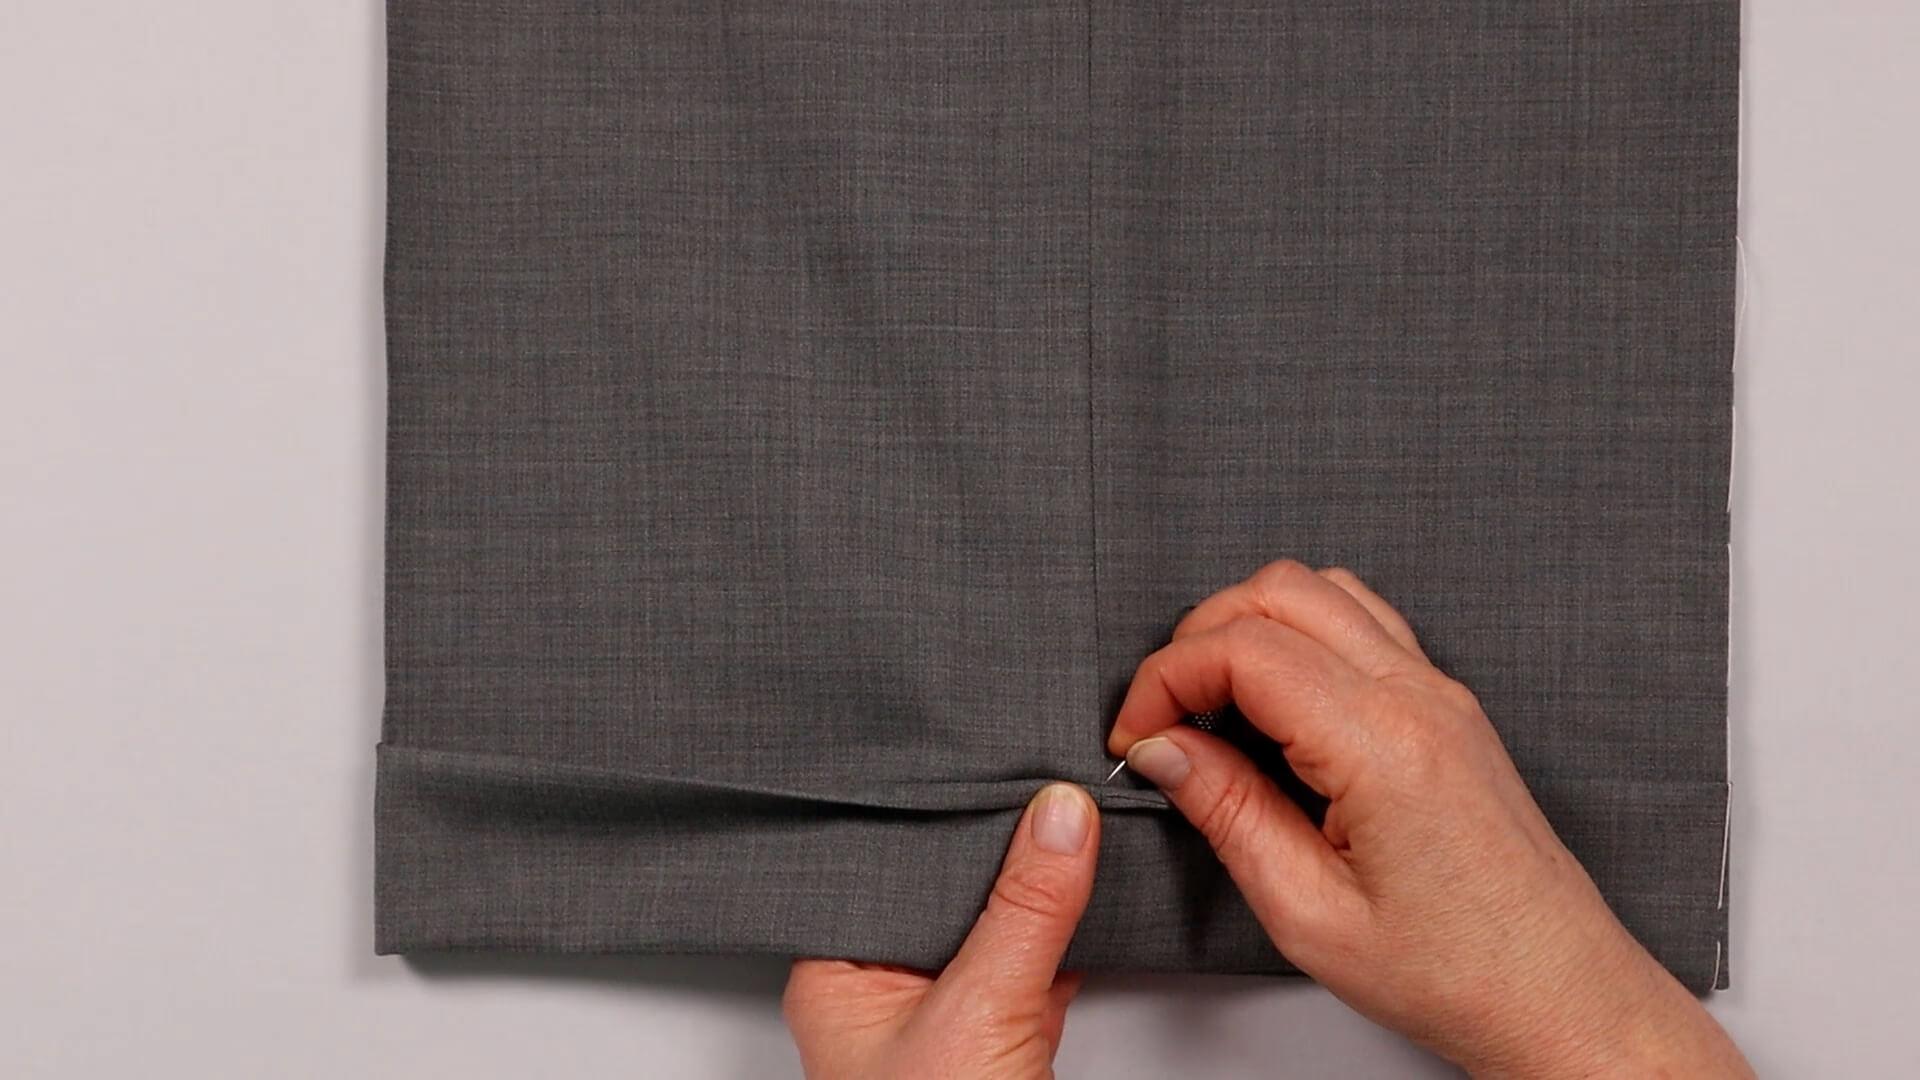
To prevent the turn-up from folding down, I sew the top edge invisibly in the area of the seams.
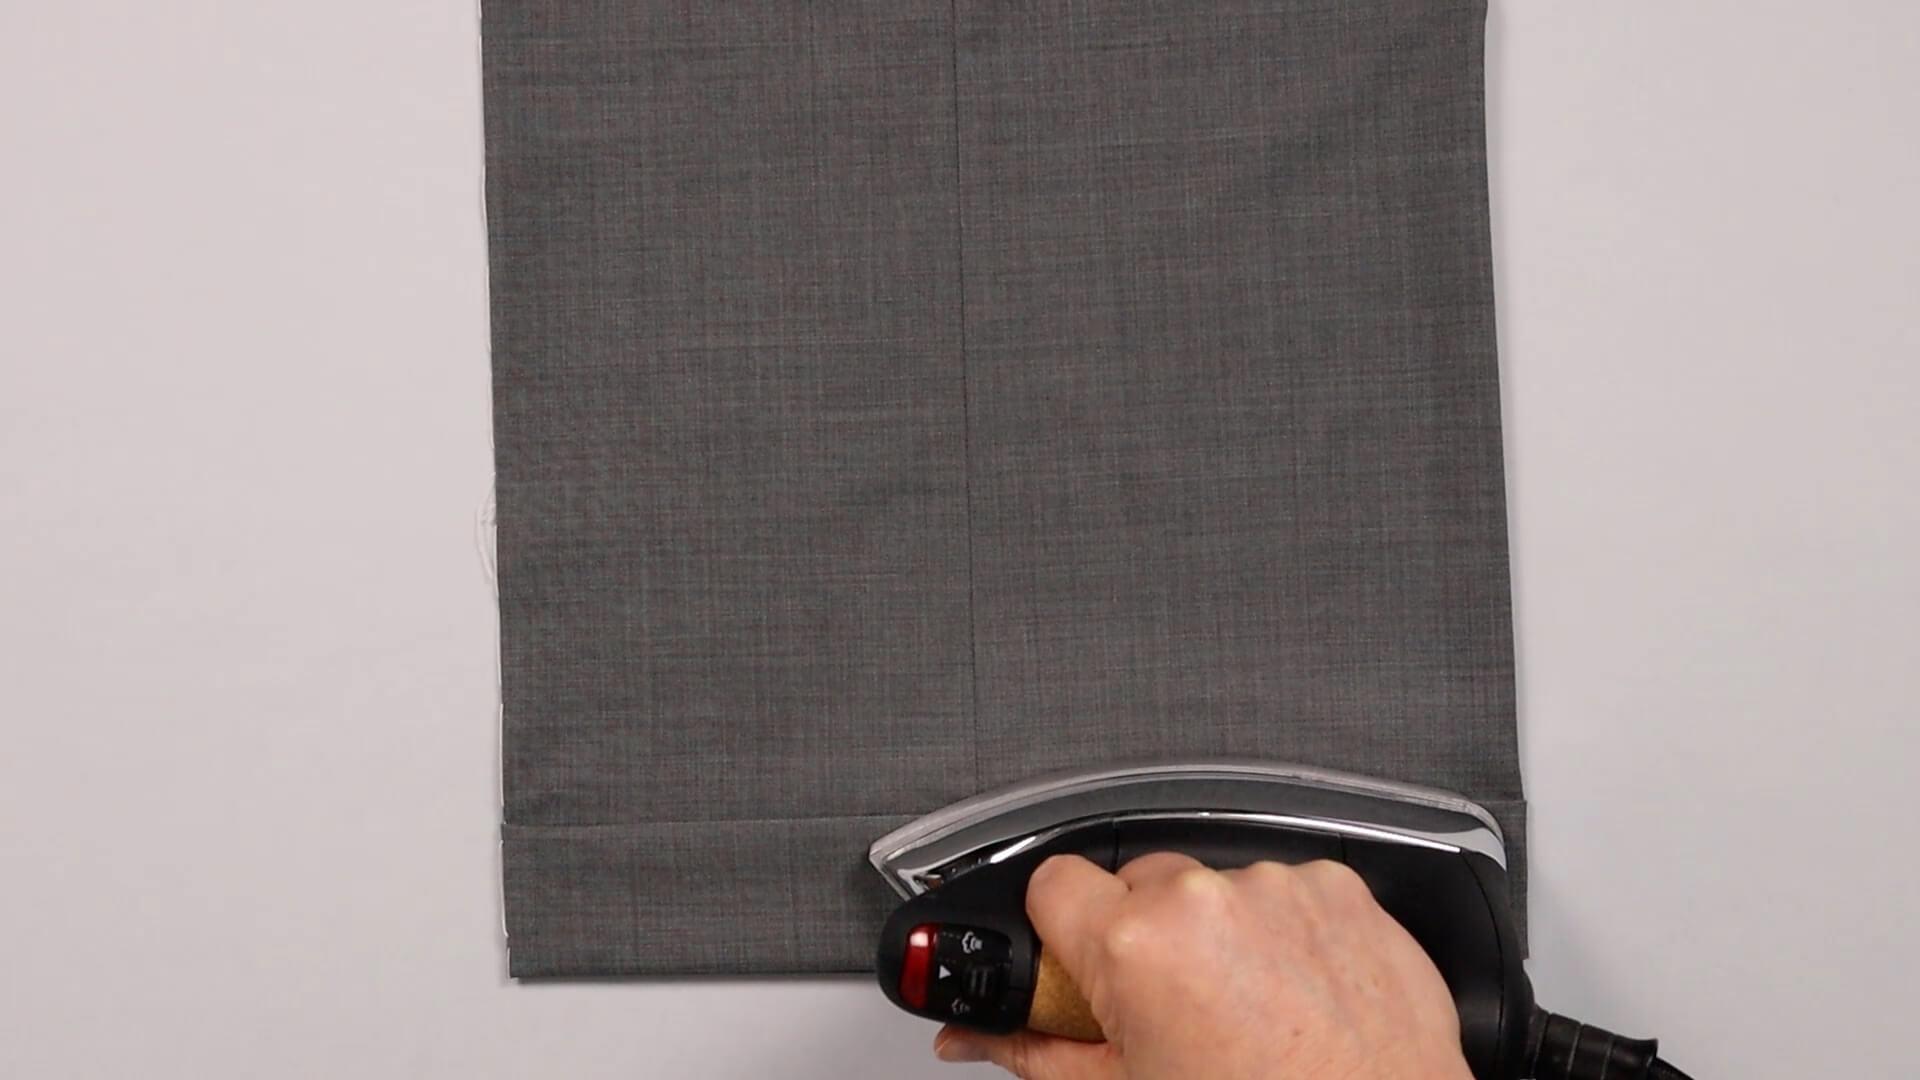
Finally, the hem is ironed again.
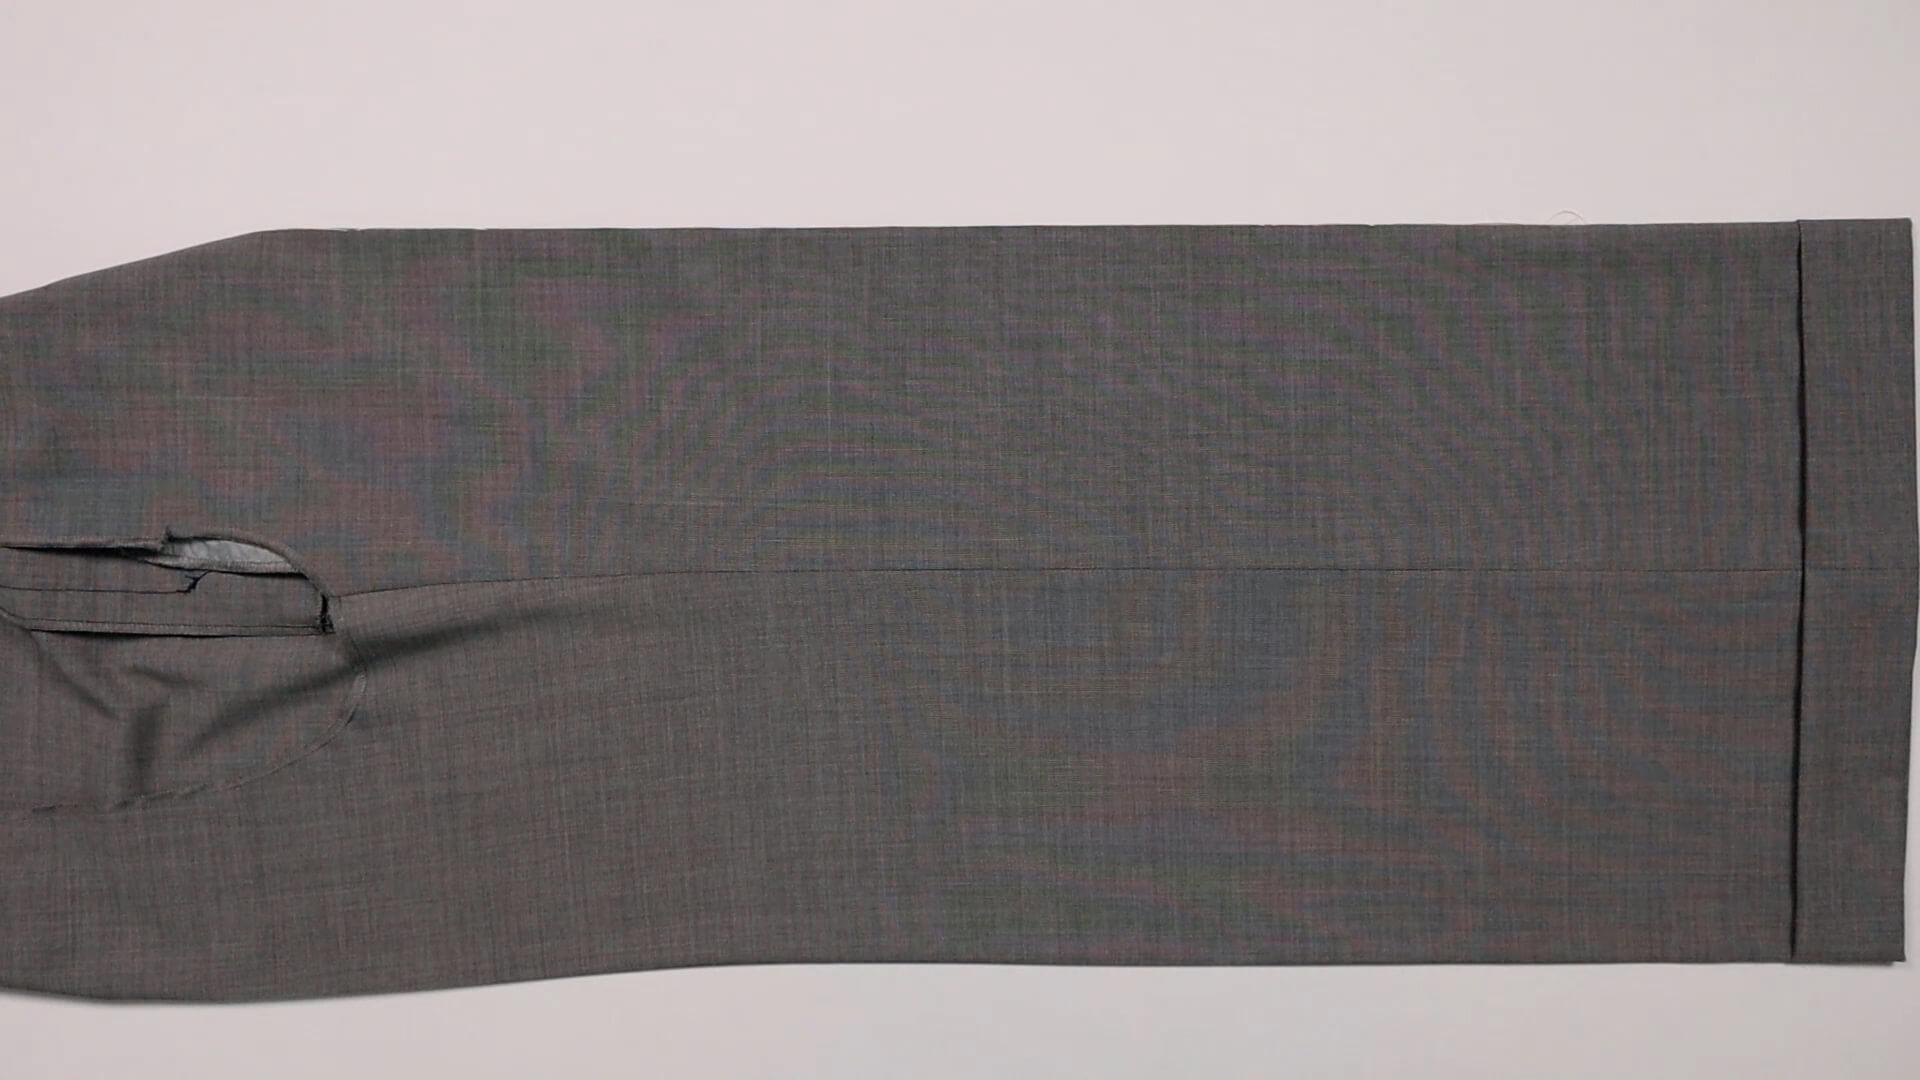
This is what the finished trouser leg looks like. I repeat the steps for the second leg.
If you have opted for pressed pleats, these are now also pressed into the hem area.
If you also want to add a crease to the back of the trousers, you can find the corresponding instructions here.
Here you will find the link to the next step:
If you’re not quite ready yet and perhaps want to start at the beginning, you’ll find some links here:


