Ironing creases into trousers #ADD02
Creases are a great design element, especially for classic trouser shapes that visually elongate the leg. In addition to pressing, you can also topstitch the crease on the front trousers to create a visual highlight. I’ll show you step by step how I work creases into a pair of trousers in the following video and illustrated text instructions. Enjoy the process!
1. This is required:
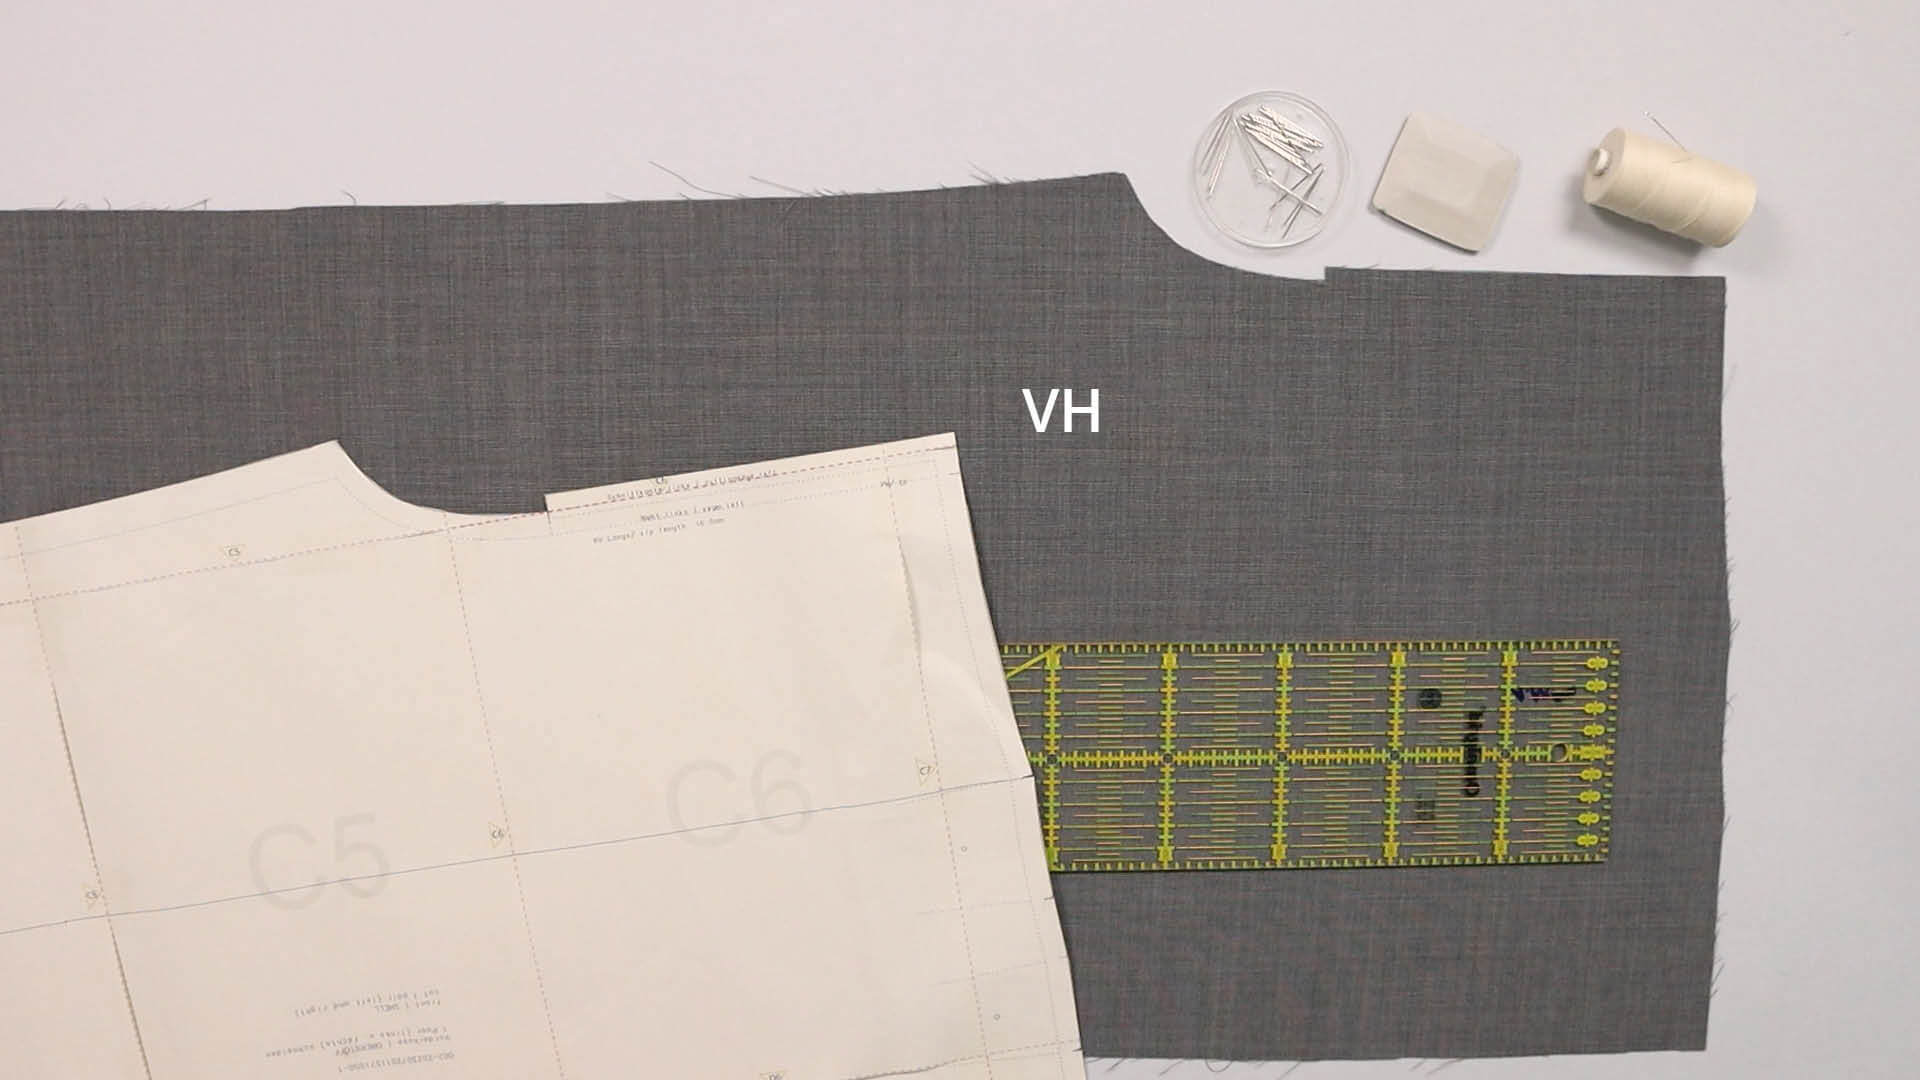
If you are sewing your trousers with a knee lining and have already folded it under, the fold line for the front crease is already transferred. Then you won’t need any other ingredients or tools apart from the front trousers and can continue with step 4.
Pattern pieces made from main fabric:
- front pieces (VH)- mirrored pair; the area for the pocket opening is still attached on wing pockets
Paper pattern pieces:
- front (VH)
Tools and aids:
- long ruler
- scissors
- chalk or fabric marker
- pins
- basting thread and hand sewing needle
Work creases into the front trousers
2.Transfer the crease from the pattern
If you have your trousers incl. a crease, the grainline corresponds to the crease. If you want to add a crease to trousers that do not have this option in the pattern, the procedure is identical. In this case, you could simply extend the grain line upwards.
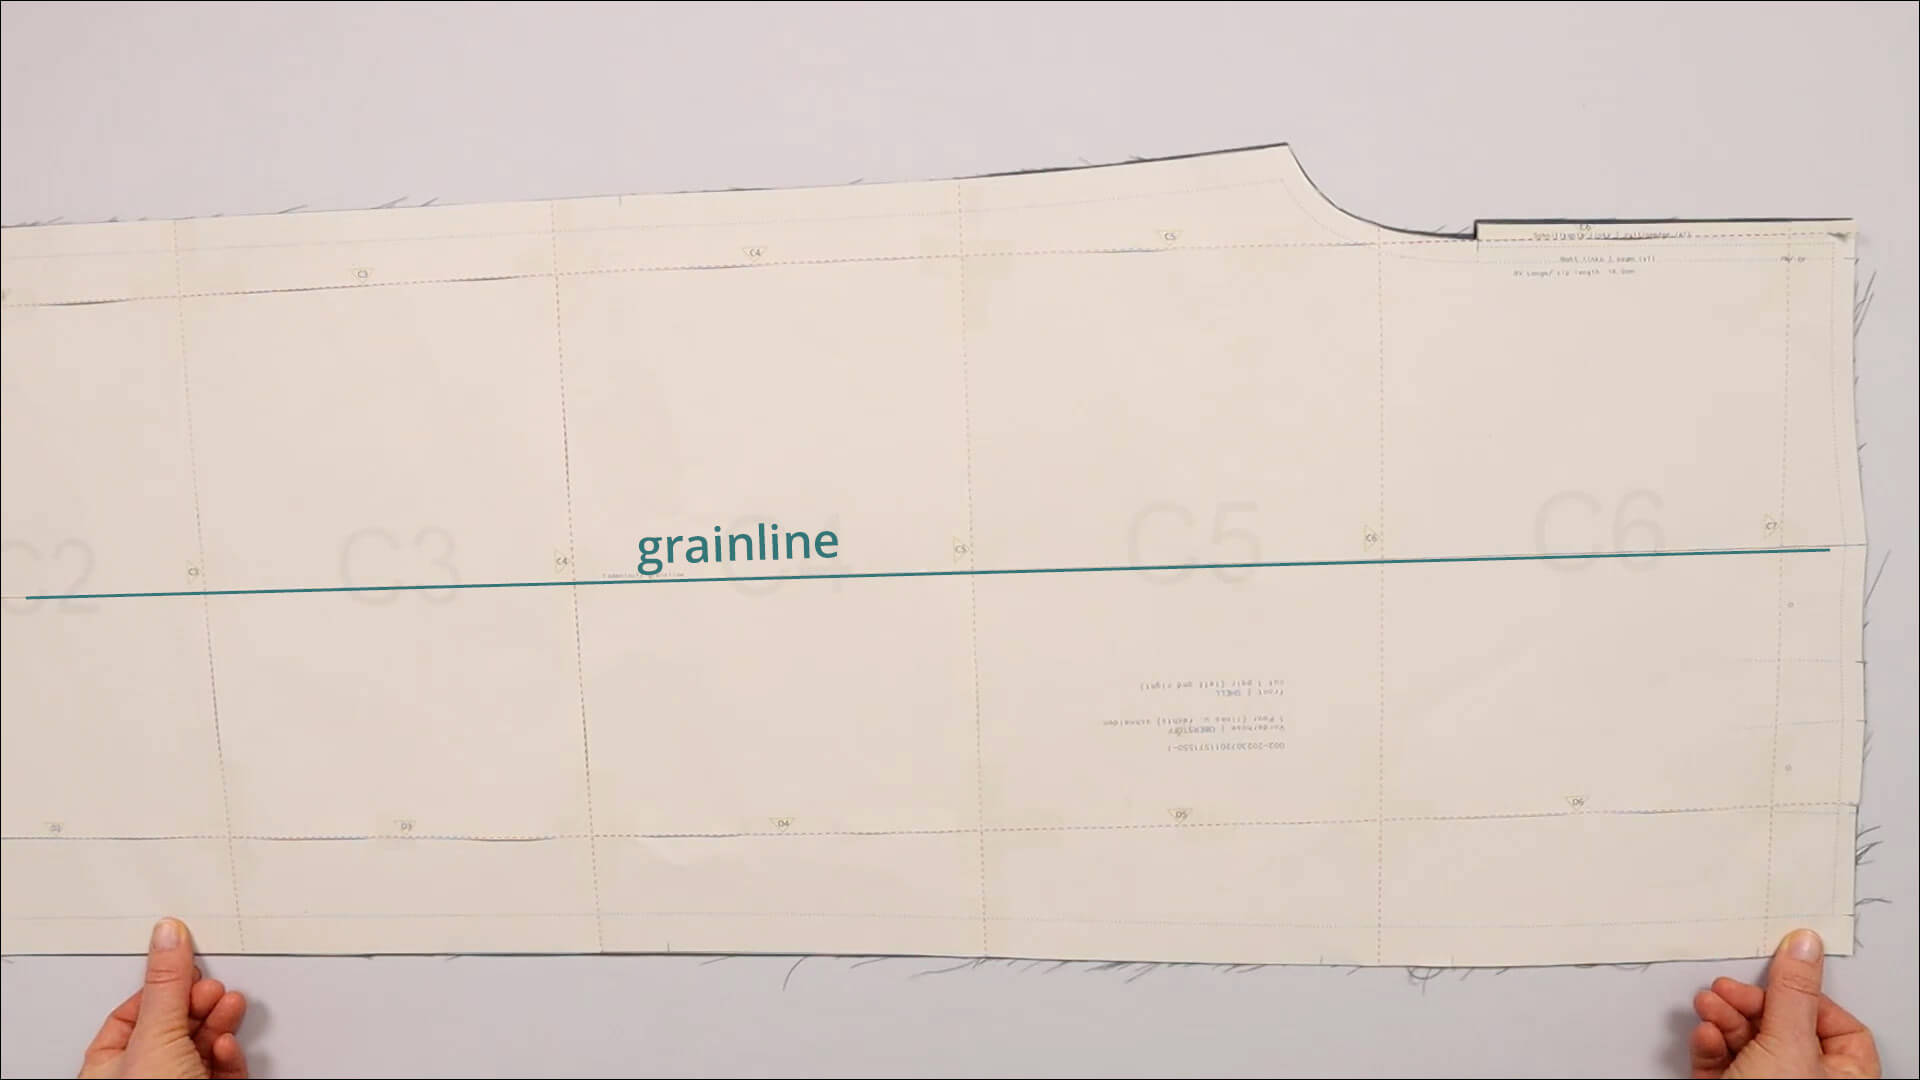
The crease is marked from the right side on the main fabric pieces. Place the two fabric pieces wrong sides facing on top of each other and place the paper pattern piece on top.
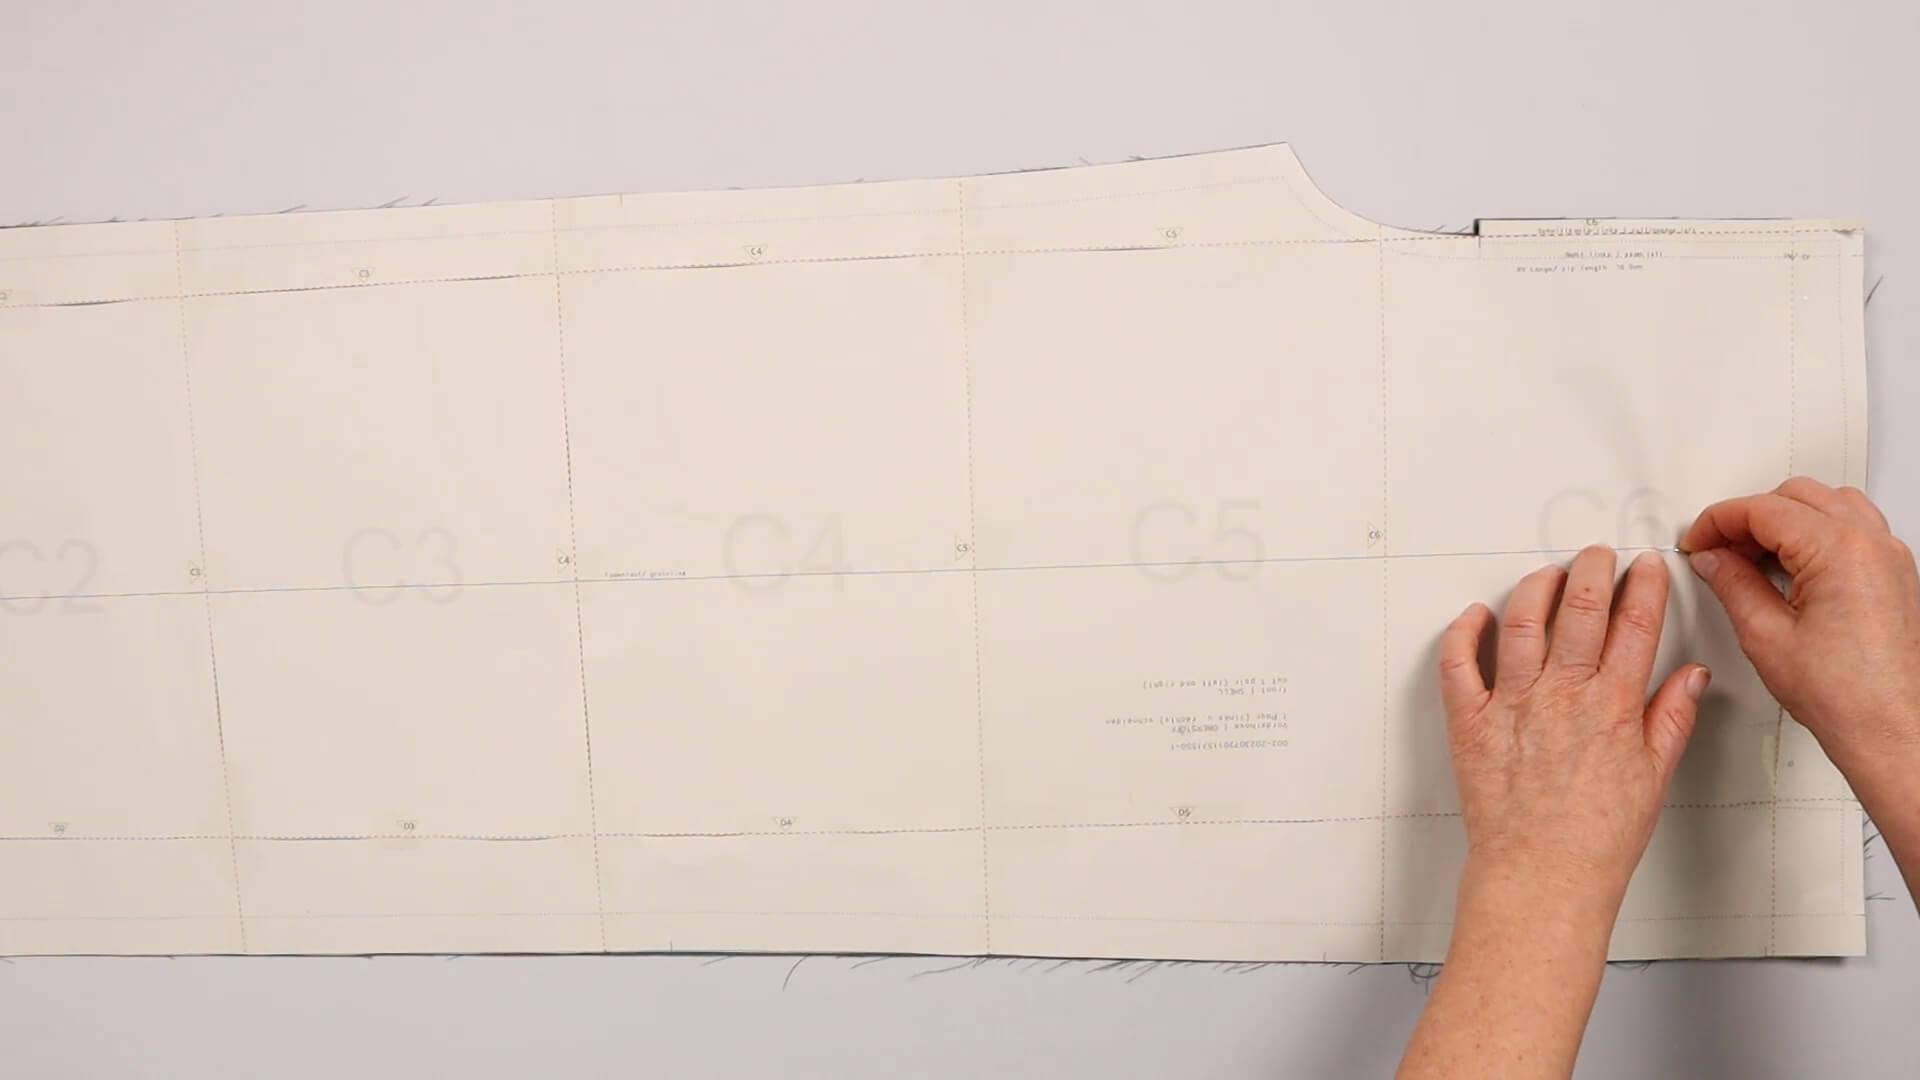
The marked grainline corresponds to the crease. I pin the pattern piece through this line through both layers of fabric. I repeat this in three to four places along the entire length of the front trousers.
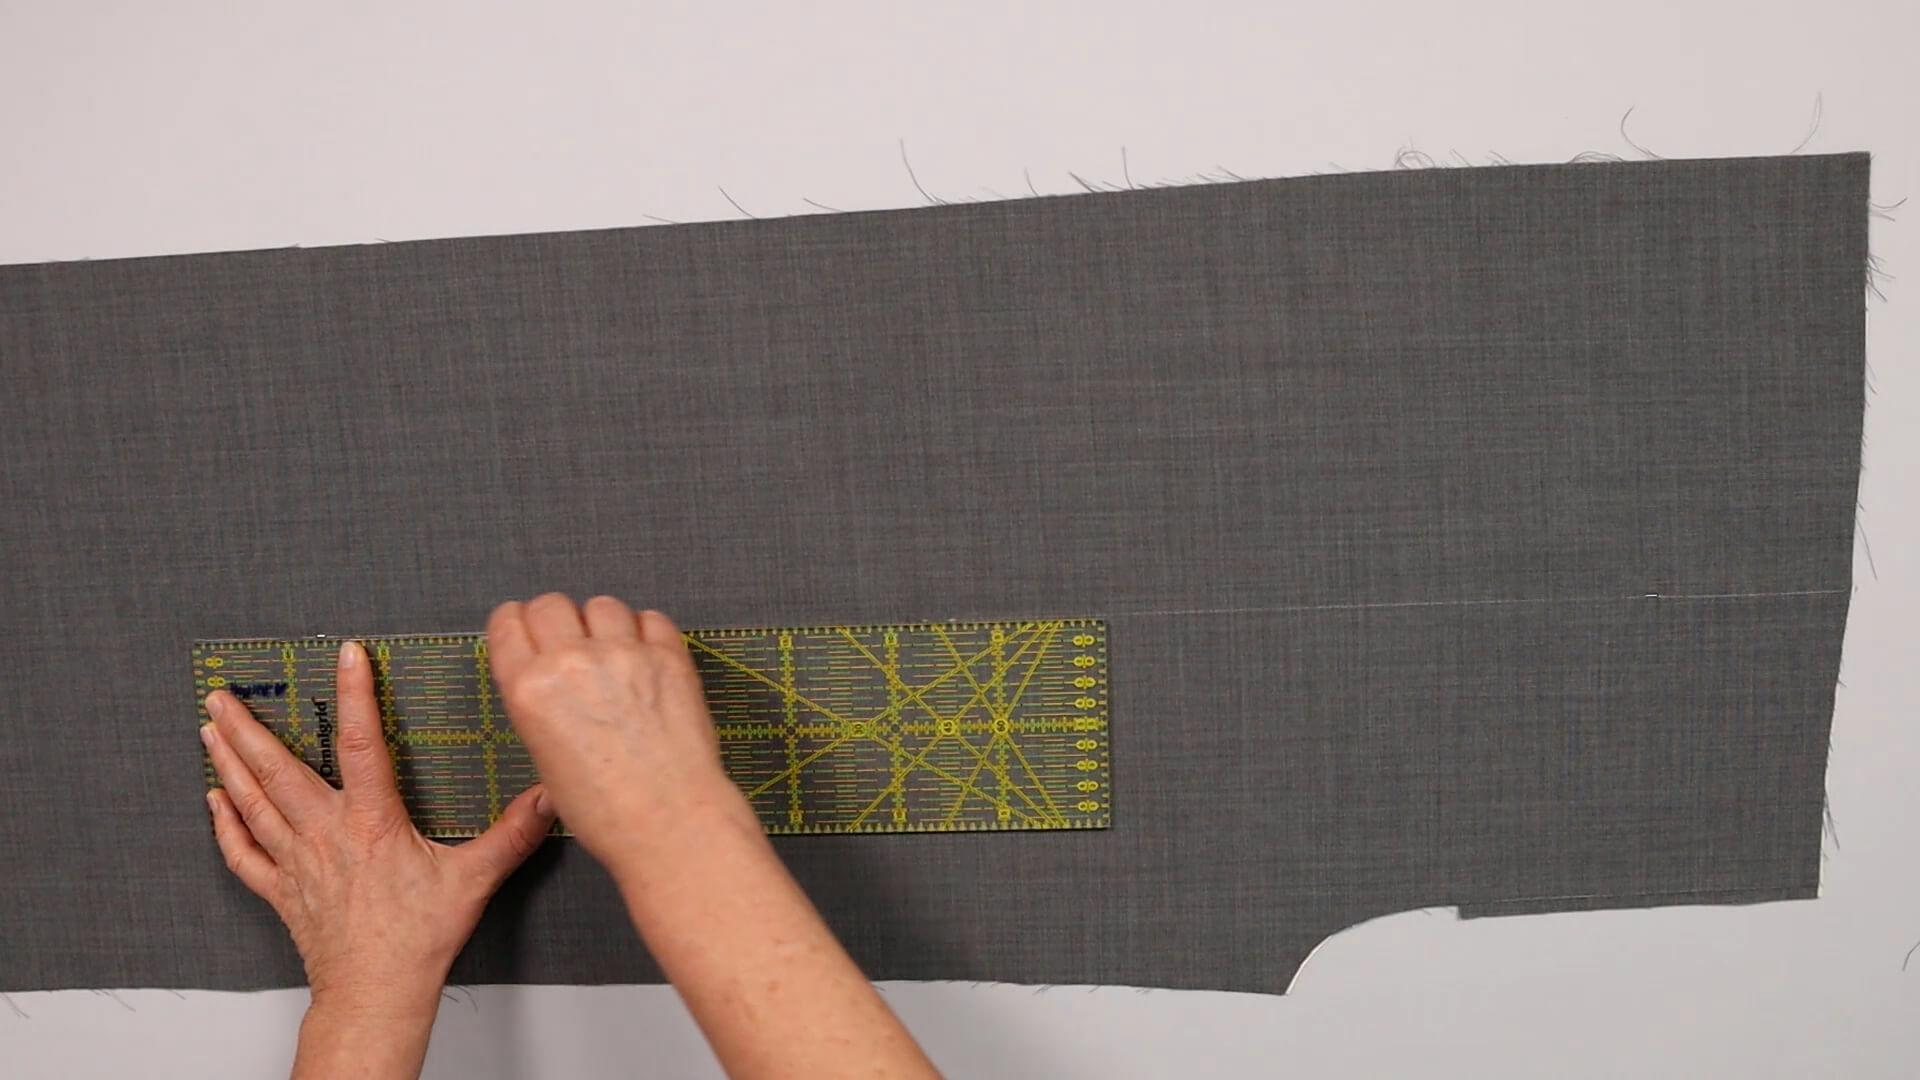
I then turn the two layers of fabric together. Turn the pattern piece over so that the side previously lying on the table is facing upwards. I place the long ruler exactly on the pins and transfer the crease to the front trousers.
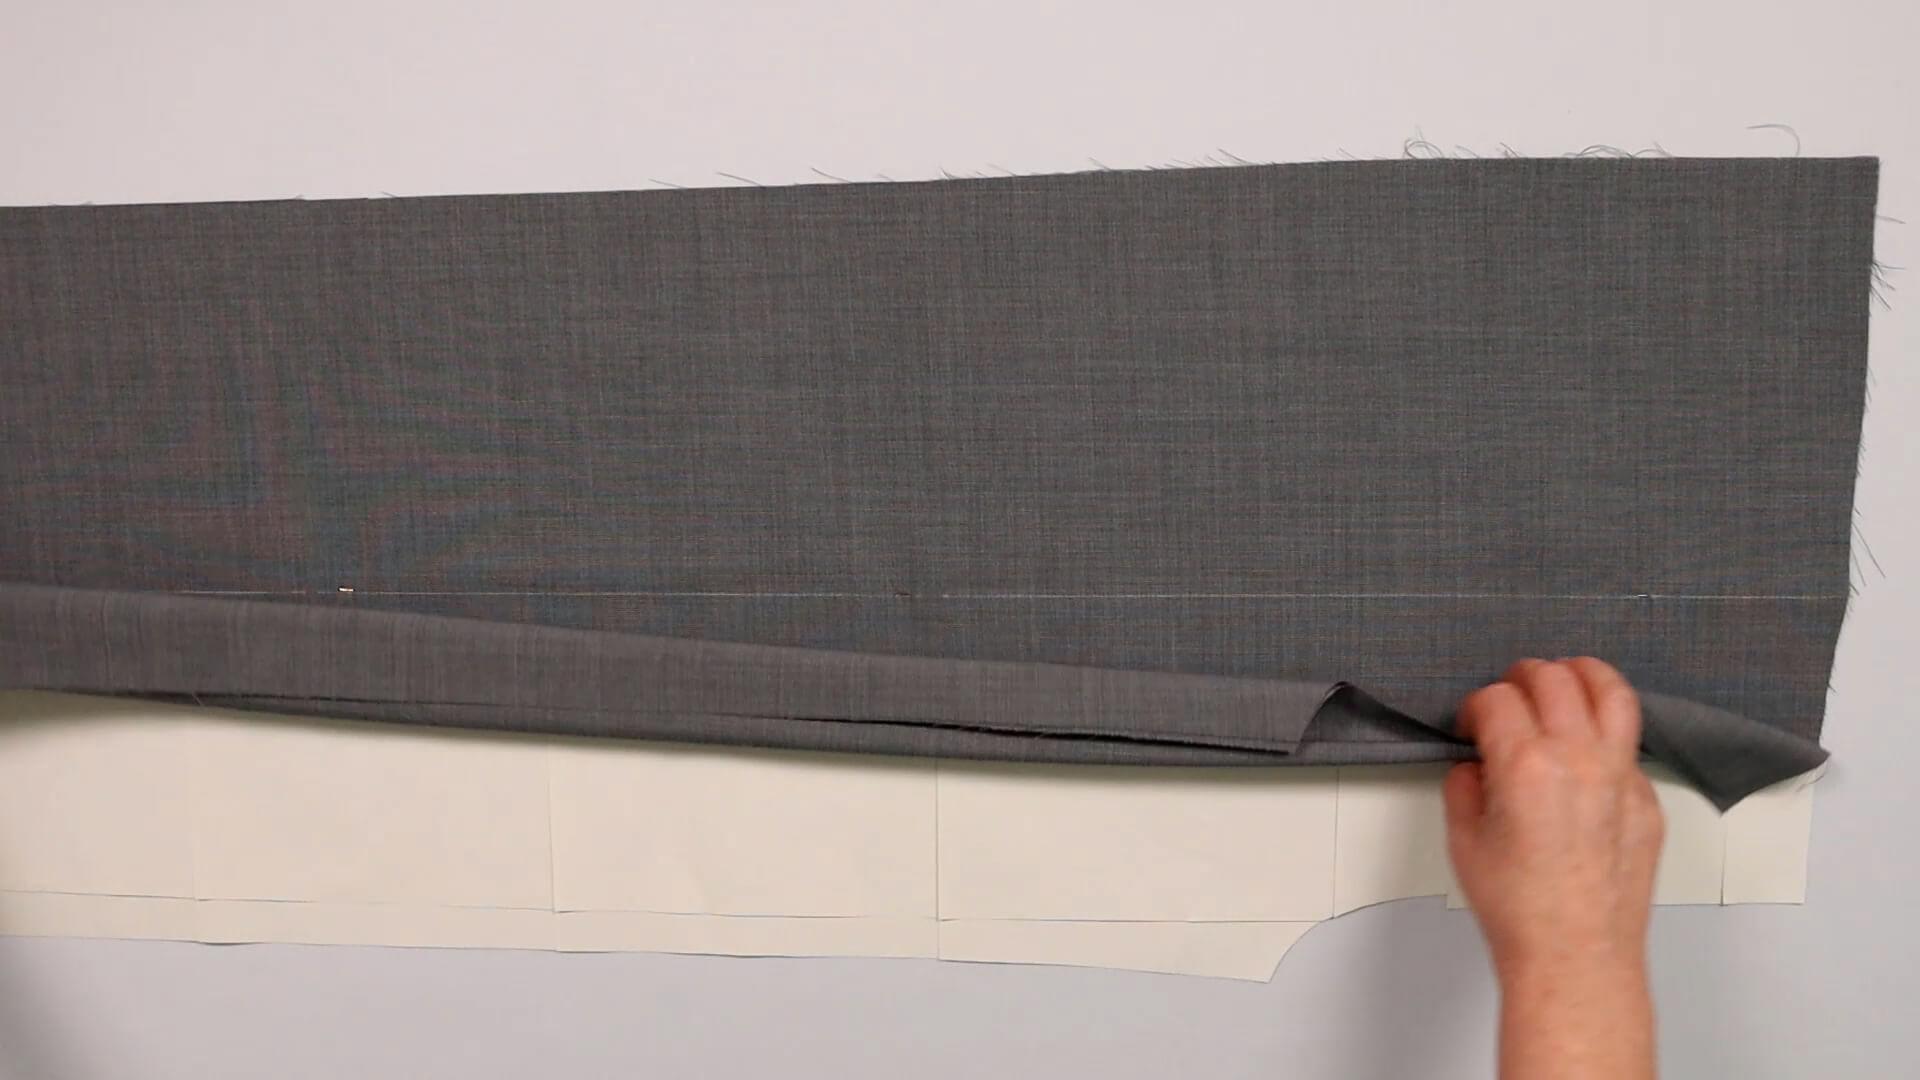
To transfer the marking of the pins to the other pattern piece, I fold the pattern pieces backwards.
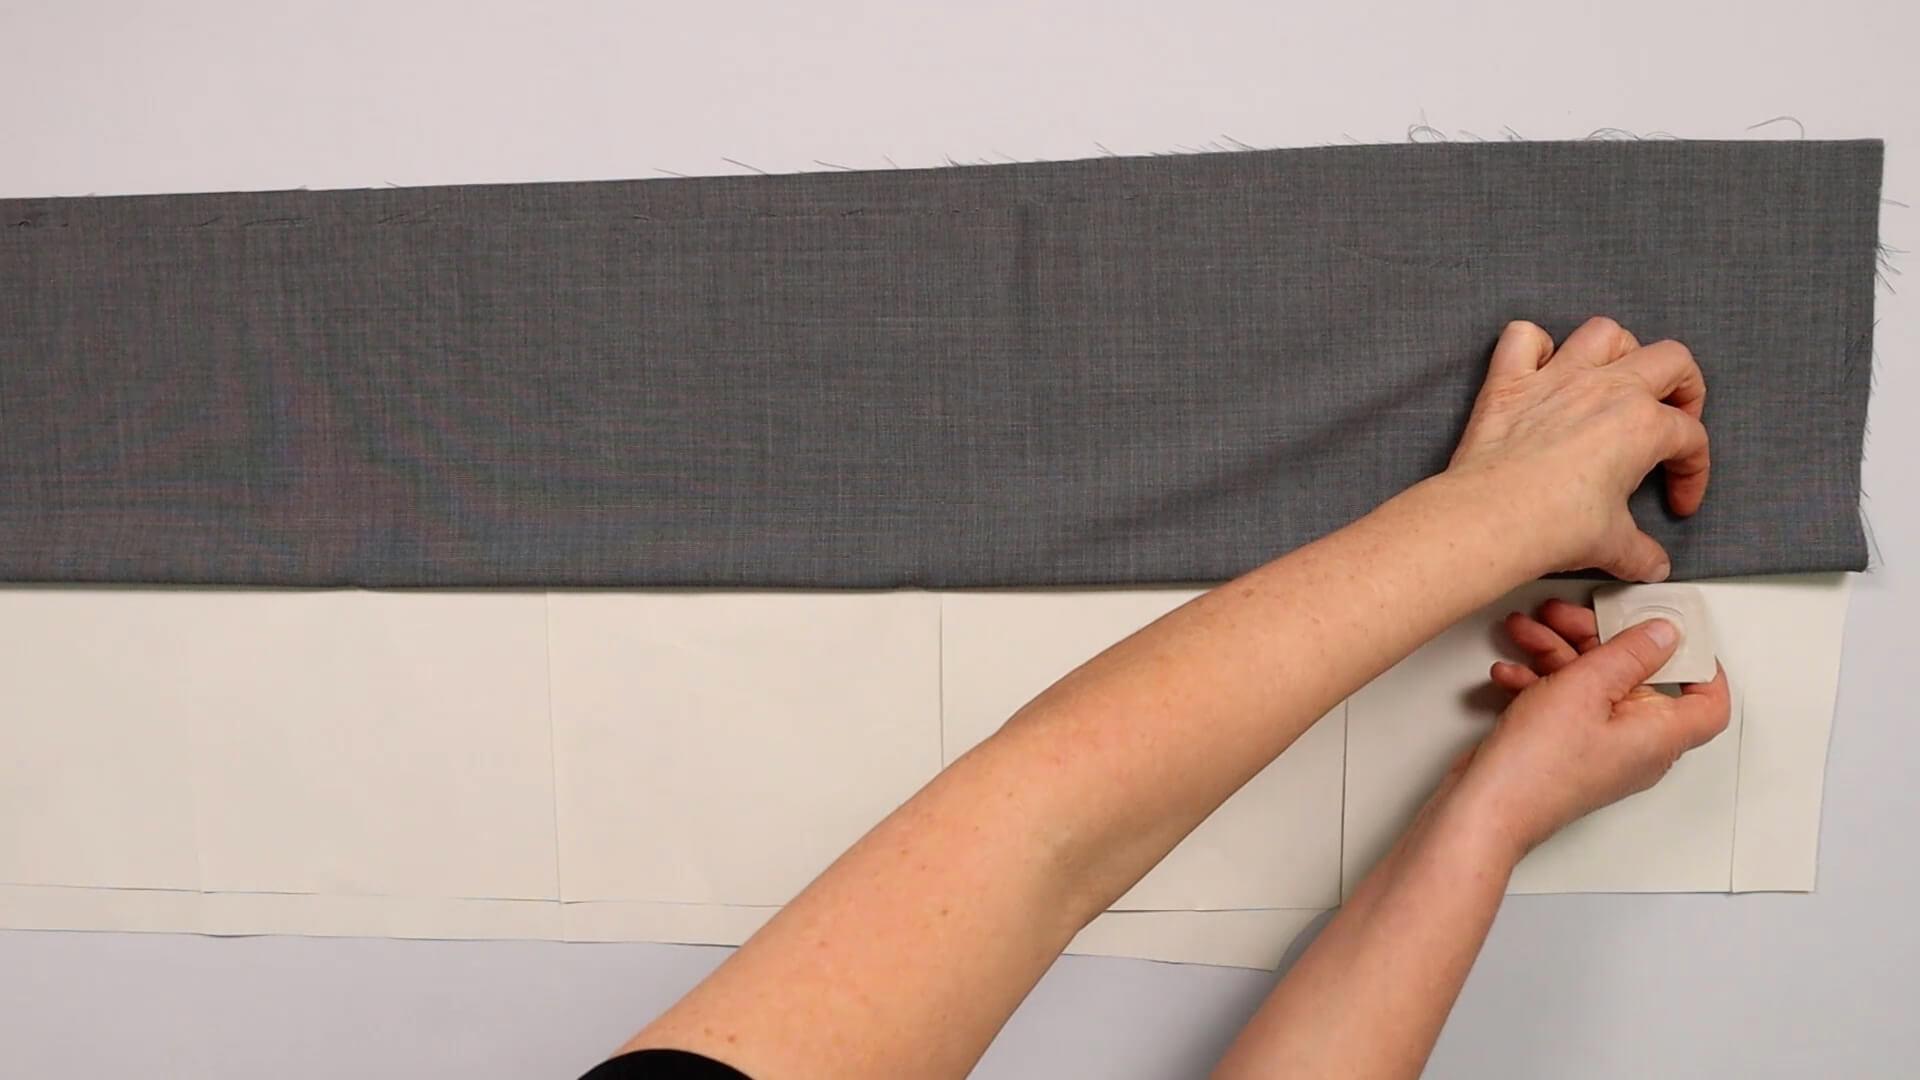
I use tailor’s chalk to mark where the pins are inserted.
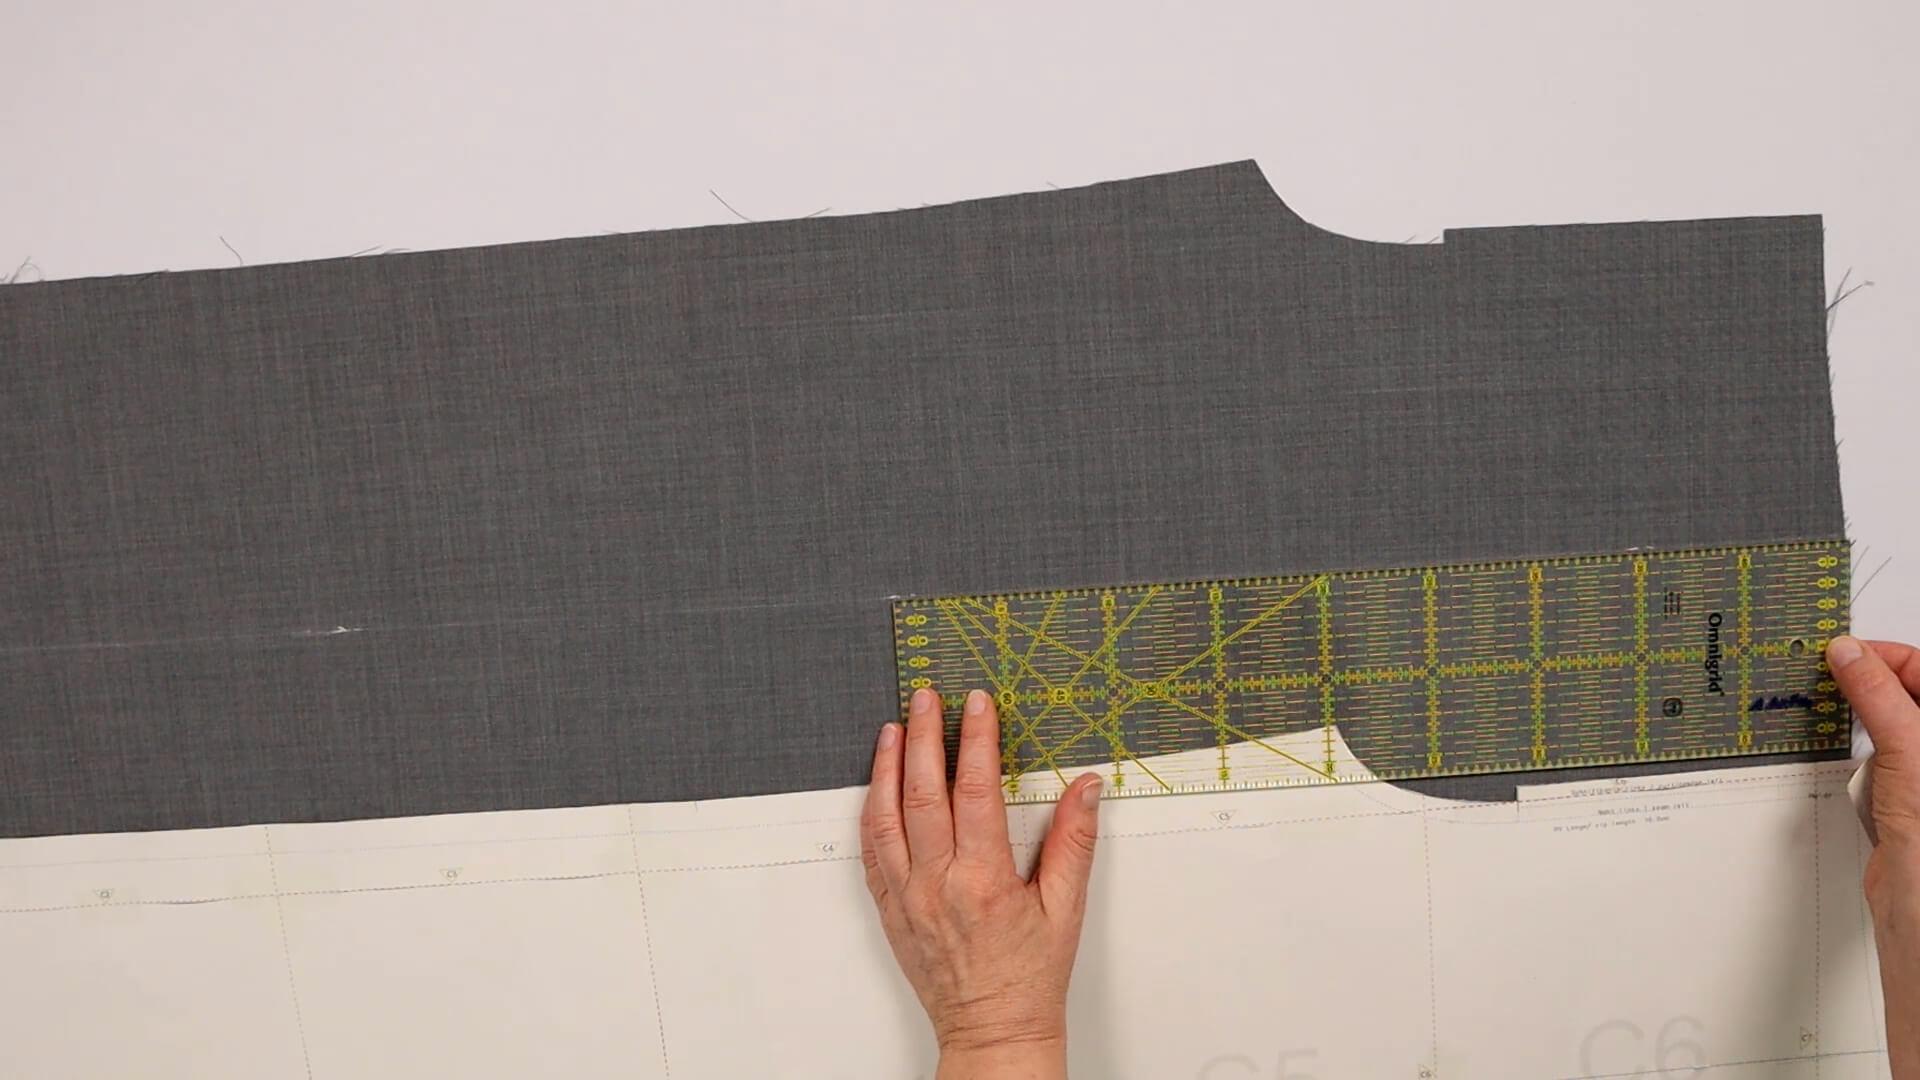
Then I can remove the pattern piece and connect the markings on the second trouser part using the long ruler.
3. Mark the crease with basting thread
As the chalk mark would gradually disappear during further processing, I mark the crease with a basting thread.
If you would like to add a knee lining to your trousers, you can find the corresponding instructions here.
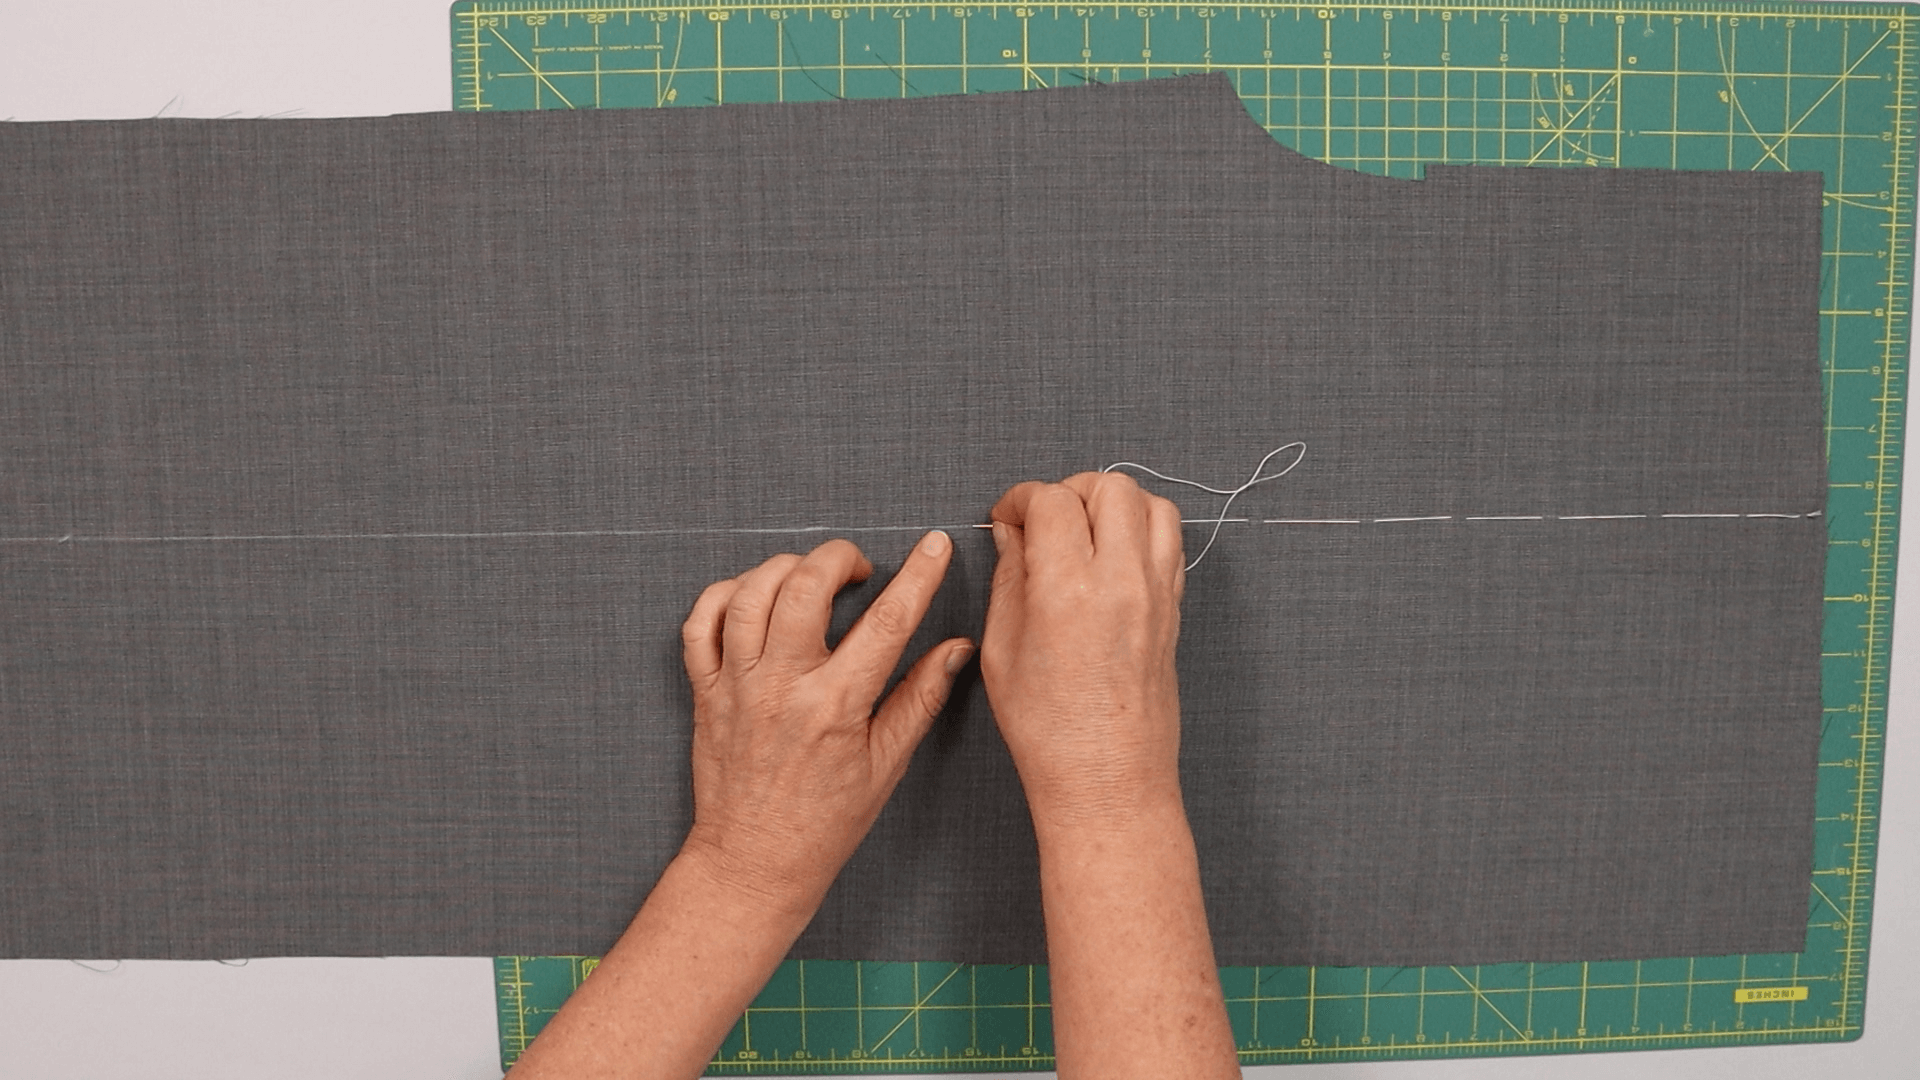
I’m working on my ironing board. That’s why I place a cutting mat under the lining fabric so that I don’t stitch into it when sewing. At the upper end of the grainline, I start marking the crease with the basting thread.
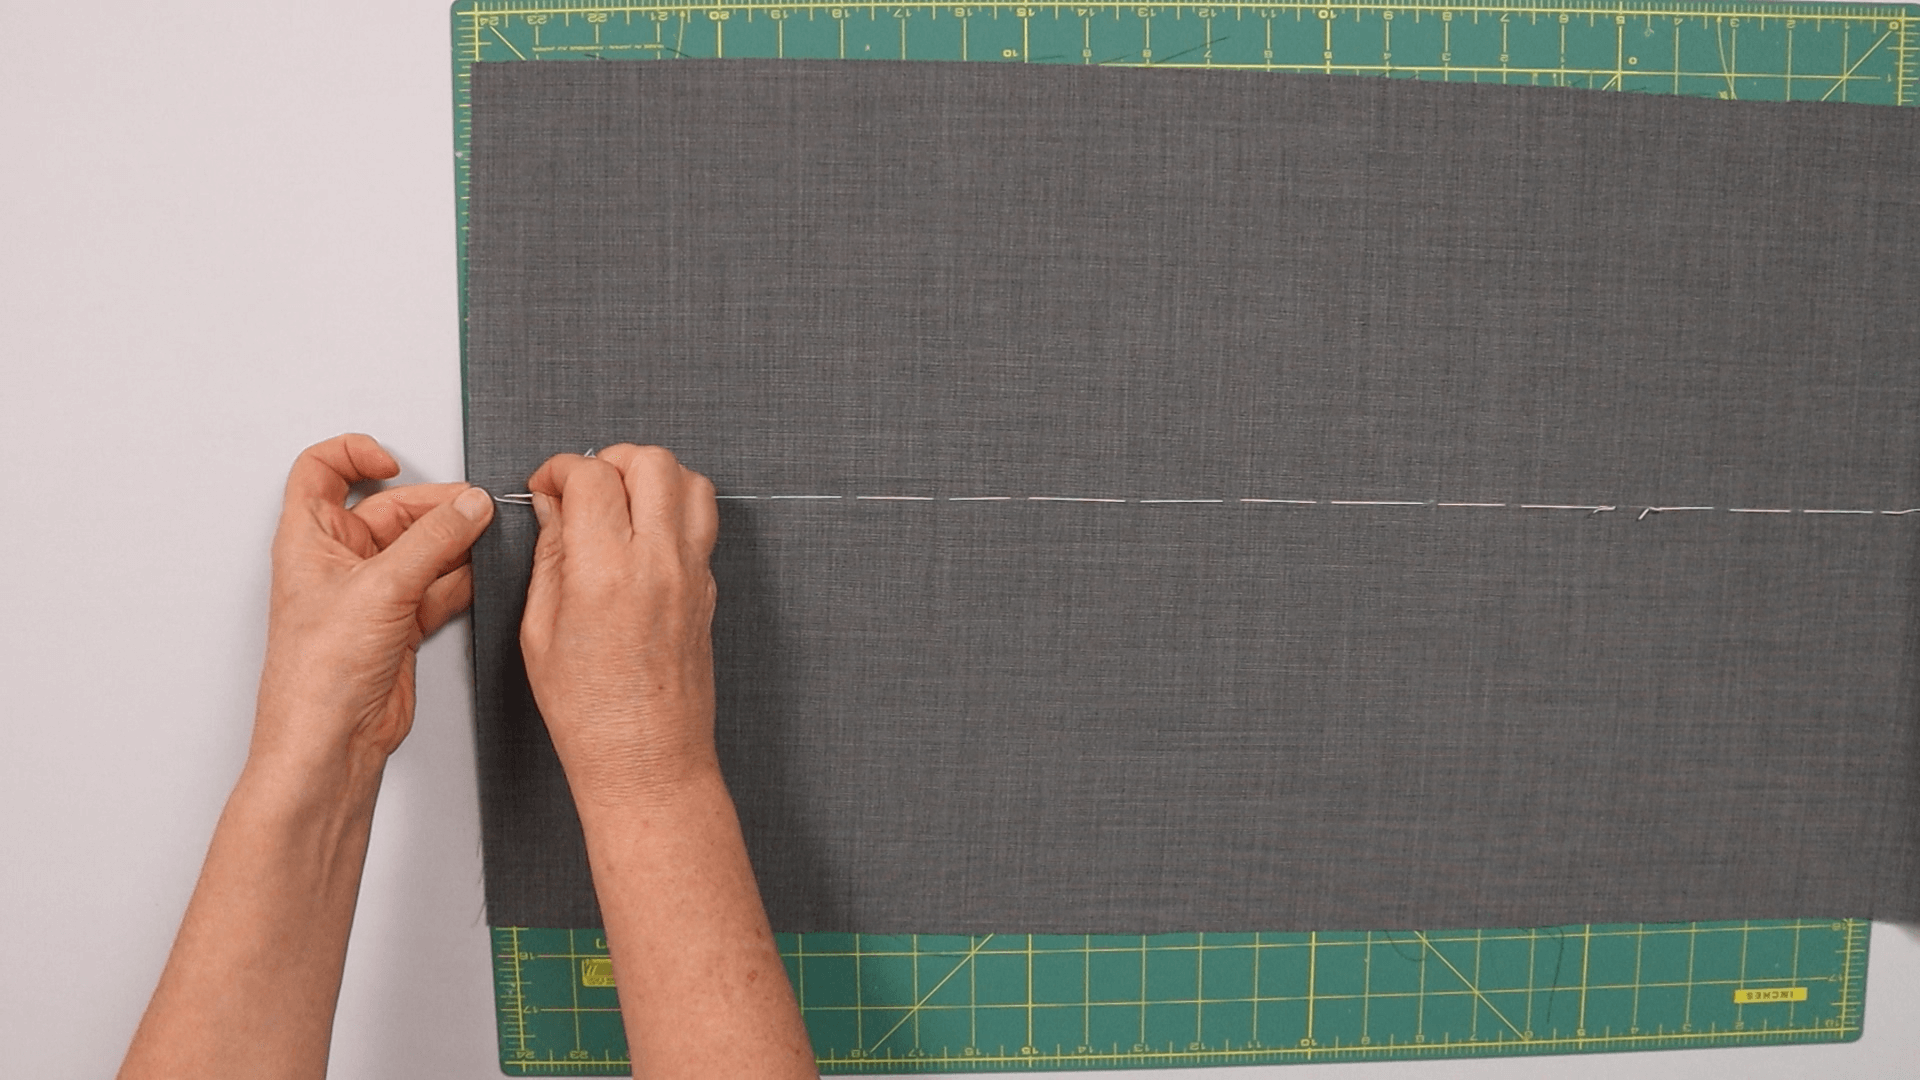
I use a long basting stitch and make sure that the line is completely straight.
I sew the basting thread at the hem so that it cannot come undone during the sewing process. This thread remains in the front part until the trousers are finished.
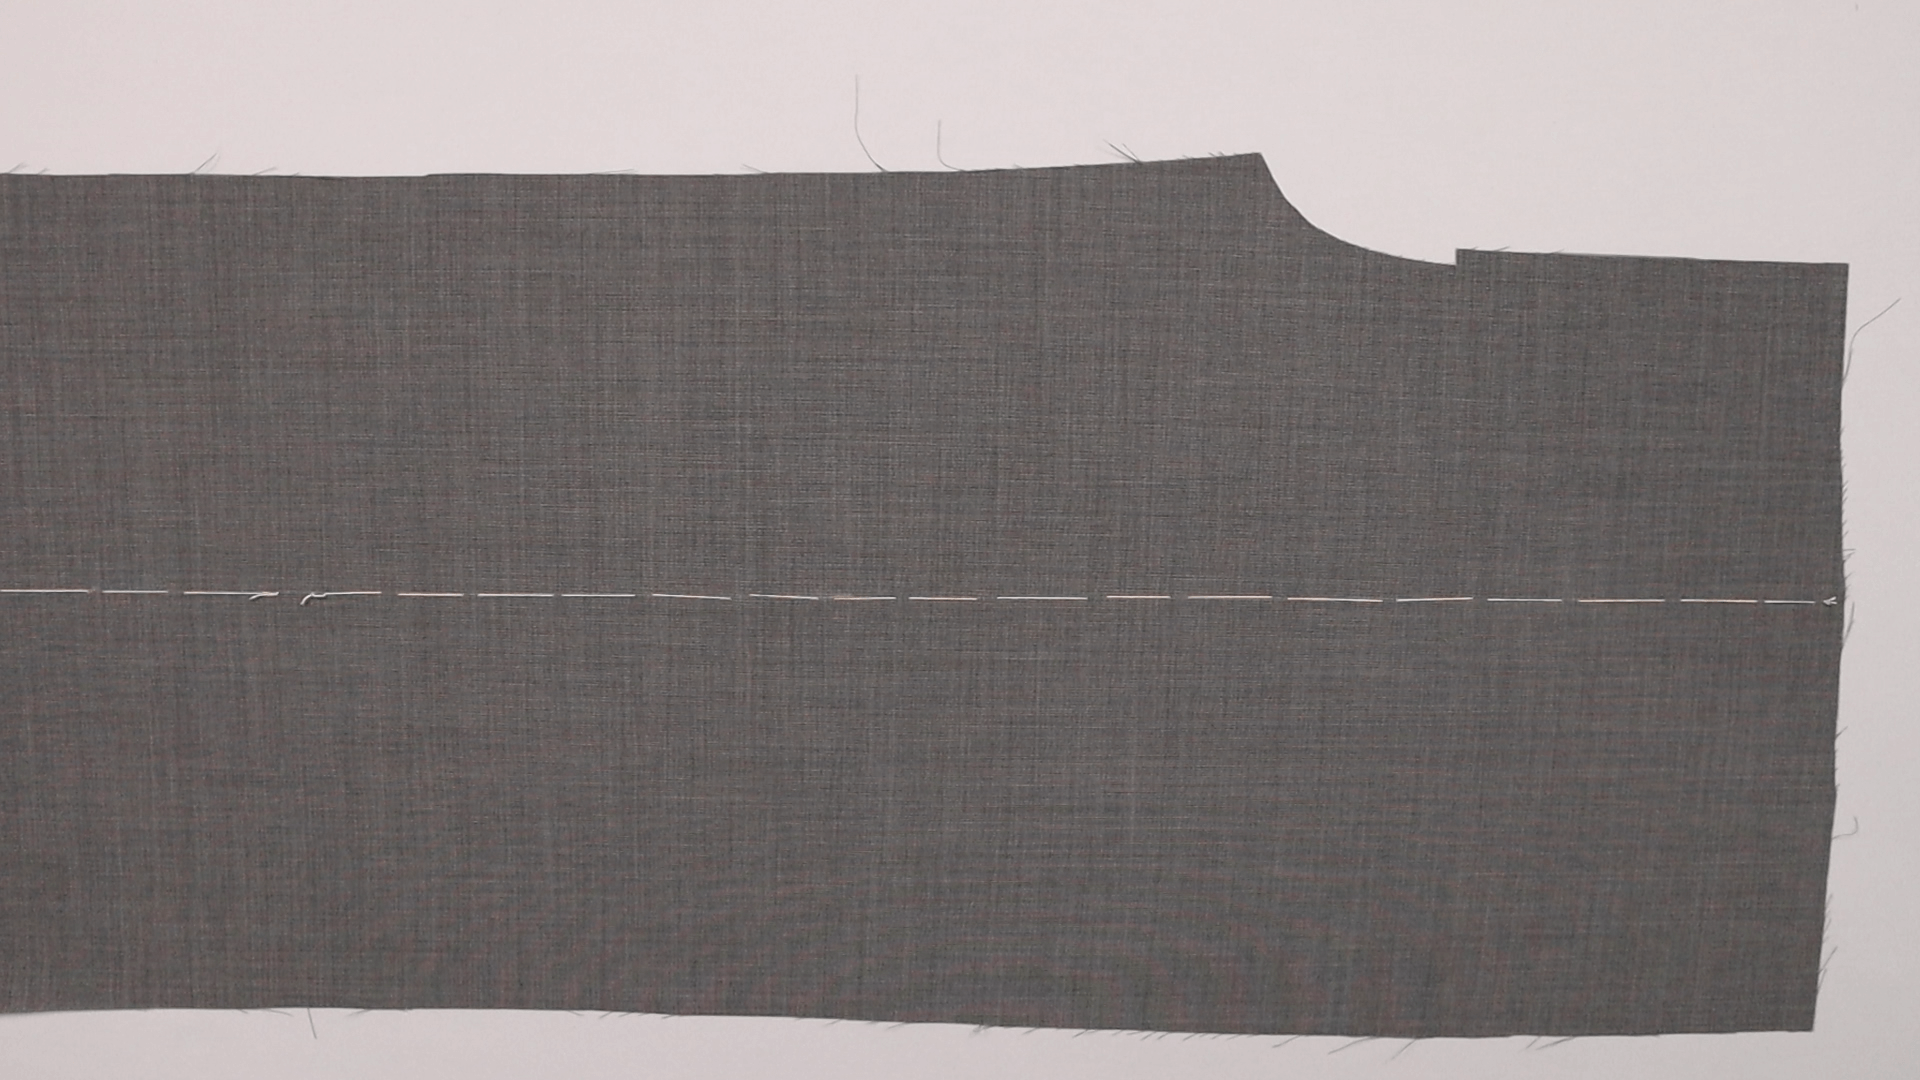
This is what the finished marking looks like.
4. Iron in the front crease
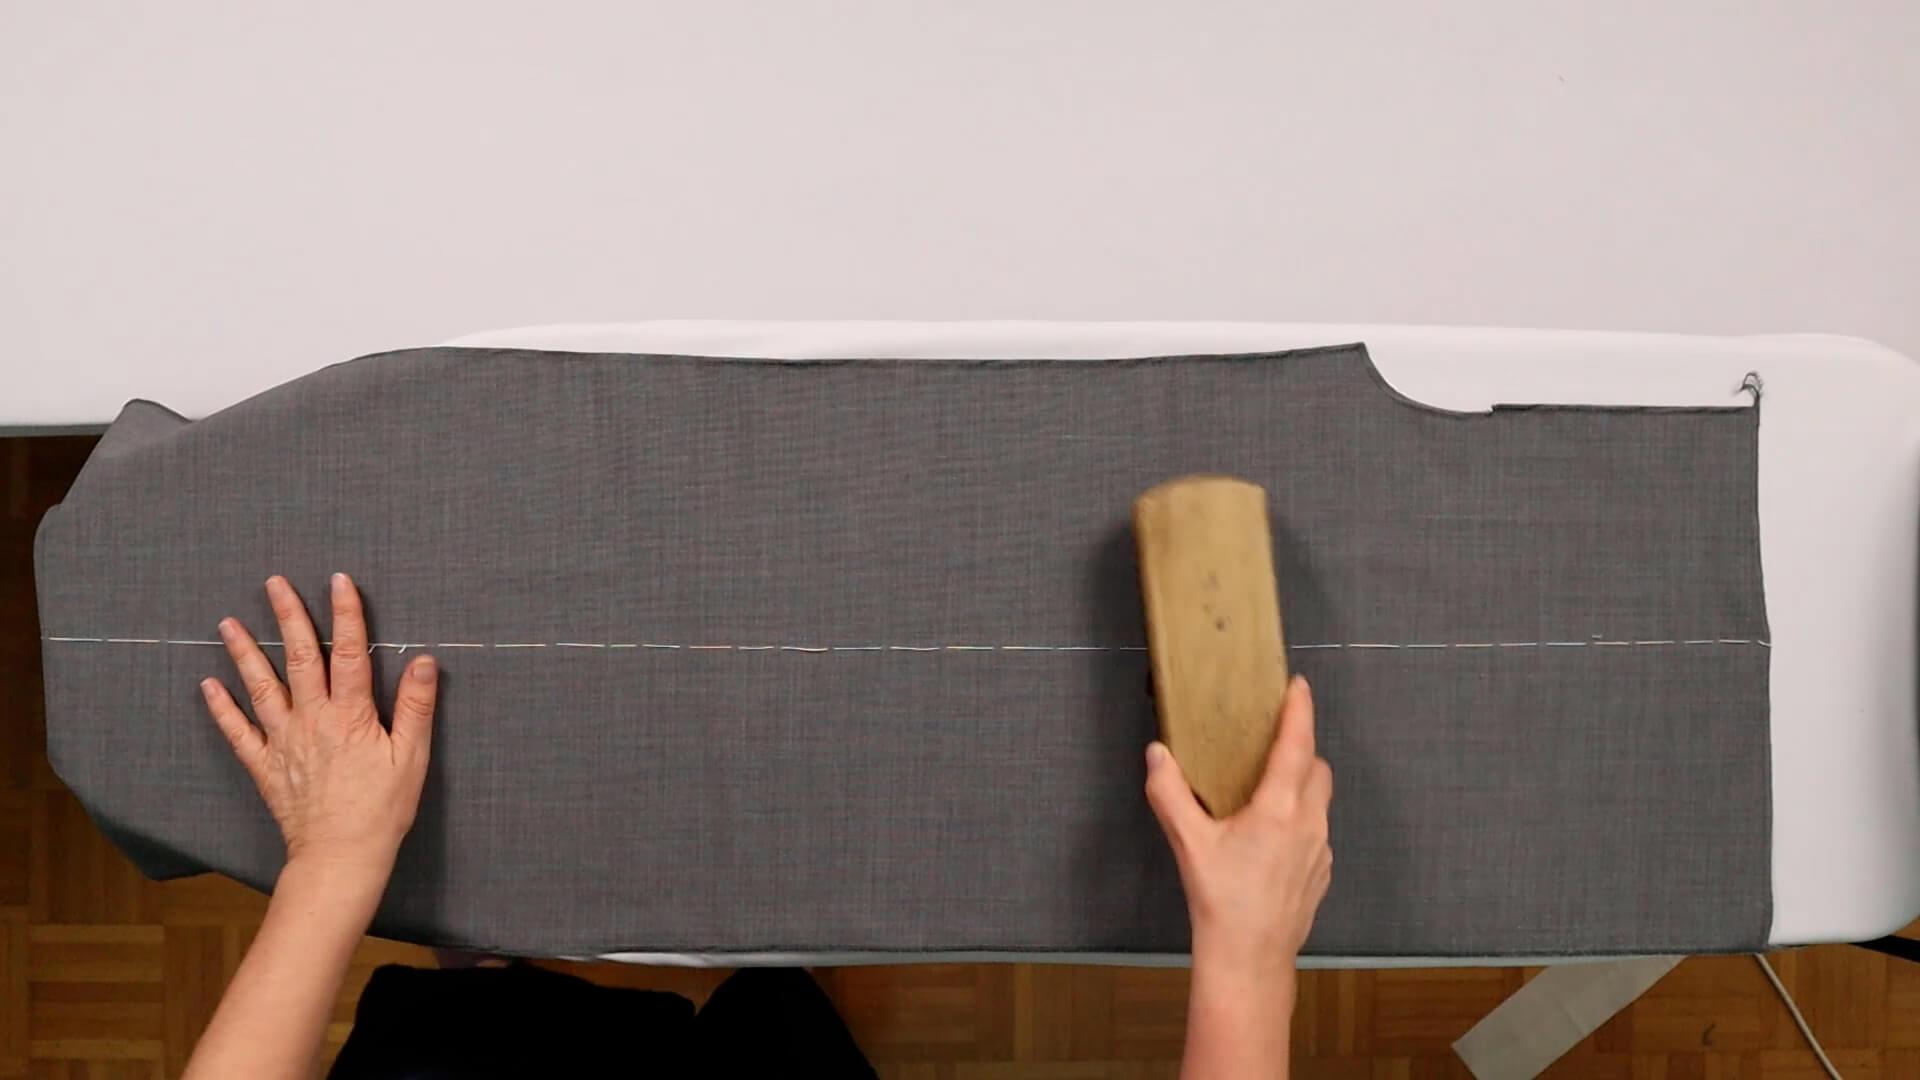
First, I brush the chalk markings out of the pattern piece. I have already serged the trouser parts here because I have opted for a knee lining. If you are sewing your trousrs without a knee lining, the edges will be finished later.
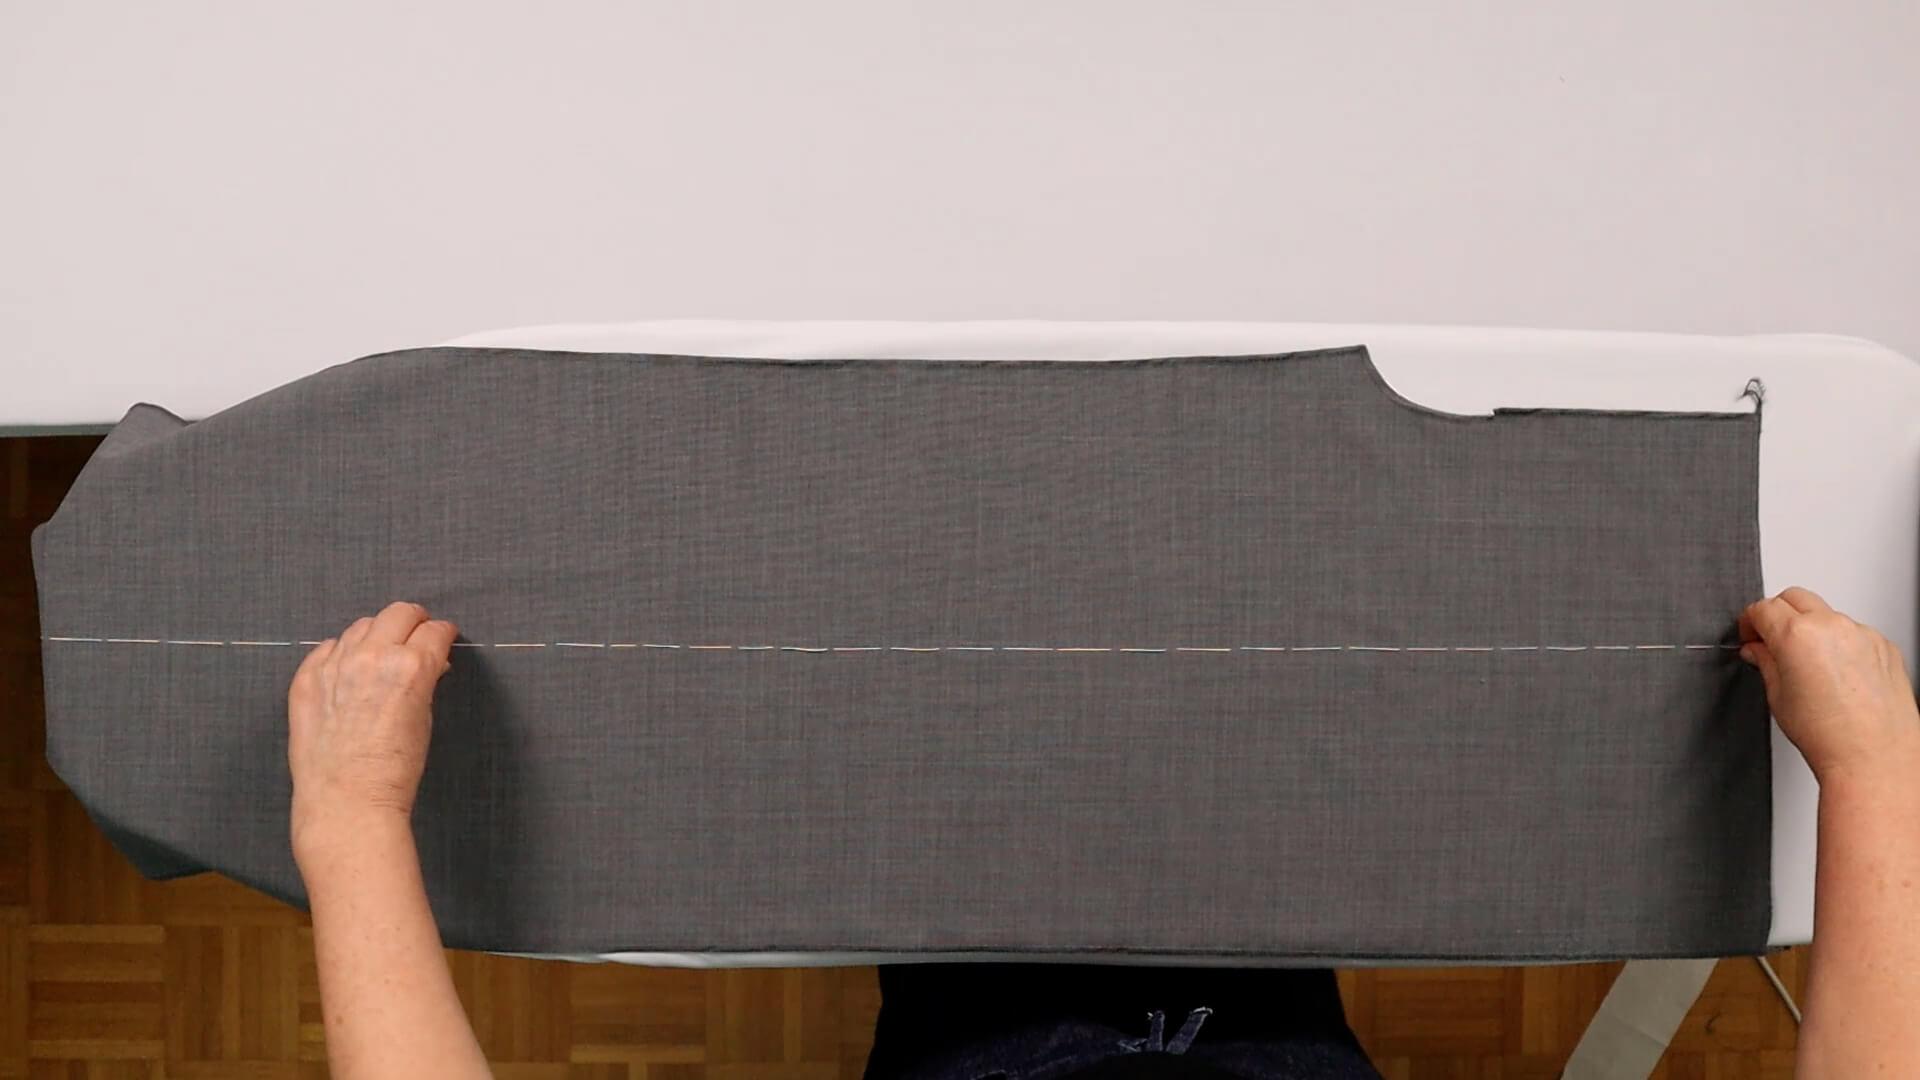
Grab the fabric along the basting line…
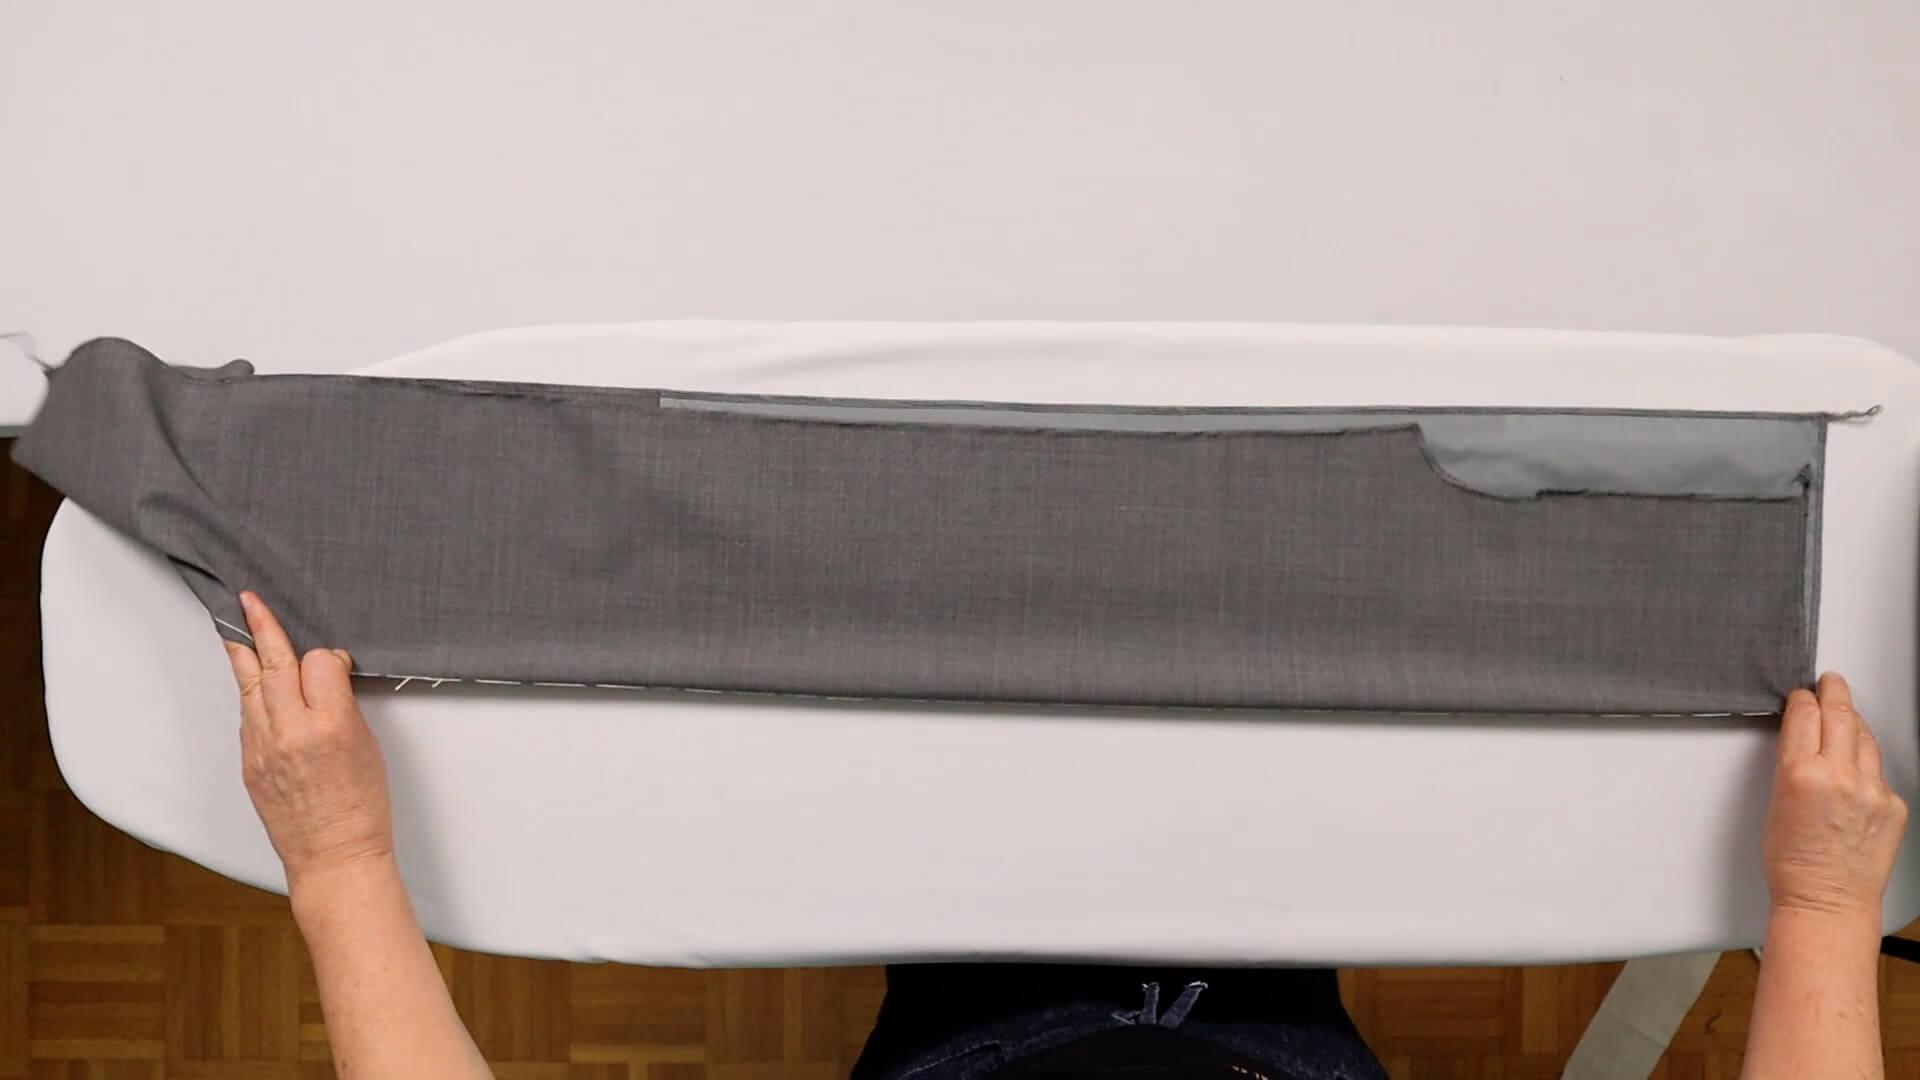
… and fold them over – wrong sides facing.
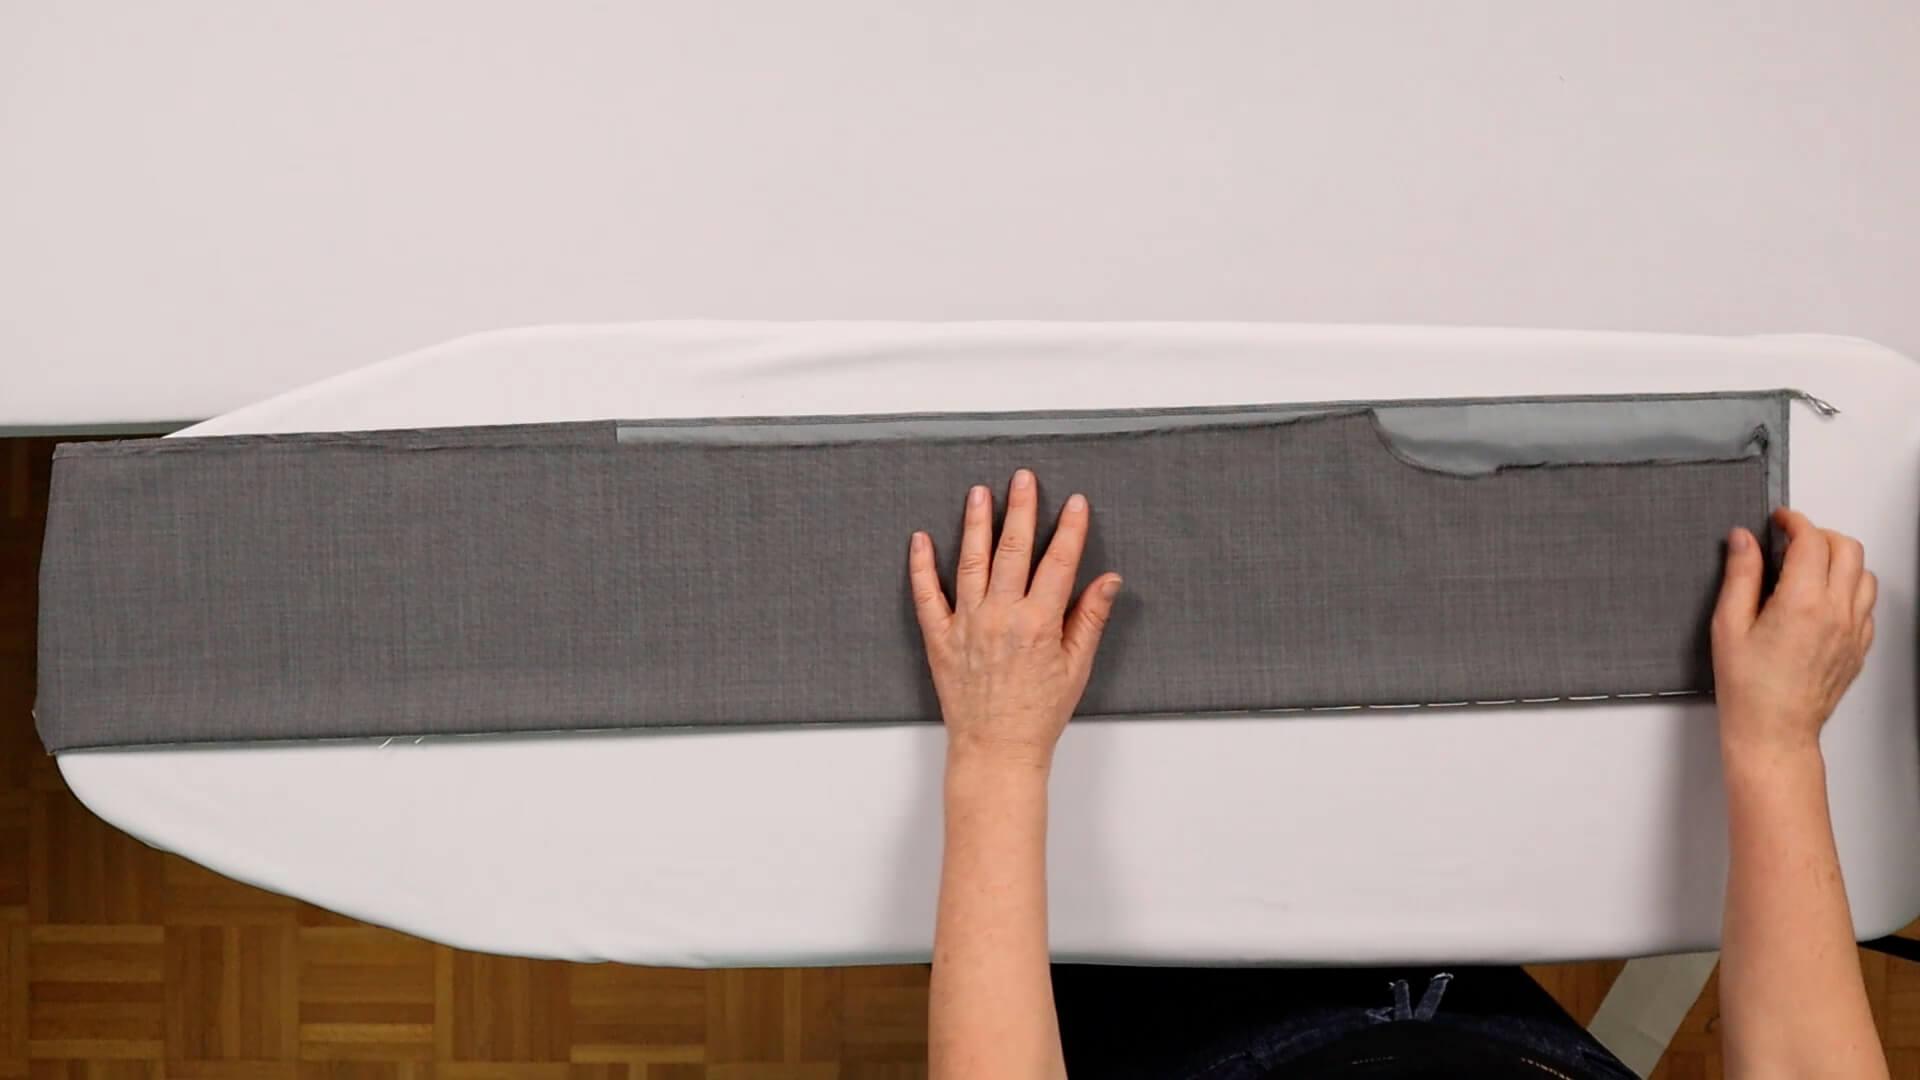
Then I align them so that the crease mark is exactly on the fold. I make sure that the fold is not stretched and place it in front of me with slightly tucked in.
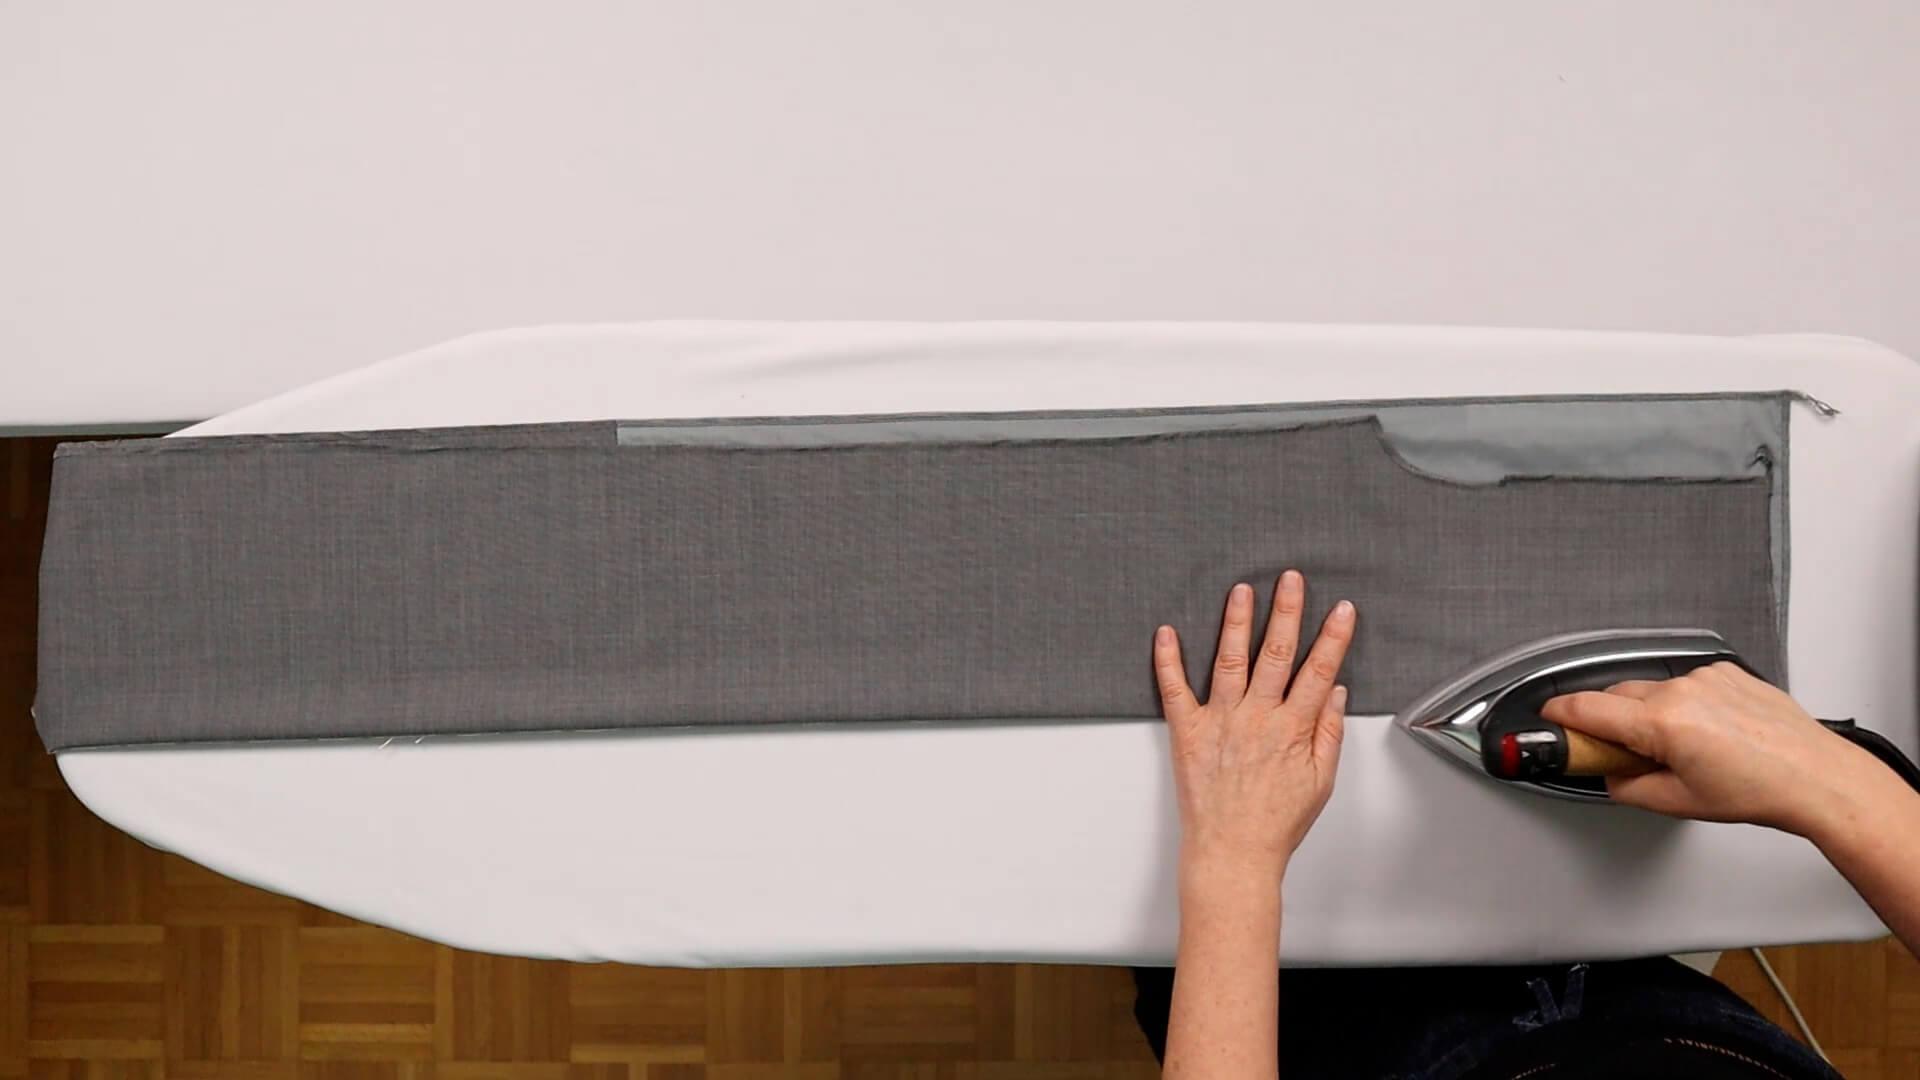
First, I roughly iron on the the folded edge.
Tip
If you have a delicate fabric, use a Teflon soleplate or place a smooth tea towel between the iron and the outer fabric, for example.
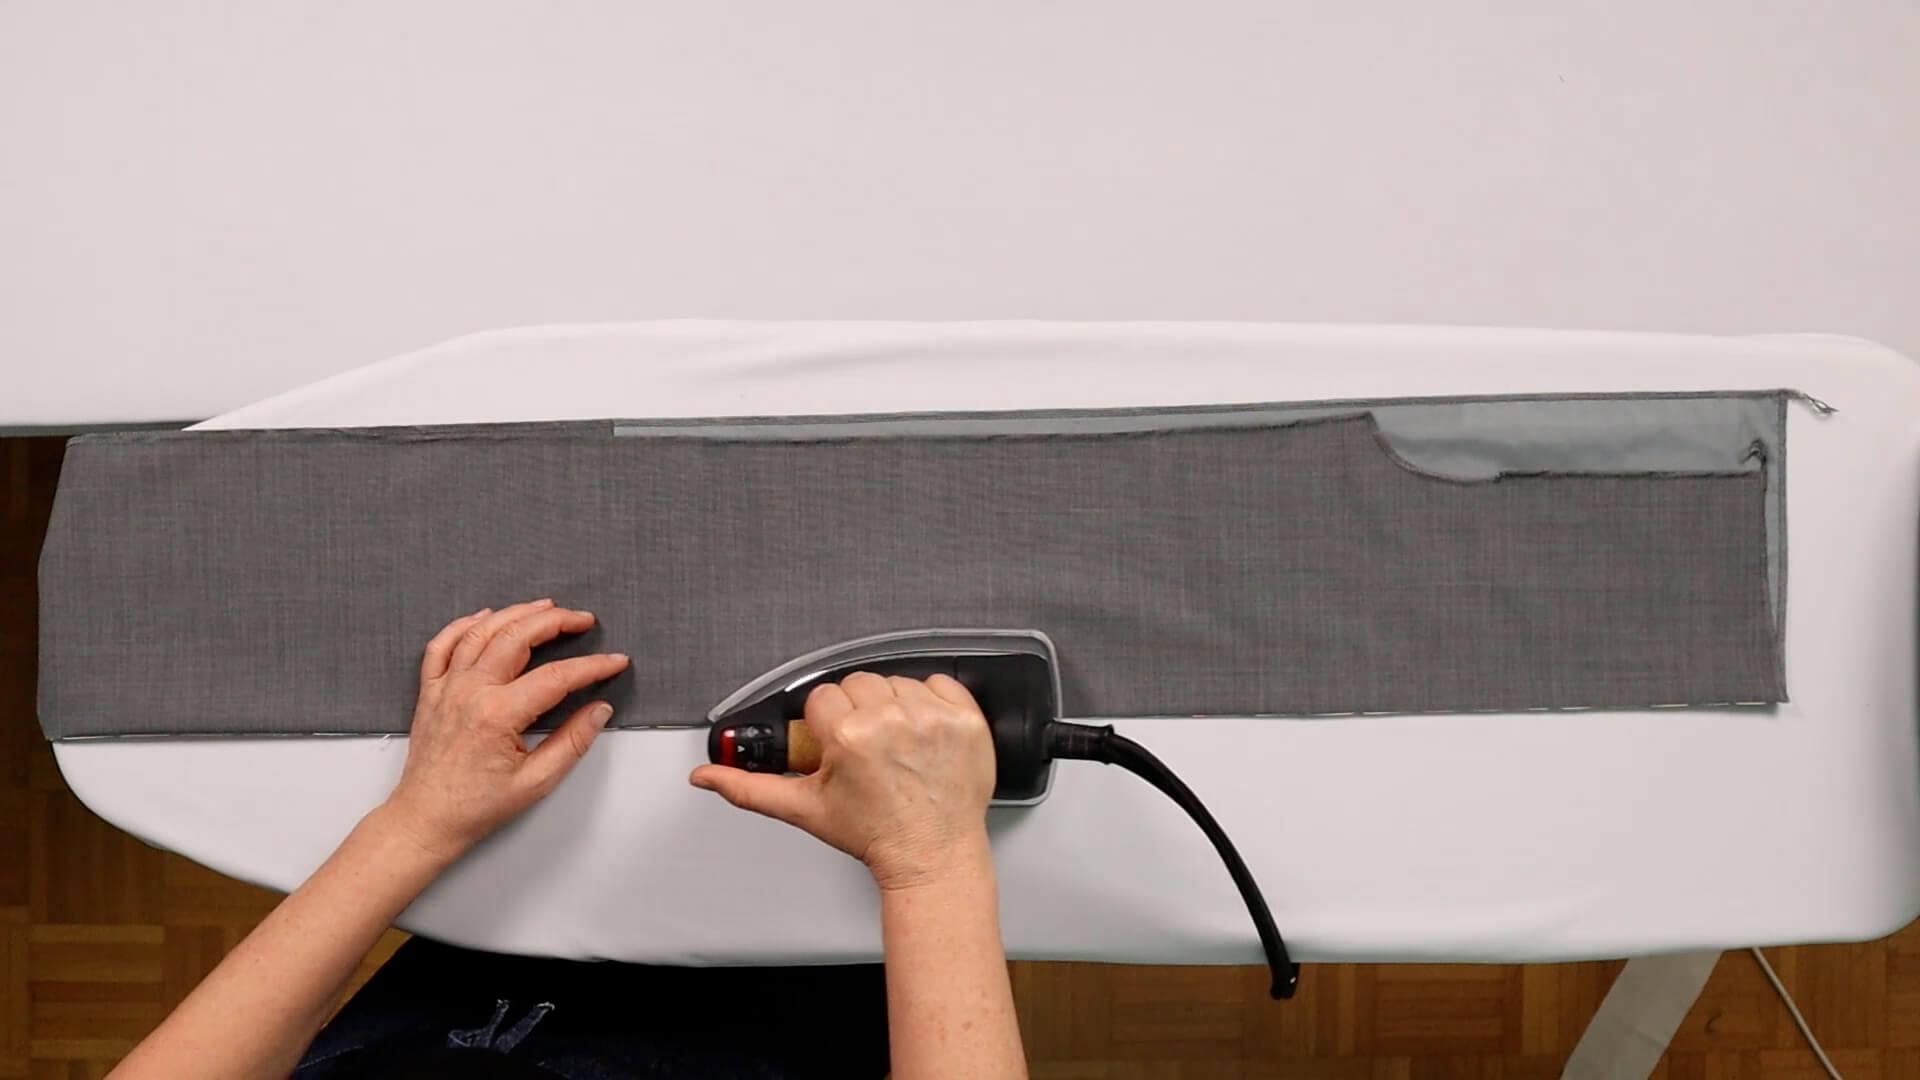
I then press the fold down piece by piece. I work with high pressure and take enough time.
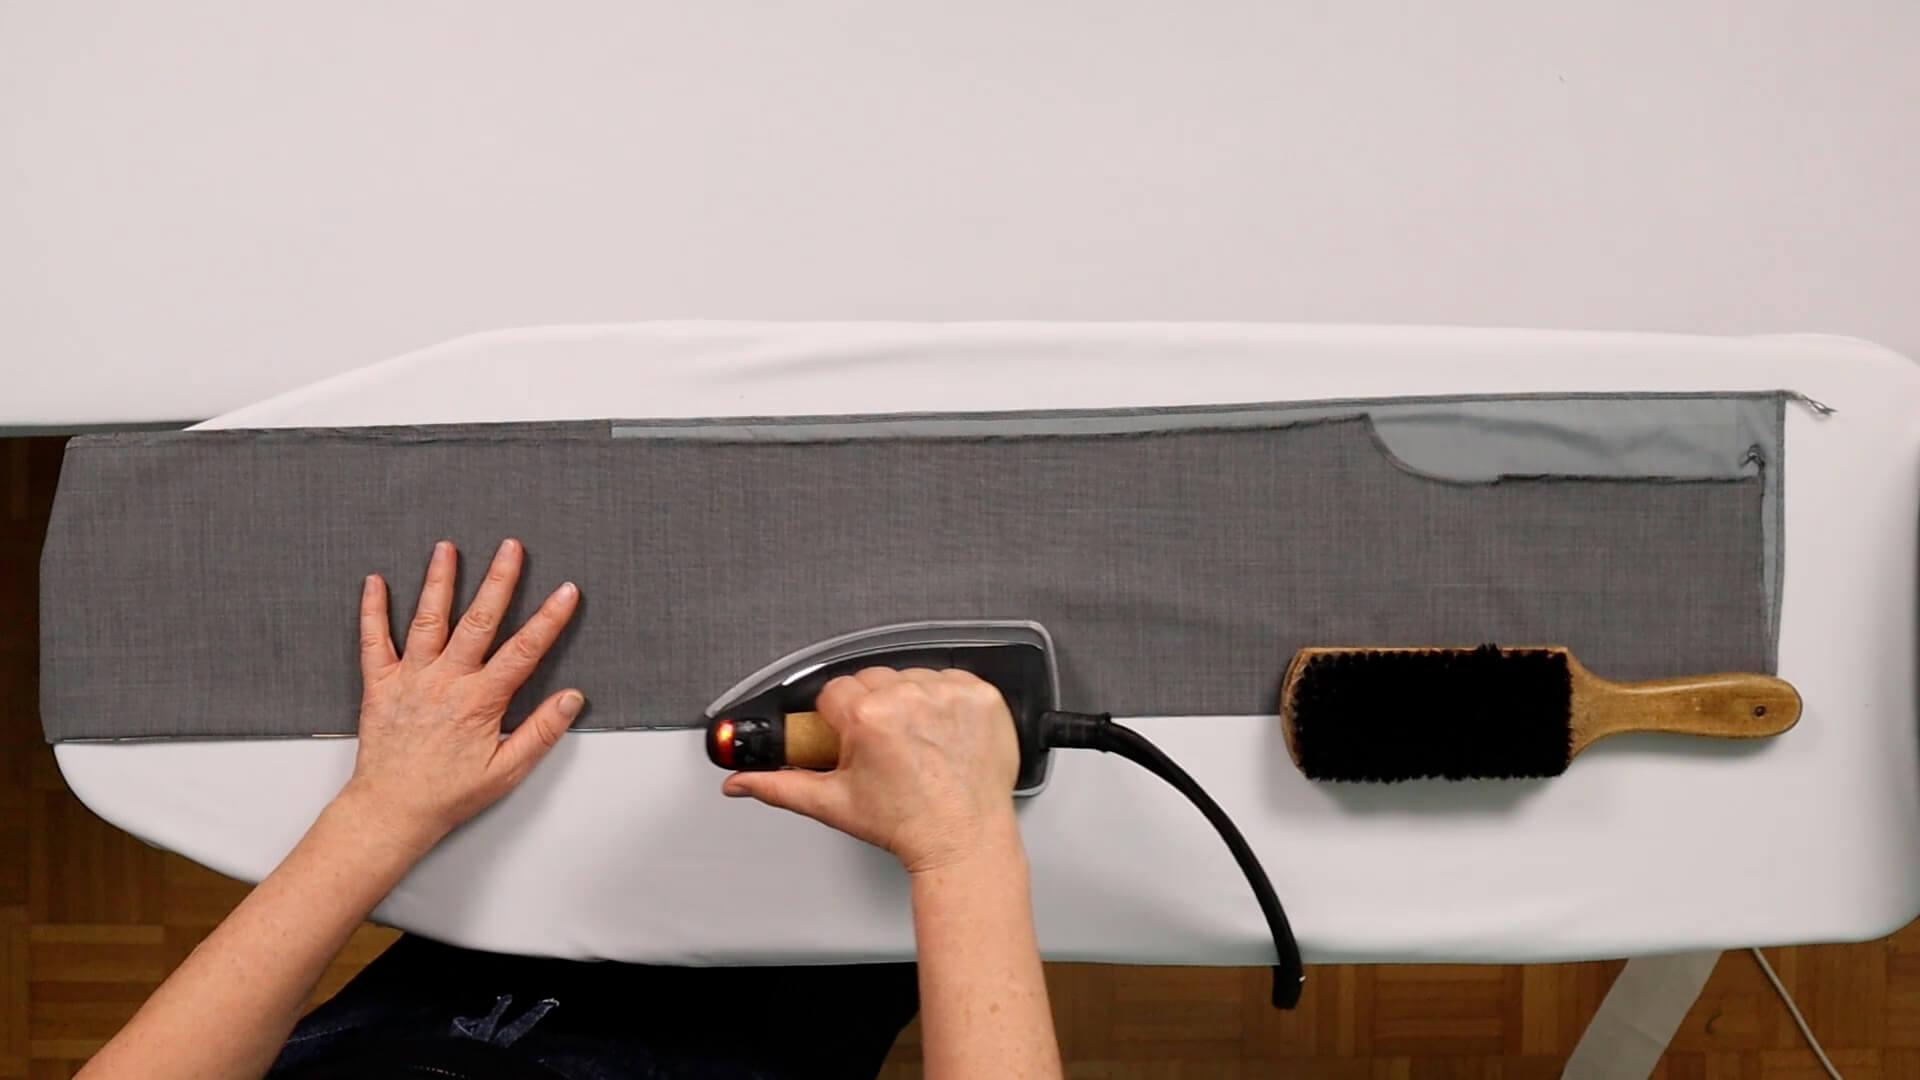
If you have an (unpainted) wooden brush or ironing board, you can place it on the ironed fold. The wood absorbs the moisture, causing the fabric to cool down more quickly and making the crease nice and crisp.
Leave the area at the hem turn-in or turn-up unpressed for the time being, as the pleat will be pressed down to the hem edge again later when the leg seams are closed and the hem is finished.
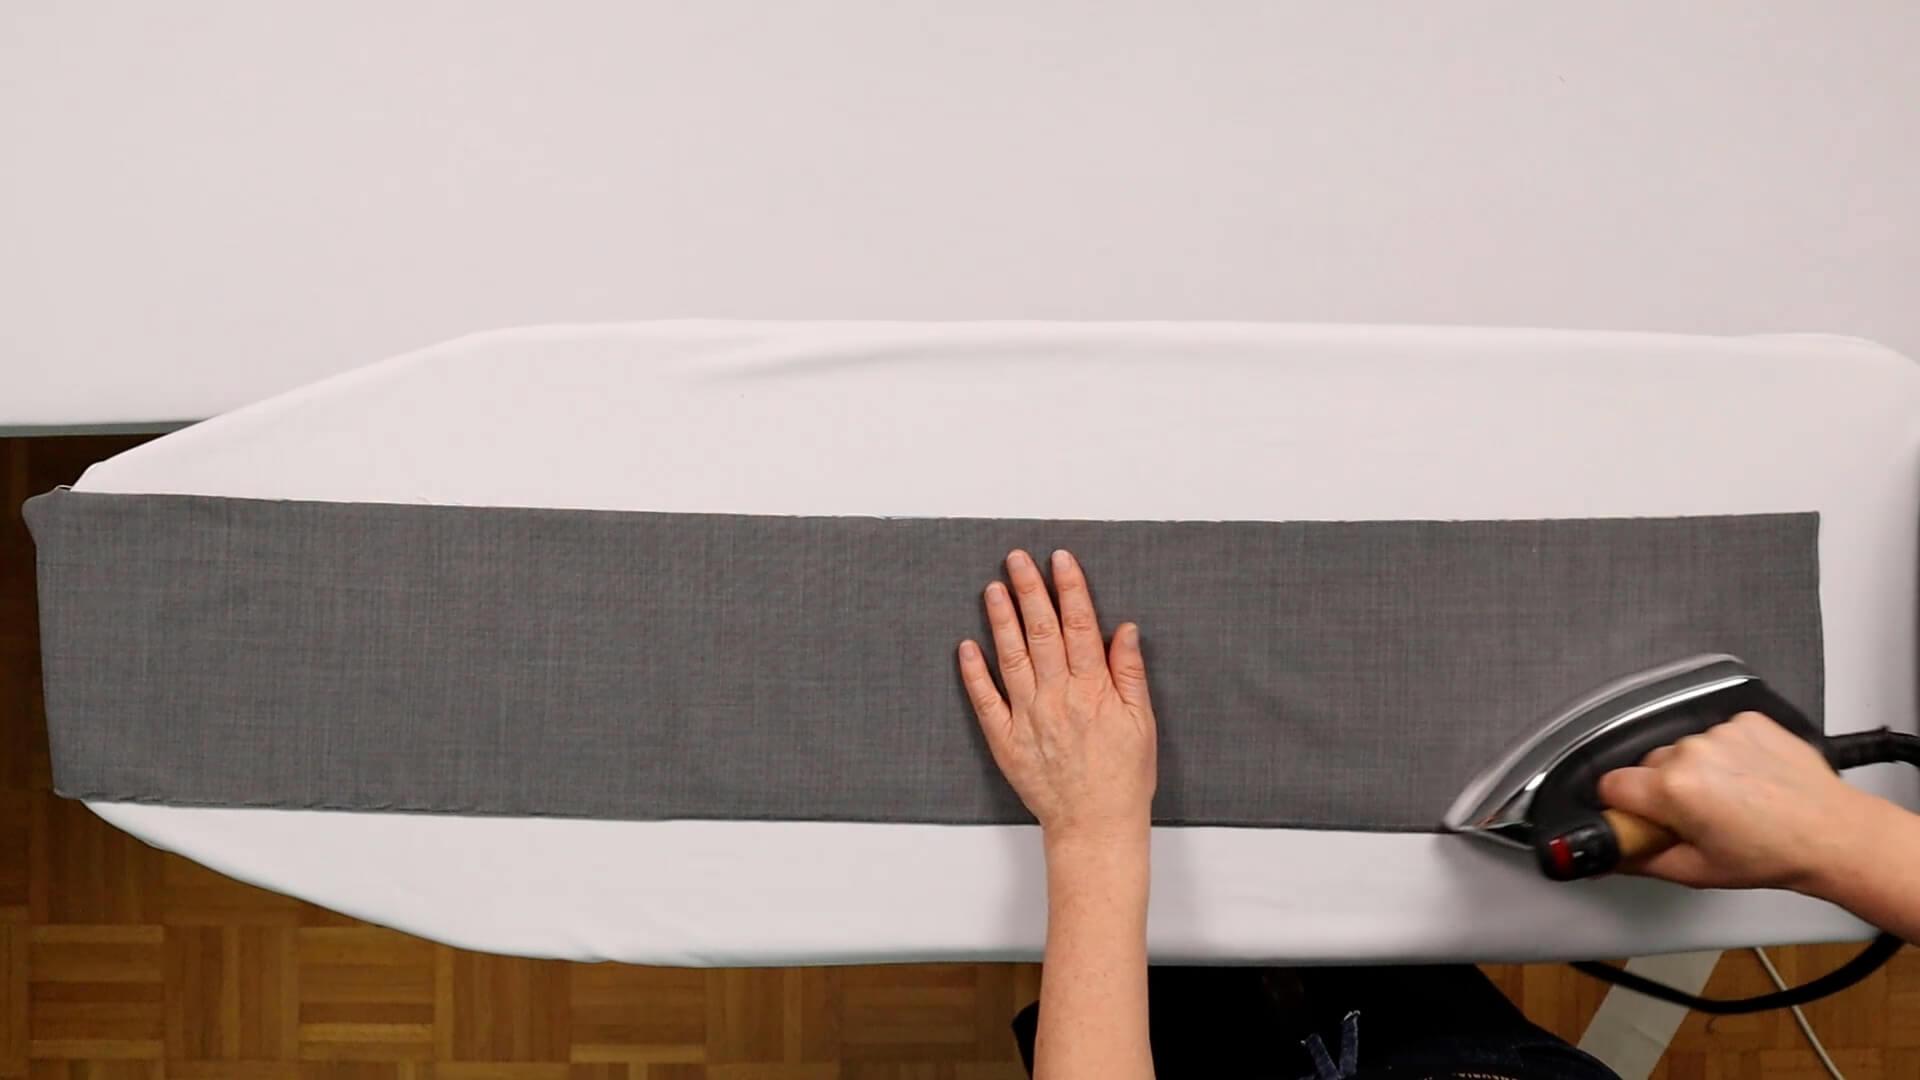
Finally, I turn the pattern piece over and iron it completely from the other side.
Then I set it aside to cool and repeat the steps for the second front part of the trousers.
The basting thread for the crease remains in the front section until the trousers are finished.
If you like, you can topstitch the crease close to the edge to create a piping. The fact that the trousers may be slightly tighter due to a stitched crease is generally not a problem for further processing. If you feel it is too tight when you try it on, you can add a little extra width at the side seam.
I recommend you to test the width of the topstitching on a scrap piece of fabric. If you have configured your trousers with a turn-up hem, topstitching is not recommended. By folding the hem over several times, the quilting would no longer be shown to its best advantage and might look crooked.
If you want to add creases to the back of the trousers, this should be done after the leg seams have been closed and the hem has been finished. Come back to these instructions when needed. However, keep in mind that creases on the back could stand out unpleasant, especially for models with a lot of width at the back.
Work creases into the back of the trousers
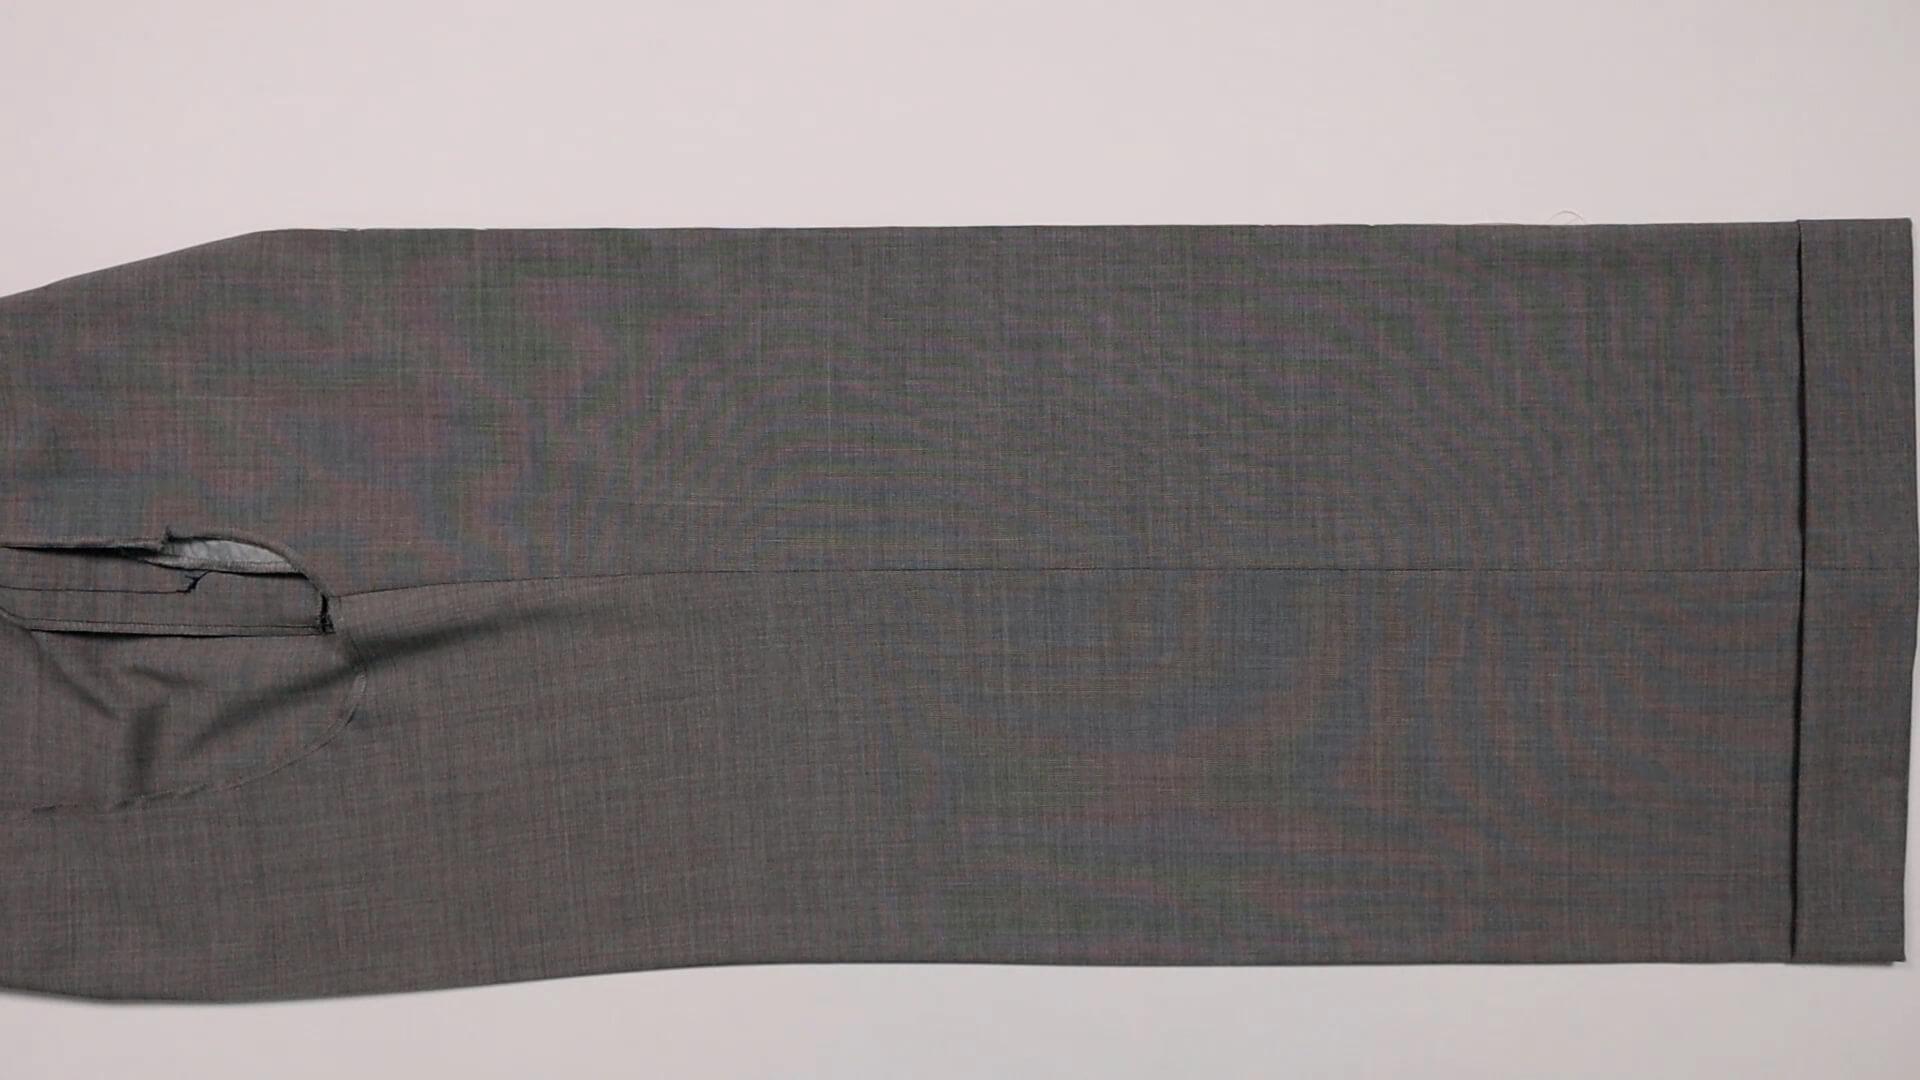
I place the trouser leg in front of me so that the inside leg seam is facing upwards and the crease on the front of the trousers is slightly gathered and not stretched.
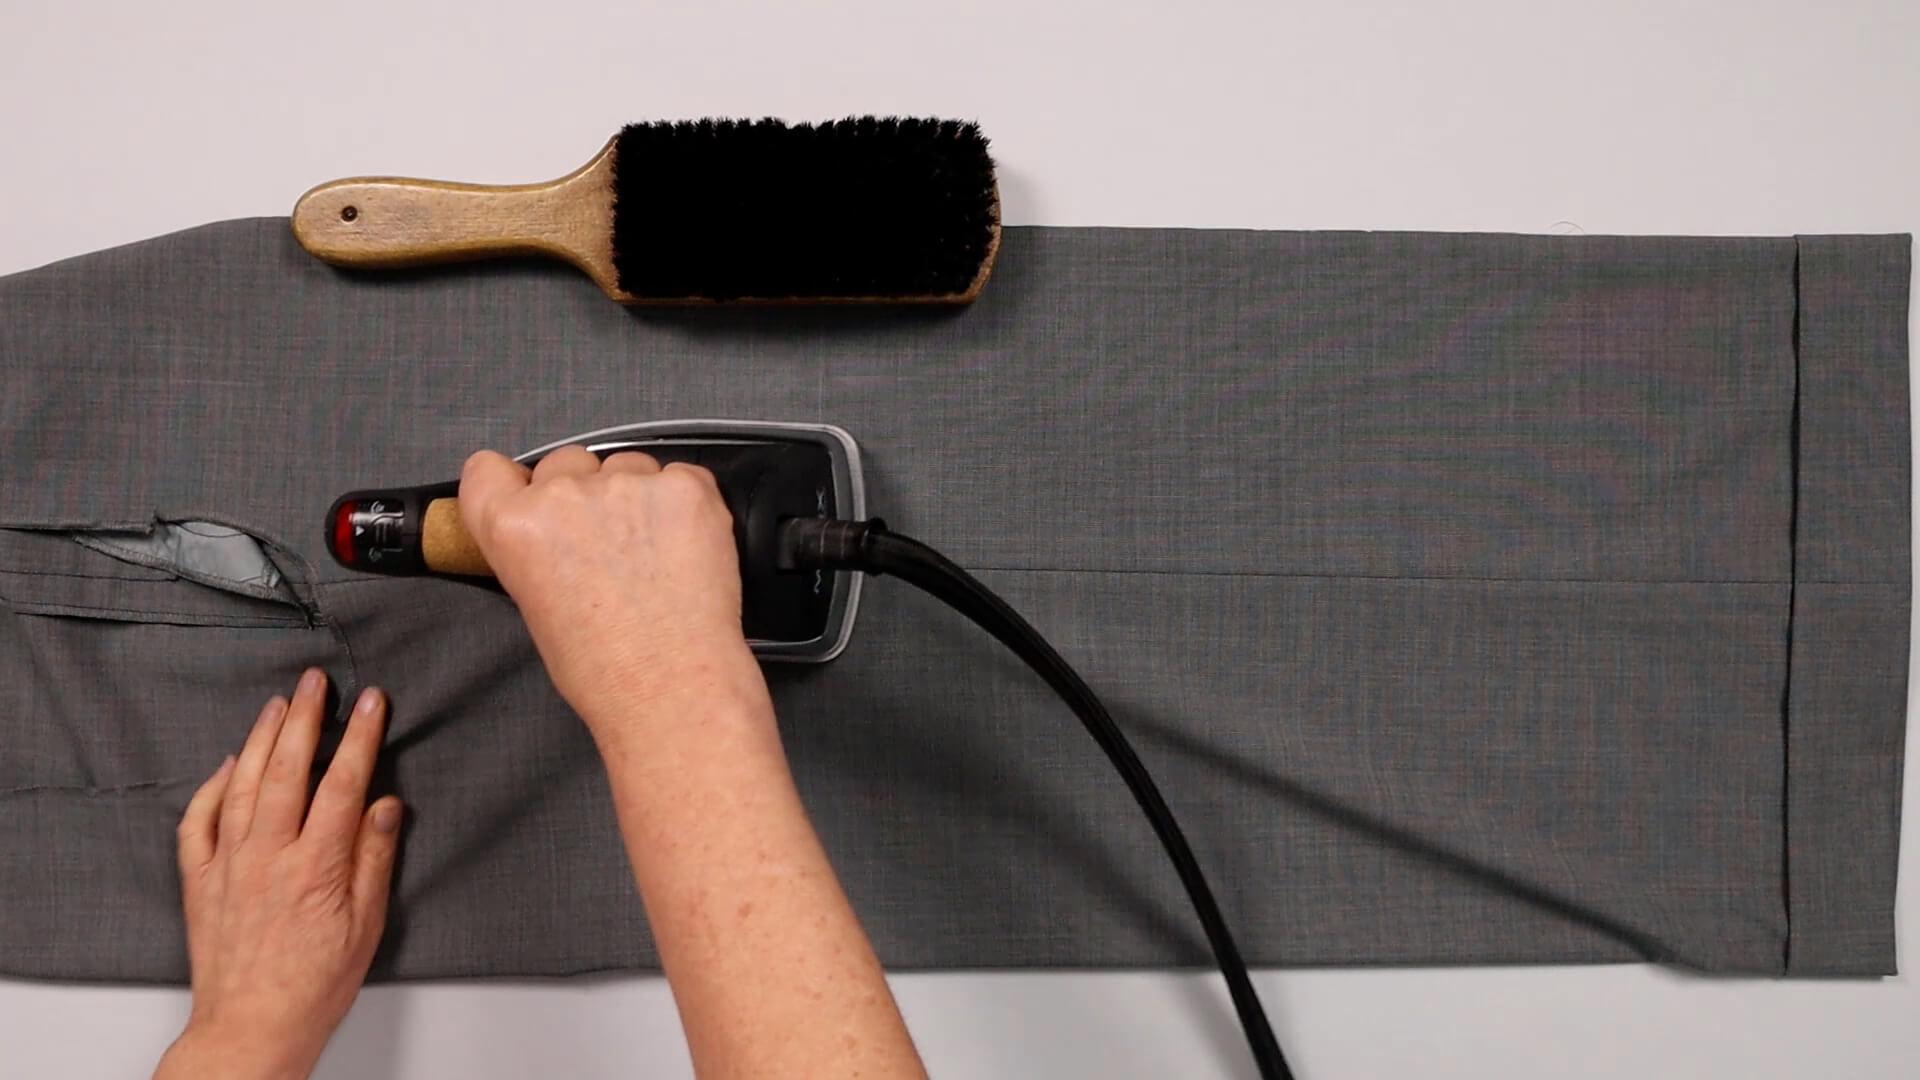
Then I place an object, in this case my clothes brush, on the front crease so that it doesn’t move.
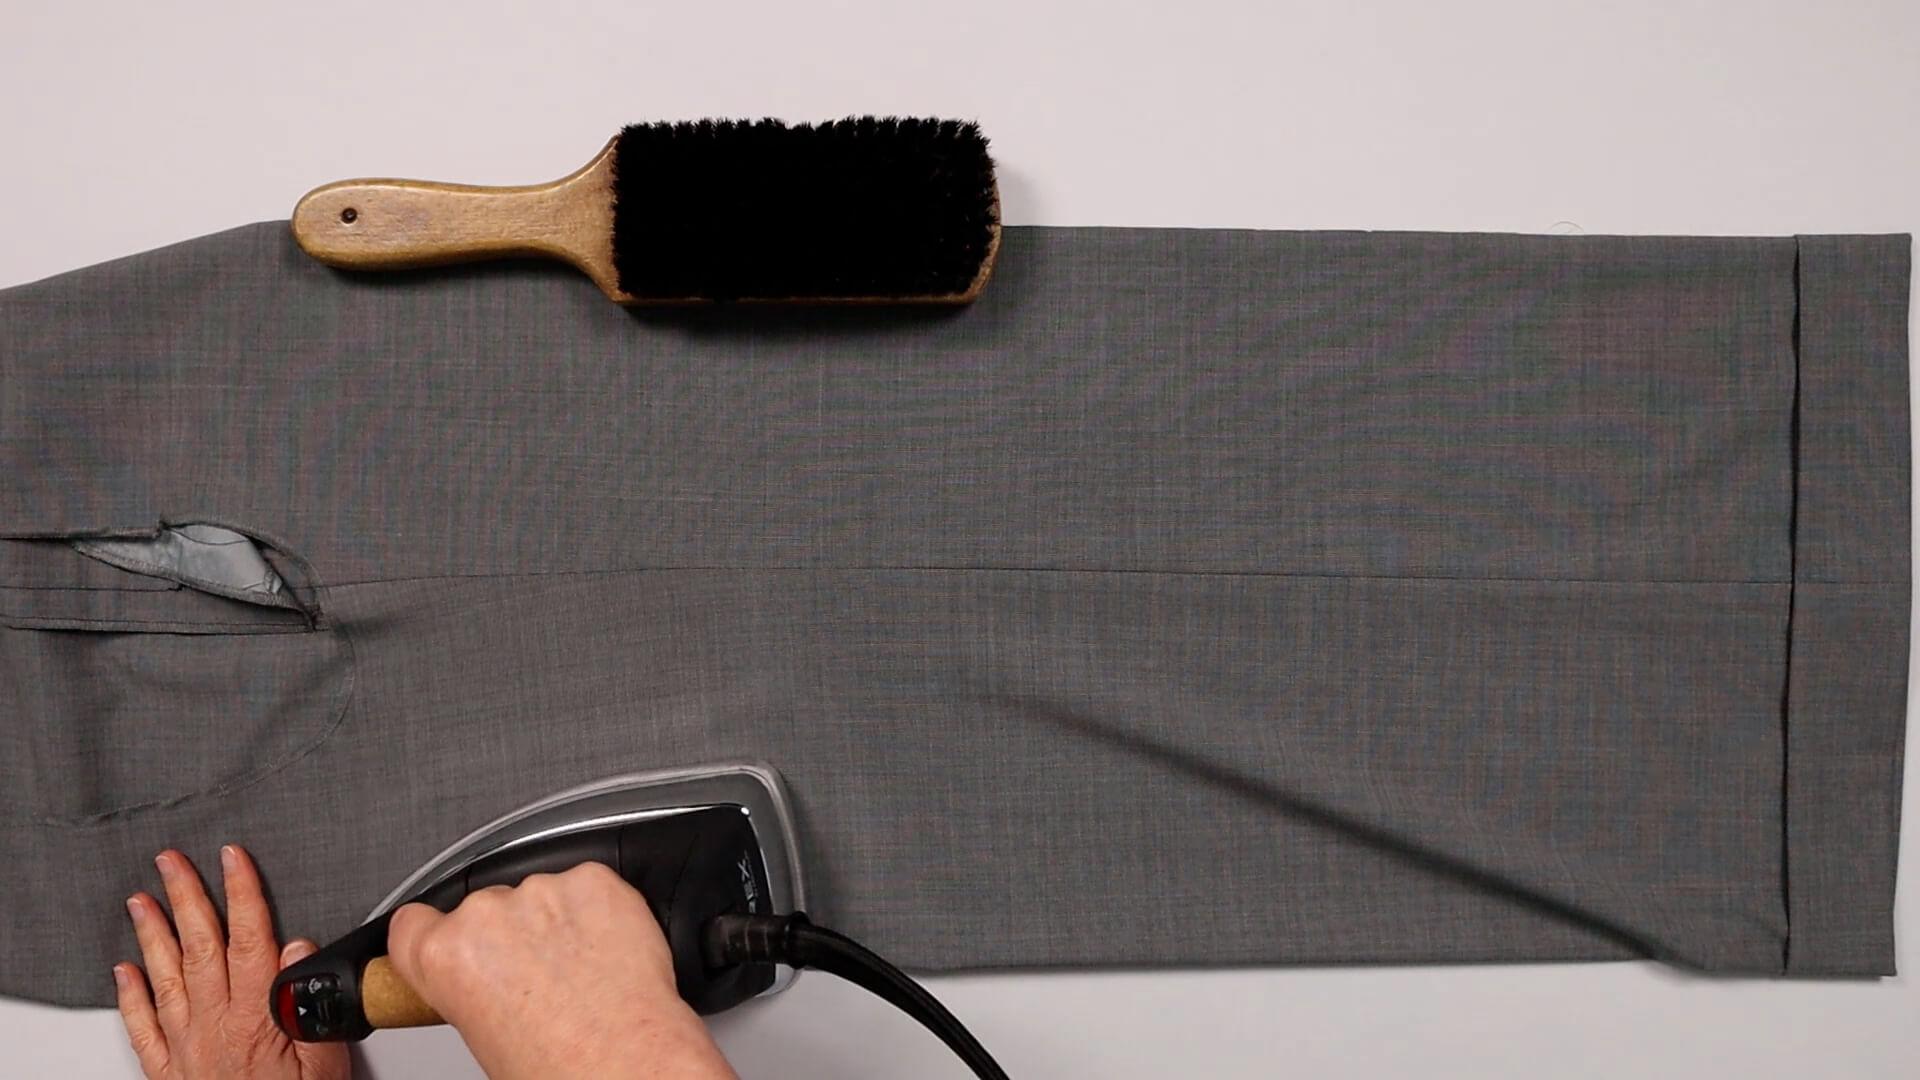
I start pressing about a hand’s width above the inner leg seam, i.e. approximately at the level of the fly end. Below the seat, I try to iron away the width at the back crease or keep it short. I do this very carefully in several steps so as not to iron any creases into the fabric.
As this step is difficult to explain with pictures, I recommend you take a look at the video instructions.
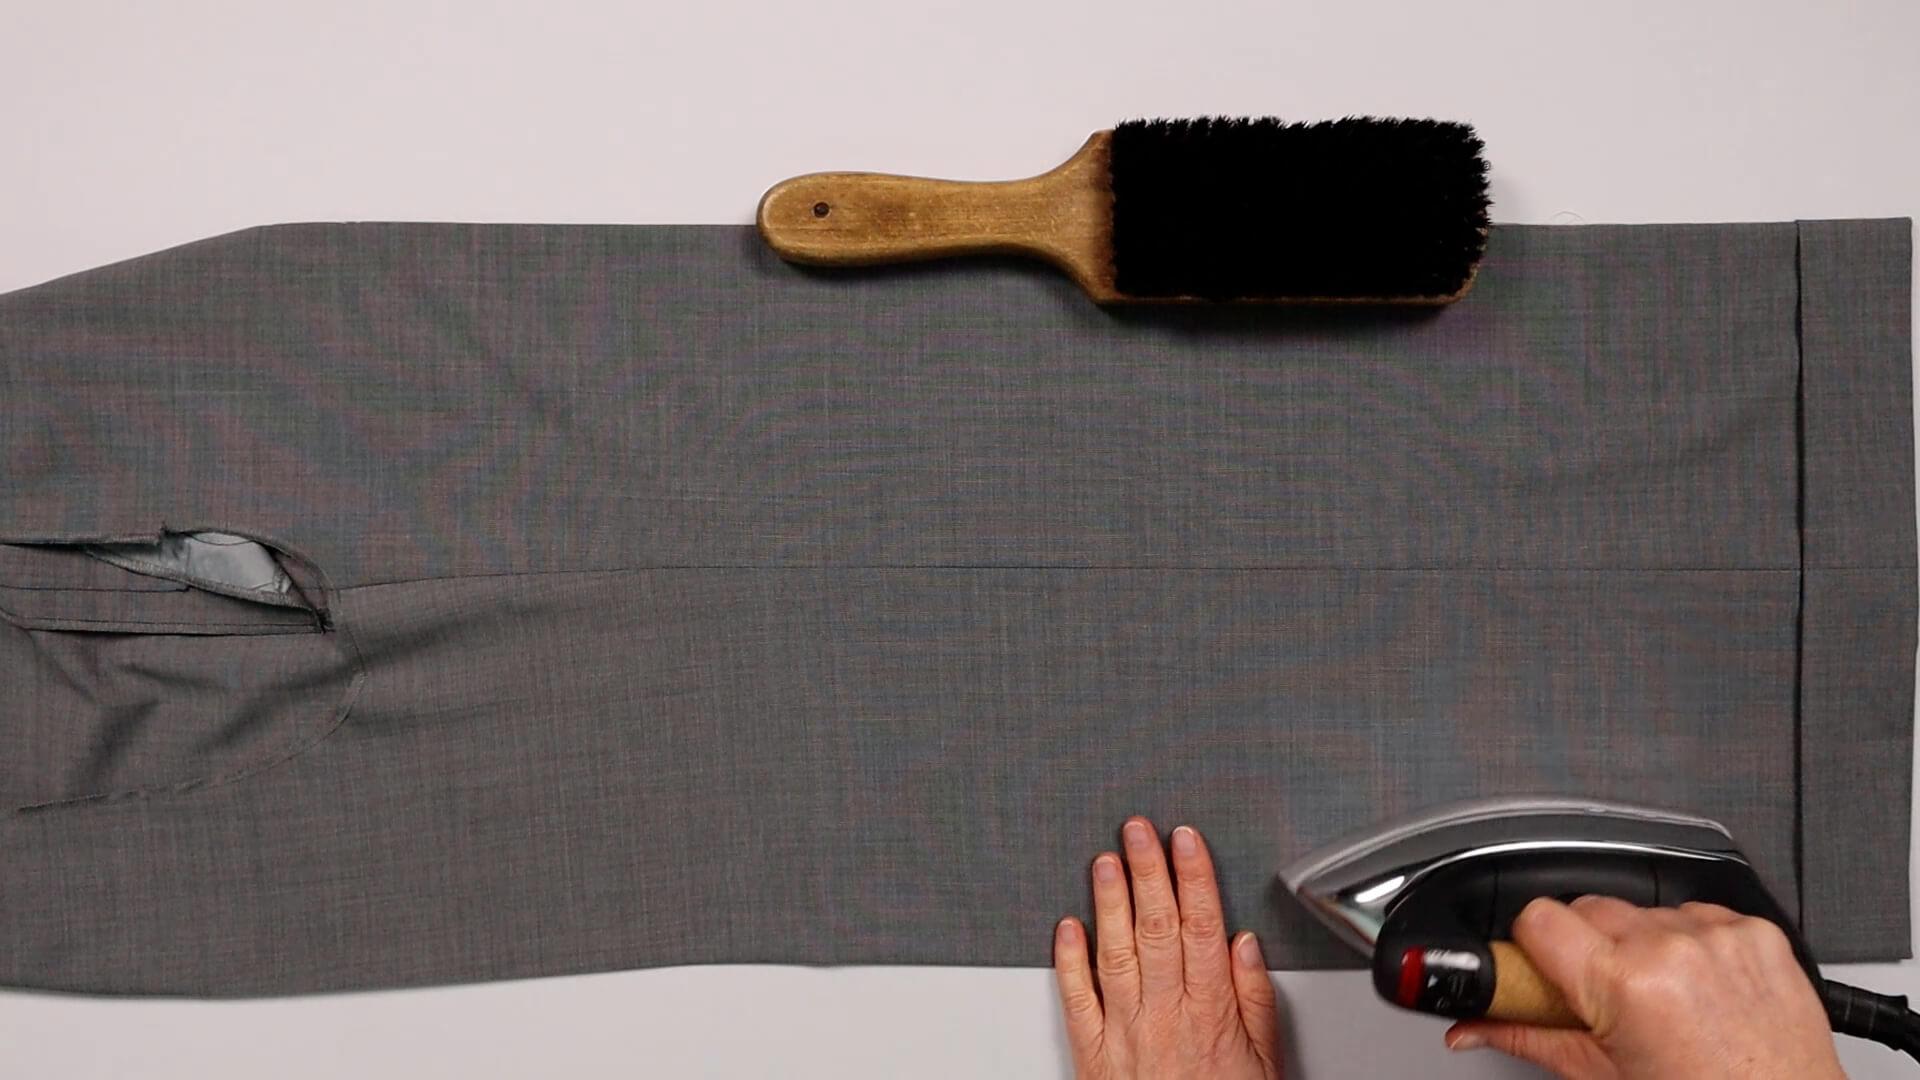
Move your object further down towards the hem, while continuing to press the back crease. Press right to them hem.
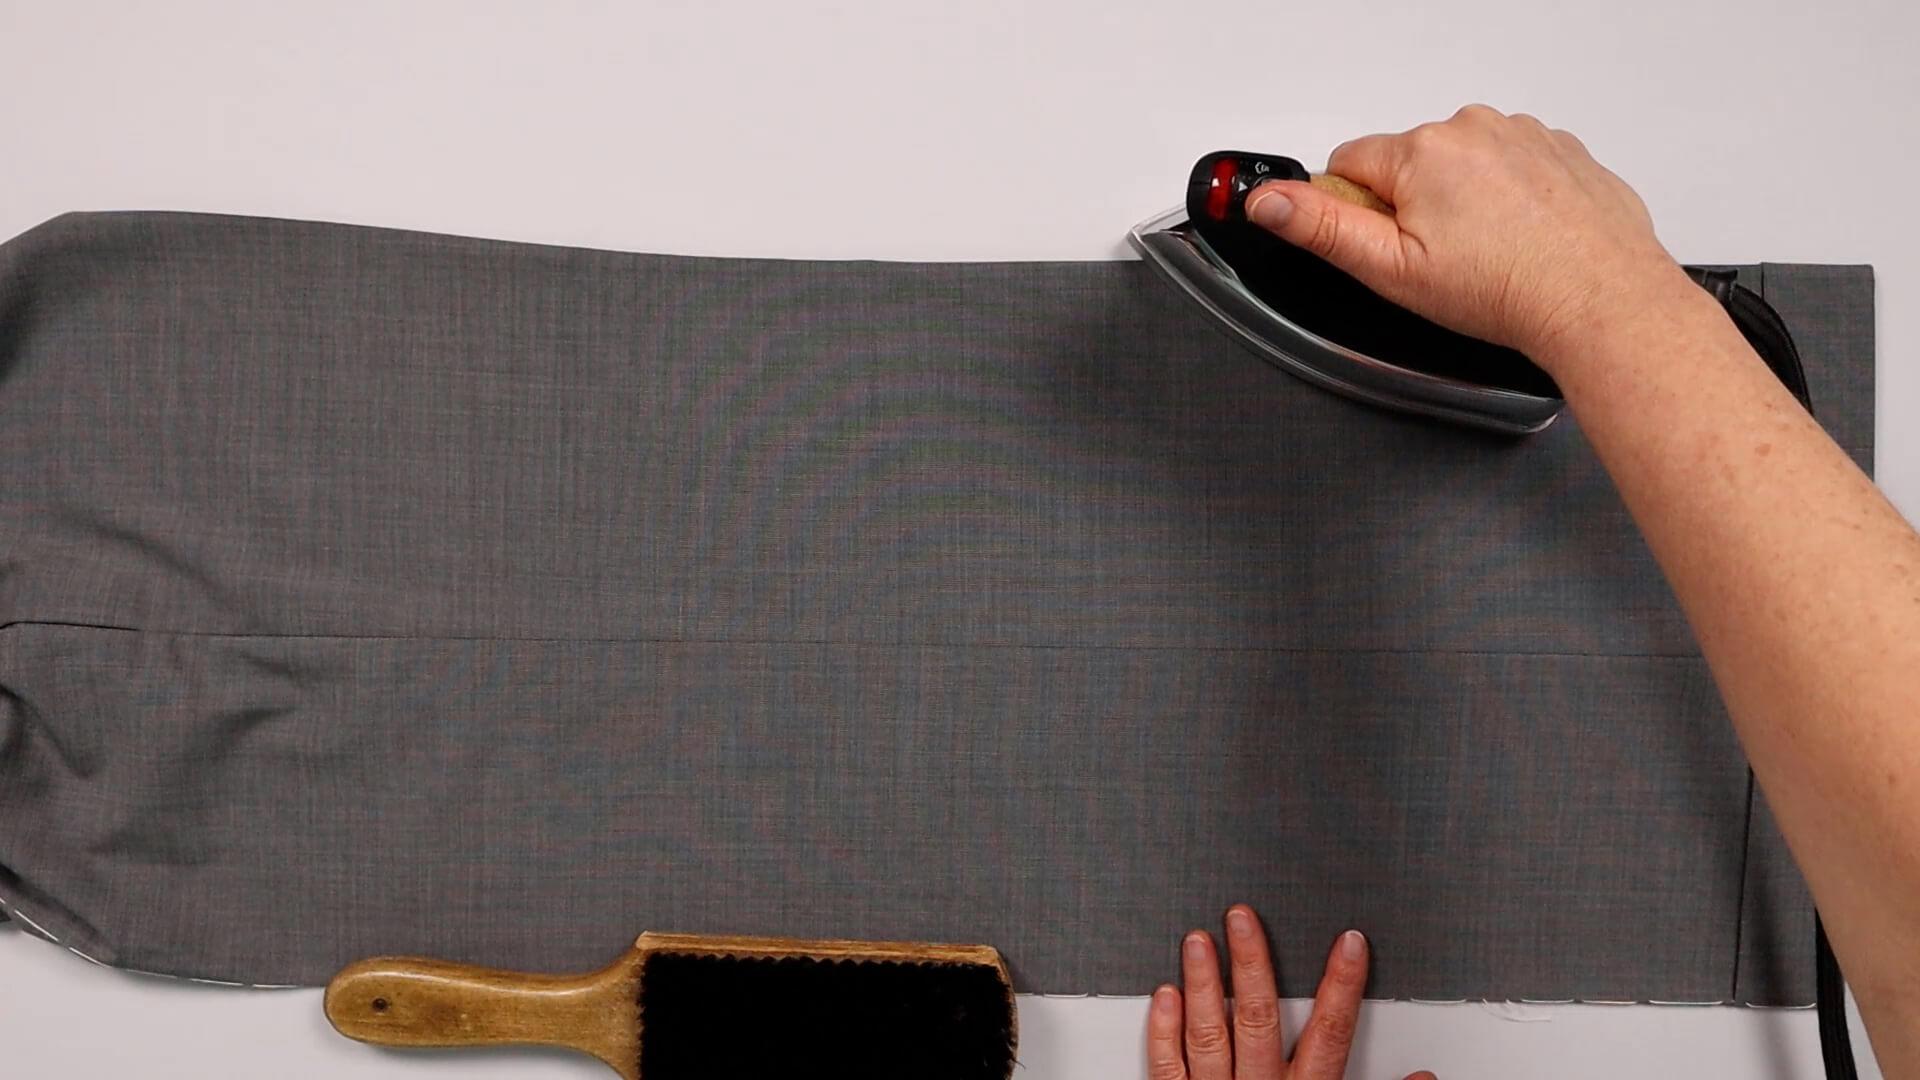
Finally, I turn the trouser part over again, weigh down the front crease again and iron out the entire leg from this side too.
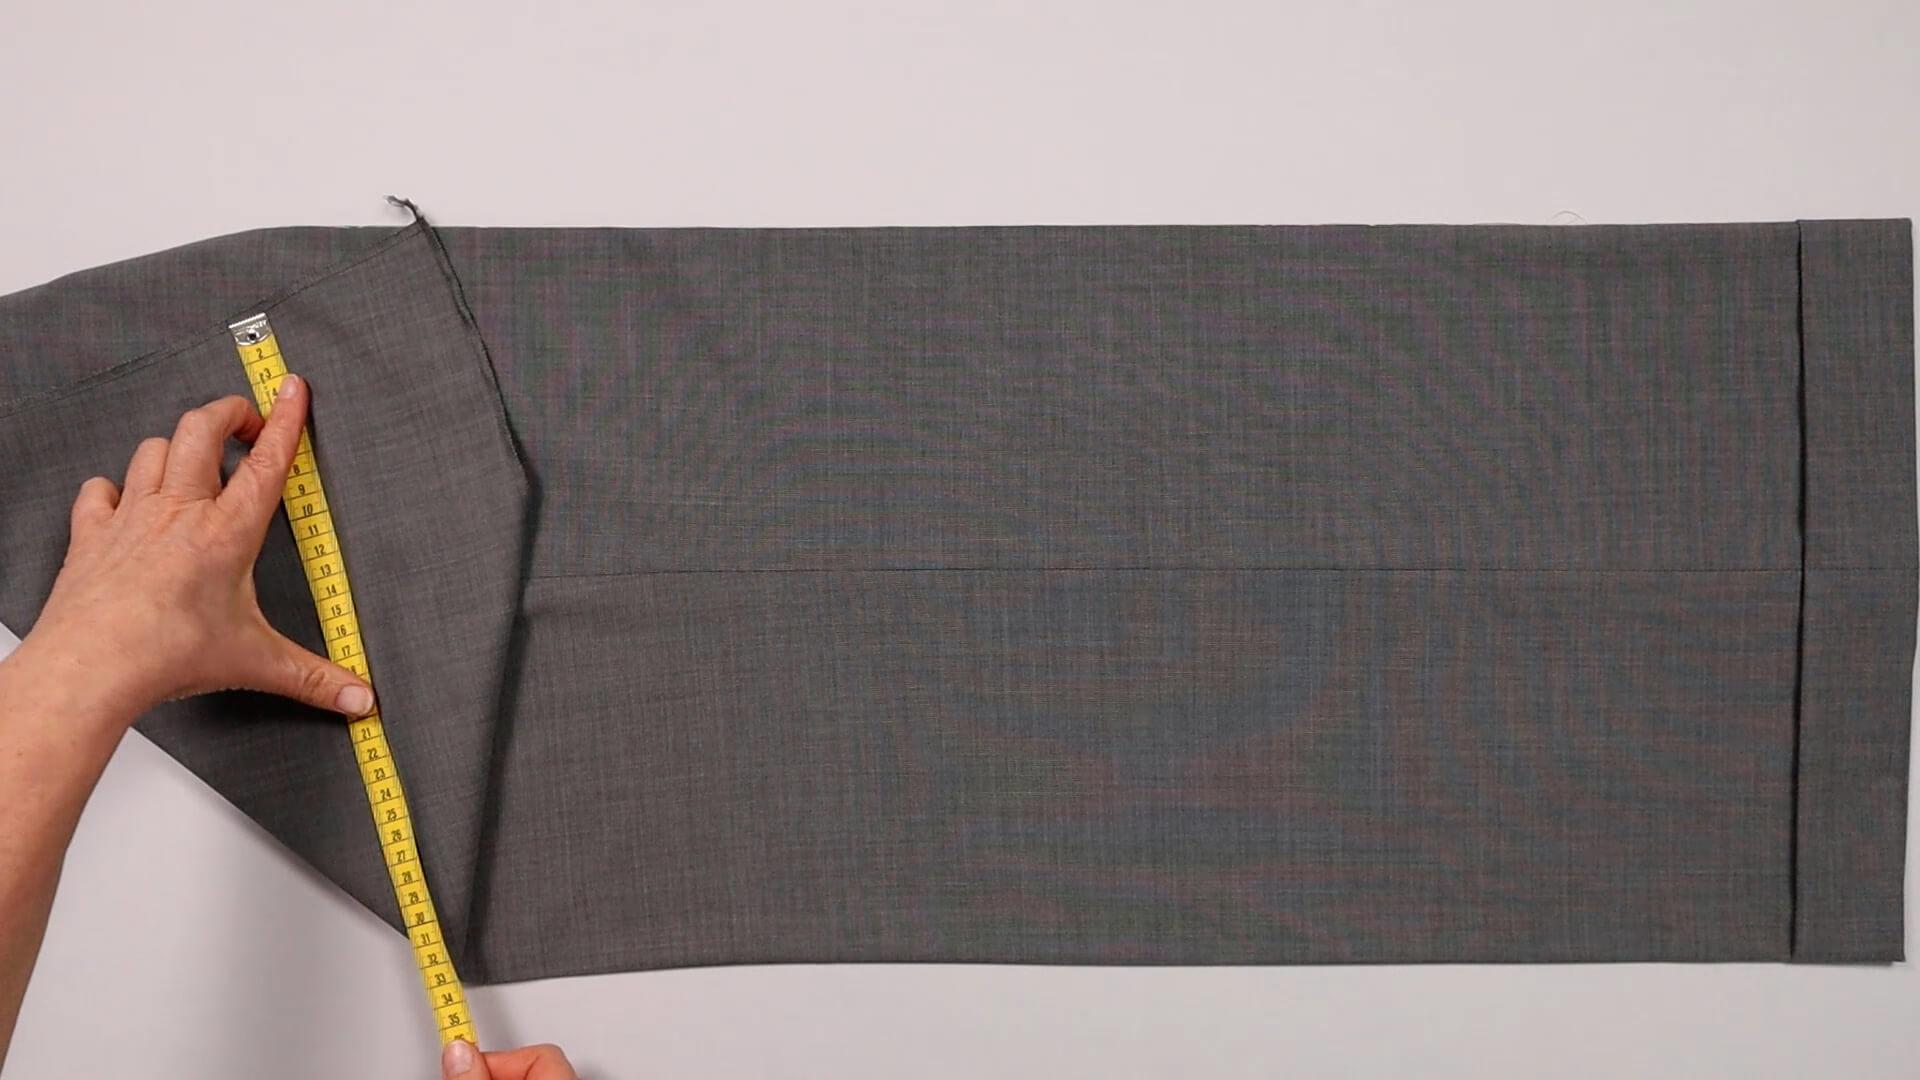
Then I measure the height of the crease on the back trousers and transfer it to my other trouser leg, so that the creases start at the same height of the seat, and iron the crease into the second trouser leg as well.
Here you will find the links to the next steps:
If you’re not quite ready yet and perhaps want to start at the beginning, you’ll find some links here:


