Loading cart contents...


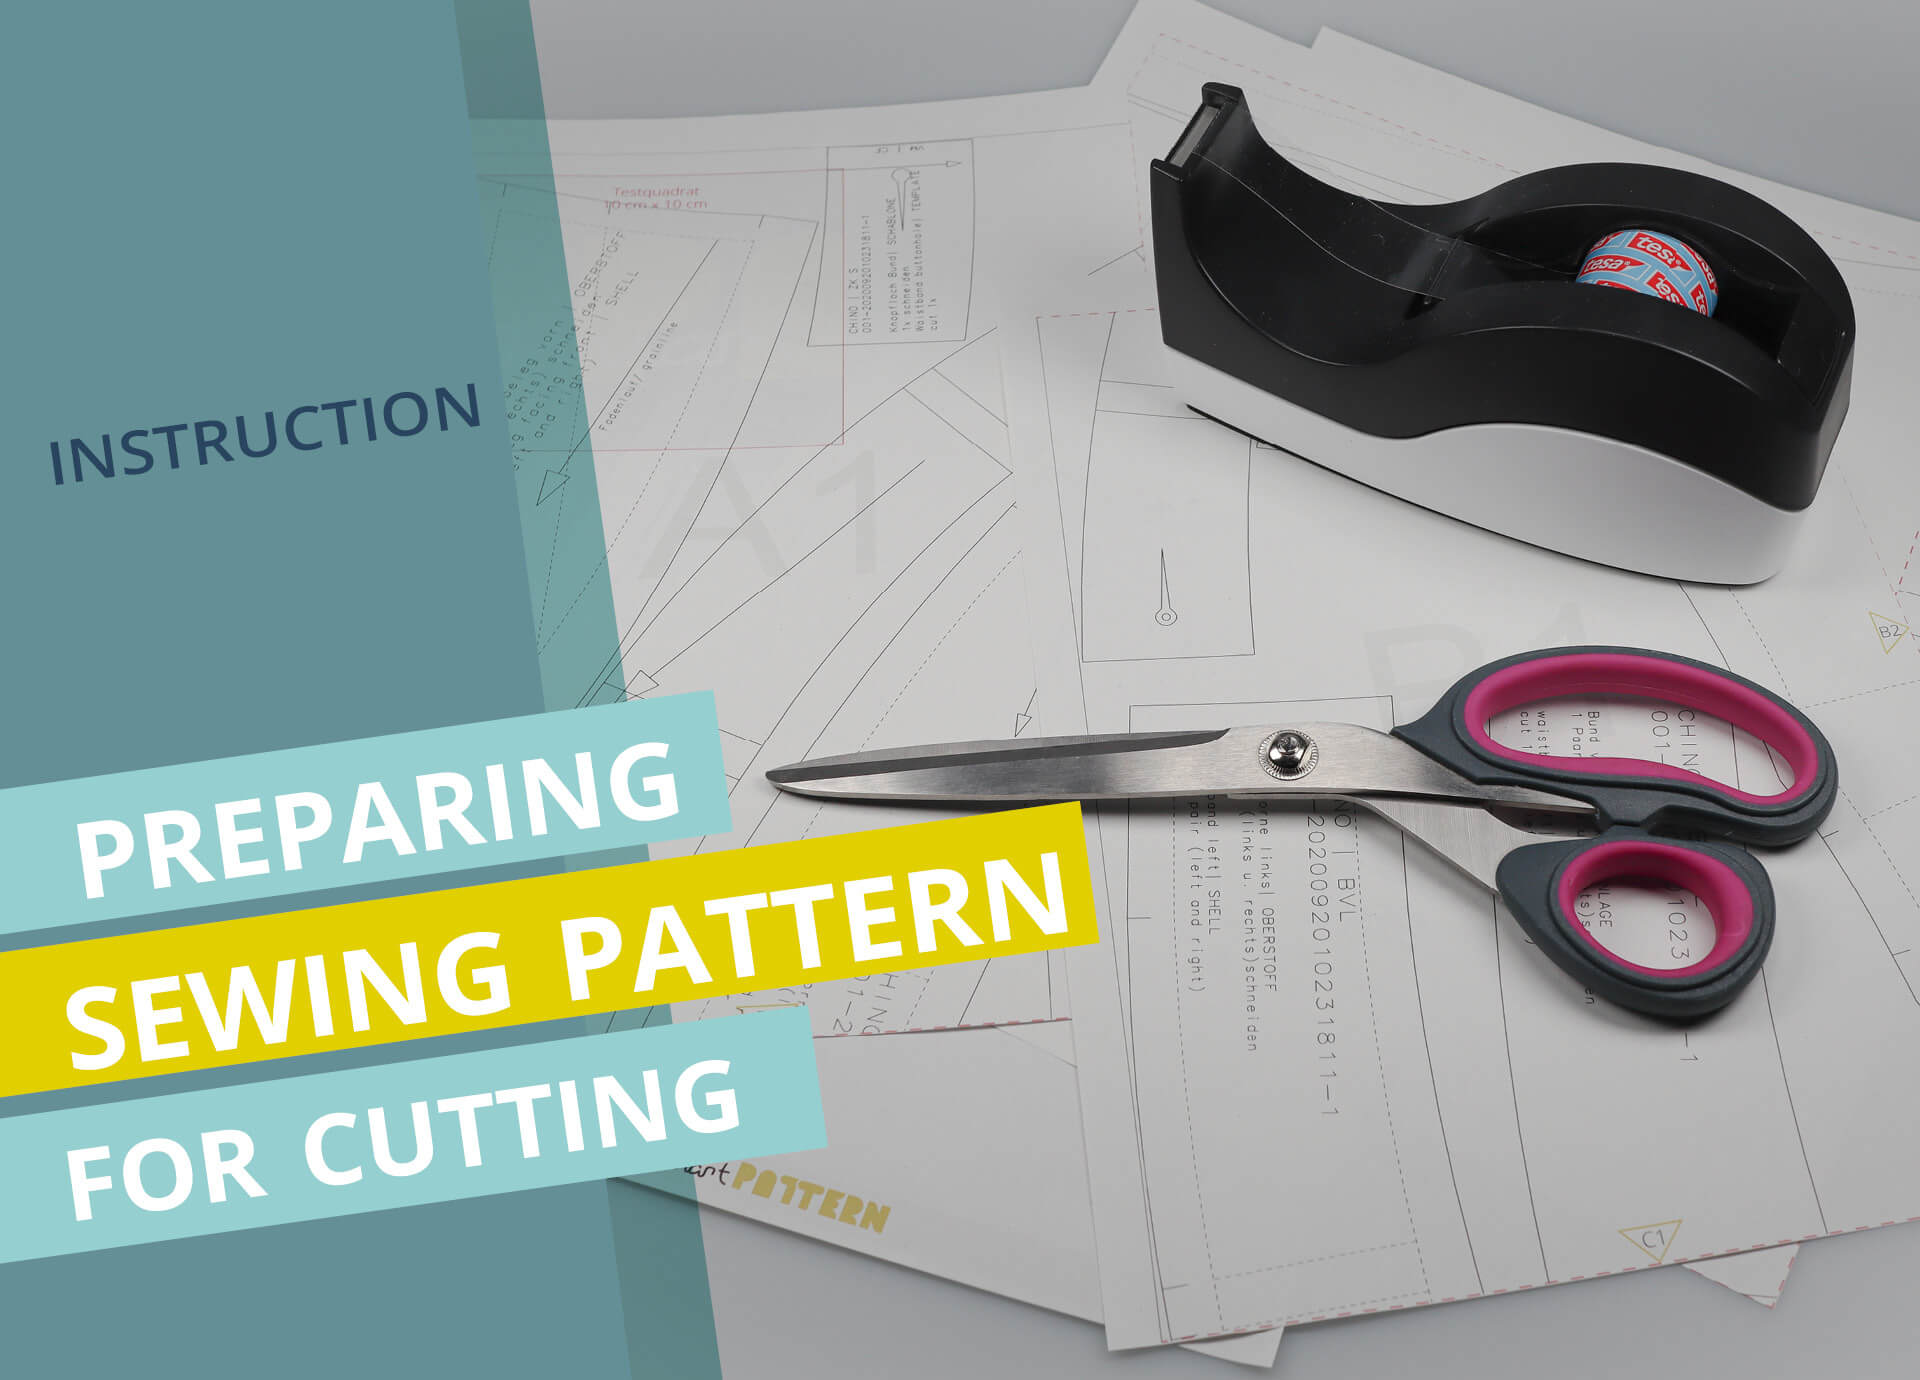
Preparing the sewing pattern for cutting
In this step-by-step guide, I explain how to prepare the pattern for cutting. The first part is about printing and assembling a pattern in PDF format. If you already have your pattern in large format you can skip the first part directly and continue reading on the topic of “Cutting out and sorting pattern pieces“.
Print out and assemble the pattern
1. Print test page

If you have downloaded the pattern in A4 format, only print out the first page. There is always a test square on this. This is used to check whether the print was made to the correct scale. To do this, use a ruler to measure the length and width of the square. Both sides must be exactly 10 cm long. If this is the case, print the remaining pages as well.
2. Printer settings

If both sides of the test square are not exactly 10 cm long, you must adjust the printer settings. Sets the scale to “original”, “actual size” or “scale: 100 %”. Different terms are used here depending on the printer model and manufacturer. If the quality of the printout is not sufficient, you can also adjust the print quality.
3. Arrange the pattern pages

The pages of the pattern are arranged according to the following system: You will see a letter with a number next to it in the middle of the background on each page, e.g. A1. Lay out the pages according to the image above: all pages with the same letter are forming a row with increasing numbers. The colounms are formed by the different letters..
4. Cut away the edges

Now cut off the bottom and right-hand edges of the sheets that have a following page to the bottom and/or right. You can tell which page is the next page by the labels in the triangles, which point to the next page like arrowheads.
5. Glue the pattern together

Then glue or tape the edges together at the edges of the following pages. In the end, you will have put the complete pattern sheet together like a puzzle.

Cutting out and sorting the pattern pieces
6. Cutting out the pattern pieces

Now cut out the individual shapes = pattern pieces from the sheet along the outer lines. All our patterns already include the seam allowances. The inner dotted lines that can be seen on most pattern pieces (except those for interfacing and templates) are the seam lines.

7. Sort pattern pieces

To make cutting easier, the pattern pieces are sorted by material. You will always find the information on this in the labeling of a pattern piece in the 5th line – on the right hand side written in capital letters (see colored marking in the magnifying glass). This means that you sort all pieces with the same description, e.g. MAIN FABRIC, INTERFACING, TEMPLATE etc., into one stack. Depending on the chosen pattern, there may be different materials. However, every model has at least one MAIN FABRIC.
You can find out how to cut the fabric here.