Sew knee lining into trousers #ADD01
Knee linings in front trousers are becoming increasingly rare, although there are many good reasons to use them. The main fabric can slide over the knee lining, which increases comfort, makes the fabrics fall more softly and at the same time reduces bulging. If you don’t like the slight scratchiness of woolen fabrics, a knee lining is a good choice.
In the following article, I explain how to sew a knee lining into front trousers with both a video and illustrated text instructions. You can apply the same procedure to all trouser sewing patterns. I hope you enjoy this special form of processing!
1. This is required:
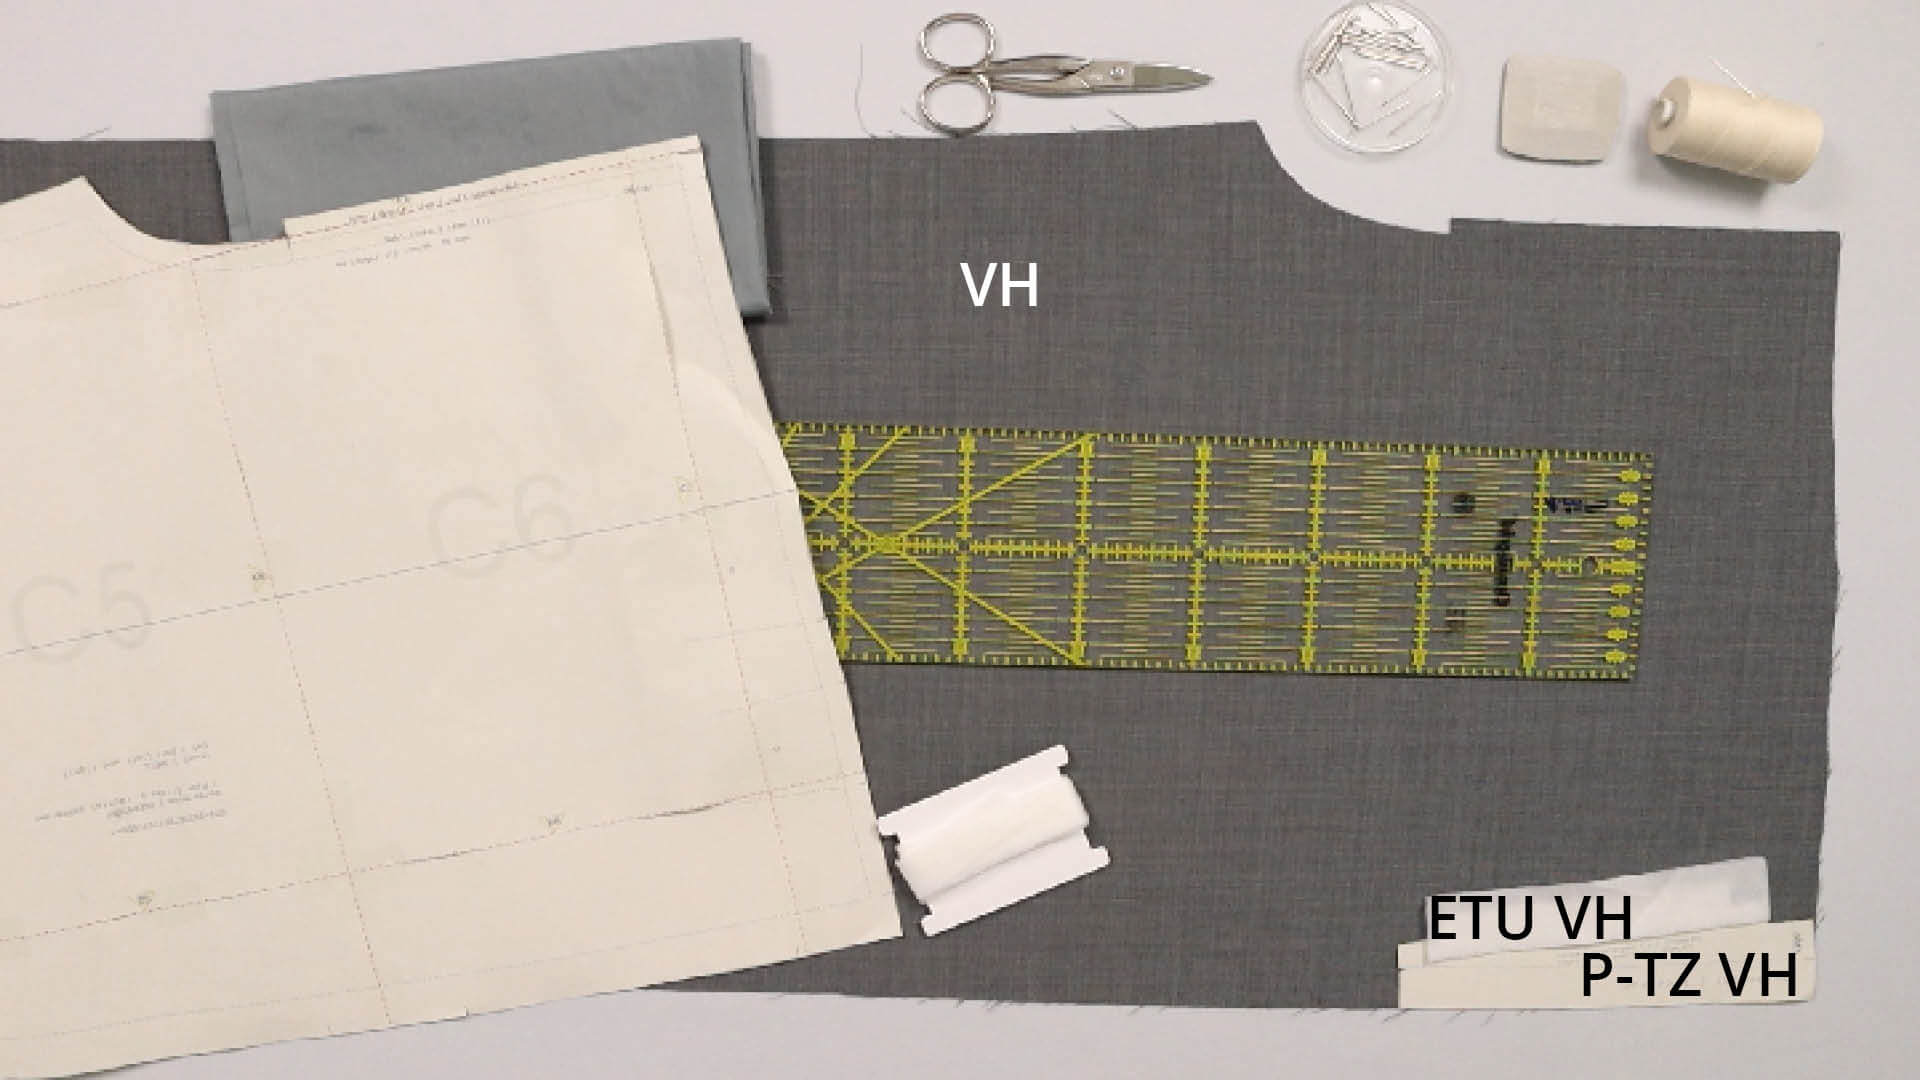
Pattern pieces made from main fabric:
- front pieces (VH)- 1 pair; the area for the pocket opening is still cut on at french pockets
Pattern pieces from interfacing:
- stripes for french pockets (ETU VH)
Paper pattern pieces:
- front trousers (VH)
- the template for the front pocket (P-TZ VH), if applicable
Tools and aids:
- lightweight lining fabric
- pinking shears if the lining fabric is stretchy
- Long ruler
- scissors
- chalk or fabric marker
- bins
- basting thread and sewing needle
- edge tape, e.g. T20 from Vlieseline, for seam pockets
2. Trim the front edge
First I trim the front edge of one of the front trouser panels. Which part I do this with depends on which side I want to reach into the fly later to open the fastener.
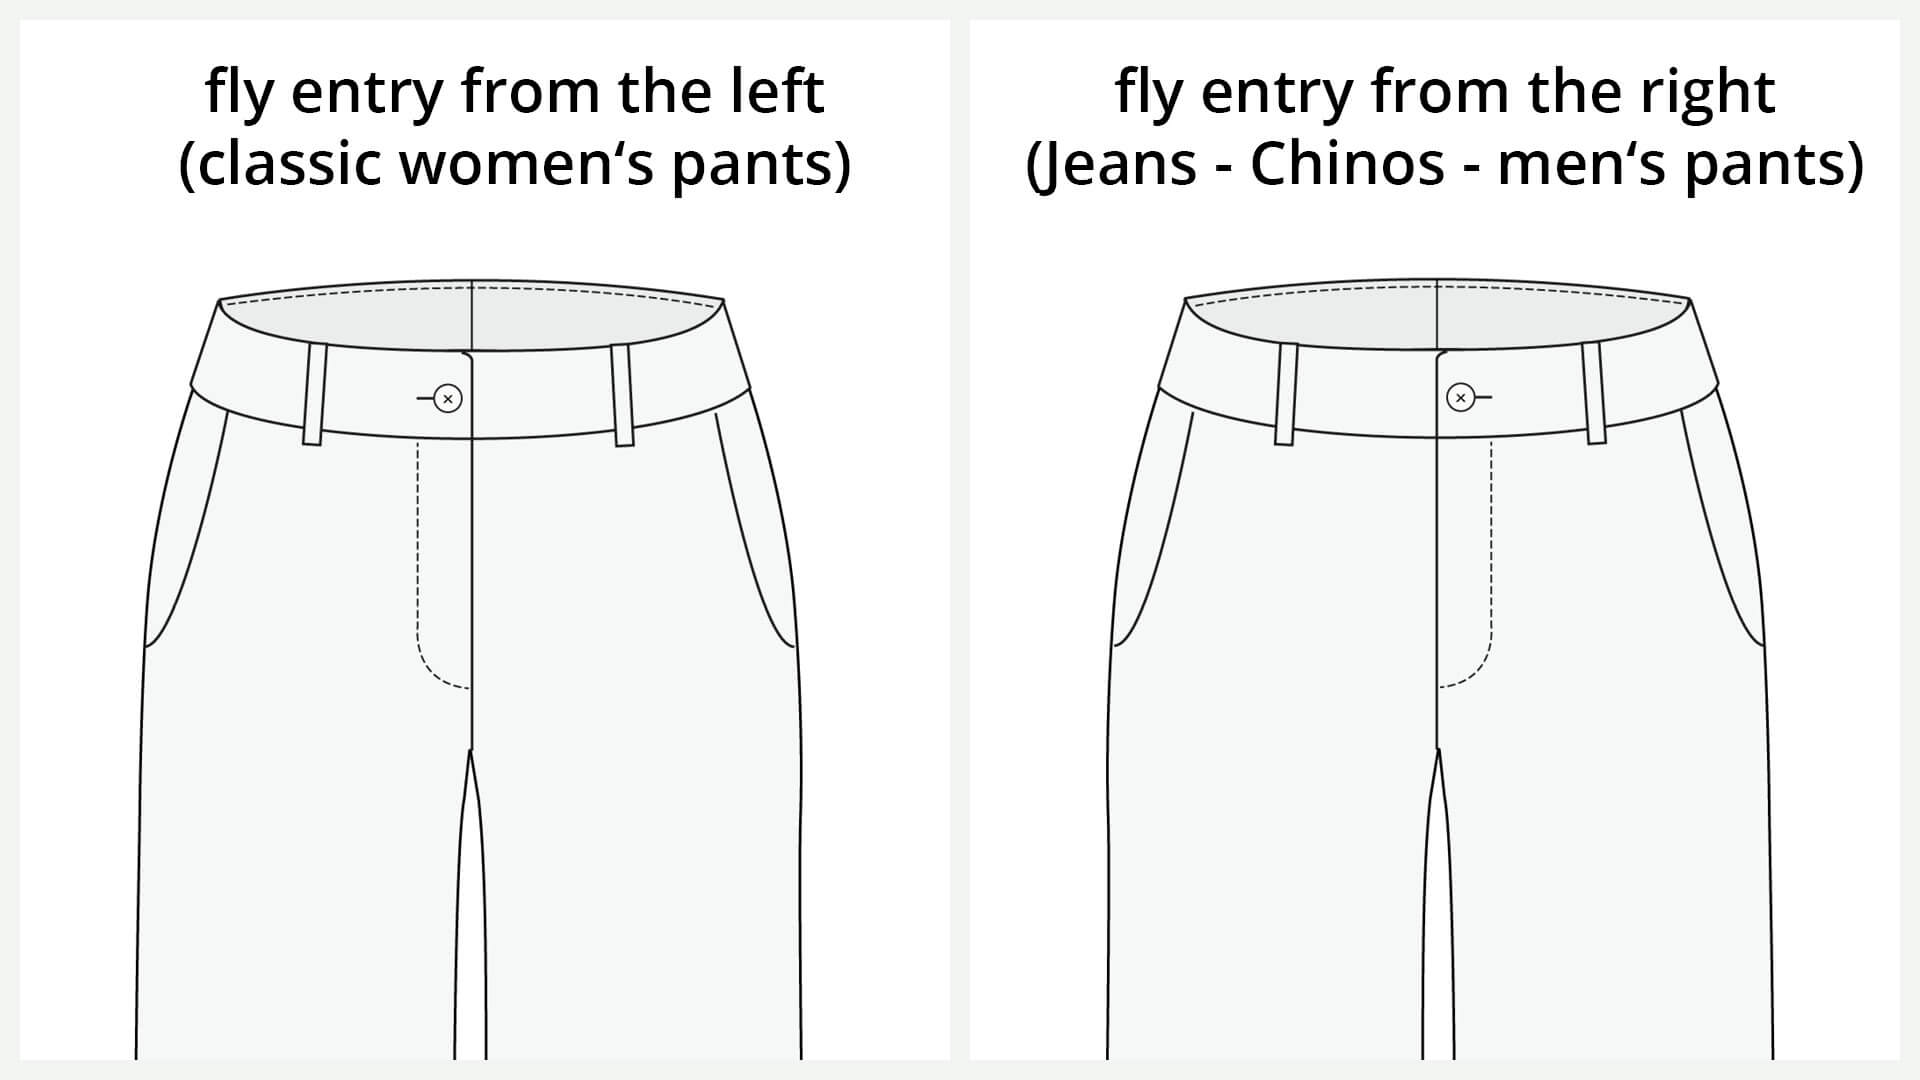
Classic women’s trousers often have the opening on the left side, men’s trousers on the right side.
I’ll show you the classic women’s fly version here. To do this, the right front piece is trimmed at the center front. If you want to have the fly on the other side, you only have to mirror the pictures.
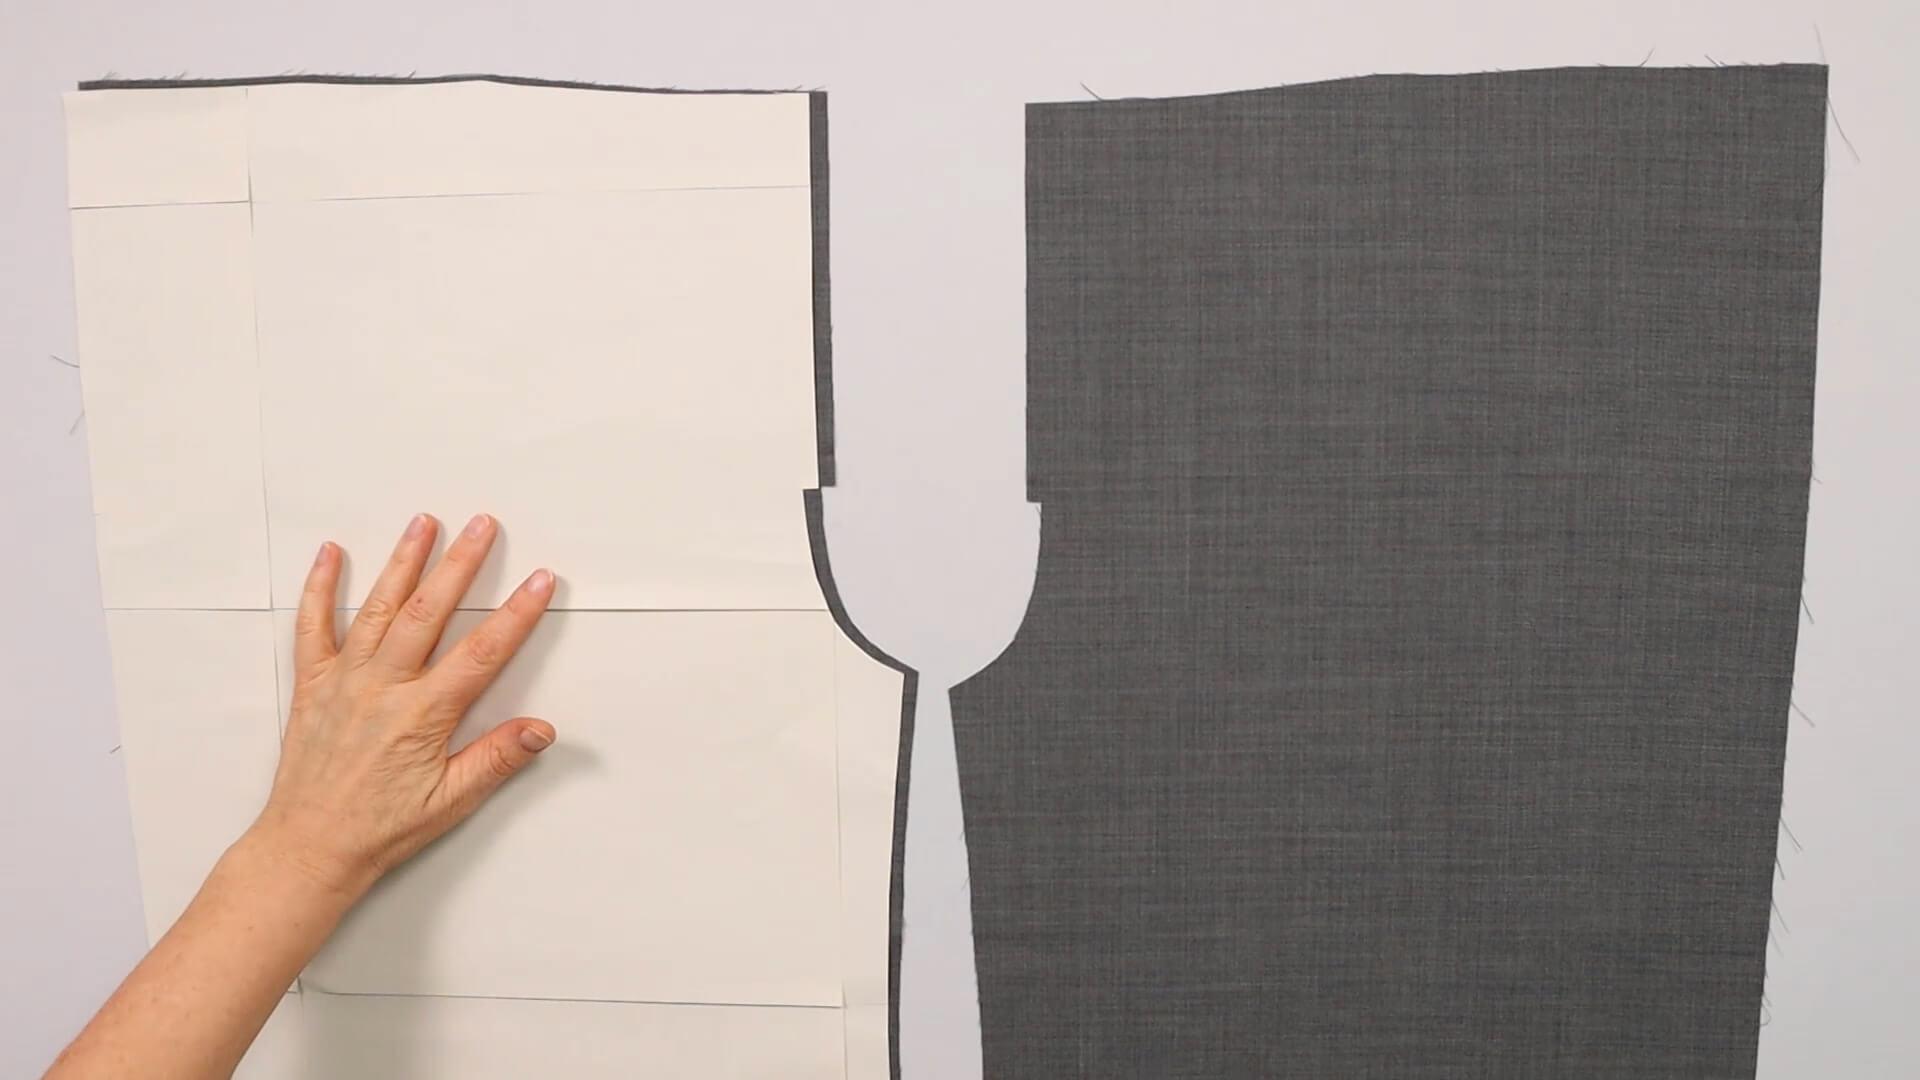
I place the pattern piece on the right front trousers.
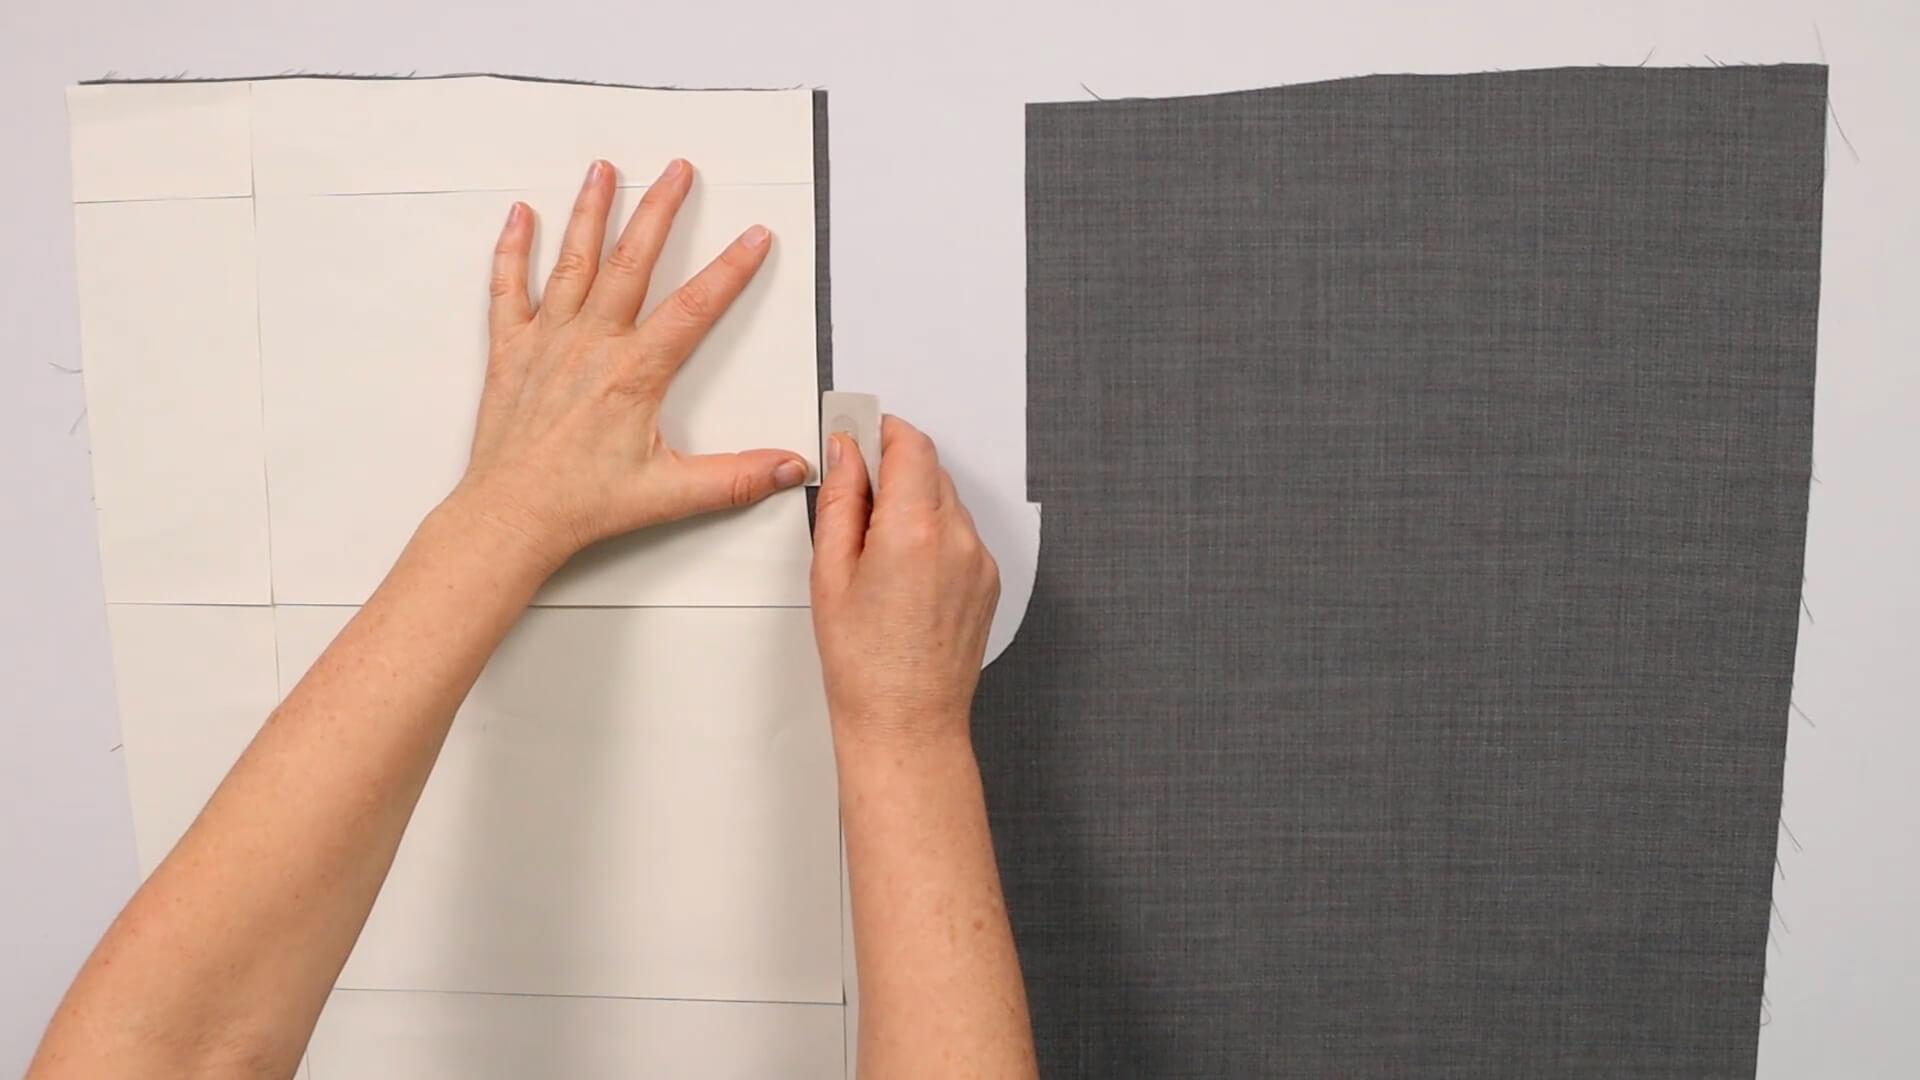
I use tailor’s chalk to mark the line parallel to the front edge up to the top edge.
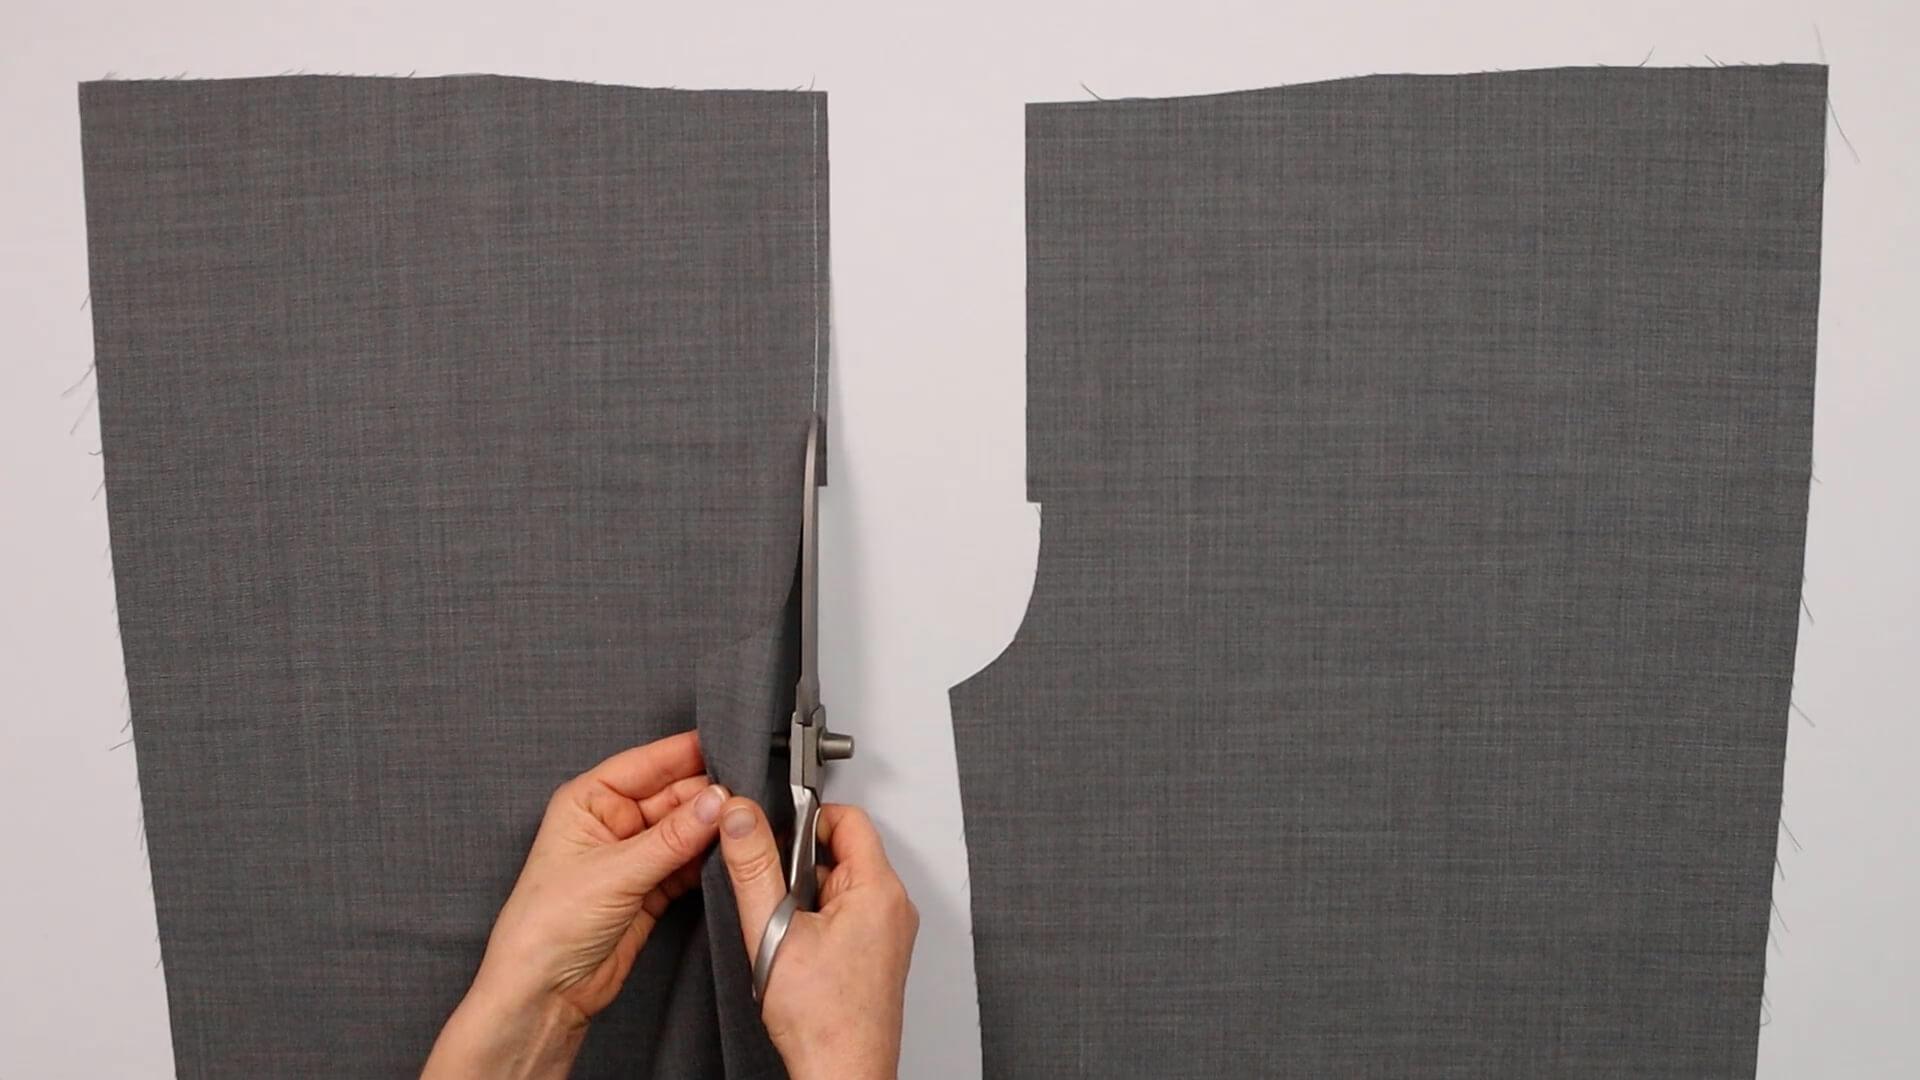
I cut away the narrow stripe of fabric at this mark.
3. Prepare the pocket opening
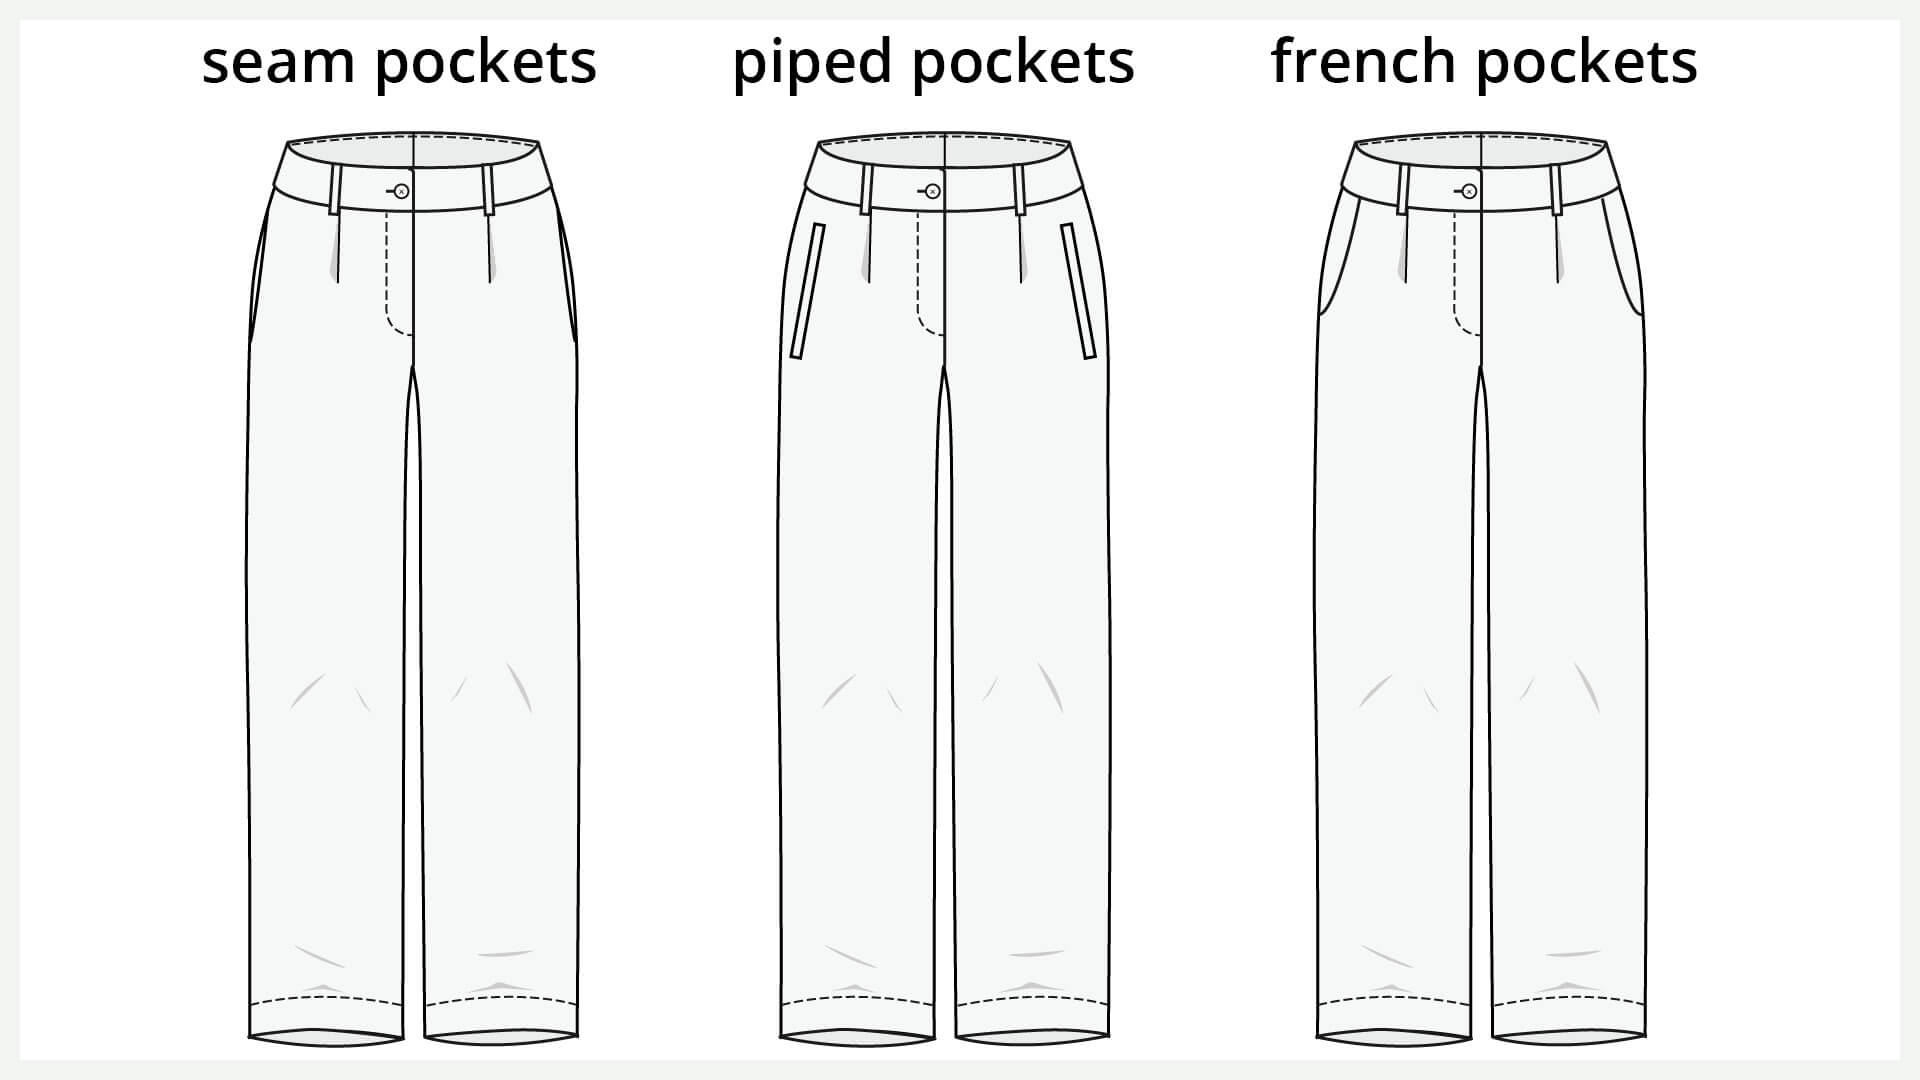
Depending on which version of the front pockets you have chosen, the later pocket openings will now be interfaced. You can skip this point later when you sew the pockets.
With a classic side pocket, also known as a wing pocket, this step is not carried out now. In that case, you can continue with step 4.
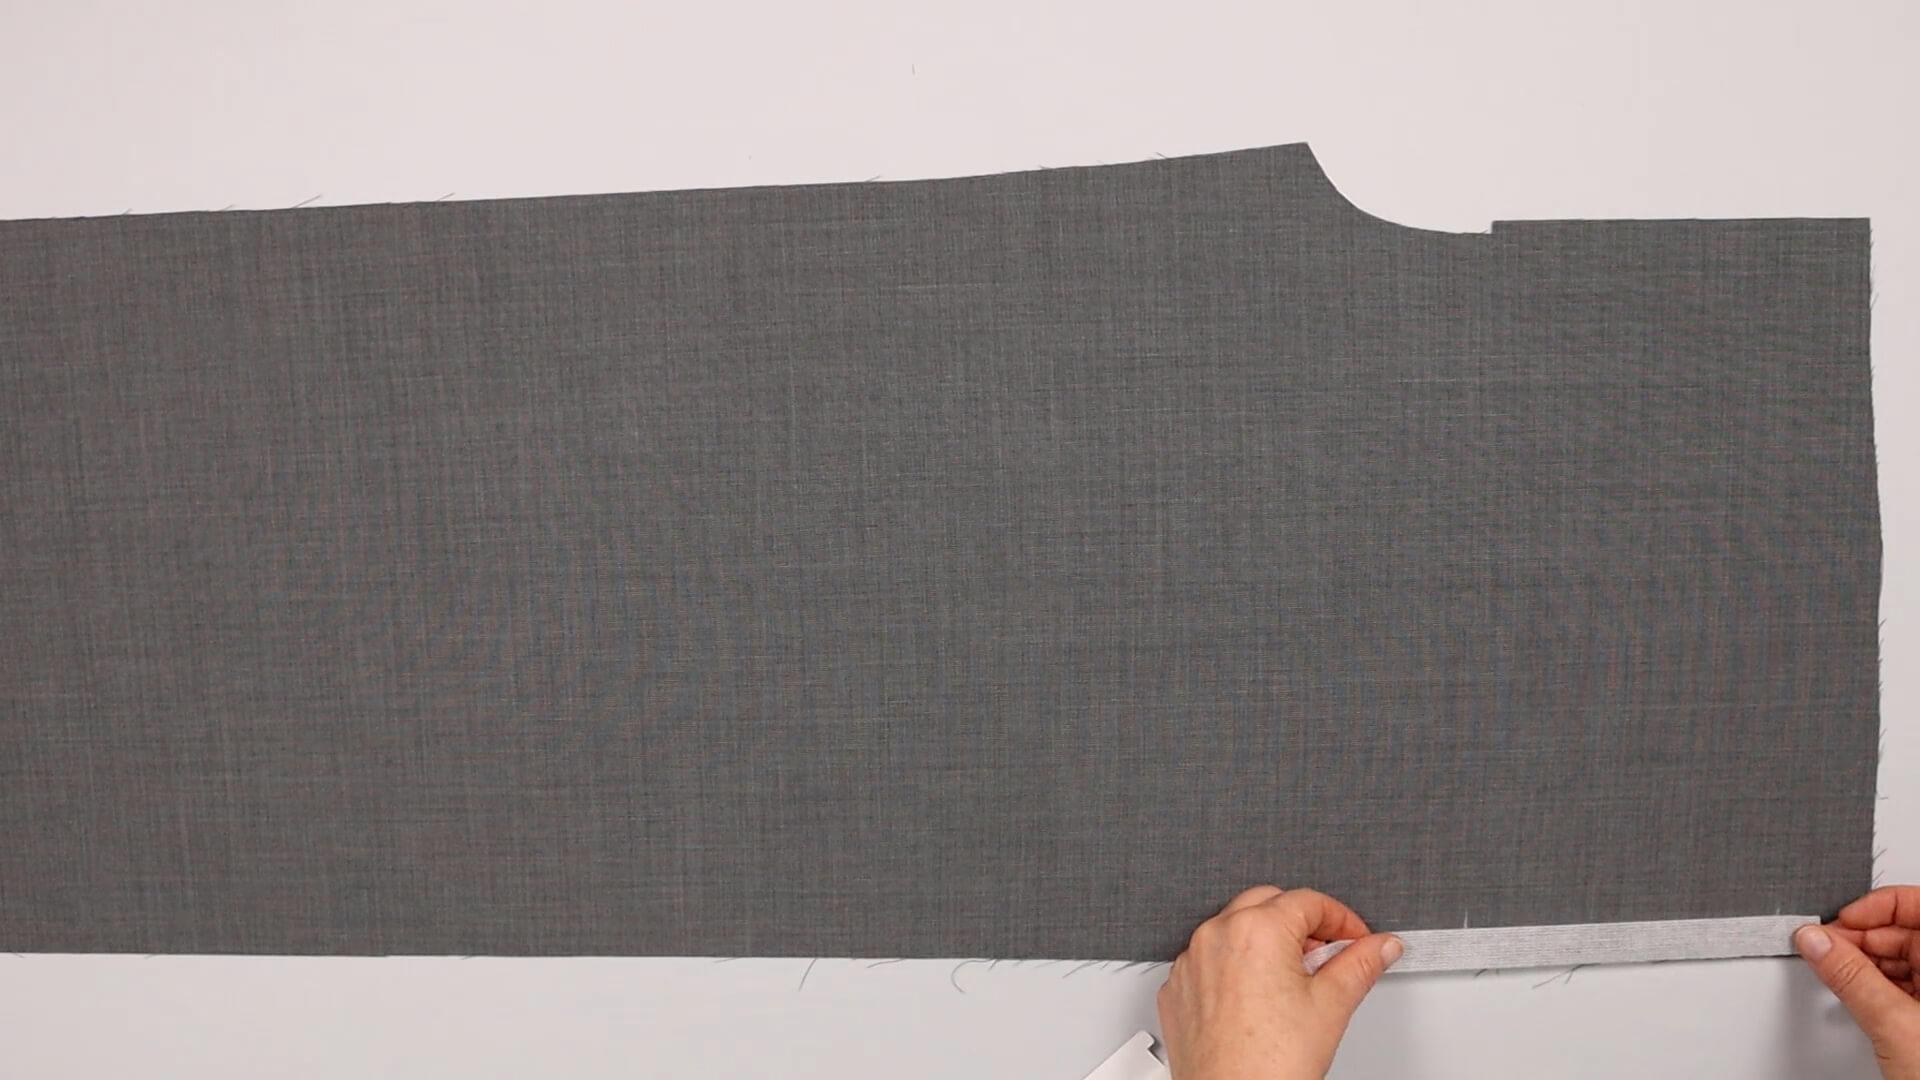
For a seam pocket, I mark the length of the pocket opening on the wrong side of the fabric. I iron the edge tape on and let it extend approx. 1 cm beyond the markings.
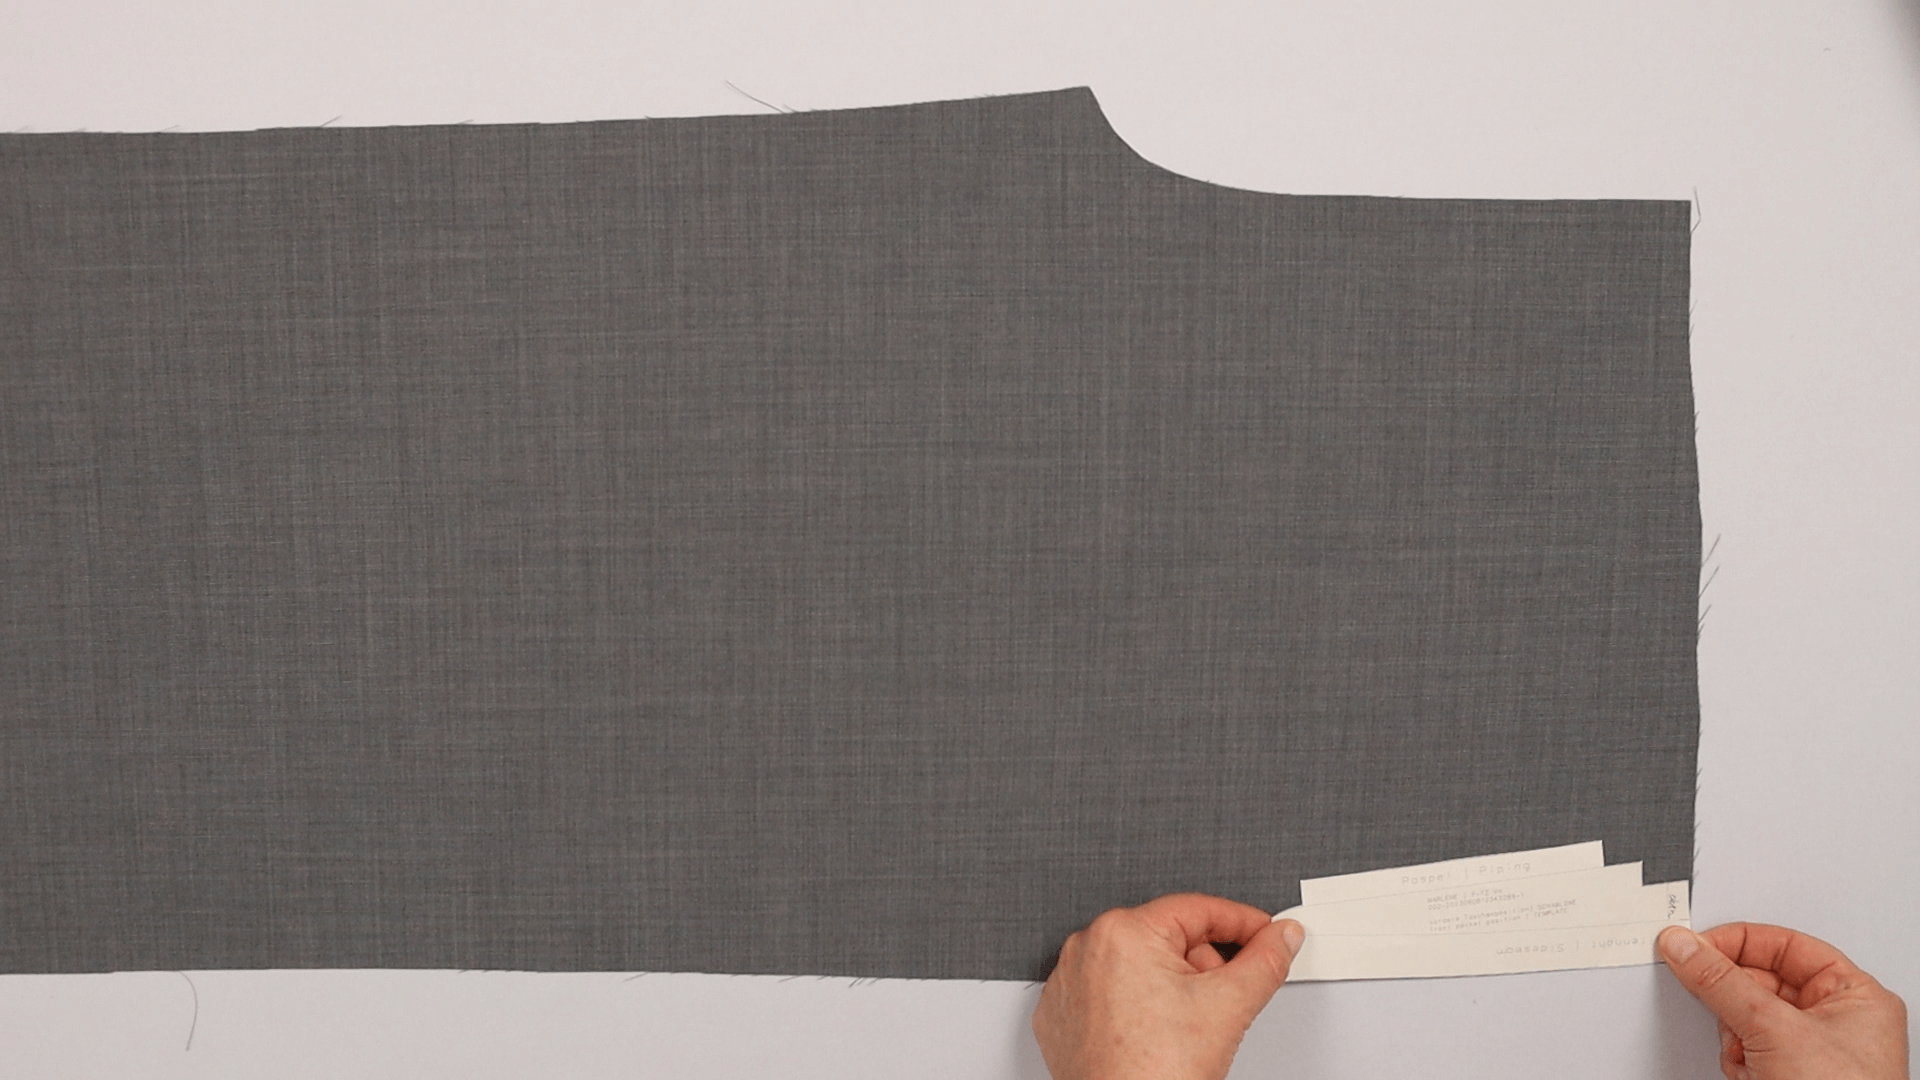
For the version with a welt pocket, a template is included in the pattern sheet, which I place flush at the top and on the outer edge.
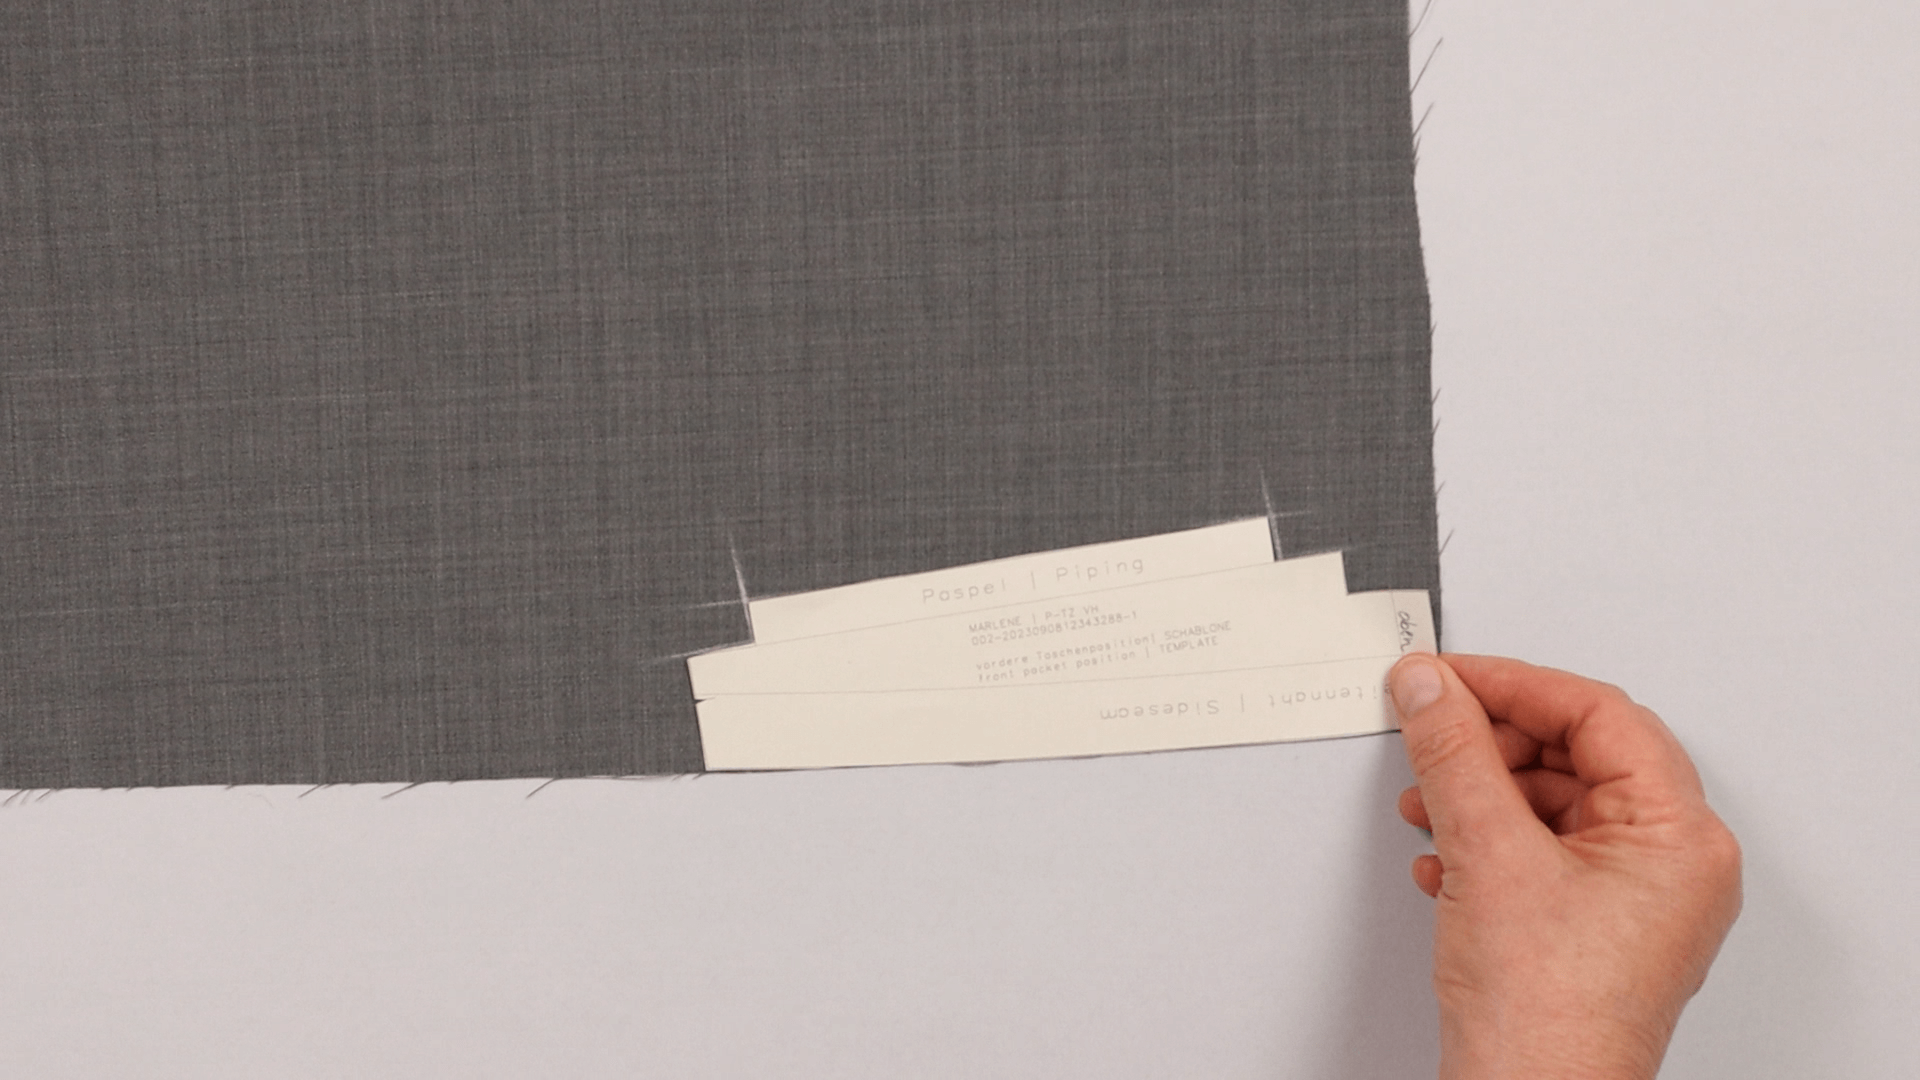
Here, too, I transfer the markings for the later pocket opening to the wrong side of the fabric.
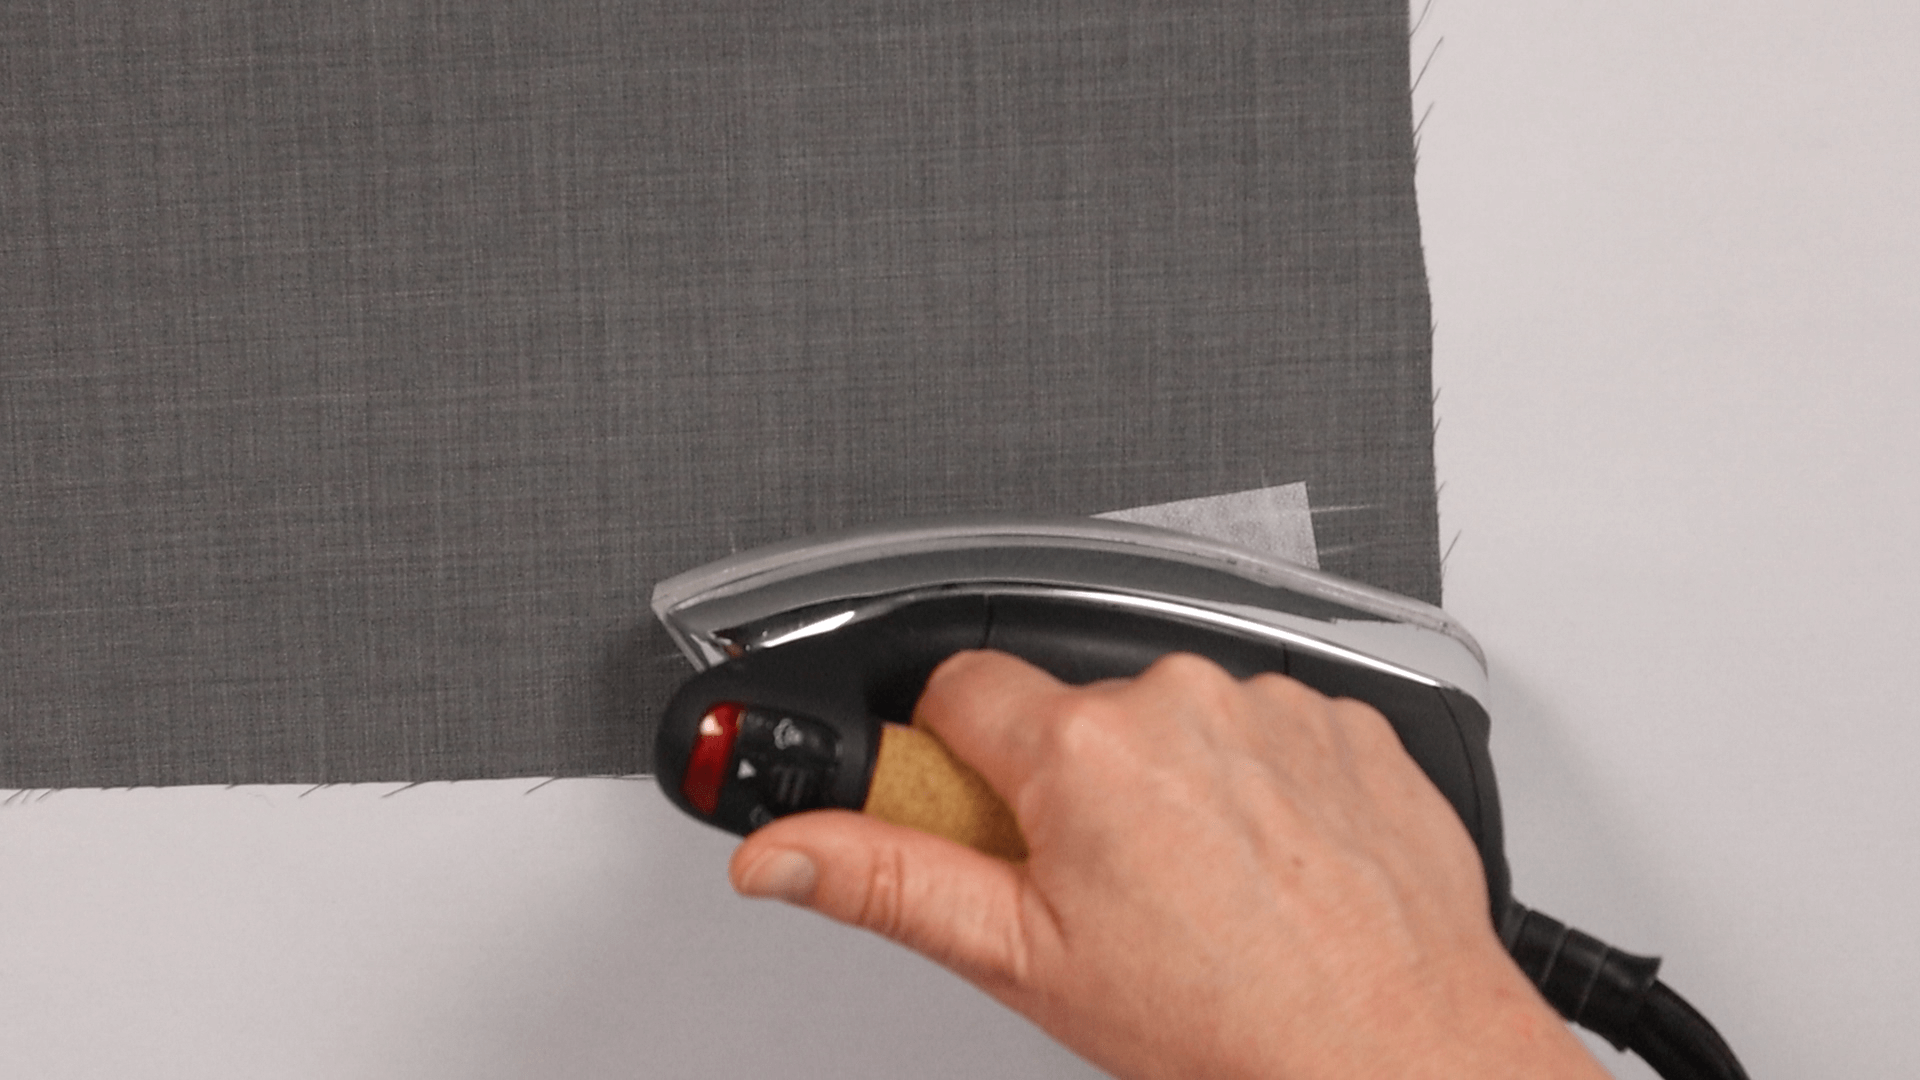
I place the inerfacing centered over this marking and iron it in place.
4. Option crease
If you want your trousers to have a crease, I will now show you how to mark the position on the main fabric. If you don’t want a crease, you can continue with step 5.
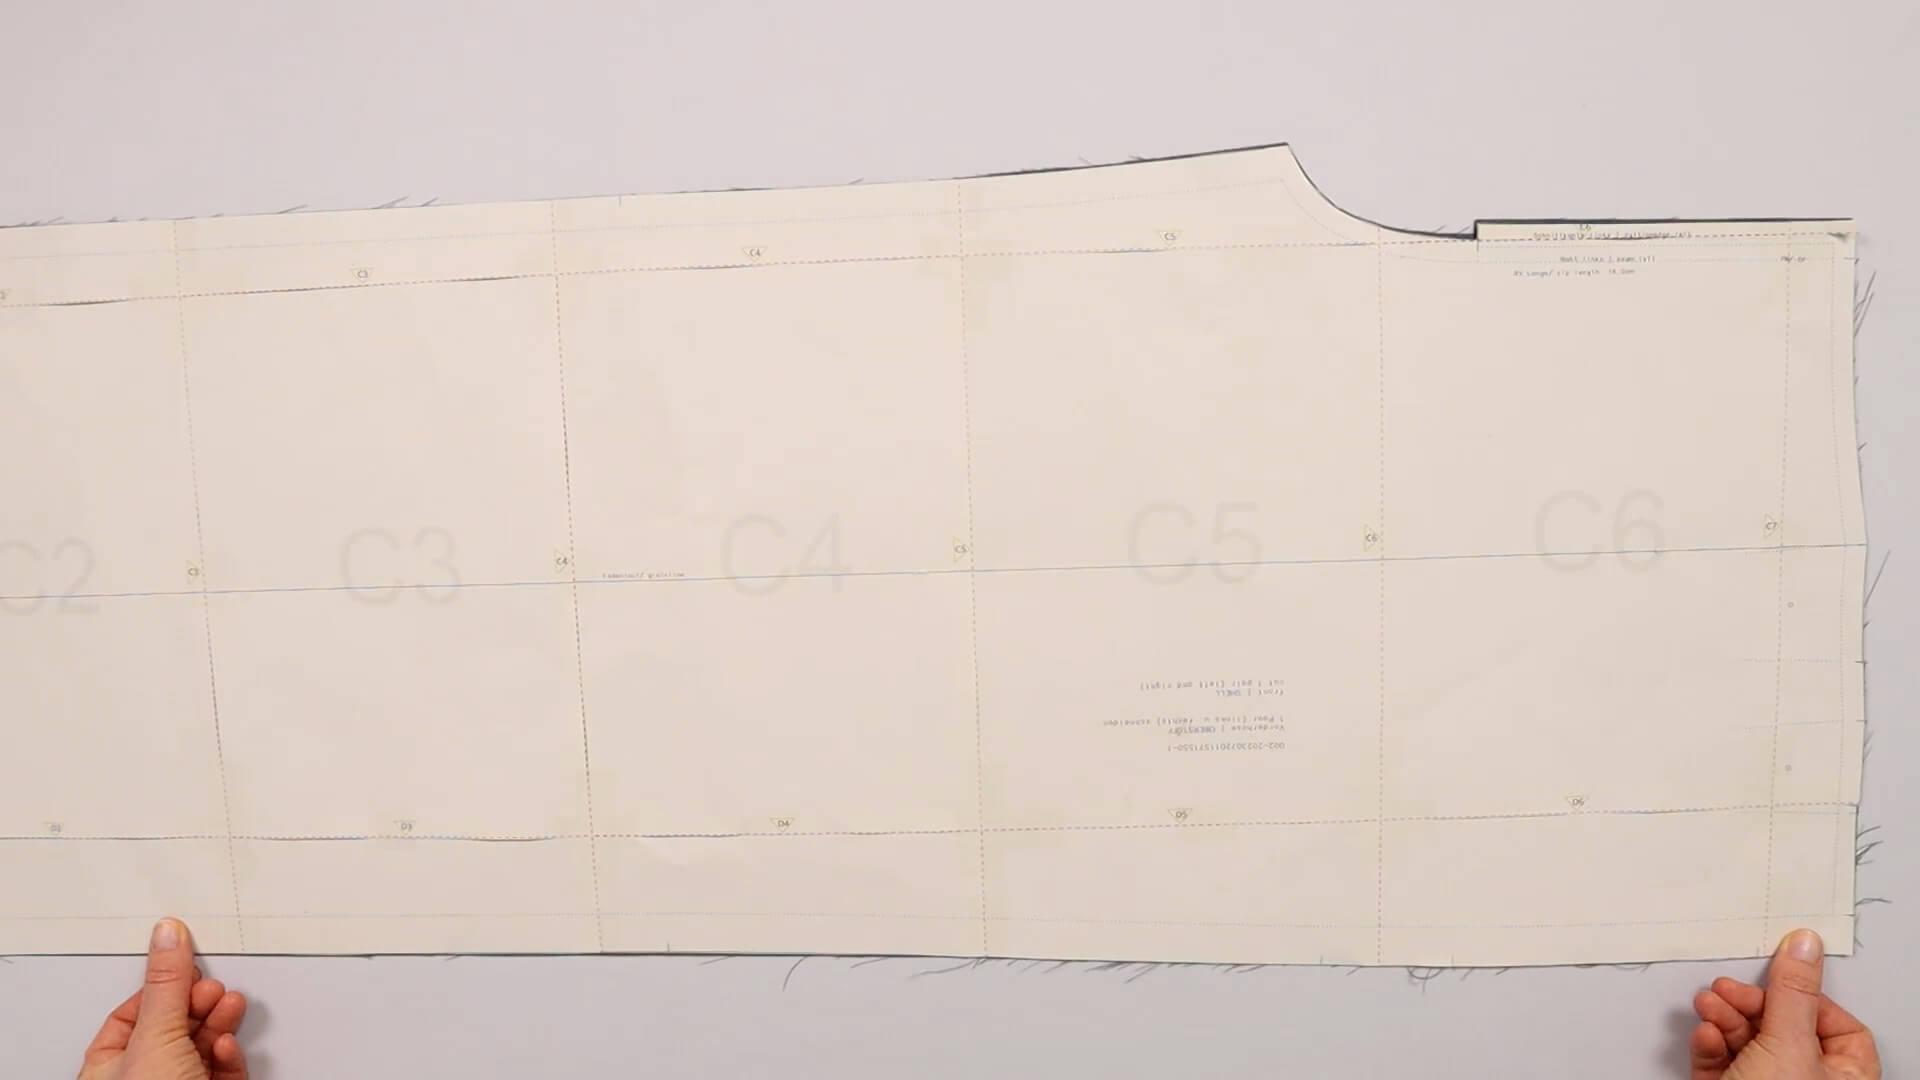
The crease is marked from the right side on the main fabric pieces. I therefore lay the two pattern pieces on top of each other, wrong sides facing, and place the paper pattern on top.
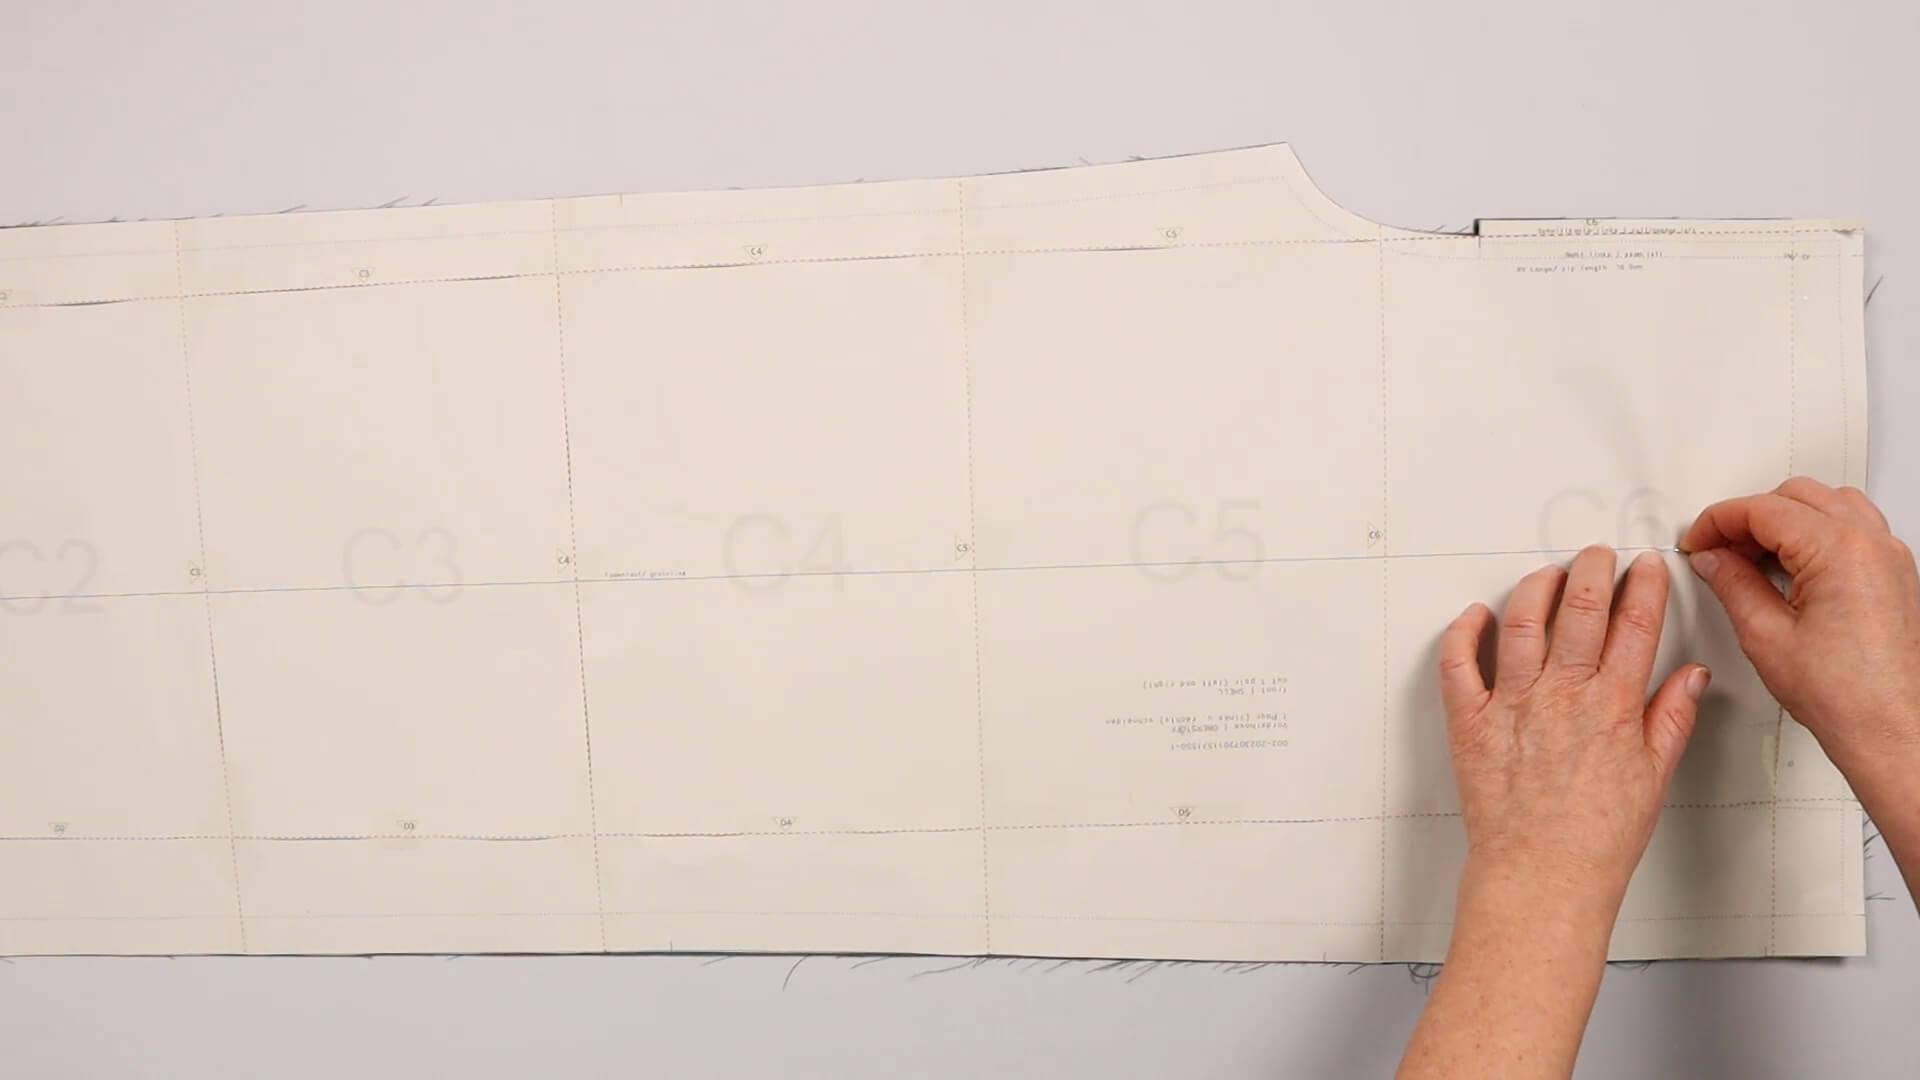
The marked grain corresponds to the crease. I pin the pattern piece through this line through both layers of fabric. I repeat this in three to four places along the entire length of the front trousers.
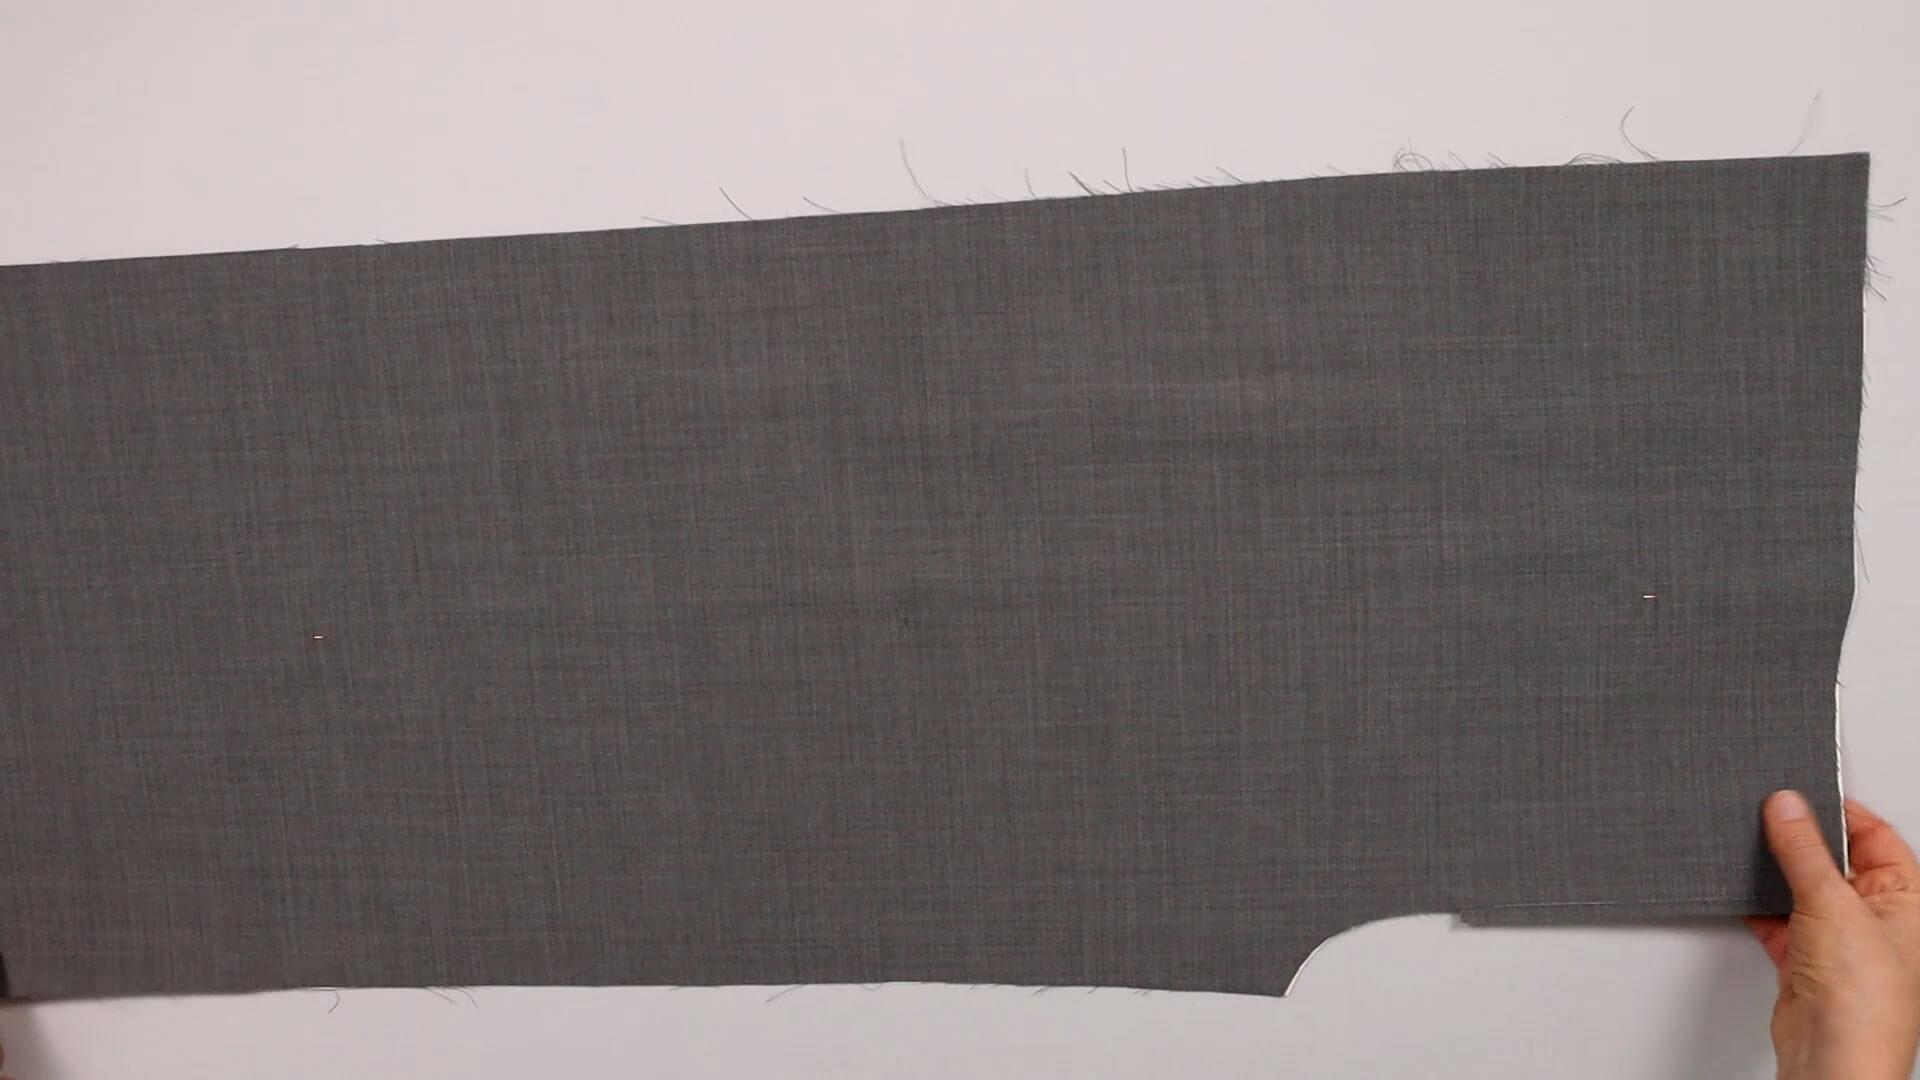
Then I turn the two layers of fabric together. Turn the pattern piece over so that the side previously lying on the table is now facing upwards.
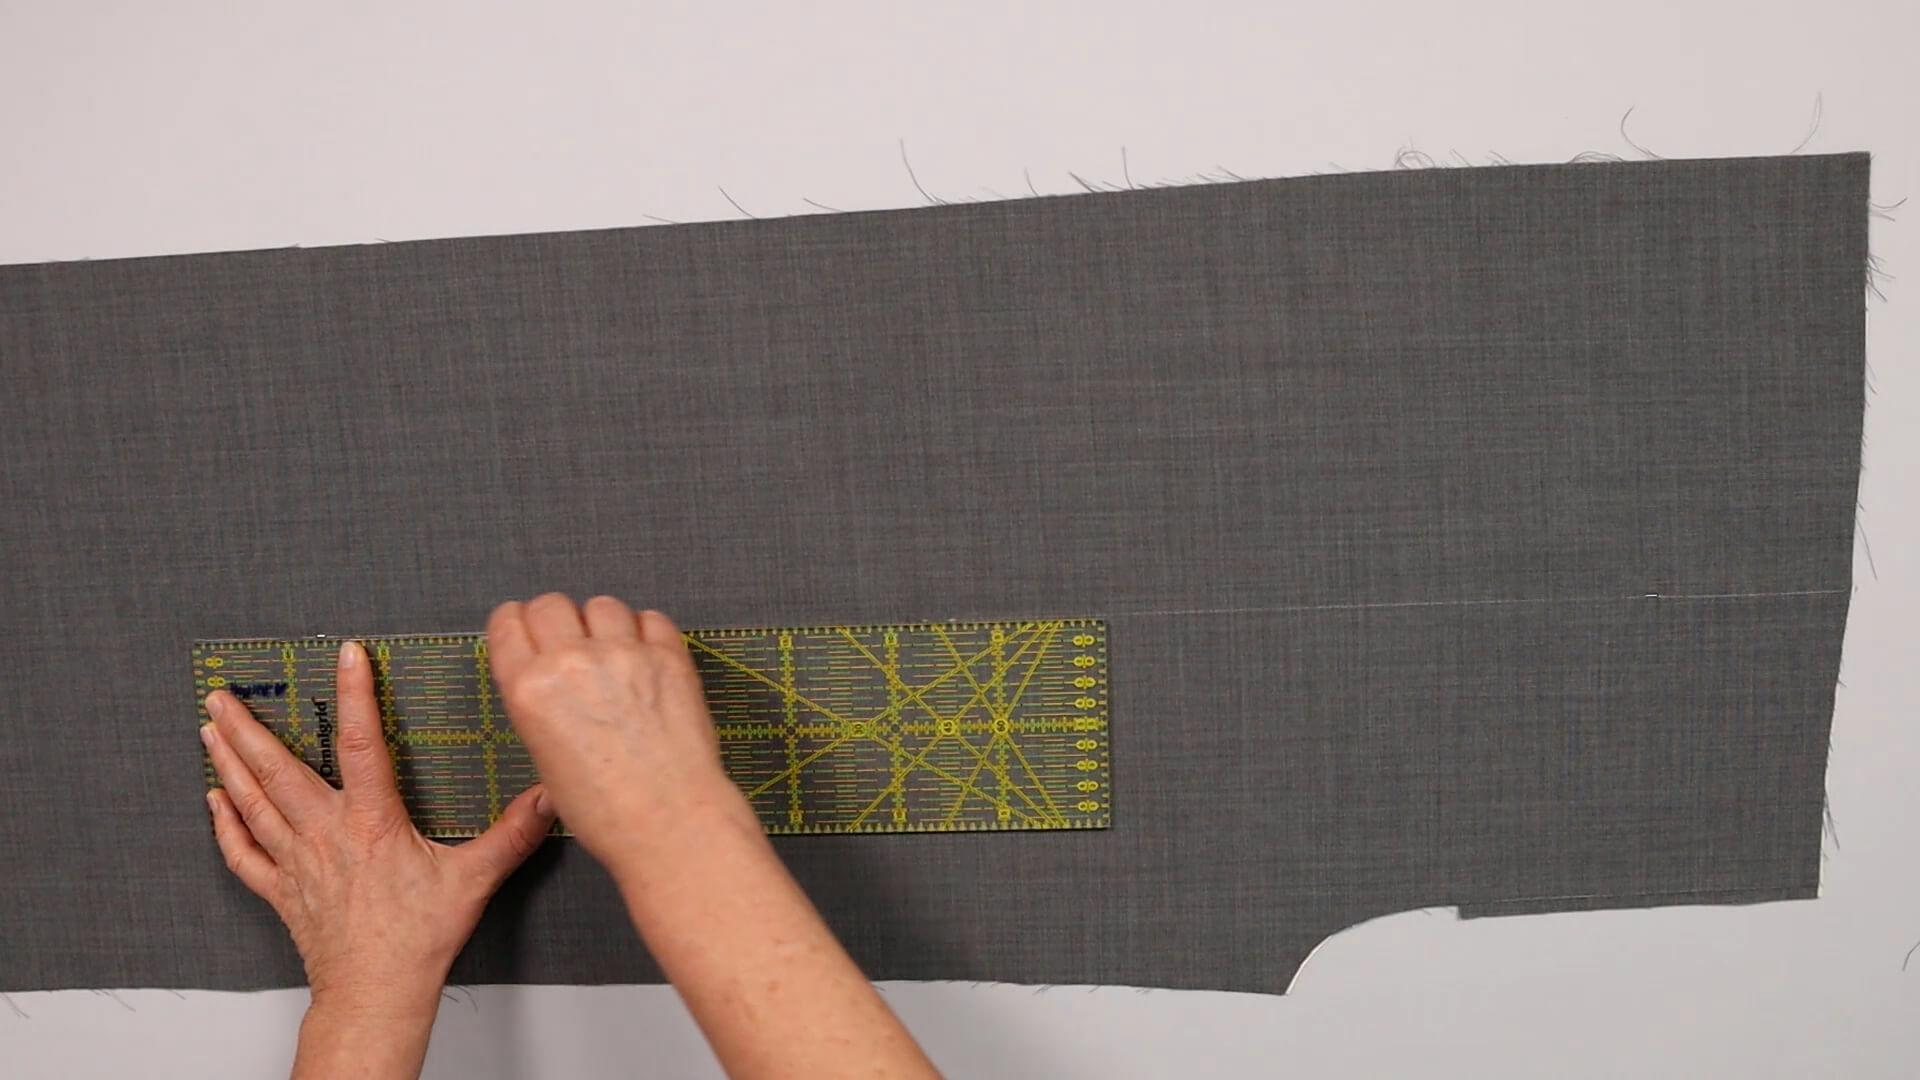
I place a long ruler exactly on the pins and transfer the crease to the front trousers.
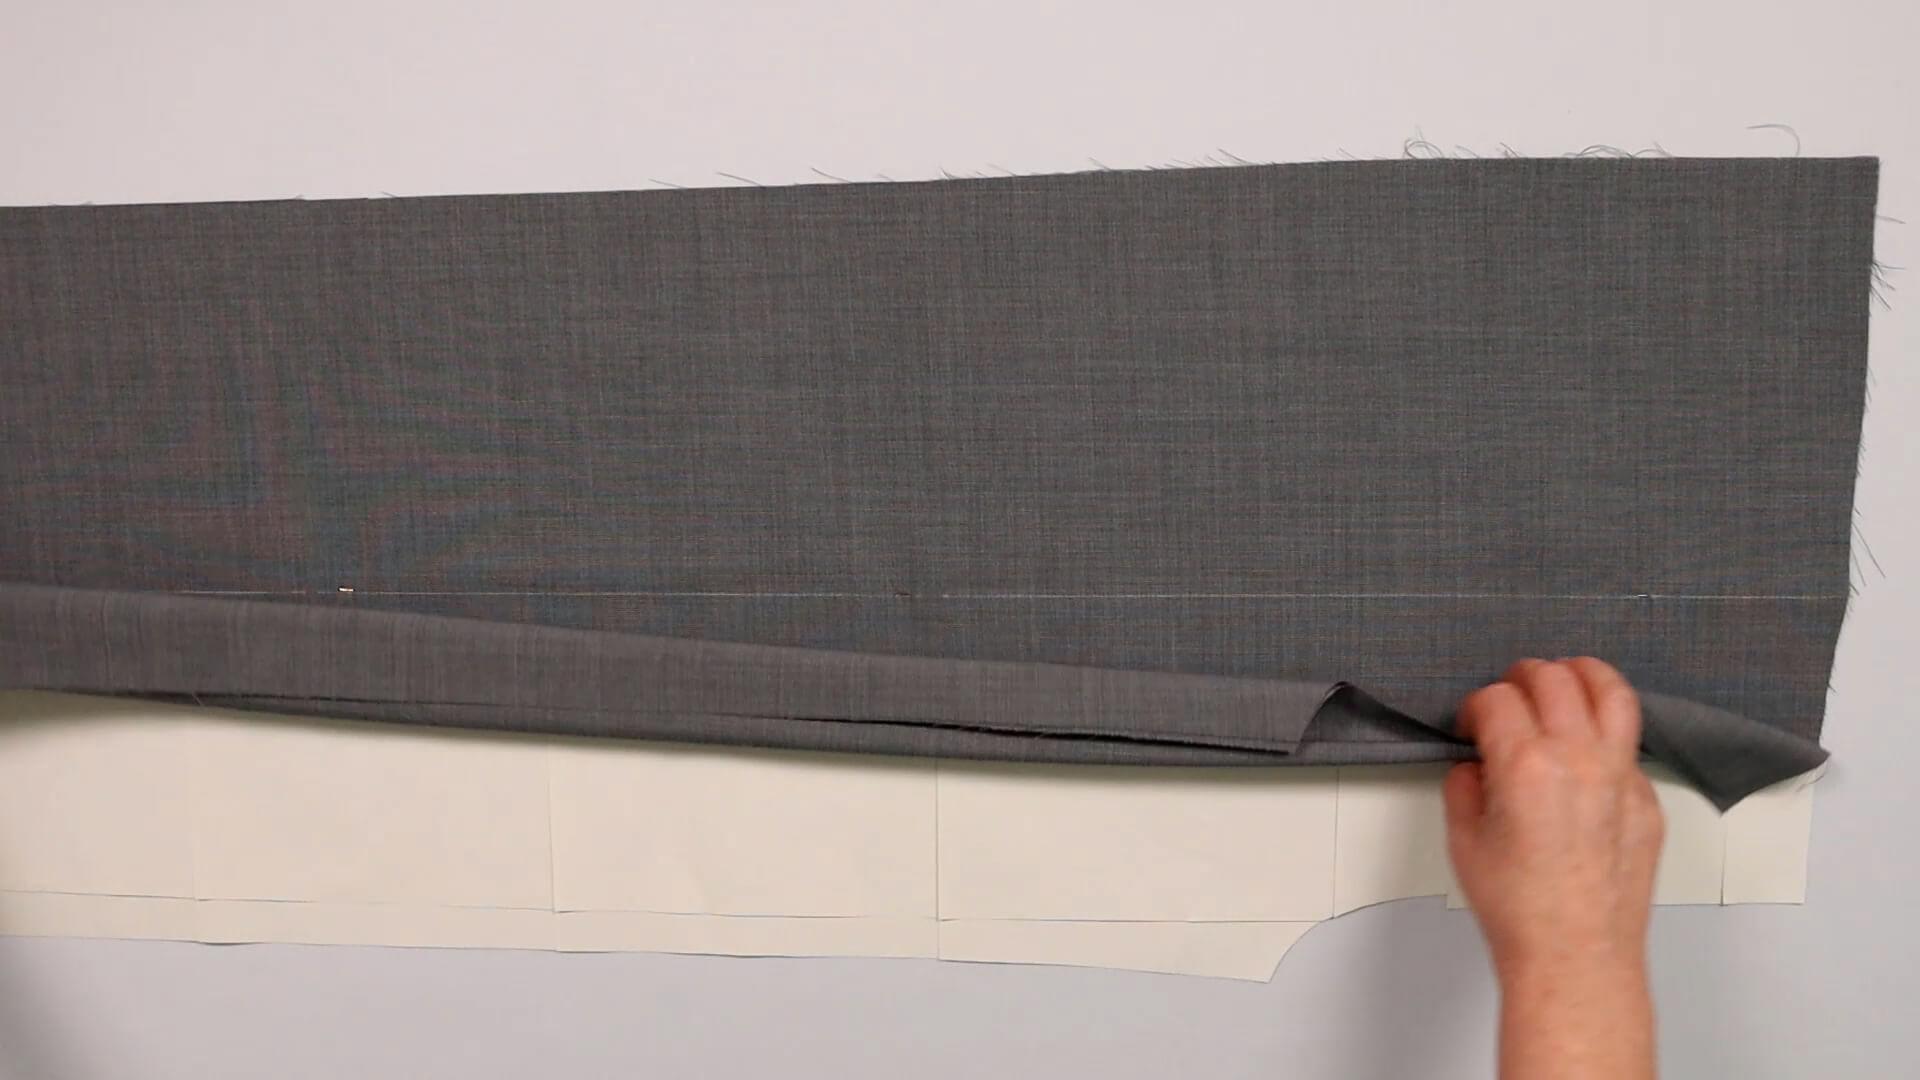
To transfer the marking of the pins to the other pattern piece, I fold the pattern pieces backwards.
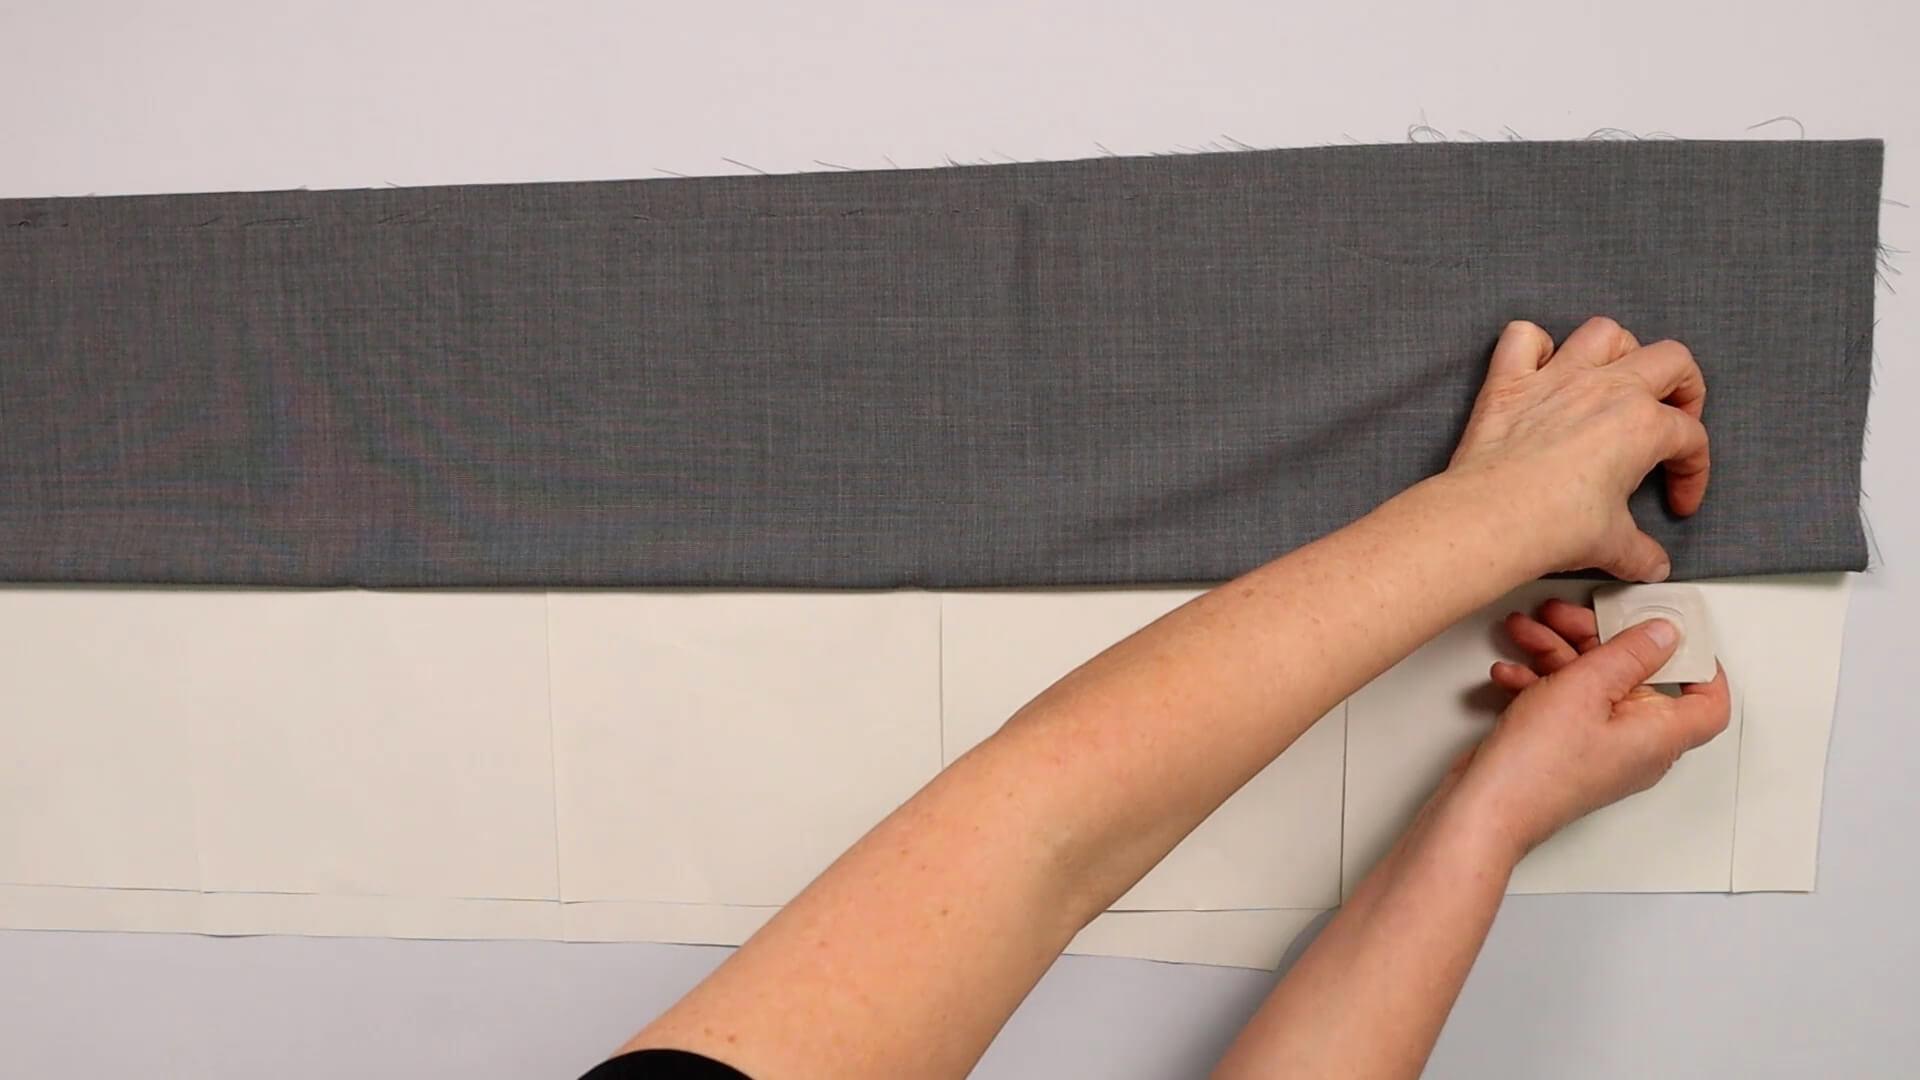
I use tailor’s chalk to mark the places where the pins are inserted.
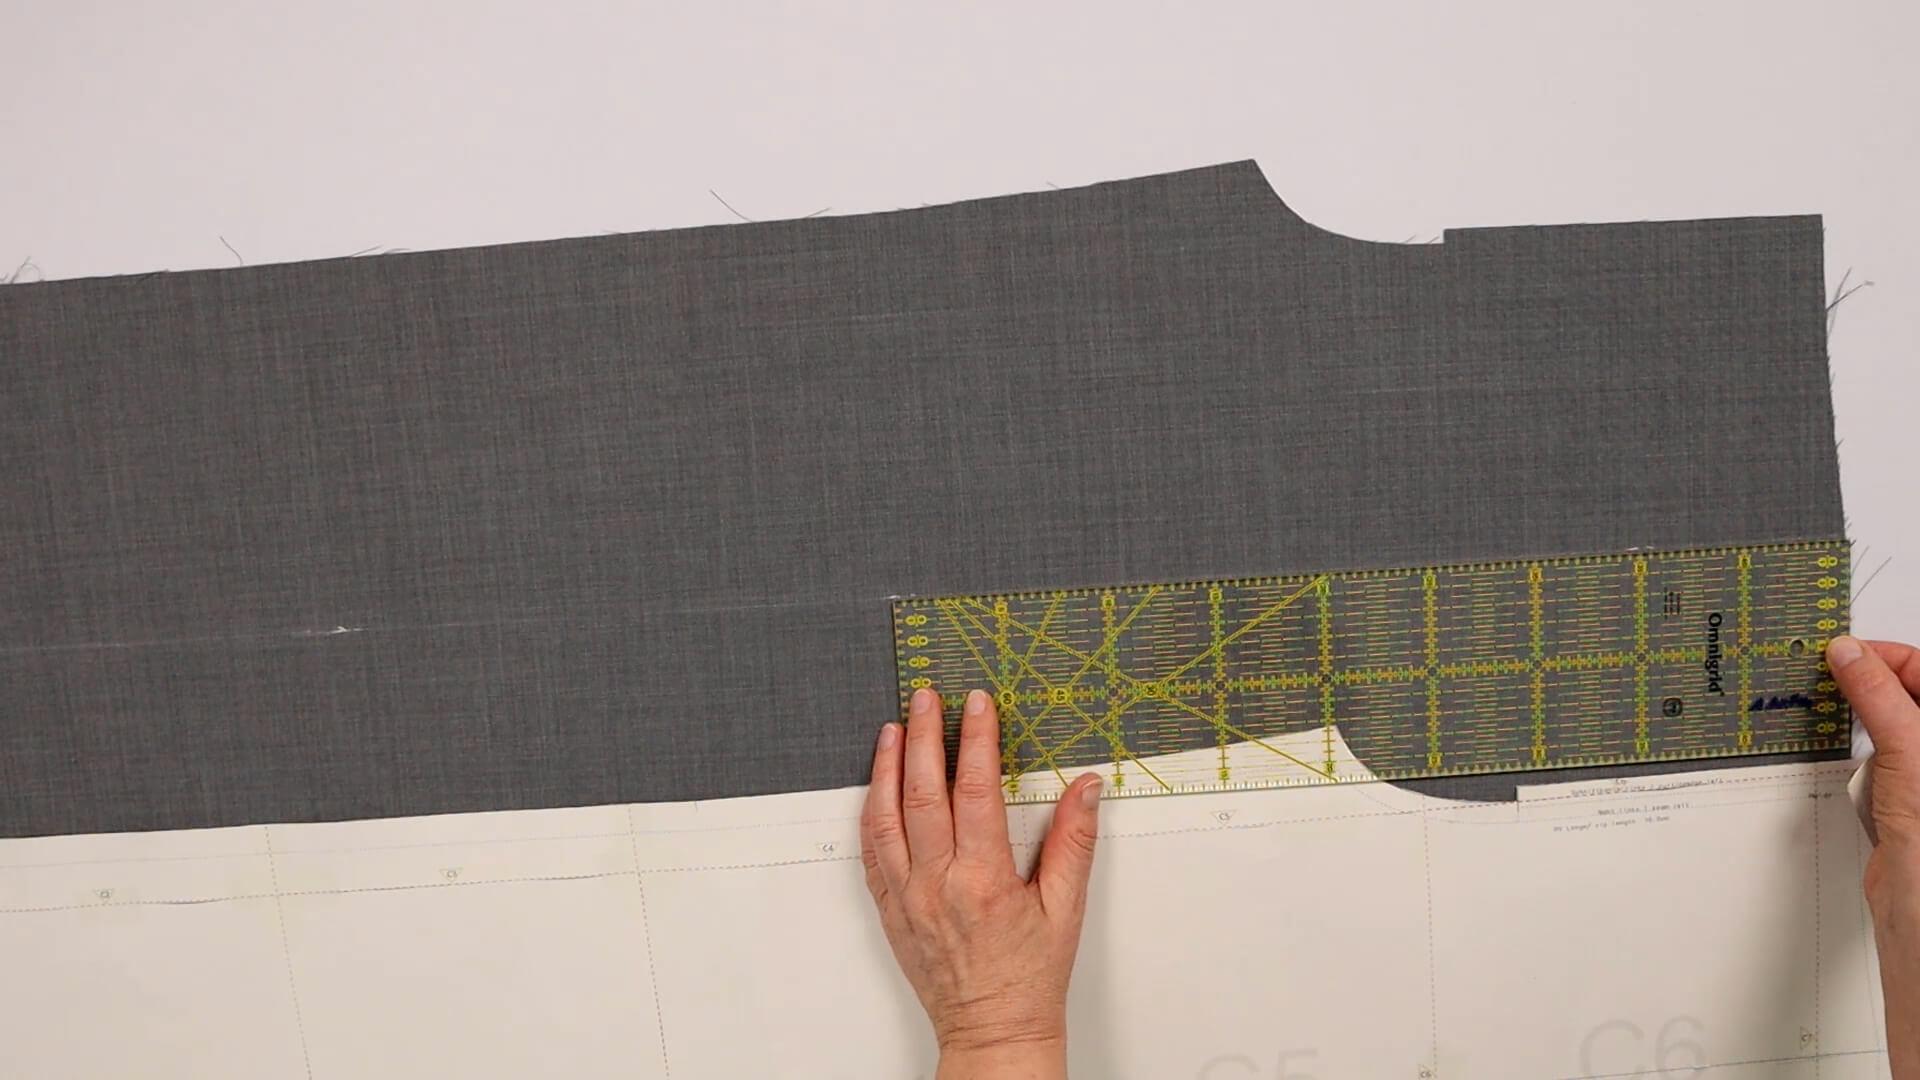
Then I can remove the pattern piece and connect the markings on the second trouser part with the long ruler.
5. Prepare the knee lining
The lining fabric should also be washed before sewing to prevent it from shrinking later. Alternatively, you can iron it with plenty of steam.
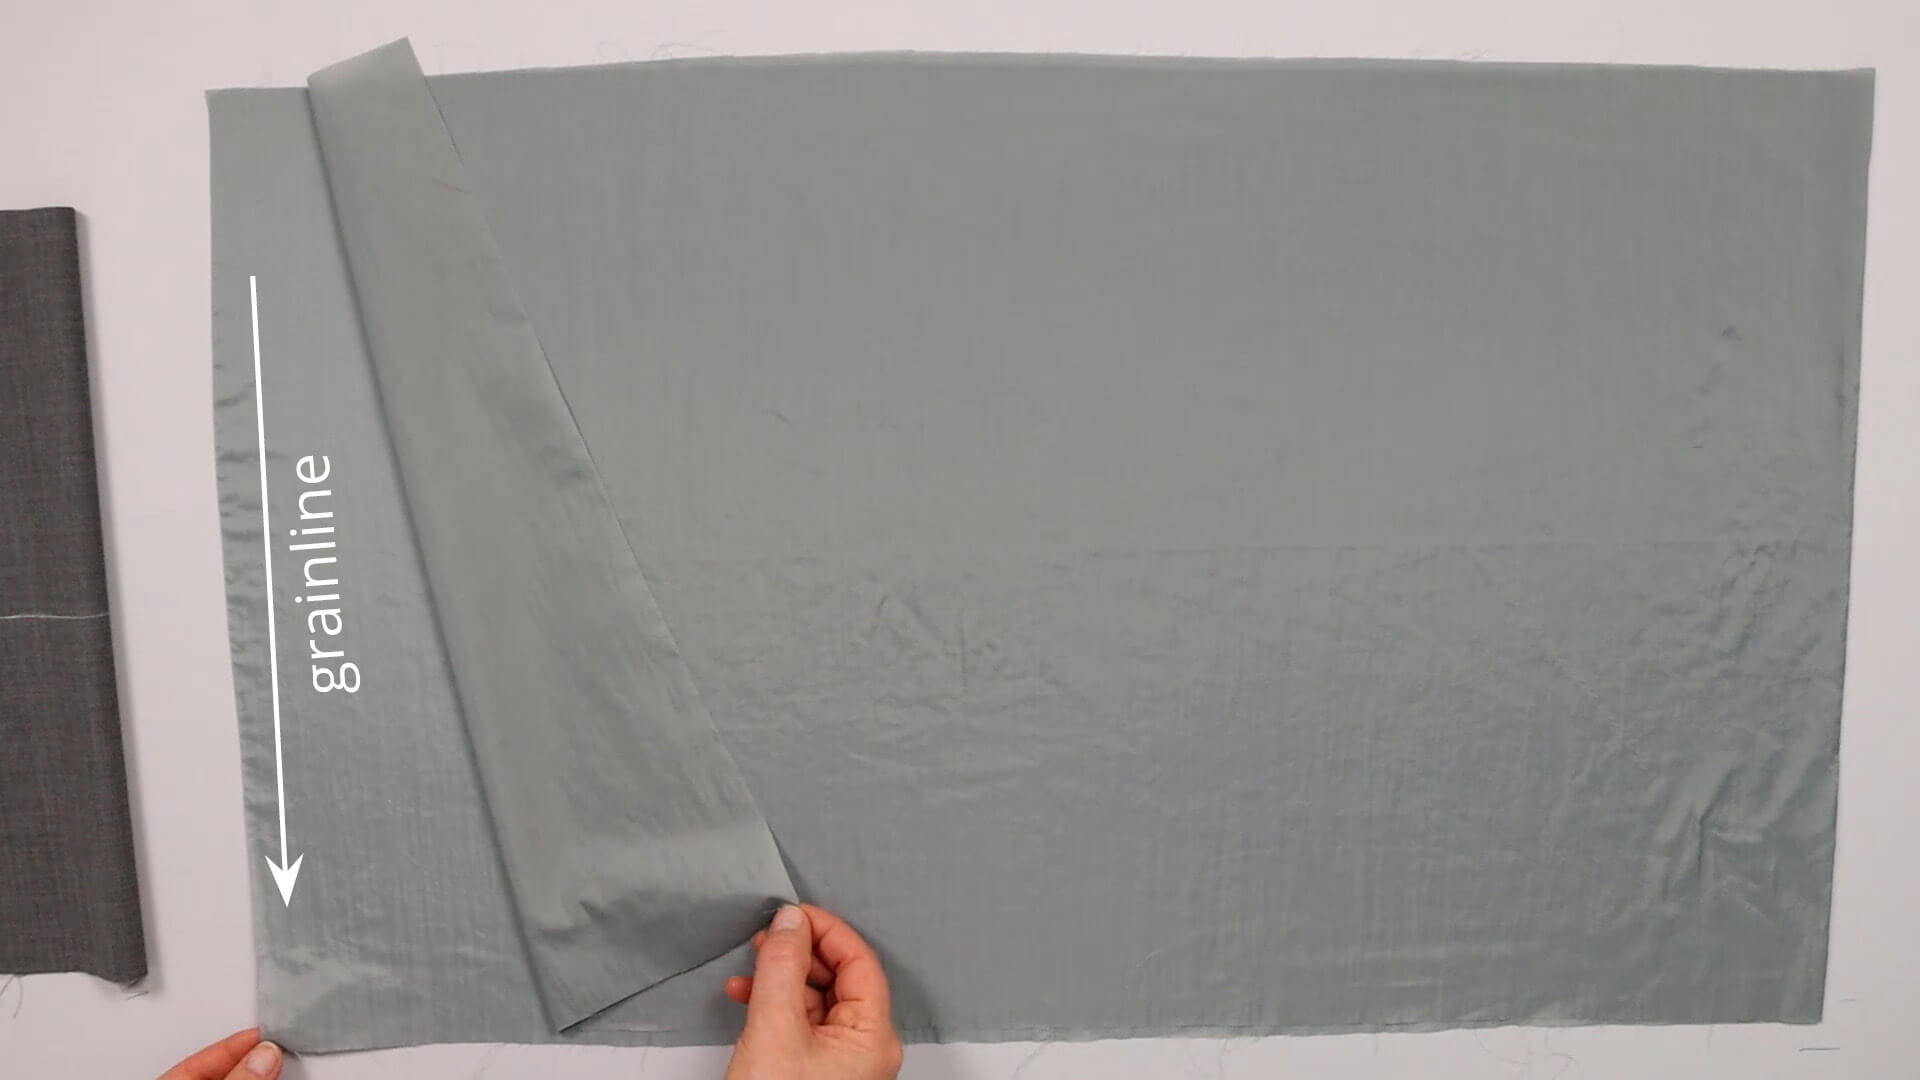
I fold the lining fabric doble. With a non-stretch lining fabric, I use the selvedge, shown here on the left, as the bottom edge of the knee lining. This means that no seam can be seen from the outside.
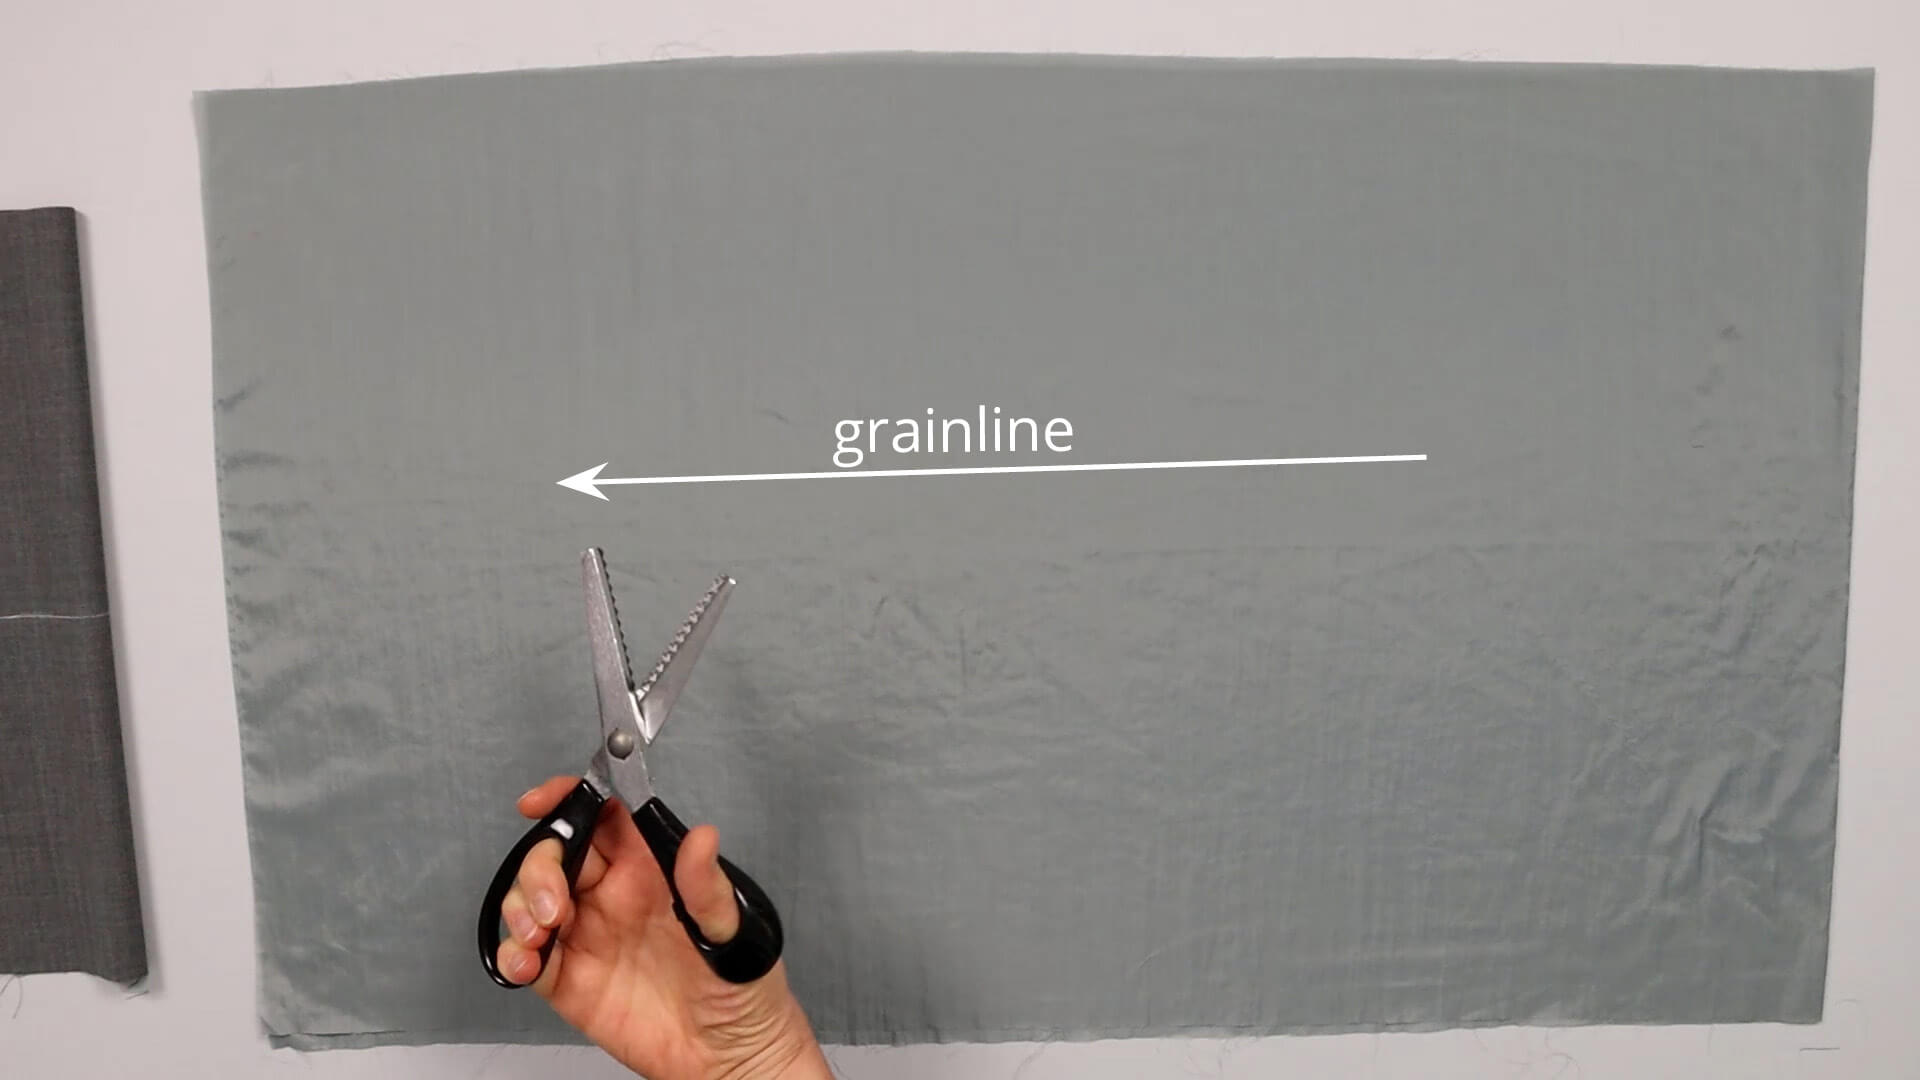
If your lining is stretchy, lay it out in front of you in the same double layer and cut off the bottom edge with serrated scissors. This prevents fraying and, just like when using the selvedge, you won’t have any thick areas shown on the outside.
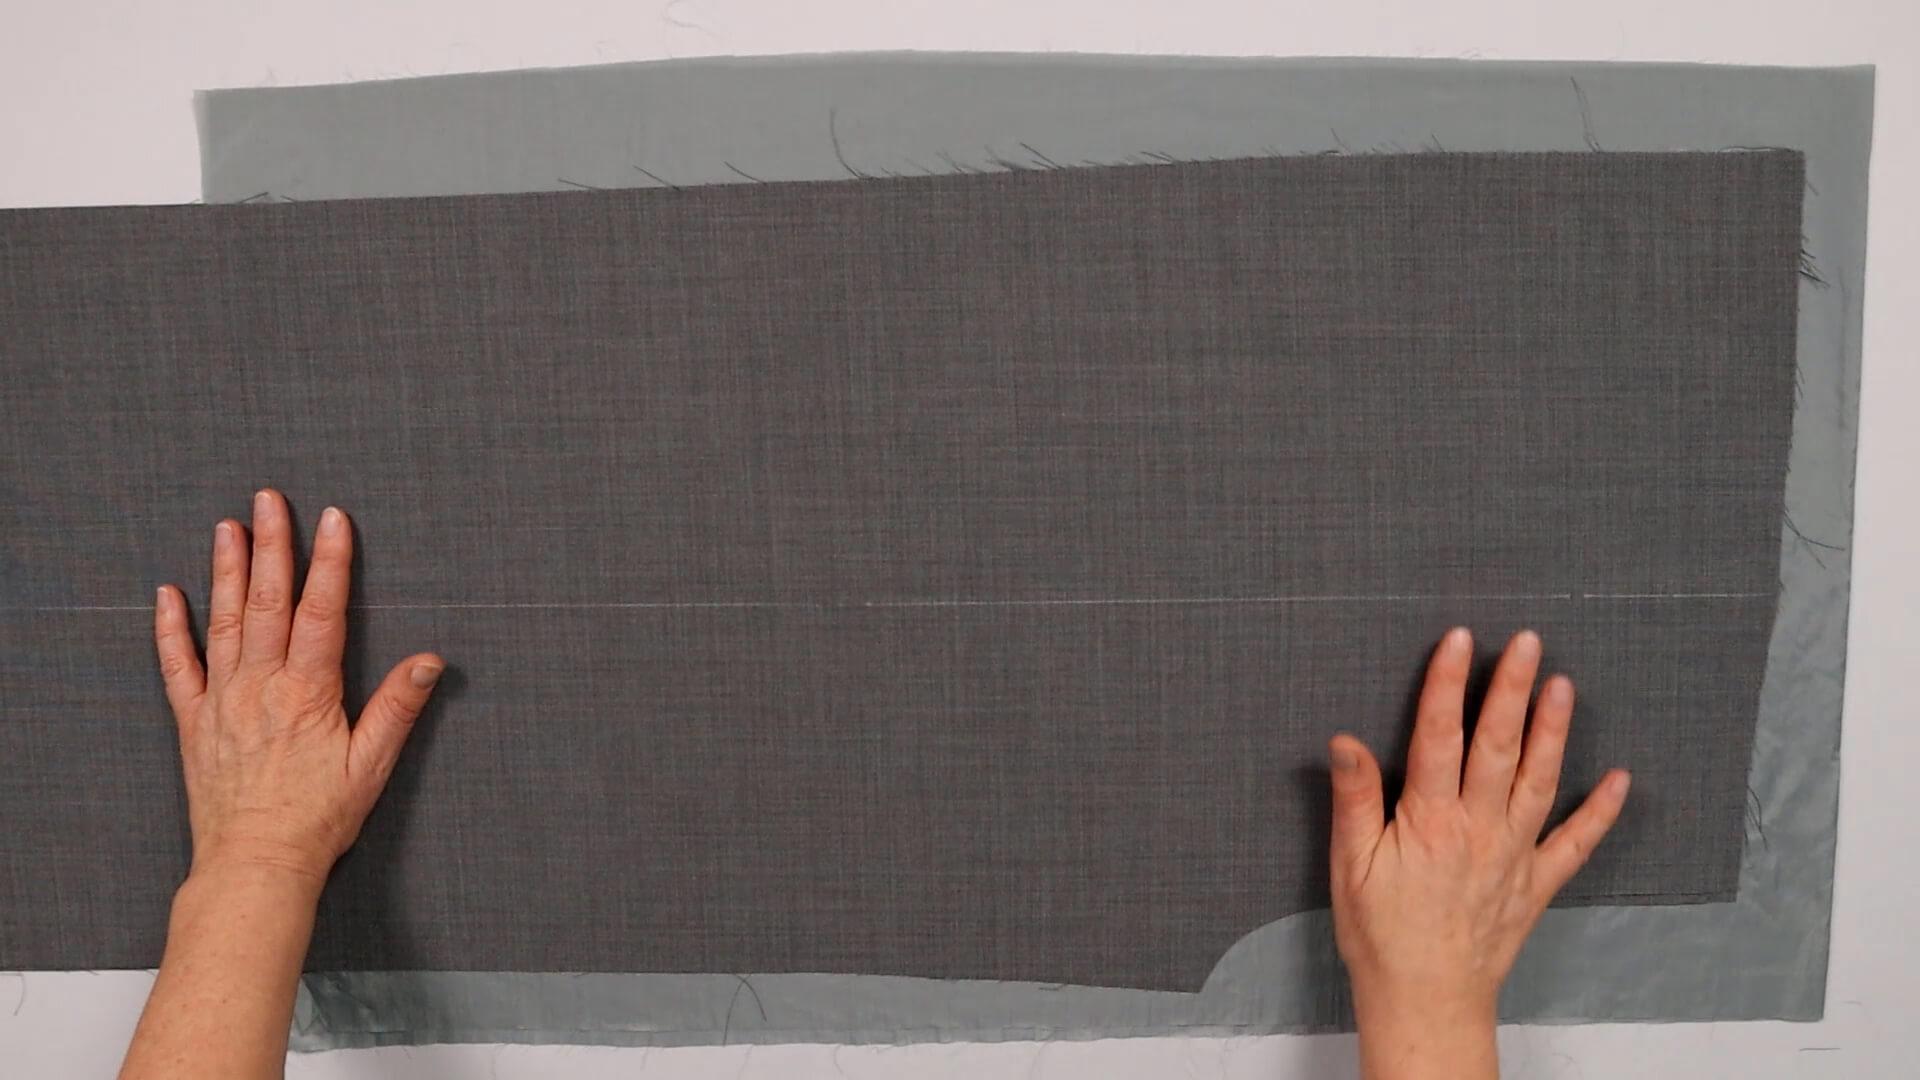
Now I place the trouser parts on the lining fabric so that it overlaps all the way around.
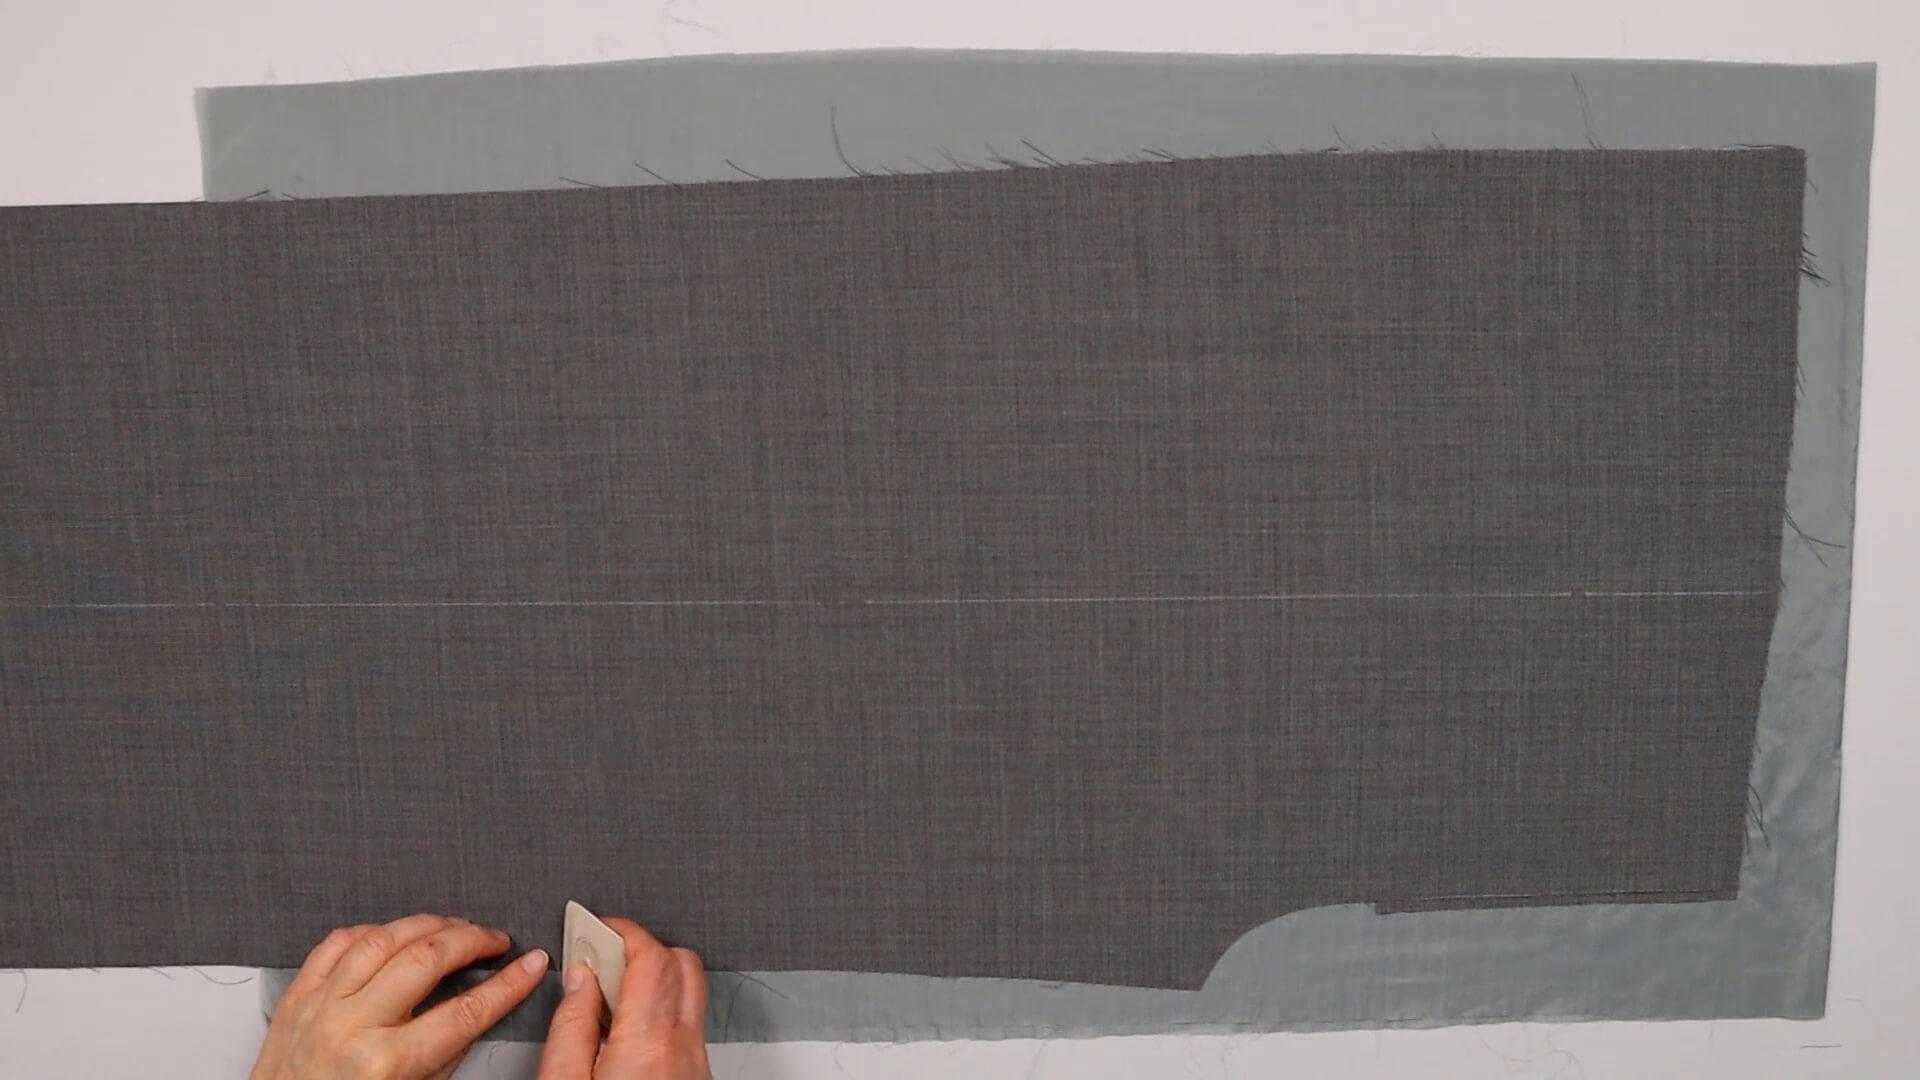
I transfer the notches to the main fabric at knee height.
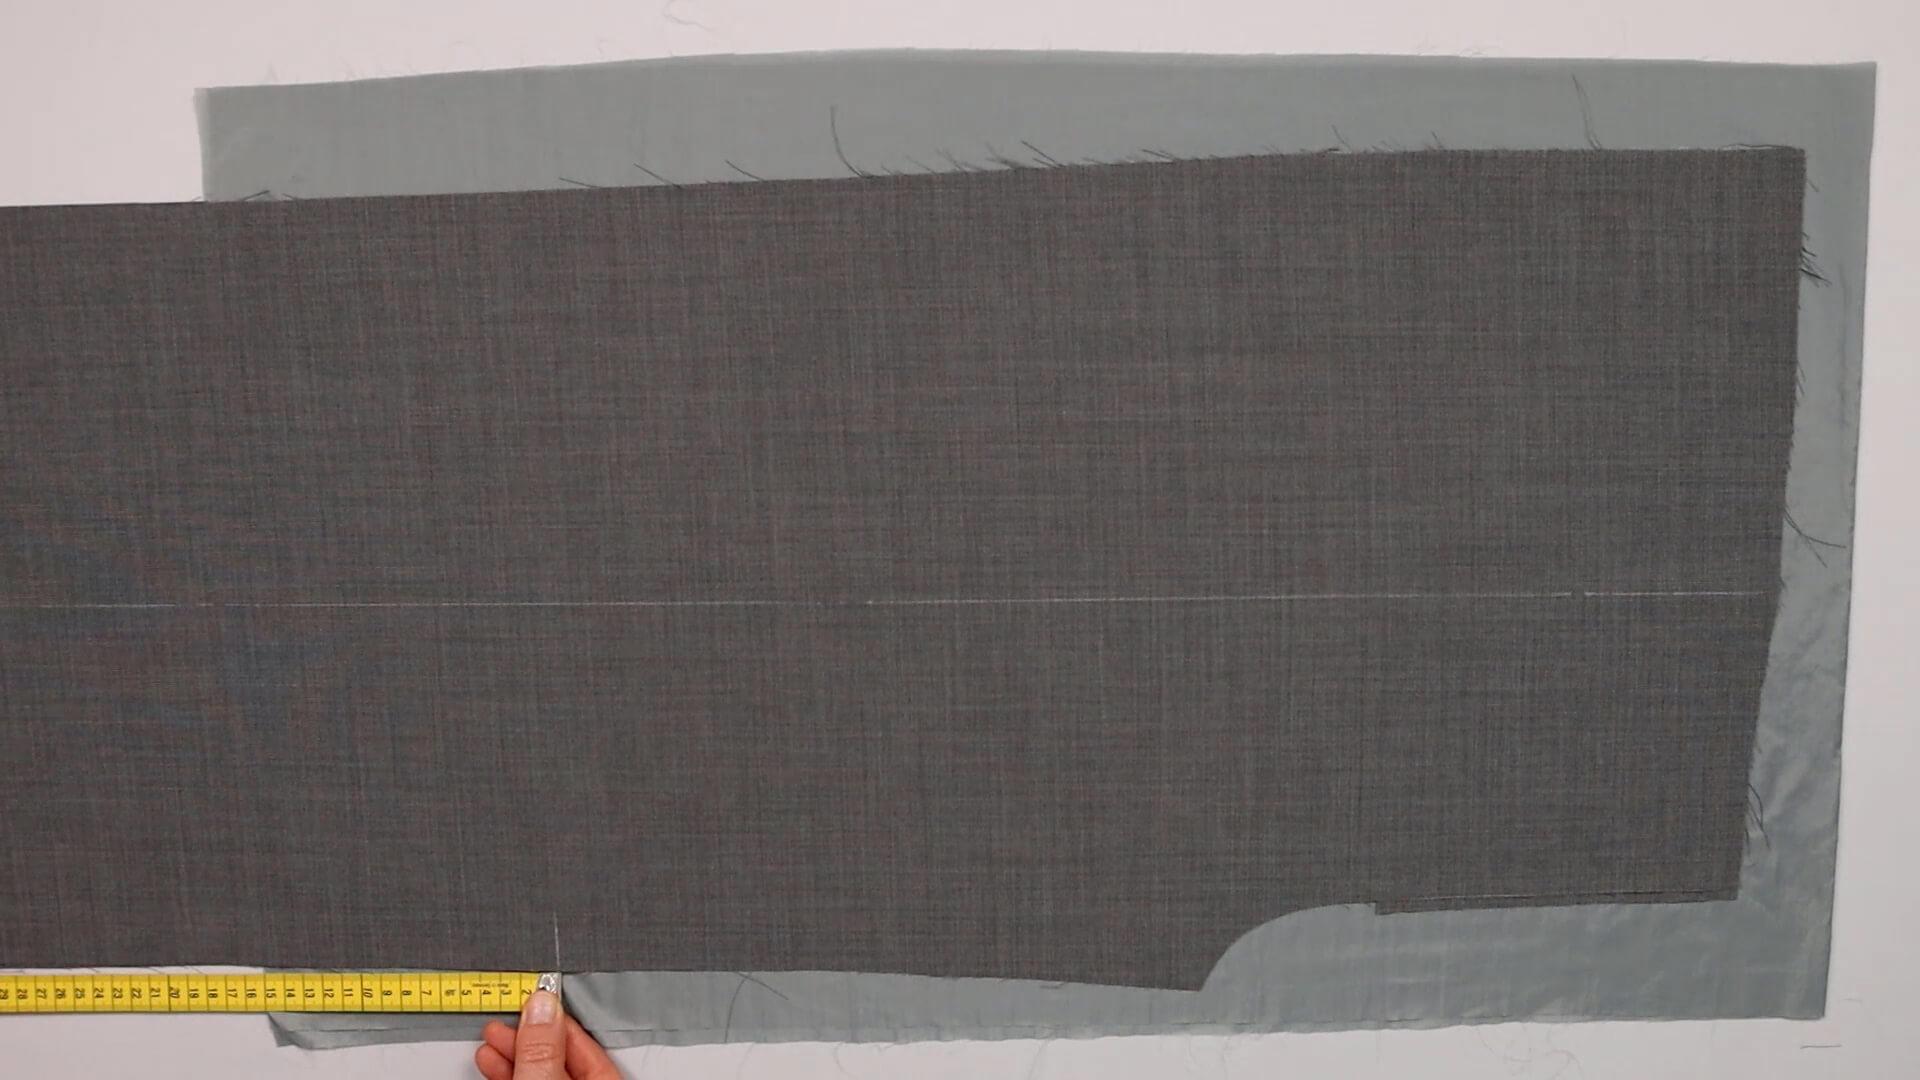
I then align the lining so that it ends approx. 15 cm below the mark; how far below is a matter of taste.
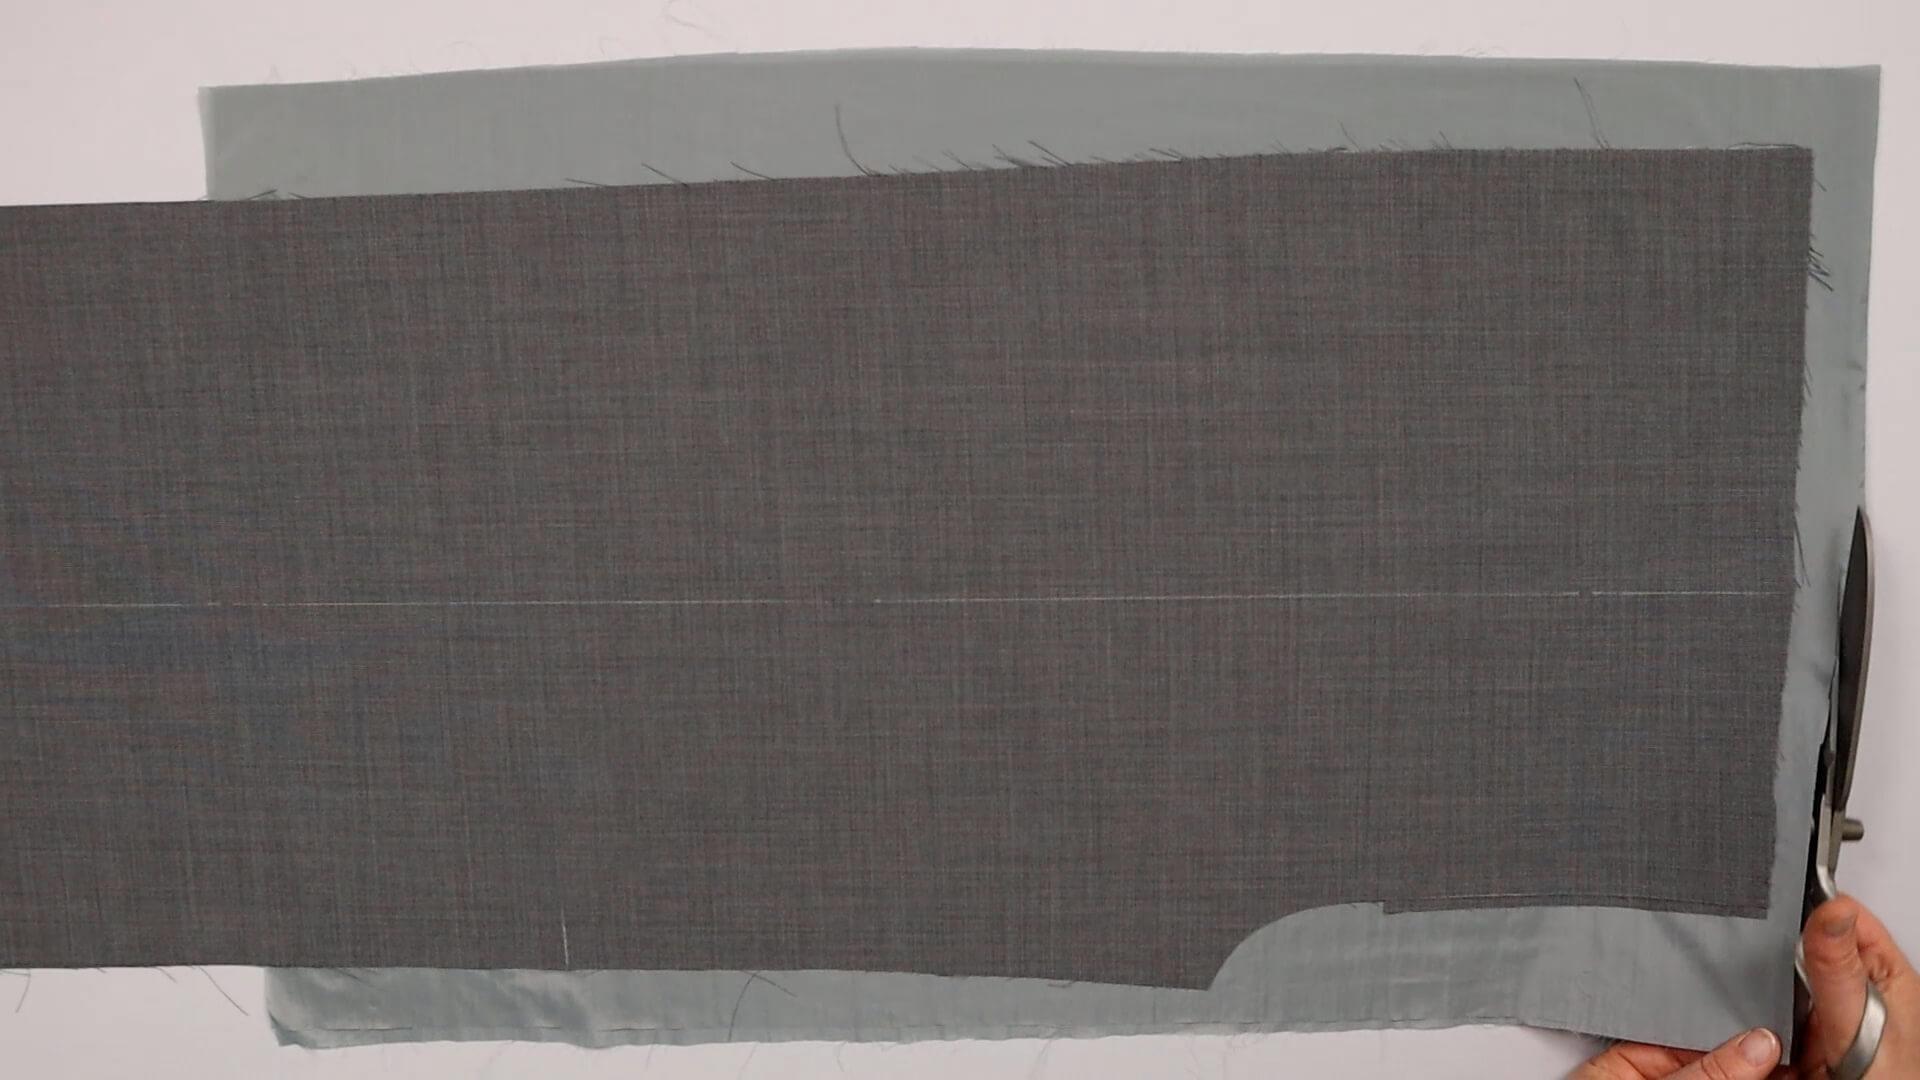
Starting at the top edge, I cut back the excess lining fabric so that it is approx. 2 cm larger than the main fabric.
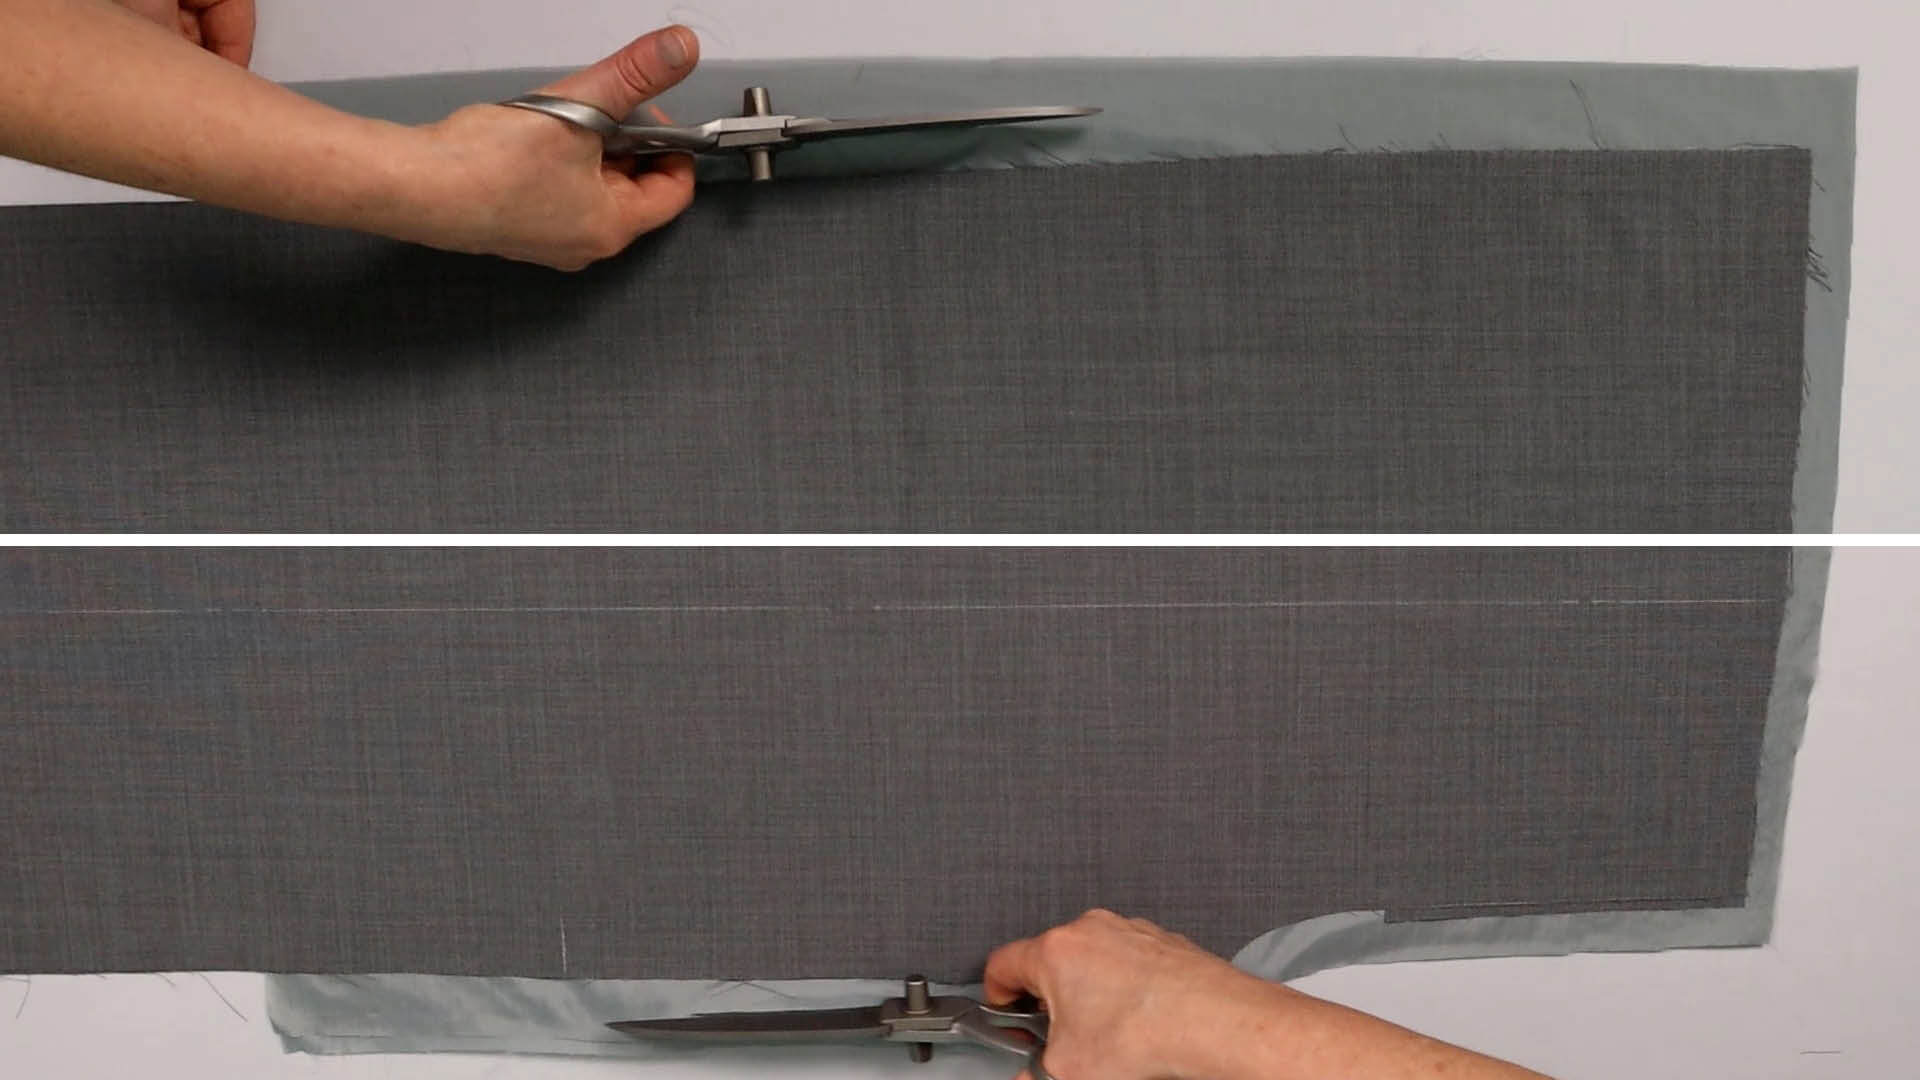
This is exactly how I proceed on the inside and outside of the legs.
6. Baste the knee lining under the main fabric
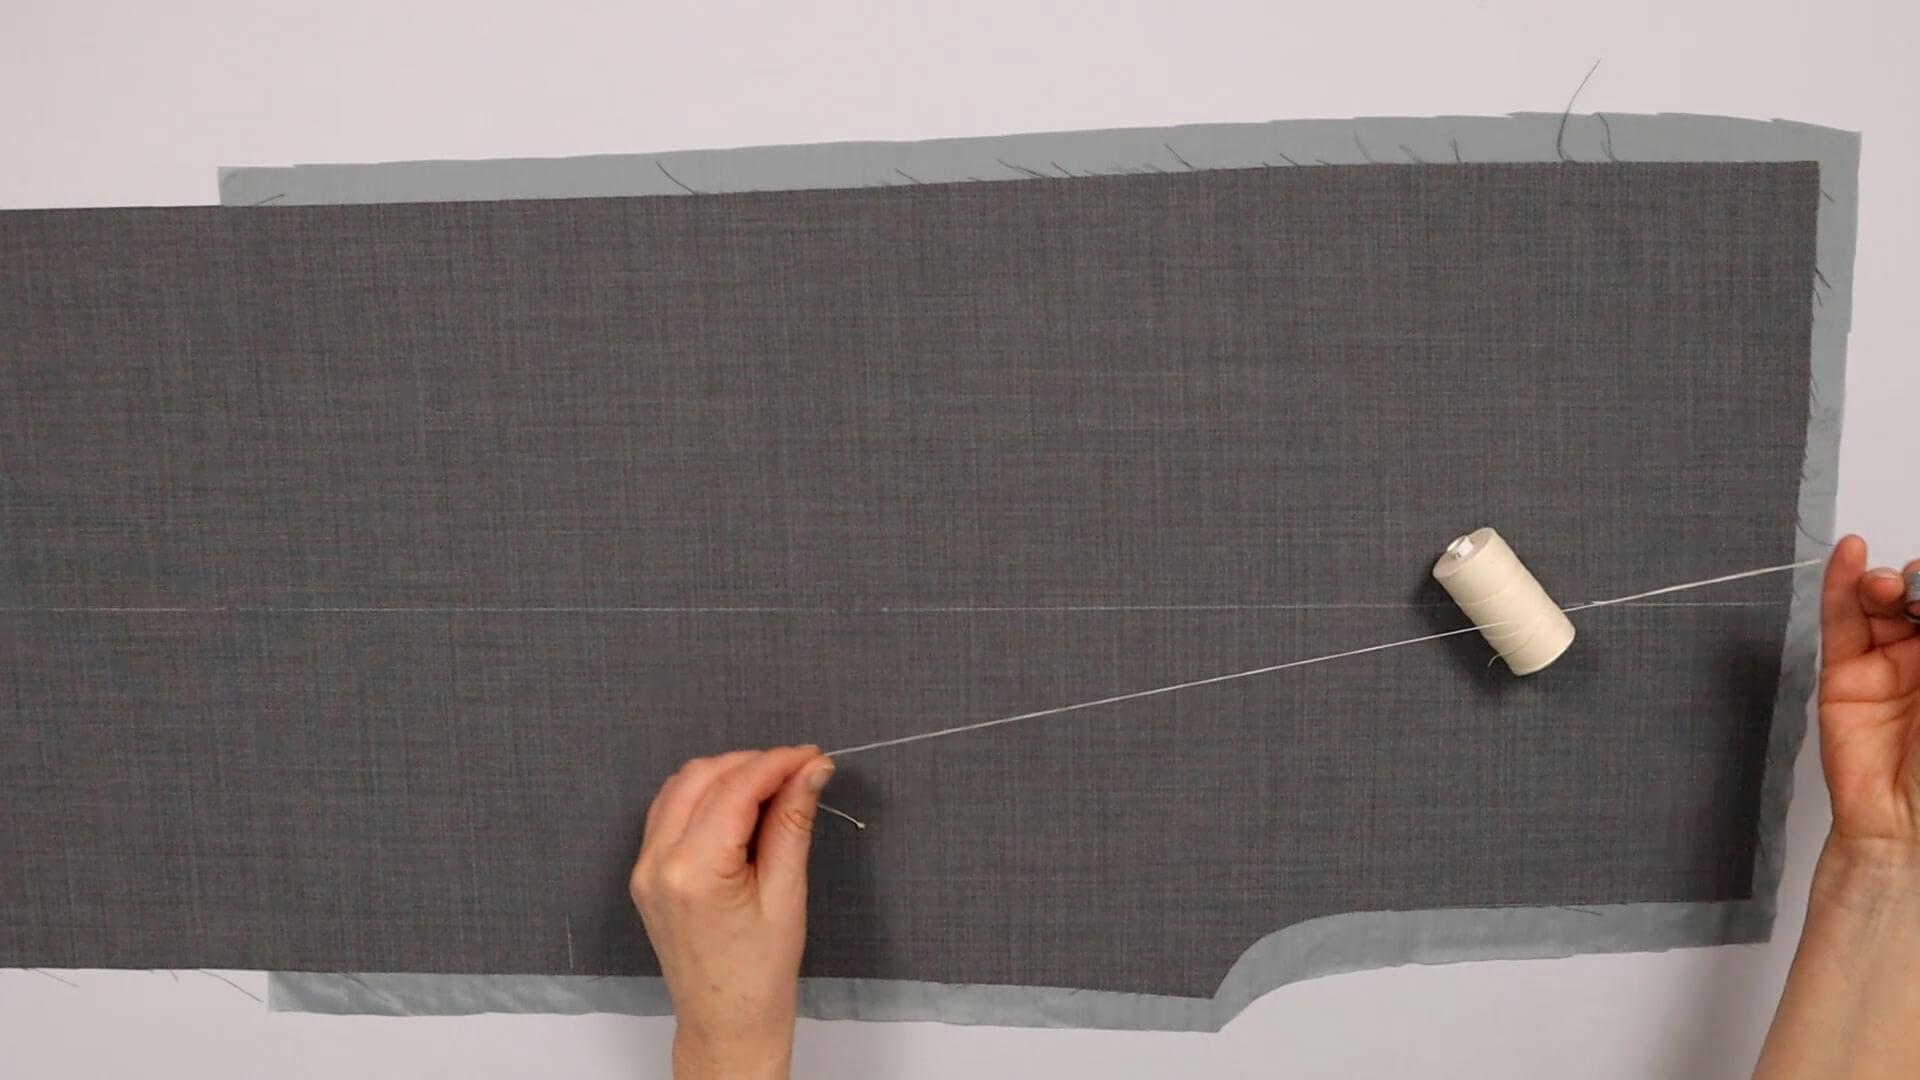
Now place one main fabric piece and one lining piece on top of each other, wrong sides facing and join with basting stitches.
I work on a soft surface, so I place a cutting mat under the lining fabric when basting.
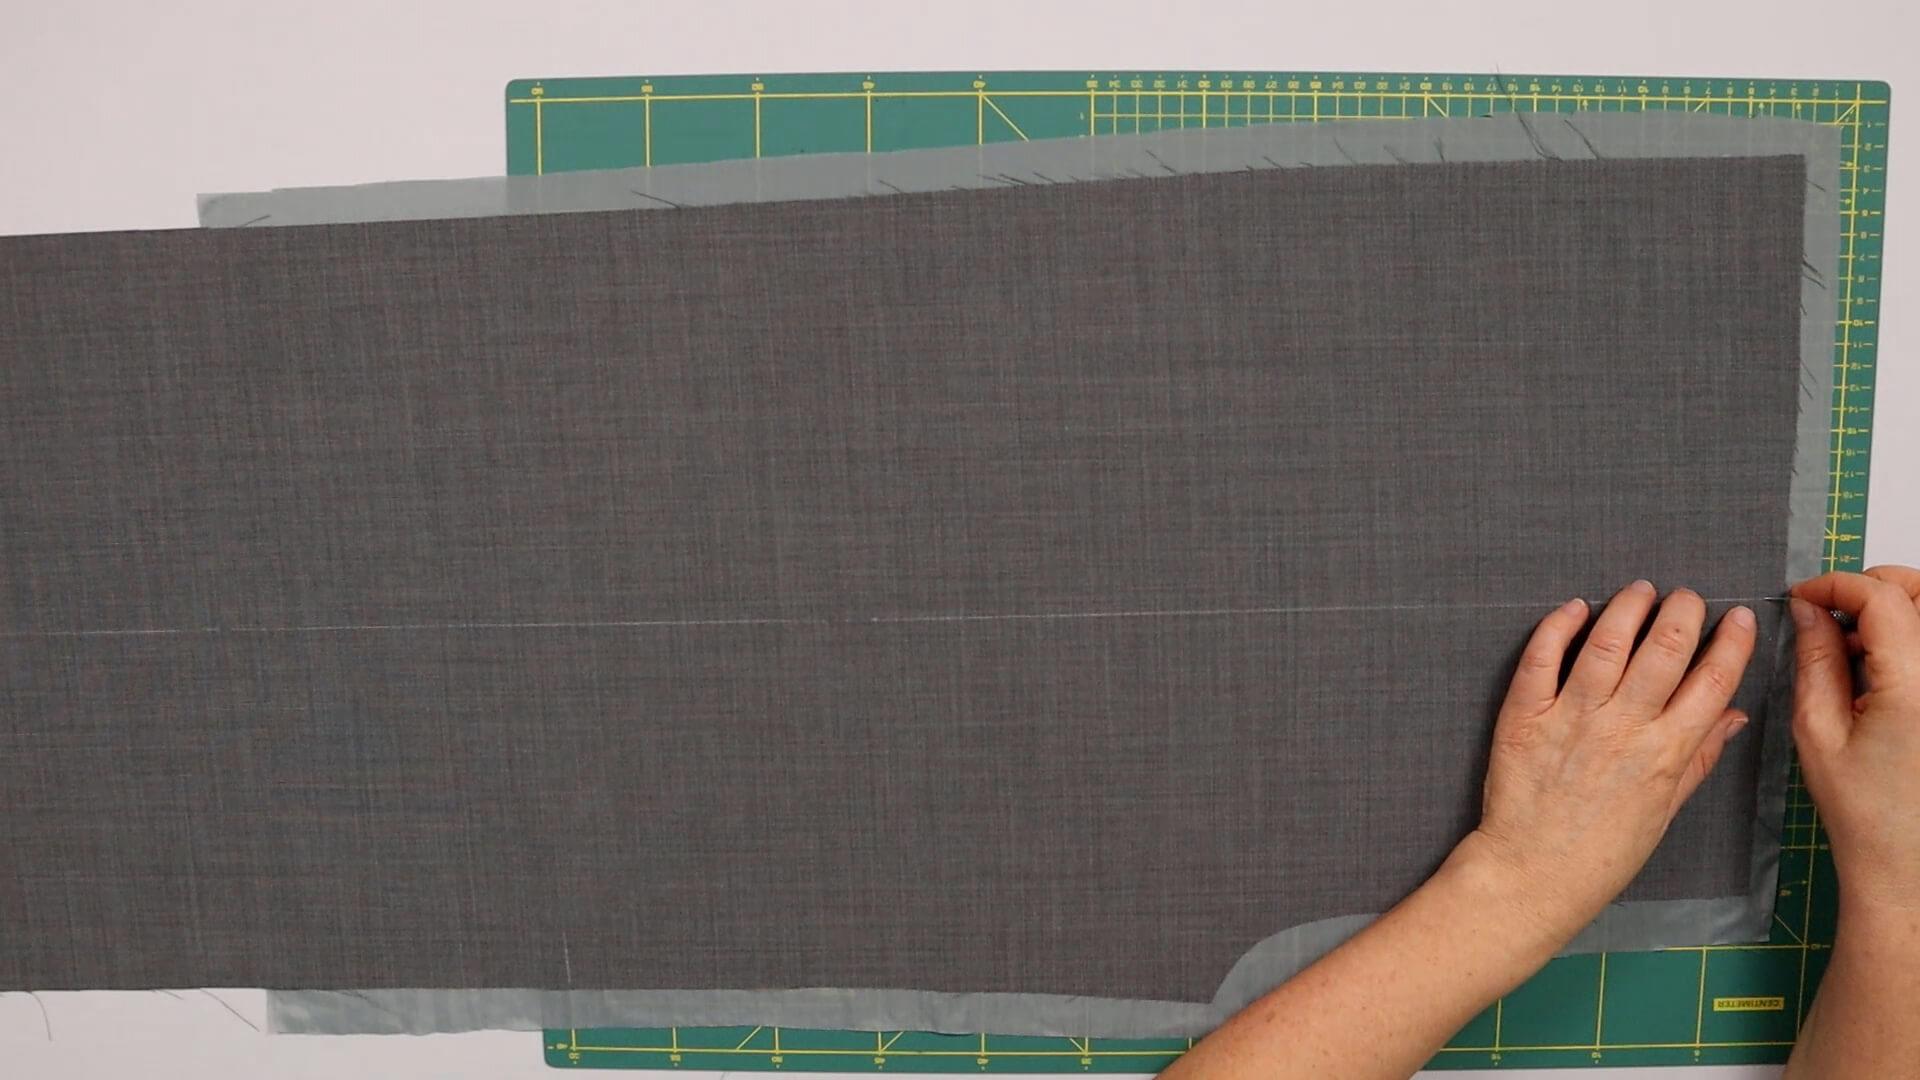
As I am working a crease, I pin the lining exactly along the line. If you are working without a crease, it is sufficient to baste approximately in the middle or fix with a few pins.
I start basting the lining under the main fabric at the upper end of the grain line.
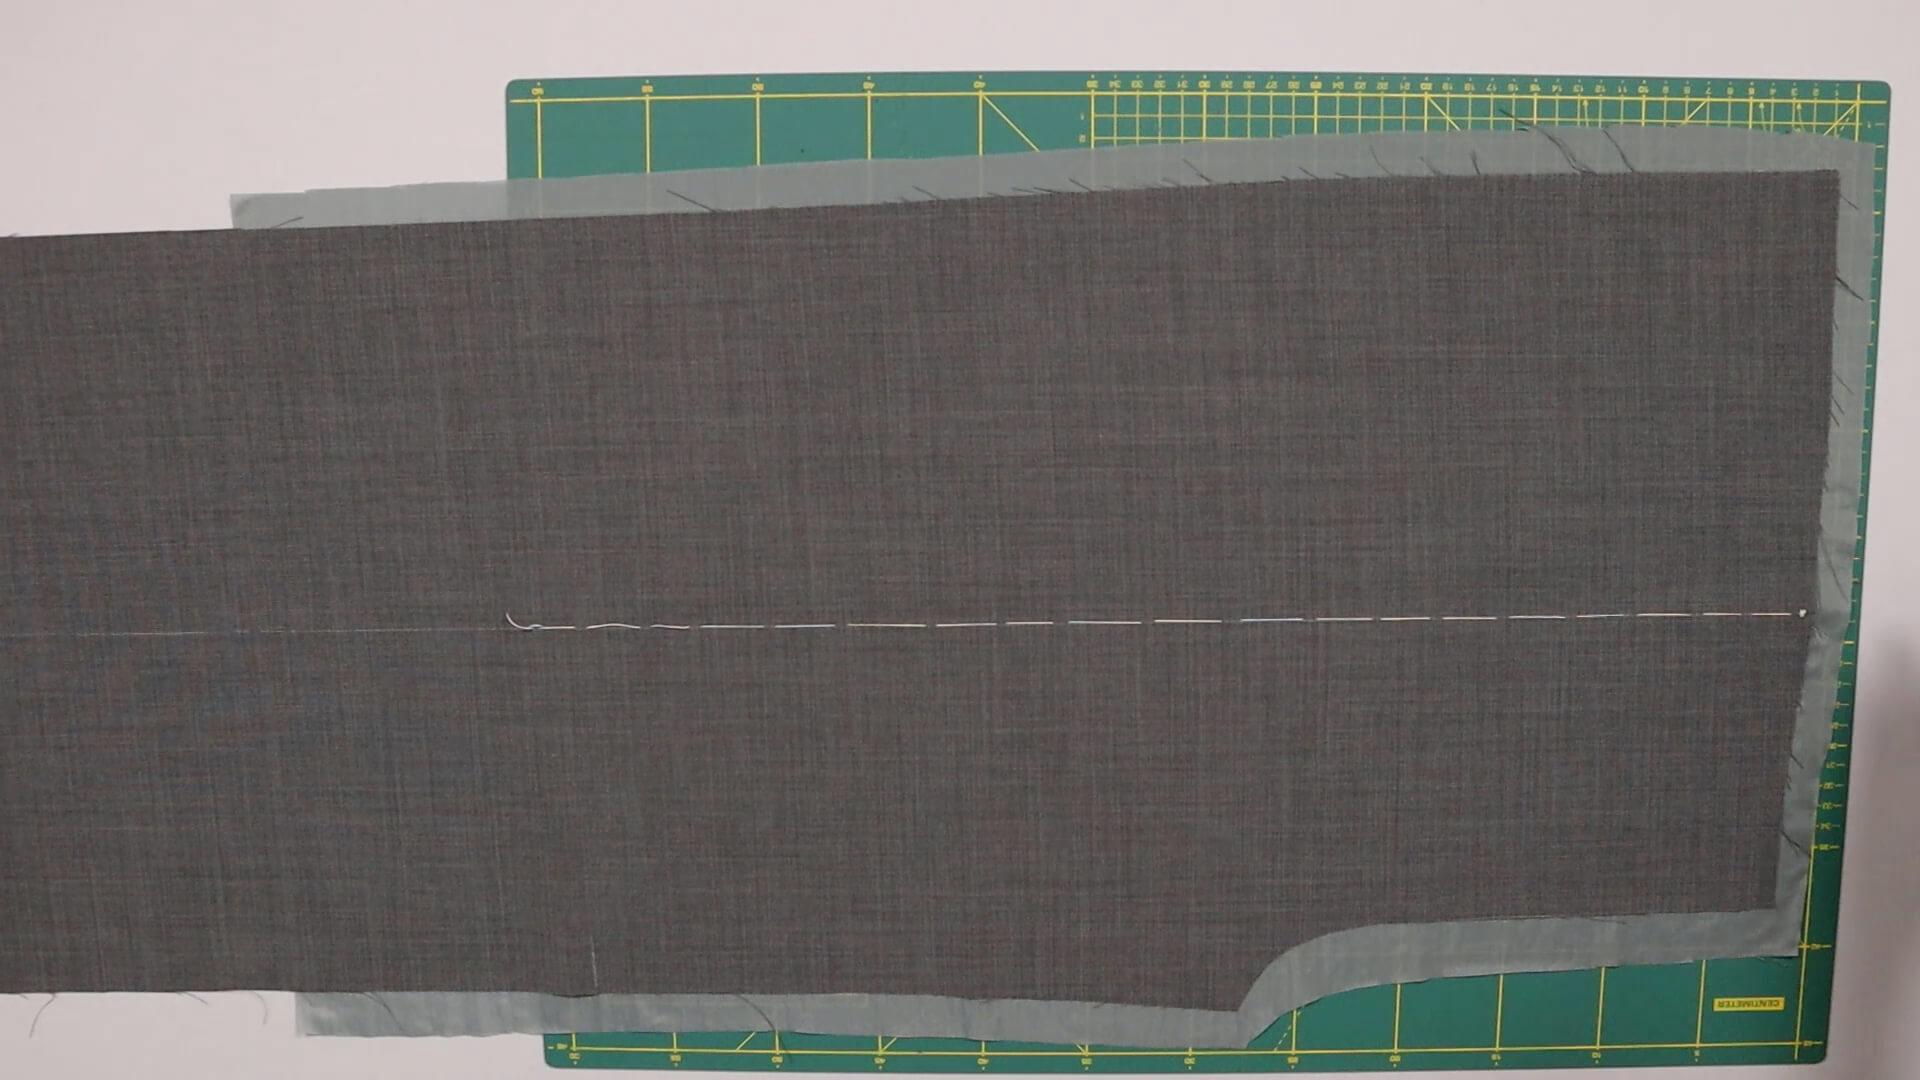
I push the fabric down very slightly with each stitch so that the lining is never worked in too short. Here I can work with large basting stitches.
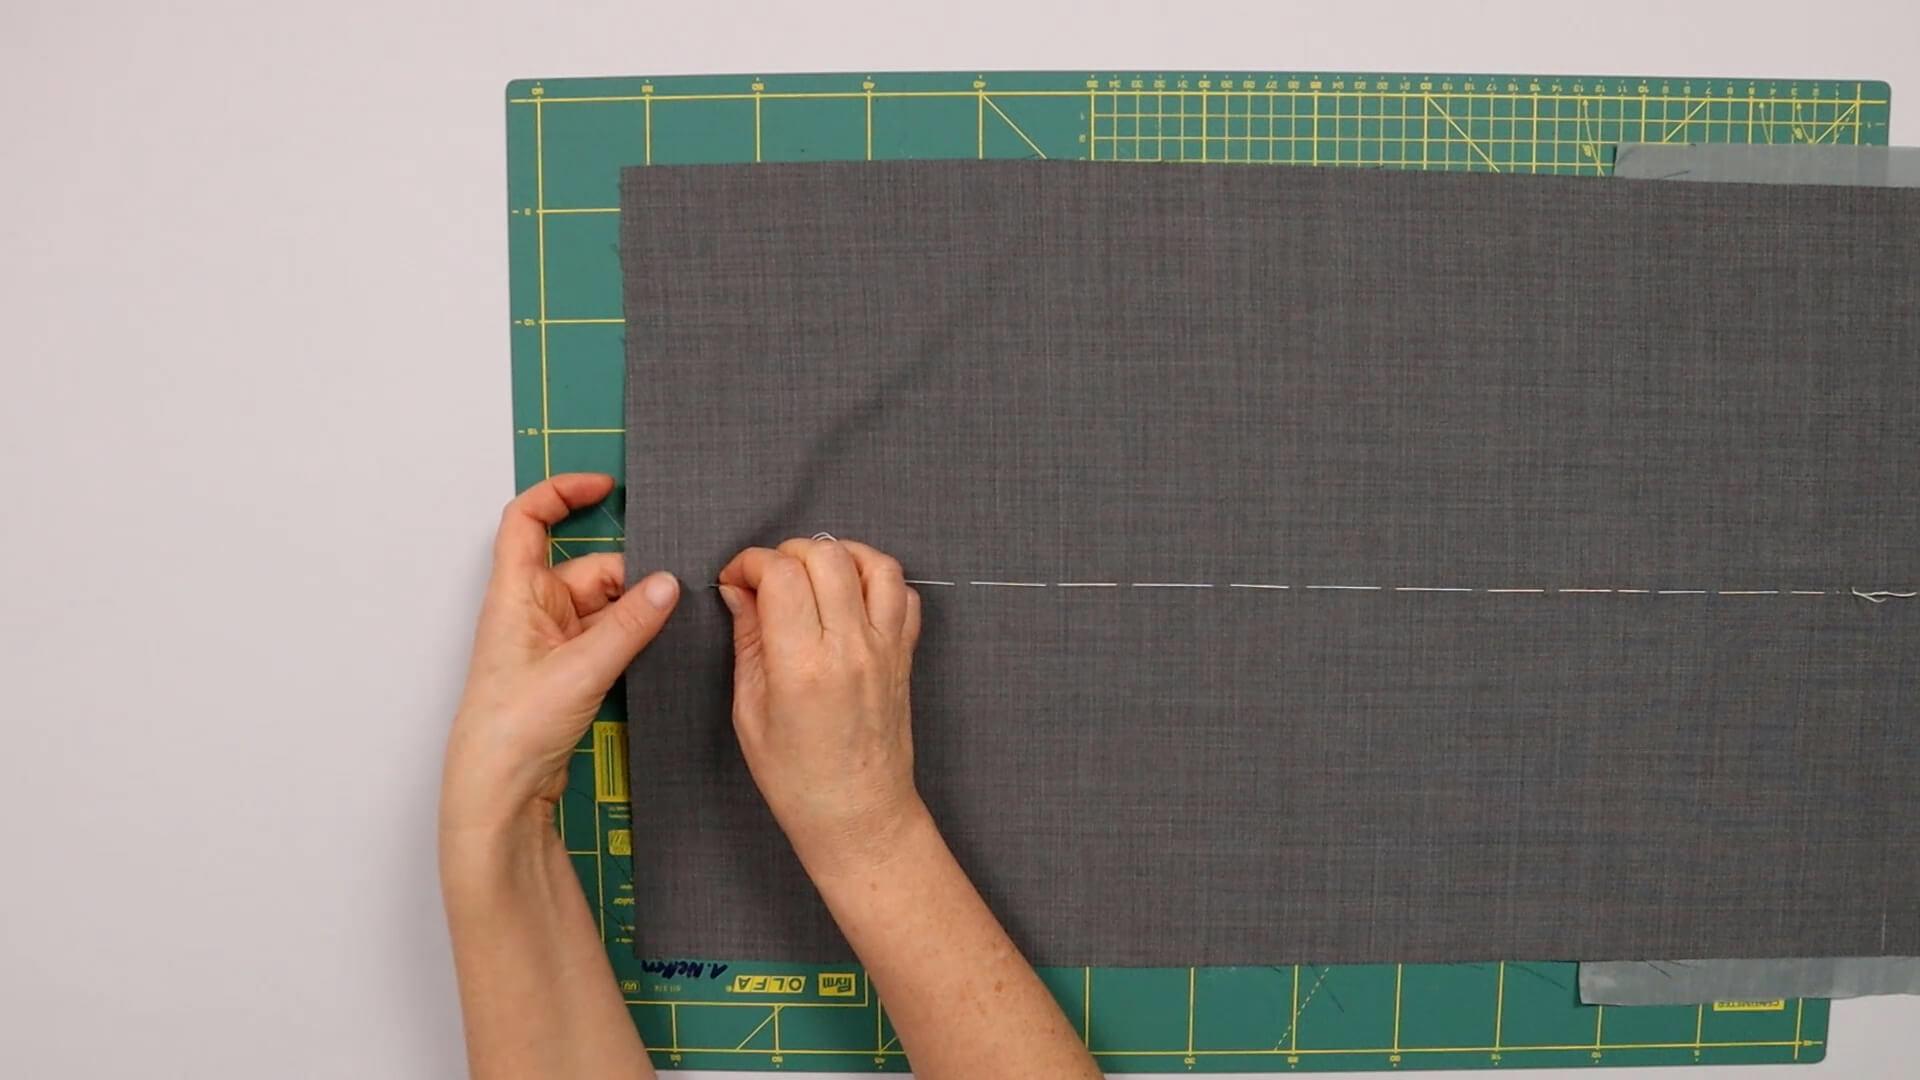
For the crease, I run the basting thread to the hem edge, as it will also serve as a guide when ironing later.
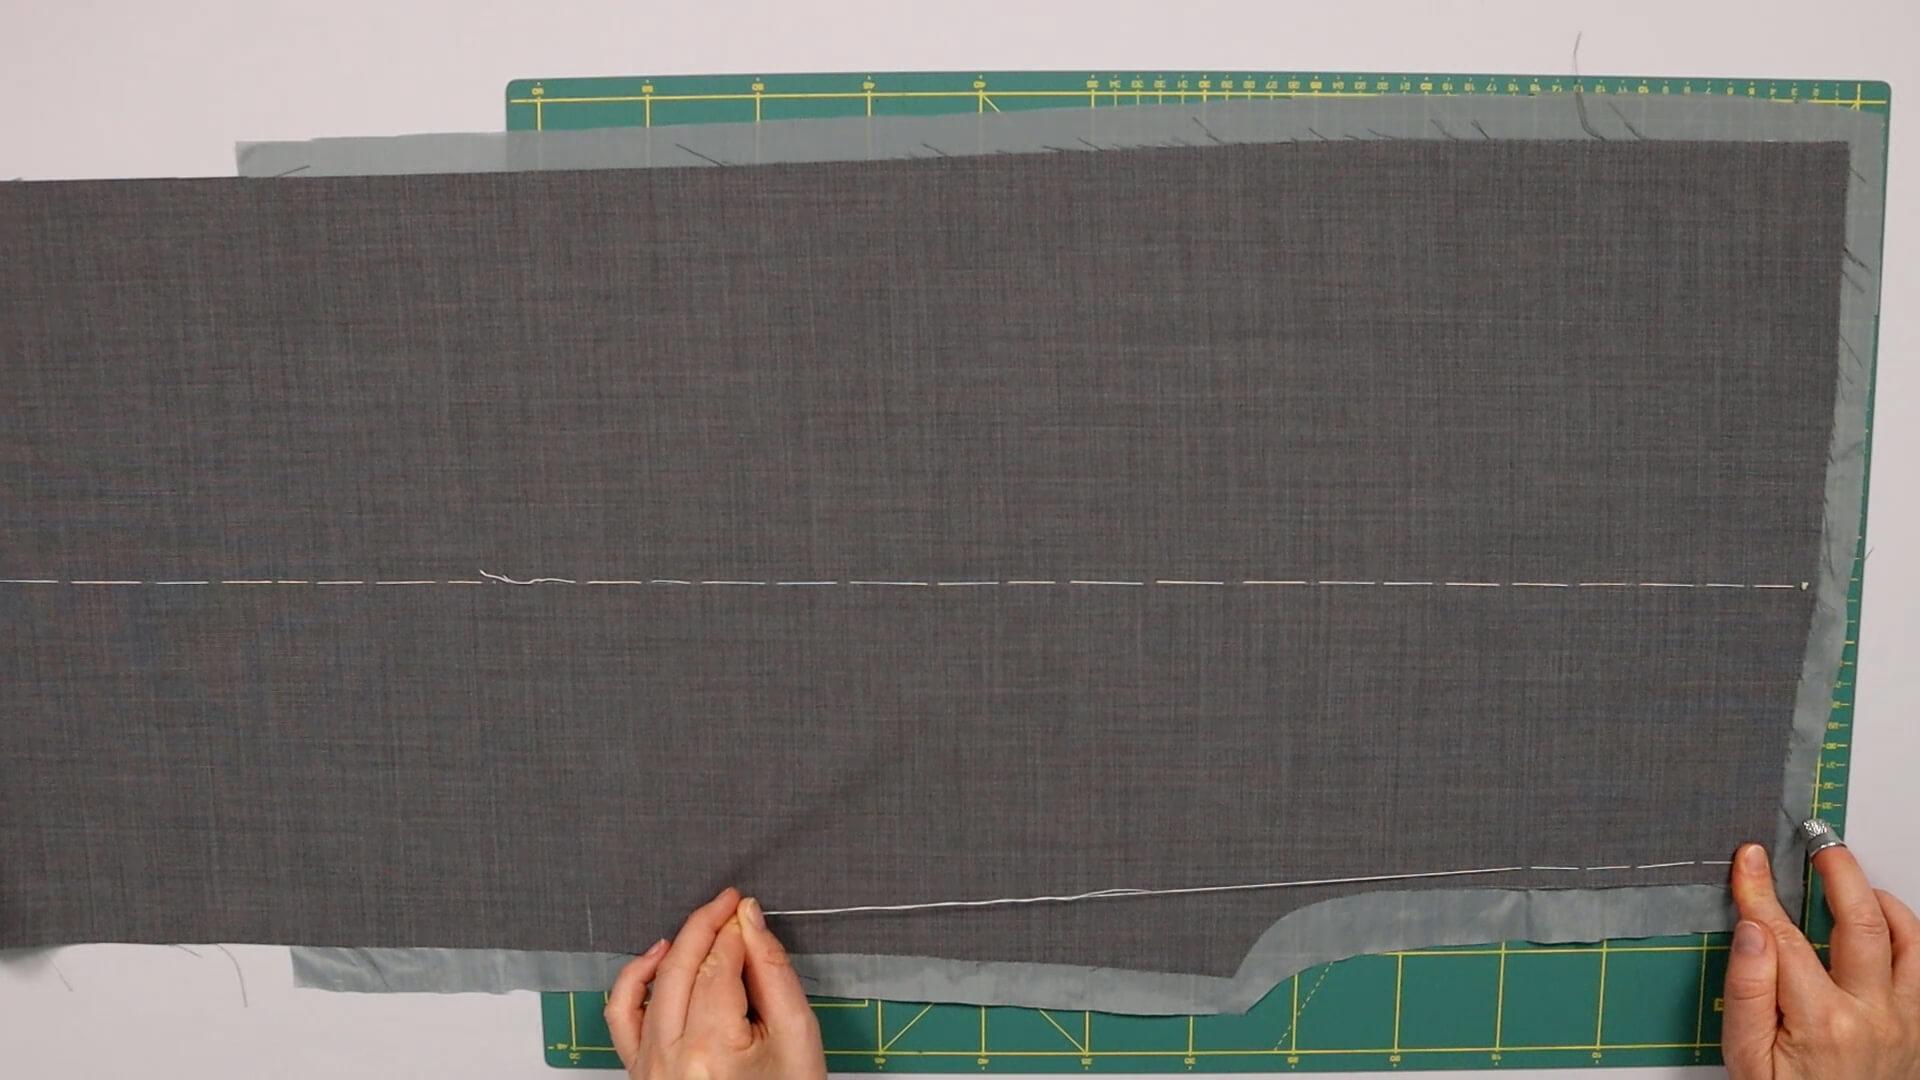
Next, I baste the lining to the outer edge and start at the center front. I keep a distance of approx. 8 mm from the edge to avoid catching the thread when neatening the cut edges.
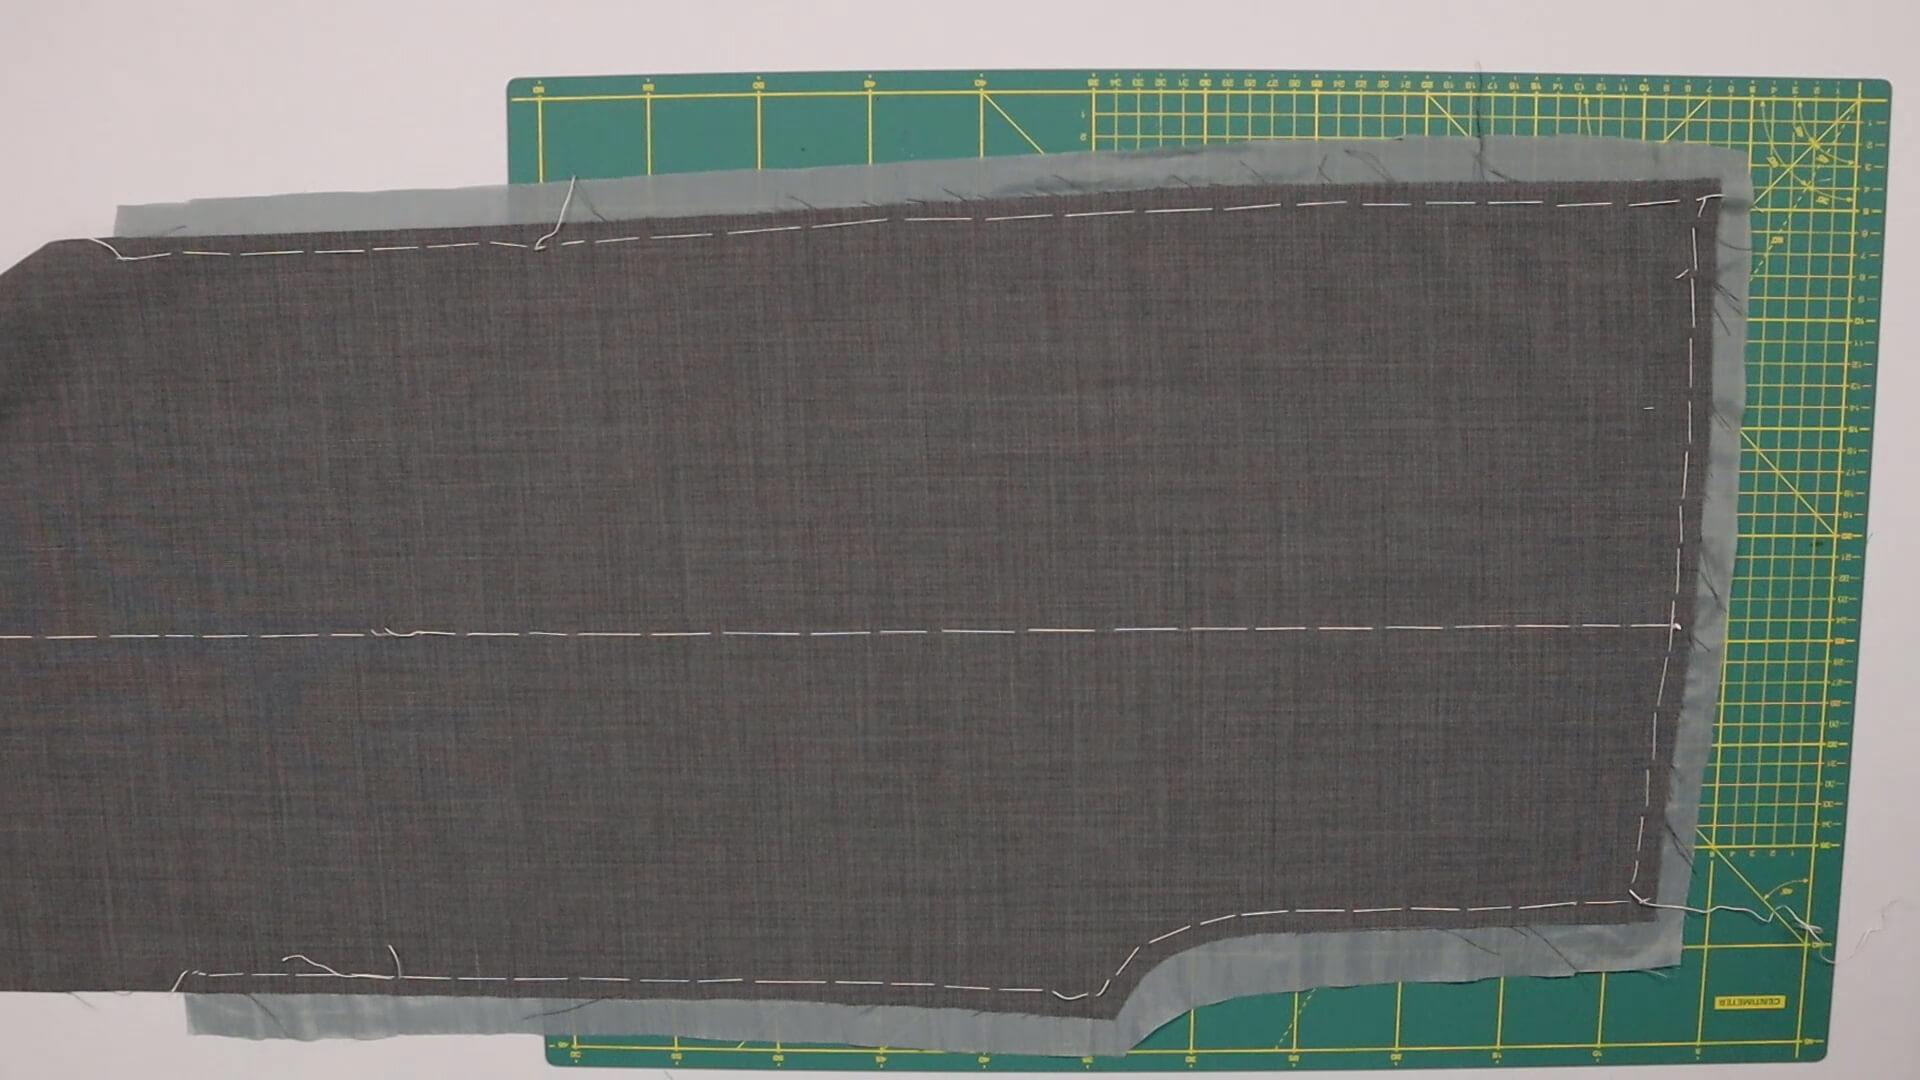
And last but not least, I baste the top edge of the front trousers.
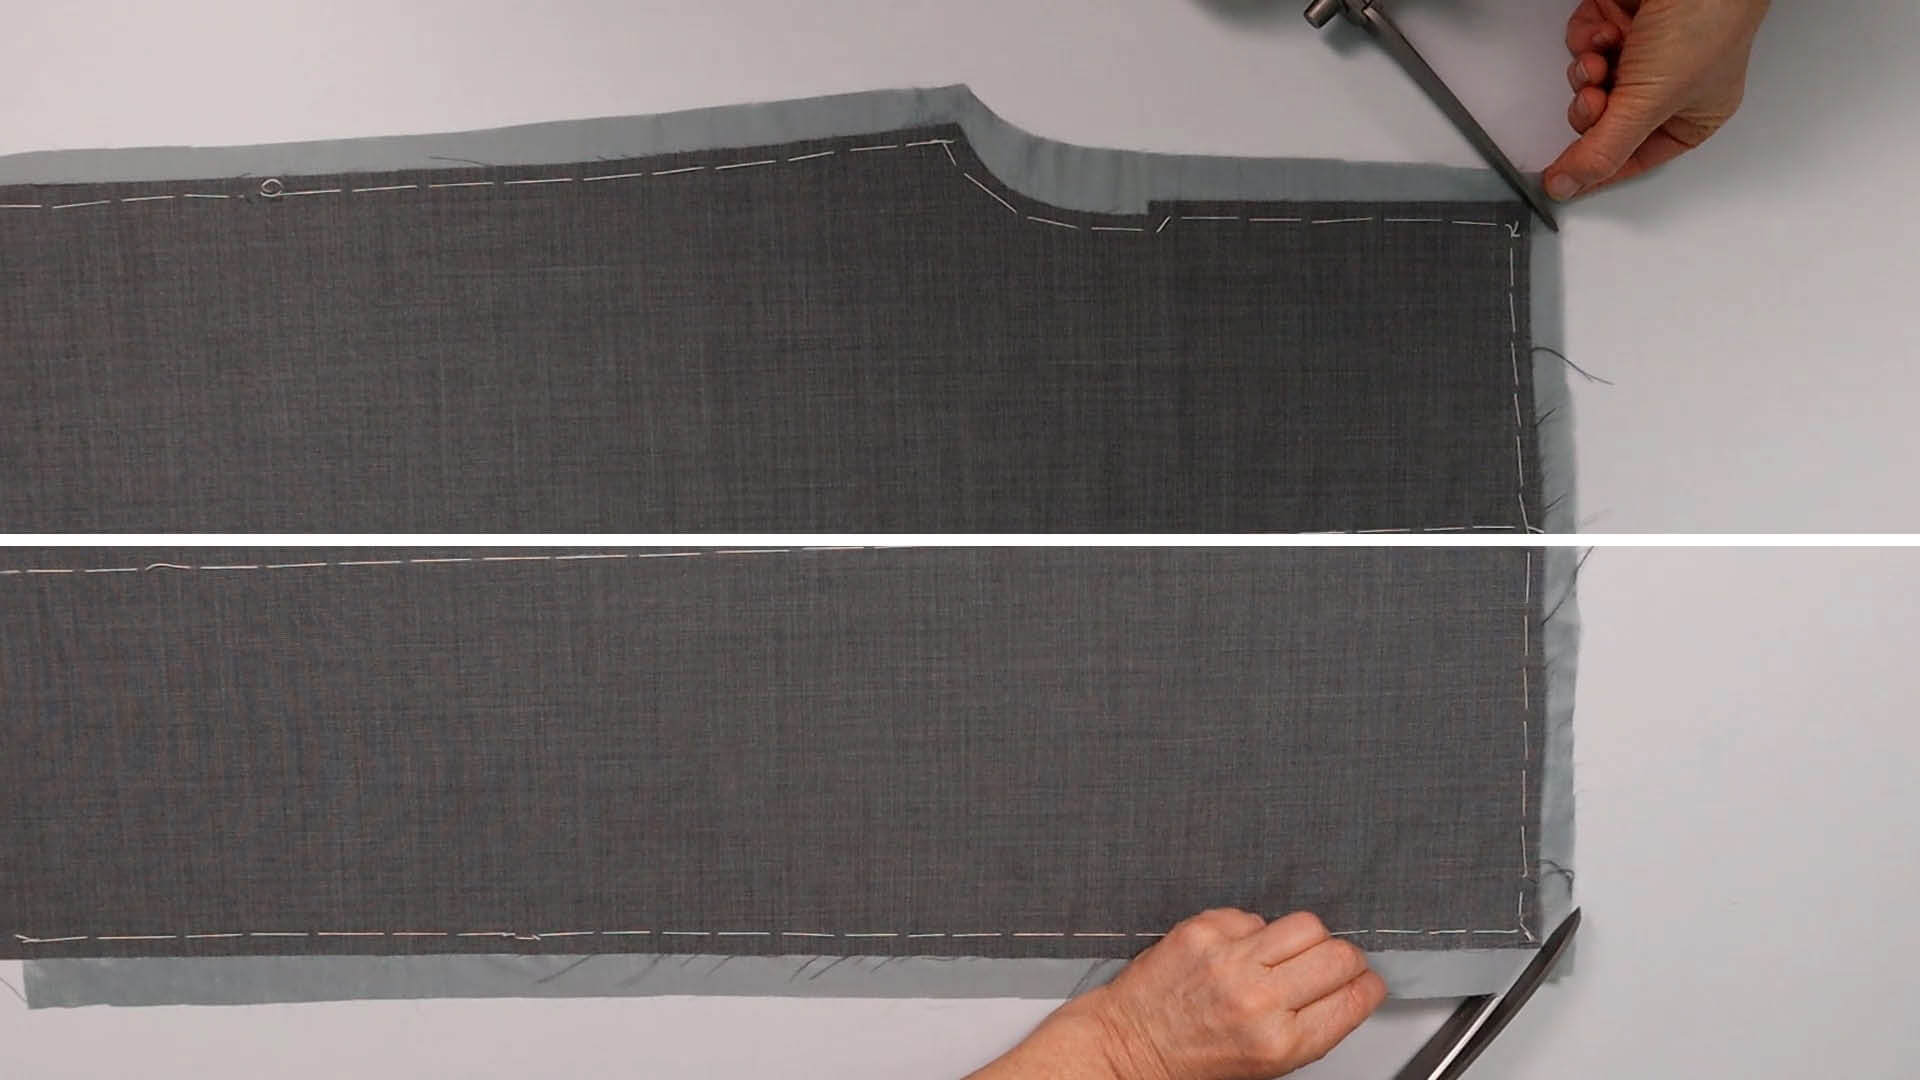
I cut the lining fabric back diagonally at the corners.
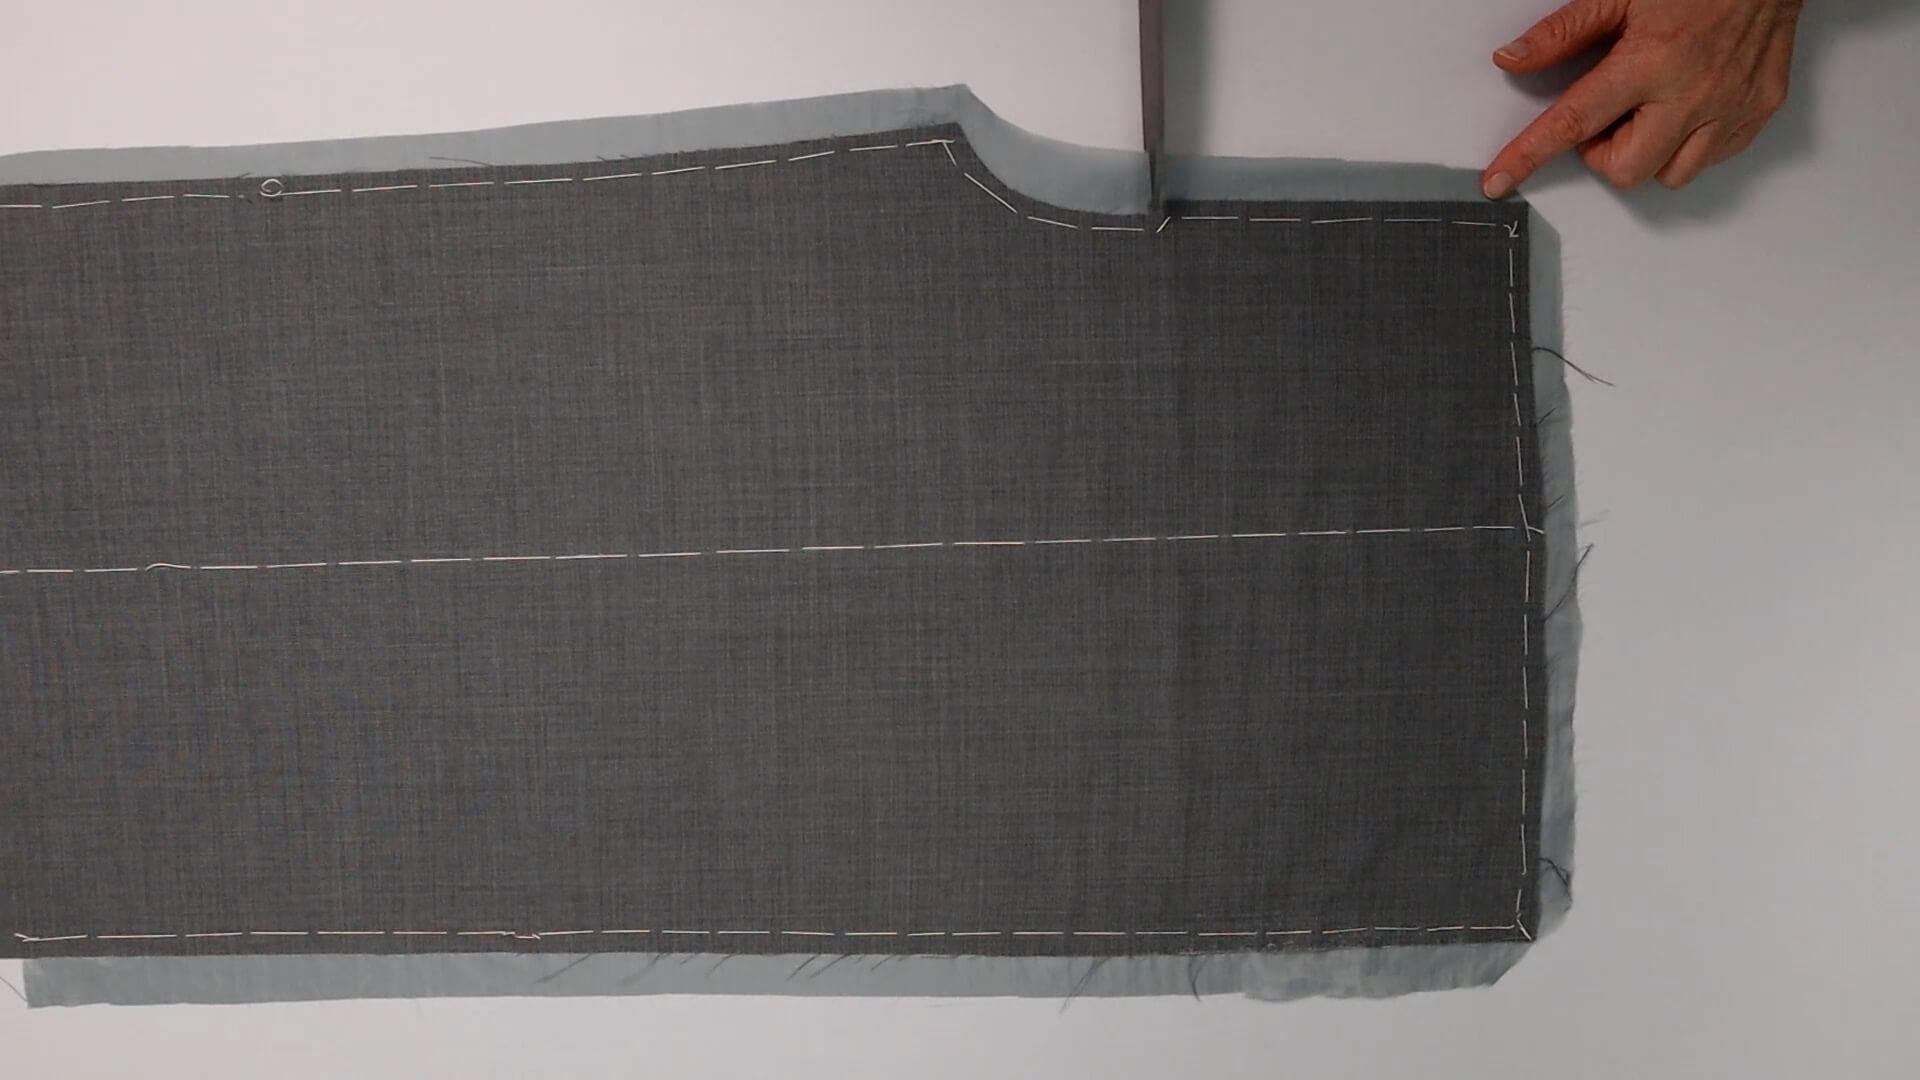
On the left front piece, where the front edge was not trimmed, I cut the lining exactly up to the marking at the slit end.
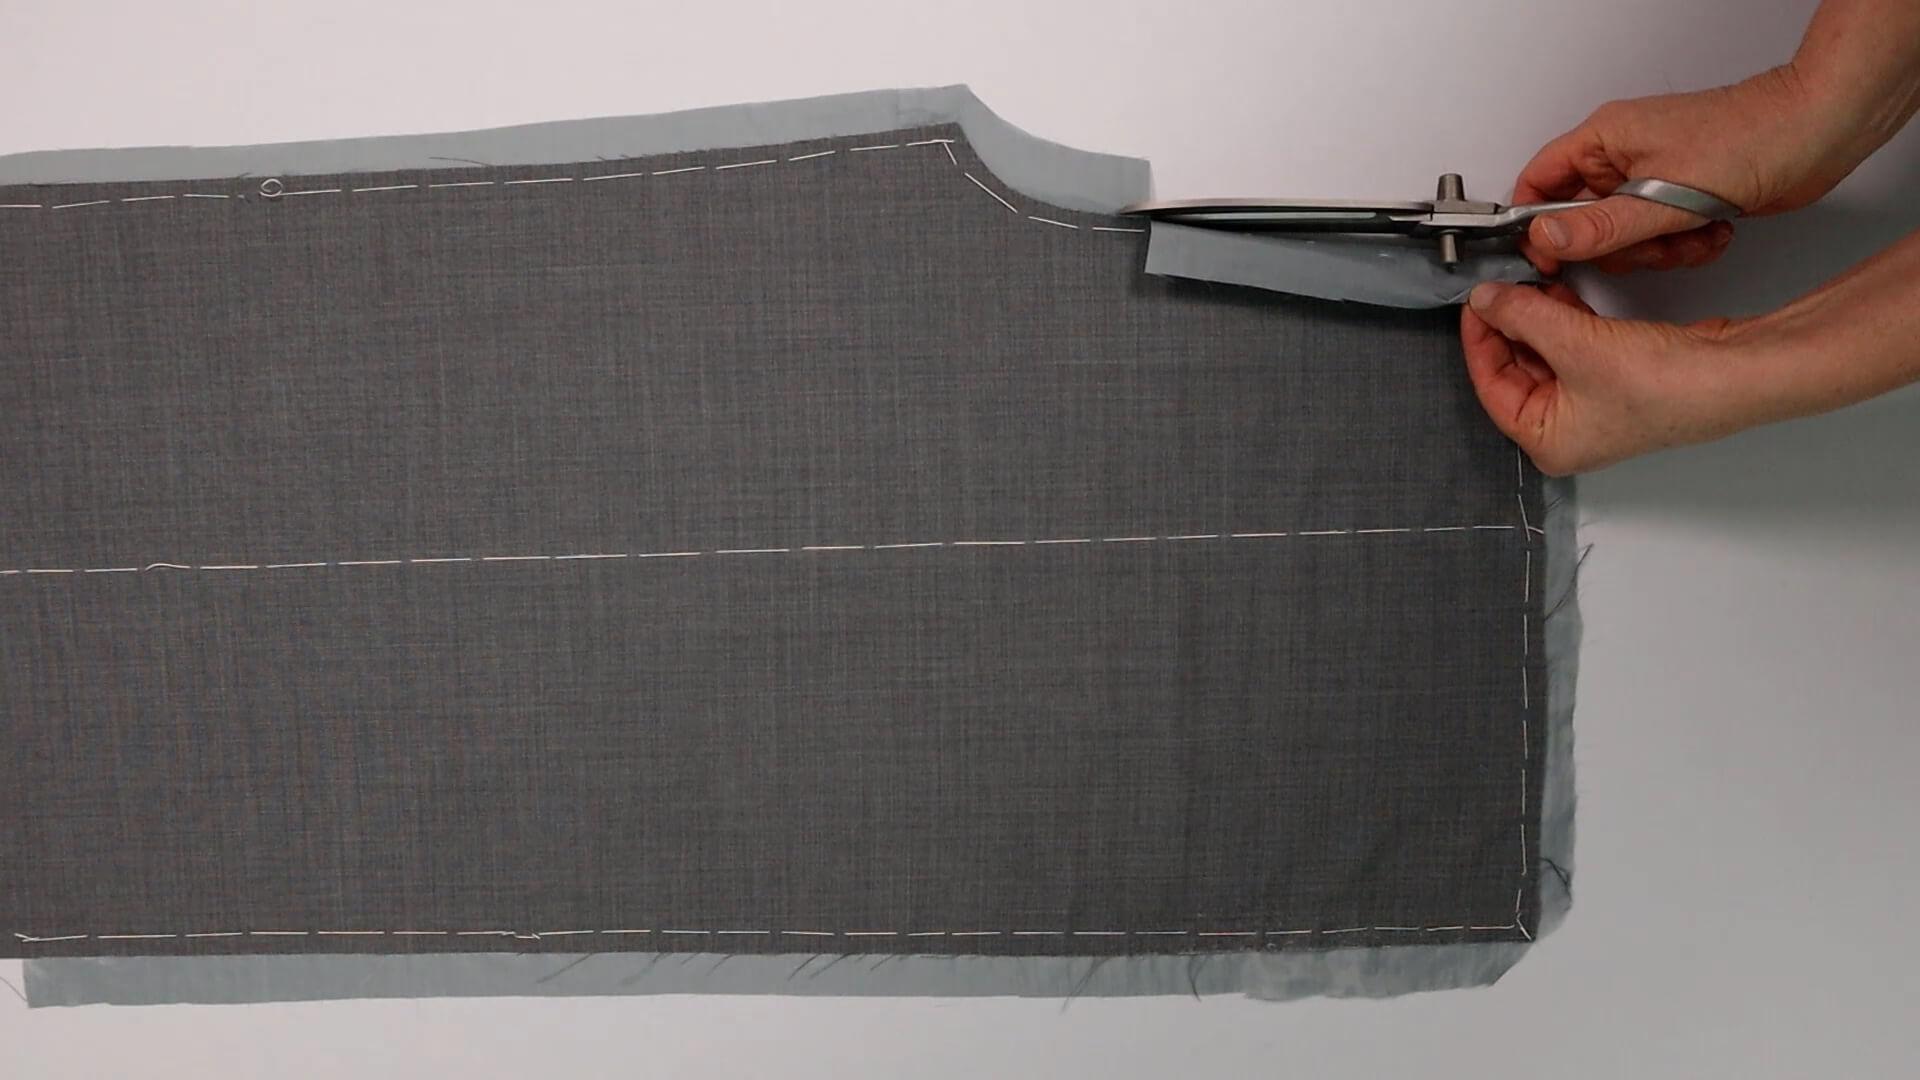
The lining is cut flush with the main fabric in the lower area. On the right front trousers, where I trimmed the front edge, it is sufficient to cut back the corner on the inside leg seam diagonally, as on the top edge.
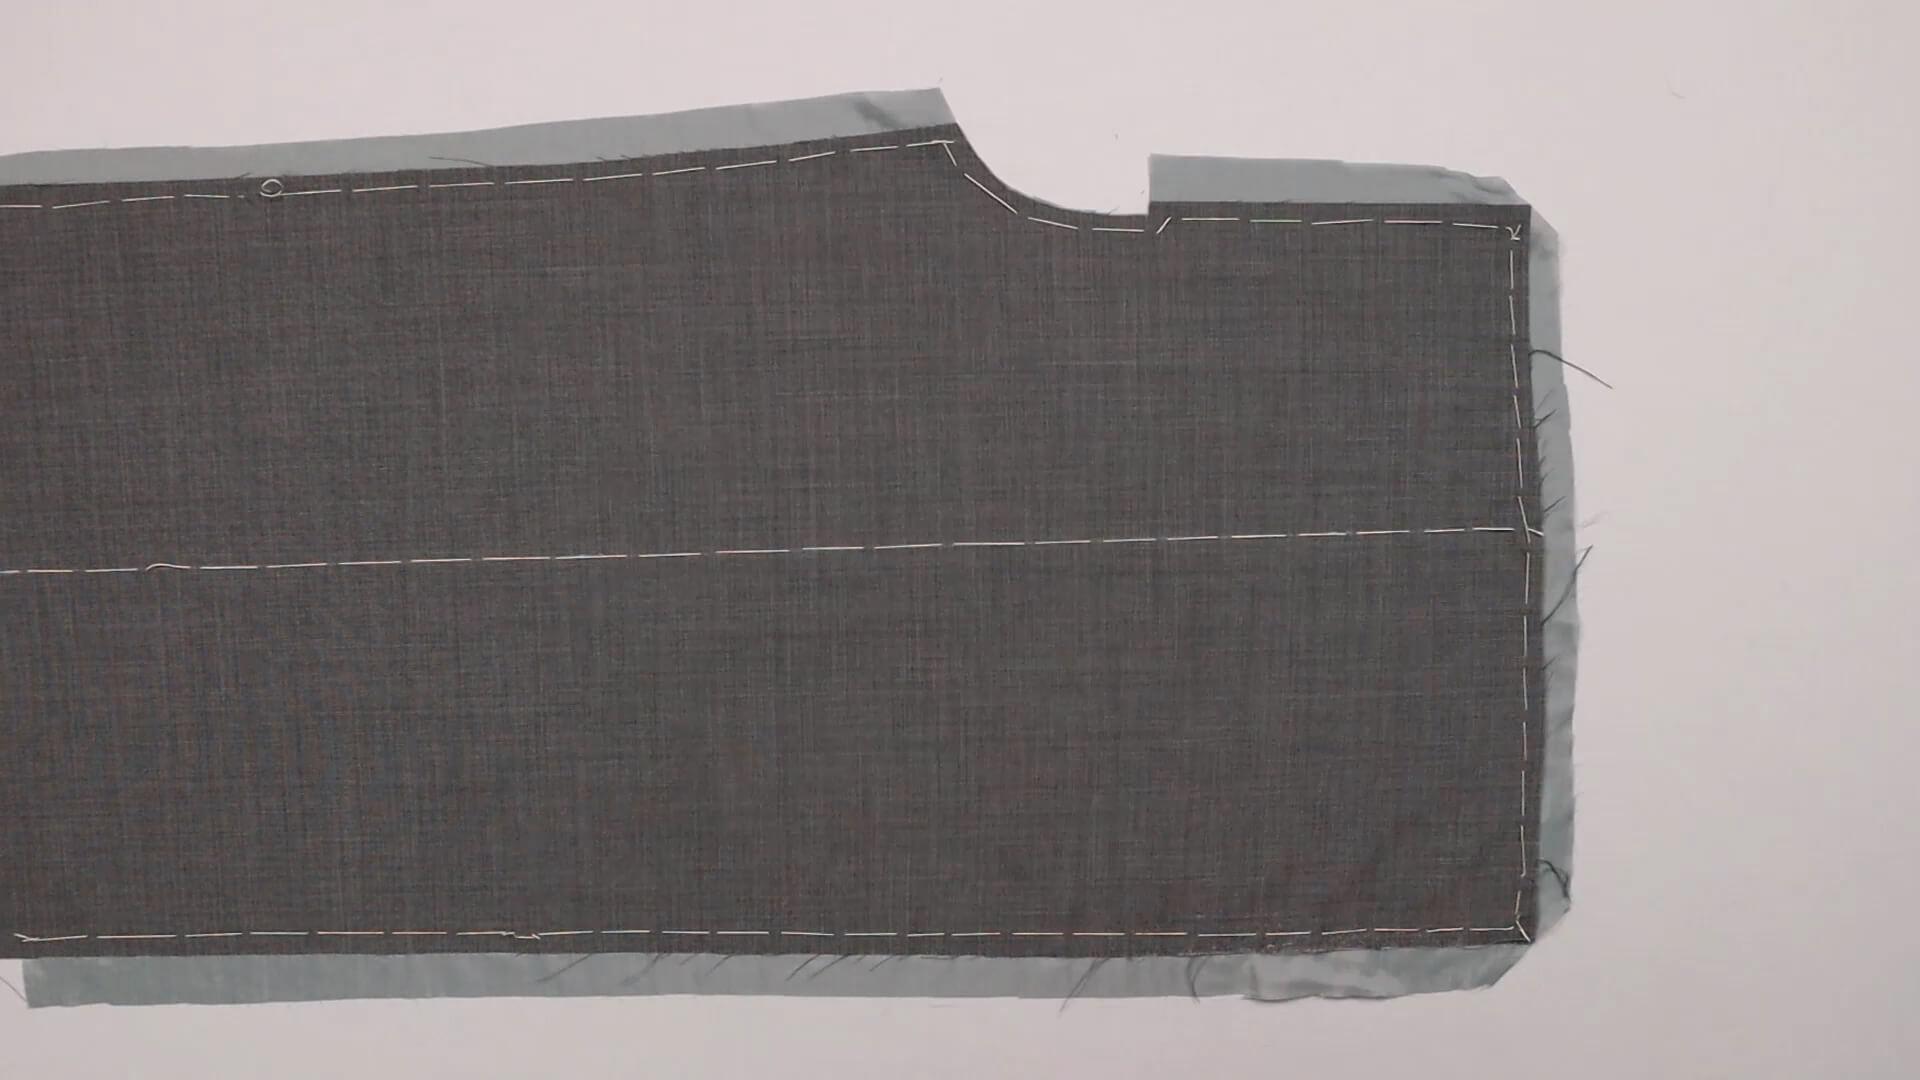
This is what it looks like when the main and lining fabrics are ready to be joined together.
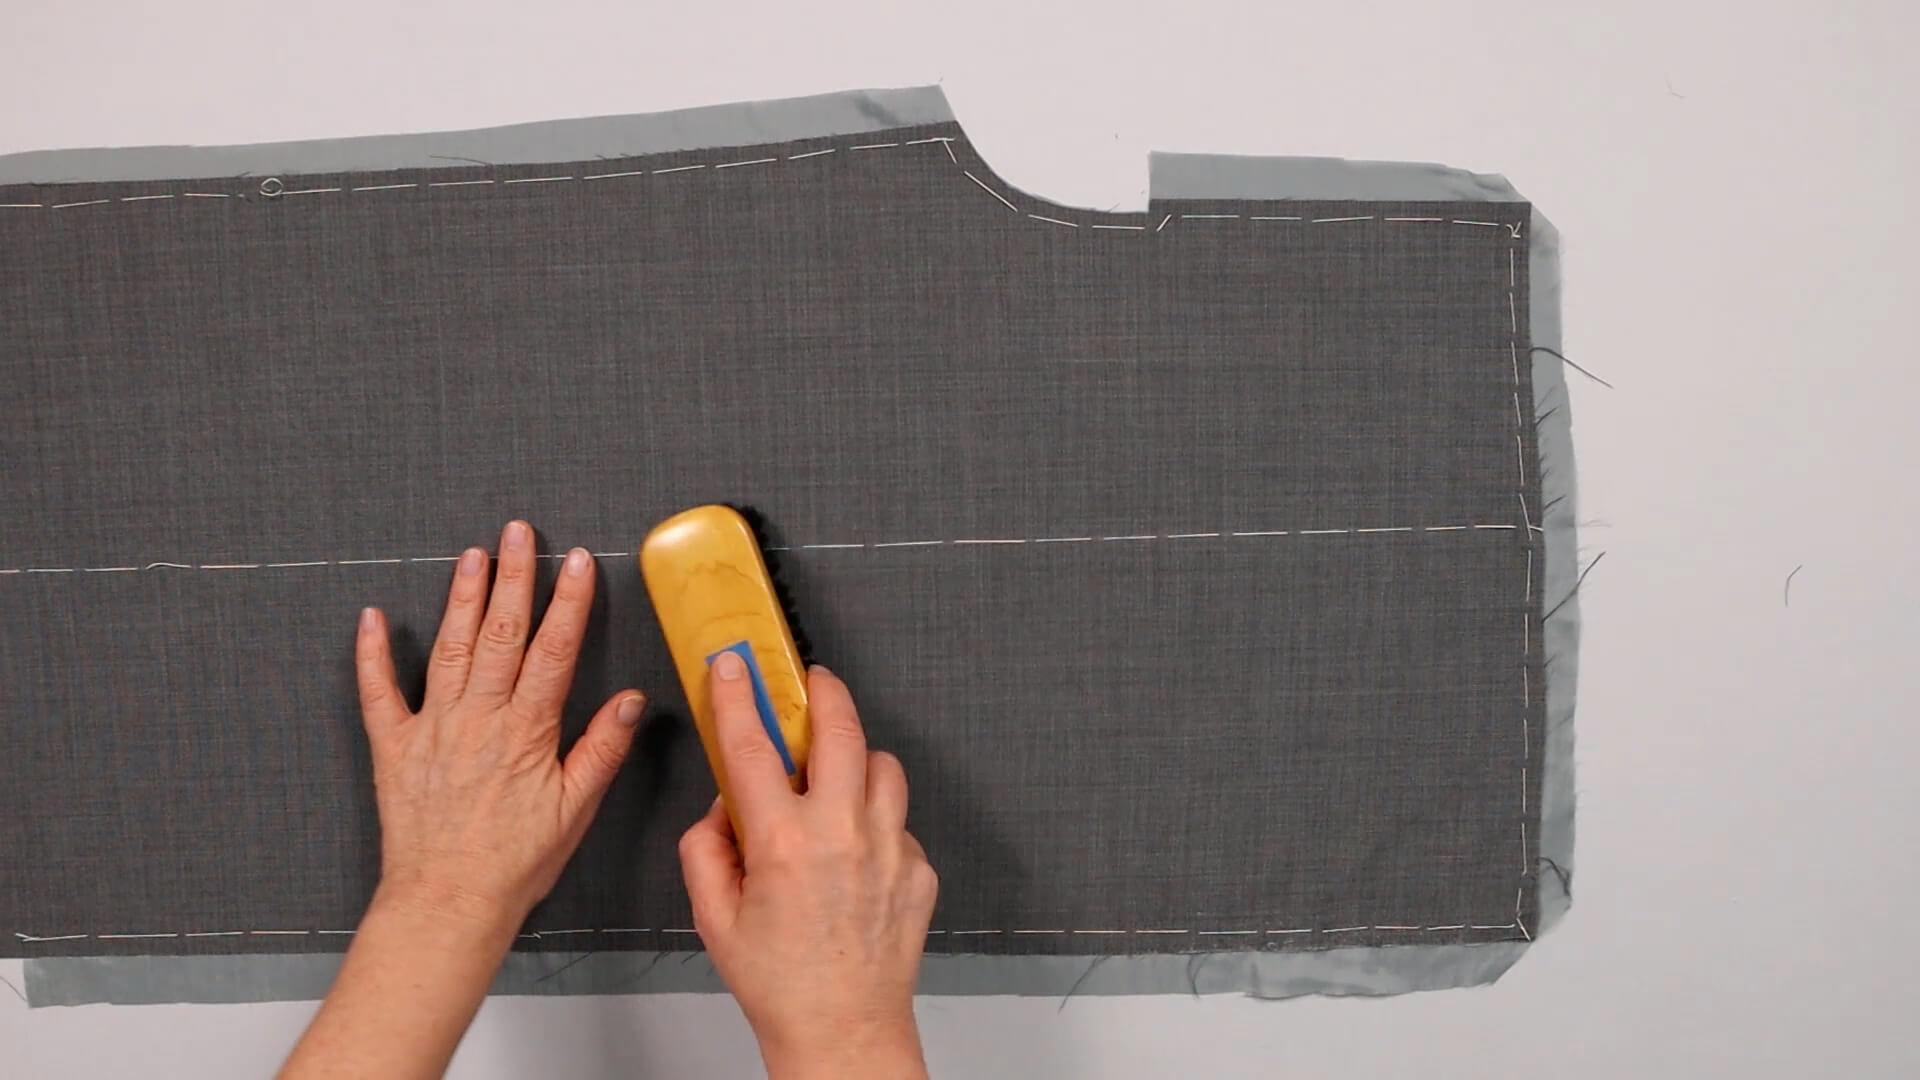
I remove the chalk mark in the middle with a clothes brush and repeat the steps with the second parts of the main and lining fabric.
7. Join knee lining and main fabric
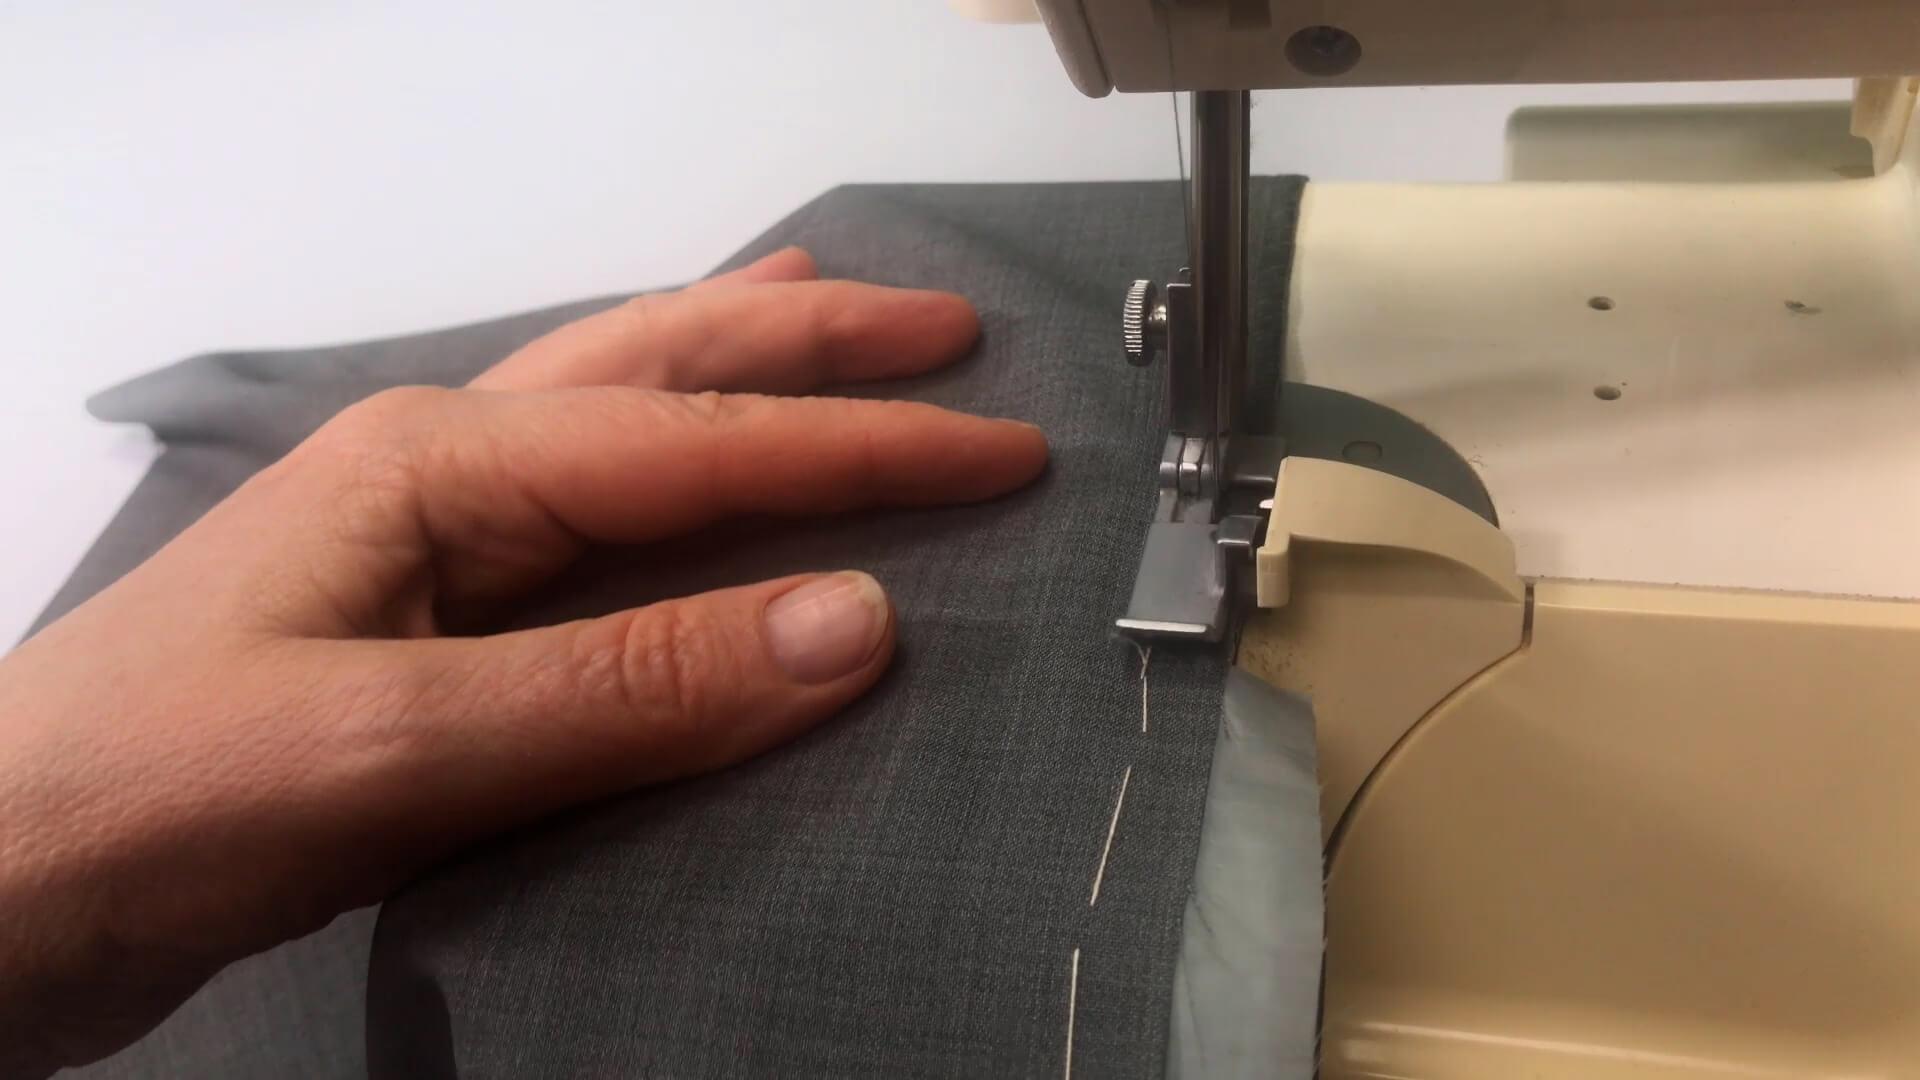
To join the knee lining to the main fabric, I overlock the edges of the front trousers. For the left front piece, I start at the hem of the inside of the leg.
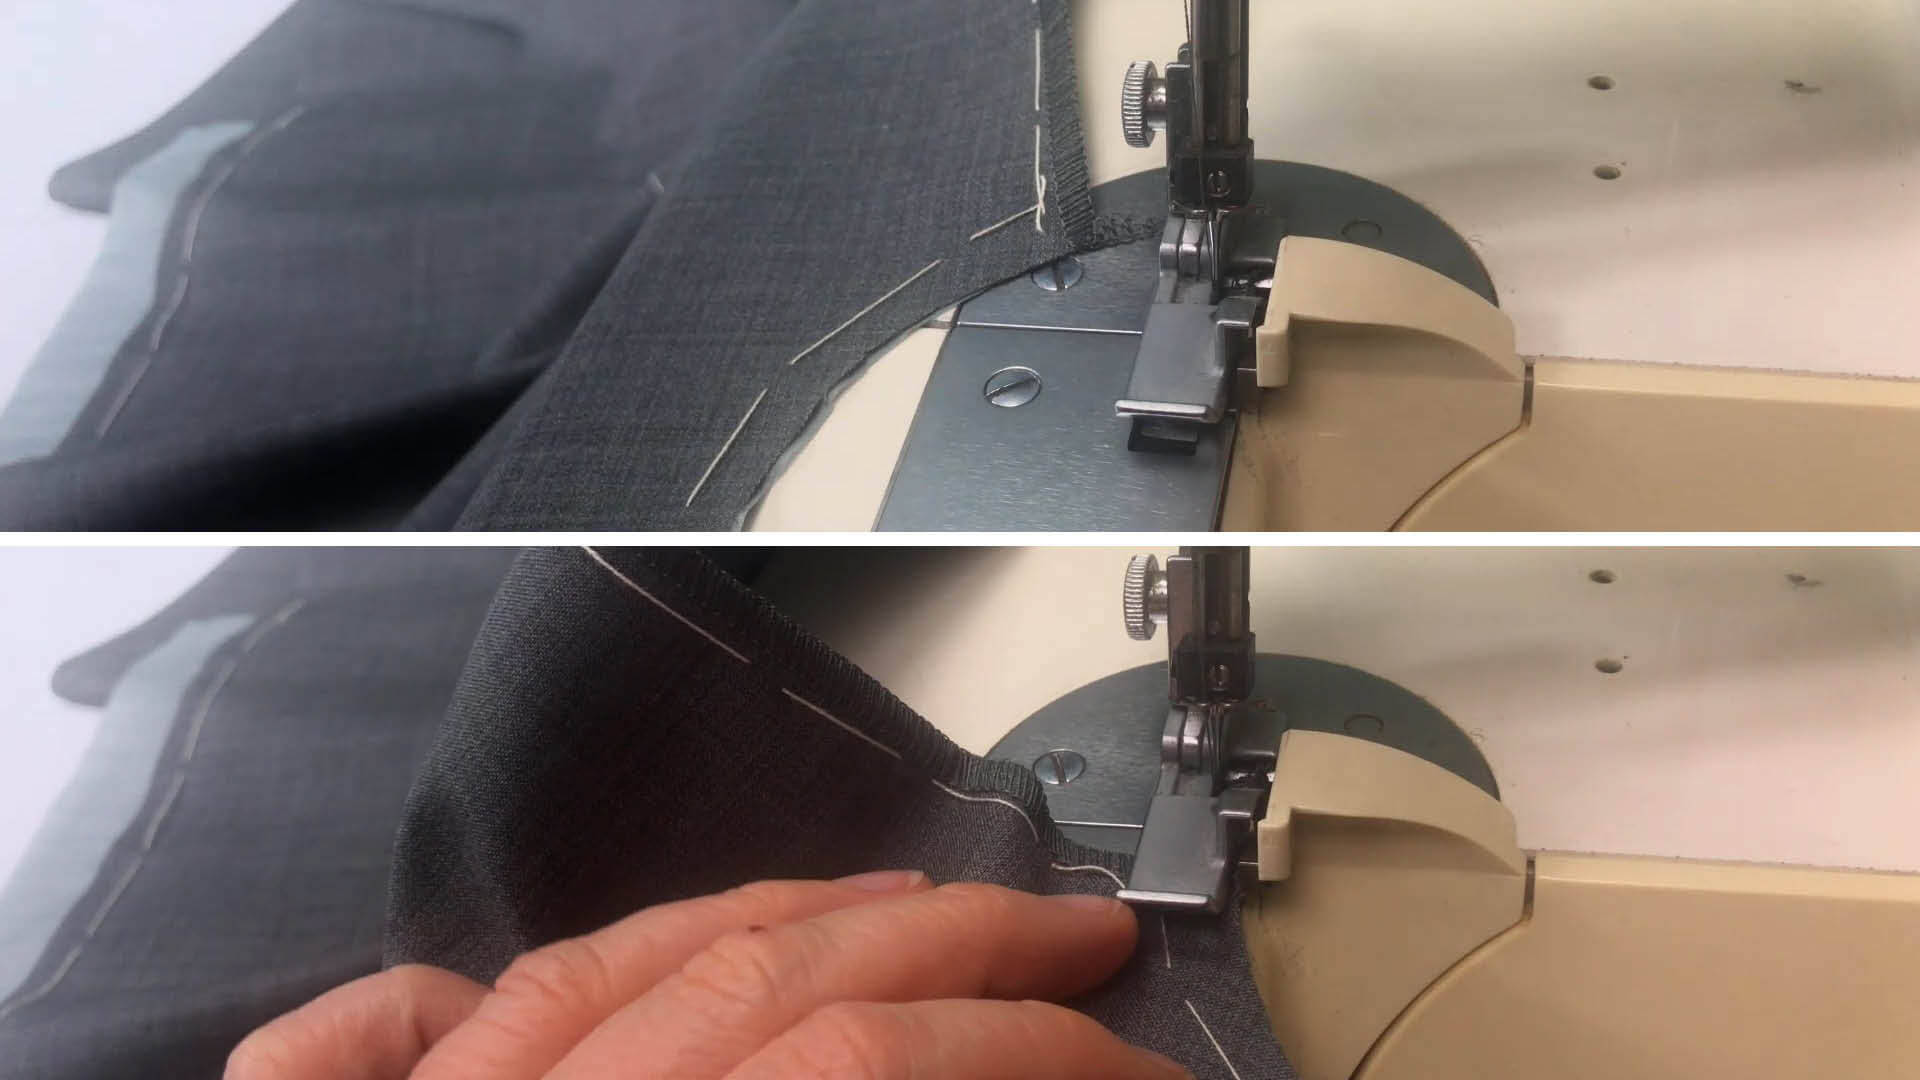
At the end of the inside of the leg, I set off briefly to finish the crotch seam.
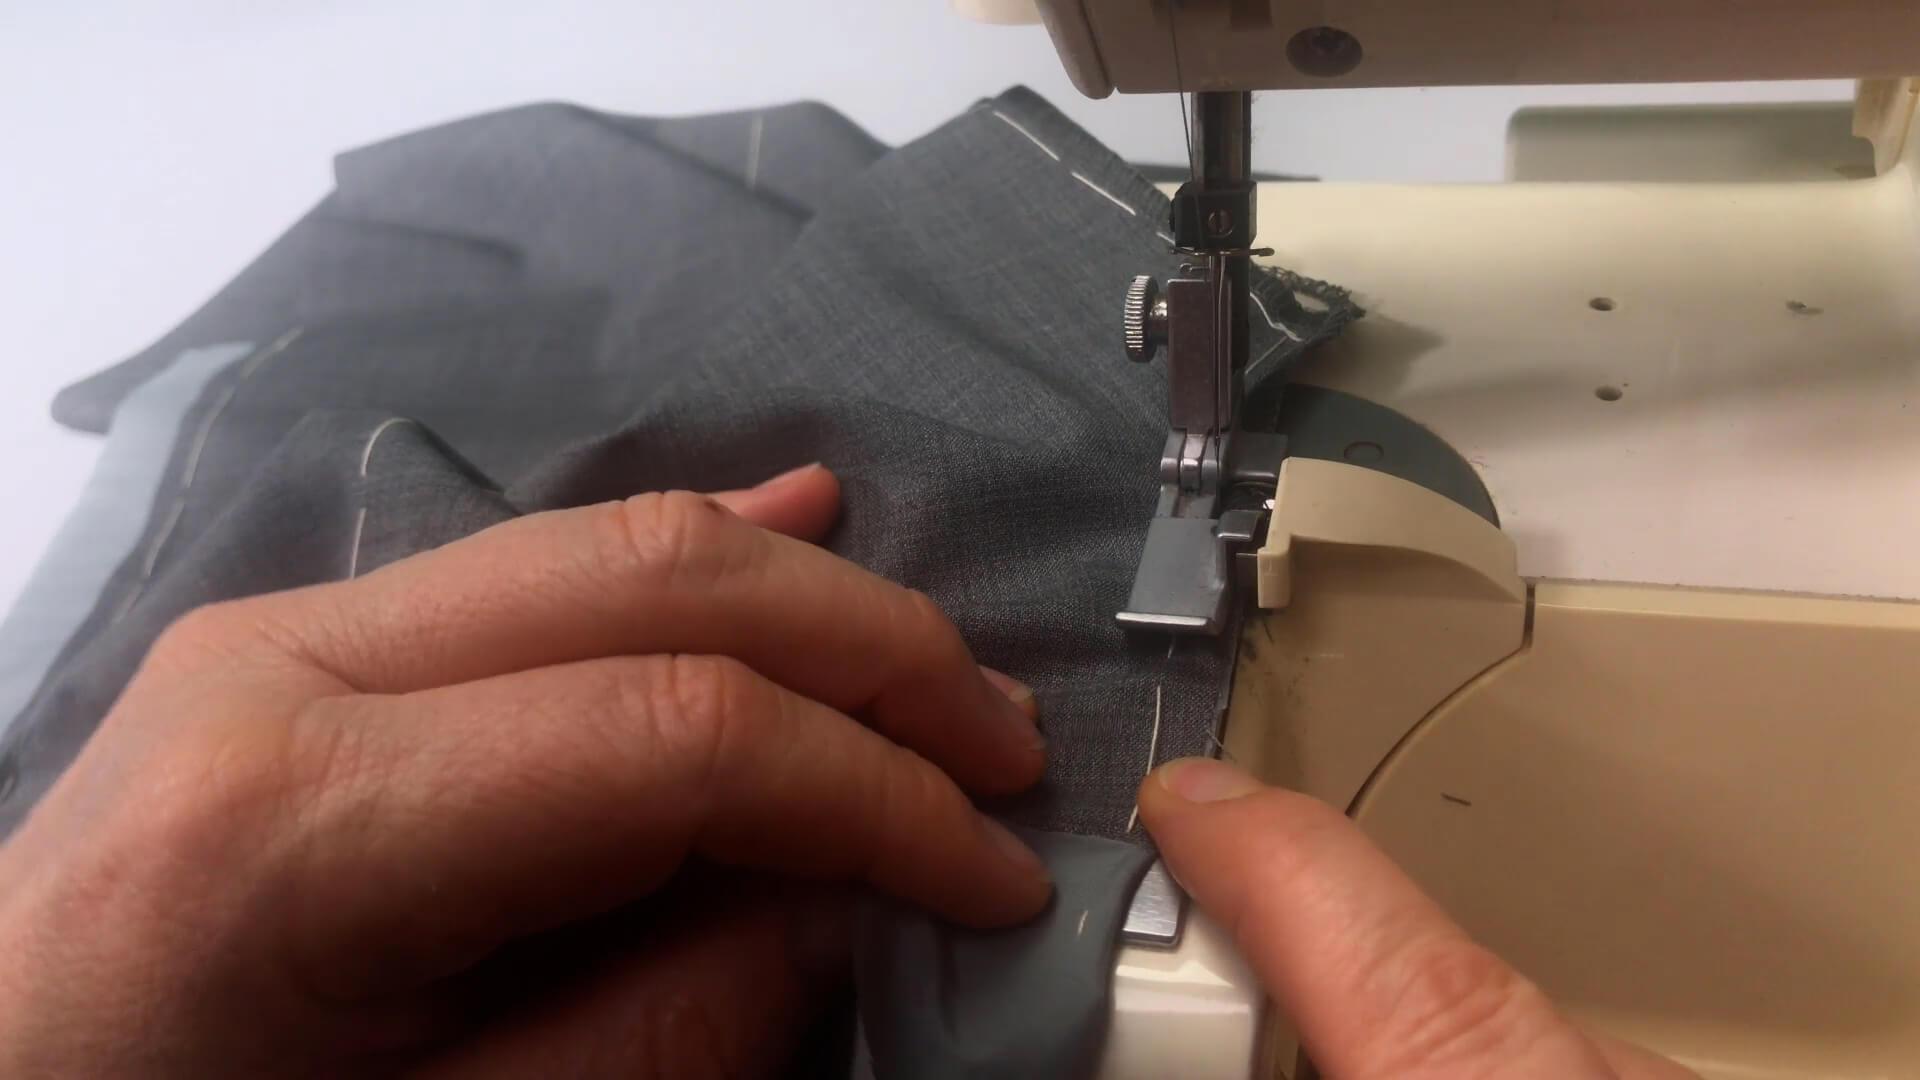
I fold the excess seam at the front edge to the side so that I can sew the short crotch seam to the end. I let the thread hang loose.
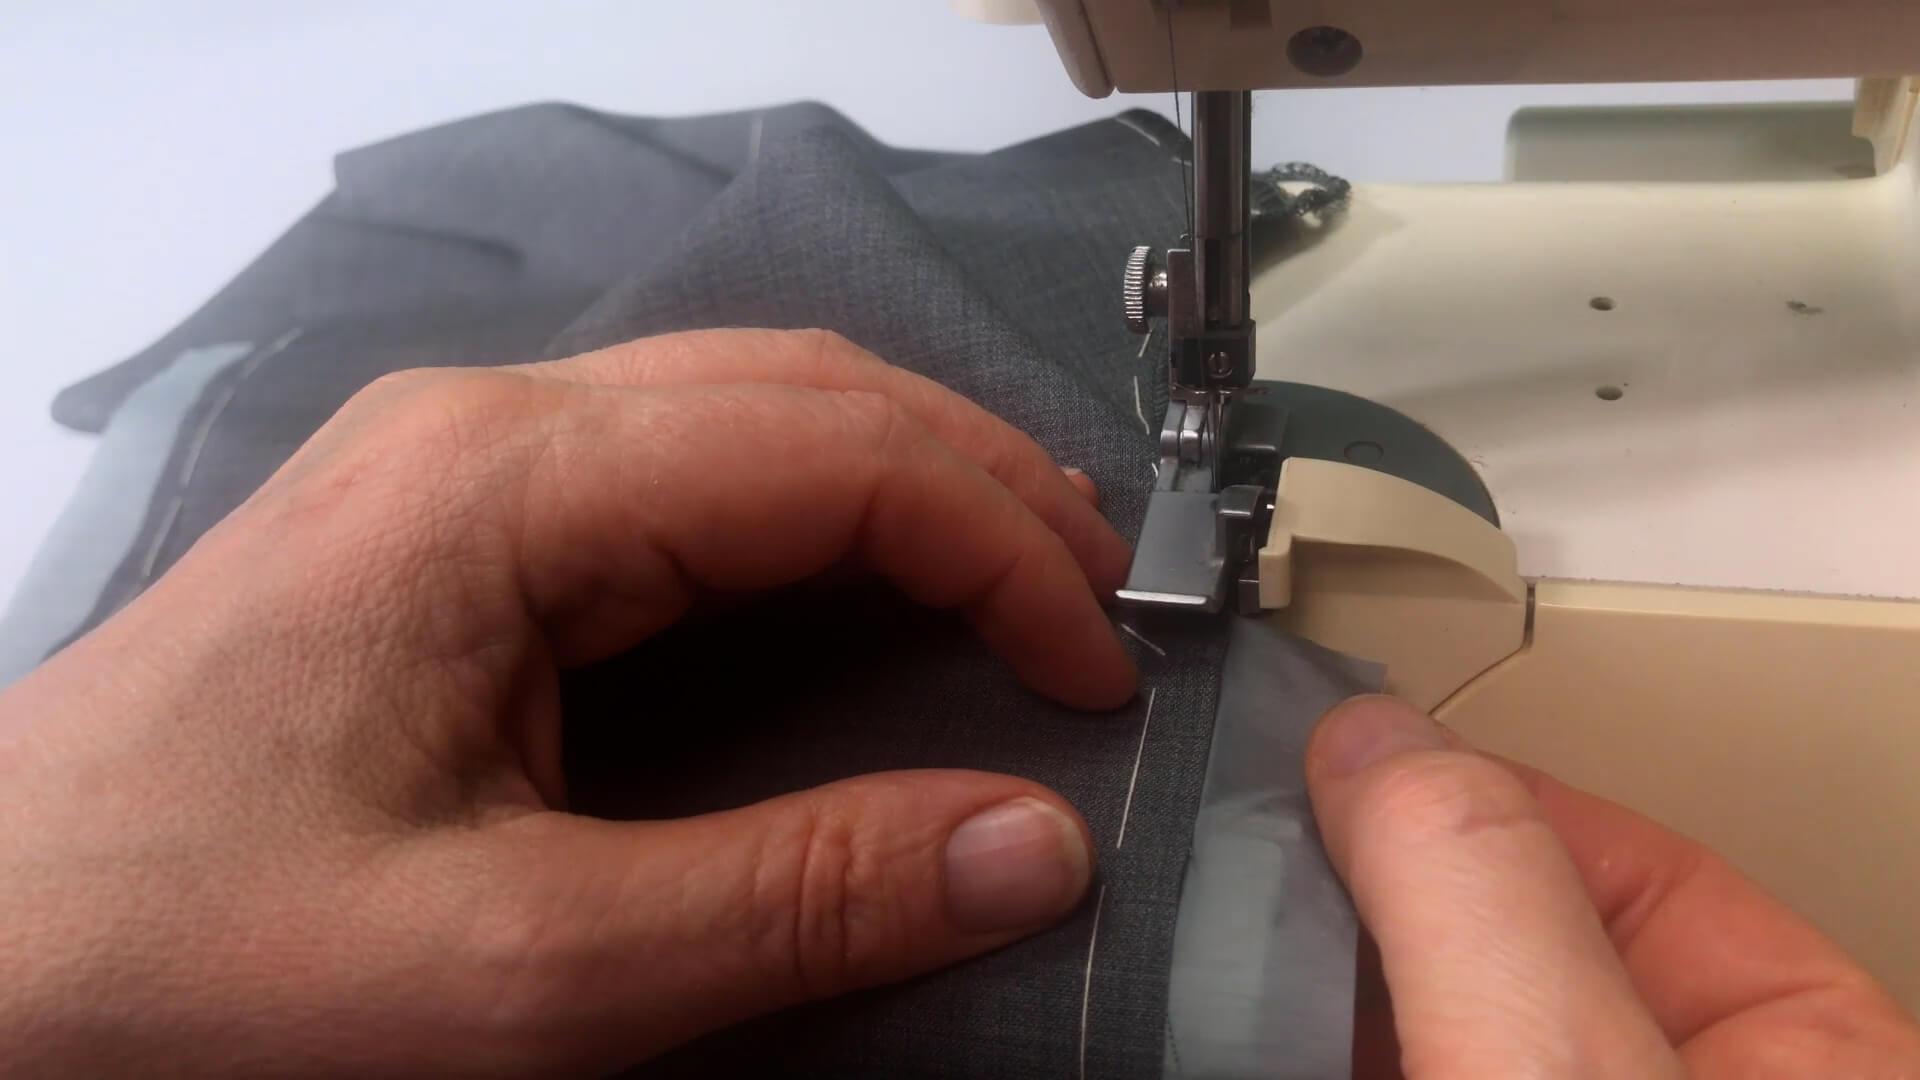
Now I start at the fly and sew up to the corner.
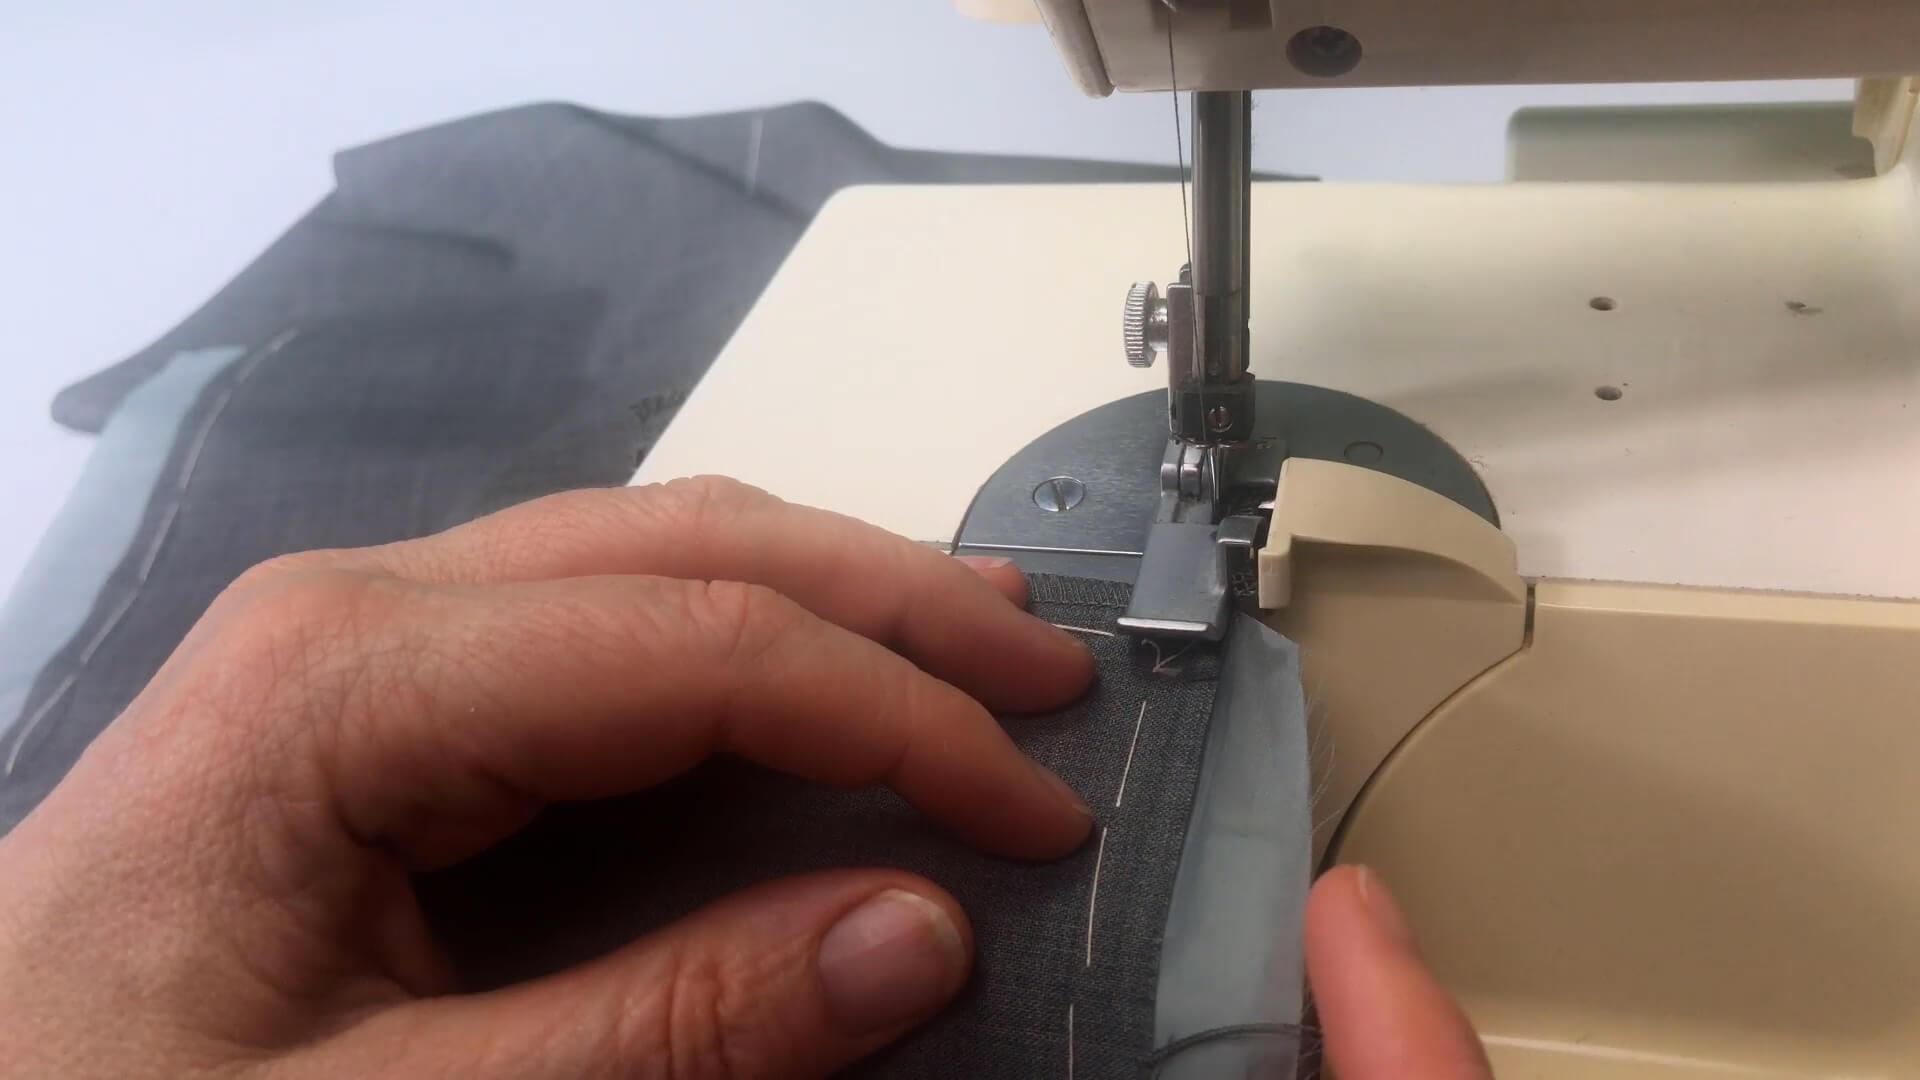
Since I cut away the lining fabric diagonally beforehand, I can now continue overlocking on the top edge.
I proceed in the same way on the next corner and then finish the outside of the leg up to the hem.
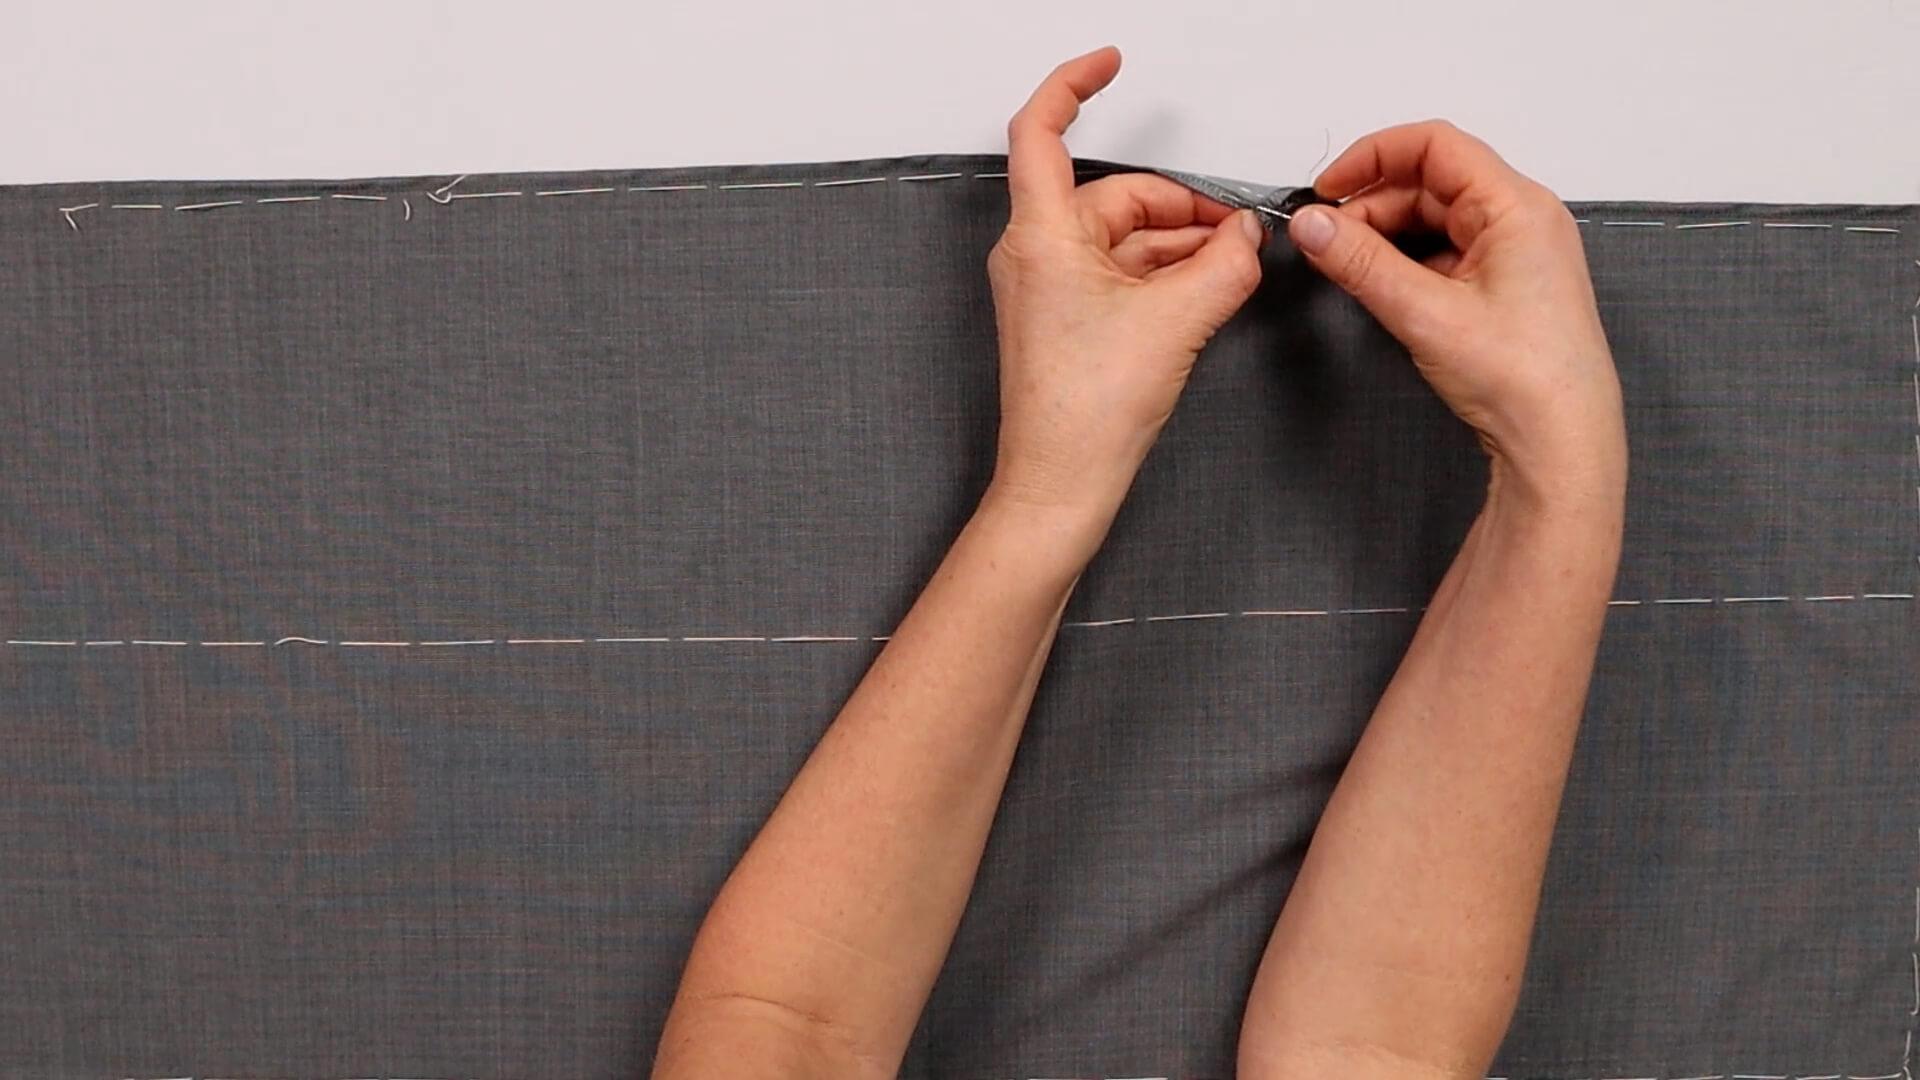
I use a darning or catch needle to pull any excess thread into the seam.
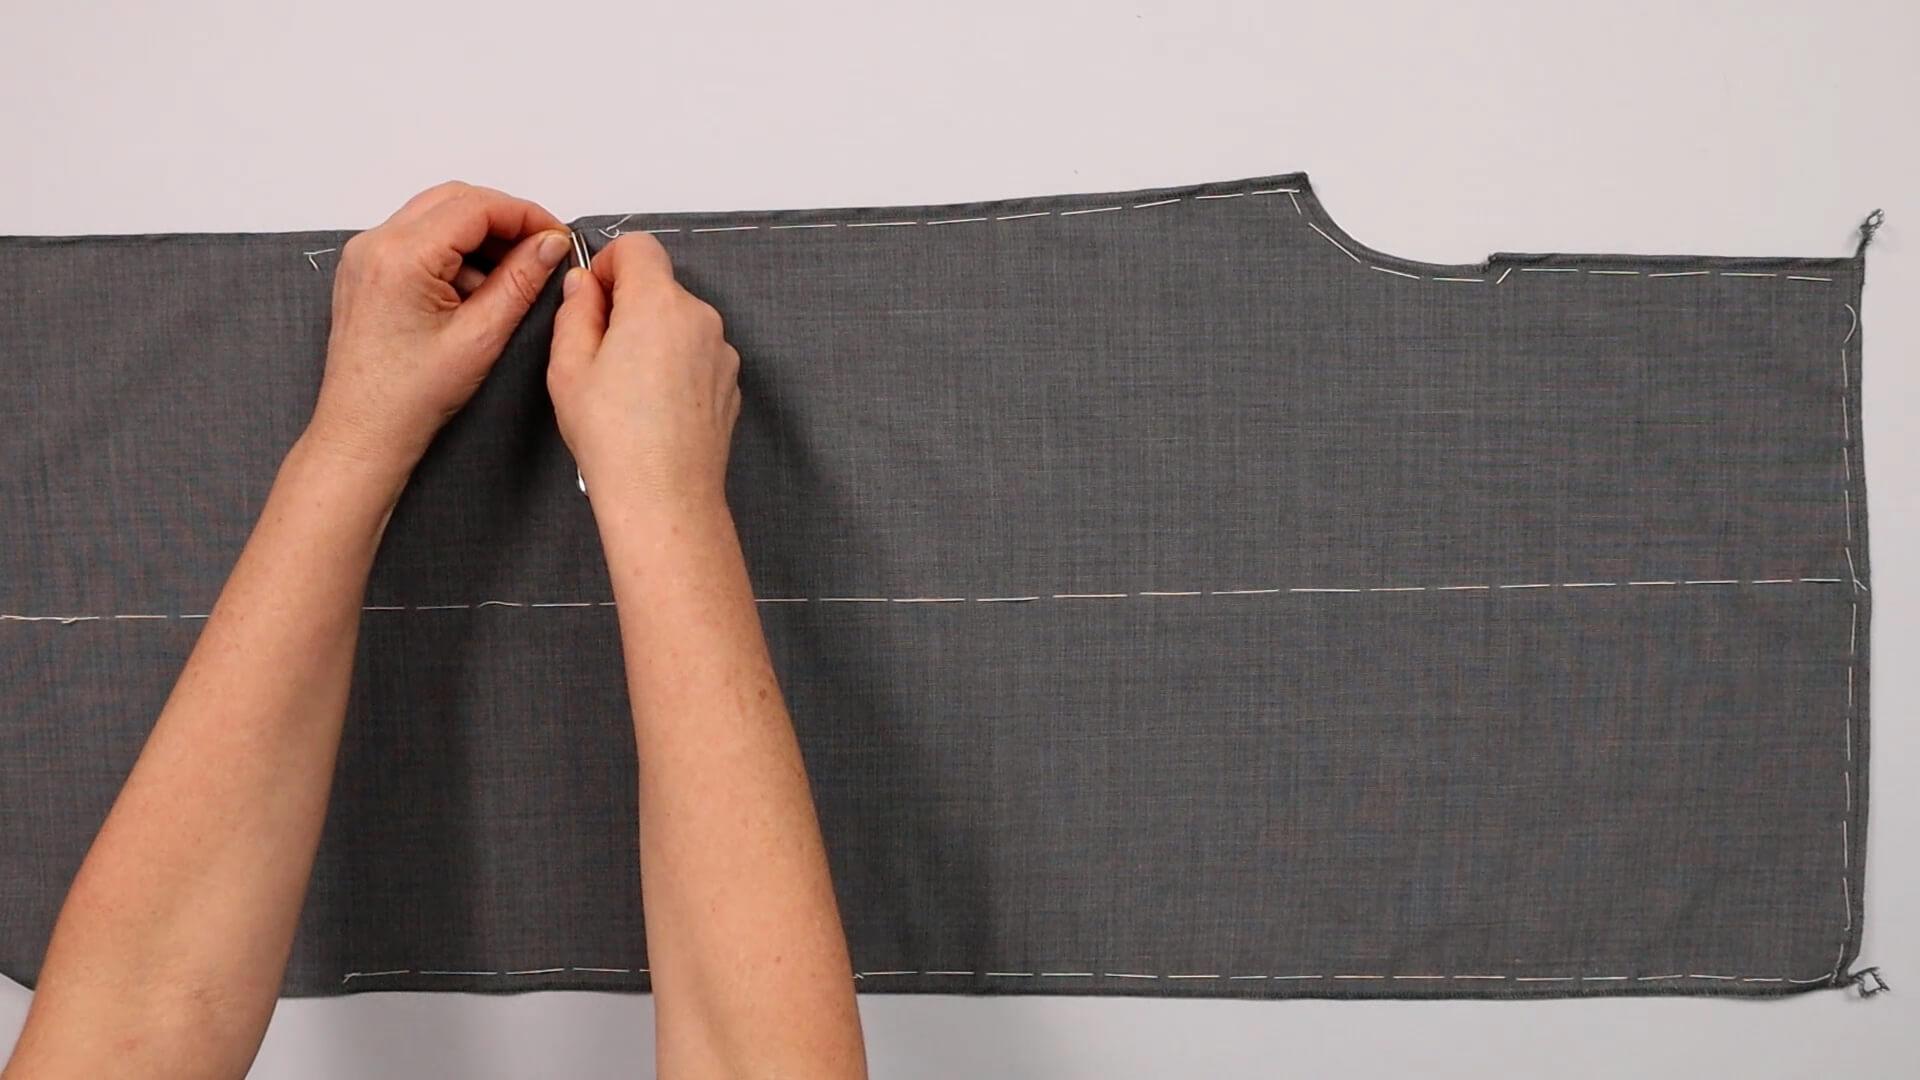
Then I remove the basting threads from the inside and outside of the legs, crotch seam, fly and top edge. I leave the basting thread in the center of the fabric until the trousers are finished.
I also repeat these steps for the second part of the front trousers.
8. Note the following steps for wing pockets
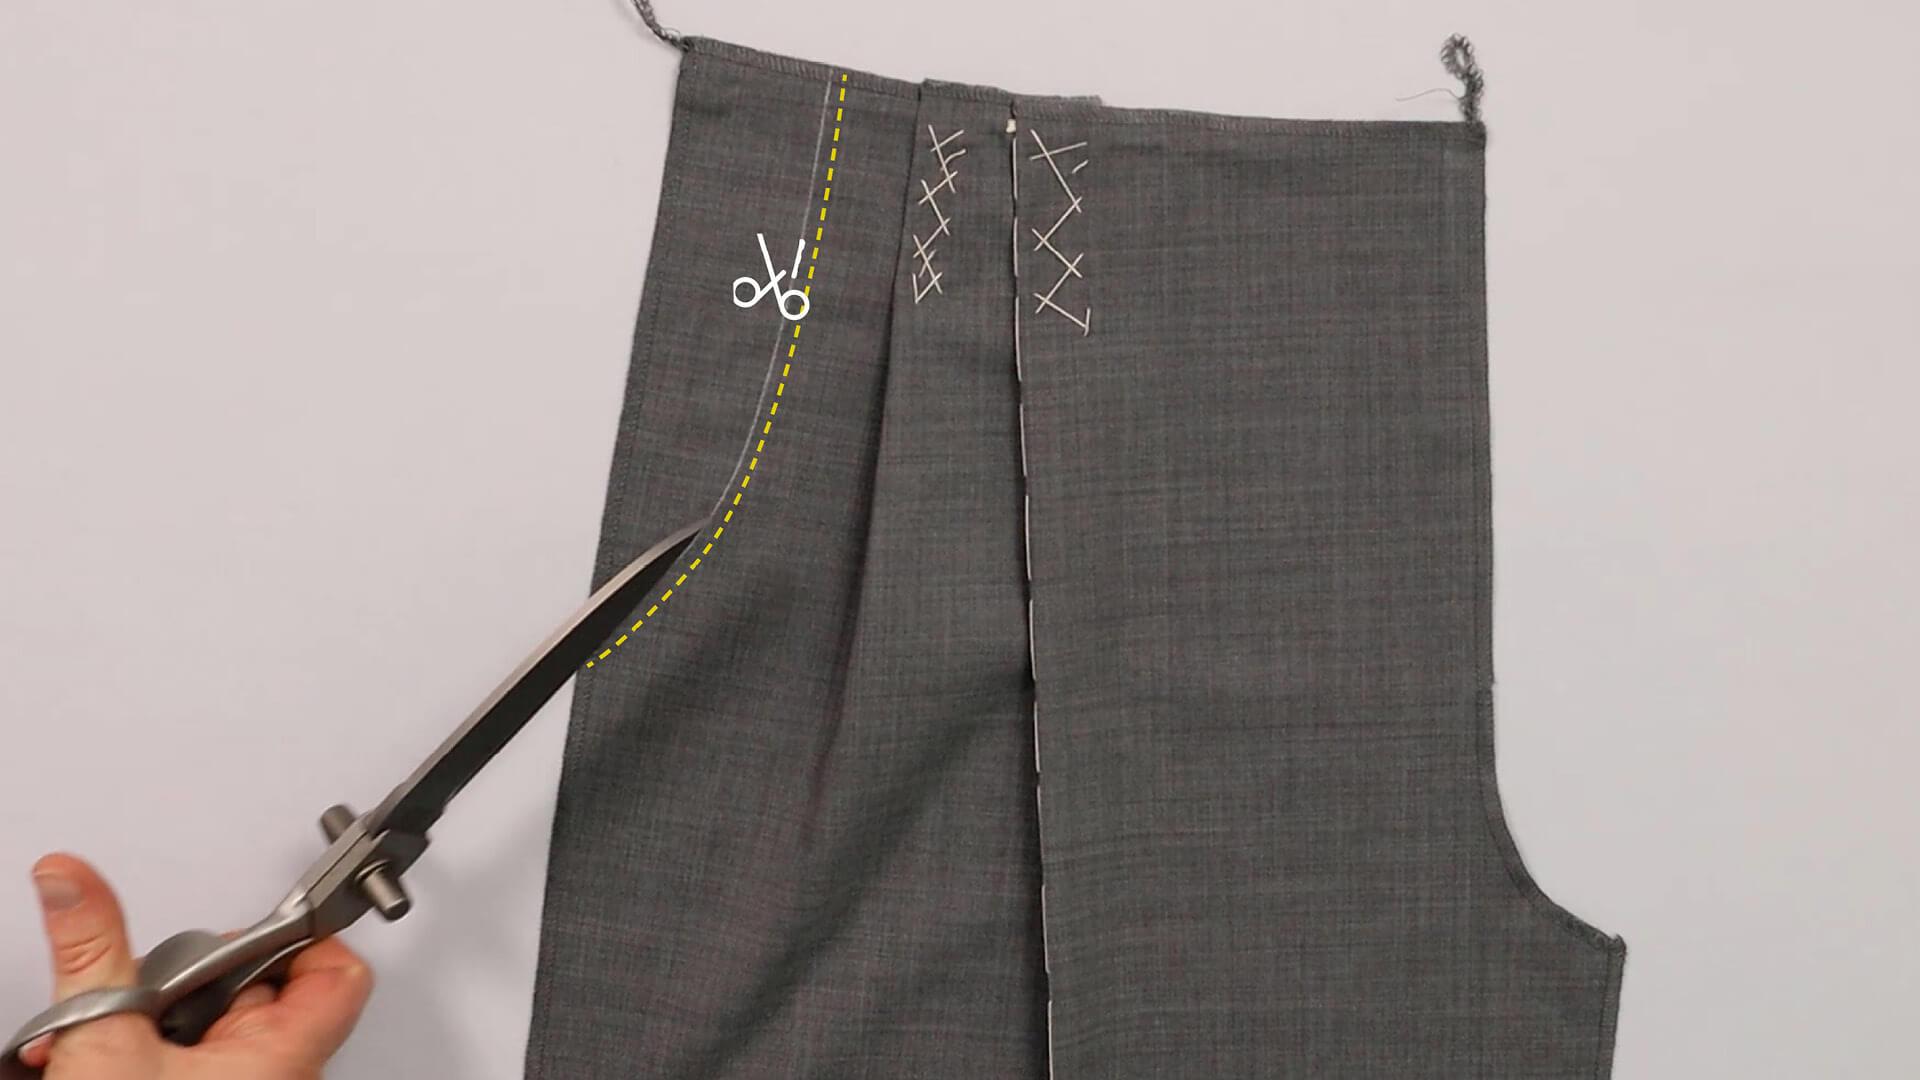
If you are sewing trousers with a wing pocket, there are the following points to bear in mind. The fitting step explains how to cut the pocket opening on the front trousers after the fitting. Before you do this, topstitch the main fabric to the lining approx. 6 mm behind the marking and only then cut it back.
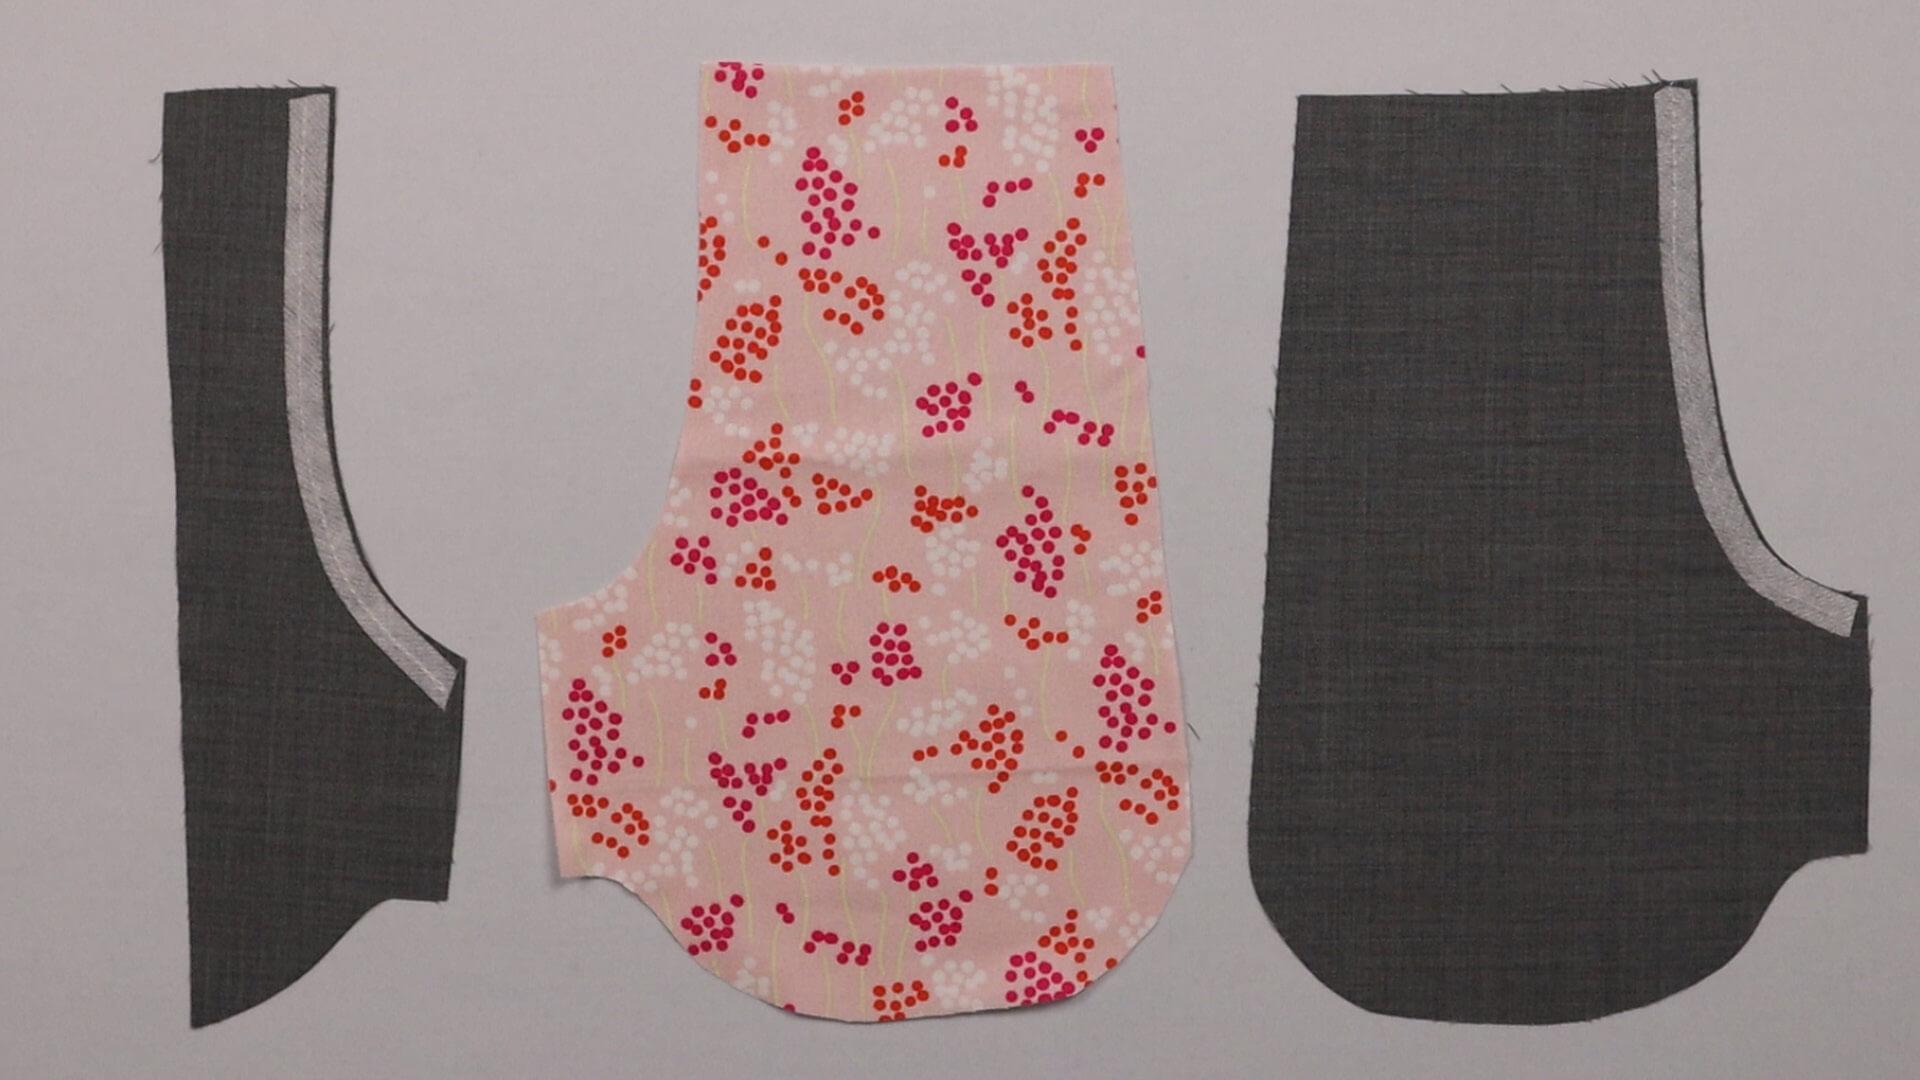
The step for the front pocket opening explains how to iron on the tape to secure the pocket opening on the front piece. In this case, instead of ironing it onto the front trousers, iron it onto the wrong side of the front pocket facing (or onto the front pocket bag if you are working without a facing).
Here you will find the links to the next steps:
- Preparing classic trousers for fitting #F03
- Insert pleats into trousers #BF01
- Ironing creases into trousers #ADD02
If you’re not quite ready yet and perhaps want to start at the beginning, you’ll find some links here:


