Sewing fly with zipper in classic trousers #Z04
In the following article and the step-by-step video tutorial, I explain how to sew a zipper fly in the classic way. The processing variant differs from the instructions for jeans and chinos. Here I have closed the leg seams and crotch seam before sewing the fly with zipper.
This time I also decided to sew a classic “women’s slit”, which is also rather rare these days. Ladies’ fly means that I open and close the zipper of the finished trousers with my left hand. If you want to work the slit the other way round, you must follow the steps in these instructions in mirror image.
Have fun and good luck!
1. This is required
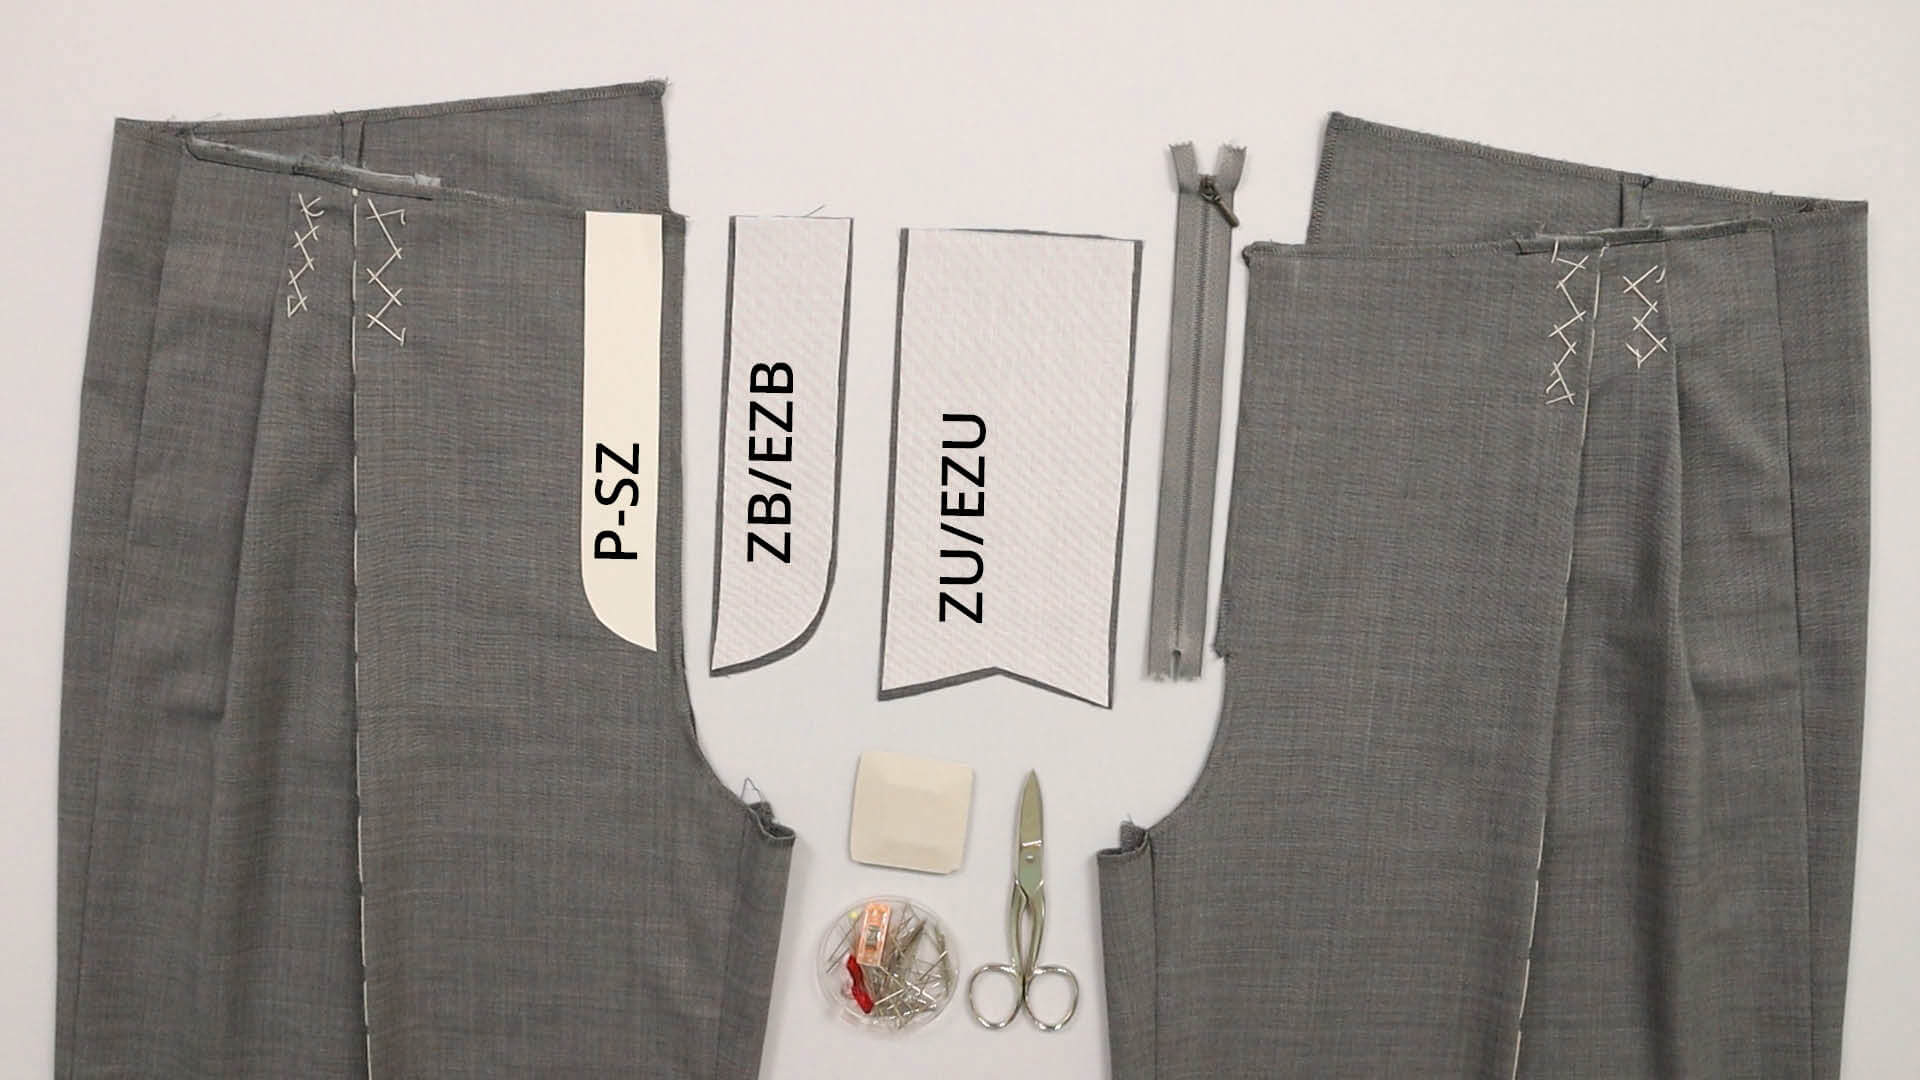
Fabric pattern pieces:
- the two trouser legs where the leg seams are already closed (My front trousers in the example have pleats and are lined. I have already cut back the right front edge on the side where the fly stitching will be later. I have also finished the edges of the fly, crotch and seat seams).
- fly facing (ZB) for the right-hand side
- fly shield (ZU) for the left side
Pattern pieces from interfacing:
- fly facing (EZB)
- fly shield (EZU)
Made of paper:
- template for fly stitching (P-SZ)
Tools and aids:
- zipper (the length is determined by the pattern and the sewing instructions)
- scissors
- chalk or fabric marker
- pins or clips
2. Prepare fly shield and facing
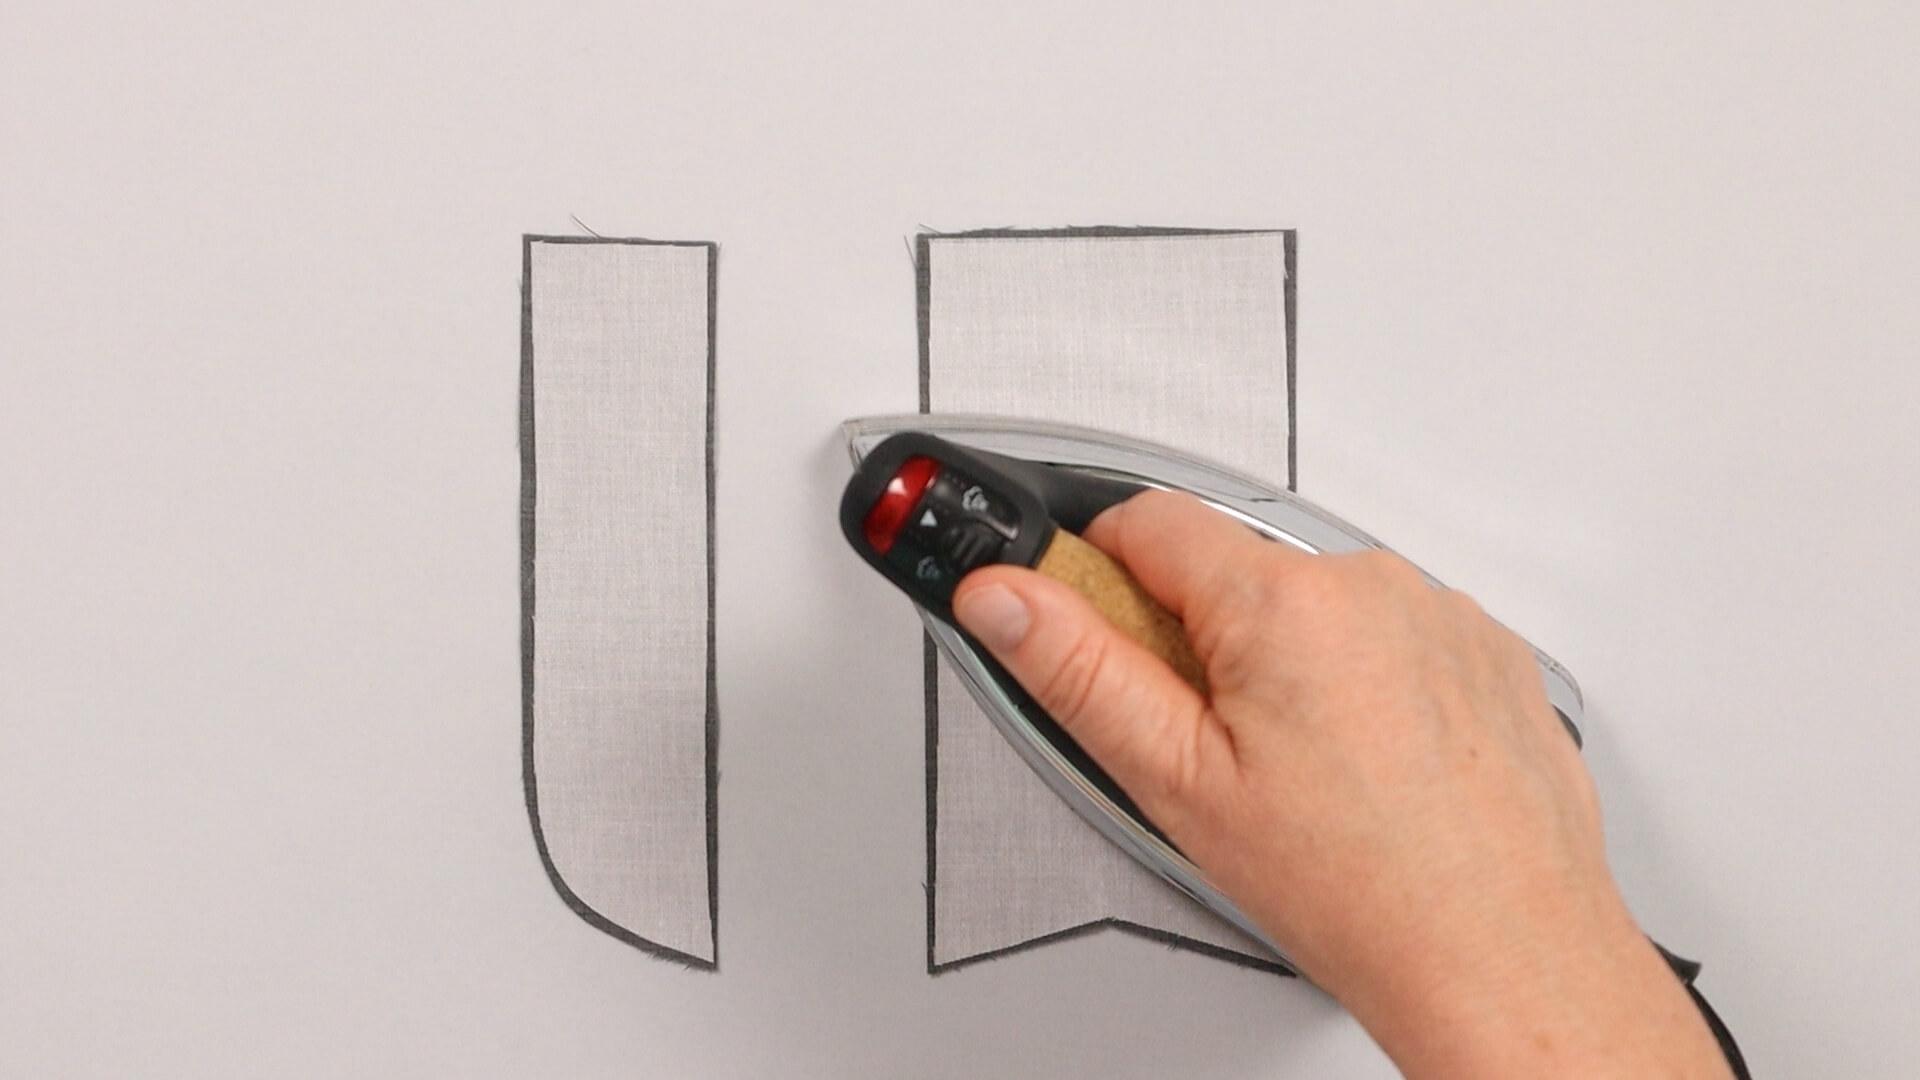
I start by ironing the interfacing onto the wrong side of the fly facing and fly bottom.
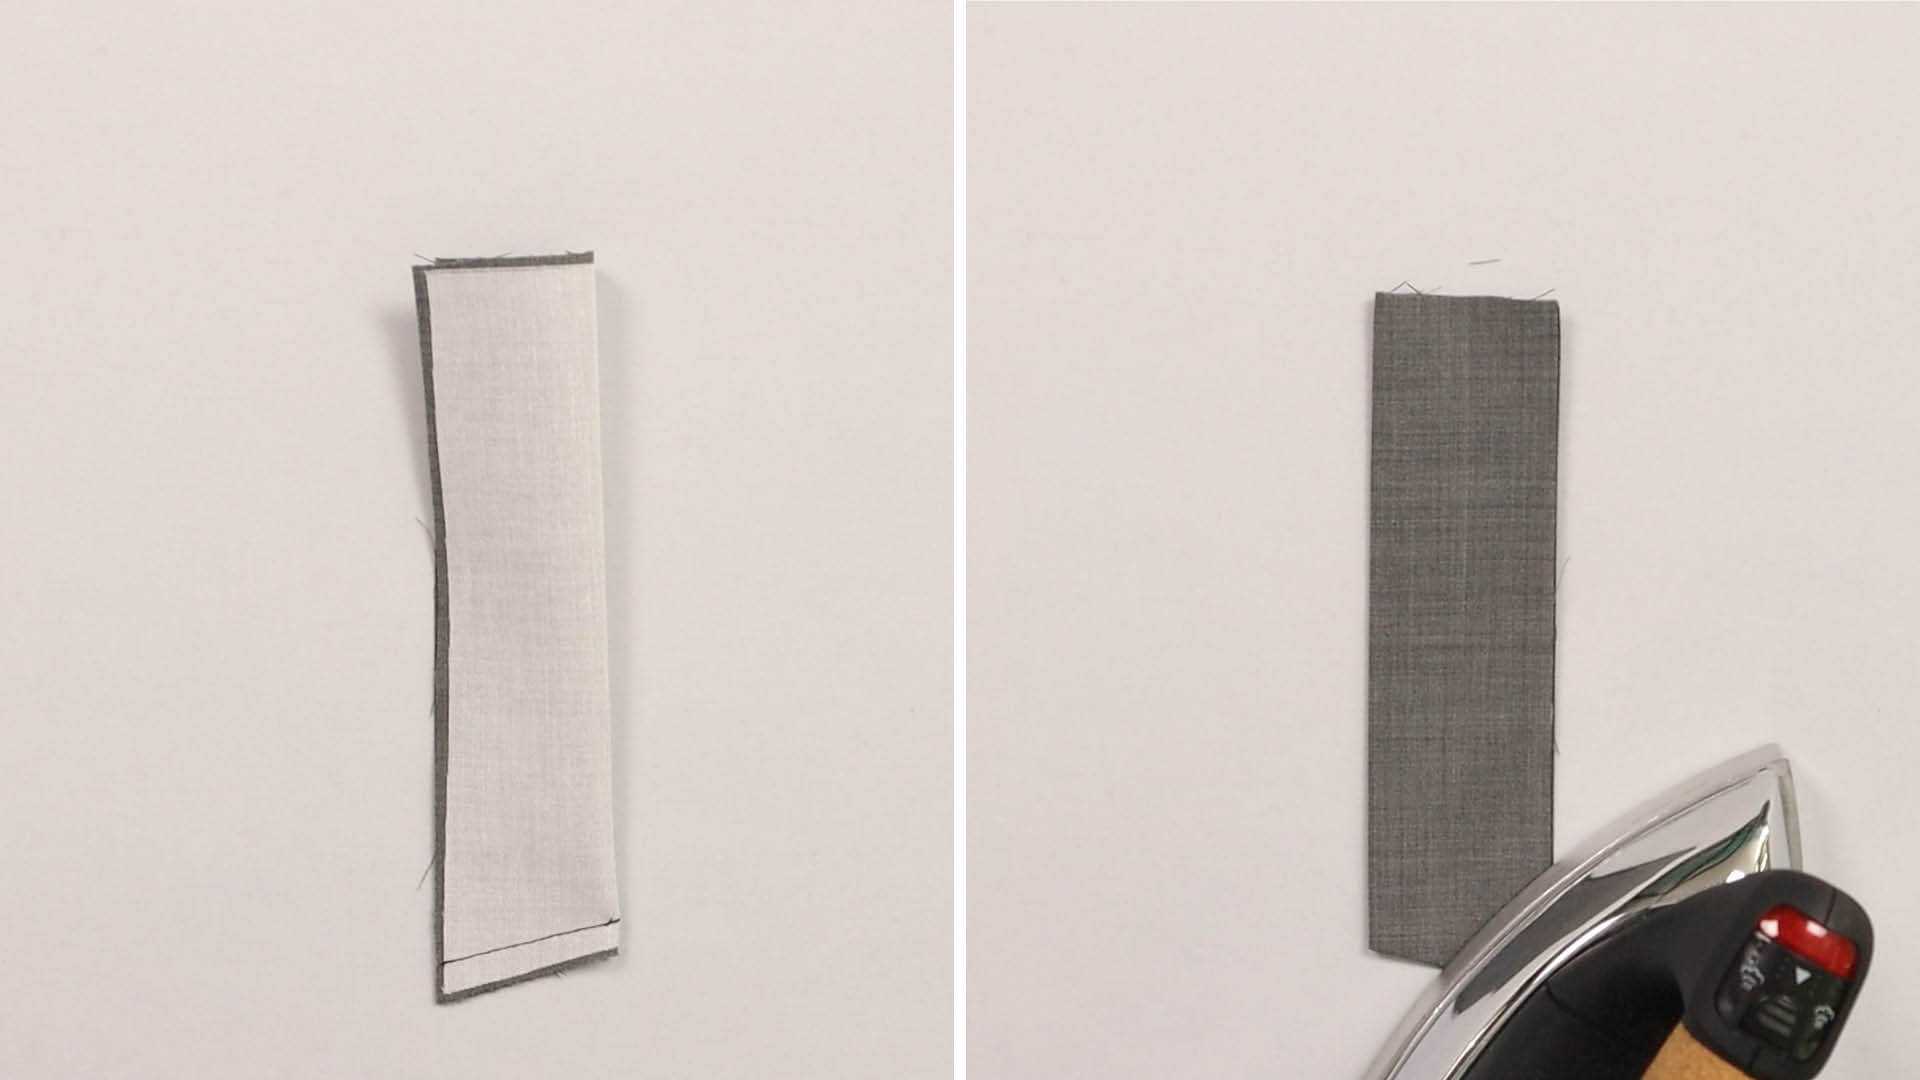
I place the fly shield right sides together and sew the slanted bottom edge with a seam allowance of 10 mm.
Then I turn the bottom of the fly shield, press the seam and cut back the excess seam allowance.
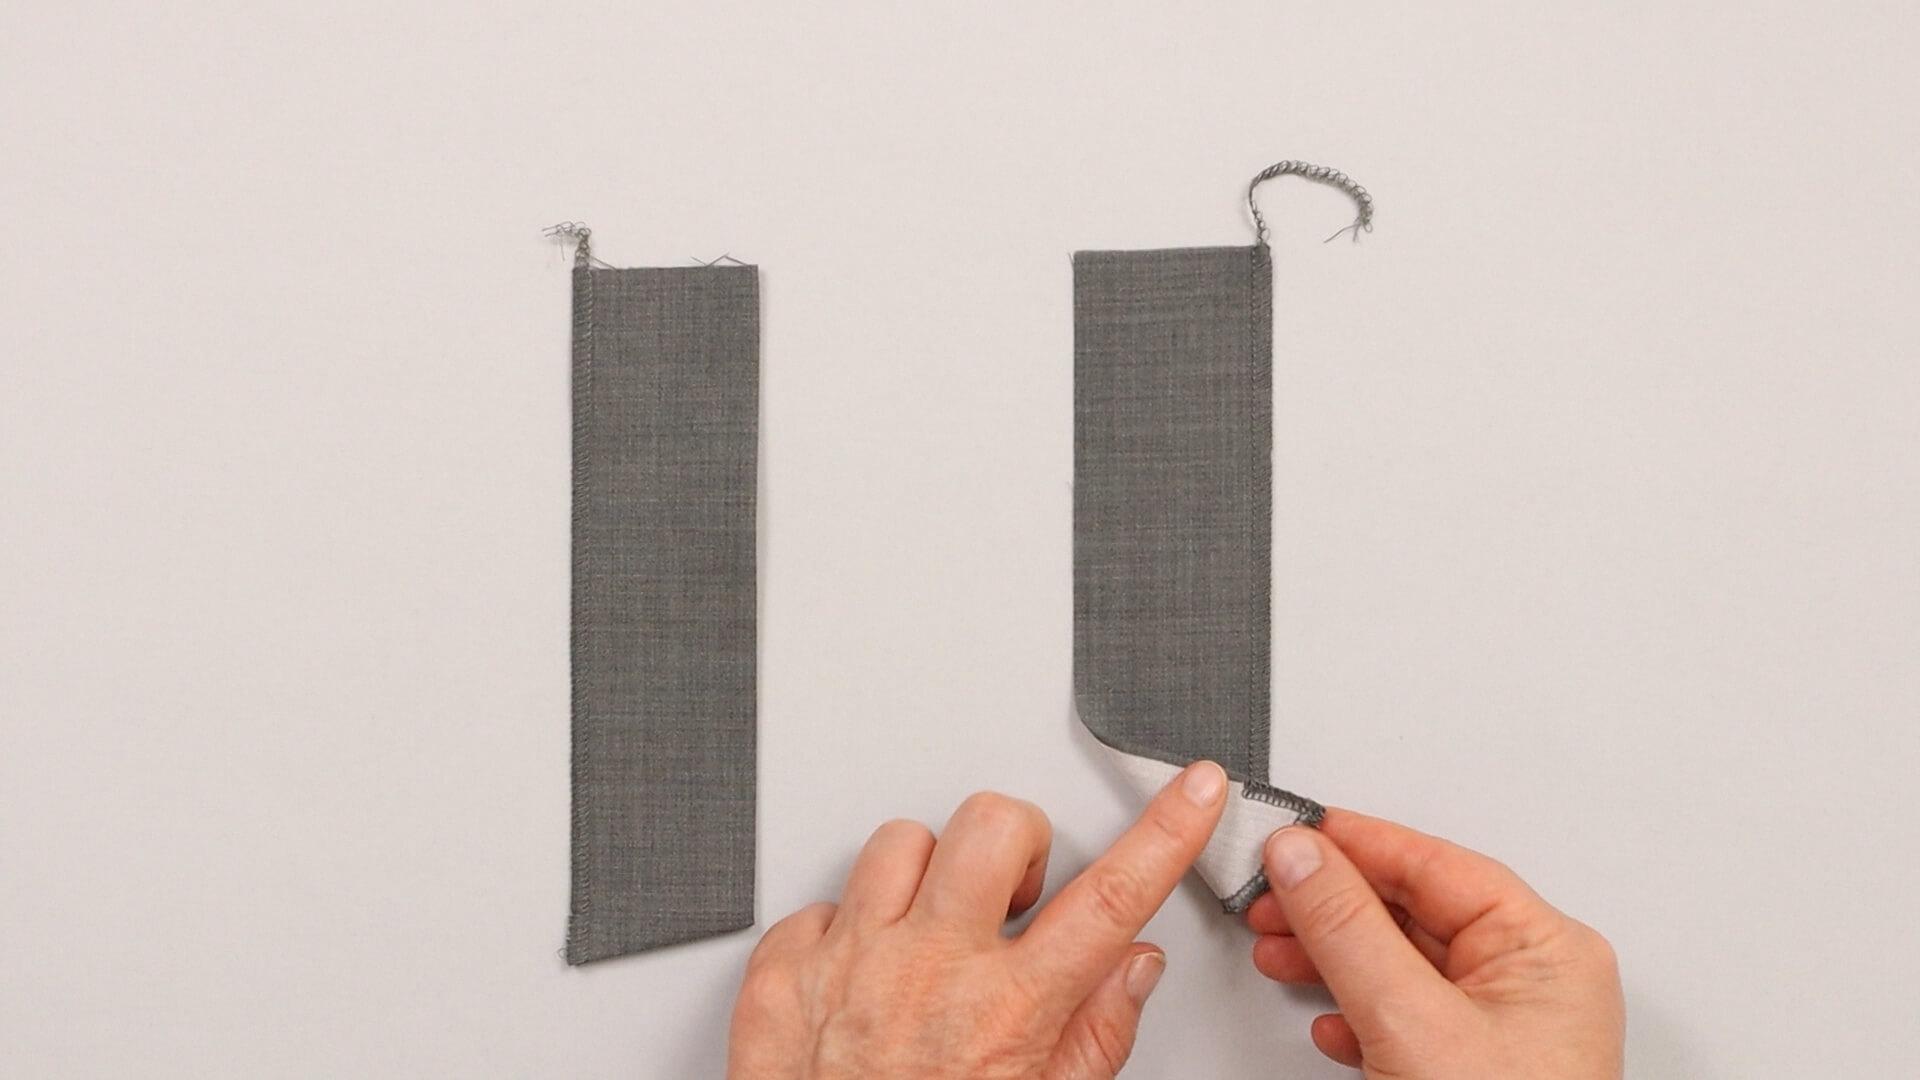
I finish the open cut edges with the overlock machine. The open edges on the long side of the fly shield are serged, as well as the slit facing at the rounded back edge and the front edge up to the notch.
3. Sew on the fly facing
If not done before, the front edge of the trouser piece on which the fly facing is attached has to be cut back according to the marking on the pattern and overlocked.
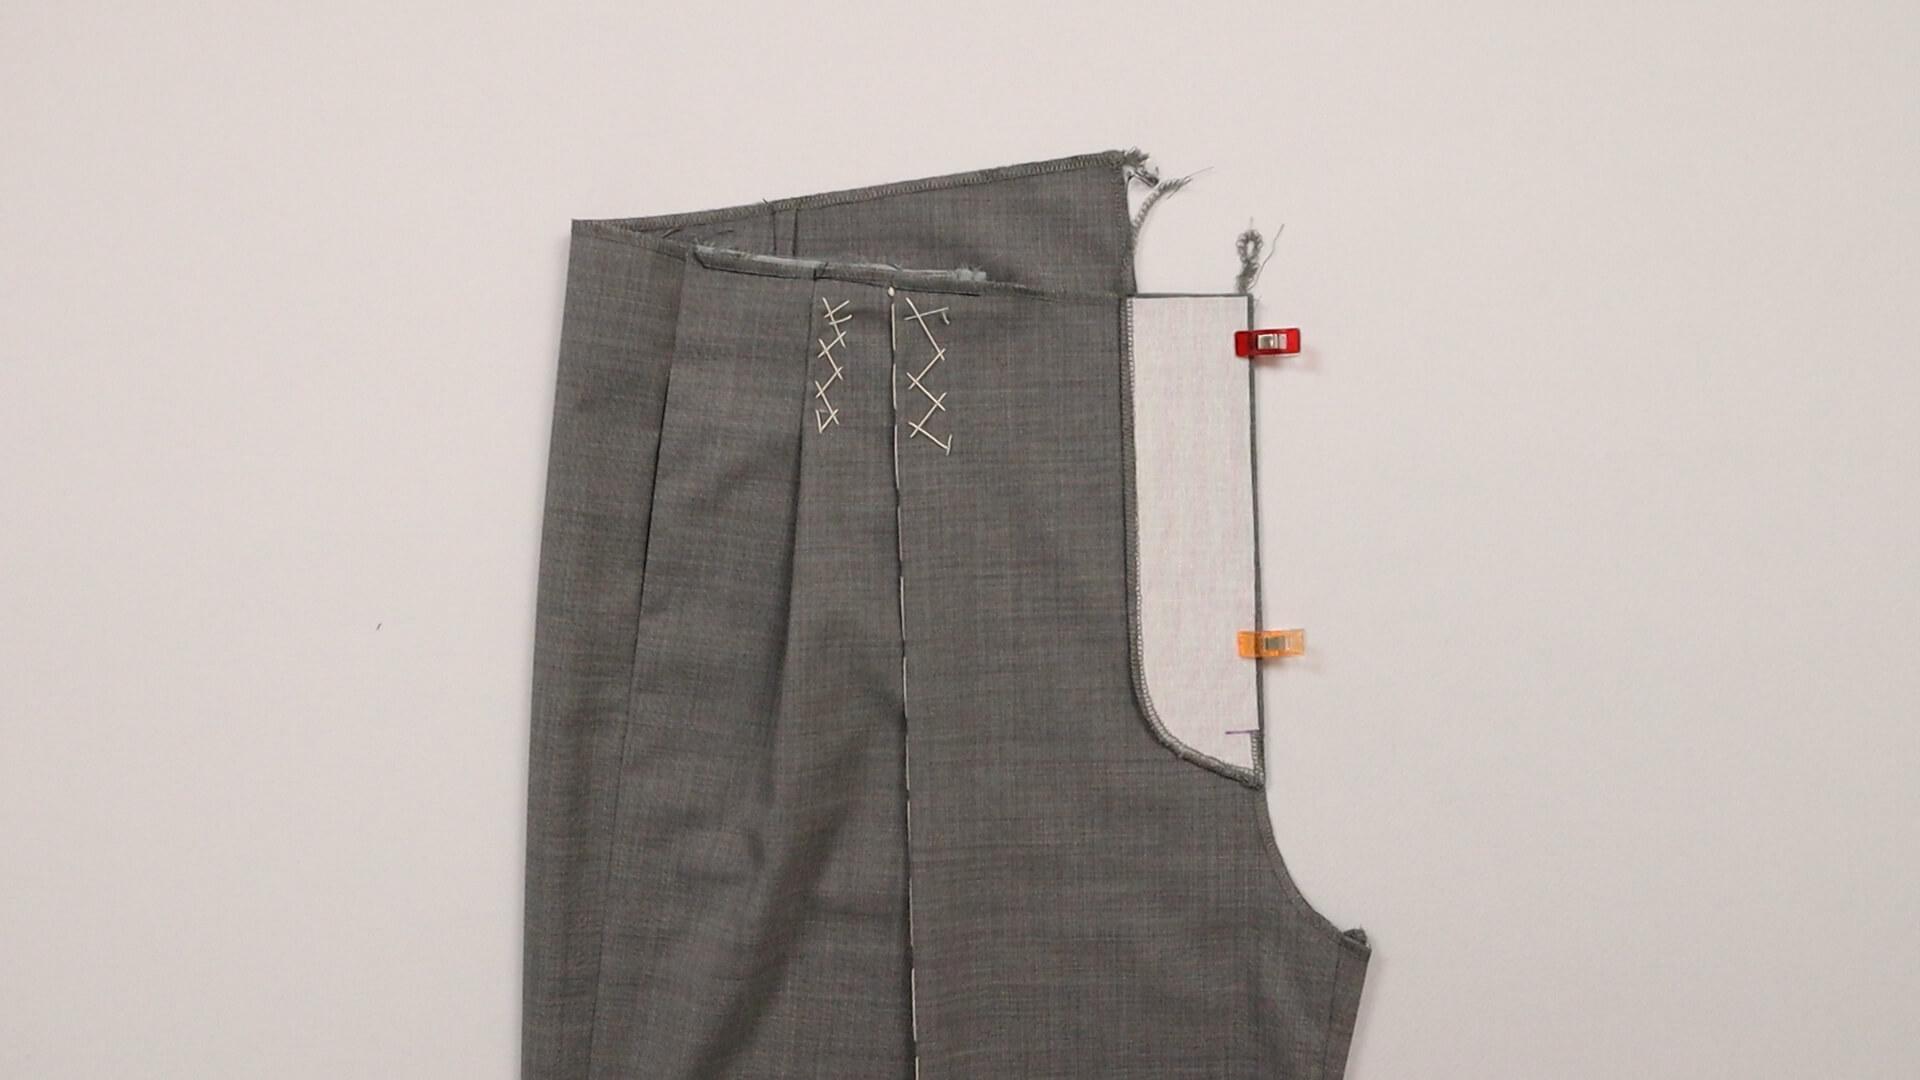
At this edge, I place the fly facing right sides facing and neatly to the edge of the front trousers and pin it in place. I mark the end of the fly on the fly shield and stitch the pieces together with a straight stitch with a 10 mm seam allowance. I secure the fly end with some forward and backward stitches.
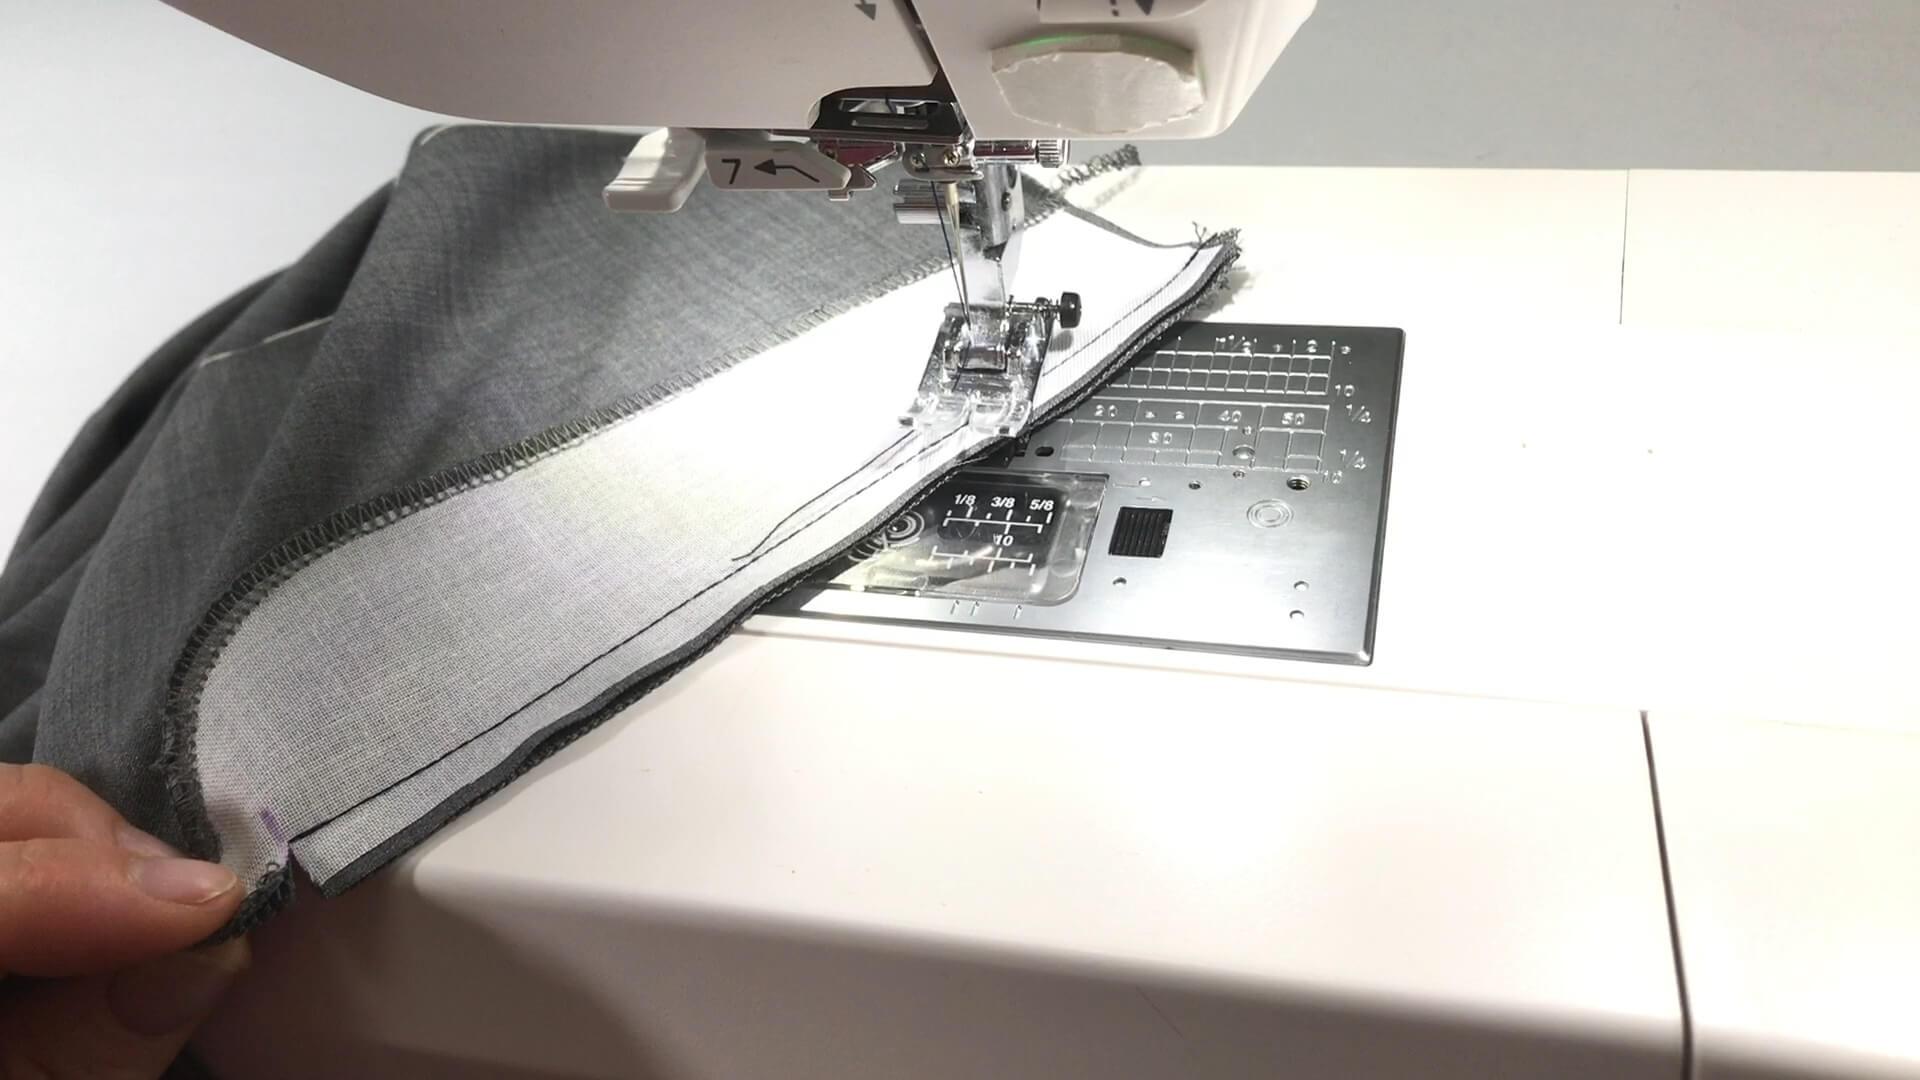
I cut the seam allowance at the fly end until just before the last stitch.
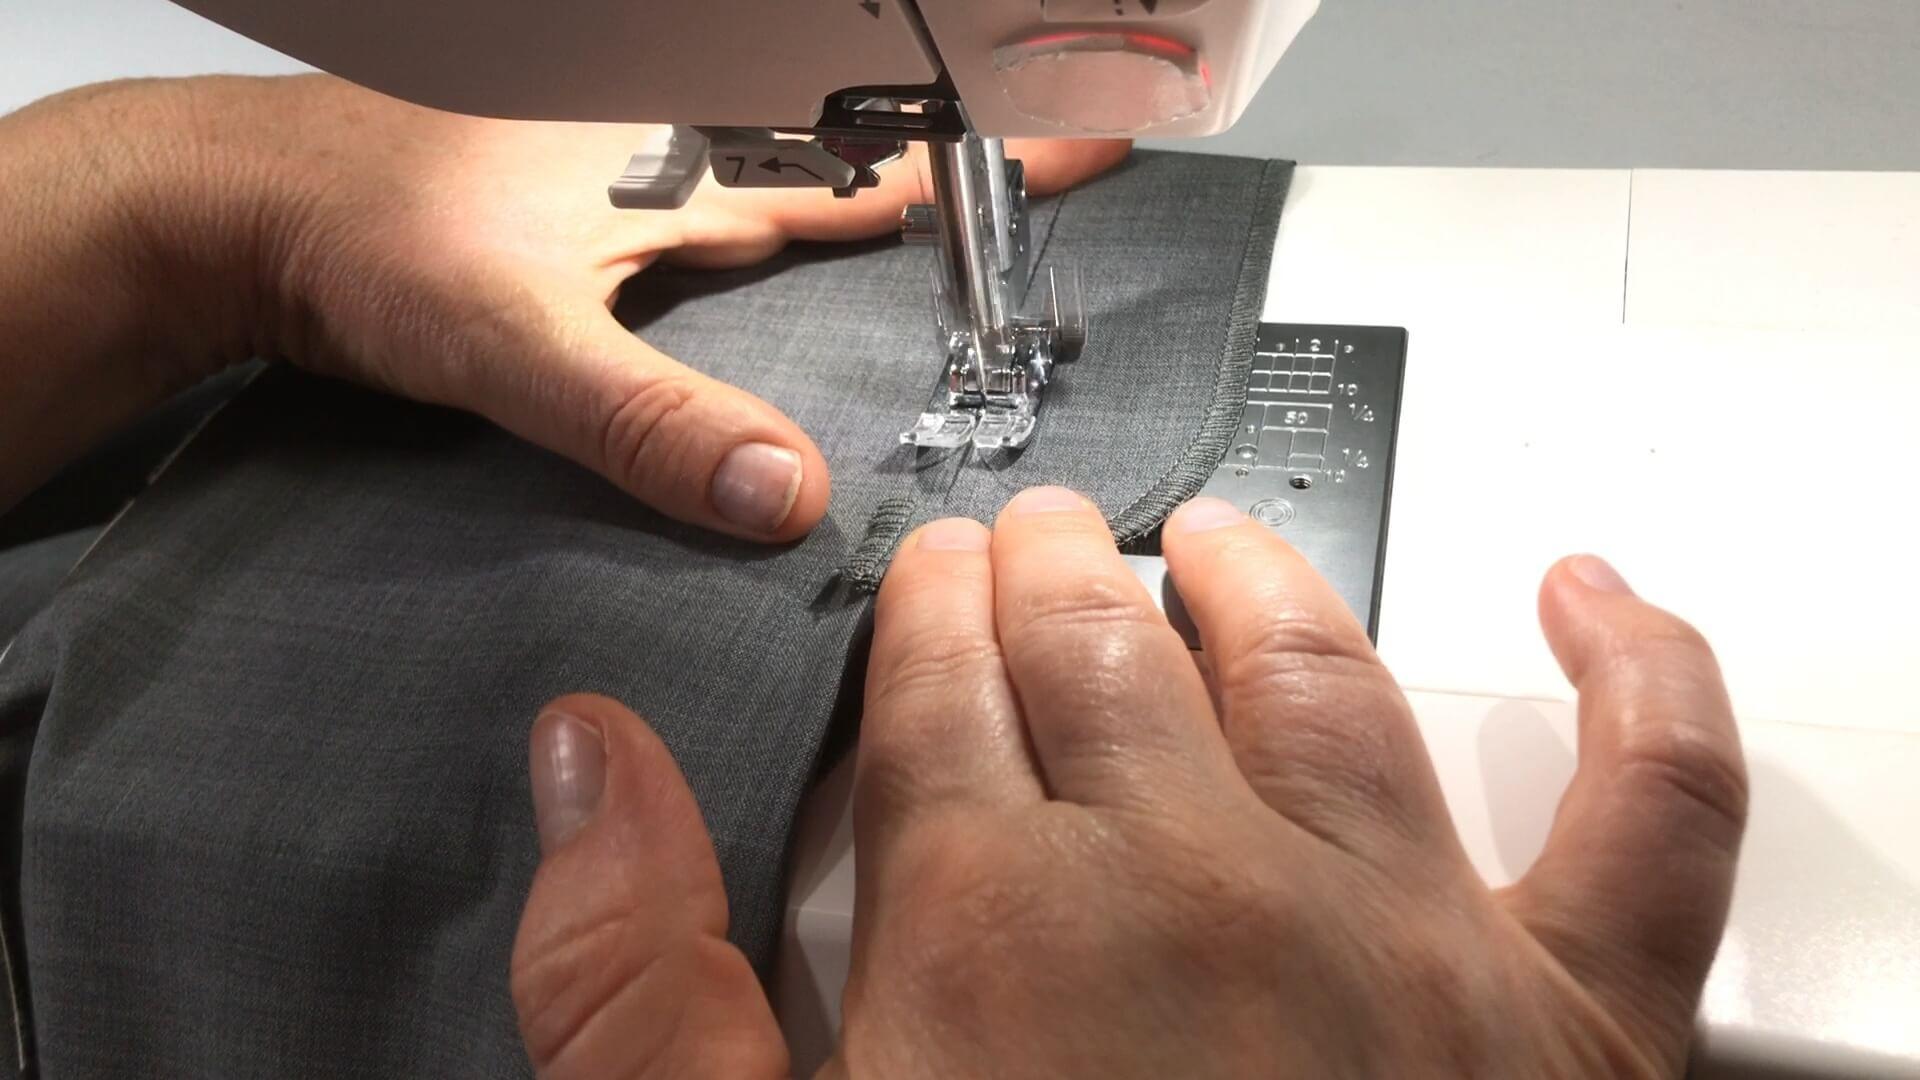
Before turning the slit facing to the inside, you can press the seam allowance over or topstitch it down on the facing side with 2 mm distance from the seam.
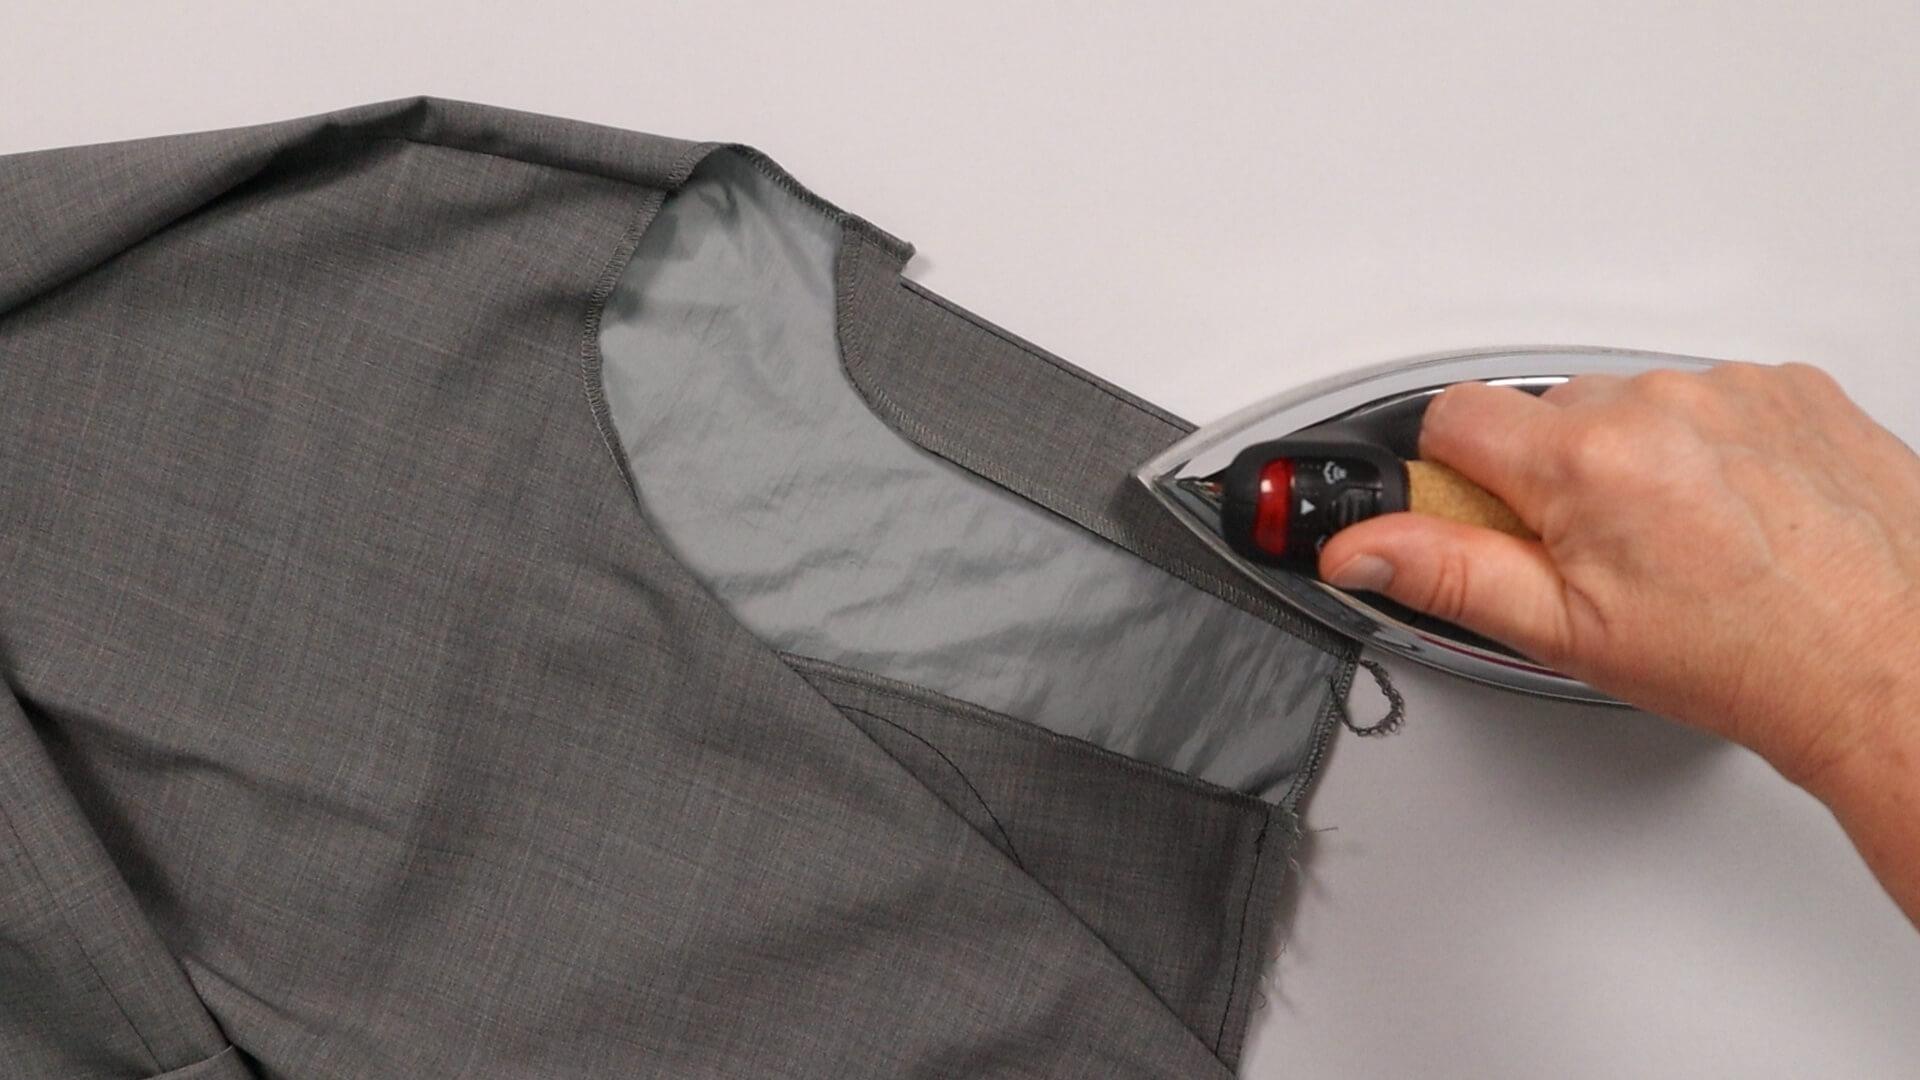
Now I turn the fly facing inwards and iron it in place. I align the lower cut edge of the facing to the cut edge of the front trousers. Depending on the preferred design, the slit can be topstitched – in this case you can omit stitching it down first.
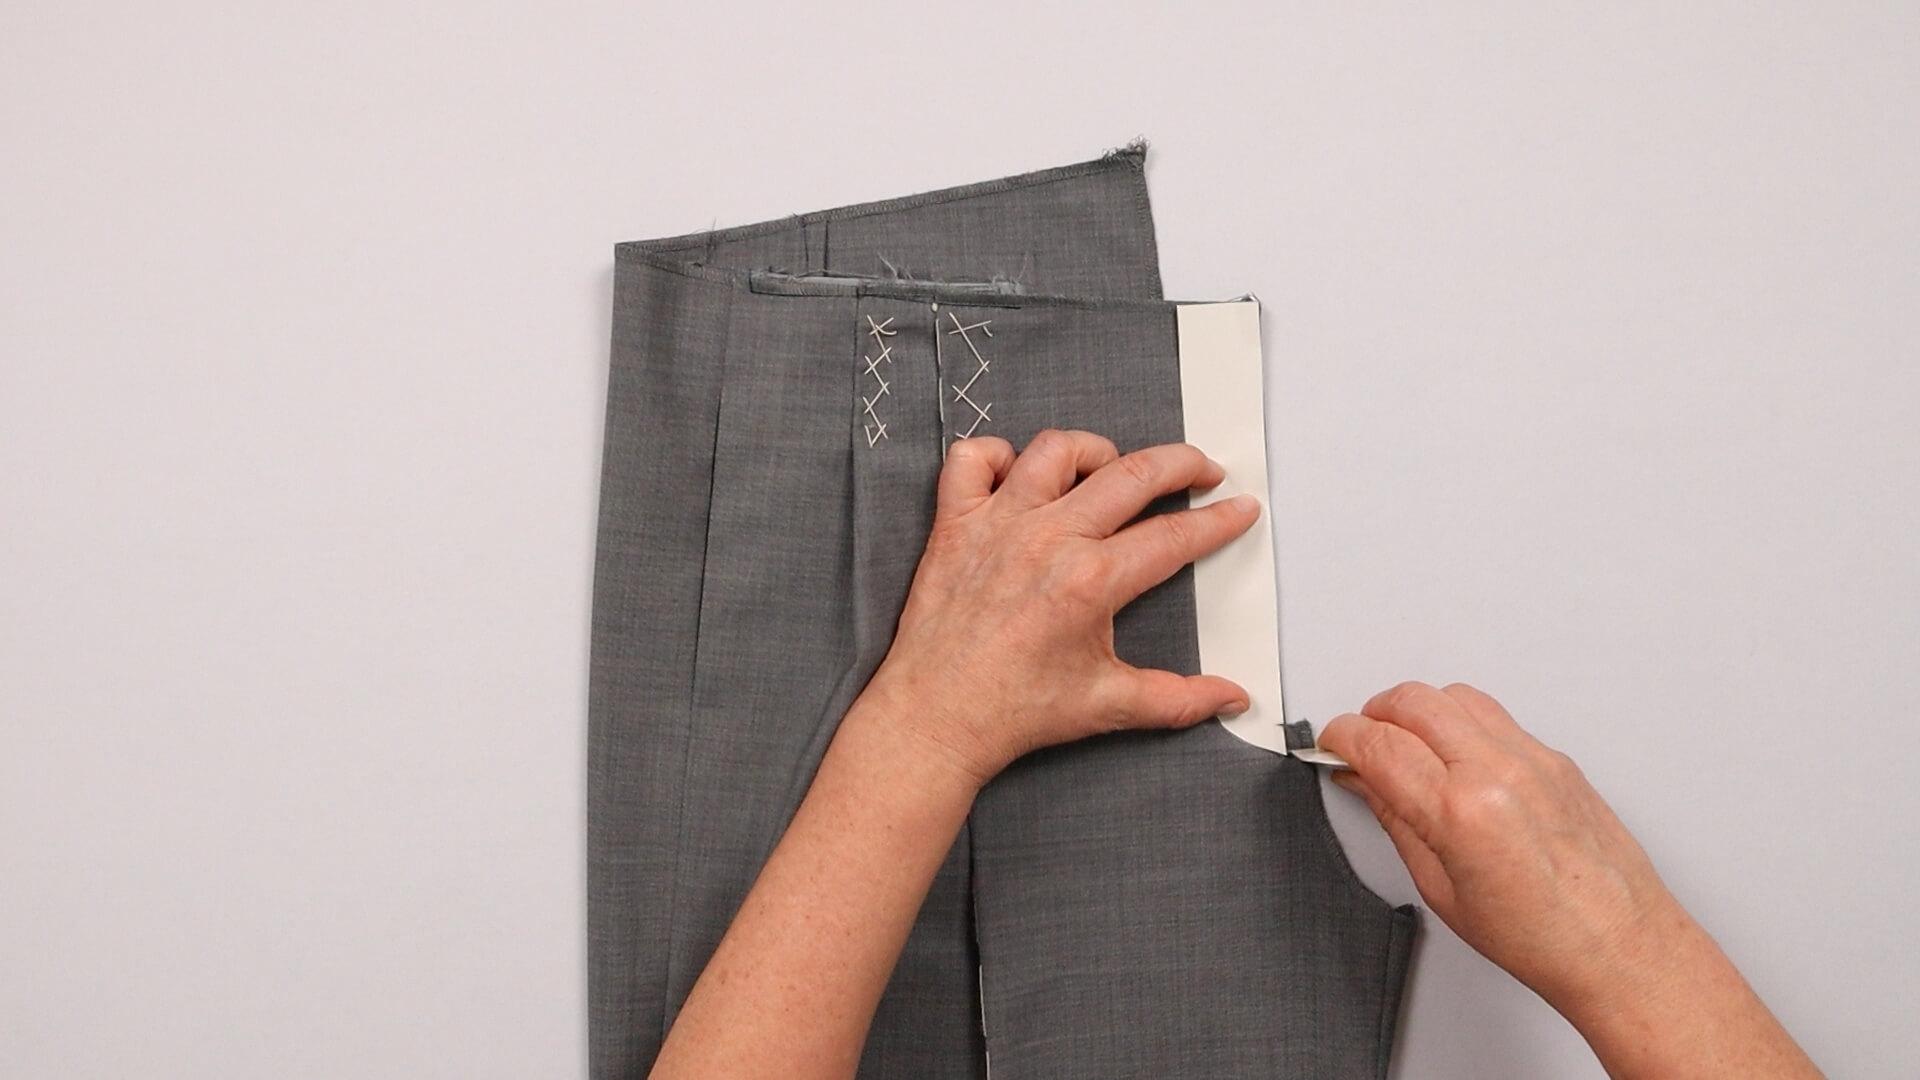
I place the slit template on the center front and align it with the top of the front piece and mark around the template where I’ll topstitch later.
4. Sew on the zipper
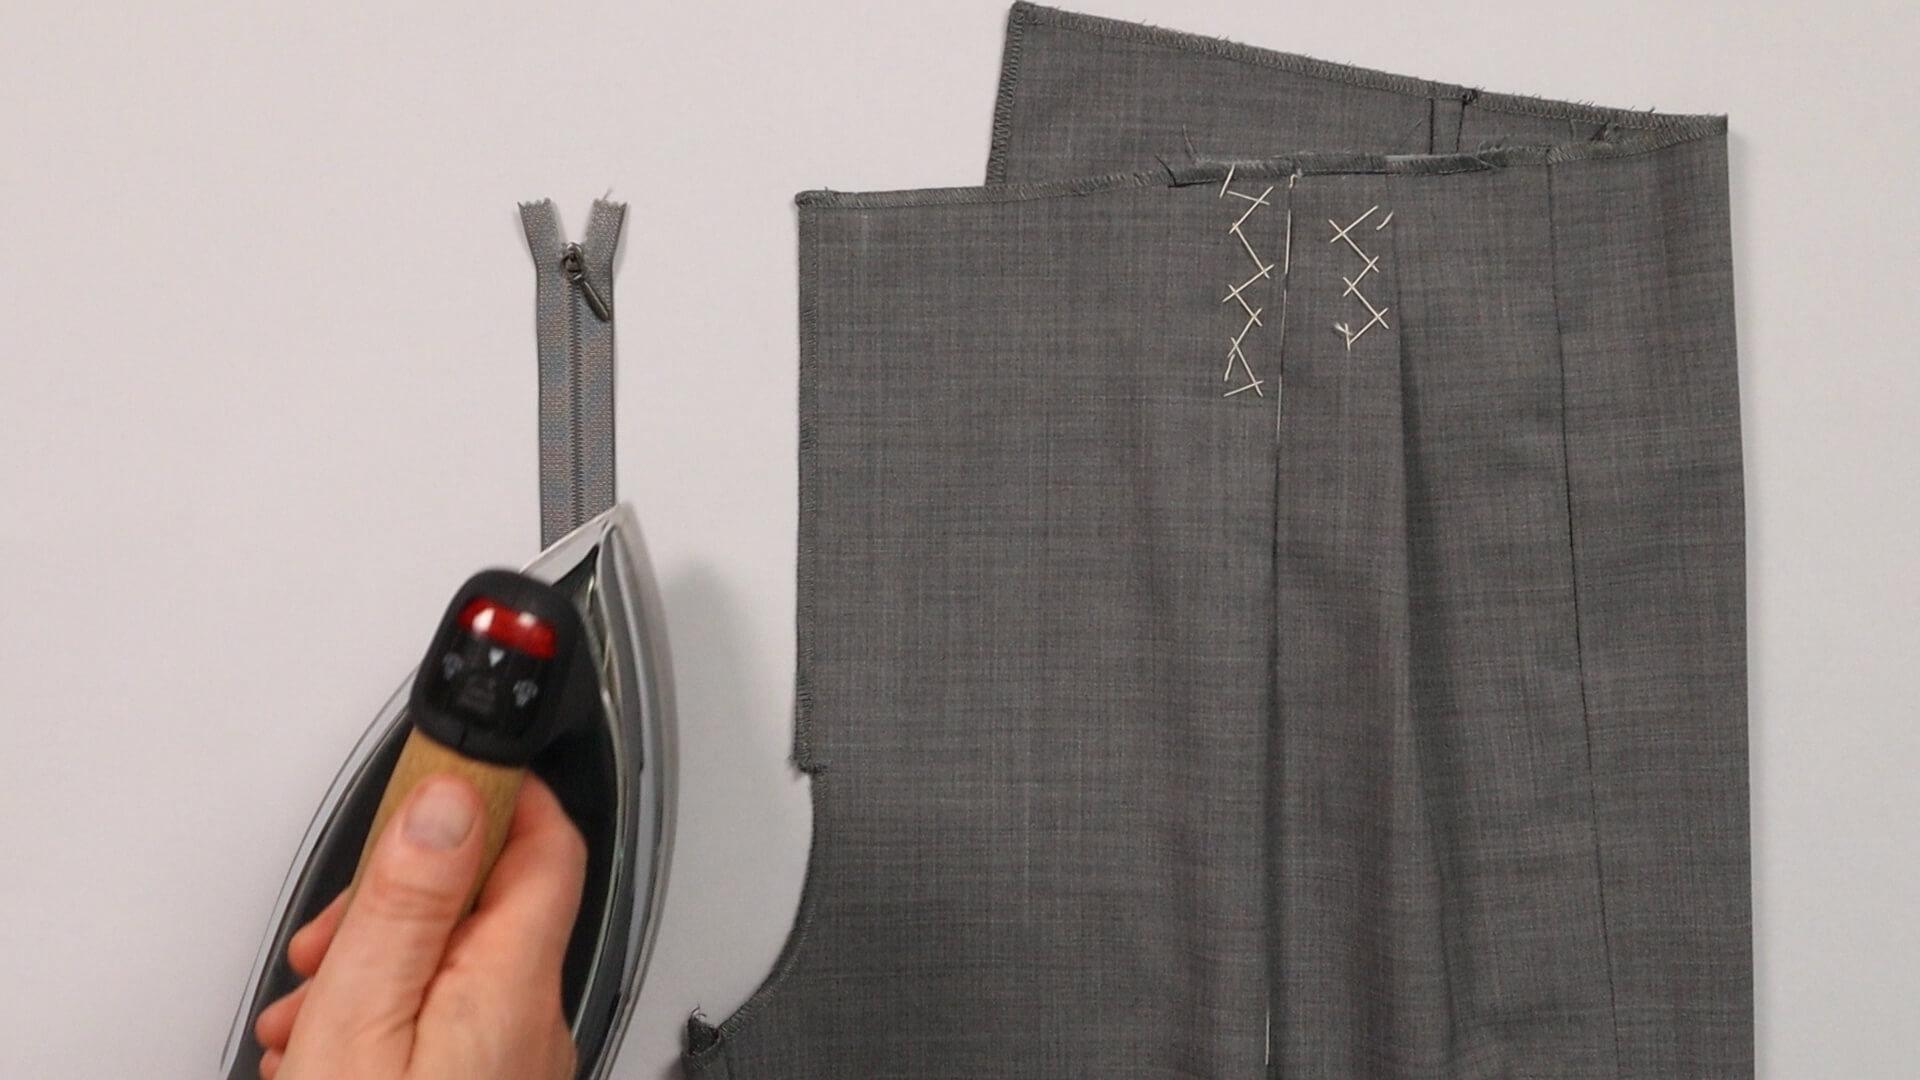
I sew the zipper to the left front piece. Before doing that, I iron it over or steam it down.
The measurement of the zipper length required is noted on the pattern piece for the front trousers. You will also find it in the instructions or can determine it by measuring. The measurement corresponds to the length at the front center from the notch to the top edge minus 15 mm.
Shorten zipper
If you don’t have a zipper of the specified length, you can easily shorten a slightly longer plastic spiral zipper yourself. If you have a matching zipper, continue with step 5.
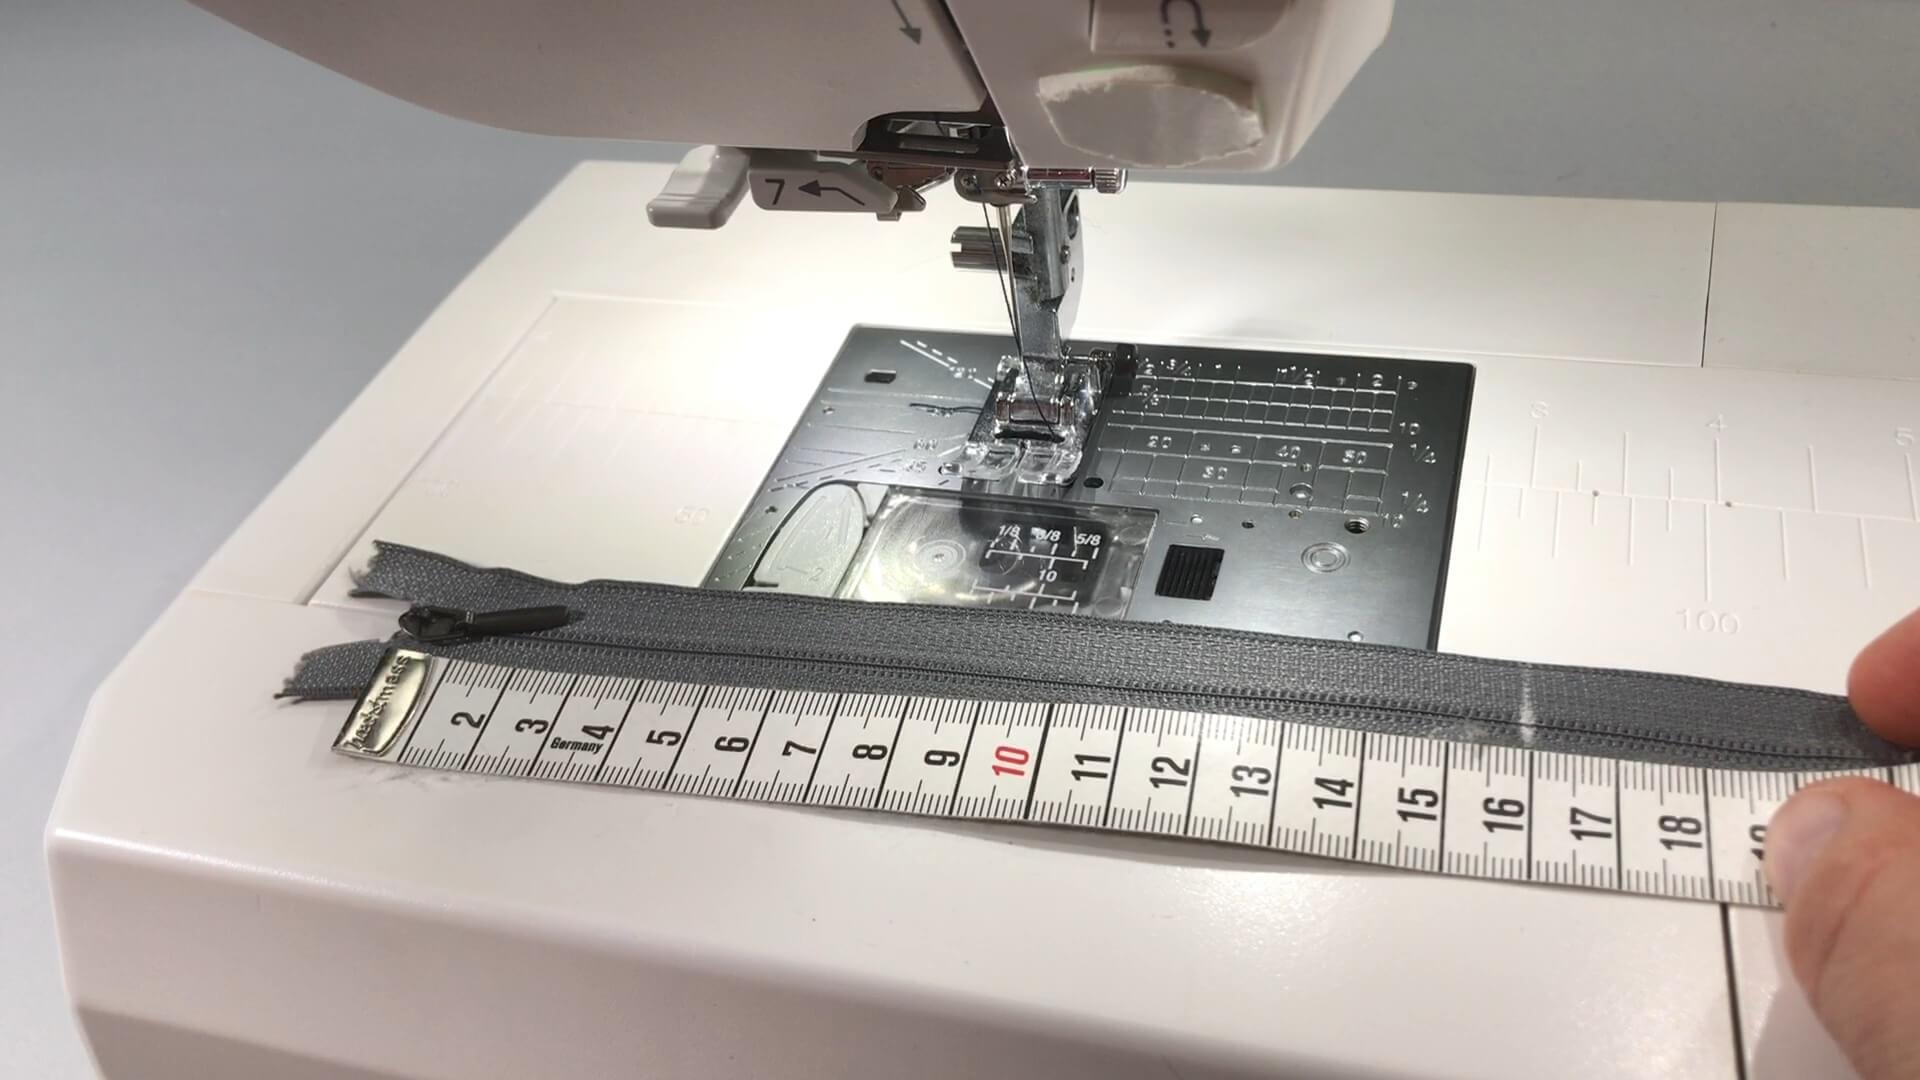
I first mark the required length at the bottom, measured from the upper end of the zipper.
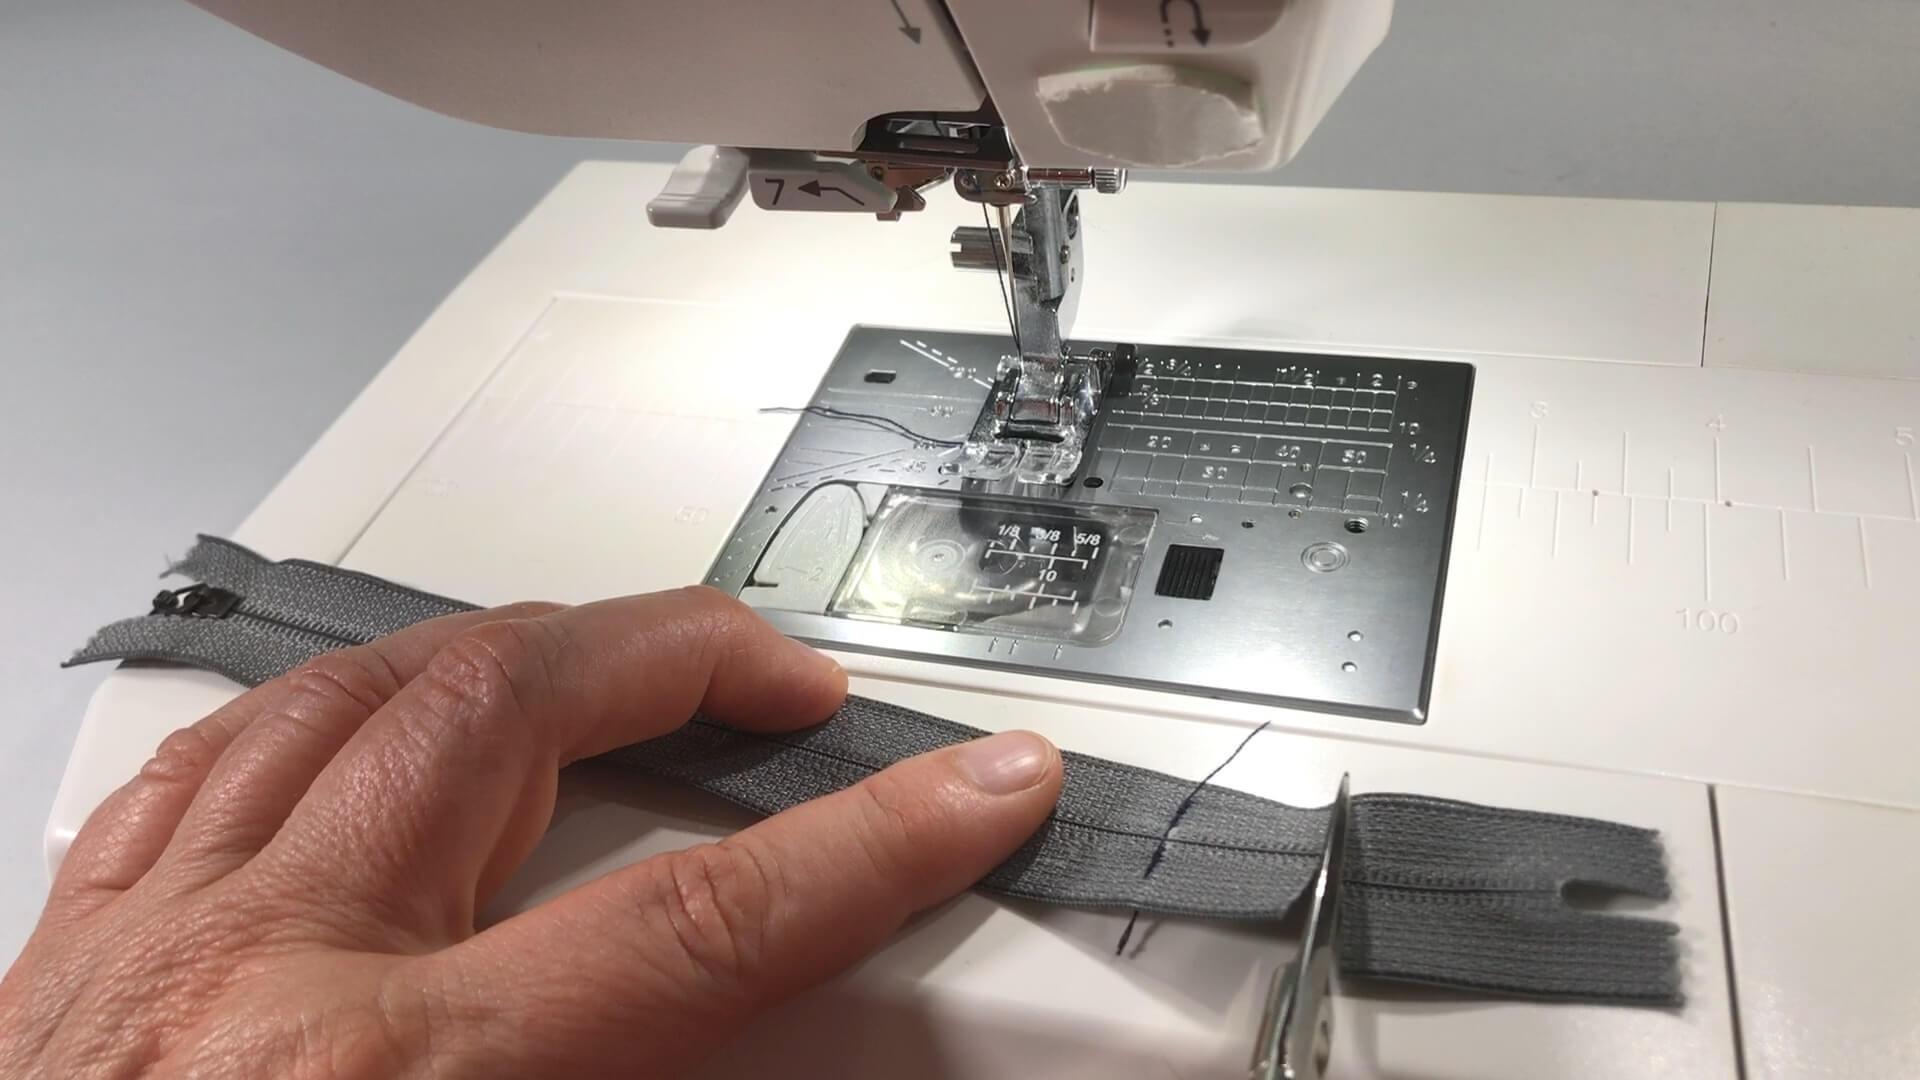
I sew a straigt line across the marked end. You can either sew back and forth several times or use a wide zigzag stitch.
I cut off the excess tape approx. 1.5-2 cm below this.
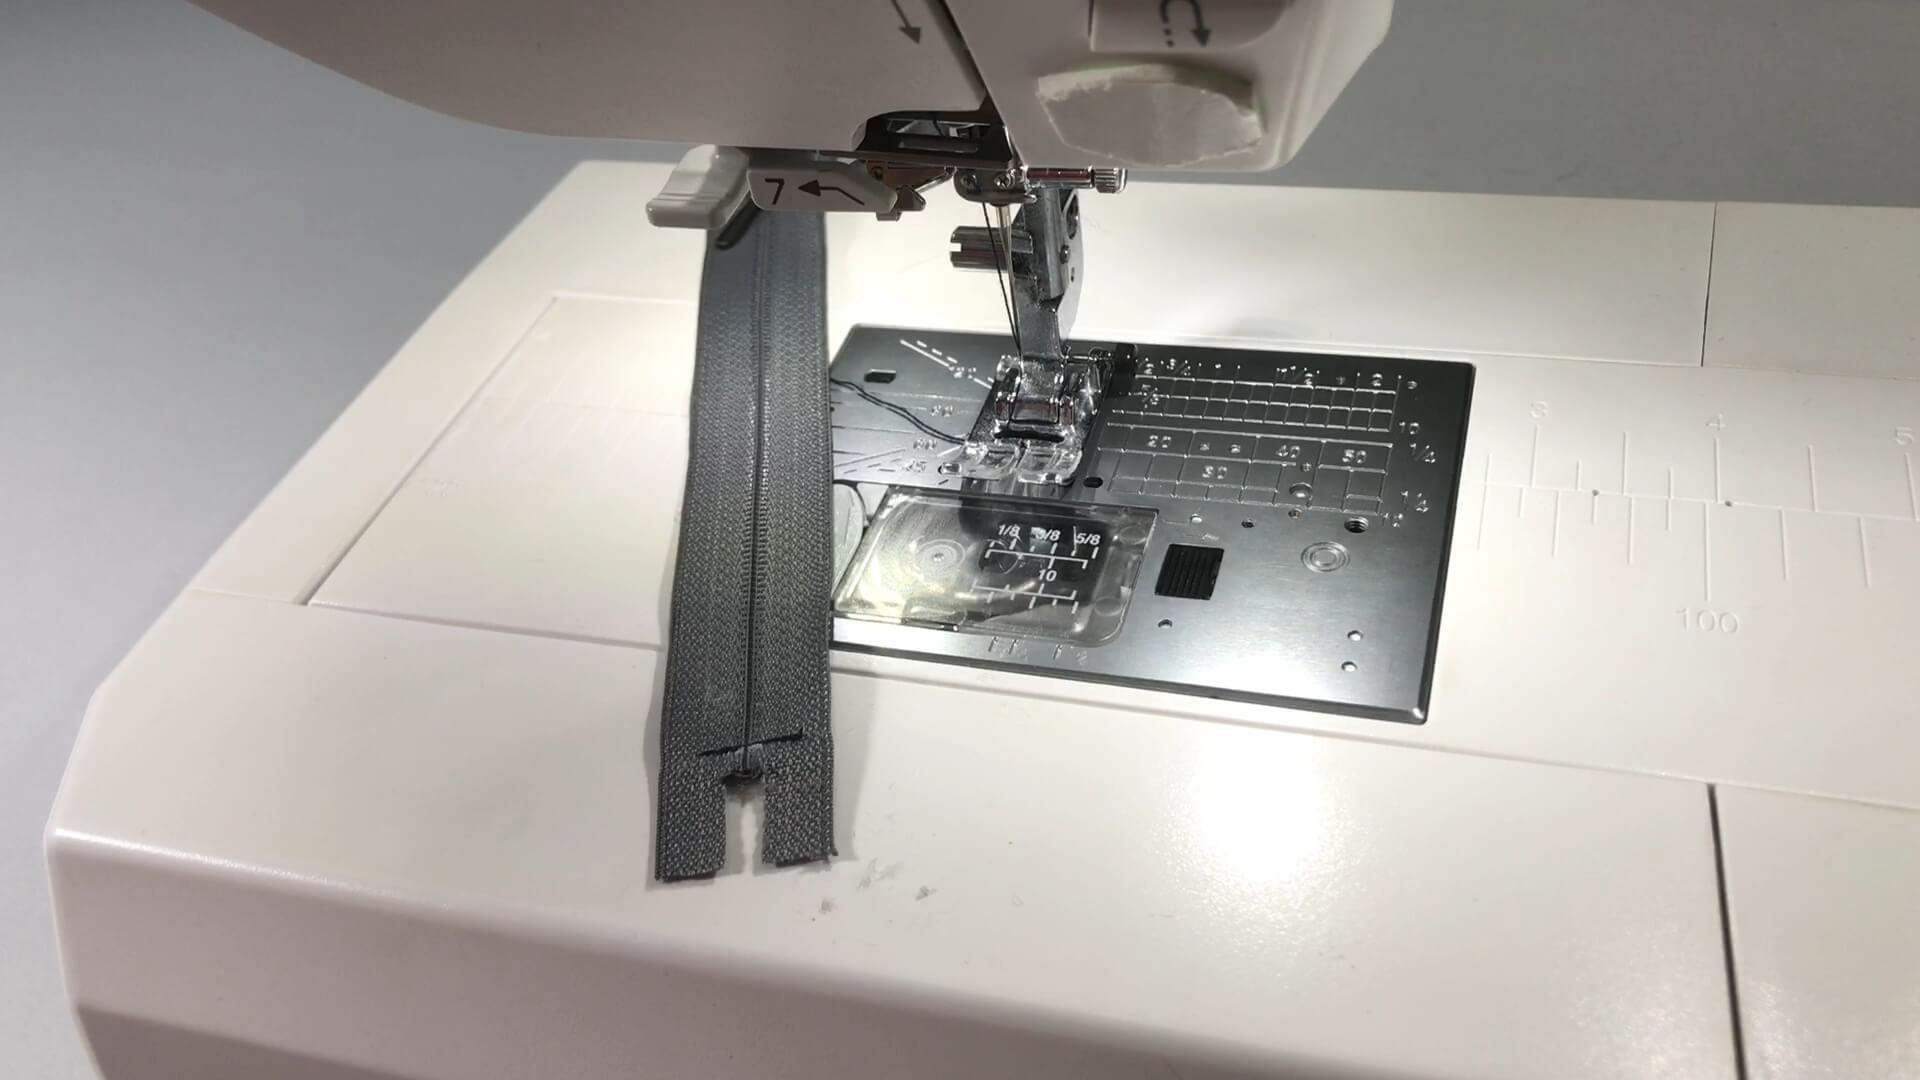
I also cut the spiral back to 5 mm below the seam.
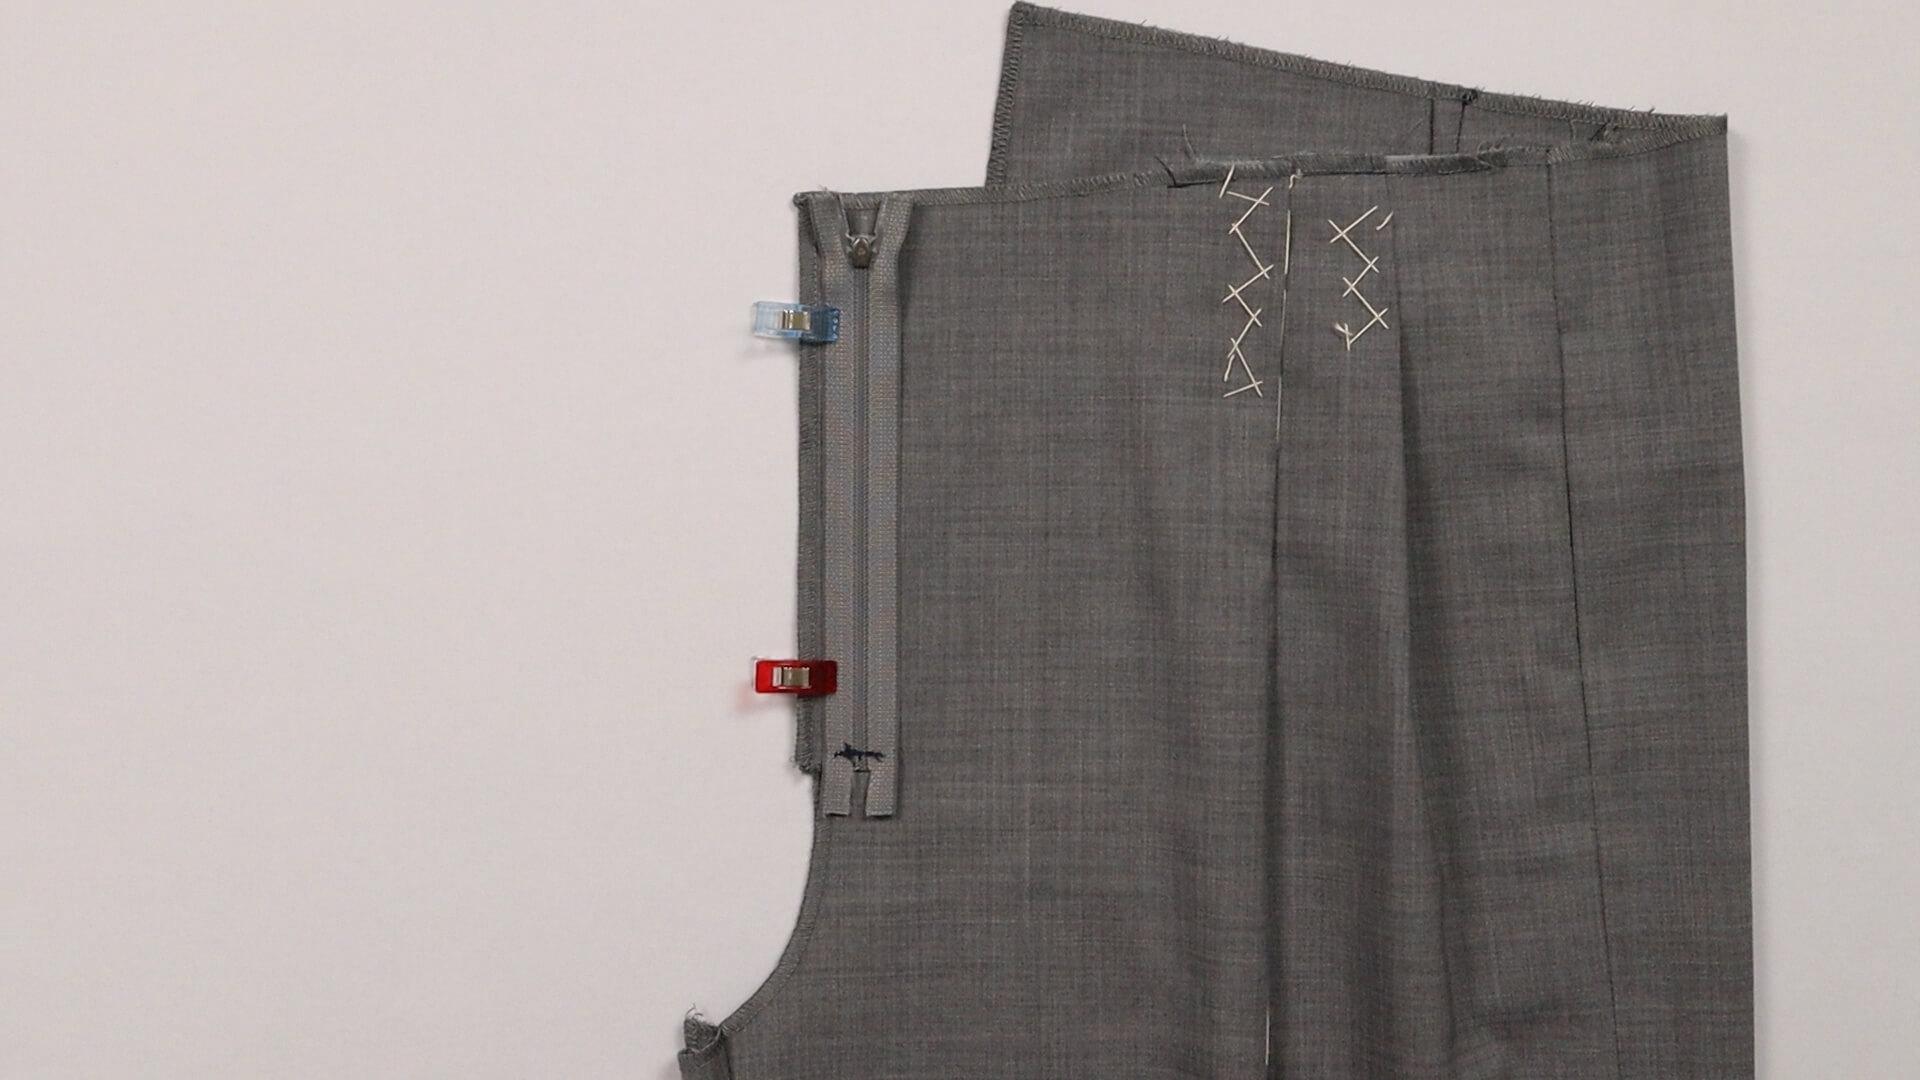
I mark 8 mm from the front cutting edge and 15 mm from the top edge. At this mark, I place the zipper right sides together (i.e. with the slider on the right side of the fabric) on the front piece and pin it in place.
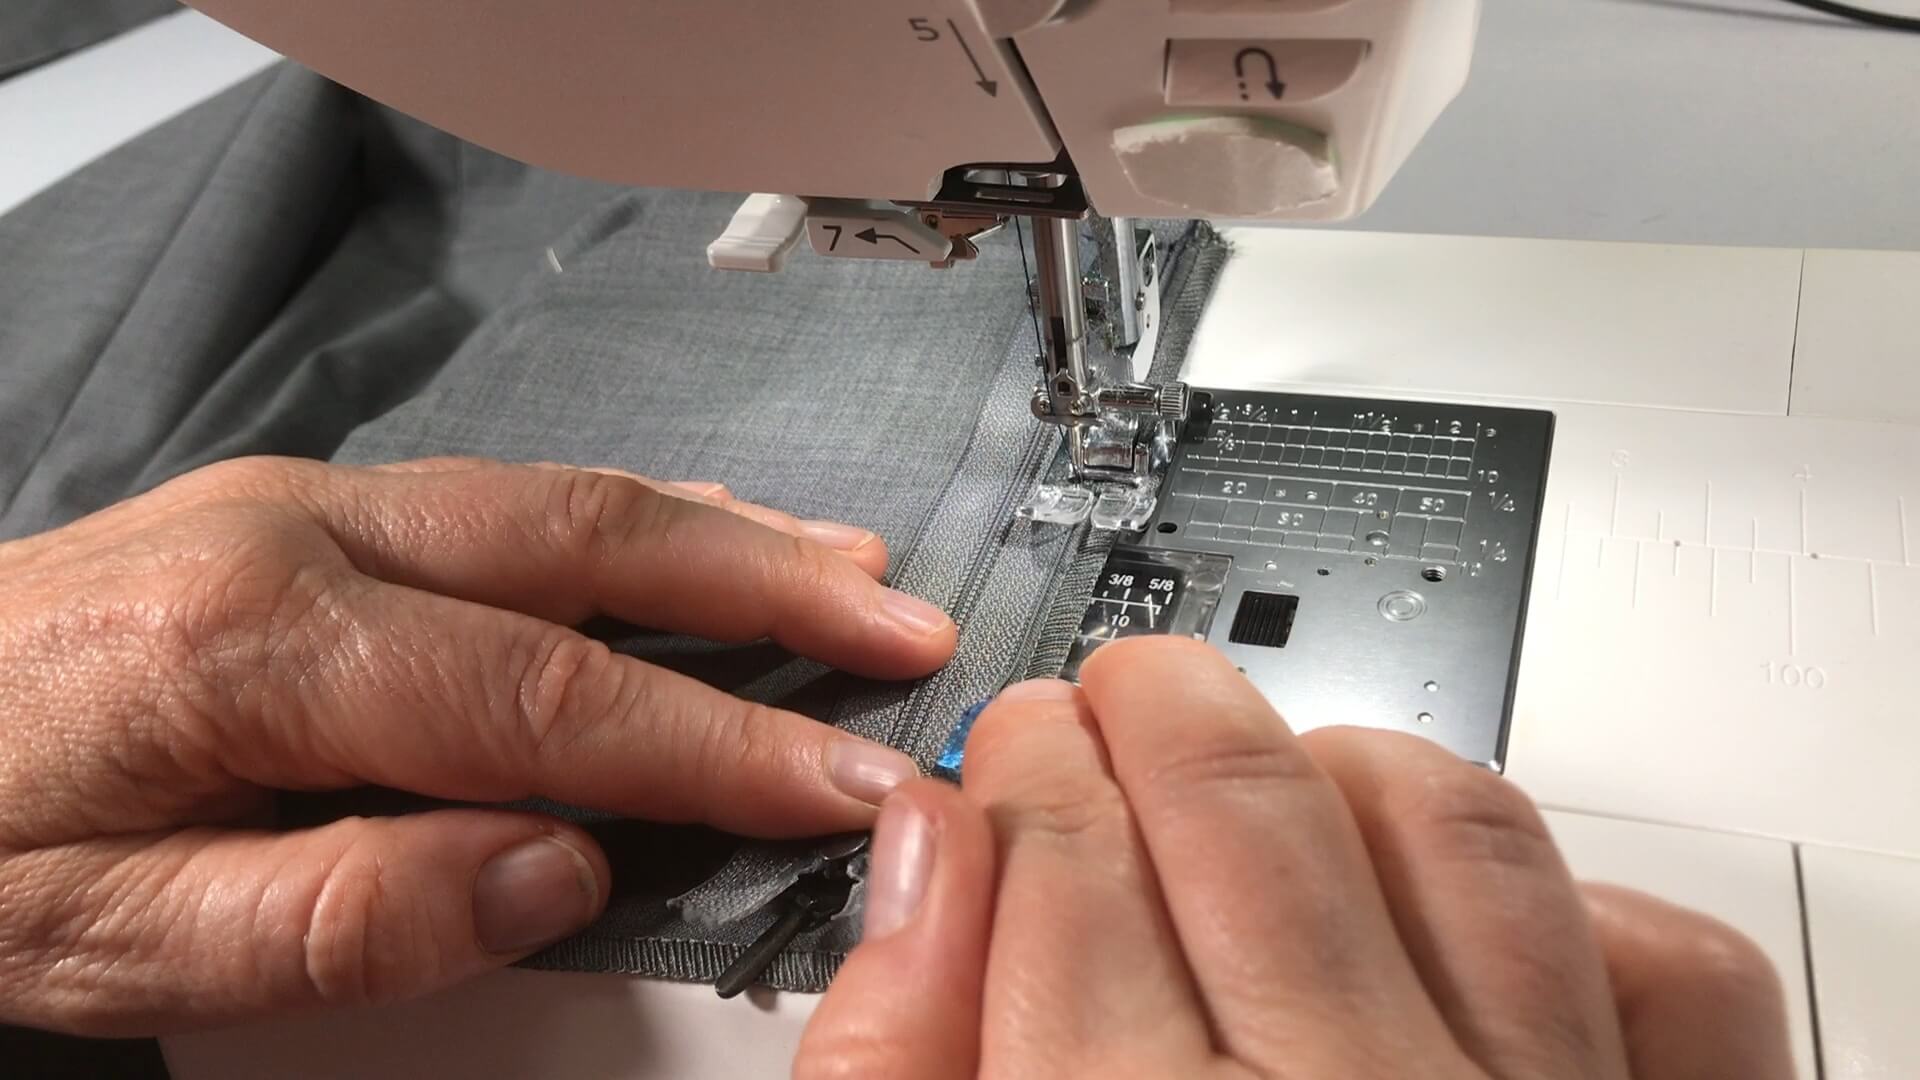
Then I stitch the zipper tape close to the edge.
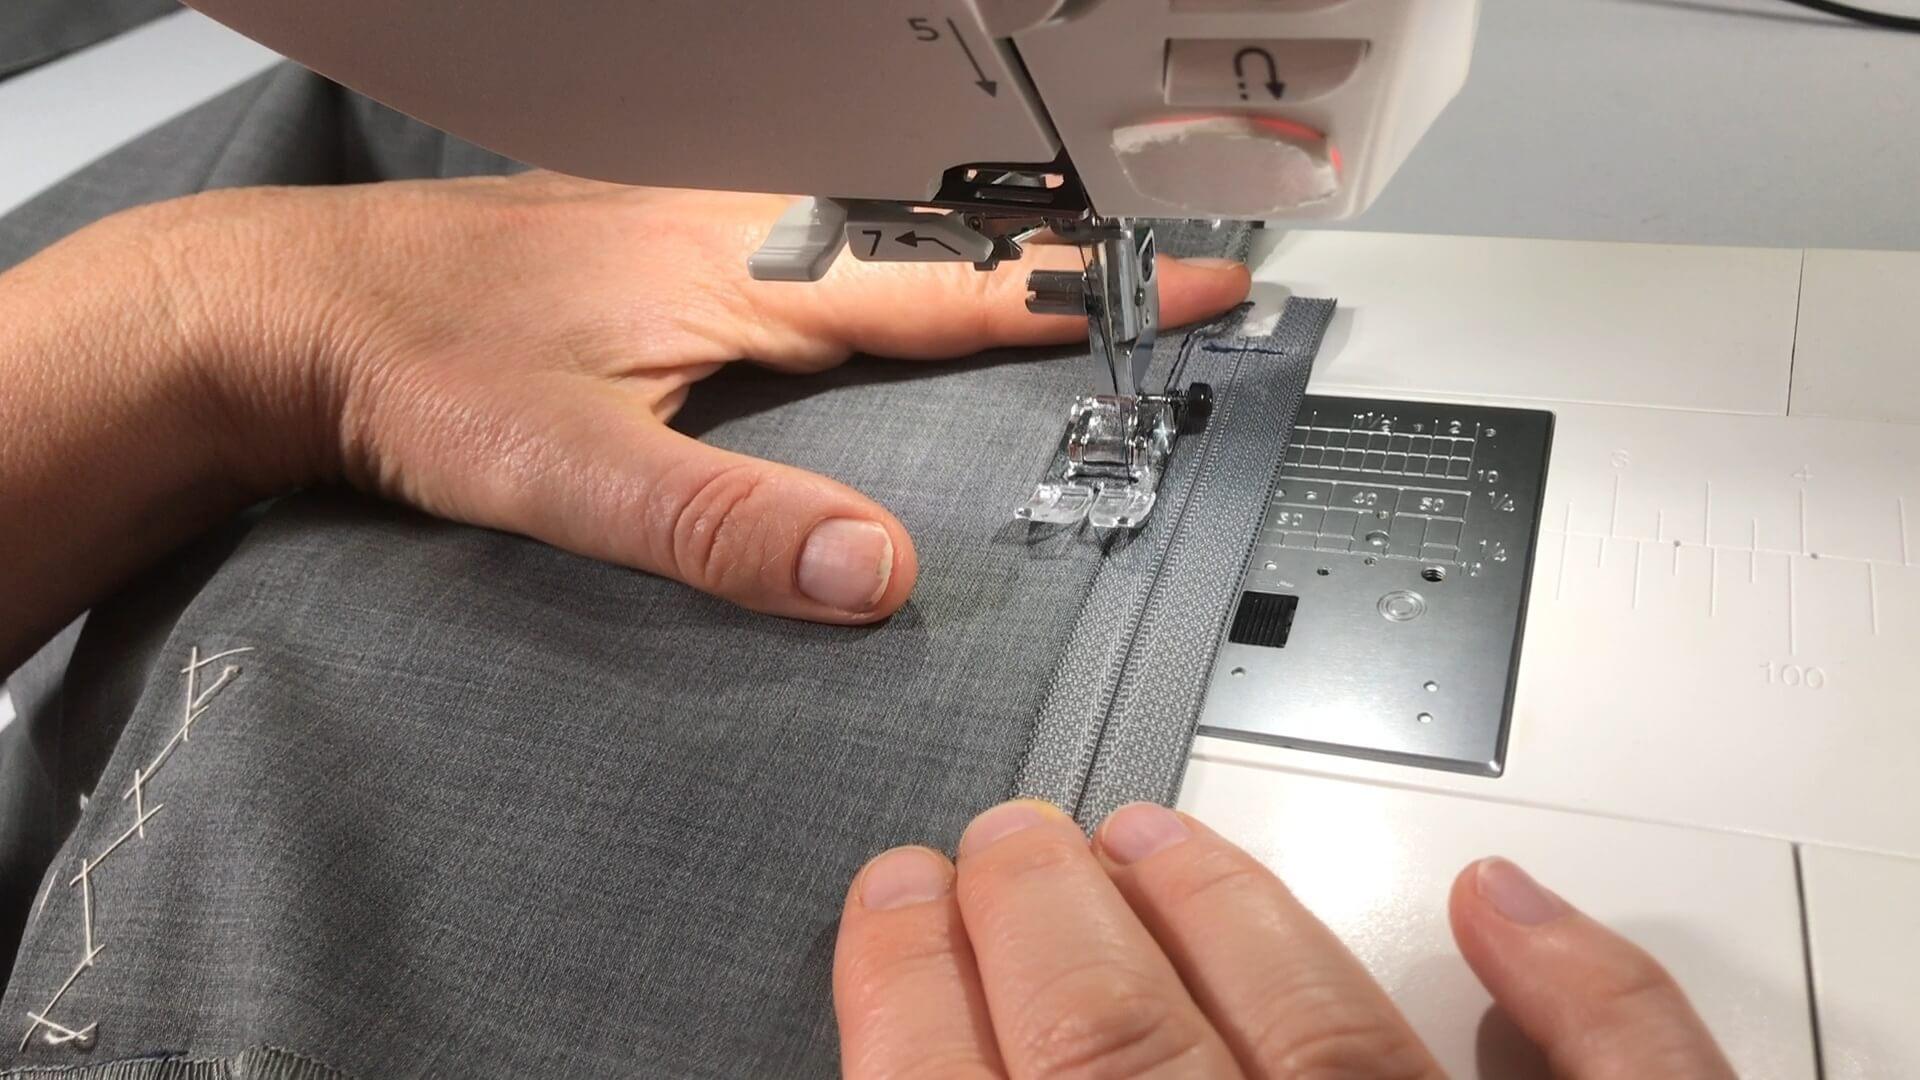
I fold the zipper over so the right side is visible. The seam is topstitched narrow-edged to the front.
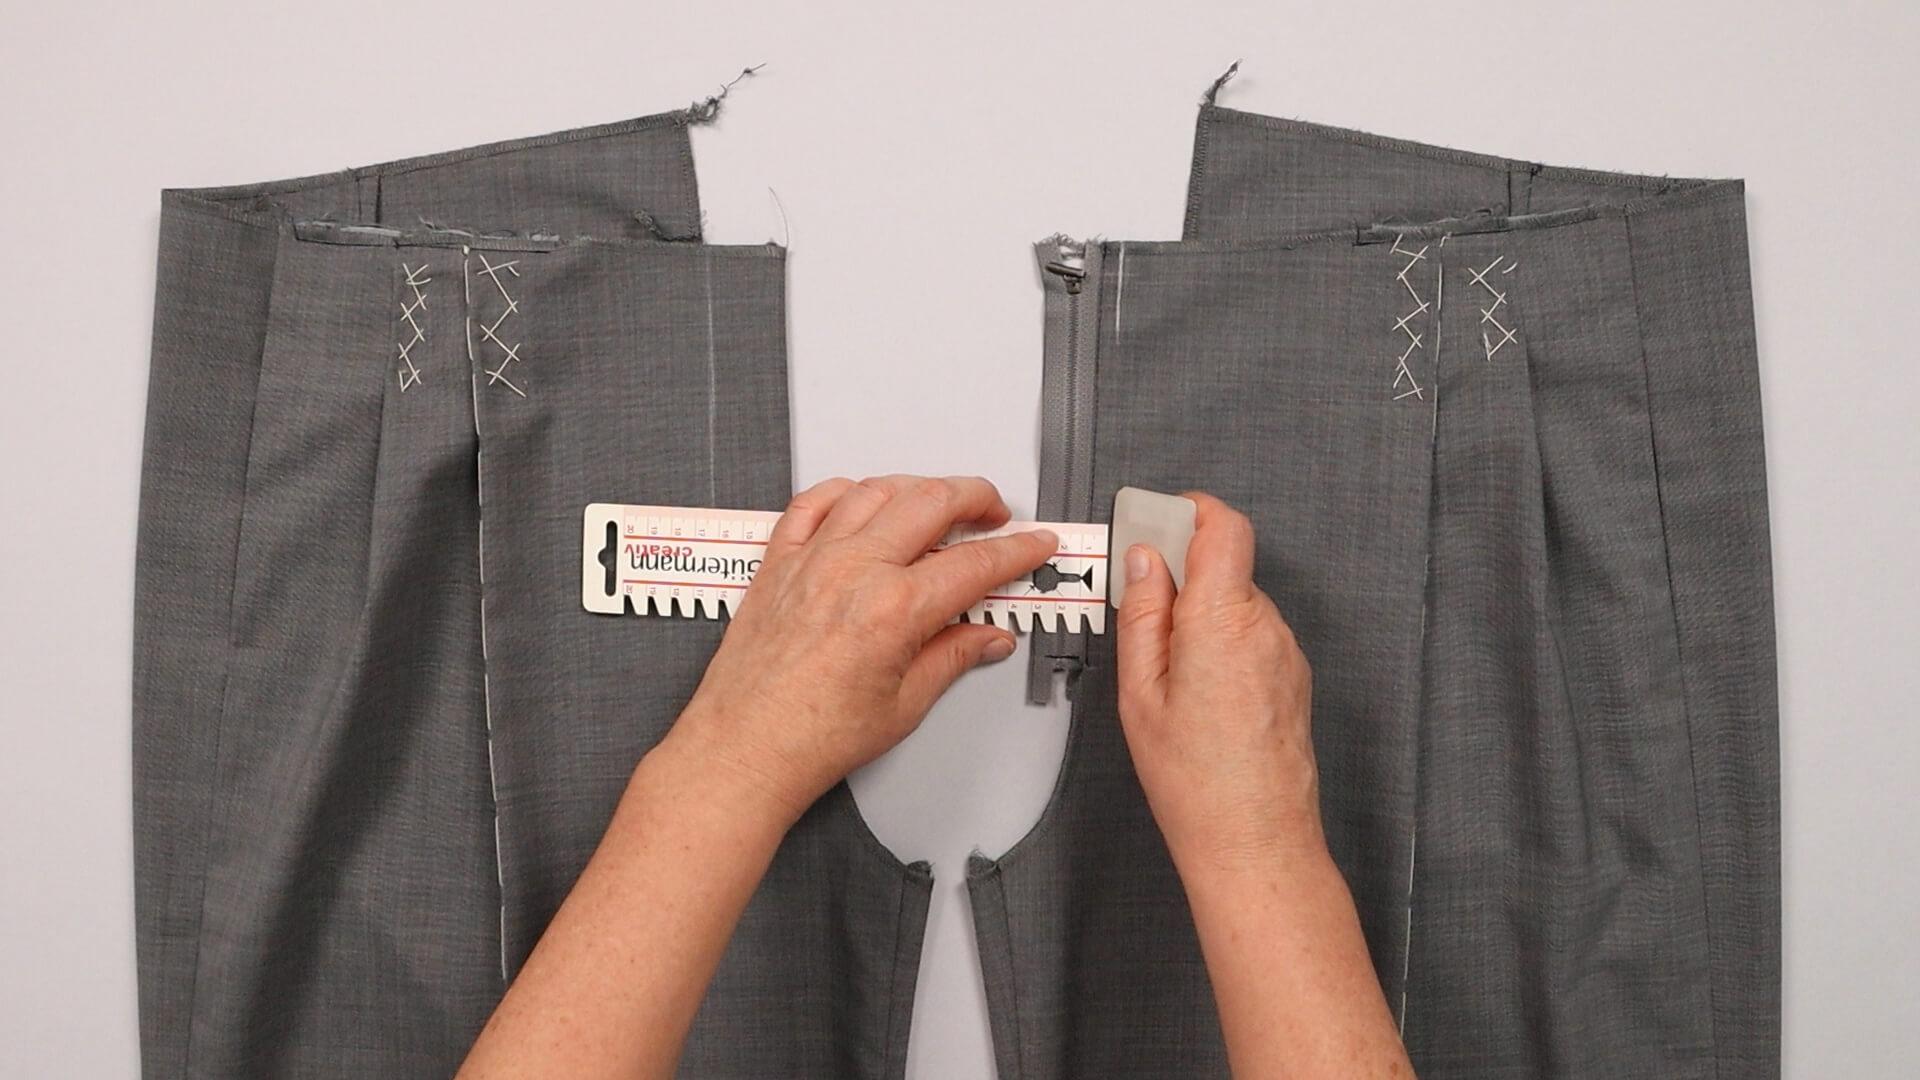
I mark the center front parallel to the crotch seam. In my example, the distance is 7 mm.
5. Connect the front pieces
To prepare the next steps to sew the fly with zipper, the two trouser legs are now joined together.
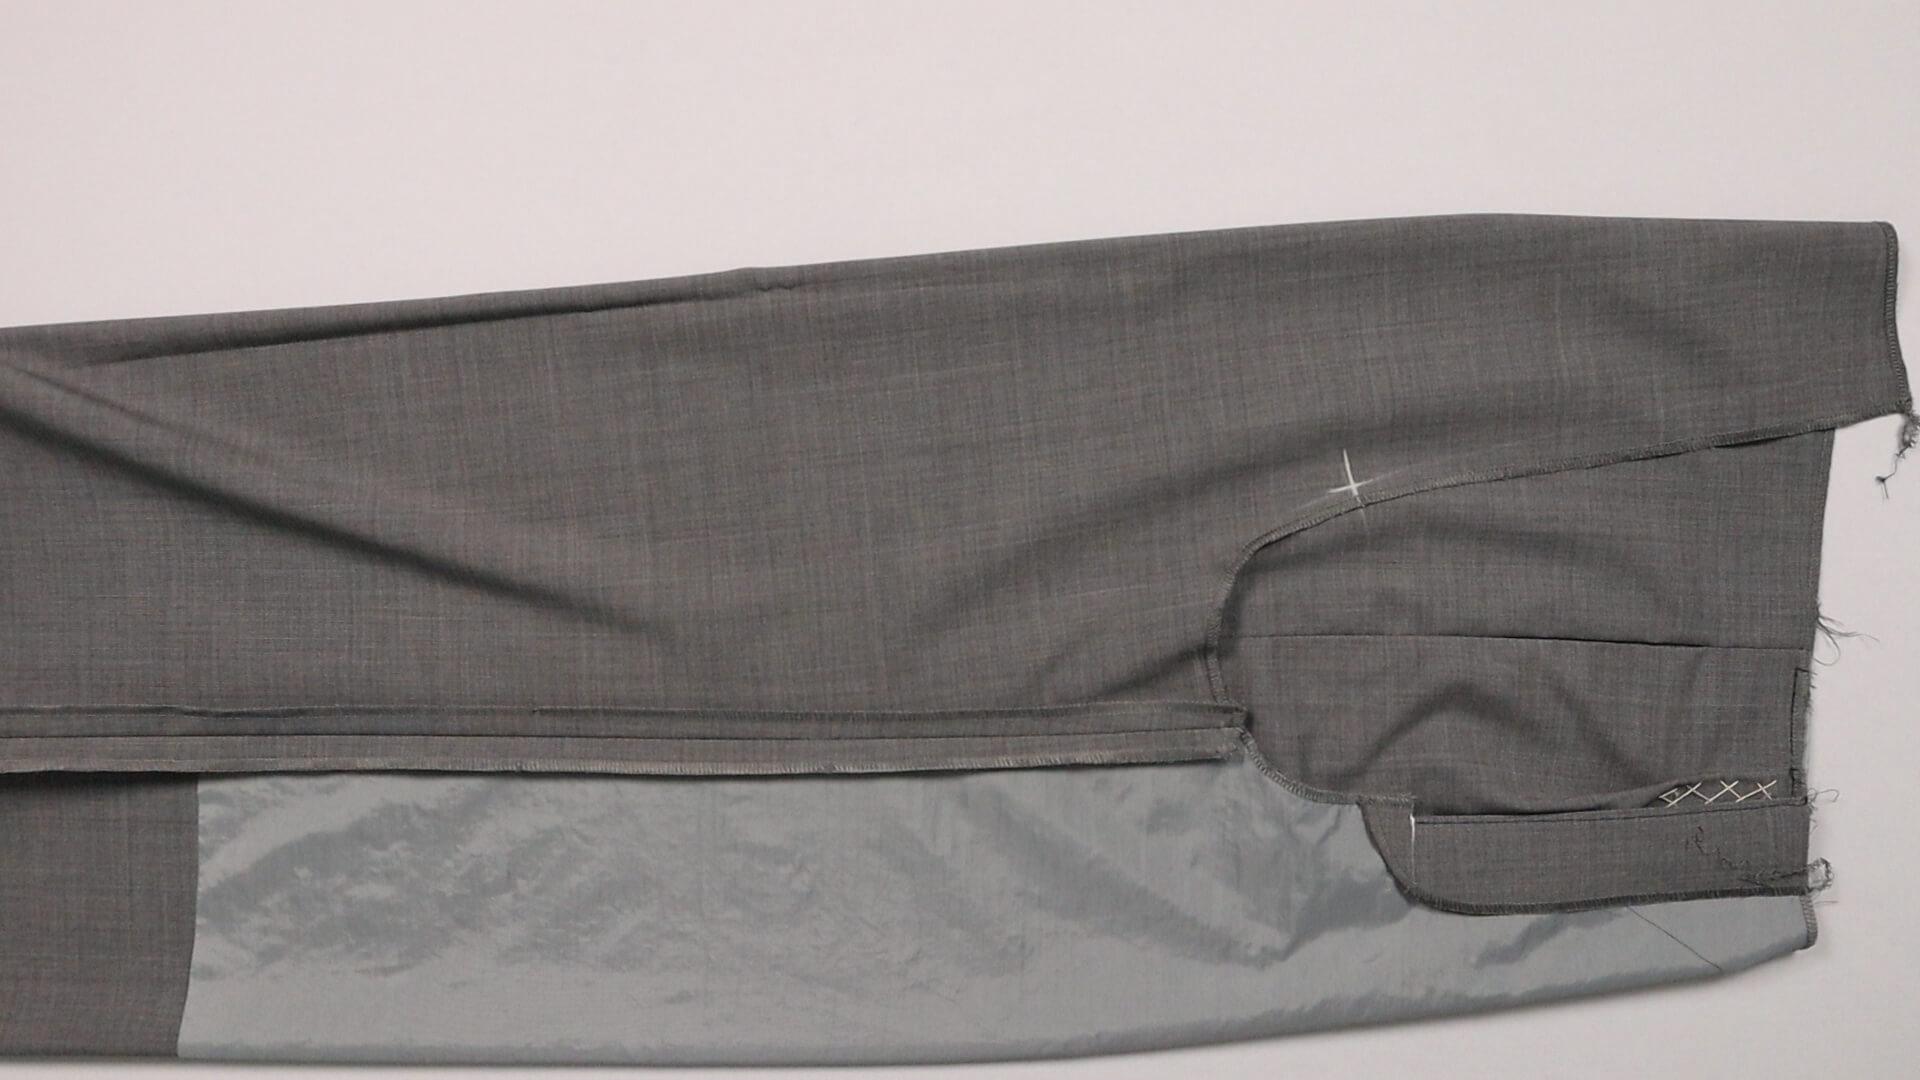
First, I turn the right trouser leg to the left side. Then I mark the hight of the notch on the back of the trousers.
I mark the end of the slit on the front piece.
The crotch curve is sewn together between these two markings with a10 mm seam allowance.
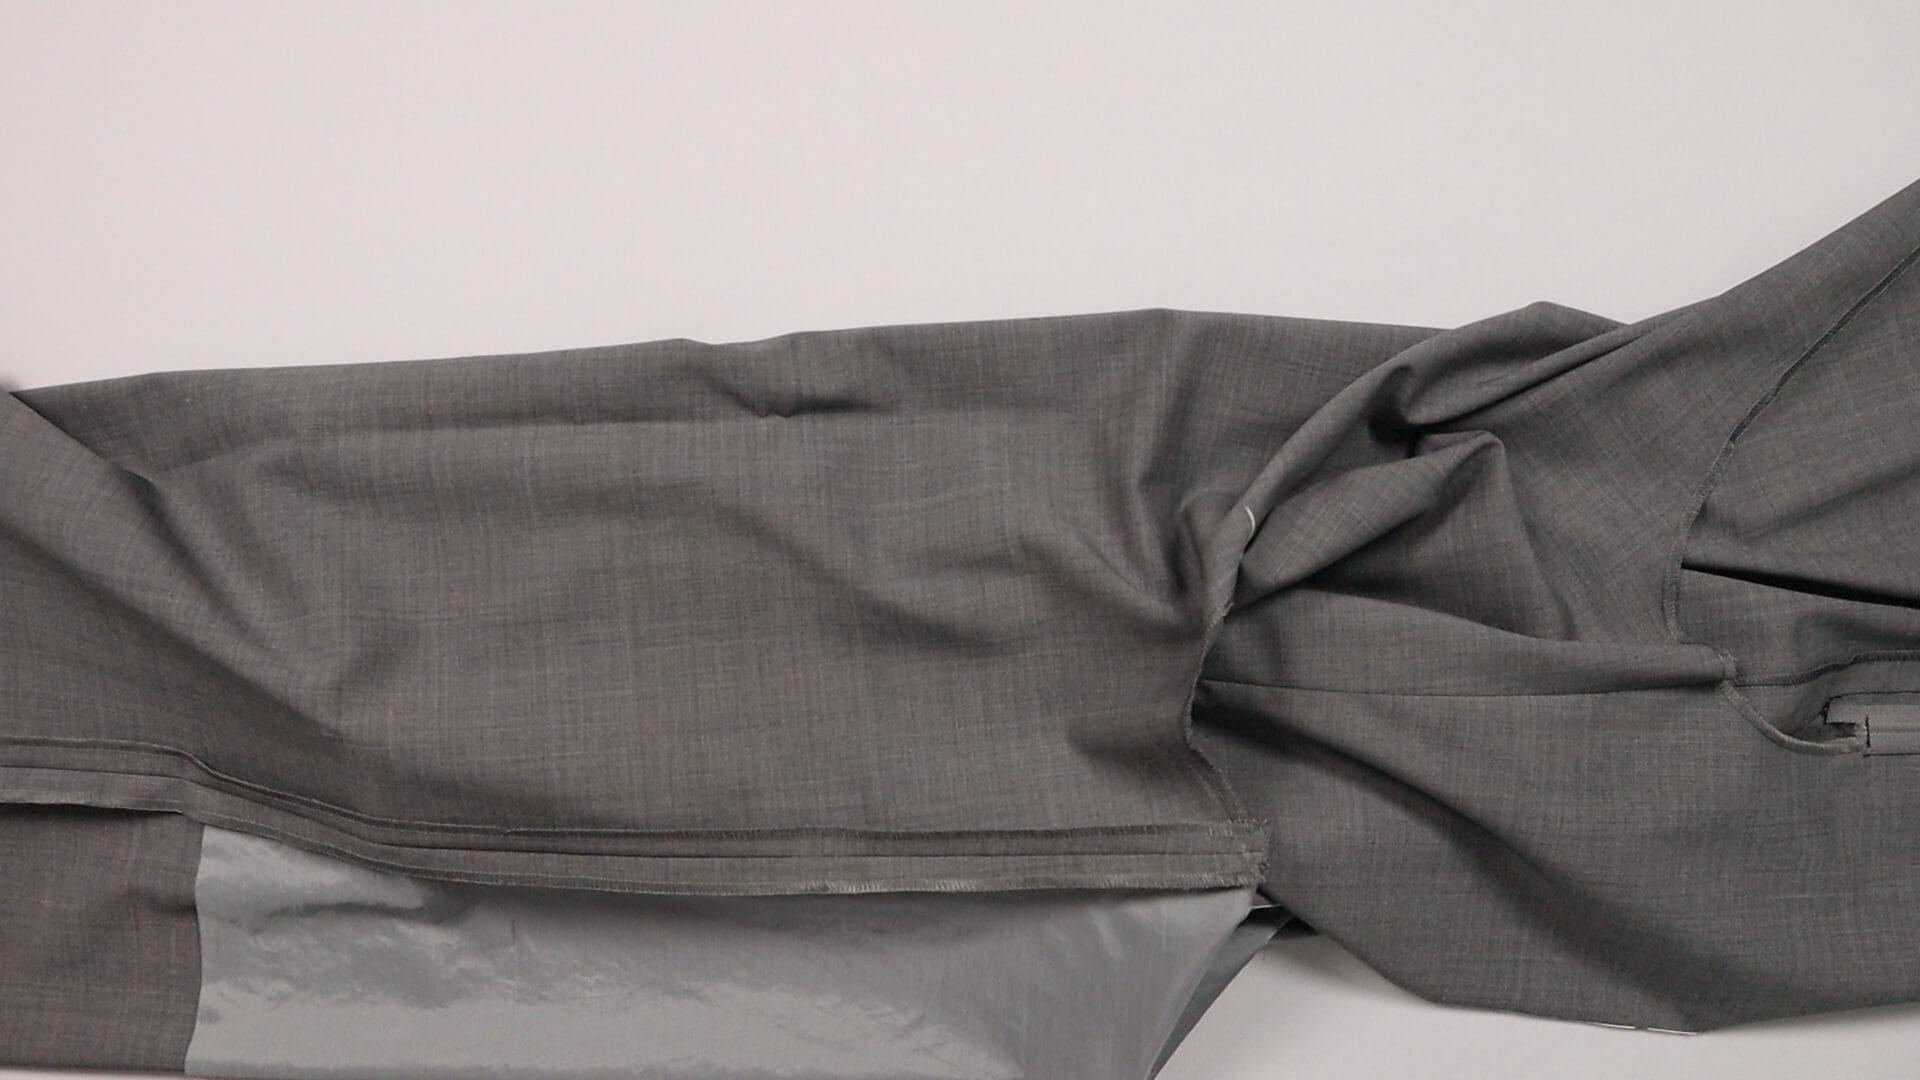
I pull the left trouser leg into the right one, align the notches on the back and front seam and pin in place.
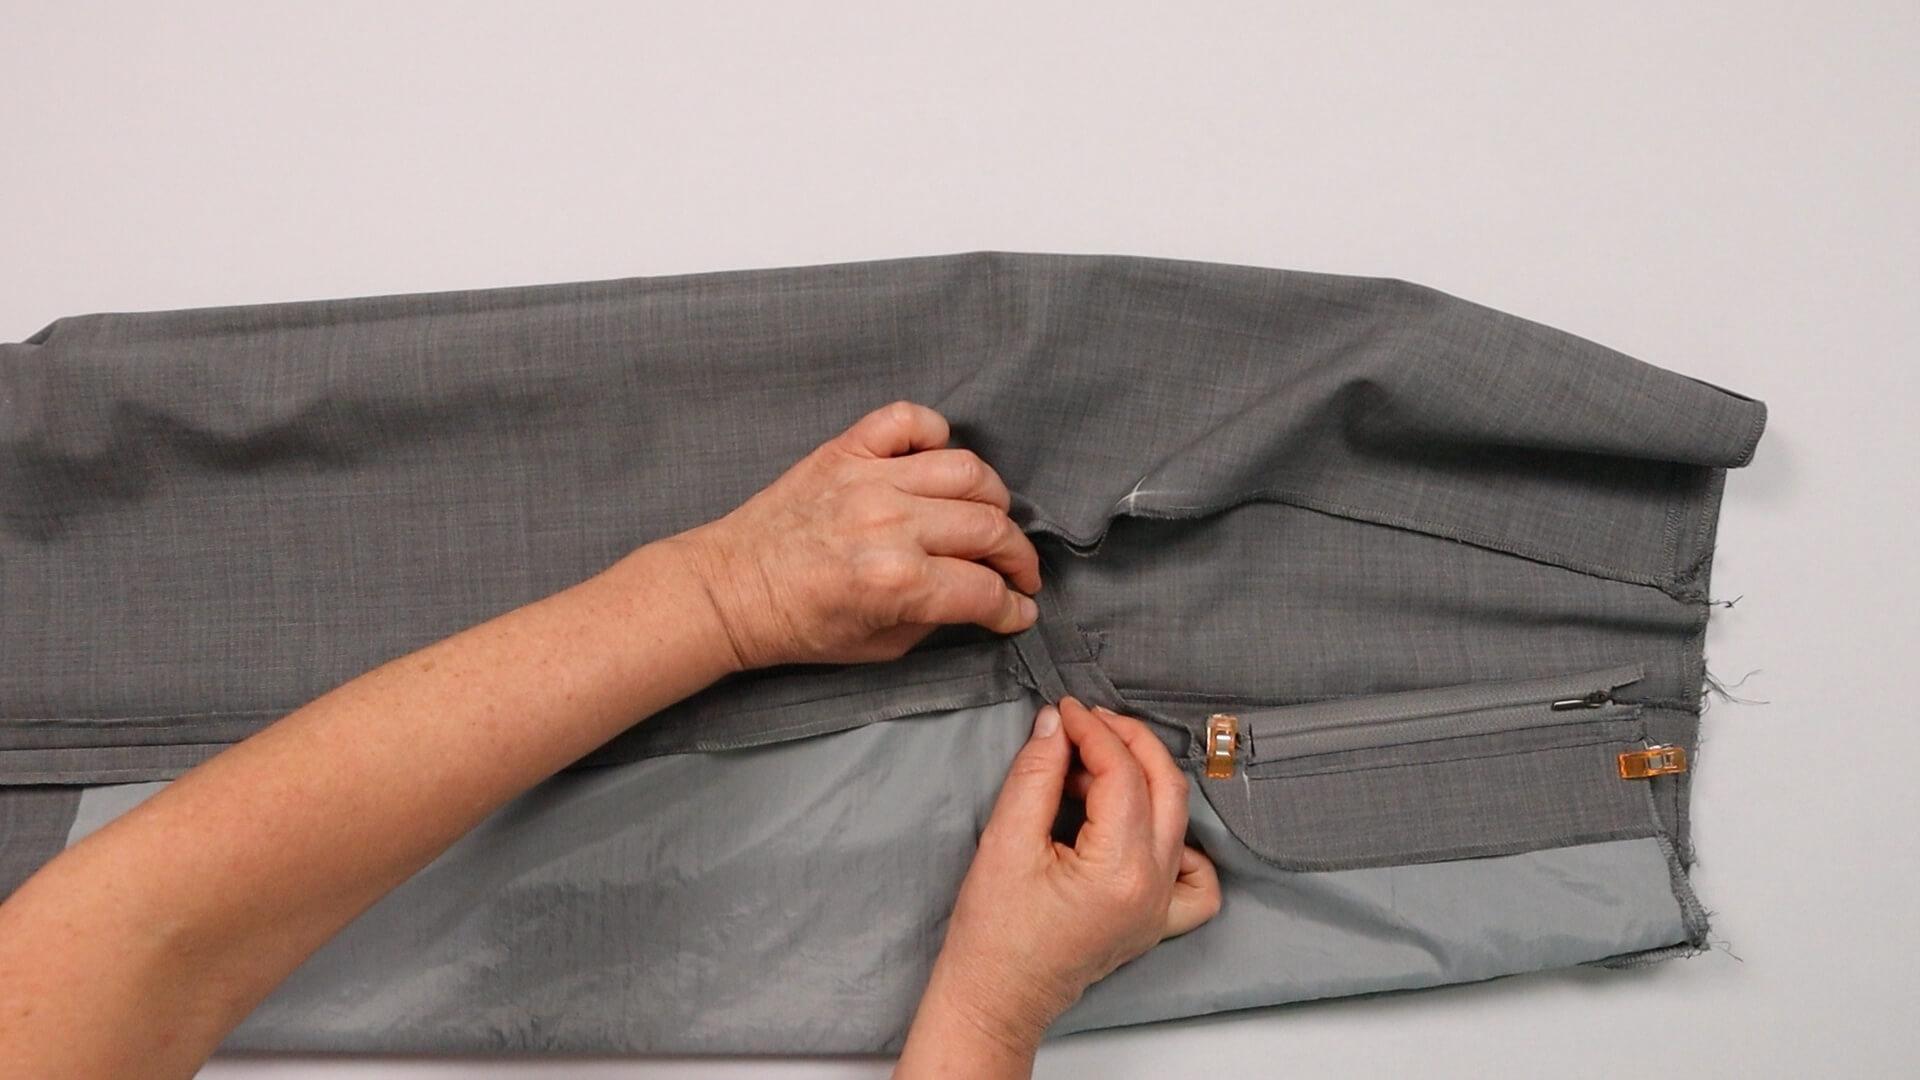
The inner leg seams meet exactly, too.
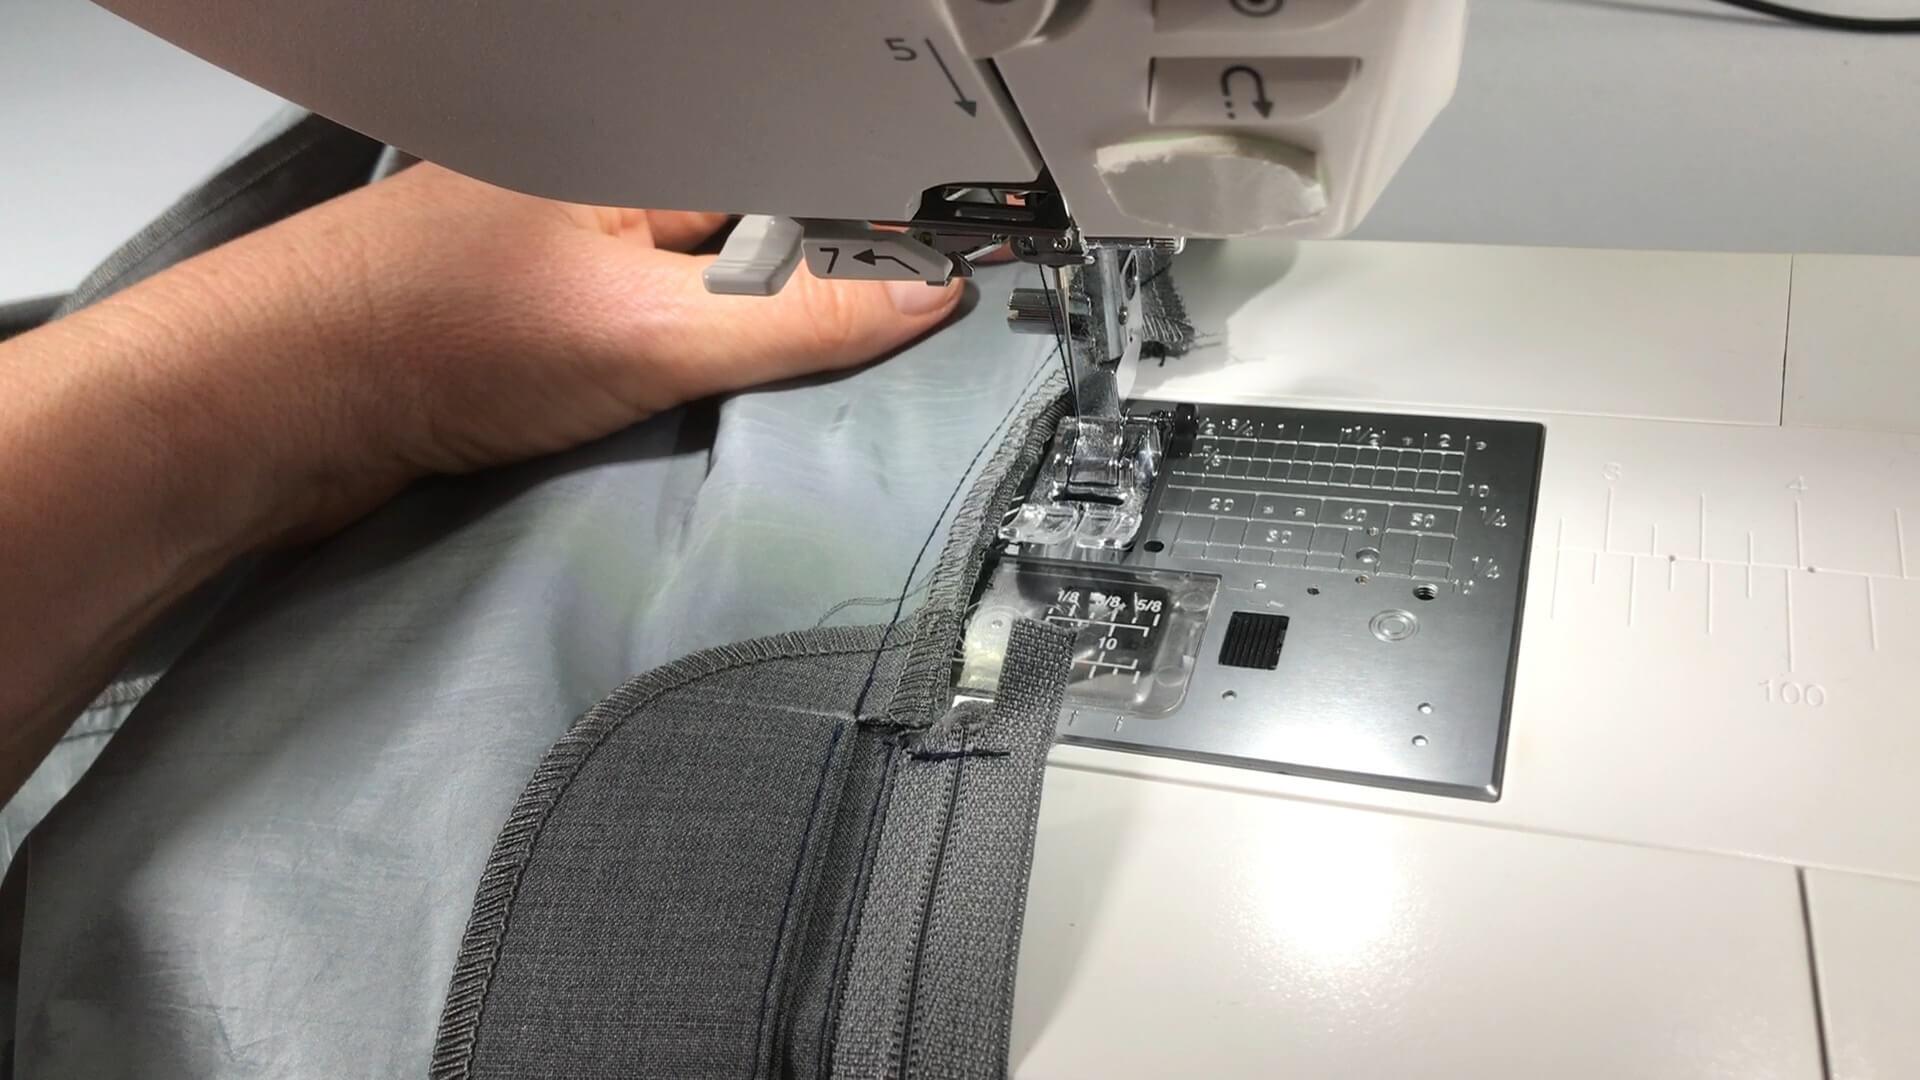
Now the seam is sewn from the notch on the back to the exact end of the fly with a 10 mm seam allowance. You can pull slightly in the area of the seat seam, as this area will be subject to a lot of stress later on.
The upper part of the seat seam is not closed until the waistband has been sewn on.
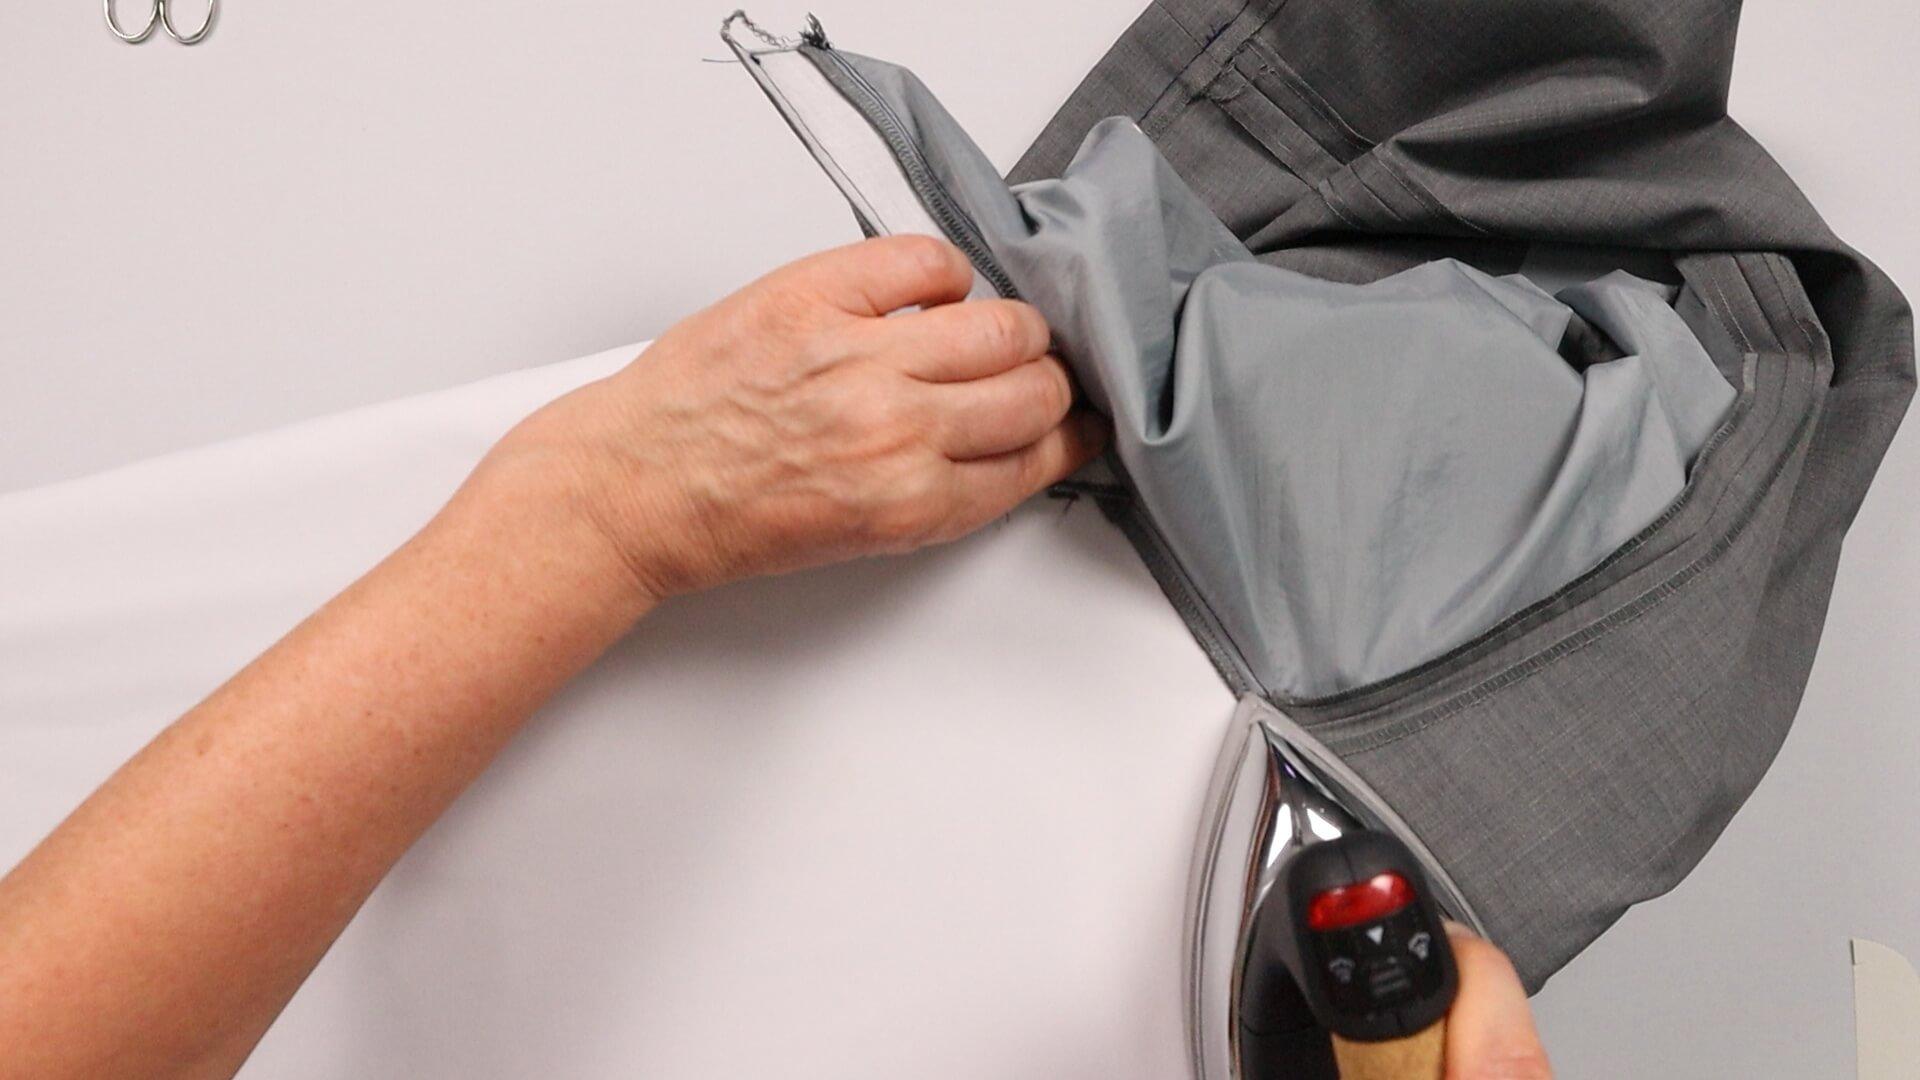
I stretch the seam allowance of the crotch seam when ironing so the trousers will fit better in this area.
6. Stitch the zipper to the facing
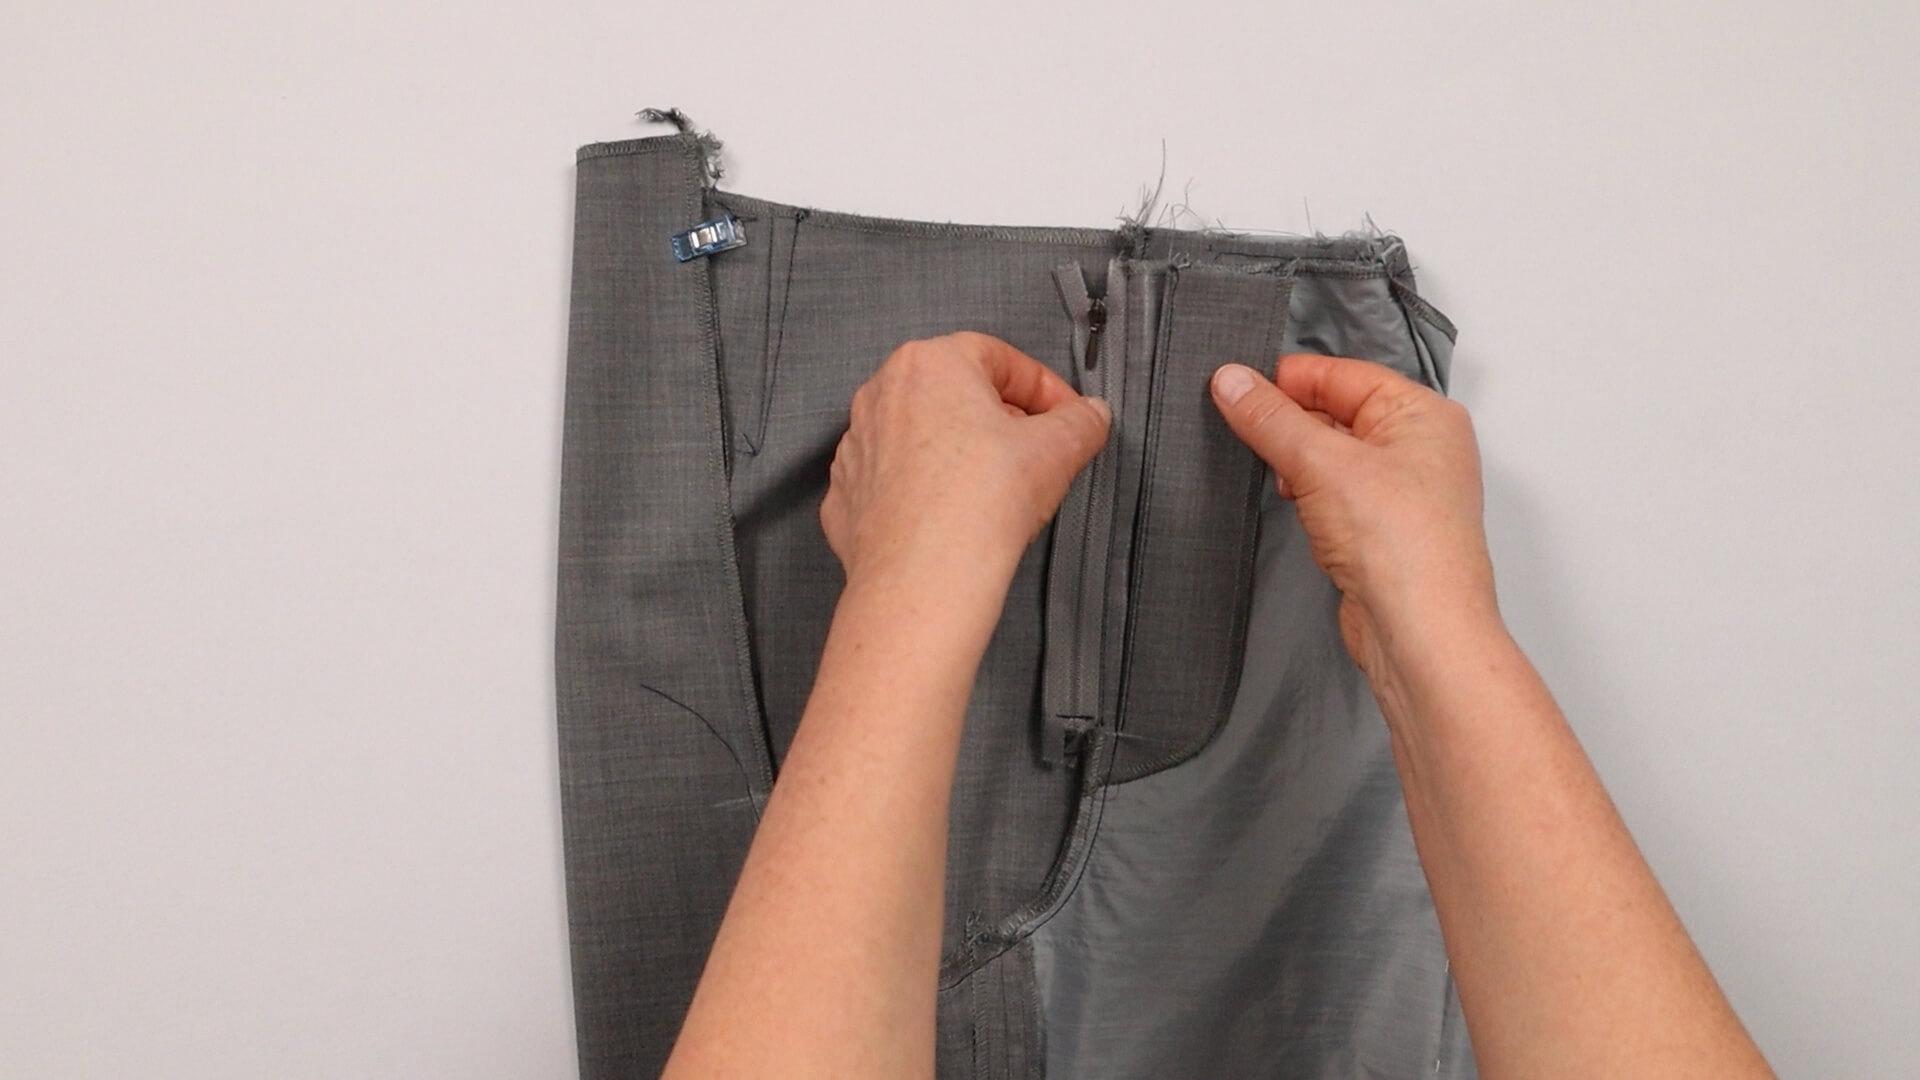
In the next step, I stitch the zipper to the fly facing.
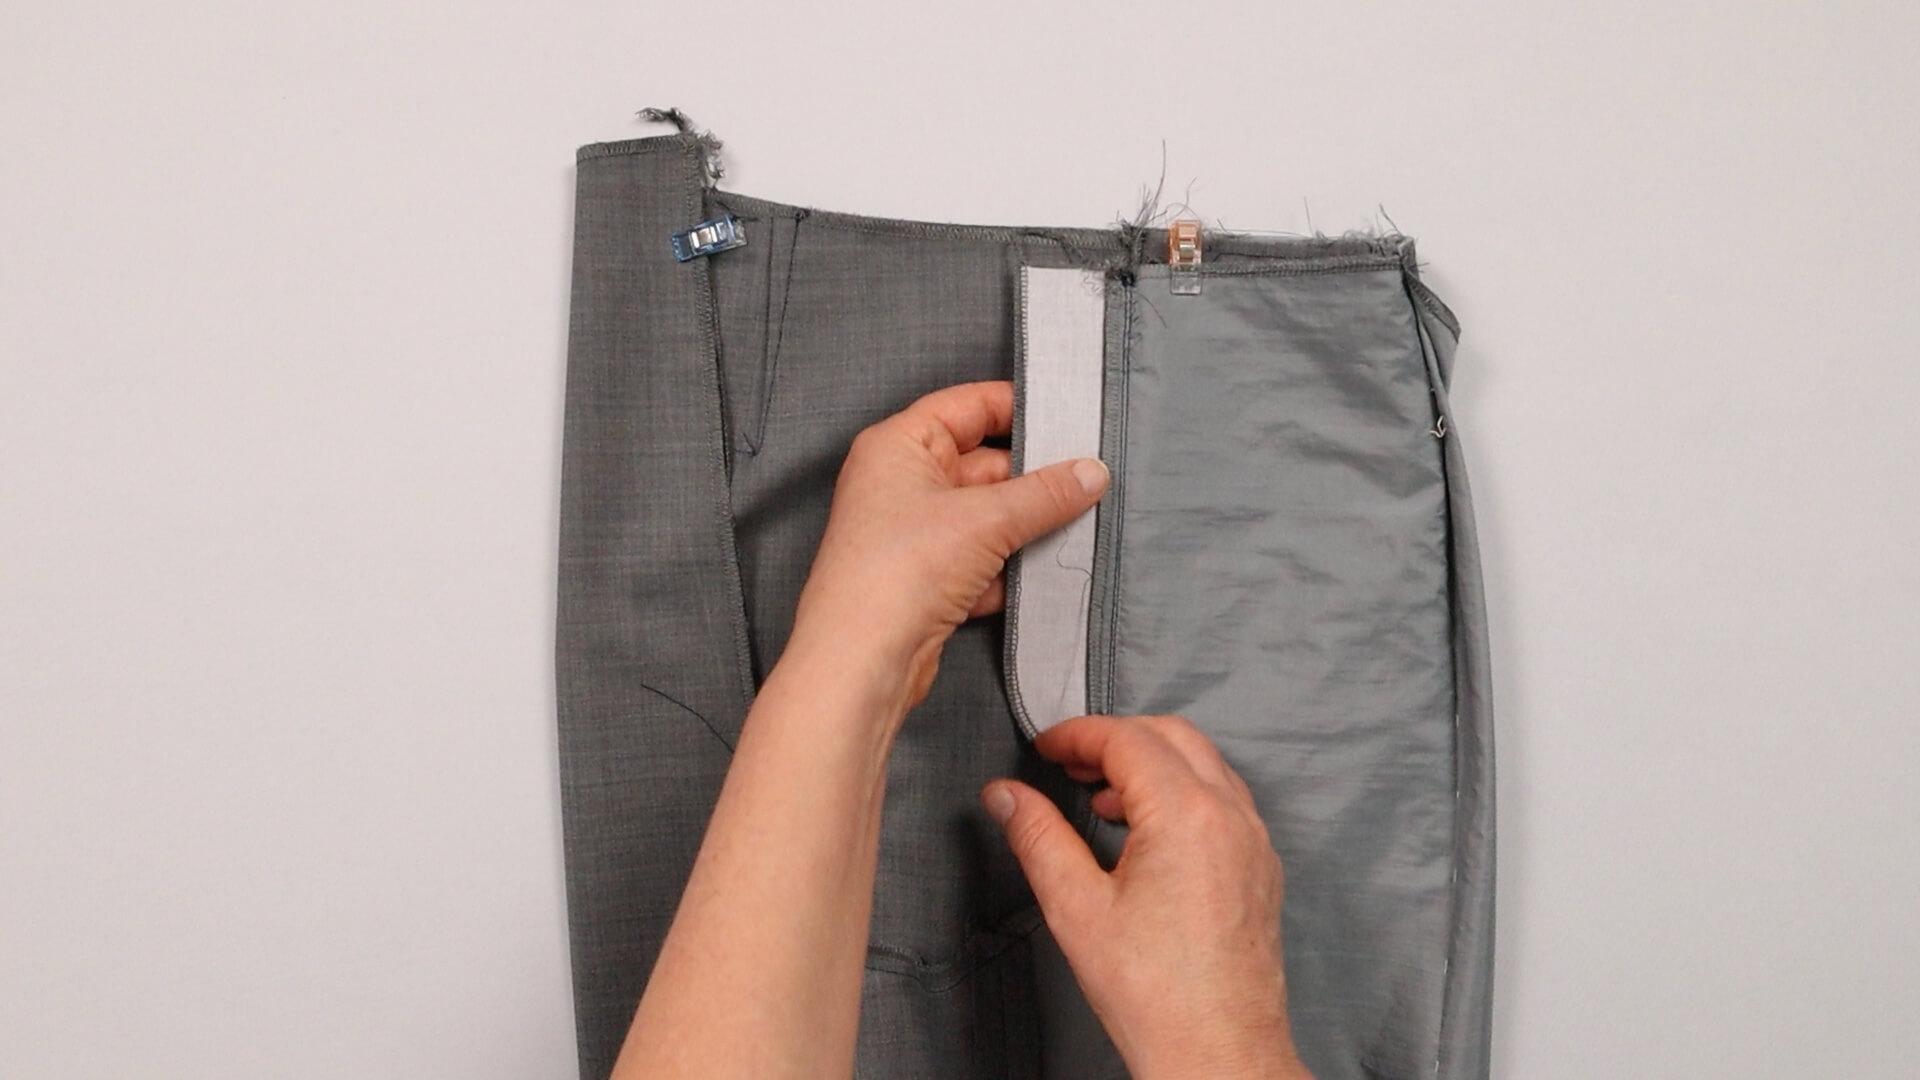
I fold the facing to the side and make sure the center front meets. Then I pin both front pieces together at the raw edge.
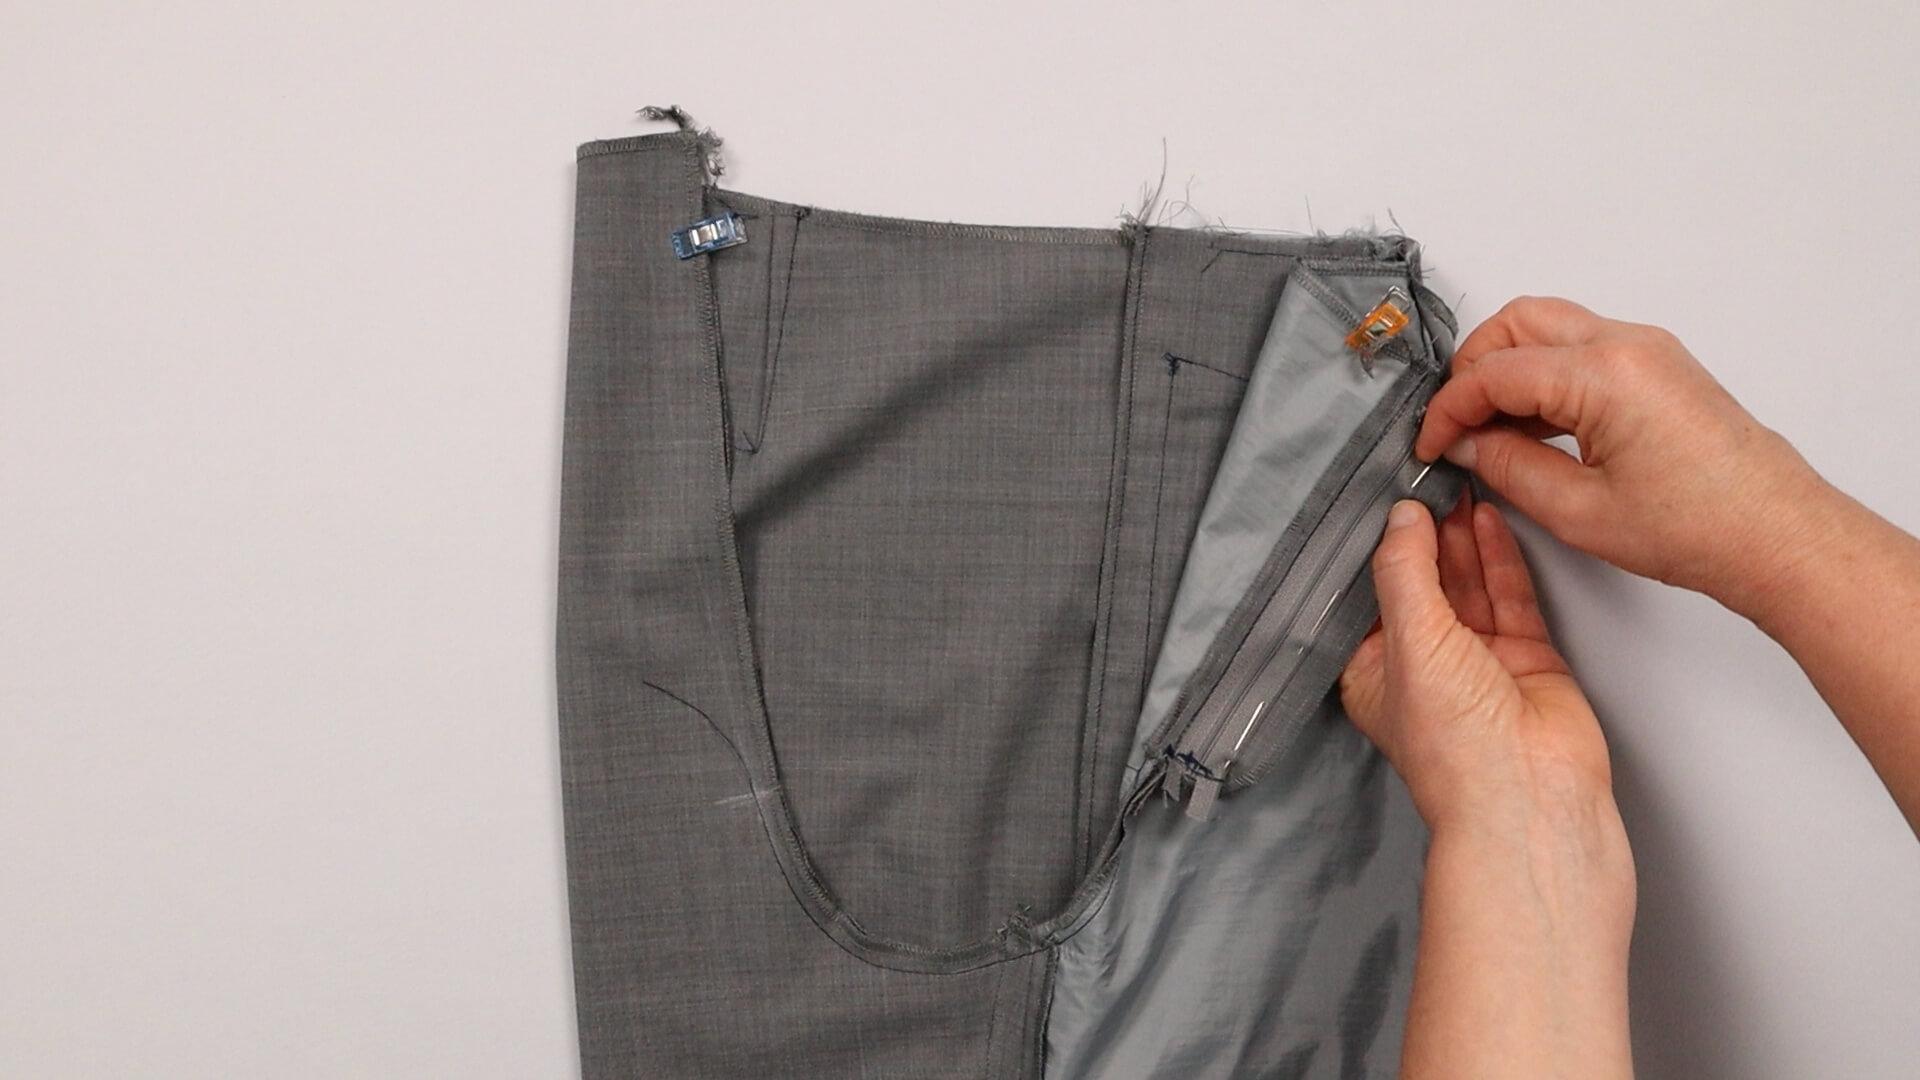
I pin the zipper tape smoothly to the fly piece.
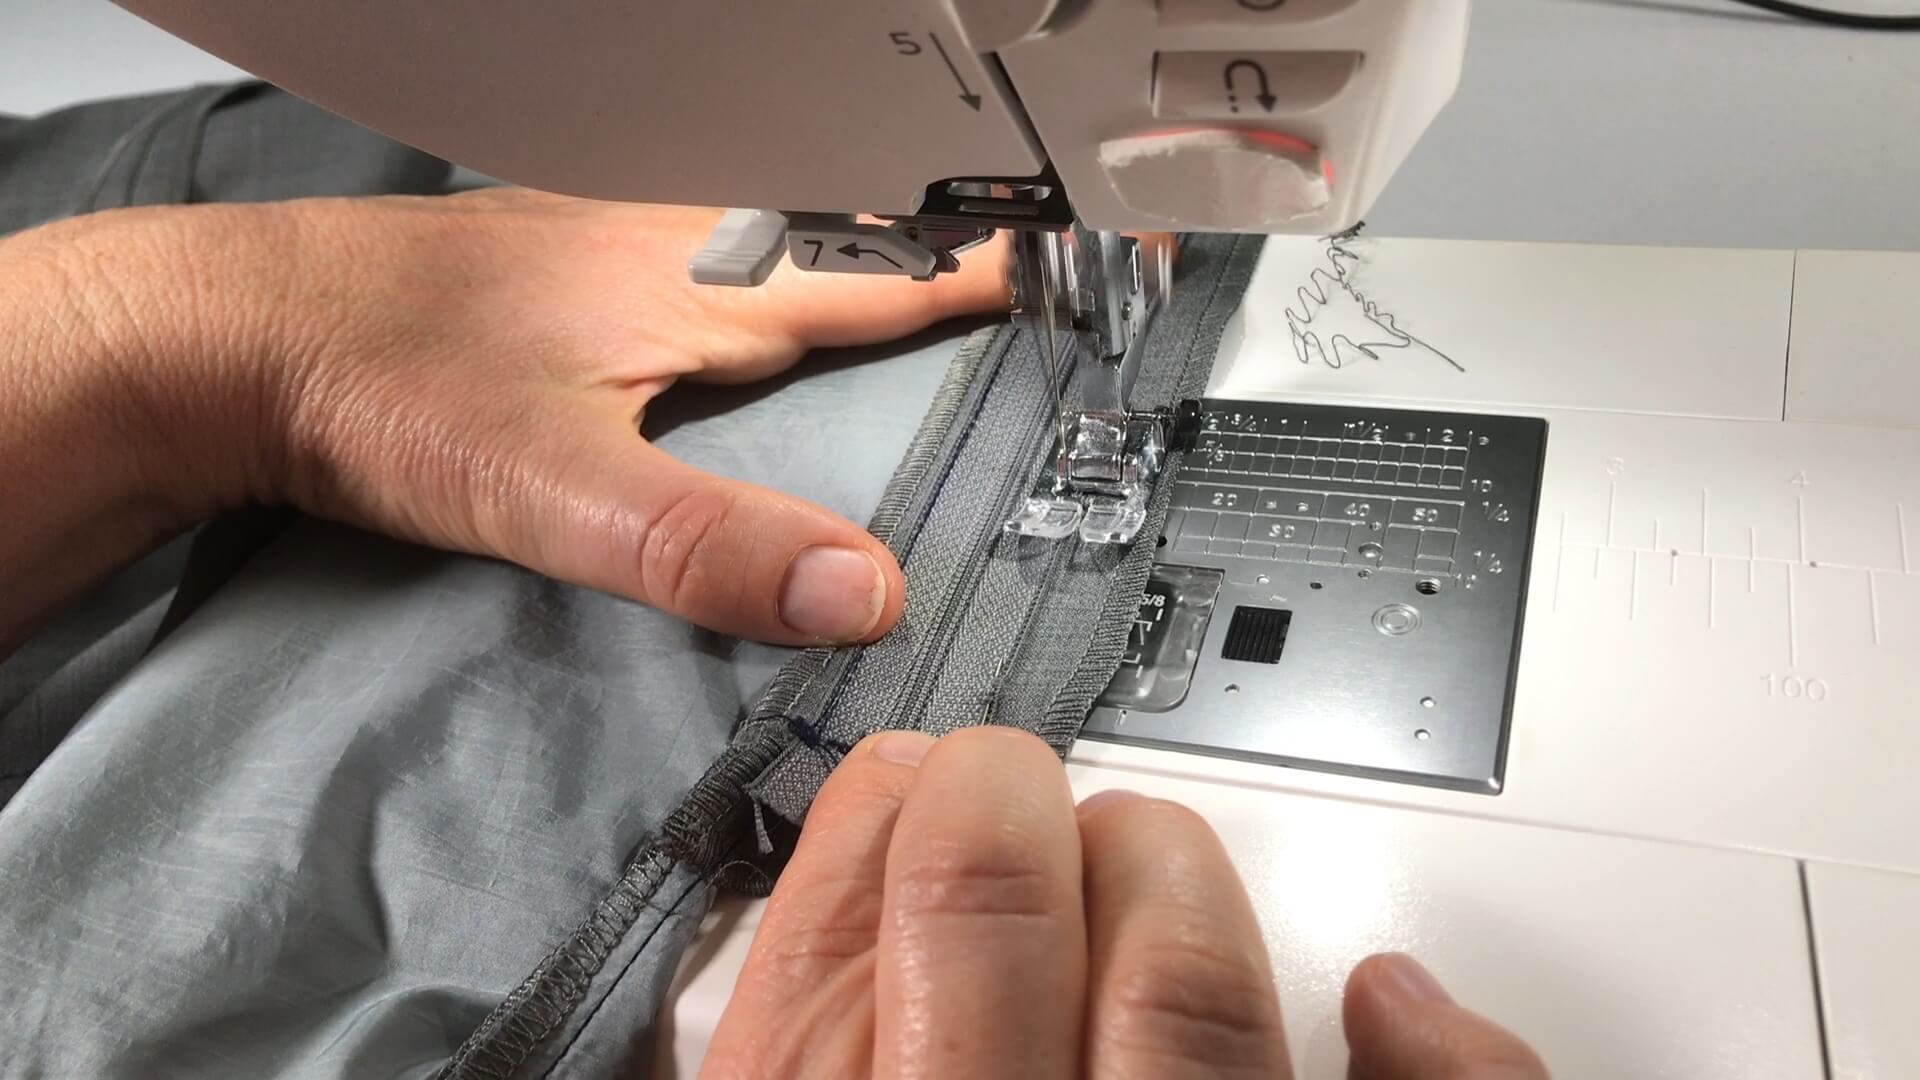
I stitch it close to the edge.
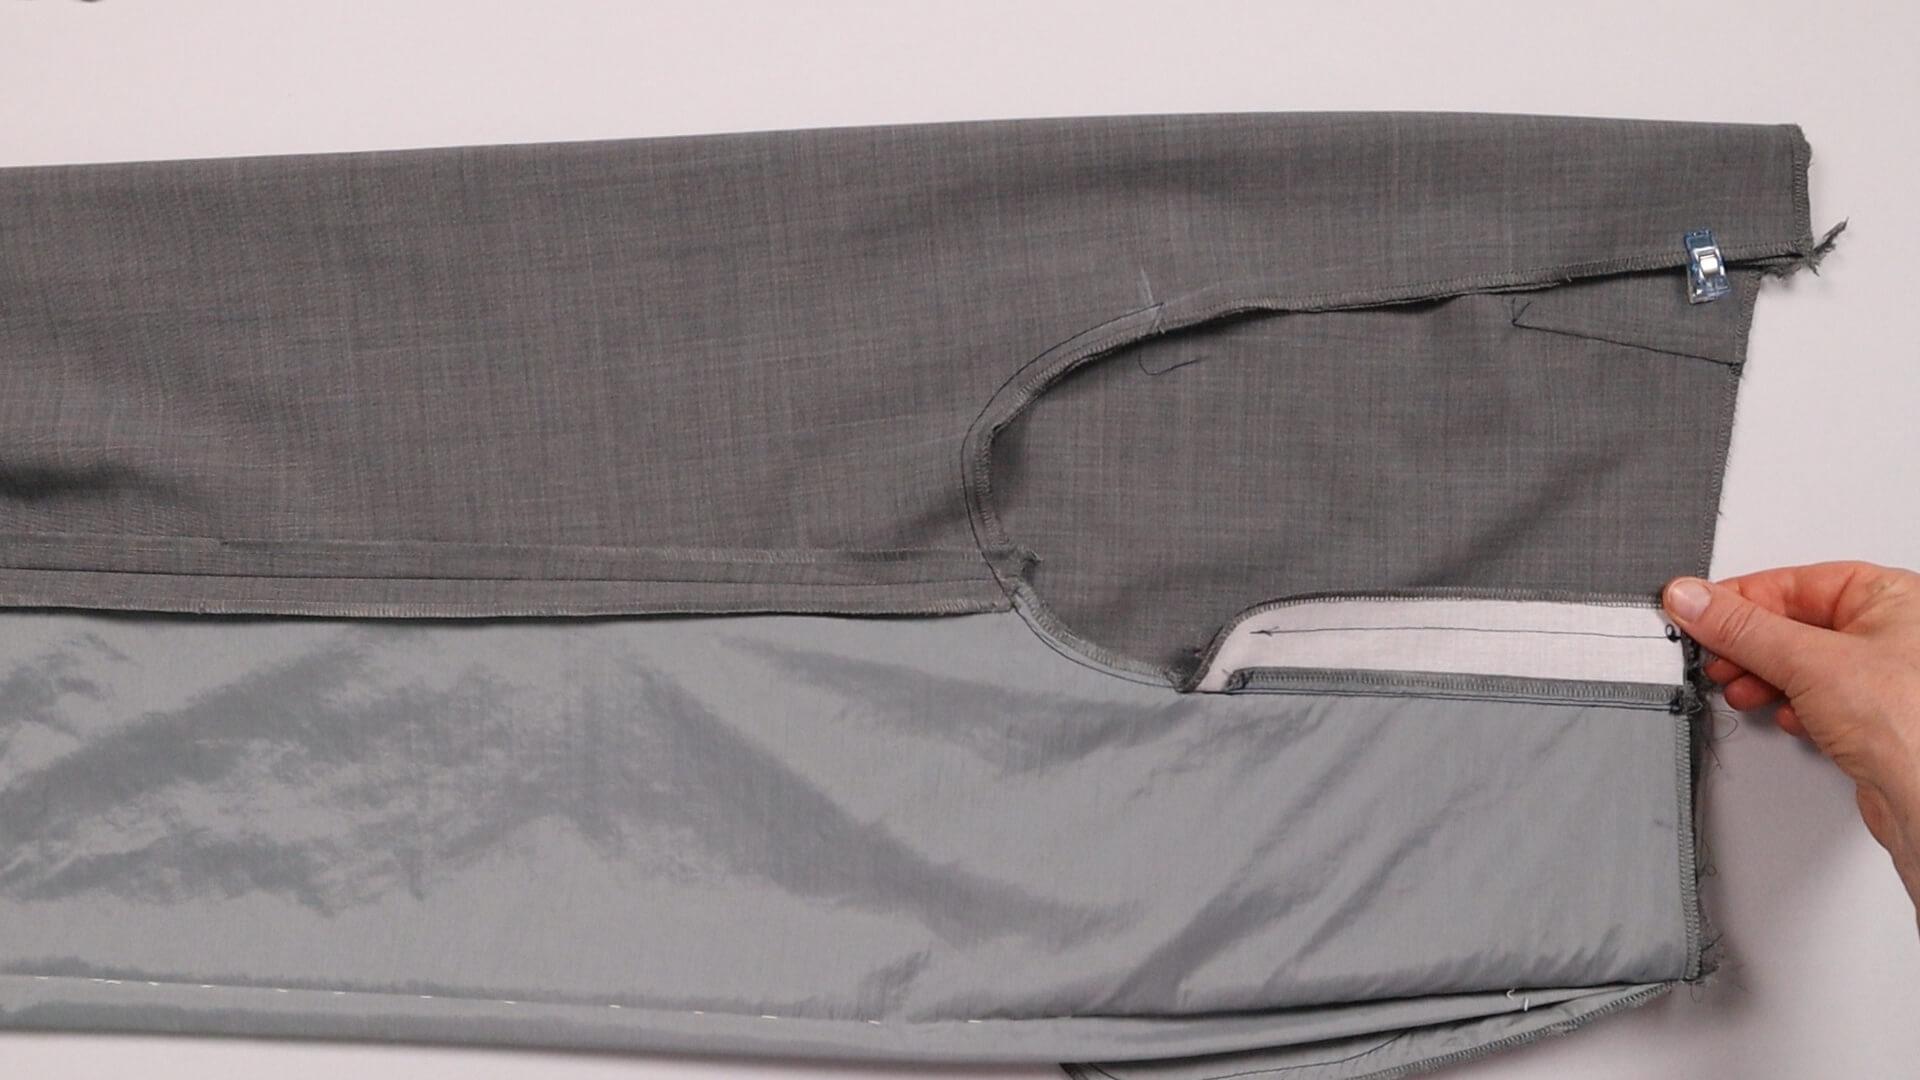
This is how the fly with zipper looks from the back.
7. Topstitch the fly with zipper
The fly facing is now topstitched under the front trousers.
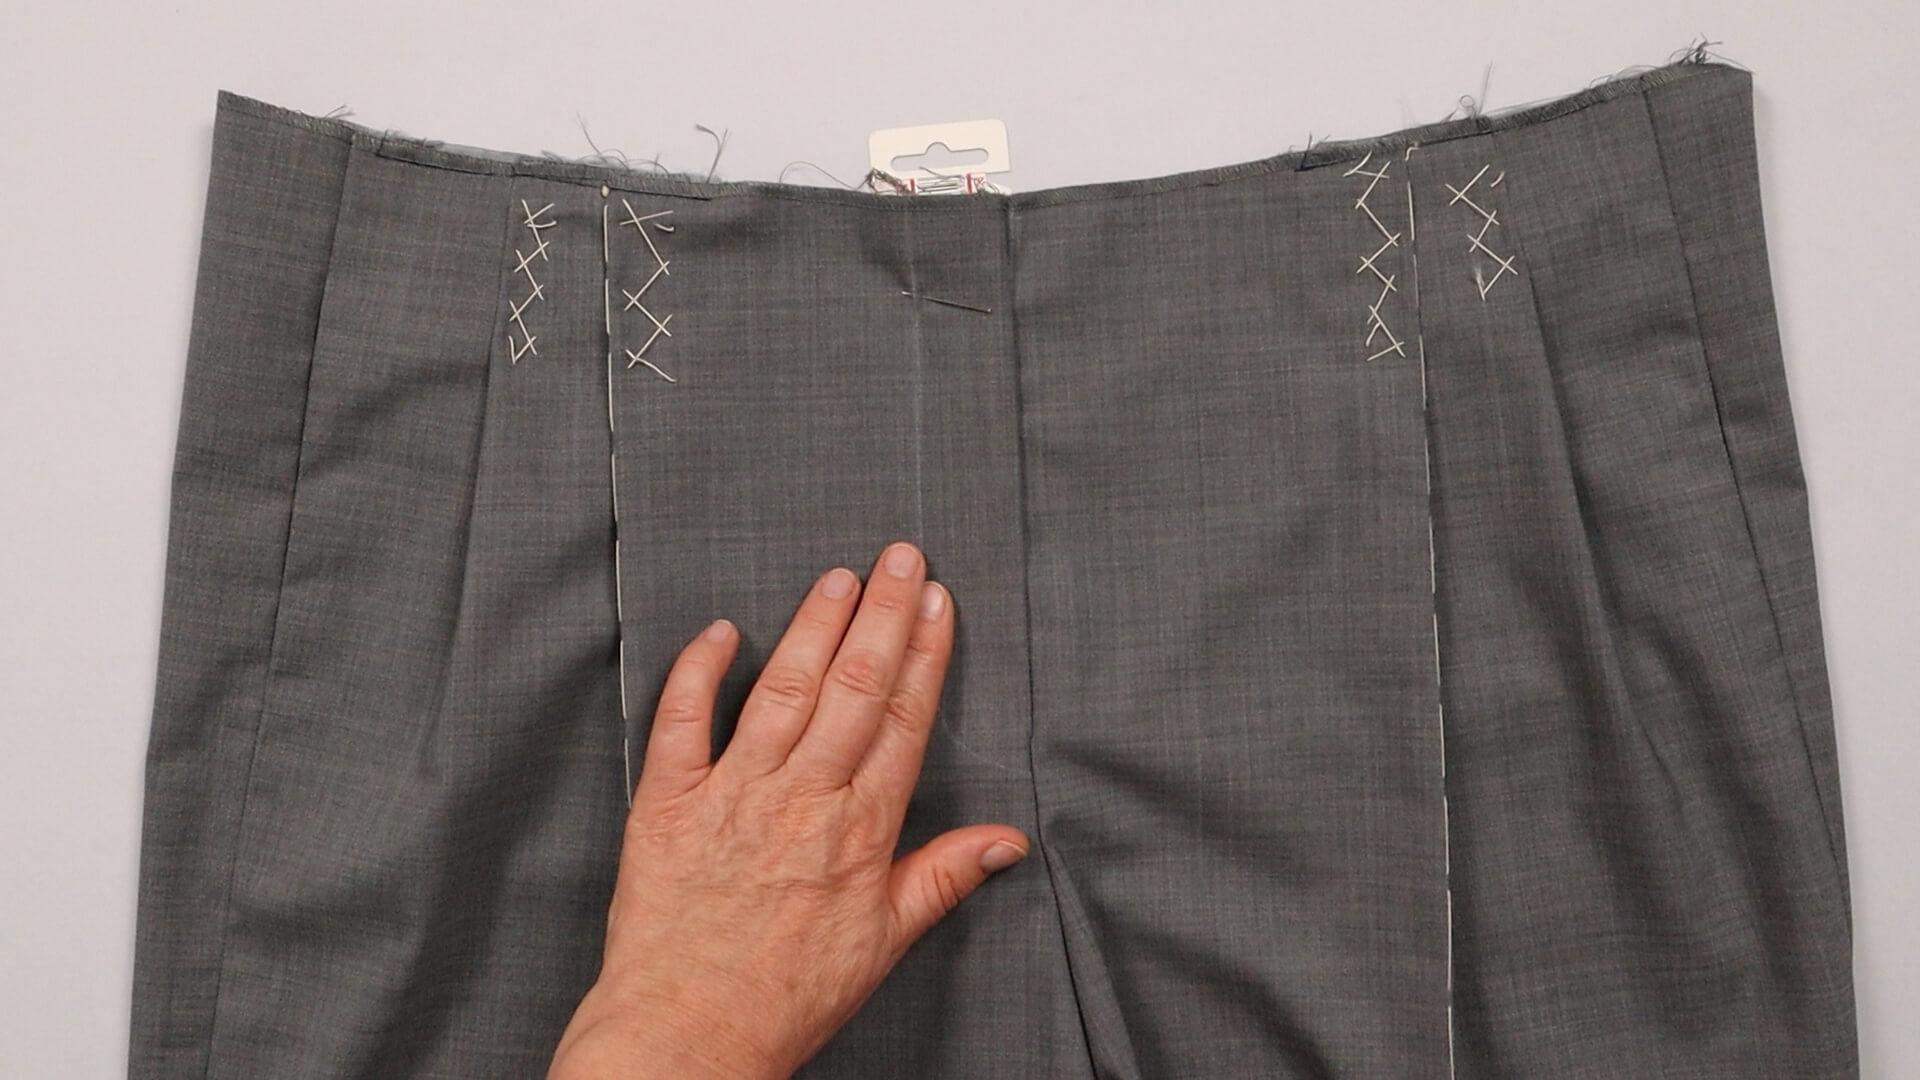
I pin fly facing and front piece togehter, placing the small ruler under the two layers to make sure to pin only these two together.
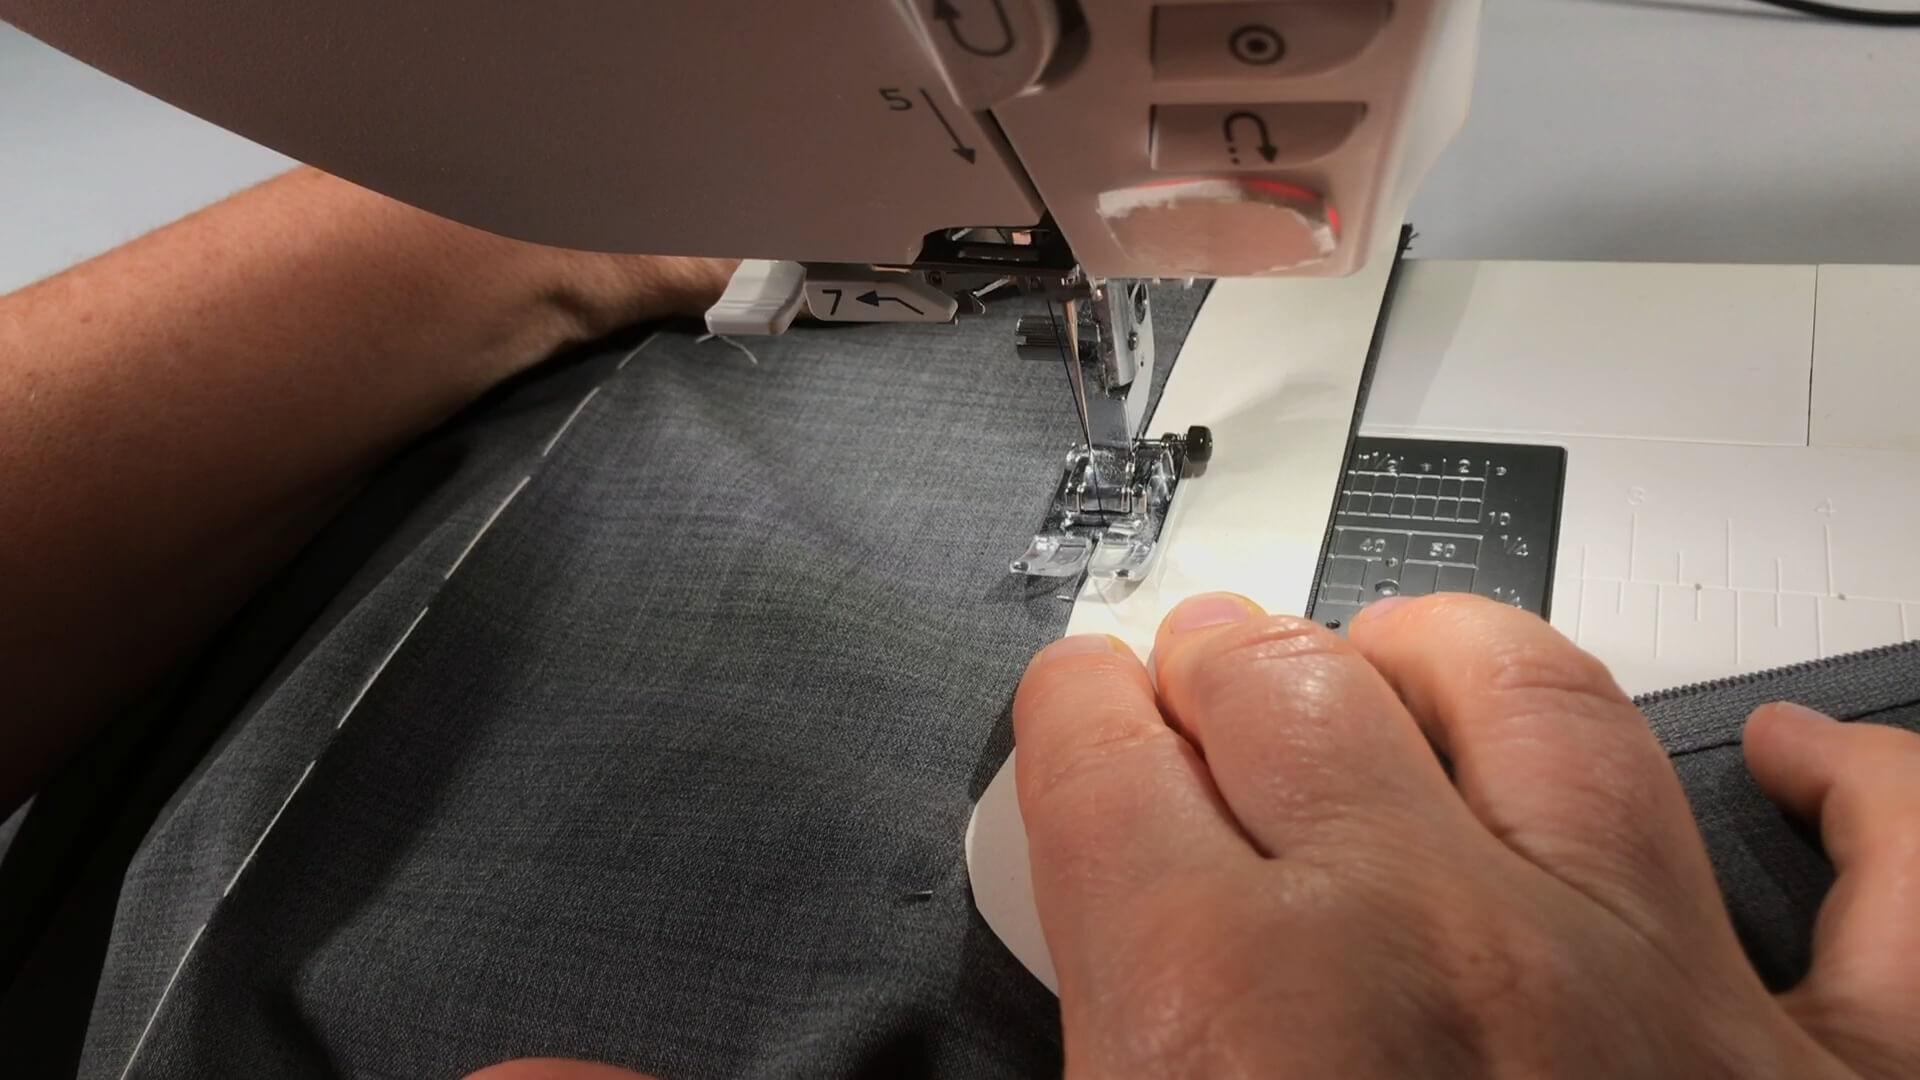
You can place the template on top of your fly and sew along it or exactly on the markings.
I start by opening the zipper so that the layers lie on top of each other as smooth as possible.
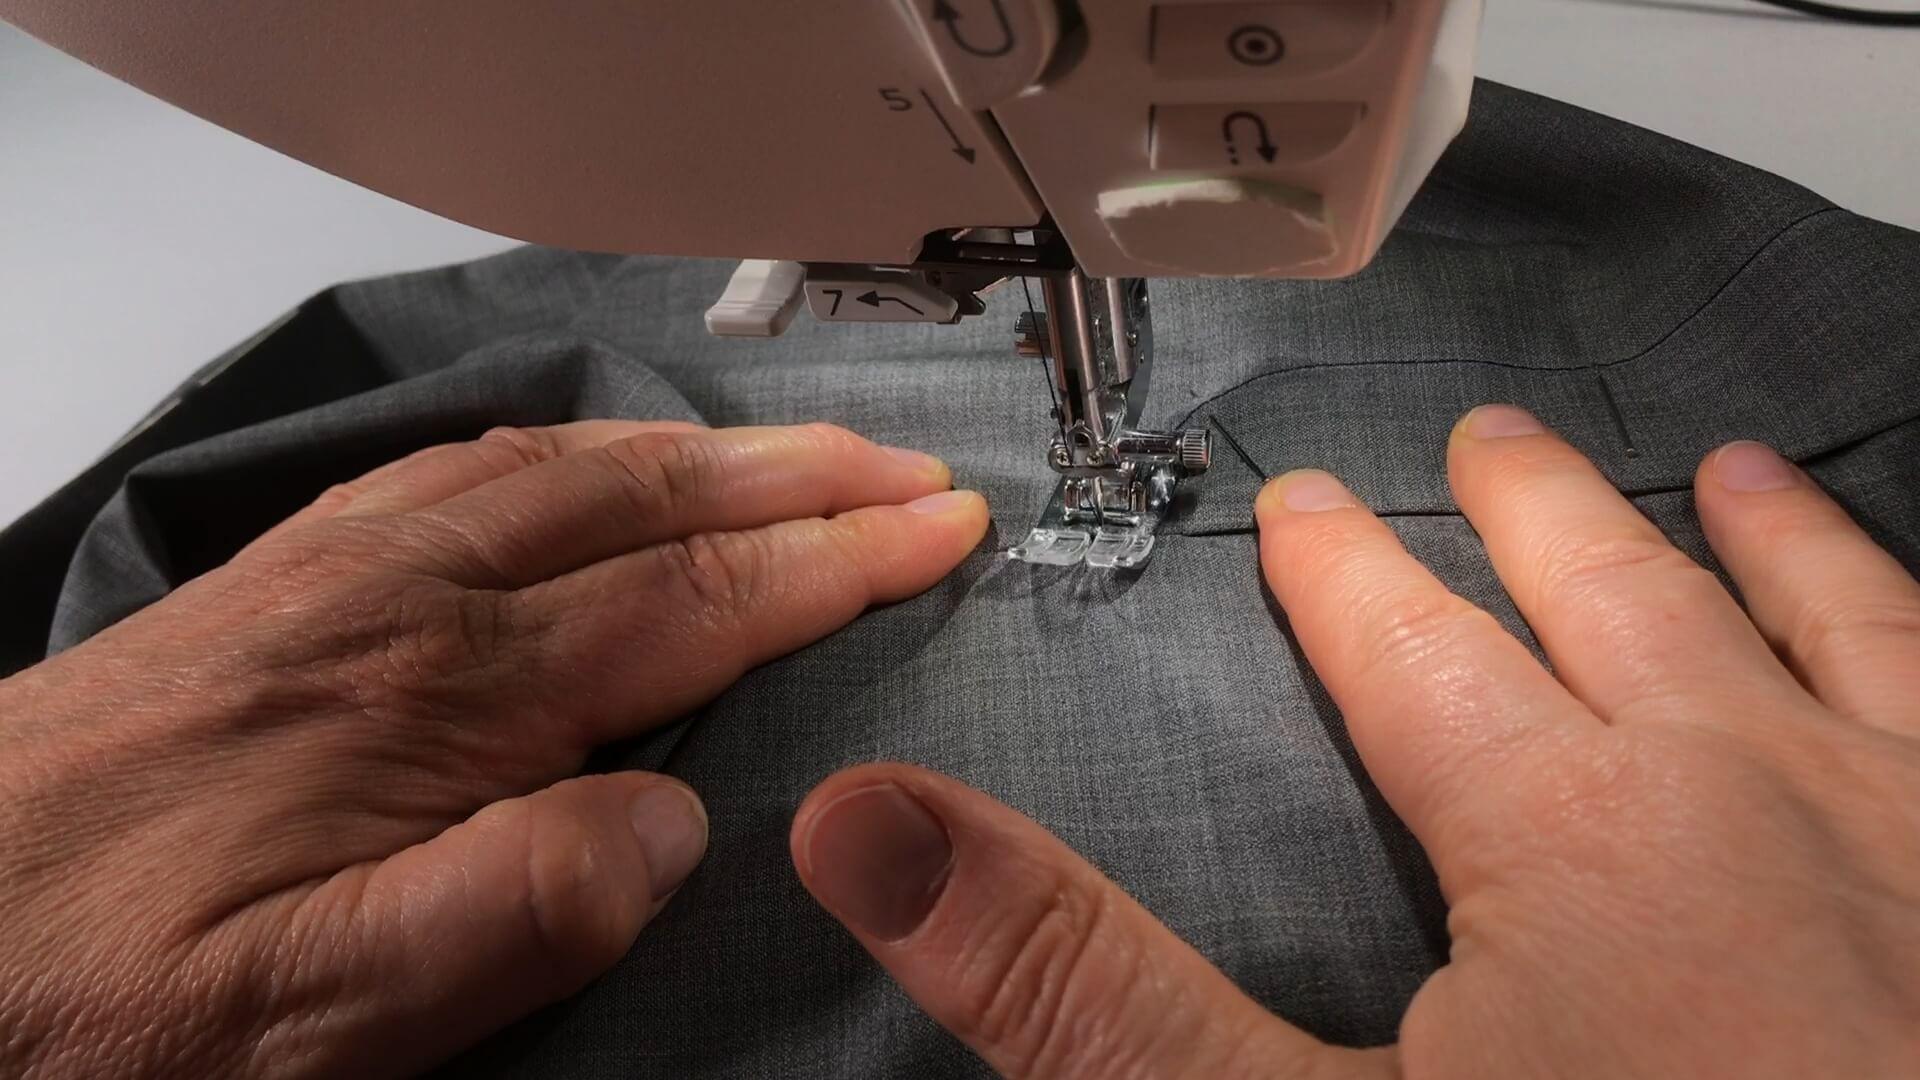
You can secure the end of the fly with a bartack. Alternatively I show hor to sew it by hand. I cut off a long thread after the last stitch and thread it into the hand sewing needle.
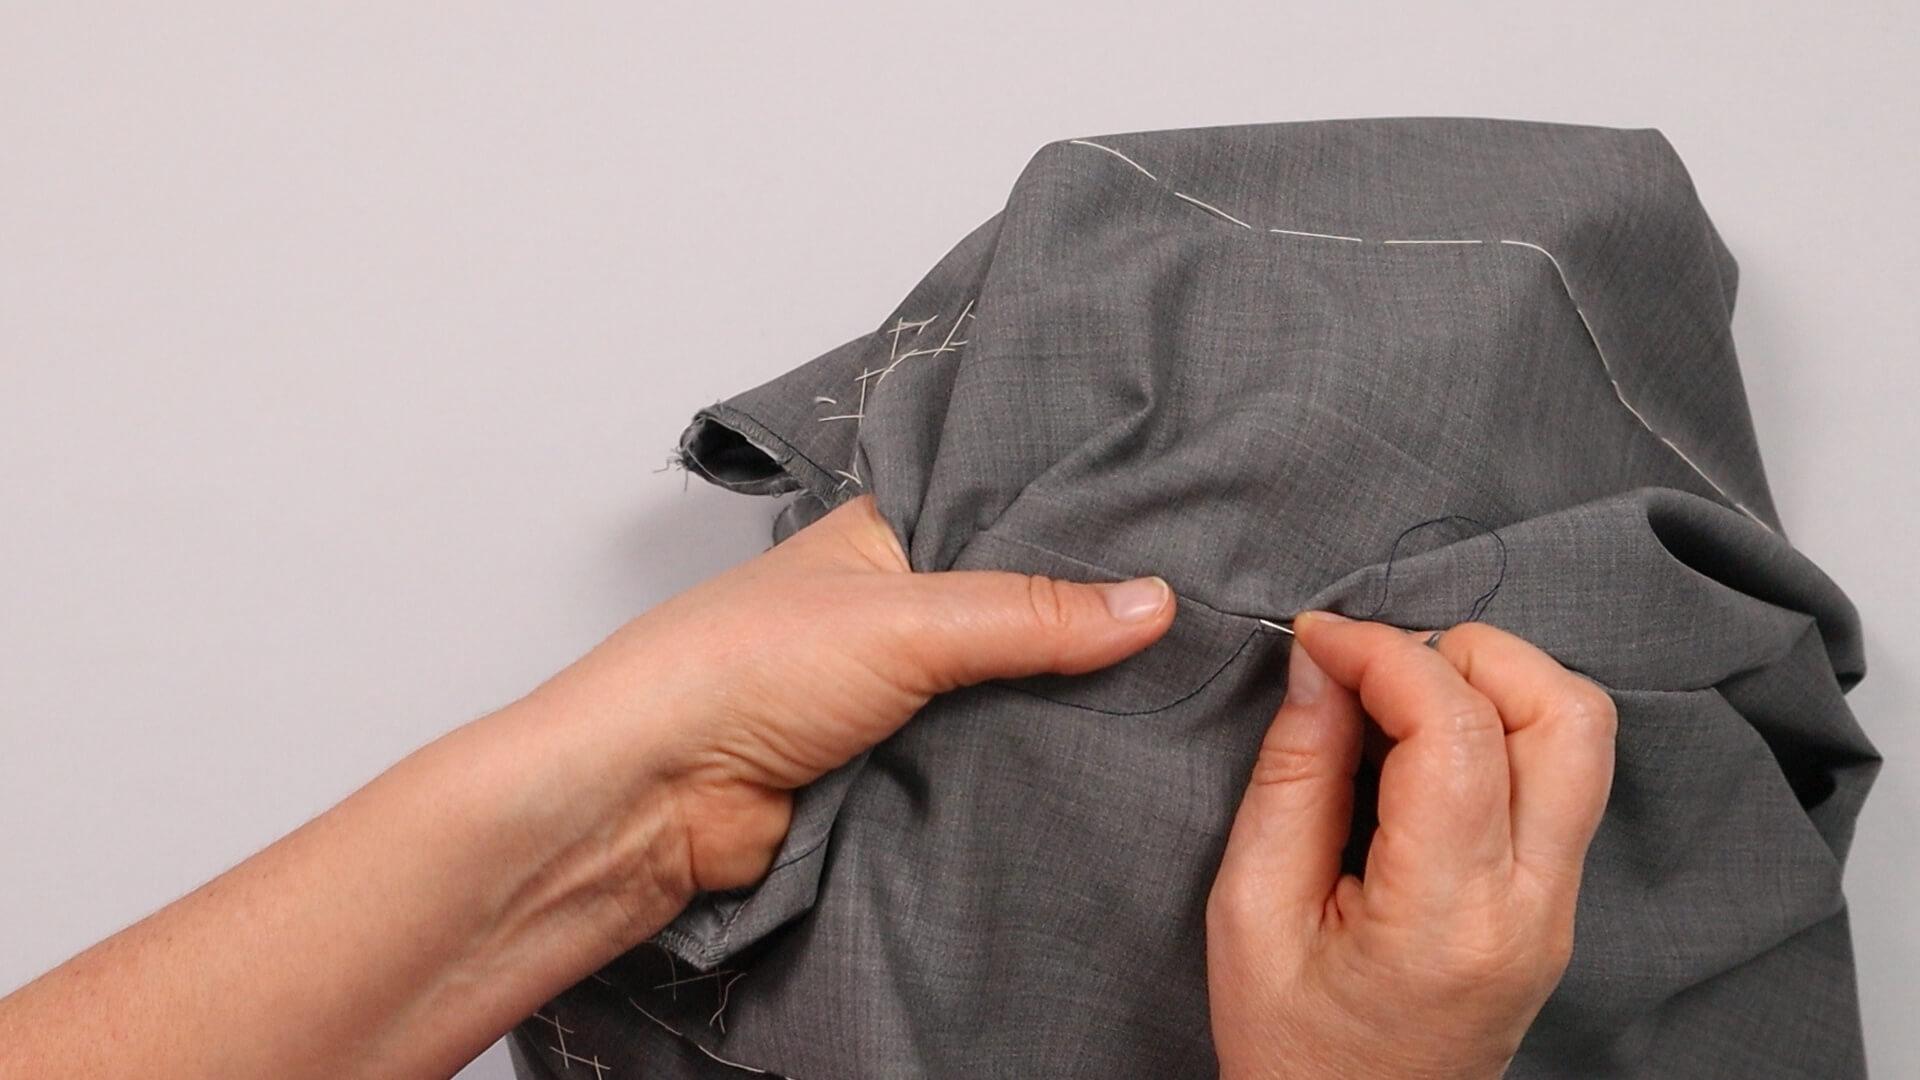
I stitch the thread to the back and come out of the fabric a few millimeters above it.
Then I put the needle back on the reverse side just behind it and repeat the steps several times until I have reached the end of the inseam.
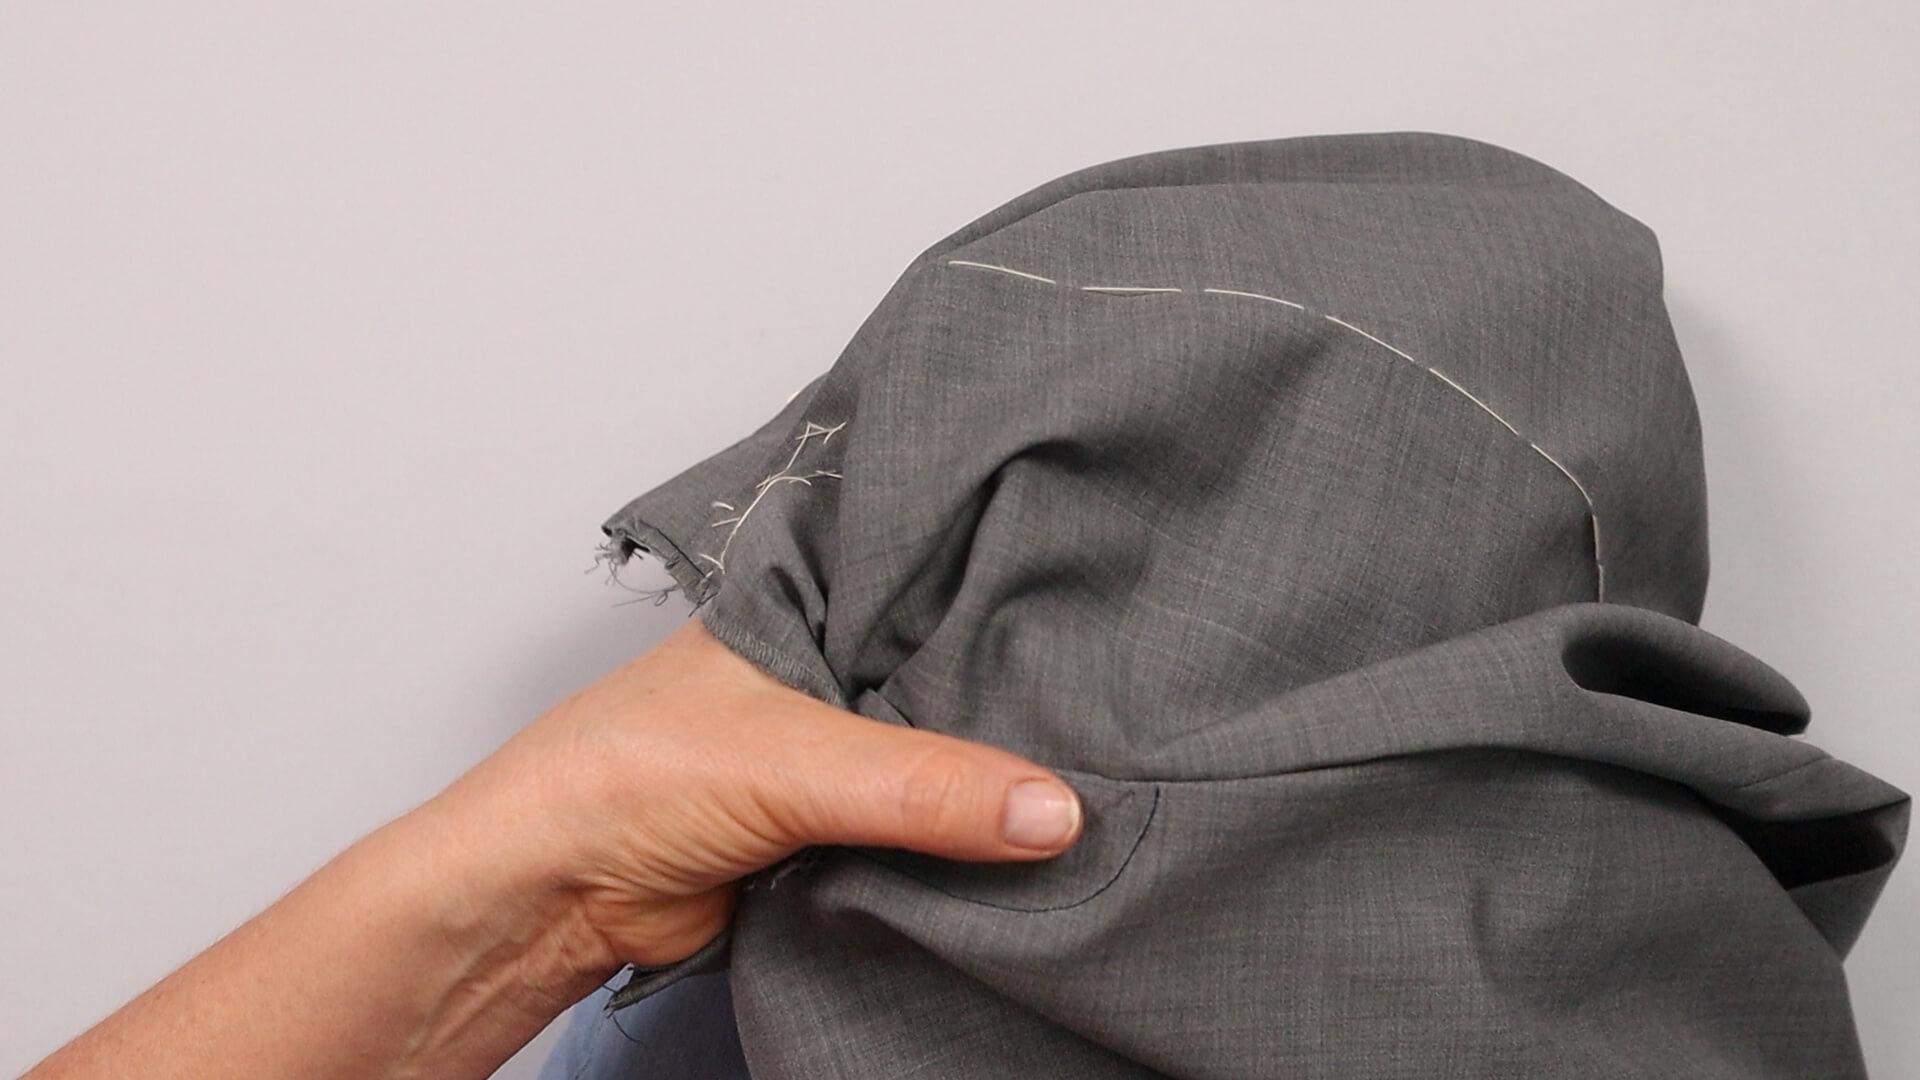
This is the so-called point stitch.
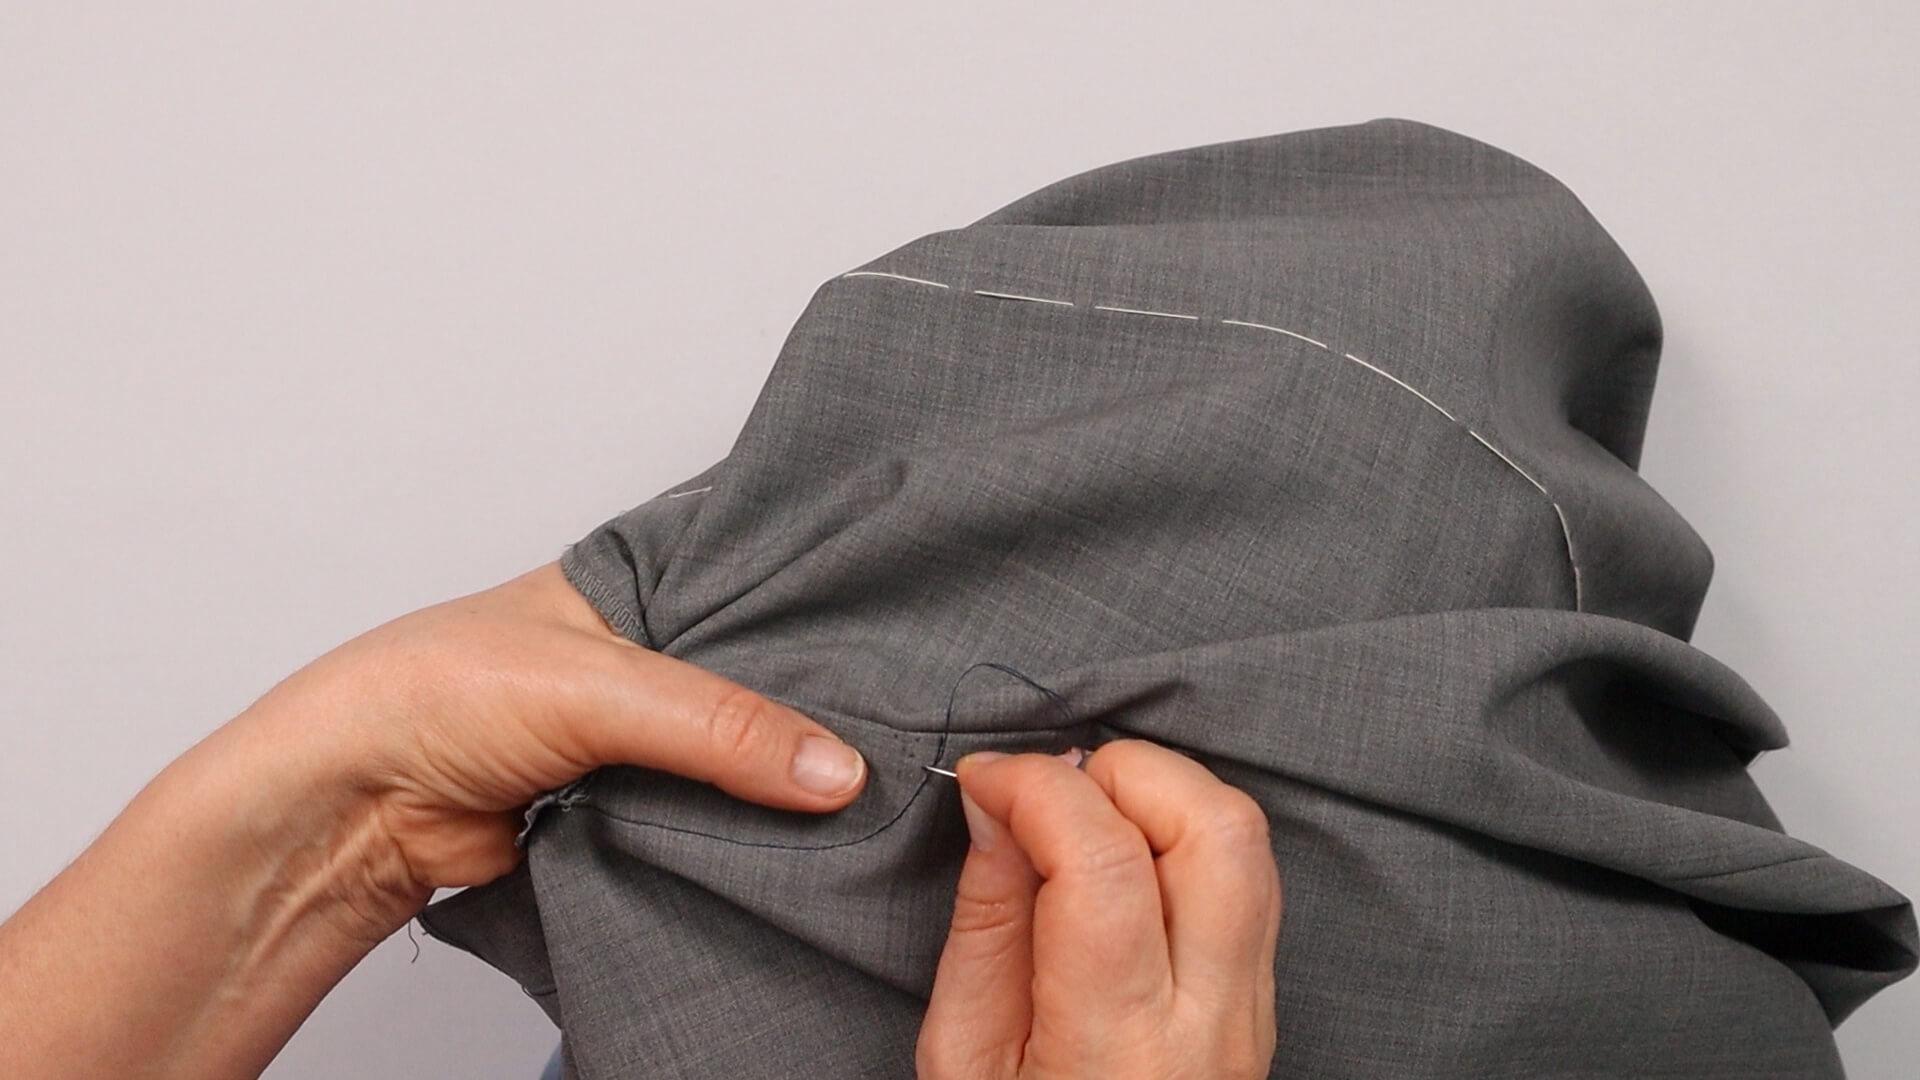
I then sew a few more stitches diagonally down to the slash stitching. The bartack is then invisible with matching colored yarn.
There are many options for designing the fly and the short crotch seam. The fly can be topstitched single or double. This also applies to the short crotch seam below the fly , which can also be left unstitched. You can work with a cross or lengthwise bartack at the end of the fly. However, you only do the latter after you have attached the fly shield.
8. Connect the fly shield
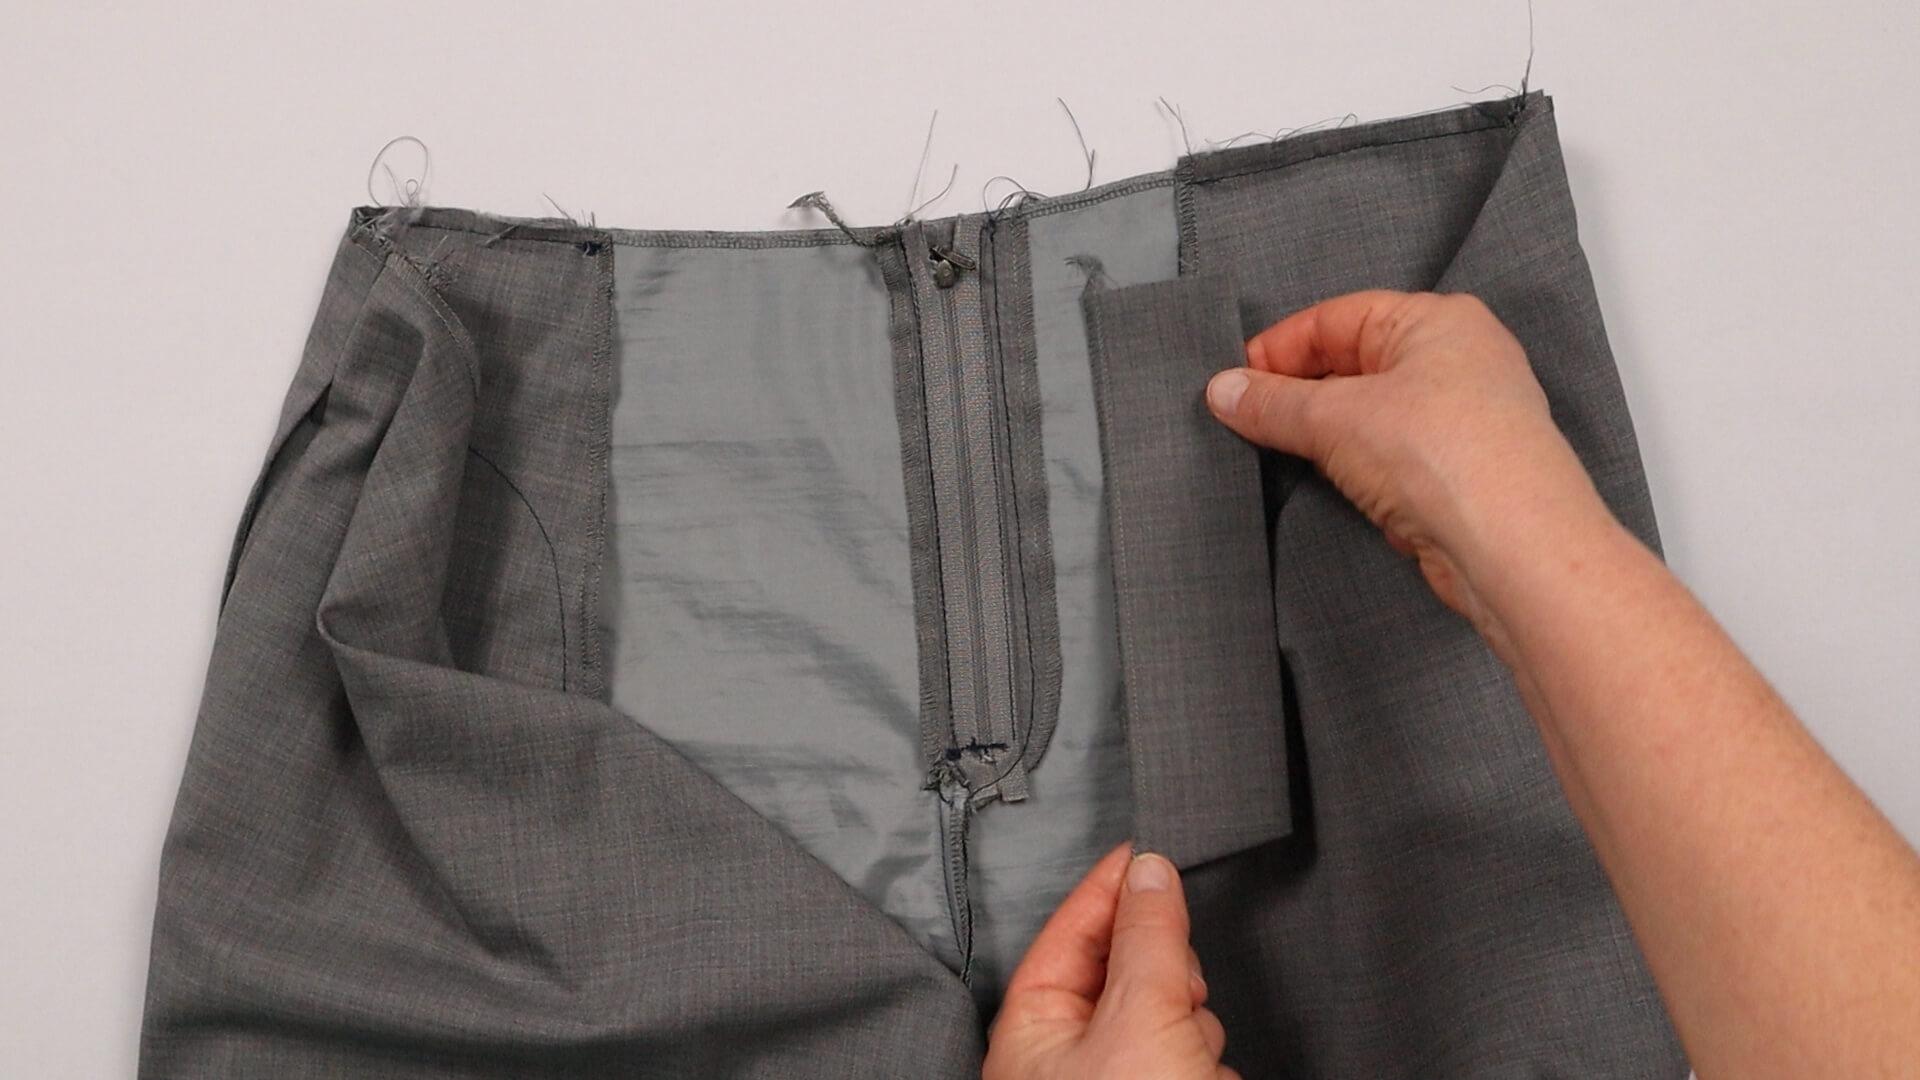
From the inside, I place the fly shield over the slit facing. Pin the serged long edge to the seam allowance of the left front piece.
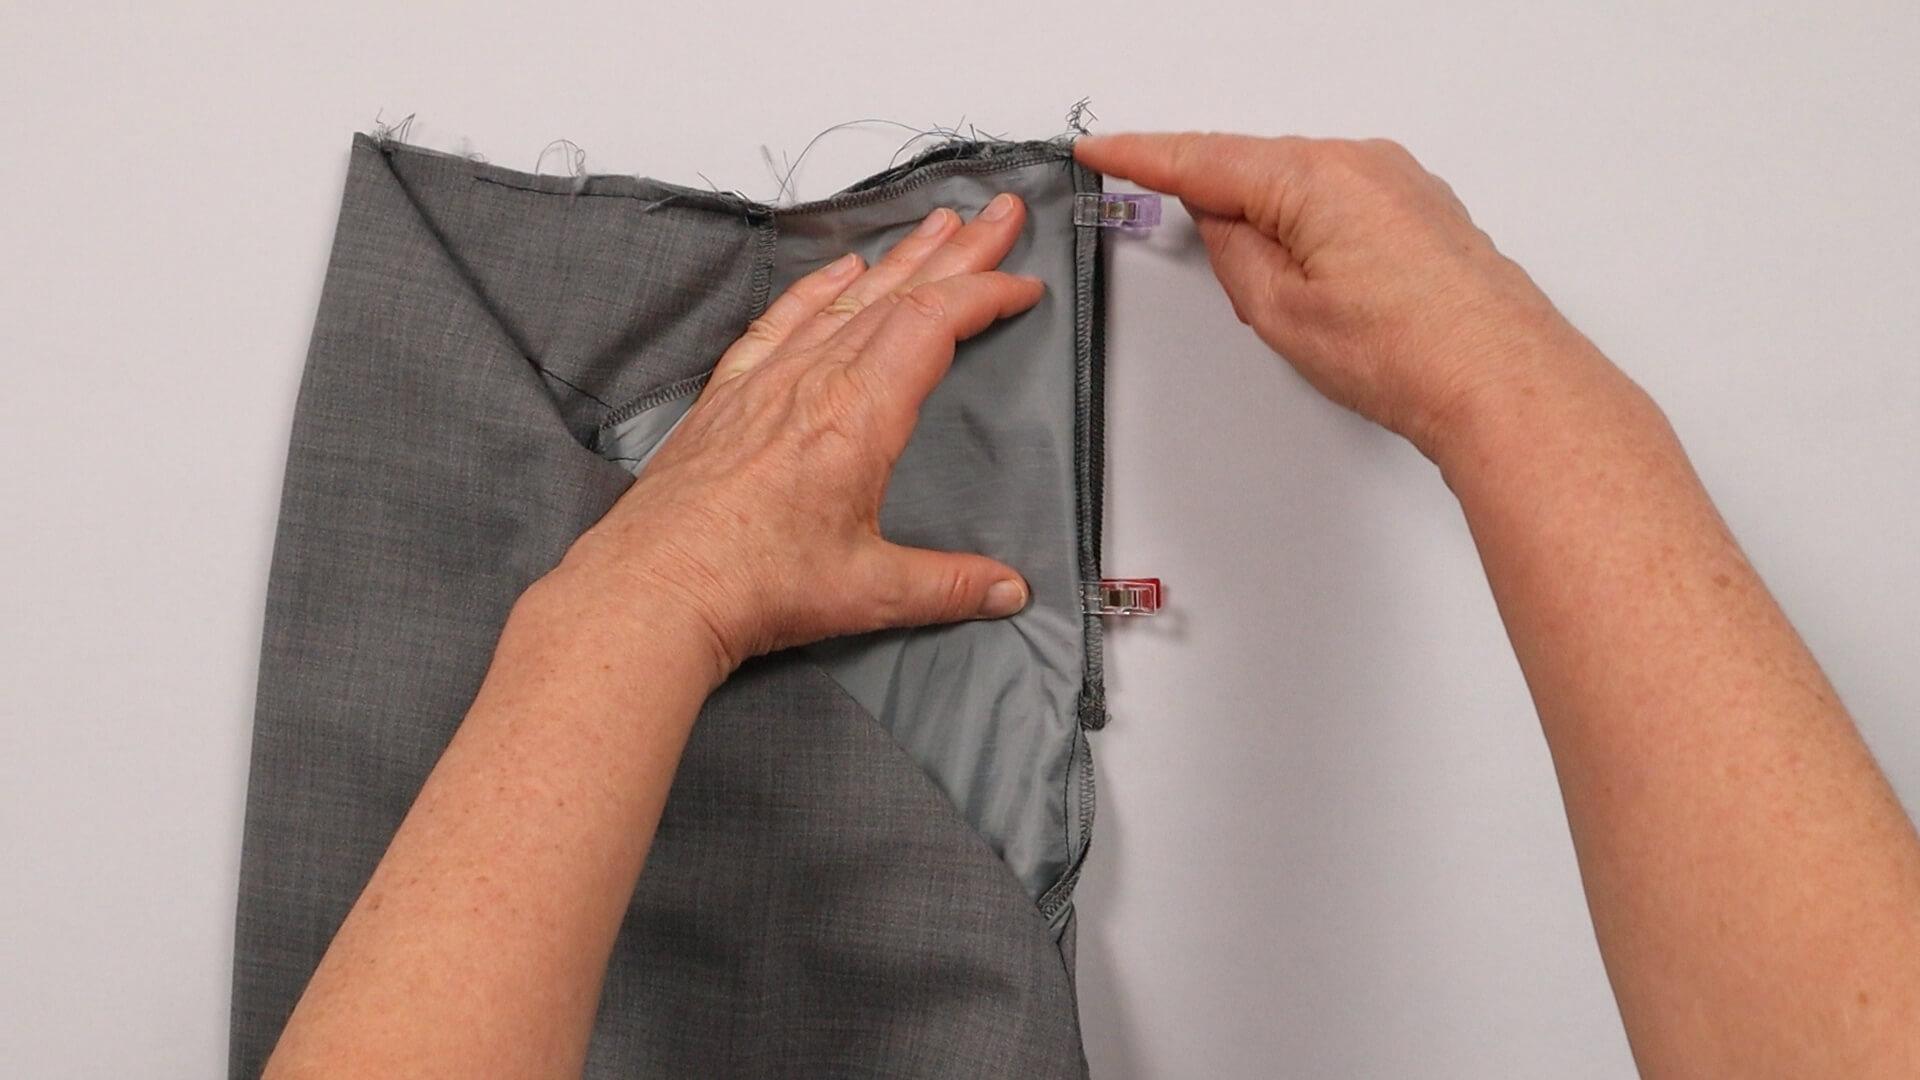
The facing can continue a few millimeters beyond the seam allowance.
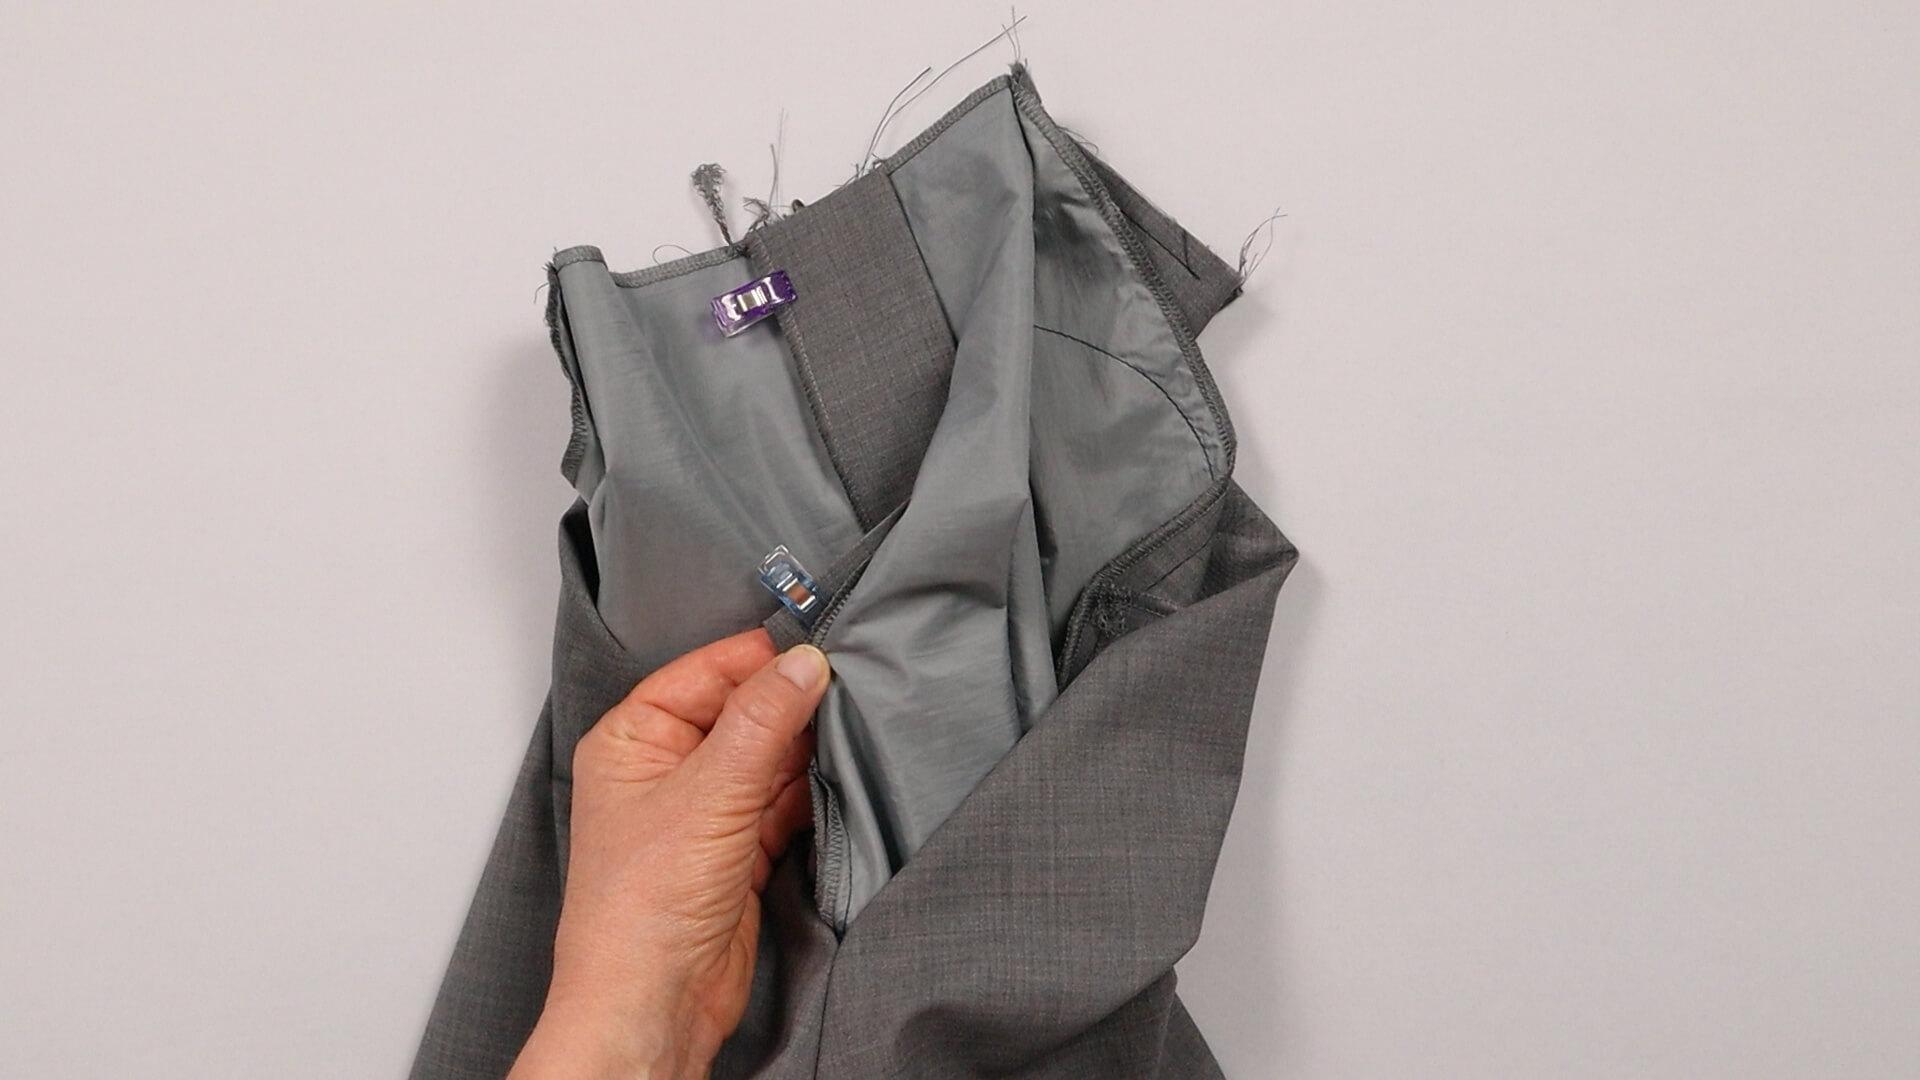
On the opposite side of the fly, I pin the fly shield to the bottom of the fly facing.
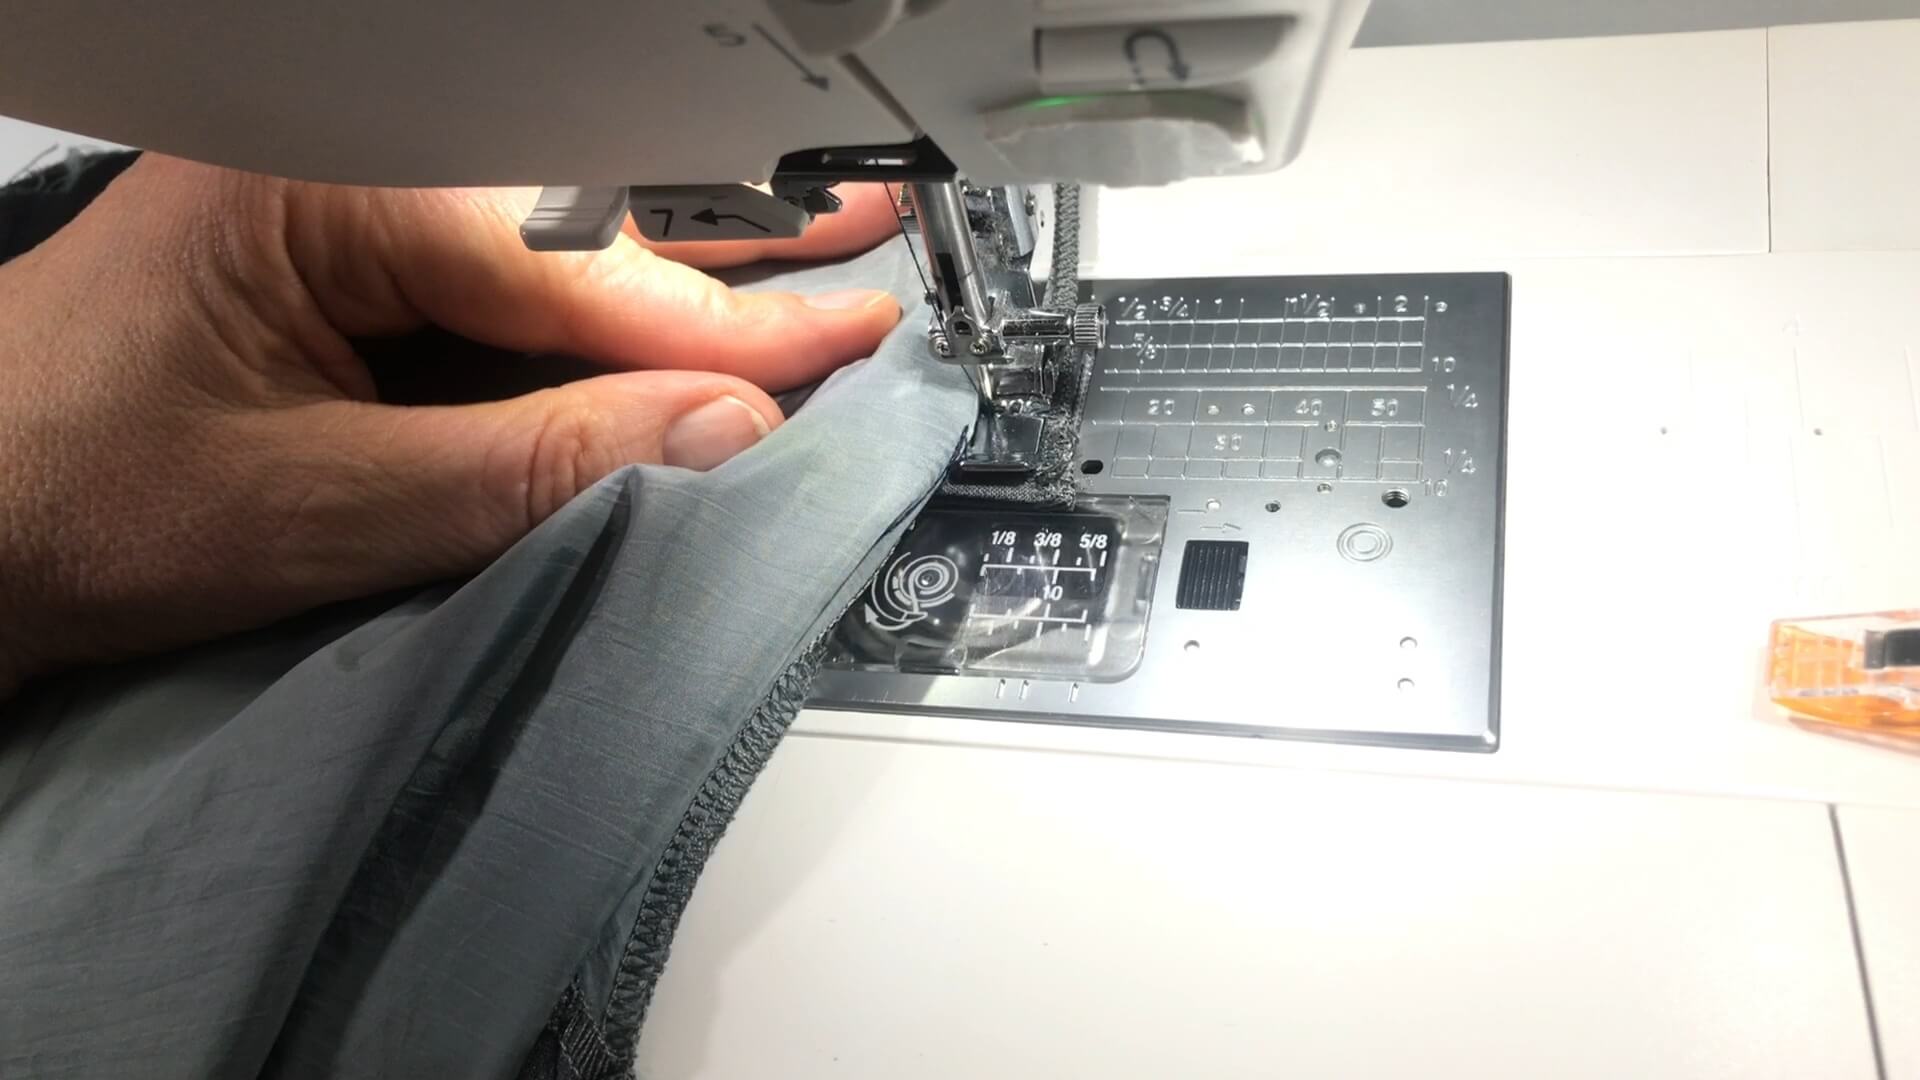
Then I sew the bottom of the fly shield to the seam allowance of the fly facing. I use a zipper foot so I can stitch close to the seam.
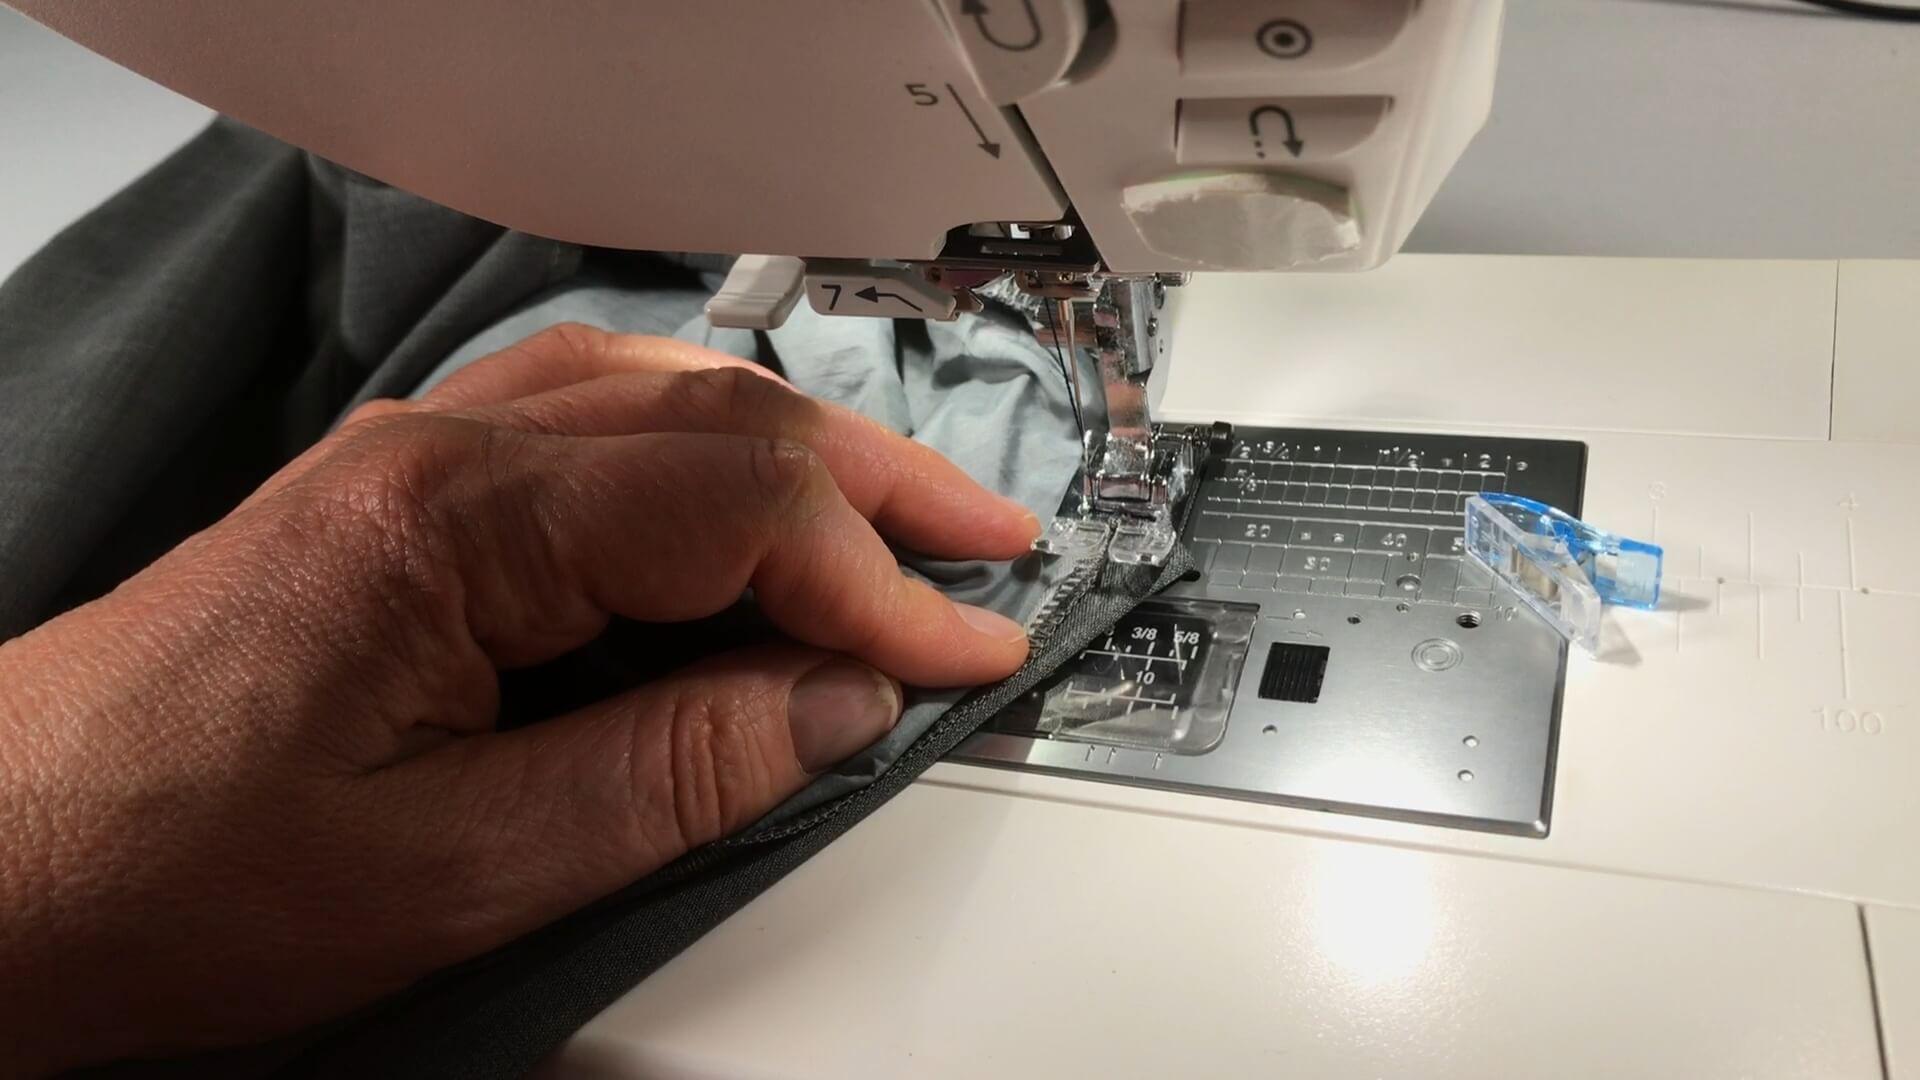
Then I join the fly shield and fly facing with a short seam or bar tack.
fly bartack
As described above, the fly end can be secured with a bartack. I use a narrow zigzag stitch with a stitch width of 1.5 mm and a stitch length of 0.4 mm. I try it out on a scrap piece before sewing it onto the trousers.
9. Finished fly with zipper
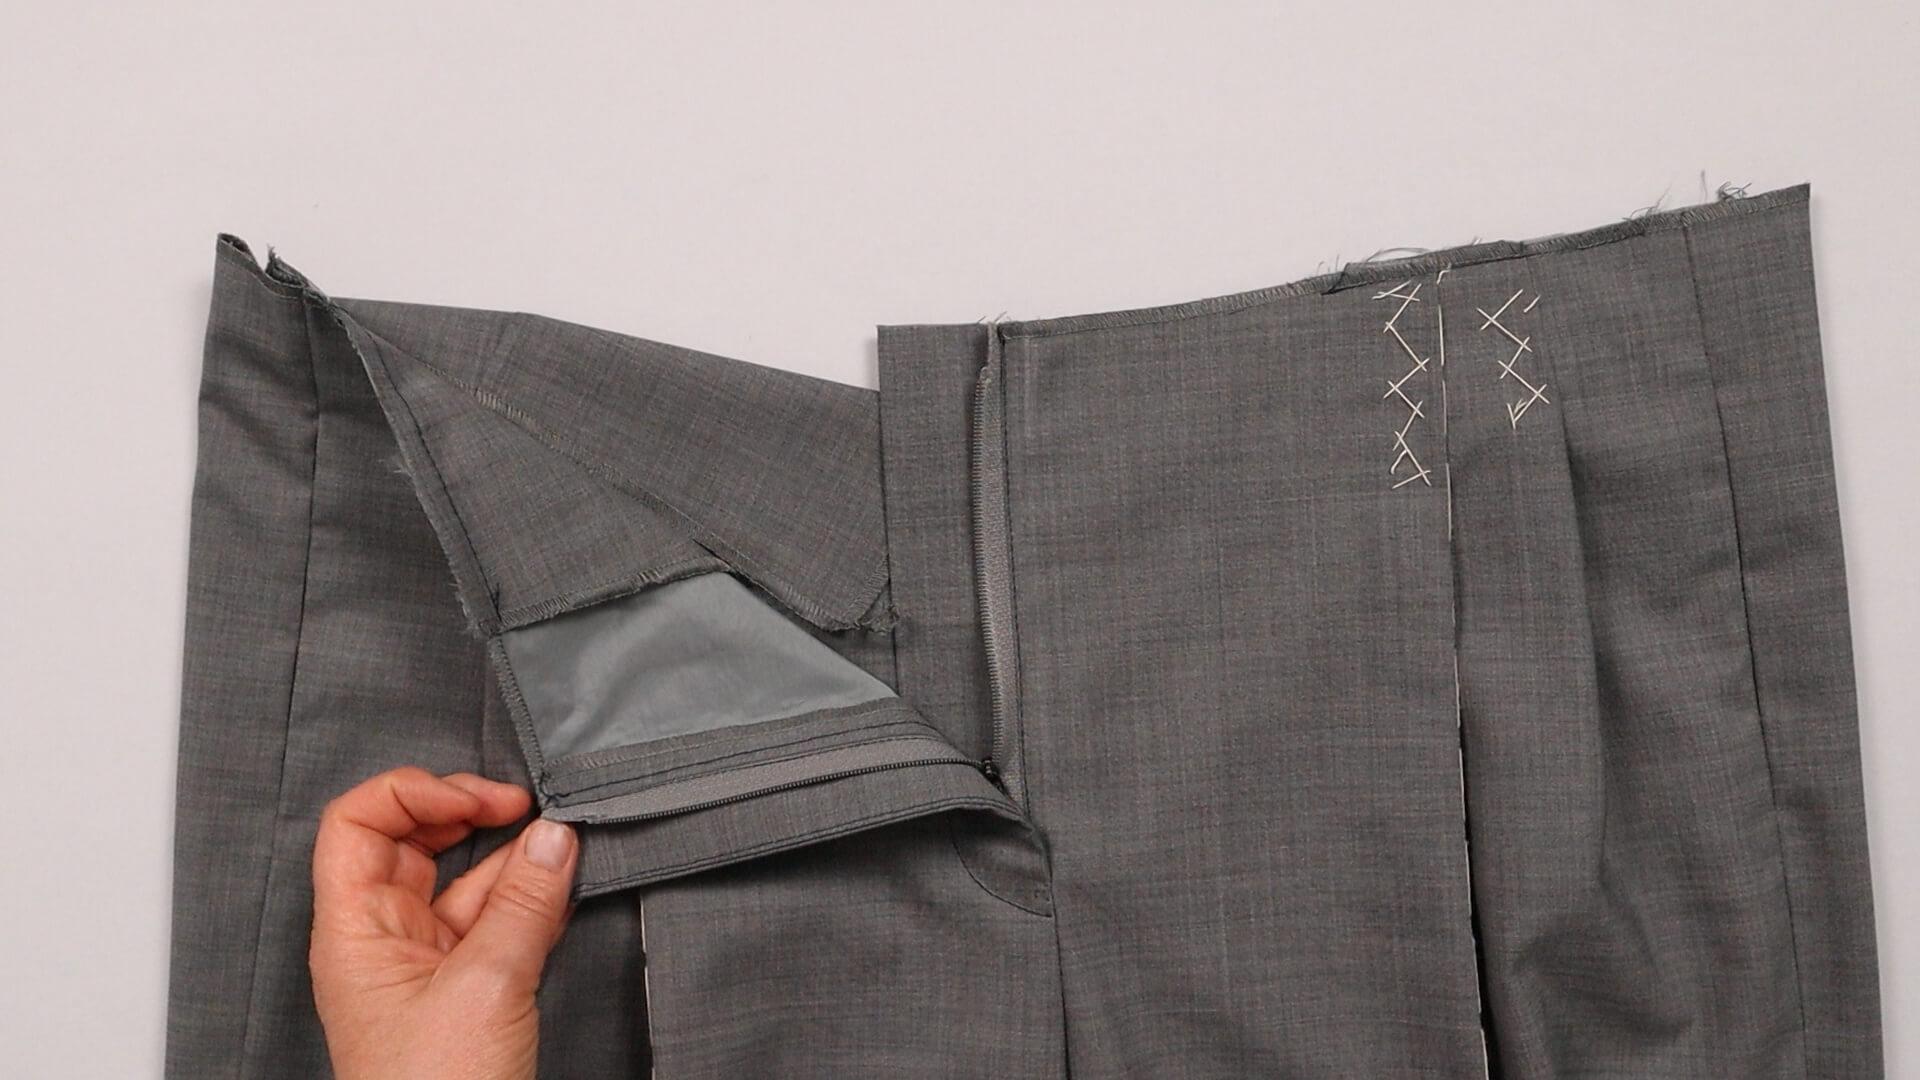
This is what the finished fly with zipper looks like from the outside.
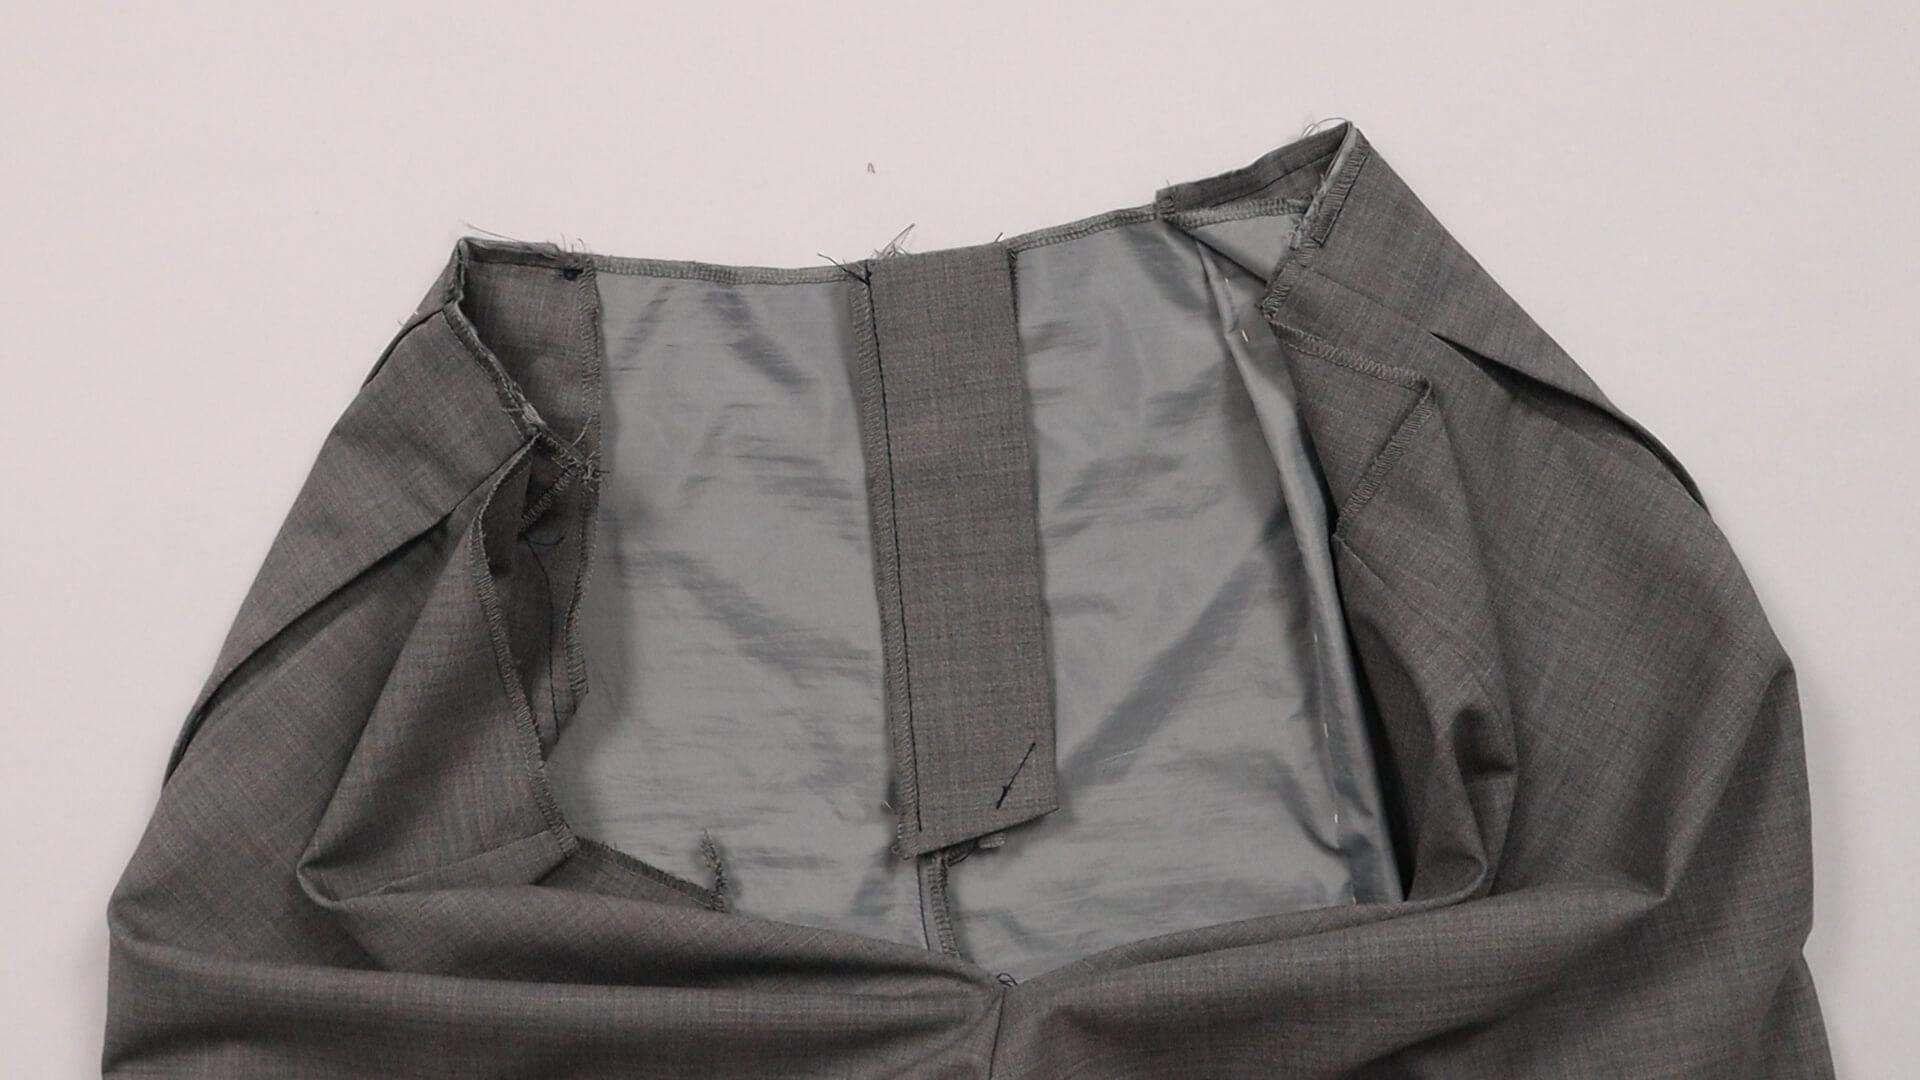
Here you can see the finished inside view.
Here you will find the link to the next step:
If you’re not quite ready yet and perhaps want to start at the beginning, you’ll find some links here:


