Sew leg seams and blind hem #BE04
In the following instructions I will show you step by step how to sew leg seams and a blind hem on trousers. I finish both trouser legs separately before closing the crotch and seat seams. Pockets on the back and front of the trousers should already be sewn in at this stage. If you have configured your trousers with inseam pockets, the side seams are already closed.
1. This is required
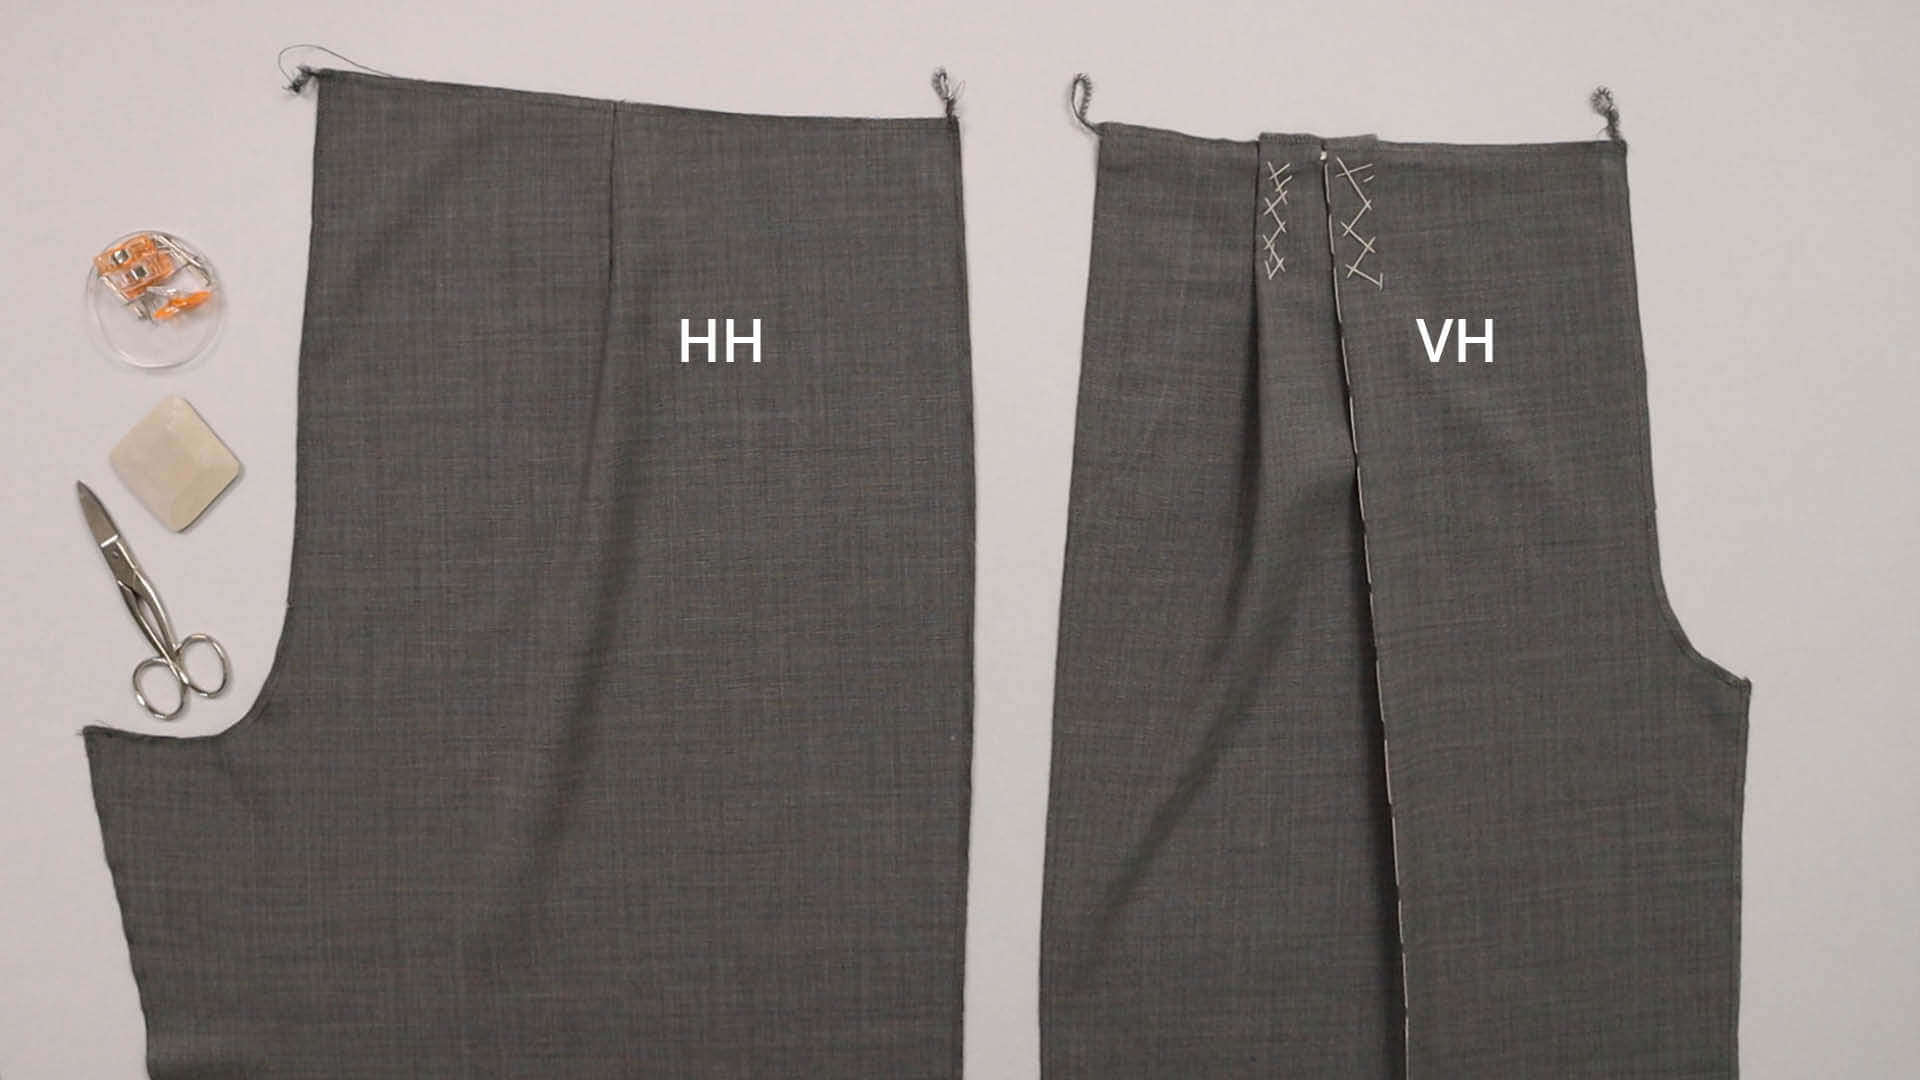
Pattern pieces made from main fabric:
- the prepared hind trousers (HH) – 1 pair
- the prepared front trousers (VH)- 1 pair
Tools and aids:
- pins or clips
- scissors
- Chalk or fabric marker
- long ruler
- matching sewing thread and hand sewing needle
2. Iron the back trousers into shape
If you have already ironed your back trousers into shape when trying them on, you can go straight on to the next step.
You can find the ironing instructions in here in step 3.
3. Close the outer leg seam
If you are sewing your trousers with inseam pockets and the outer leg seams are already closed, continue with step 4.
If your trousers do not have a knee lining, you must first neaten the inside and outside edges of the legs, the top edge and the crotch seam before closing the leg seams. First cut back the front edge of the front trousers part to which the fly facing will later be sewn, according to the marking in the pattern.
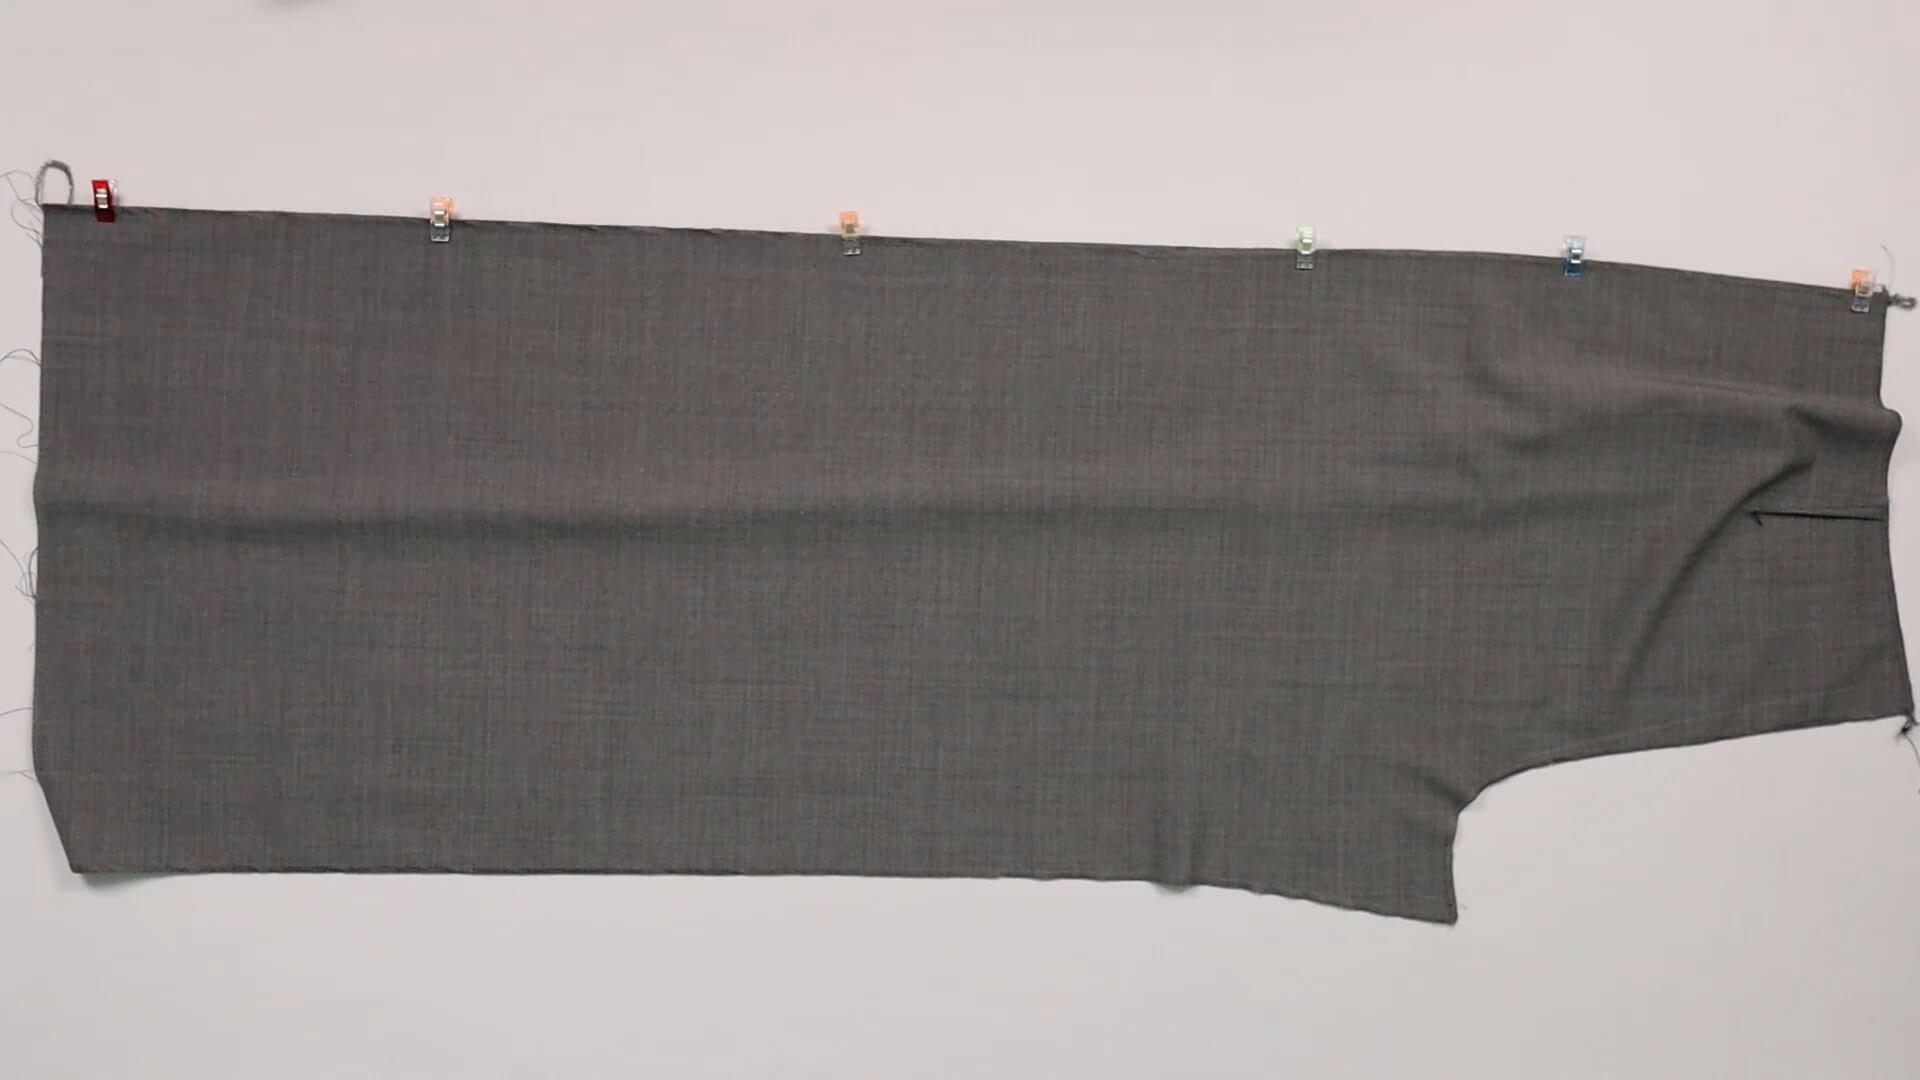
I place the front and back trousers right sides together and pin it in place, side seams aligning.
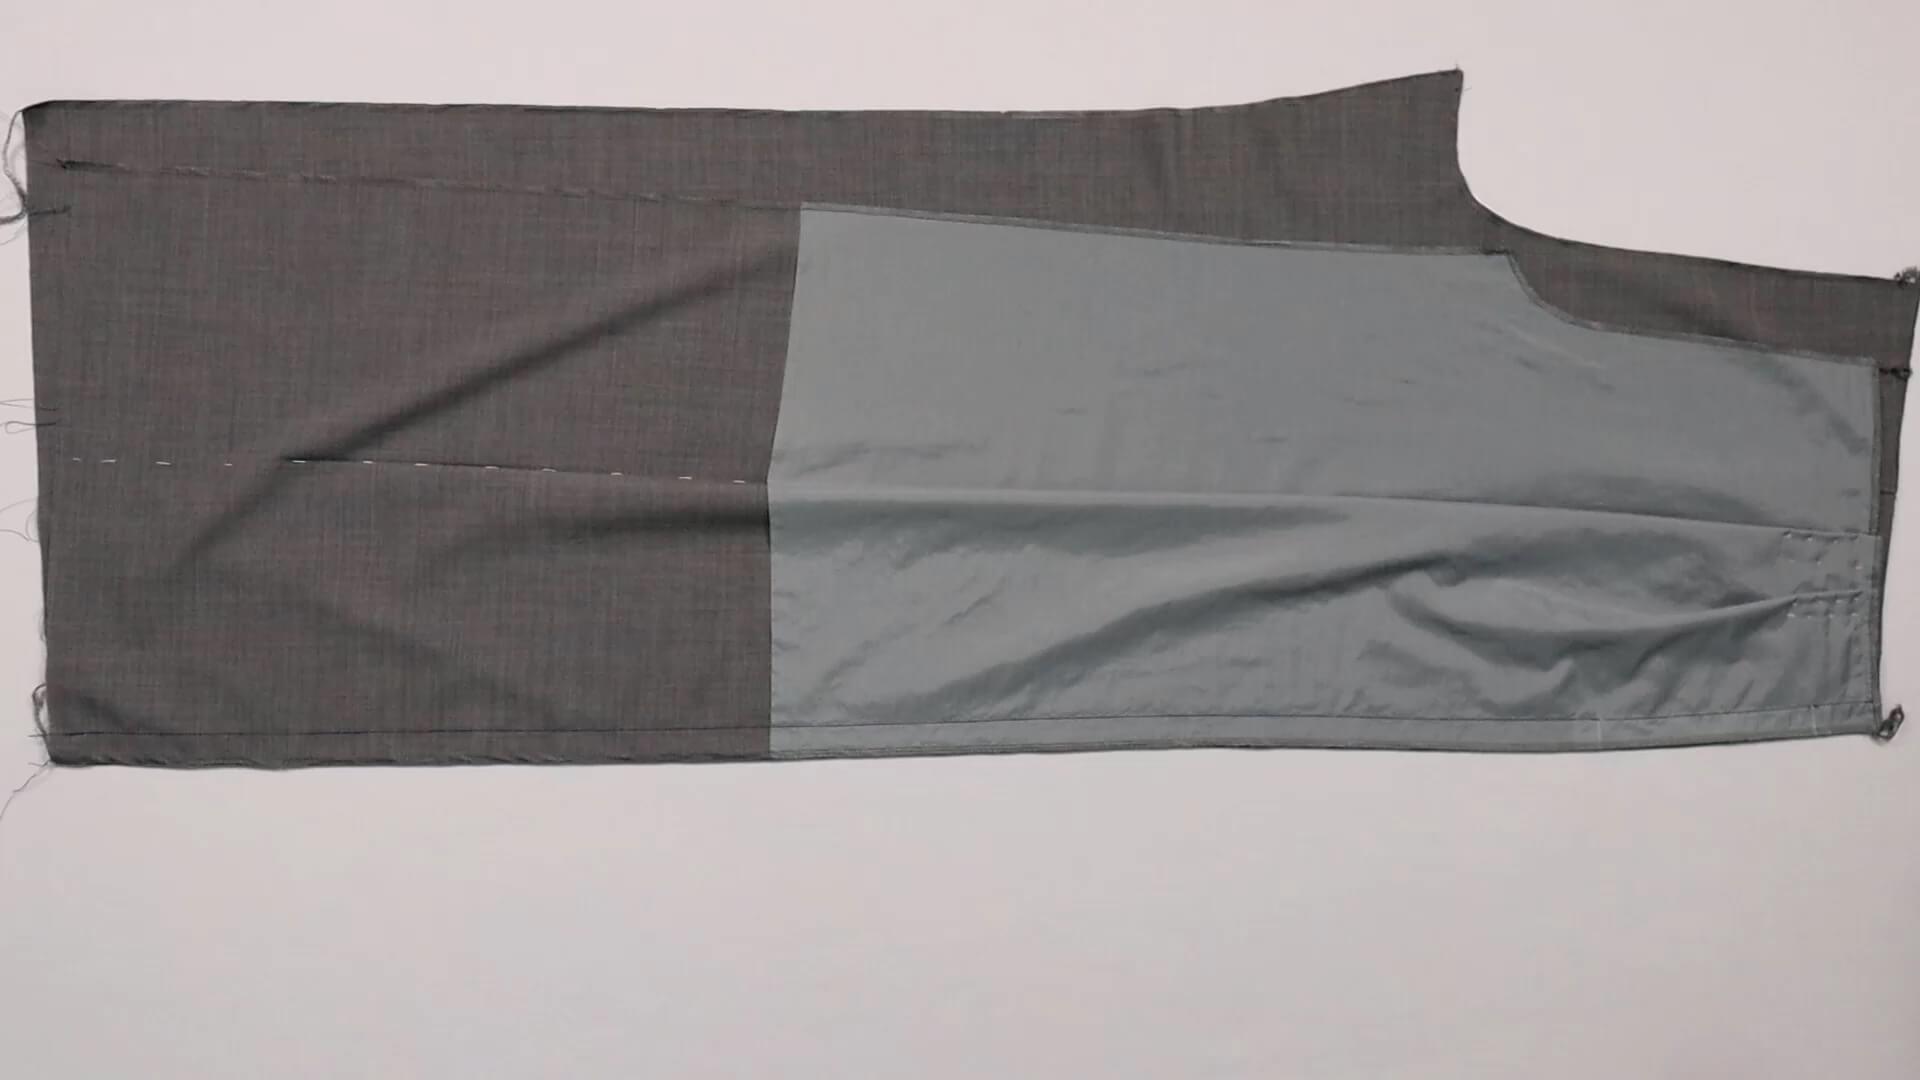
Then I sew the side seam. Pay attention to the correct seam allowance indicatend on the the pattern.
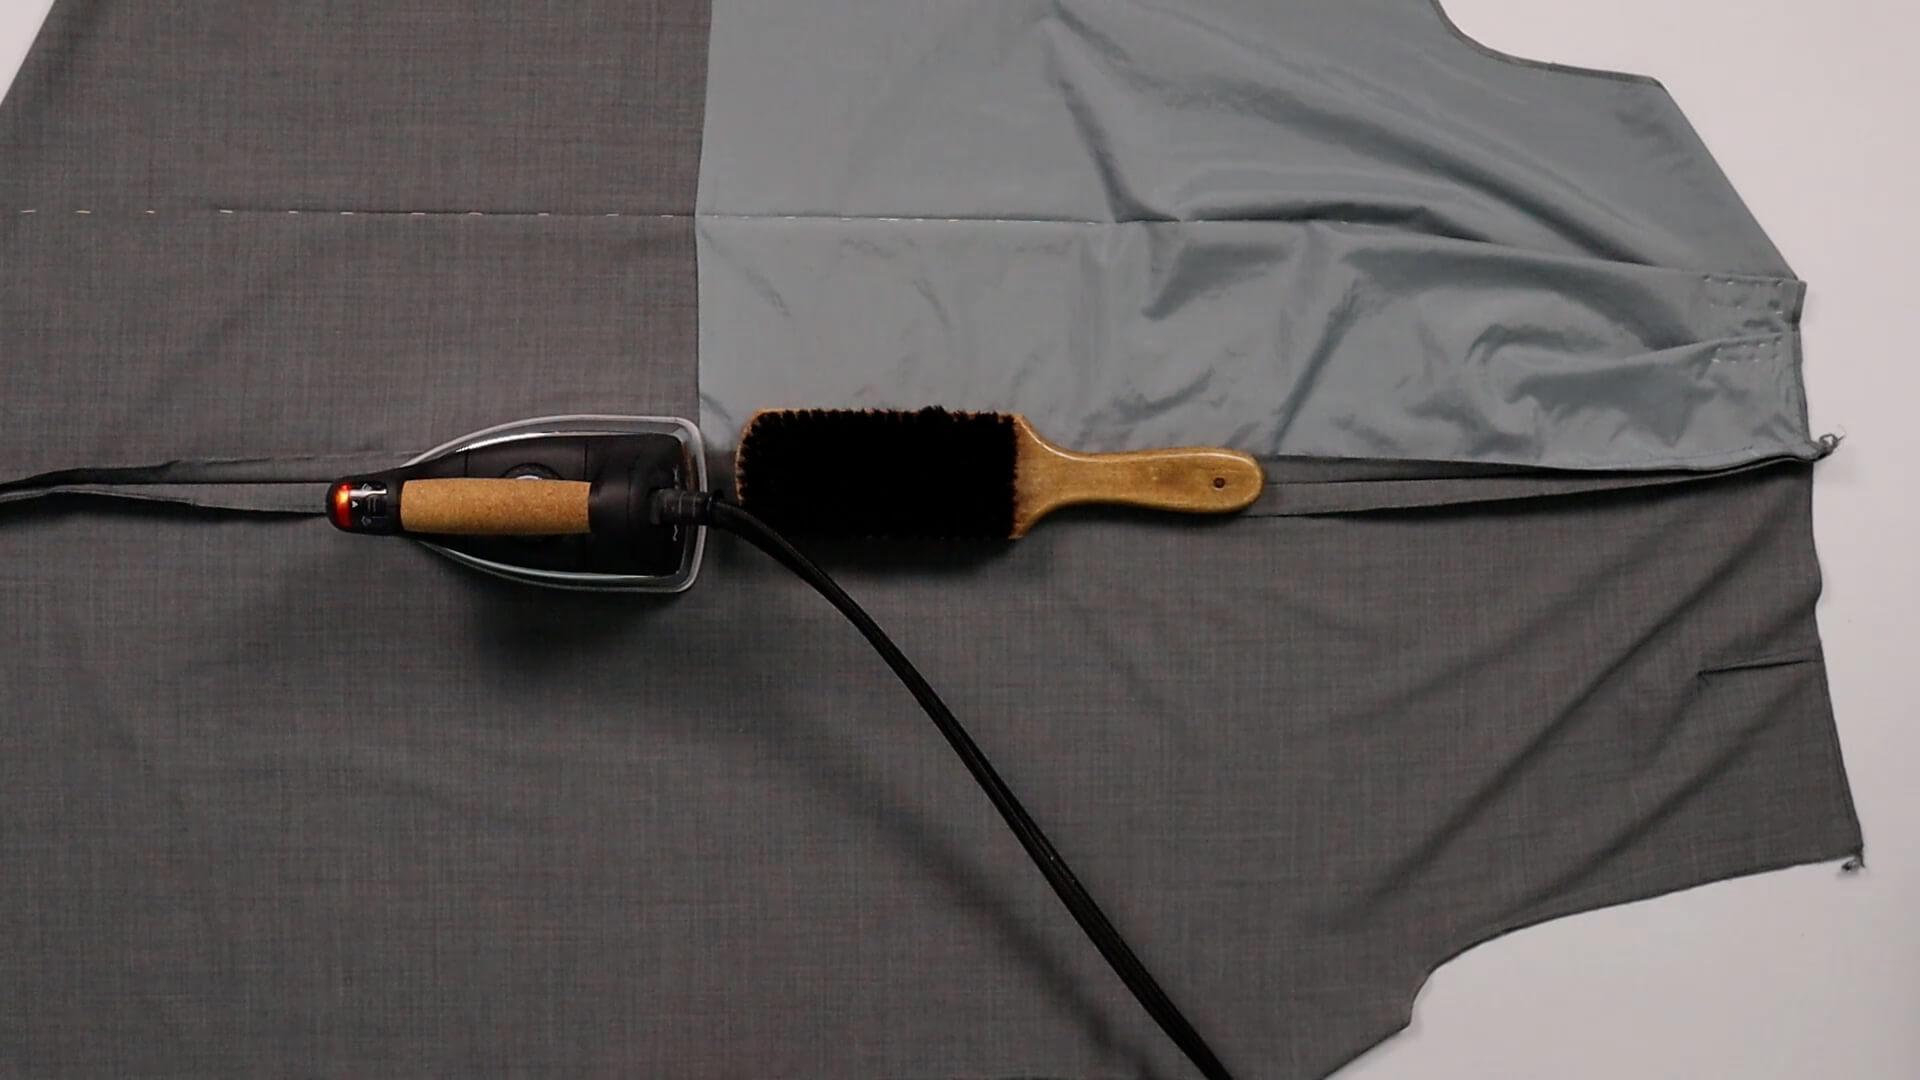
I press the seam allowance open.
I like to use my clothes brush or a tailor’s clapper to make the seam crisp.
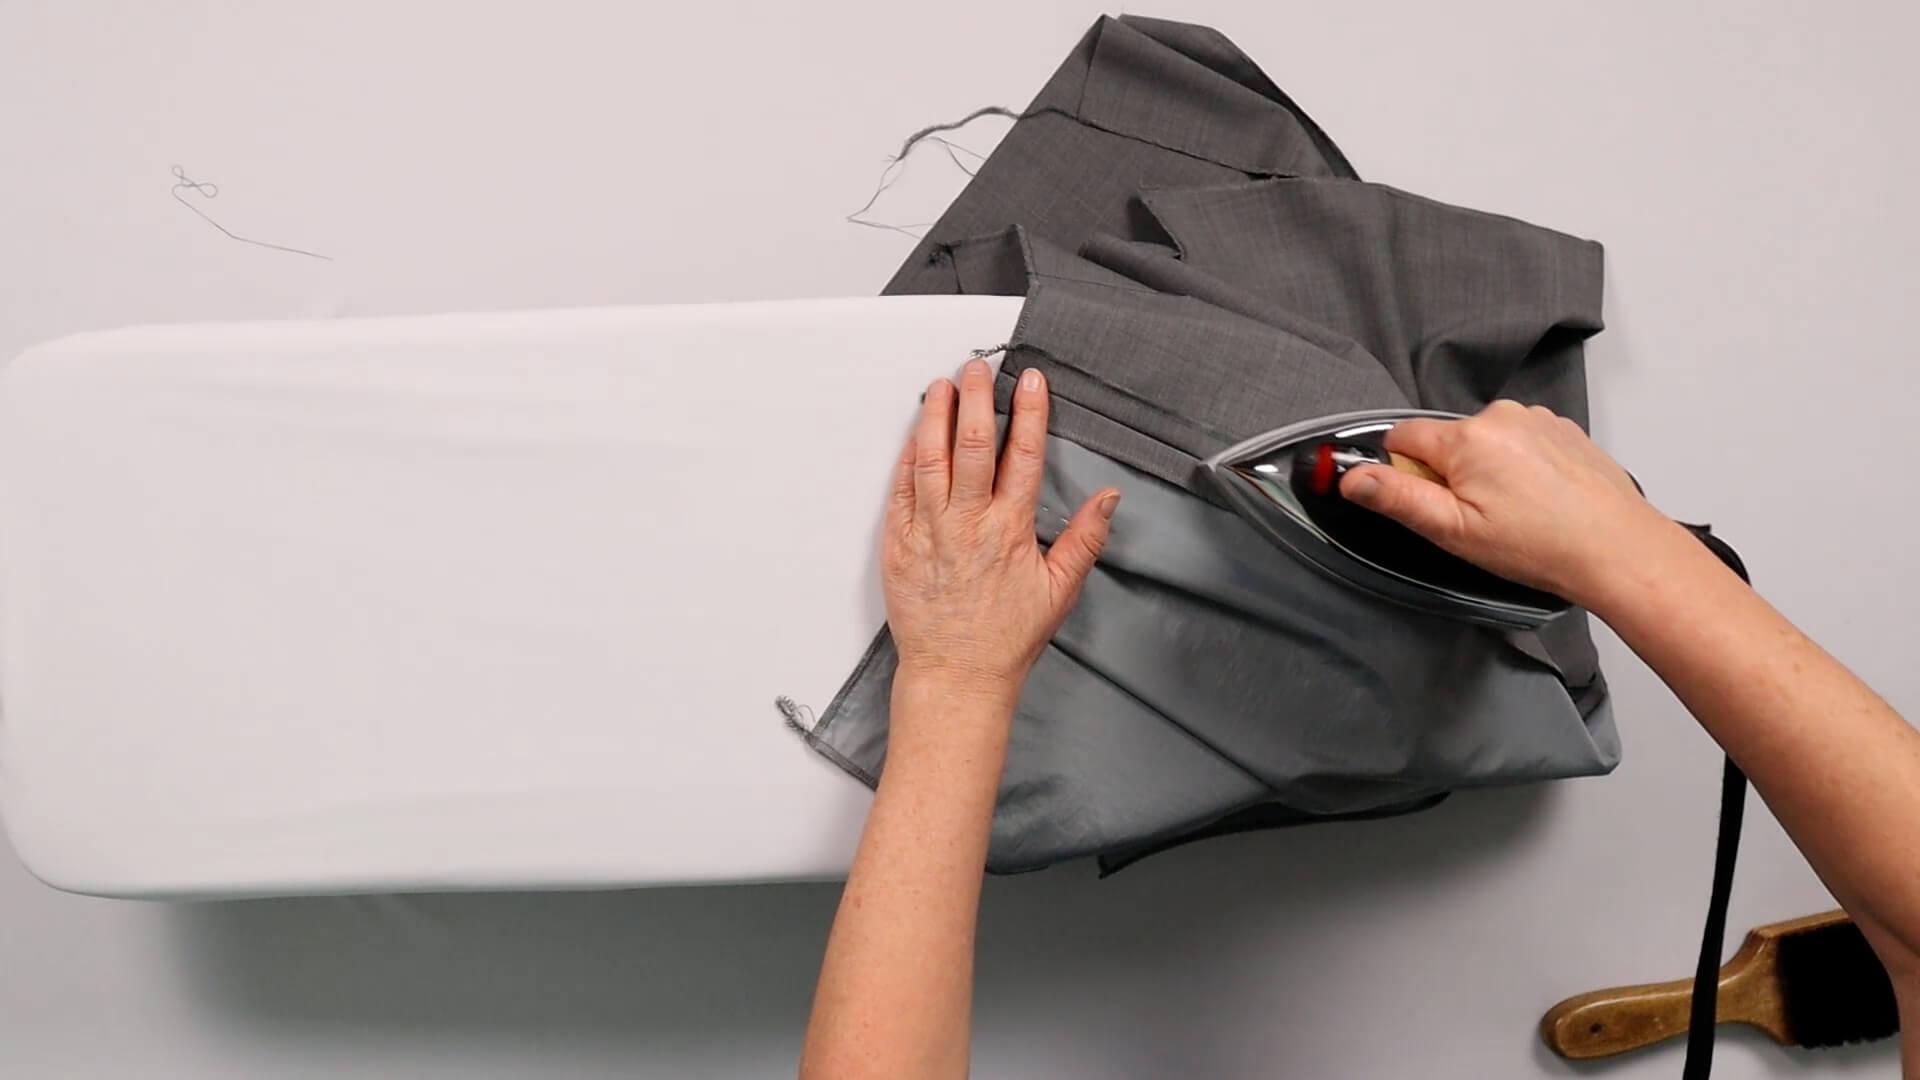
I press the seam allowance at the top of the trousers open on an ironing pad or the round end of the ironing board.
4. Prepare the blind hem
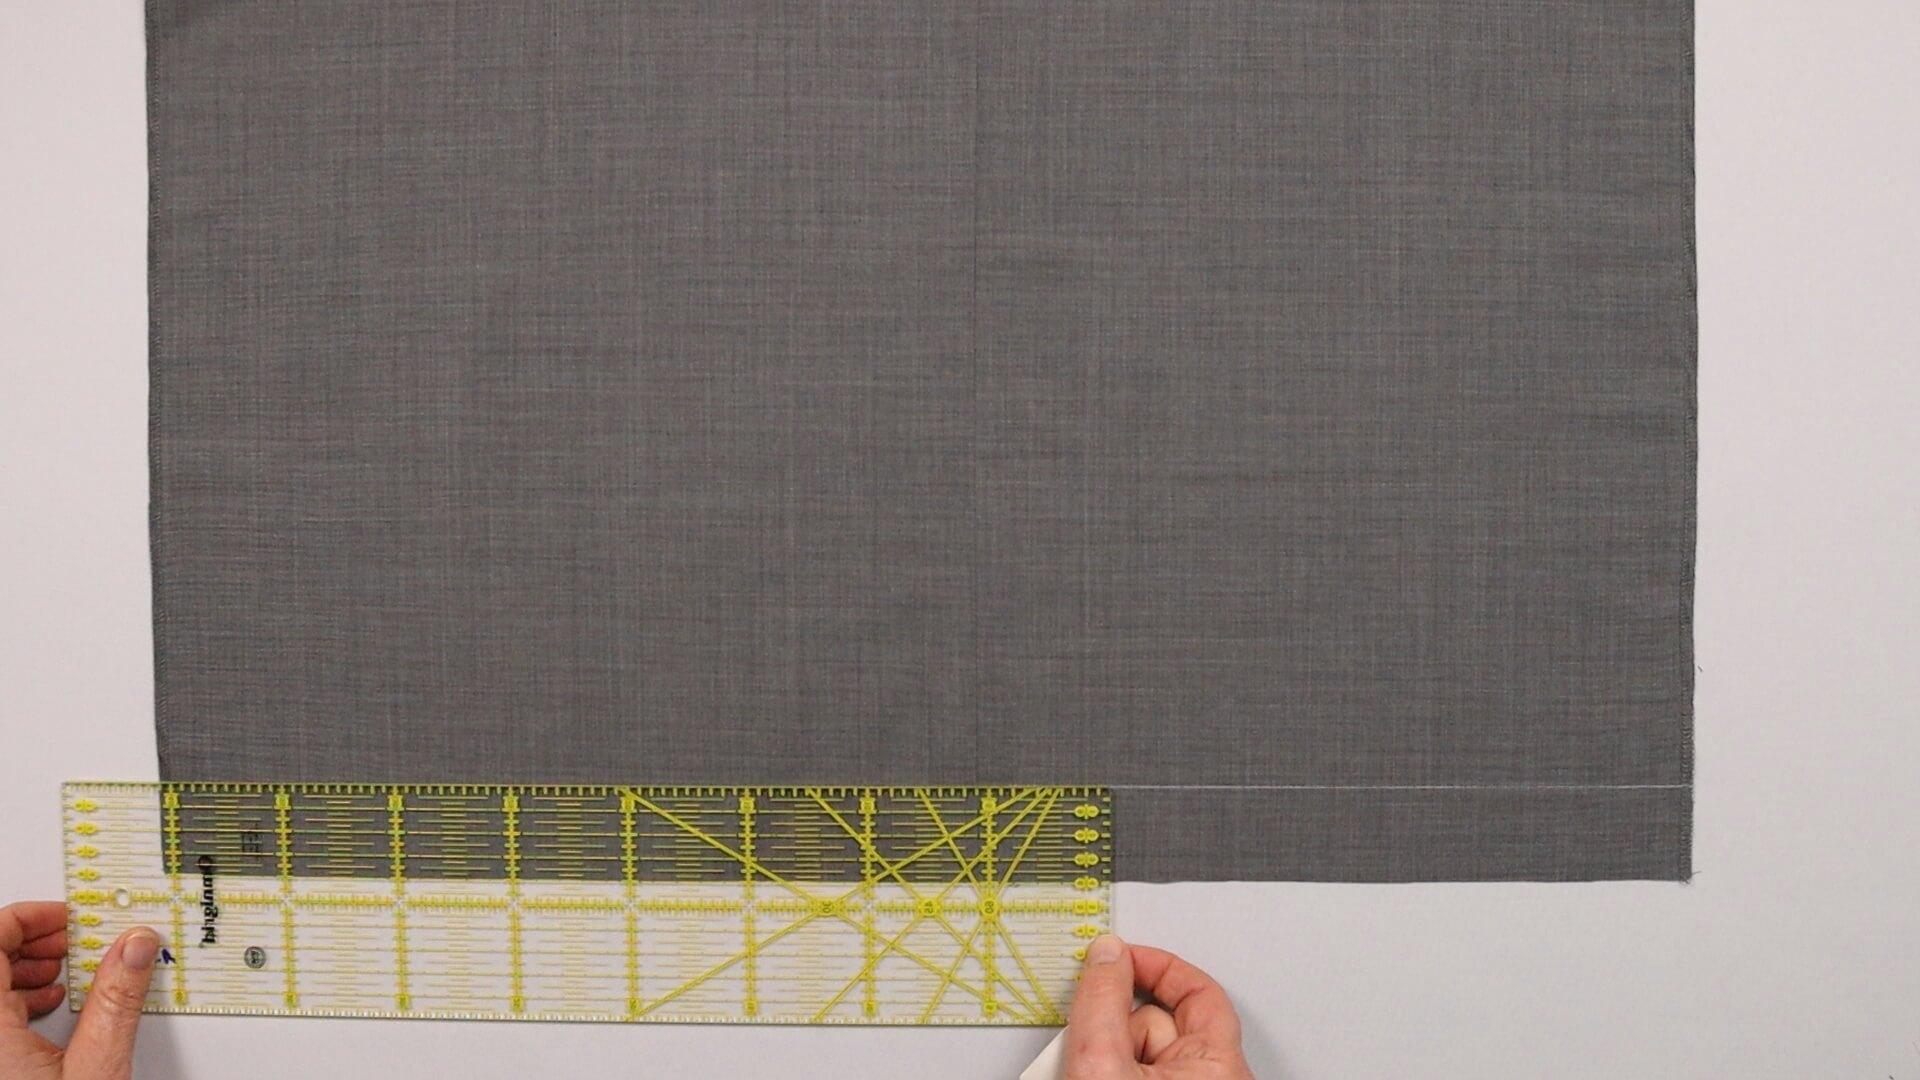
I transfer the hem length indicated on the pattern parallel to the hem edge to the right side of the fabric. (Don’t be surprised that the crease is no longer visible in the front, I took these pictures on a different pair of trousers)
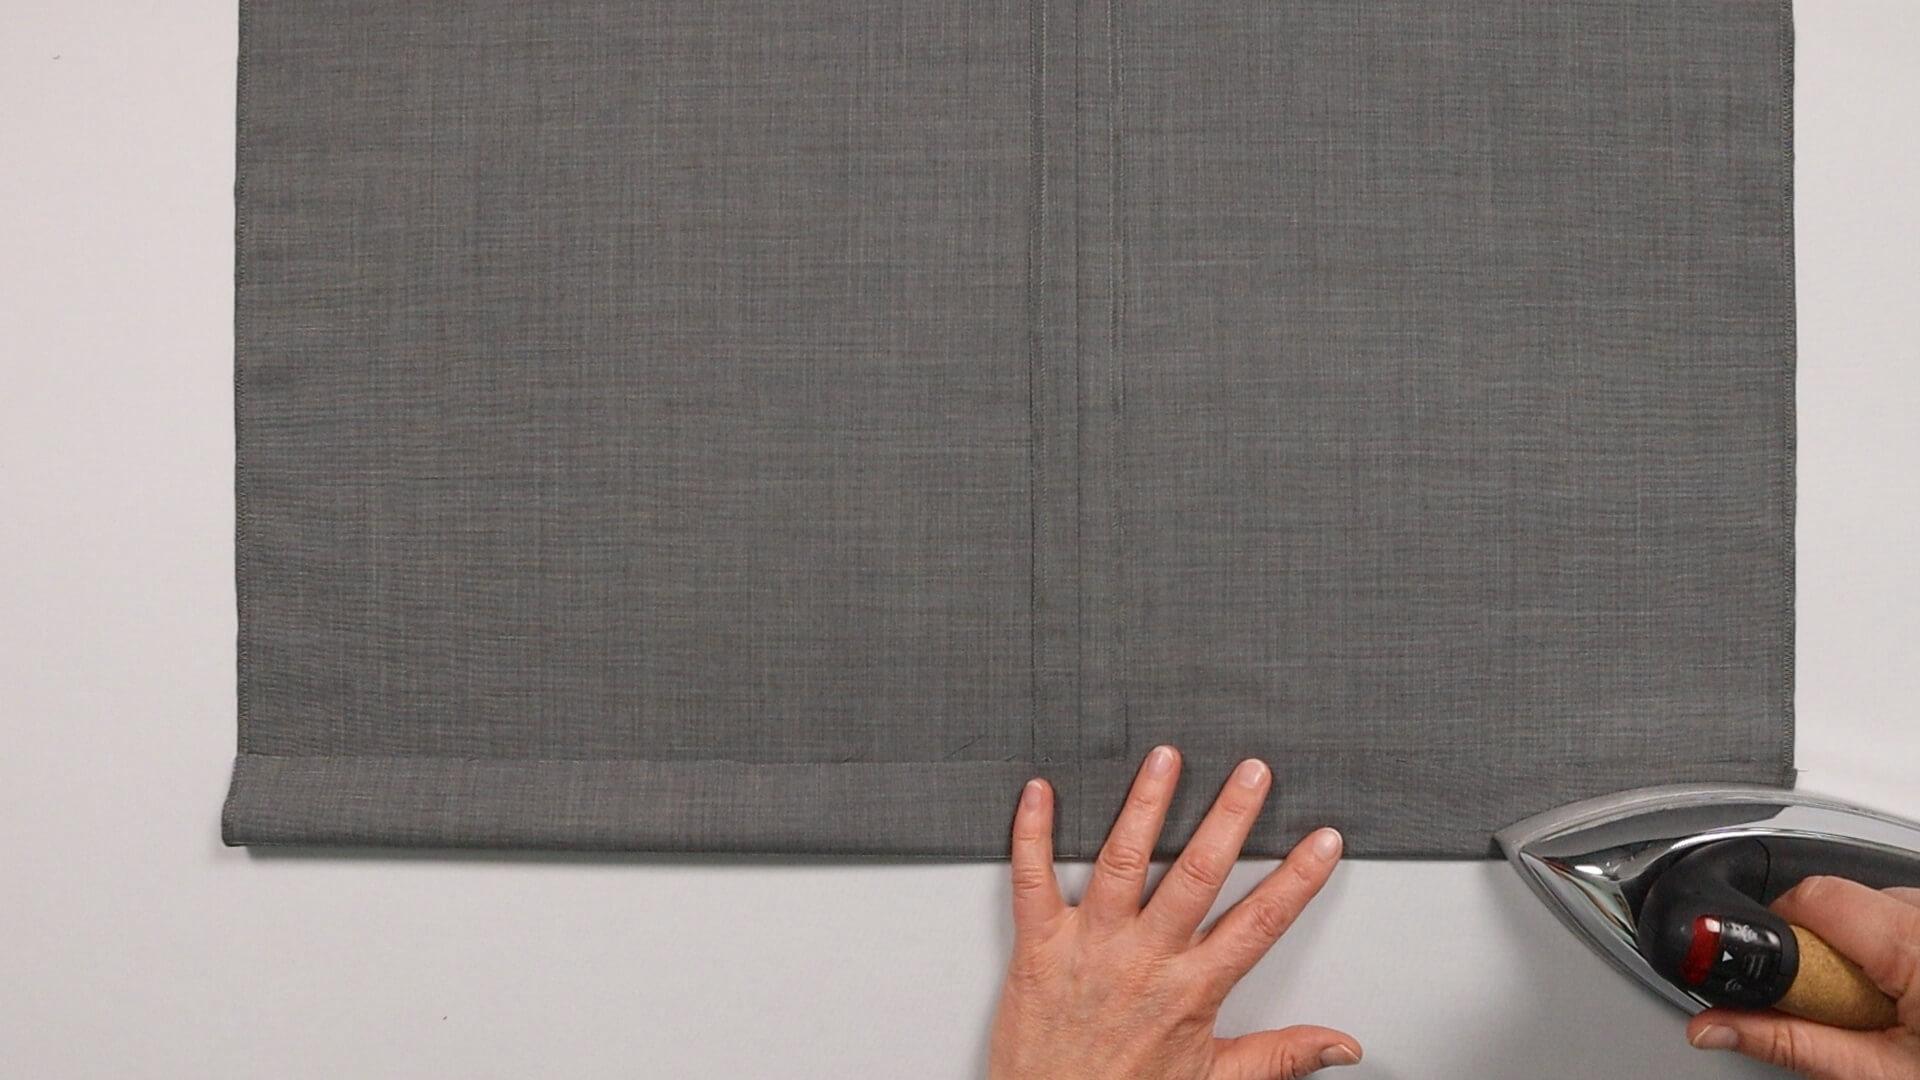
Then I turn the trousers wrong sides out out and press the hem along the marked line.
5. Close the inner leg seam
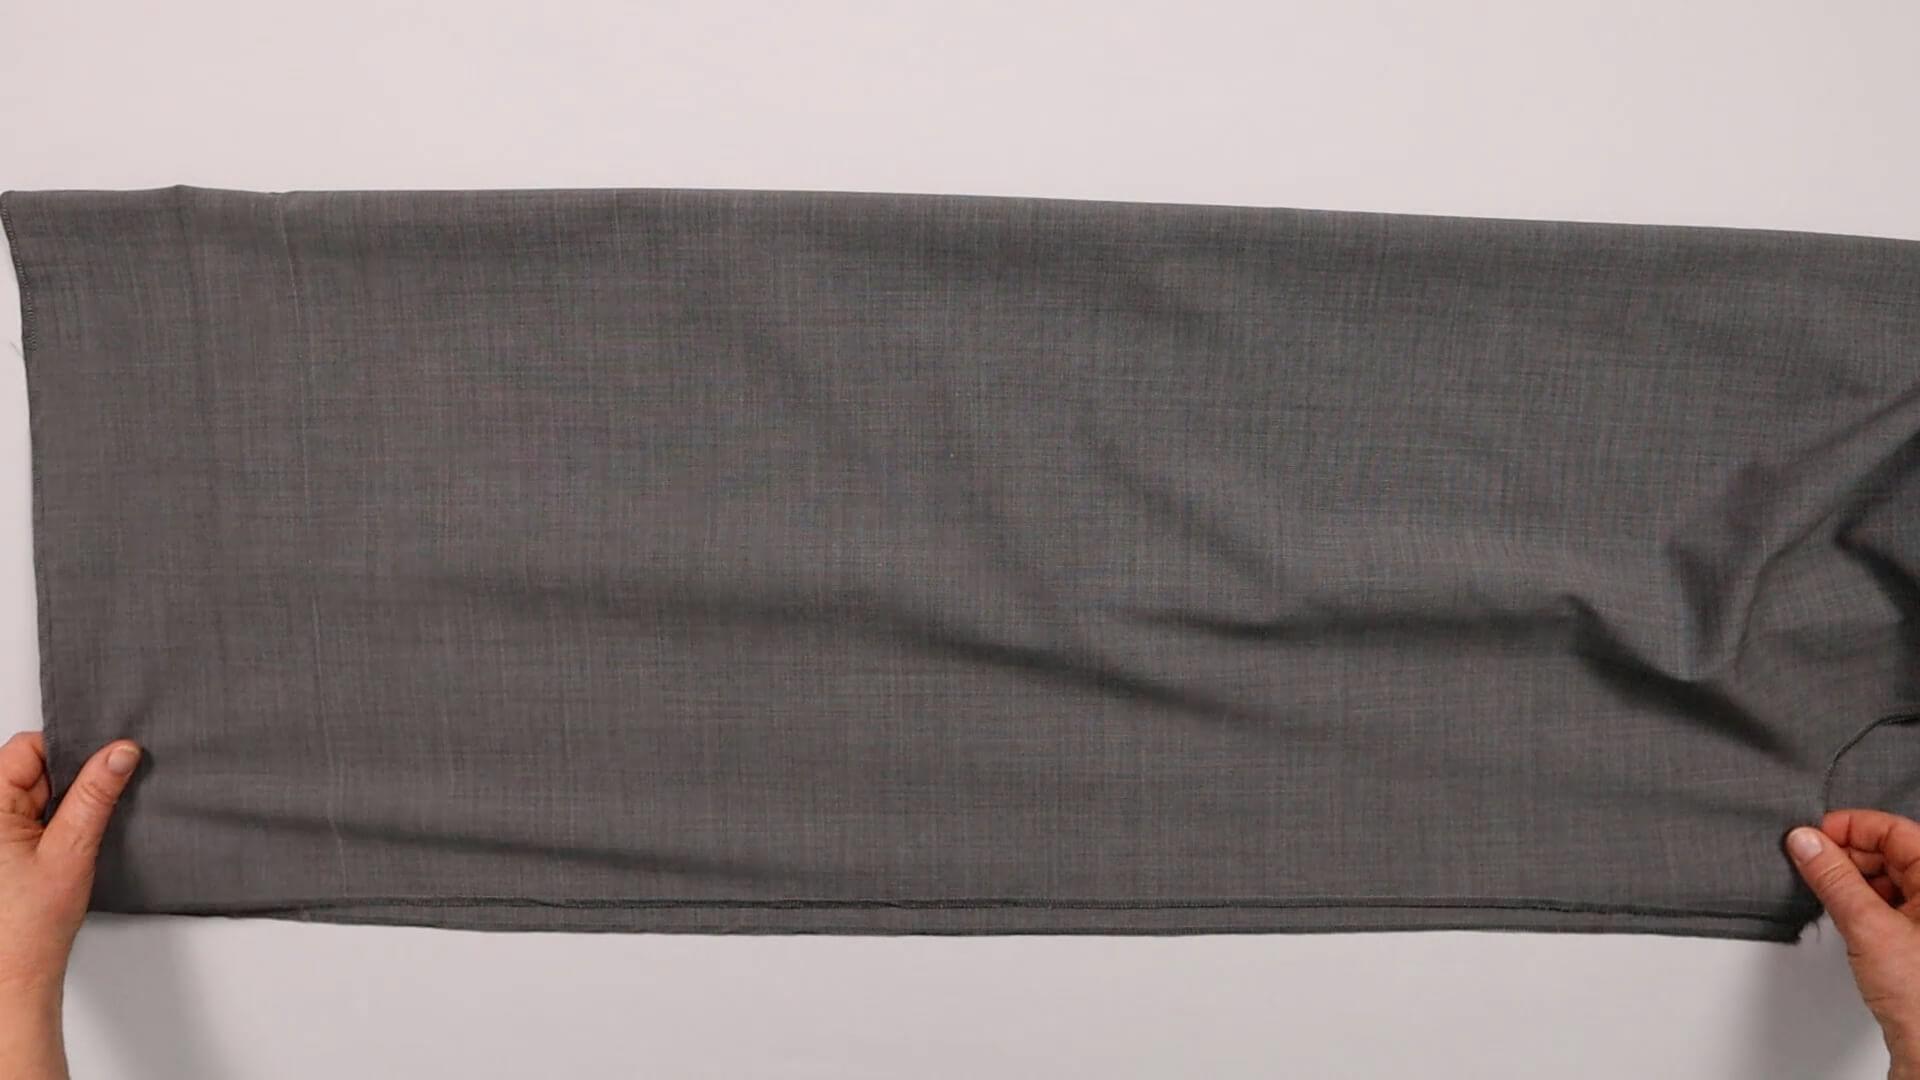
I place the inside edges of the front and back trousers right sides facing.
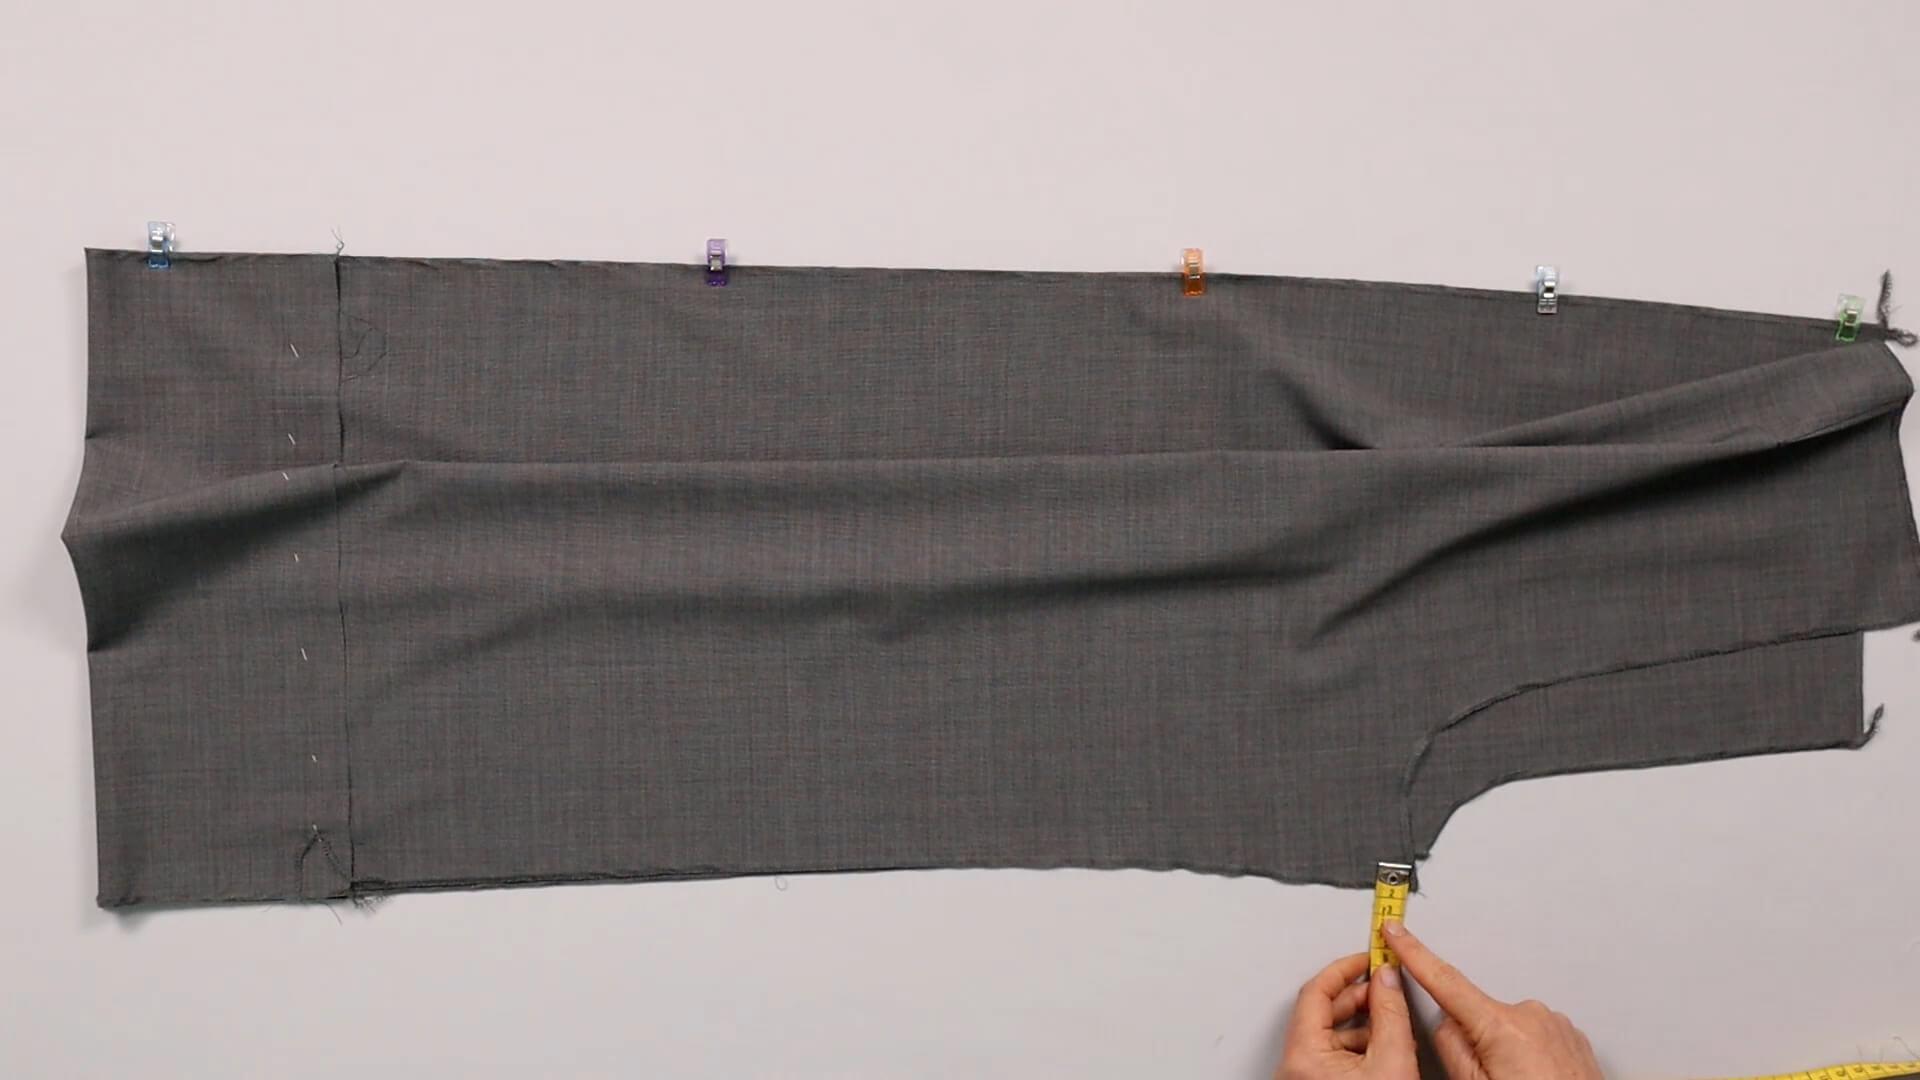
At the upper end of the inside leg seam, I mark the width of the seam allowance on the back trousers.
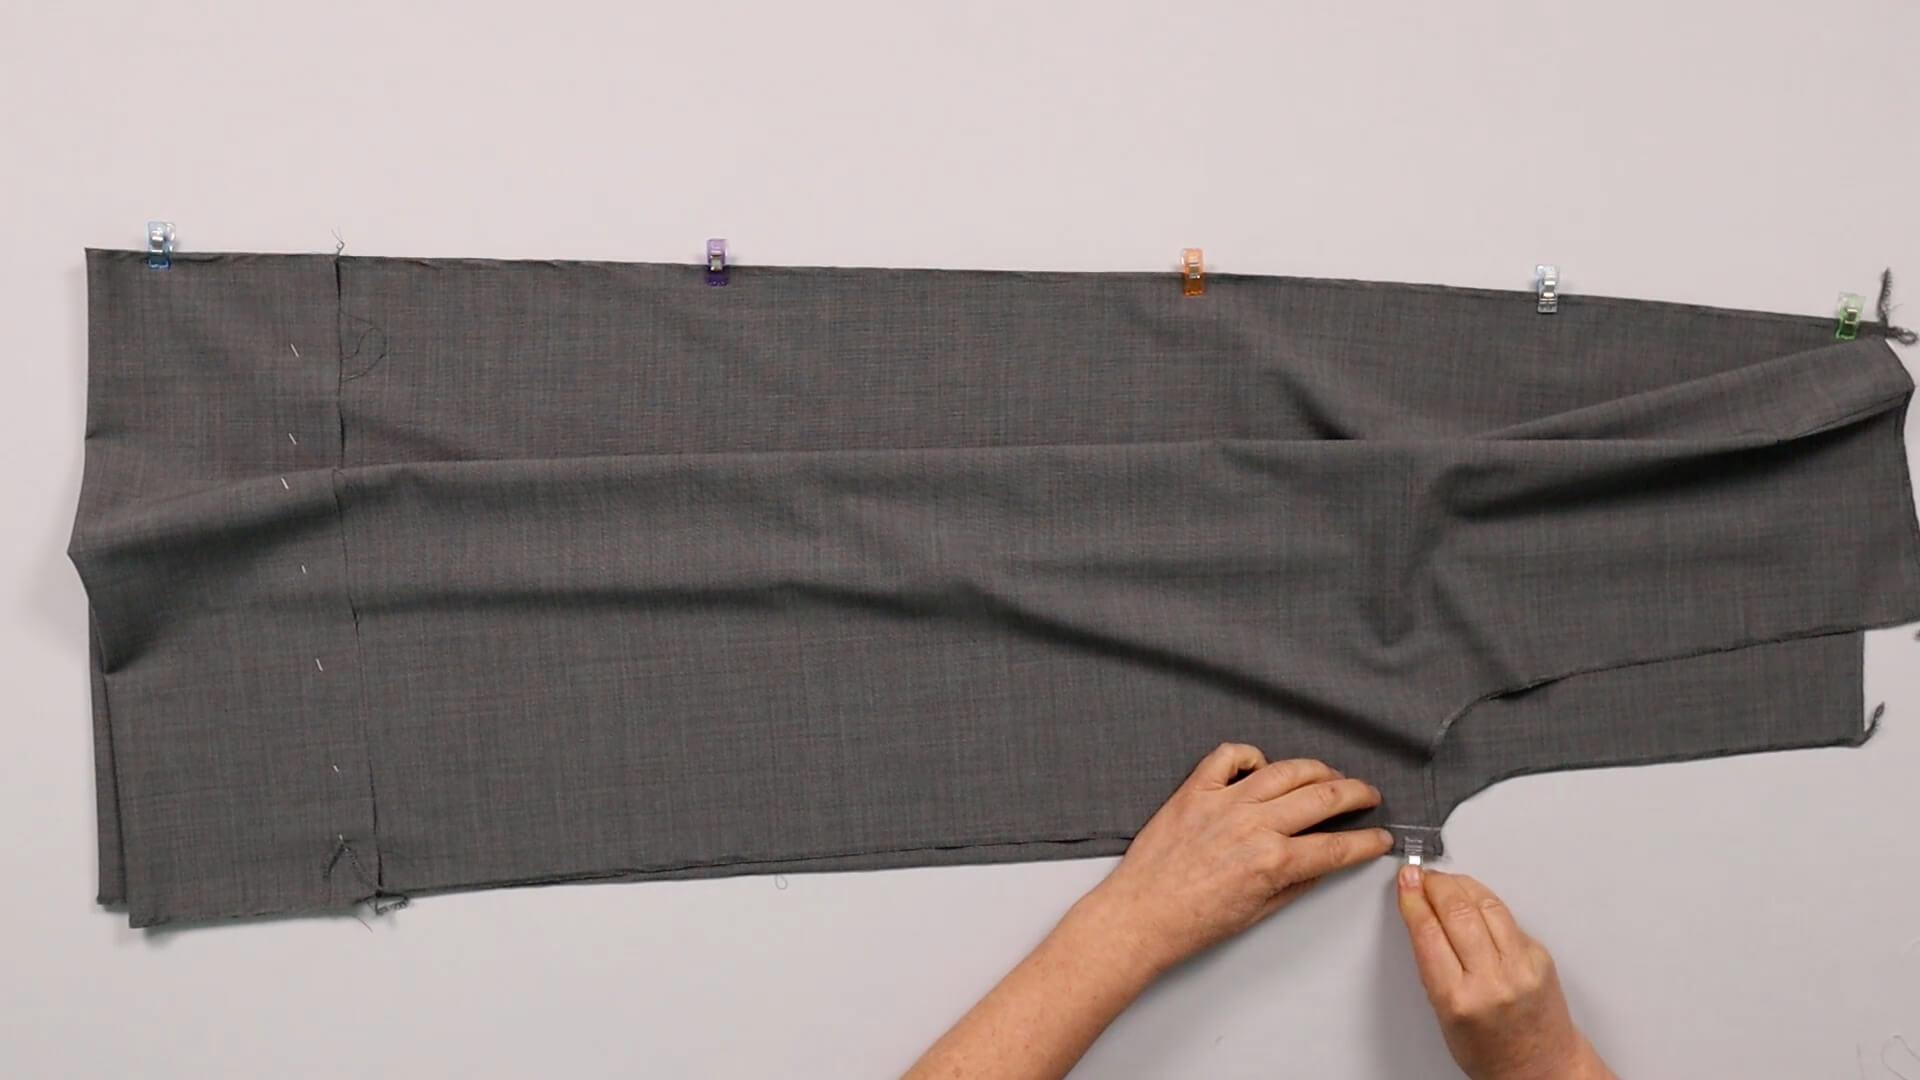
In this position, I secure the upper end of the inner leg seam with a clip or pin. The front and back trousers meet exactly at the marking in the crotch curve.
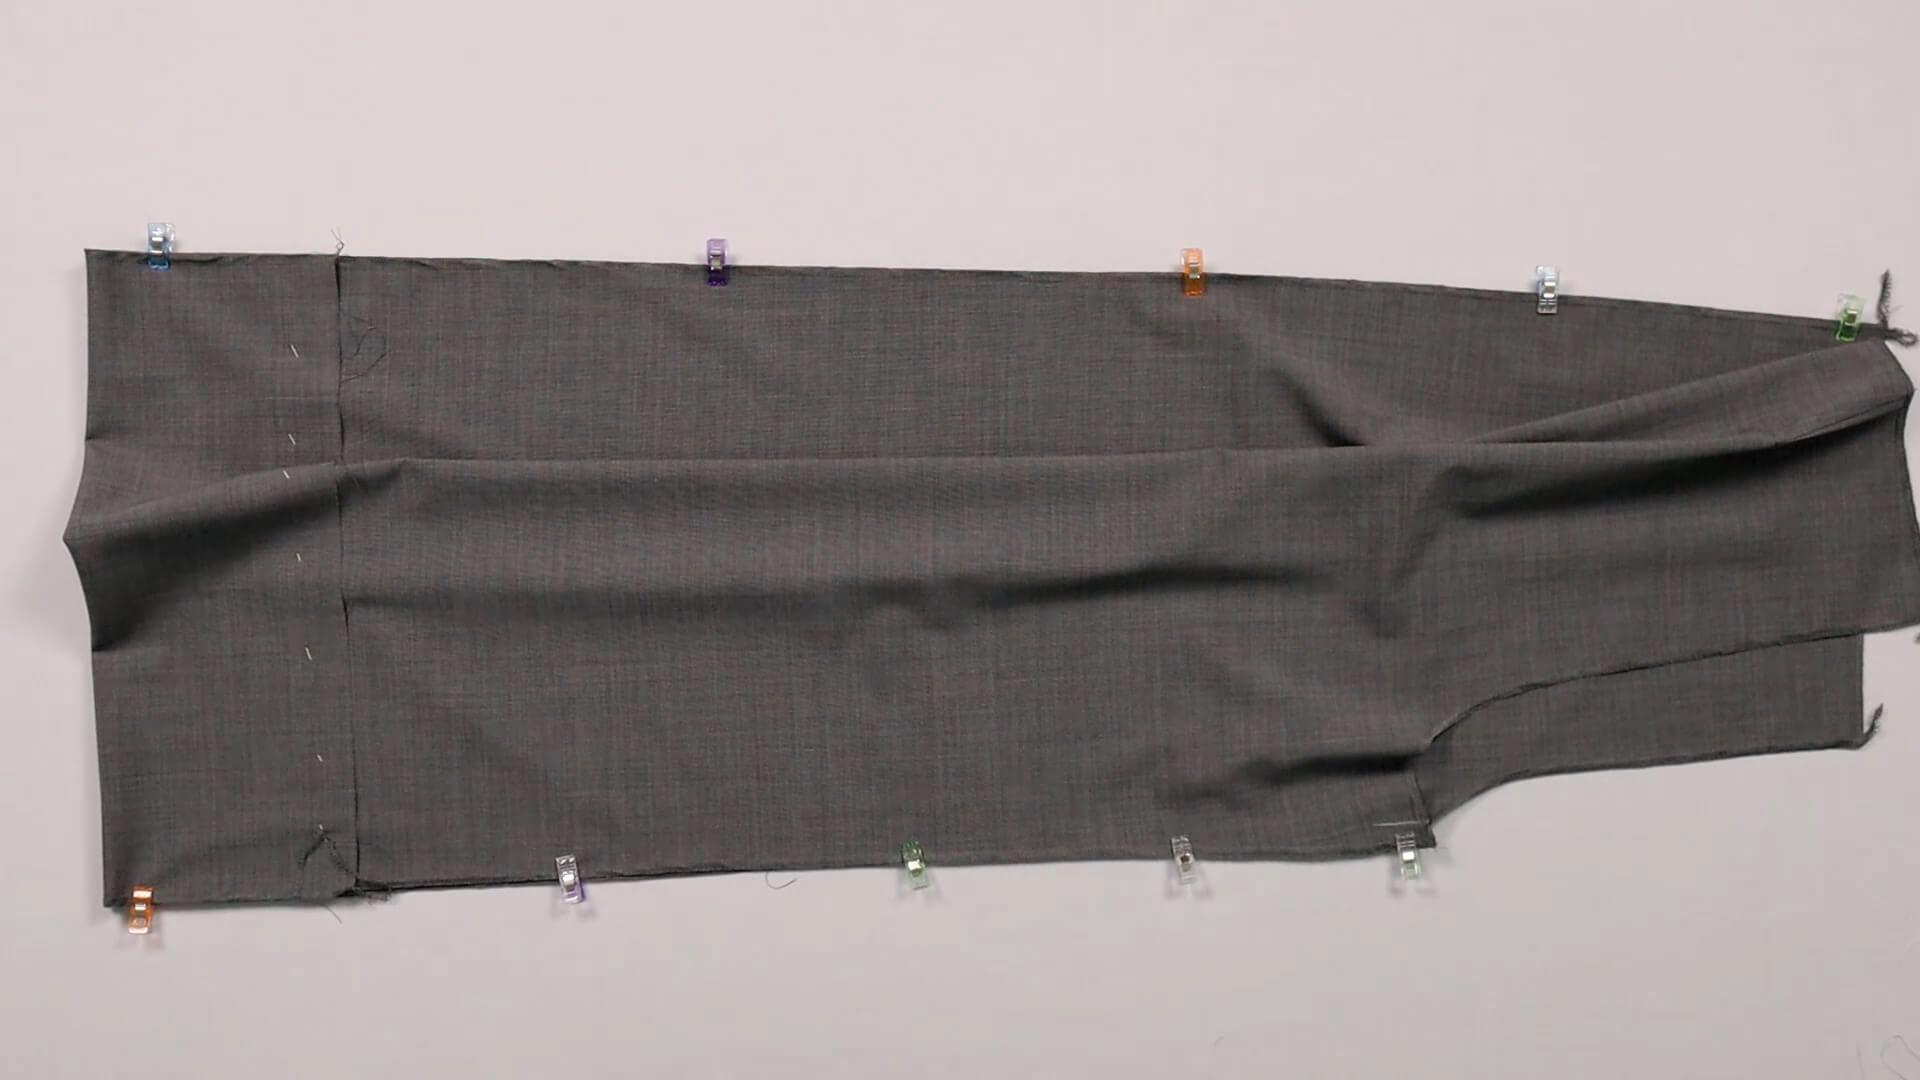
Then I pin the remaining section of the inner leg seam in place and make sure that the notches meet at knee hight. From the knee towards the crotch seam, the back trousers must be stretched to the length of the front trousers. You may have already prepared this when ironing the back trousers.
I sew using the seam allowance indicated on the pattern.
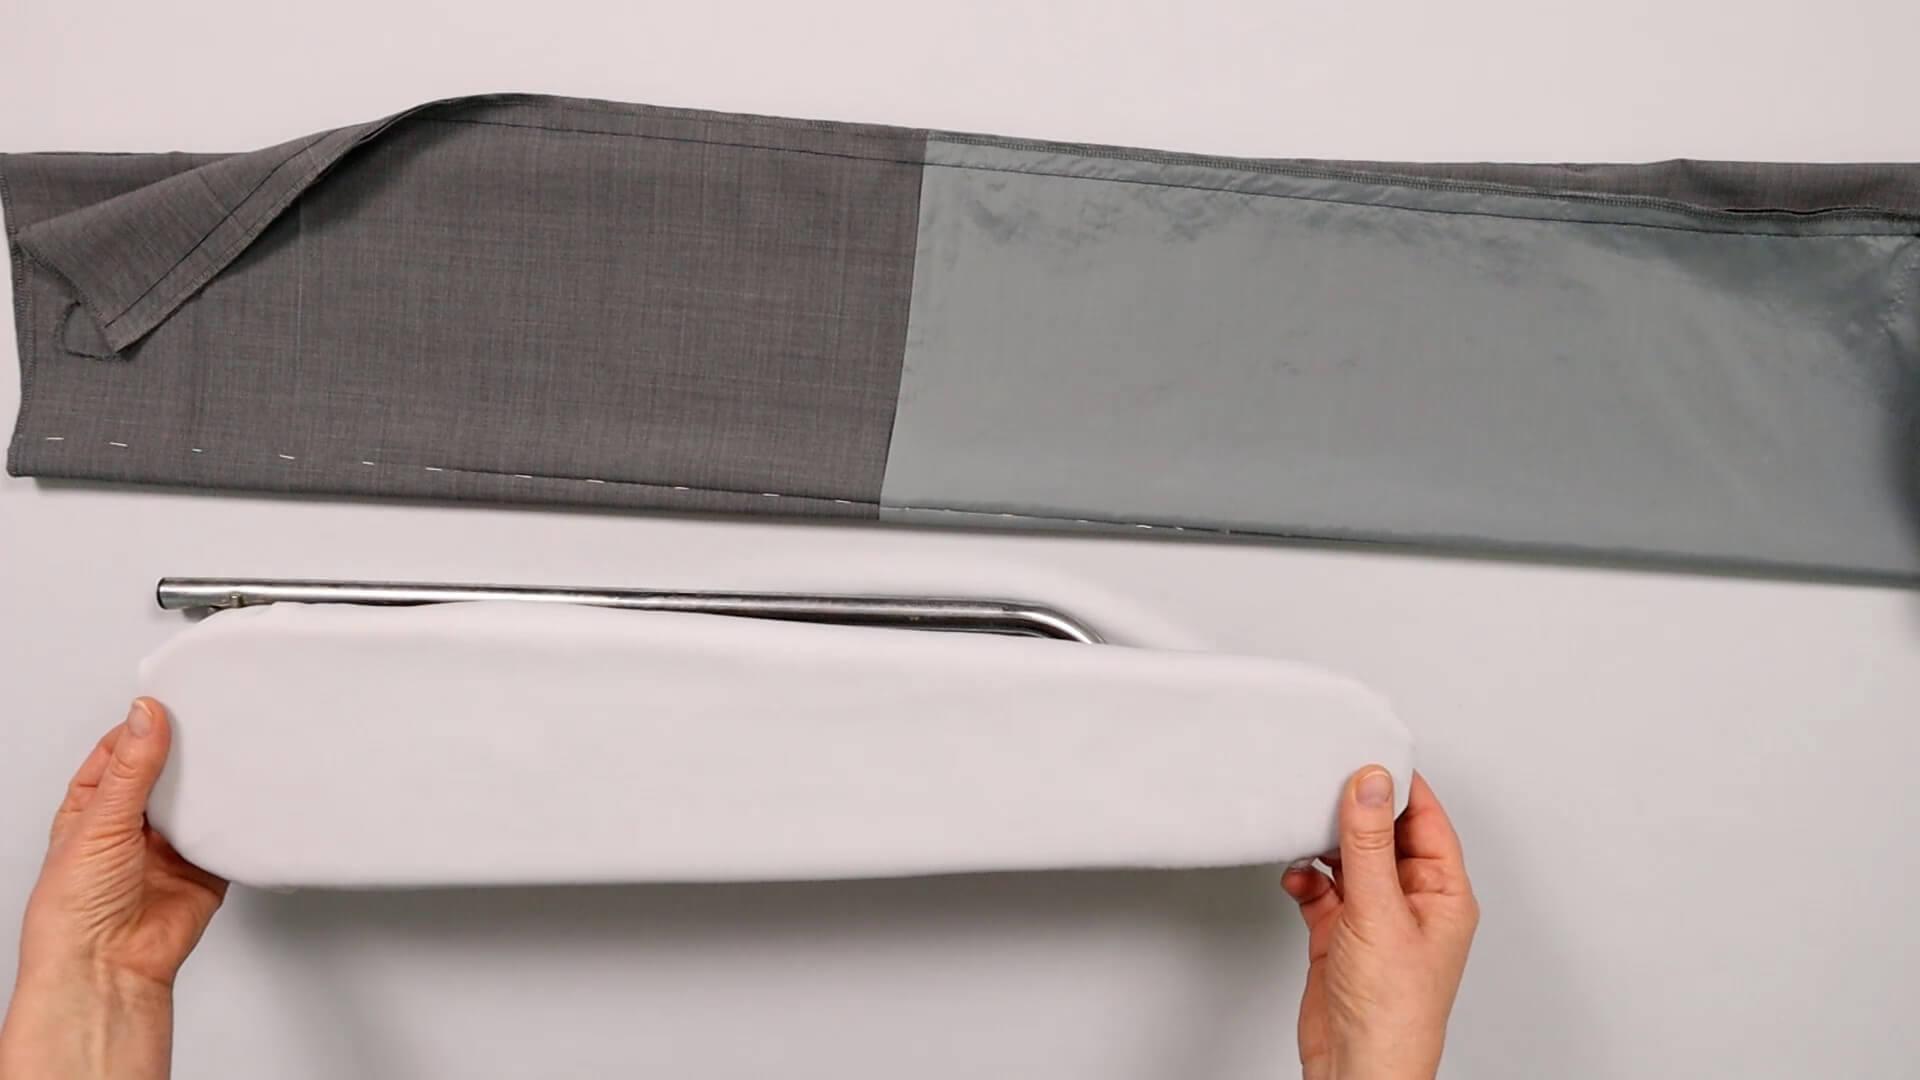
To iron out the inner leg seam open I use my armboard.
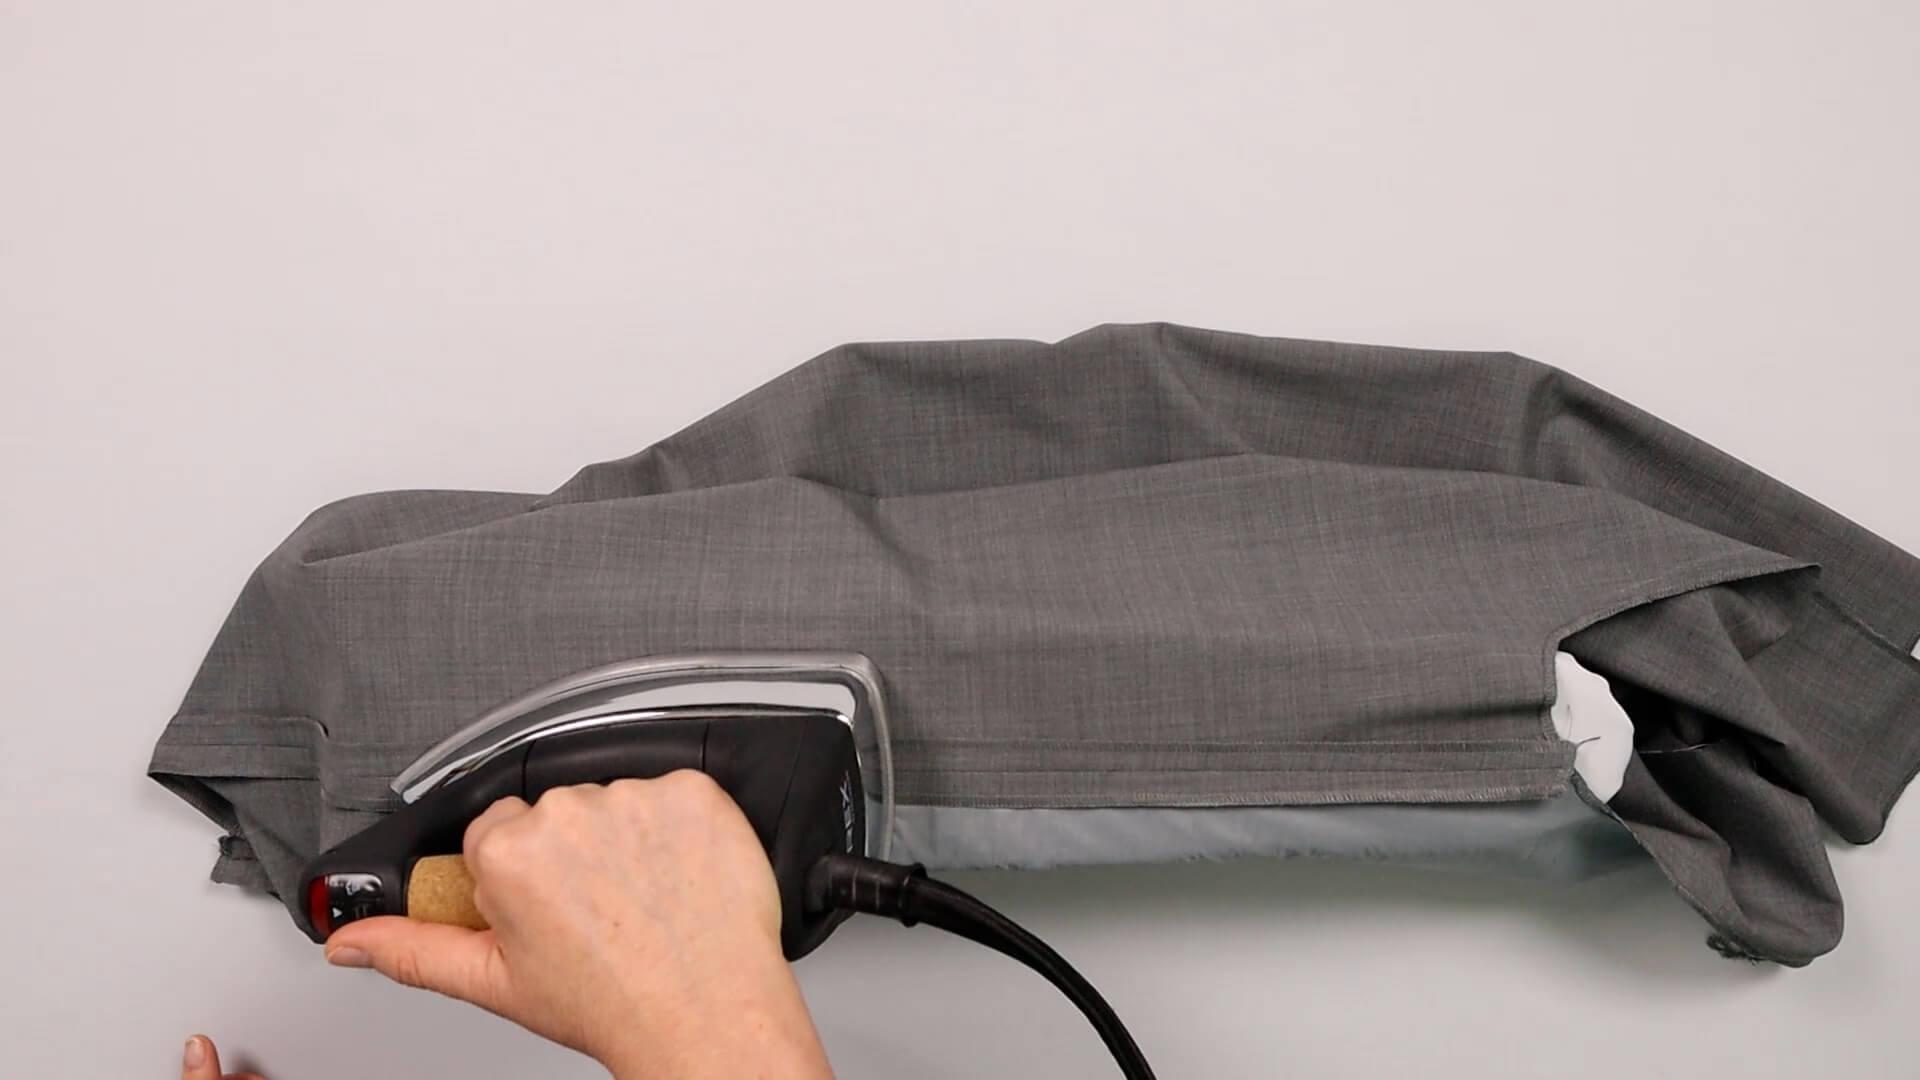
I press the seam allowances open and work with a lot of pressure and take my time so that the seam is completely flat. Of course, you can also use a wooden brush or tailor’s clapper again.
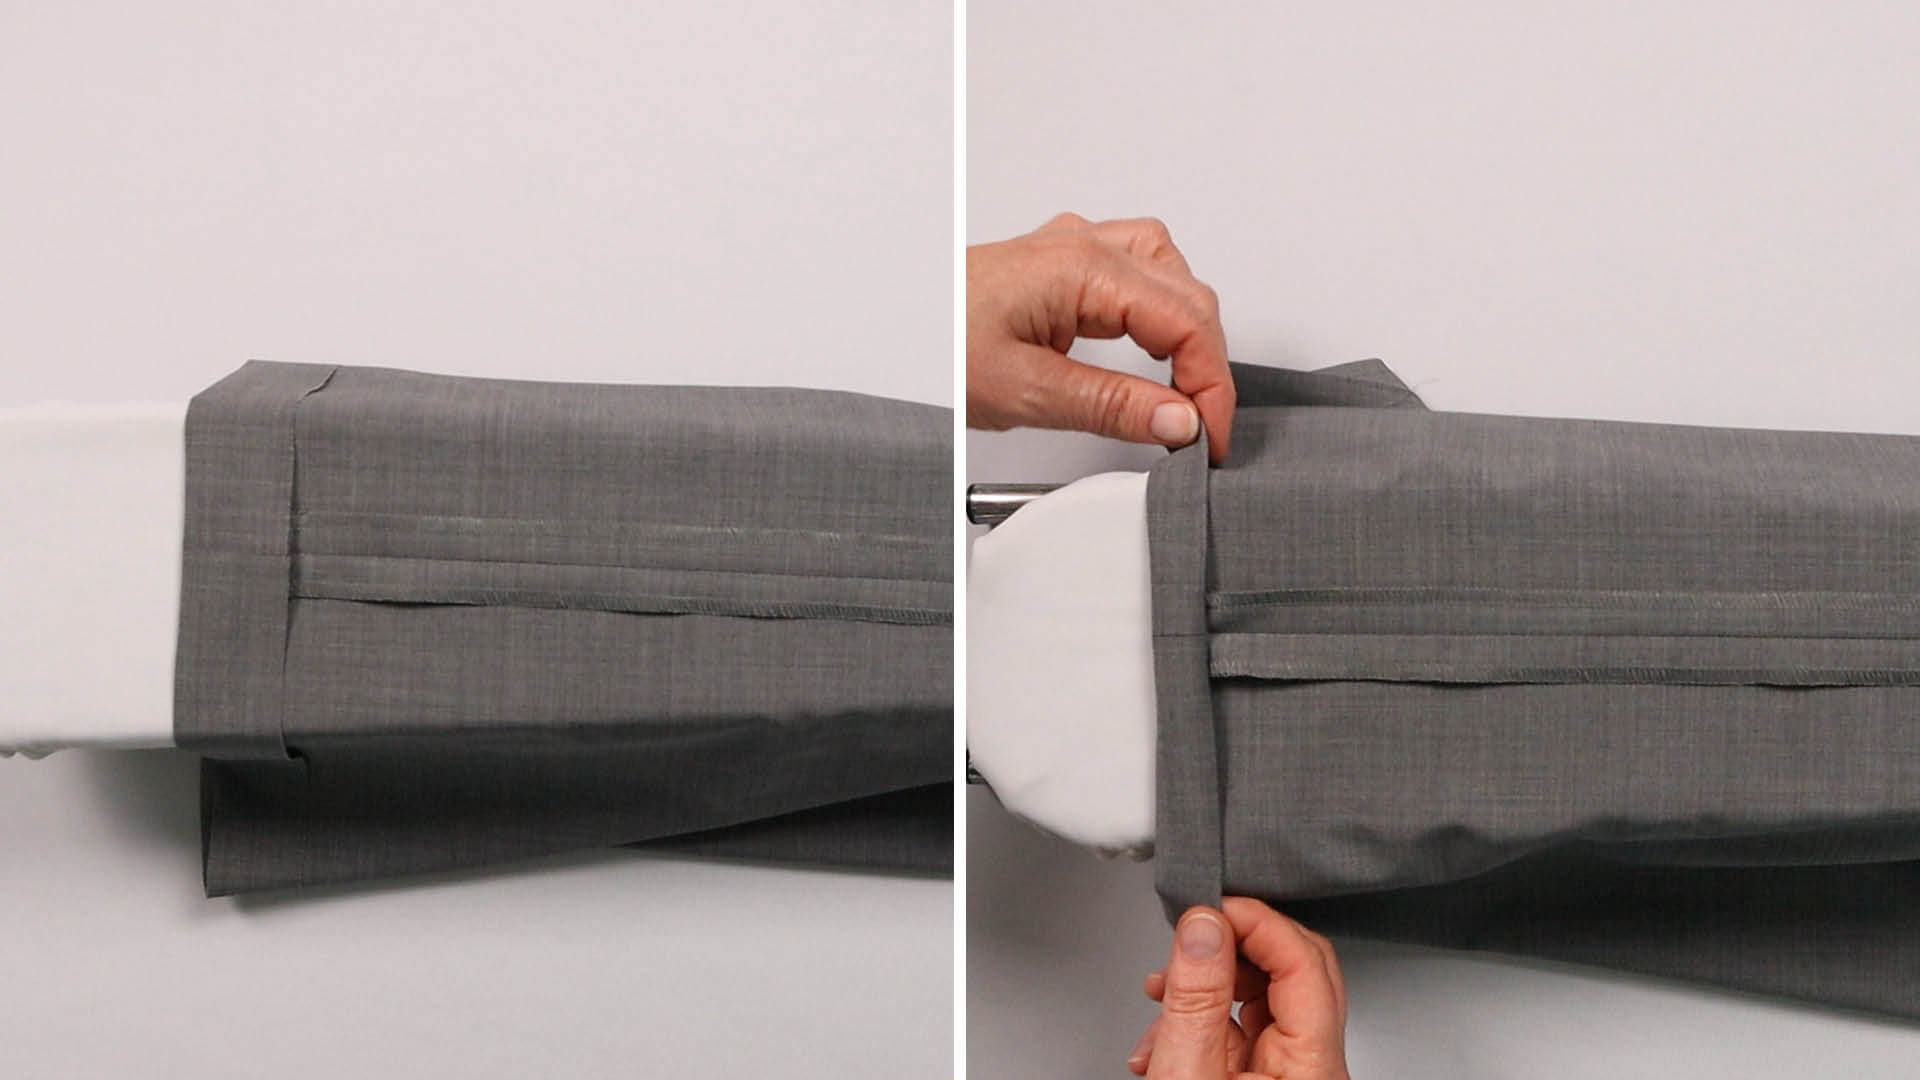
Due to ironing the seams, the hem edges are possibly not visible any more. Therefore I press them again.
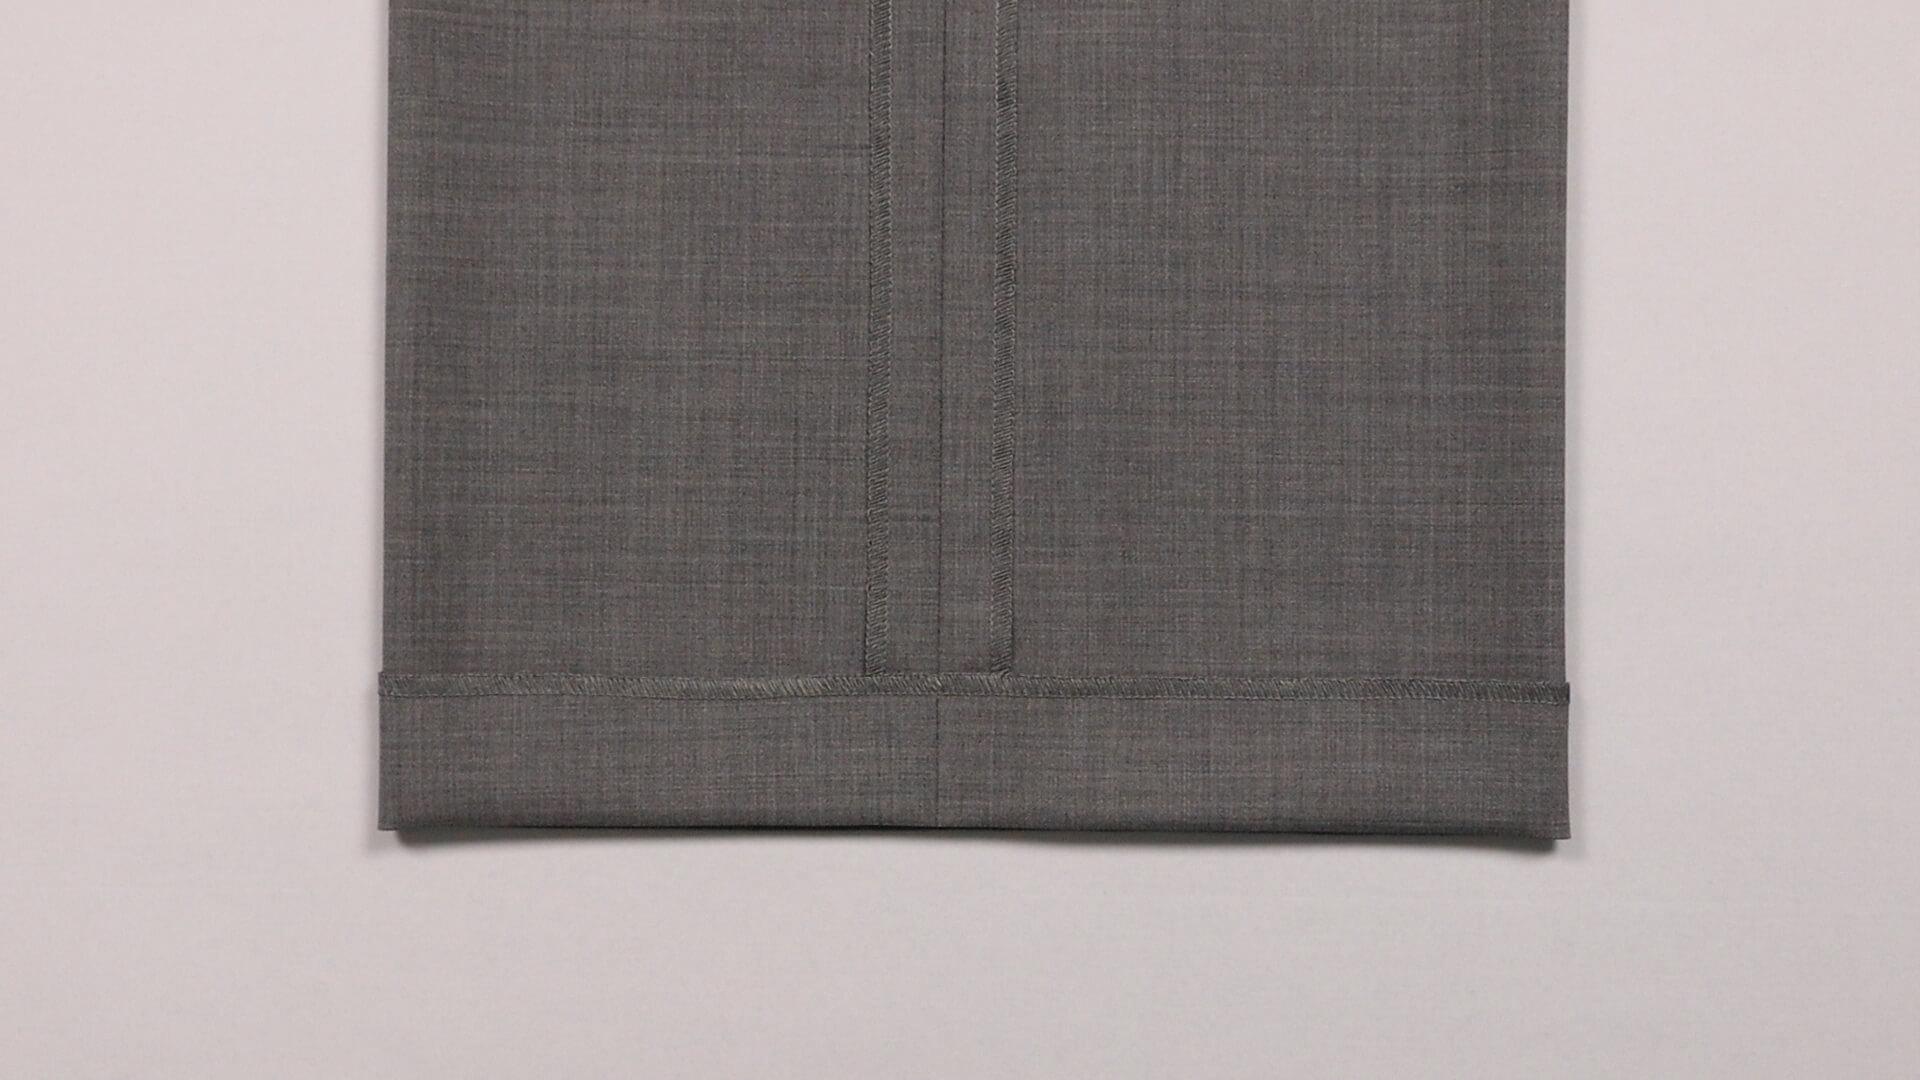
Now I finish the hem edge with the overlocker or a zigzag stitch.
6. Blind hem variants
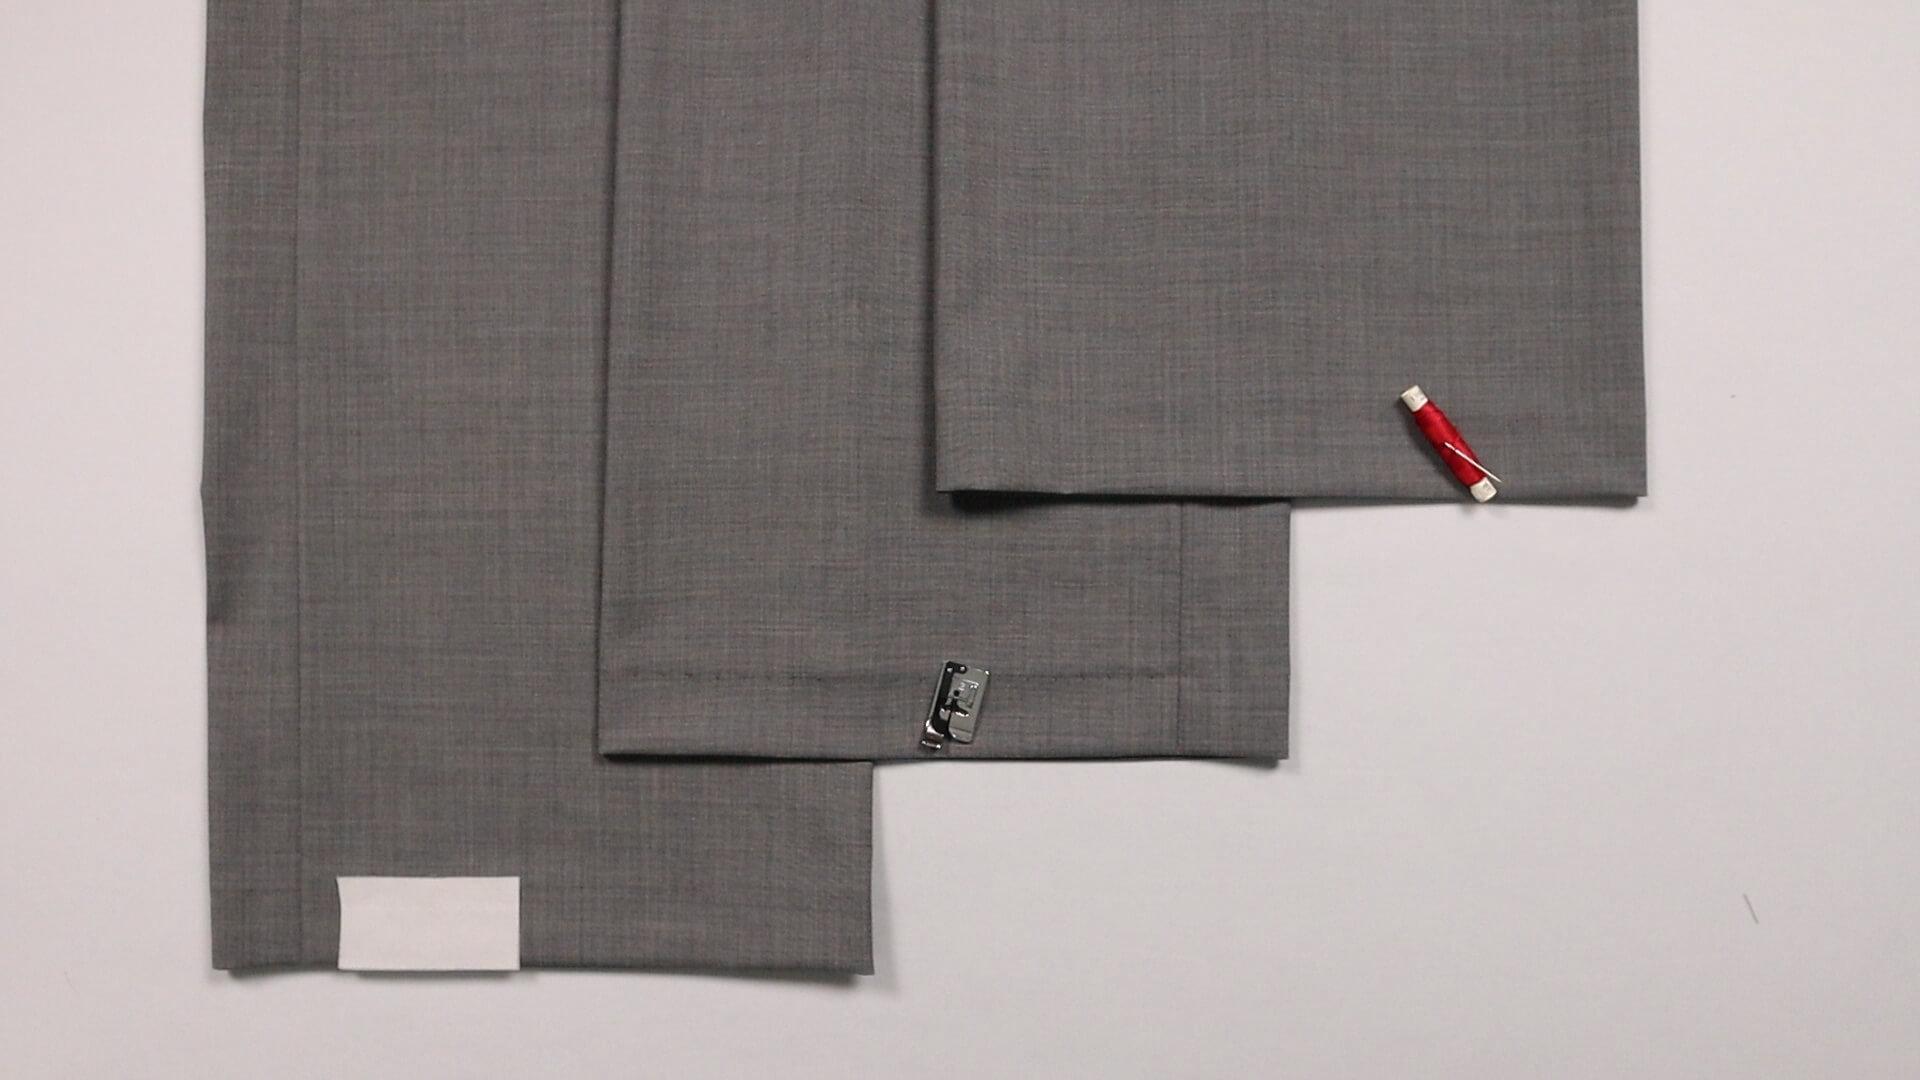
I will show you three different ways to work a blind hem. In the picture you can see, from left to right, a glued hem, a blind stitch with the machine and a blind stitch by hand.
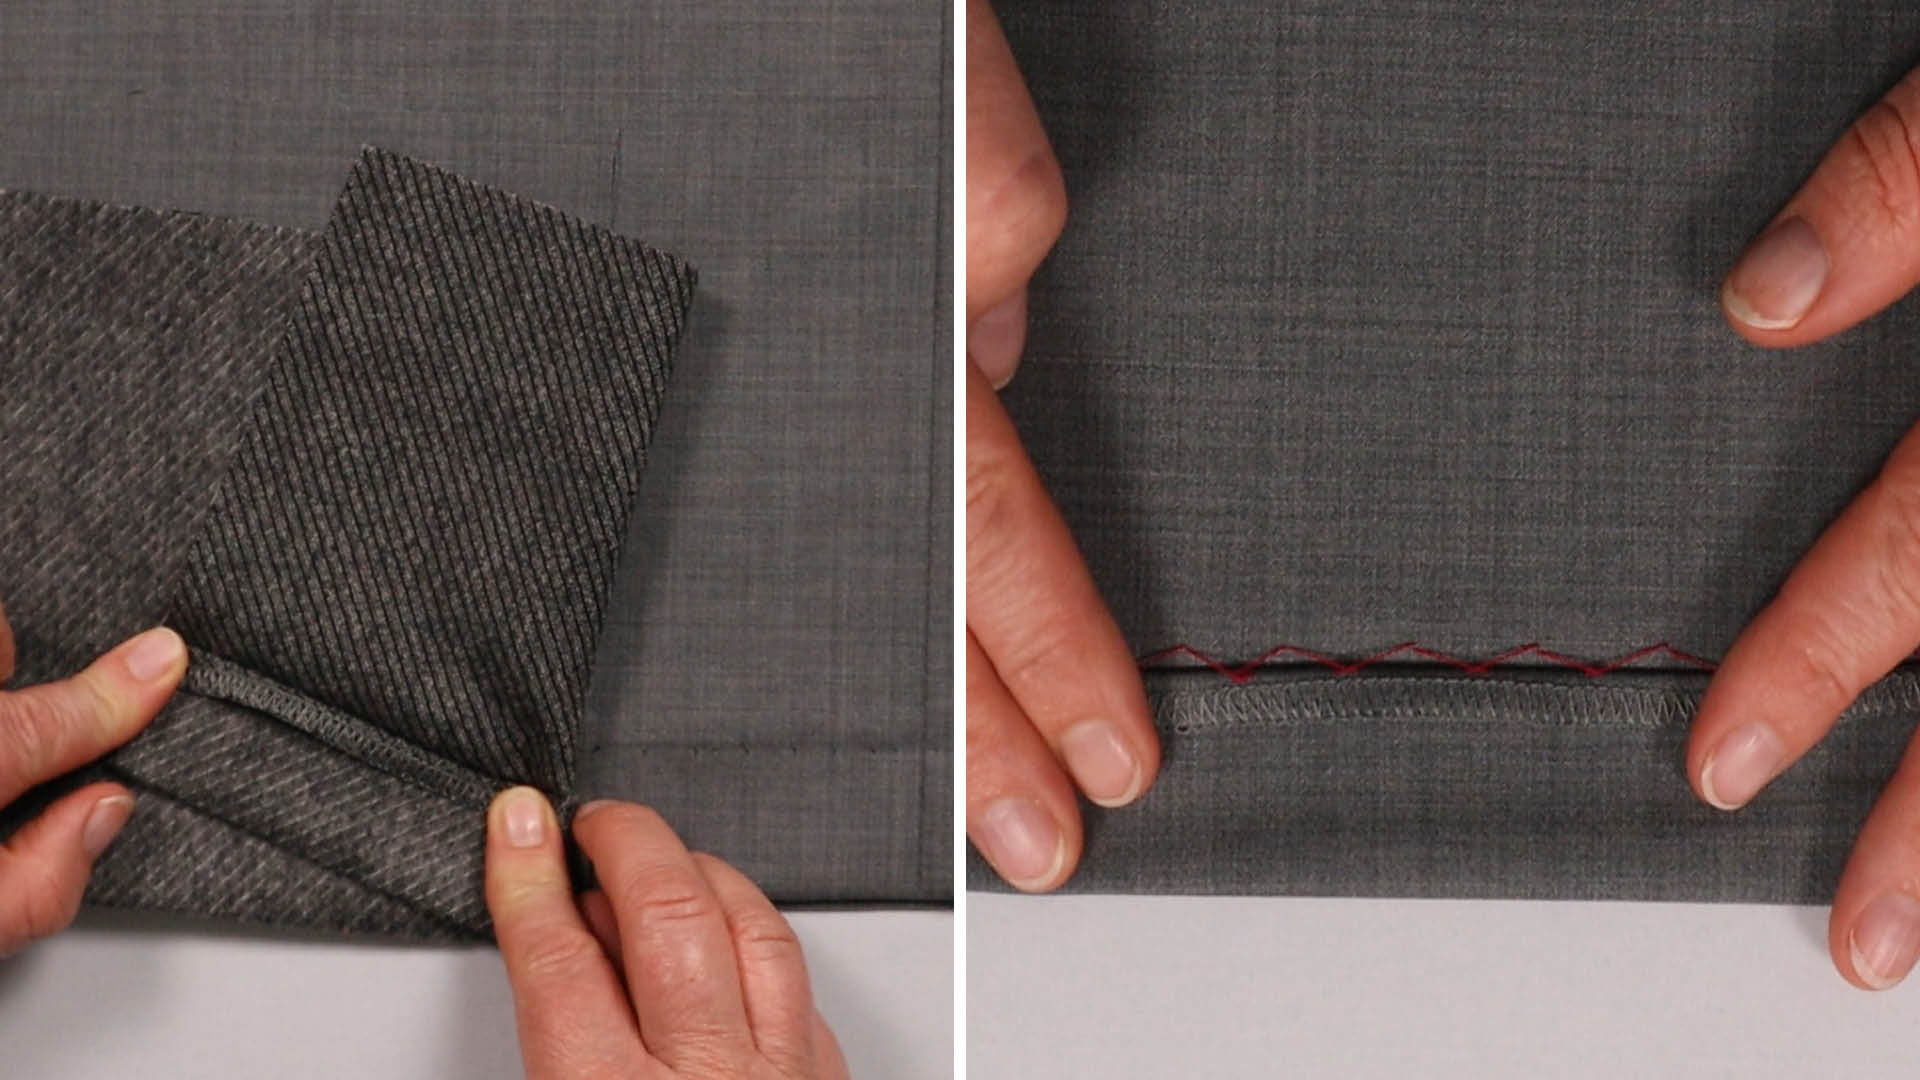
I stitched the fine light grey fabric on the left picture with contrasting coloured thread so you can see the stitches better.
The machine stitch works very well with a thicker, not so tightly woven fabric (left picture), as the stitches do not reach all the way to the outside.
The blind stitch by hand (right picture) can also be used for very fine fabrics. With careful work, even a contrasting colored yarn on the outside will not be visible.
7. Glued blind hem
I use perfect hem from Vlieseline for the glued blind hem. This tape is just less than 40 mm wide and fits into my 40 mm wide hem. The tape consists of two thin layers that are held together with a blind stitch in the upper third. They are provided with adhesive dots on the outside.
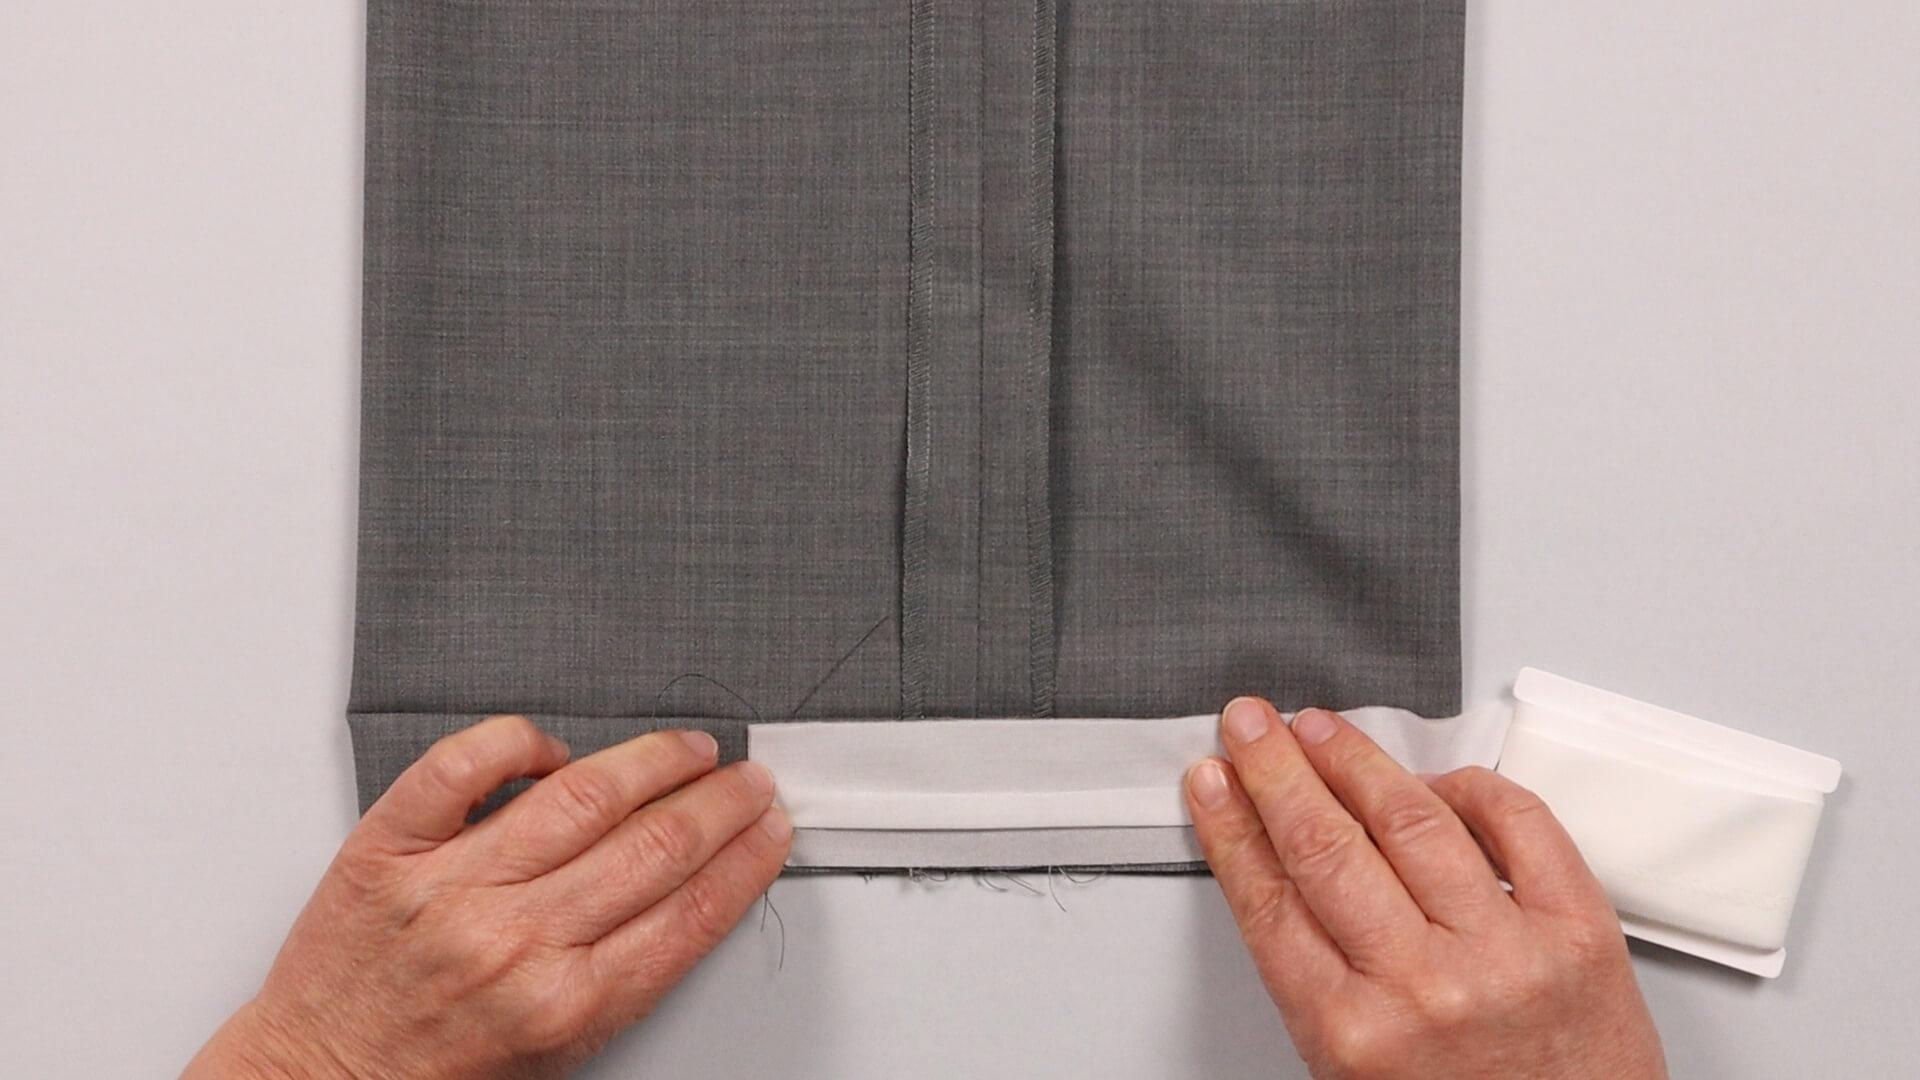
I place this tape on the inside of my hem edge and fold away the top layer of the tape.
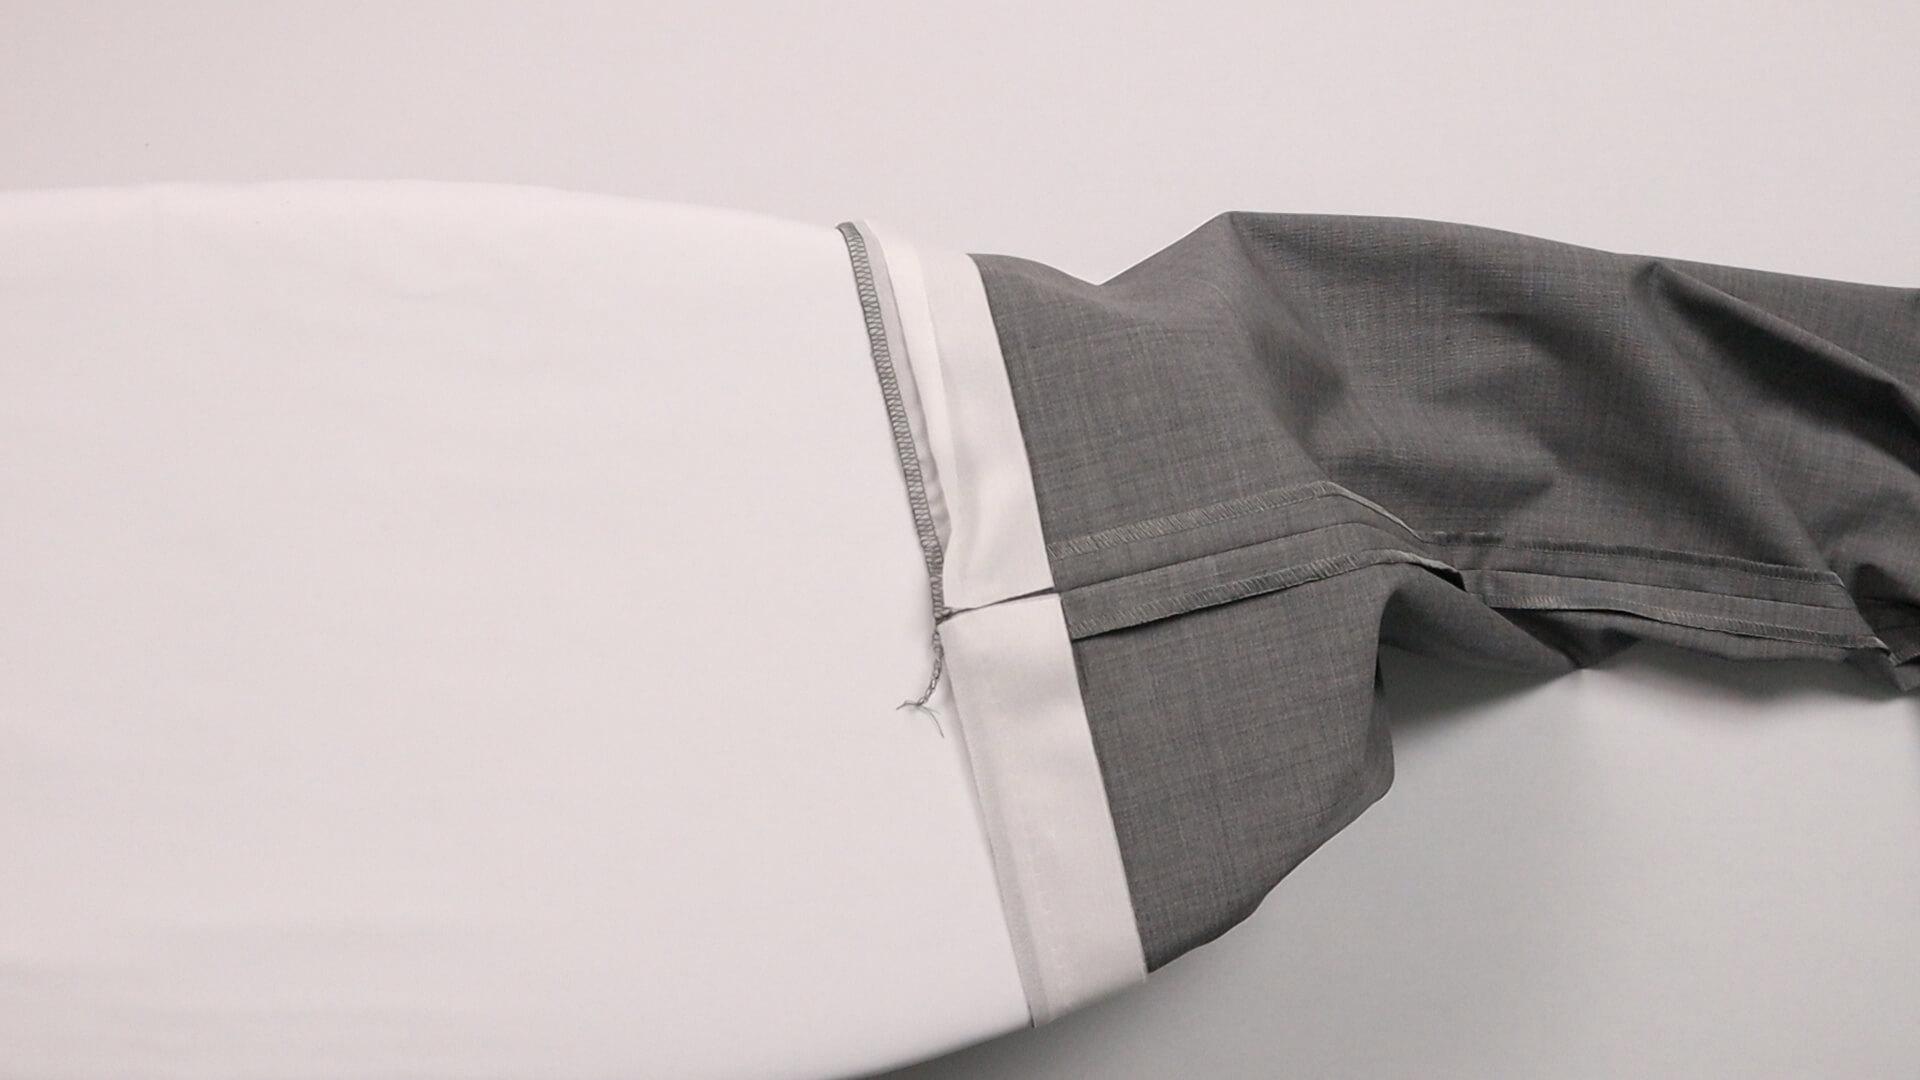
Then I finish my hem edge with the overlock or a zigzag stitch and make sure to only catch the bottom layer of the tape.
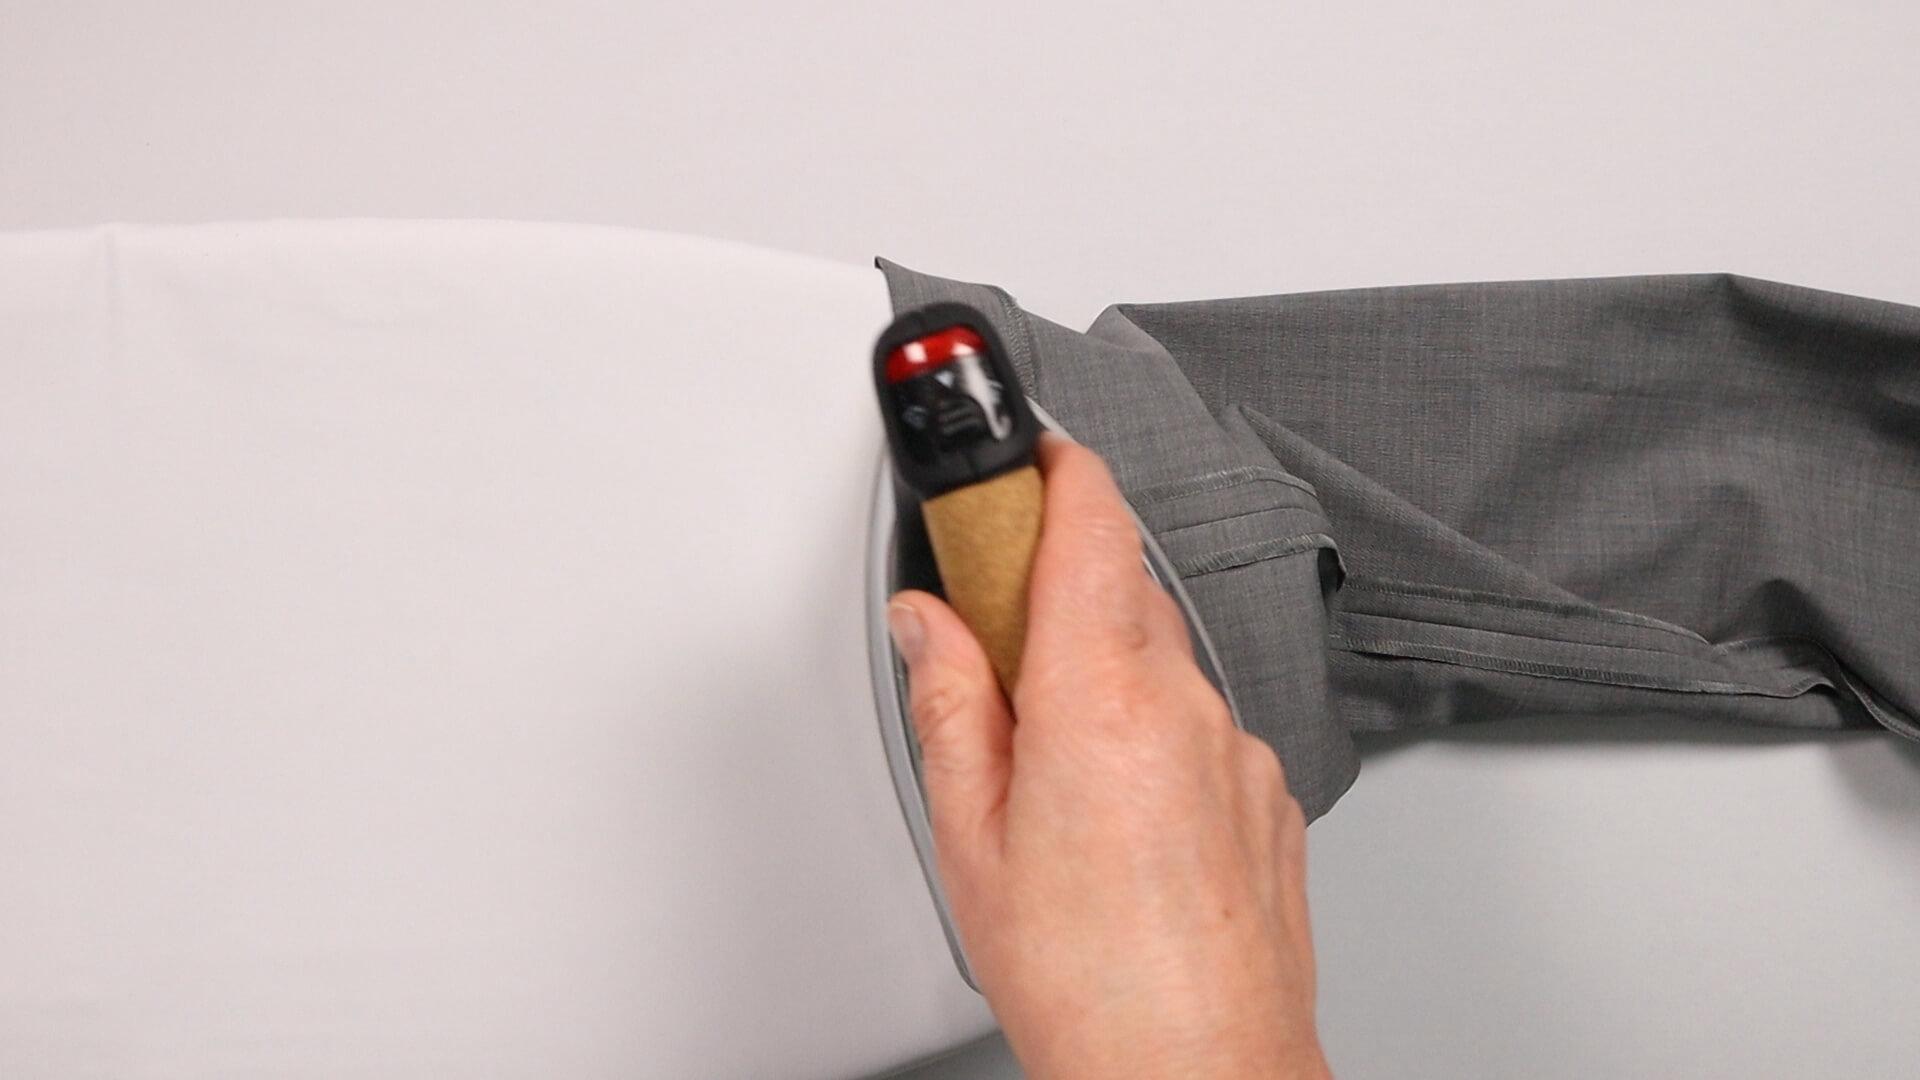
The wrap is folded over and ironed tight. I leave the iron on each spot for about 10 seconds. Follow the manufacturer’s instructions and test on a scrap piece beforehand.
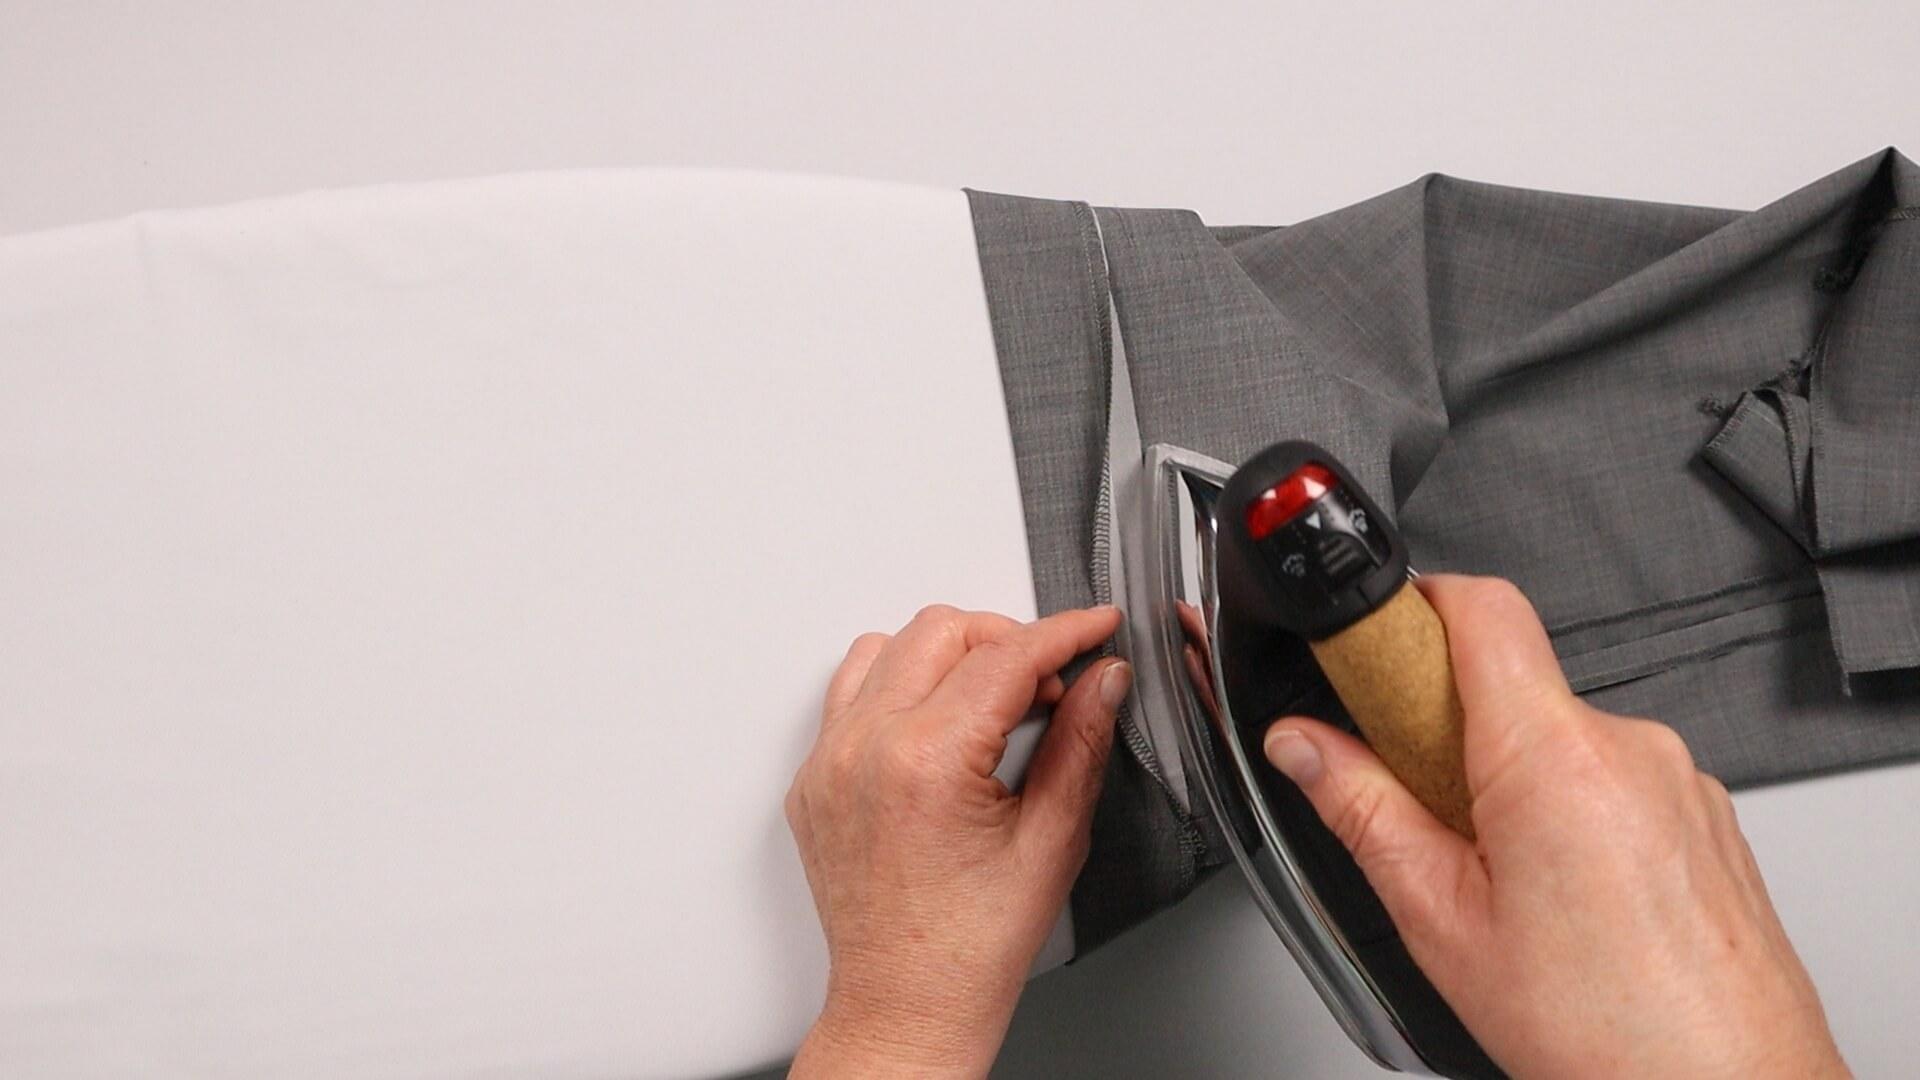
If necessary, you can also lift the hem up to press out any marks that are visible from the outside.
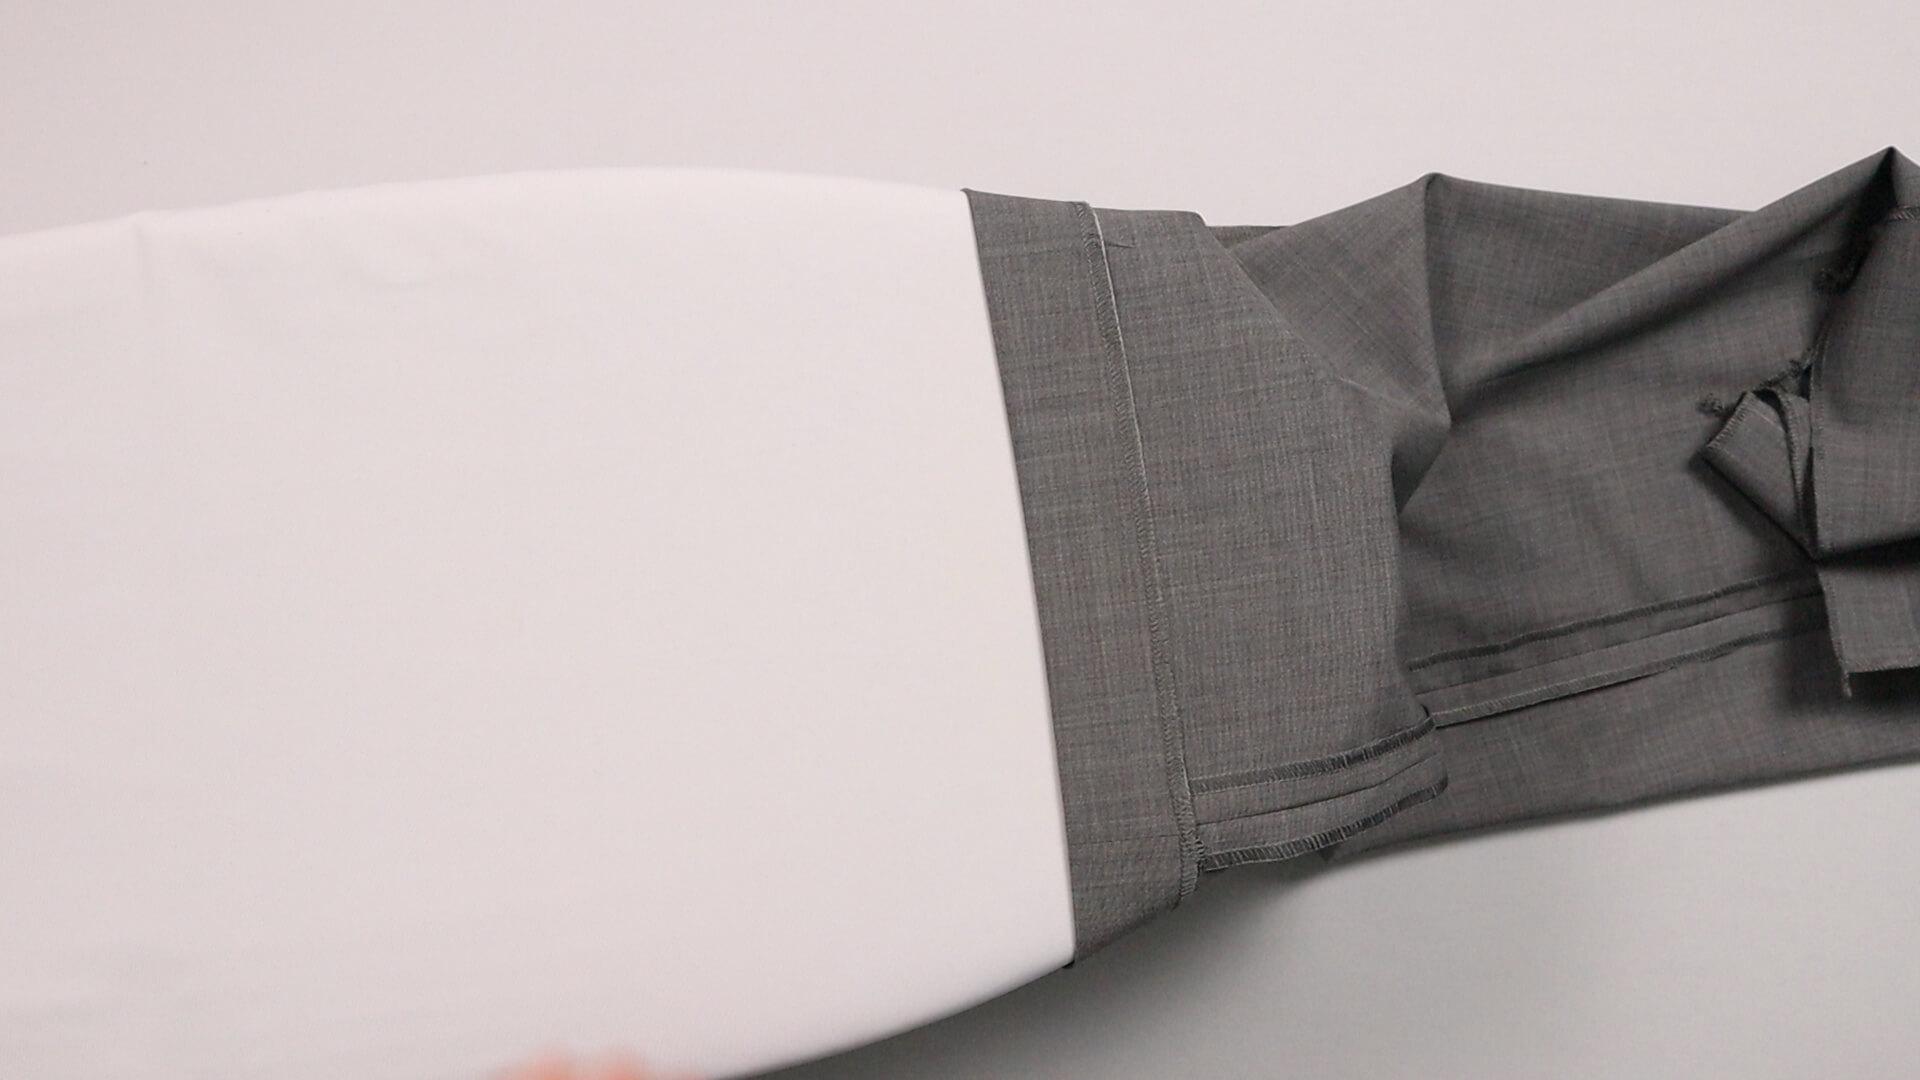
This is what the finished glued hem looks like from the inside.
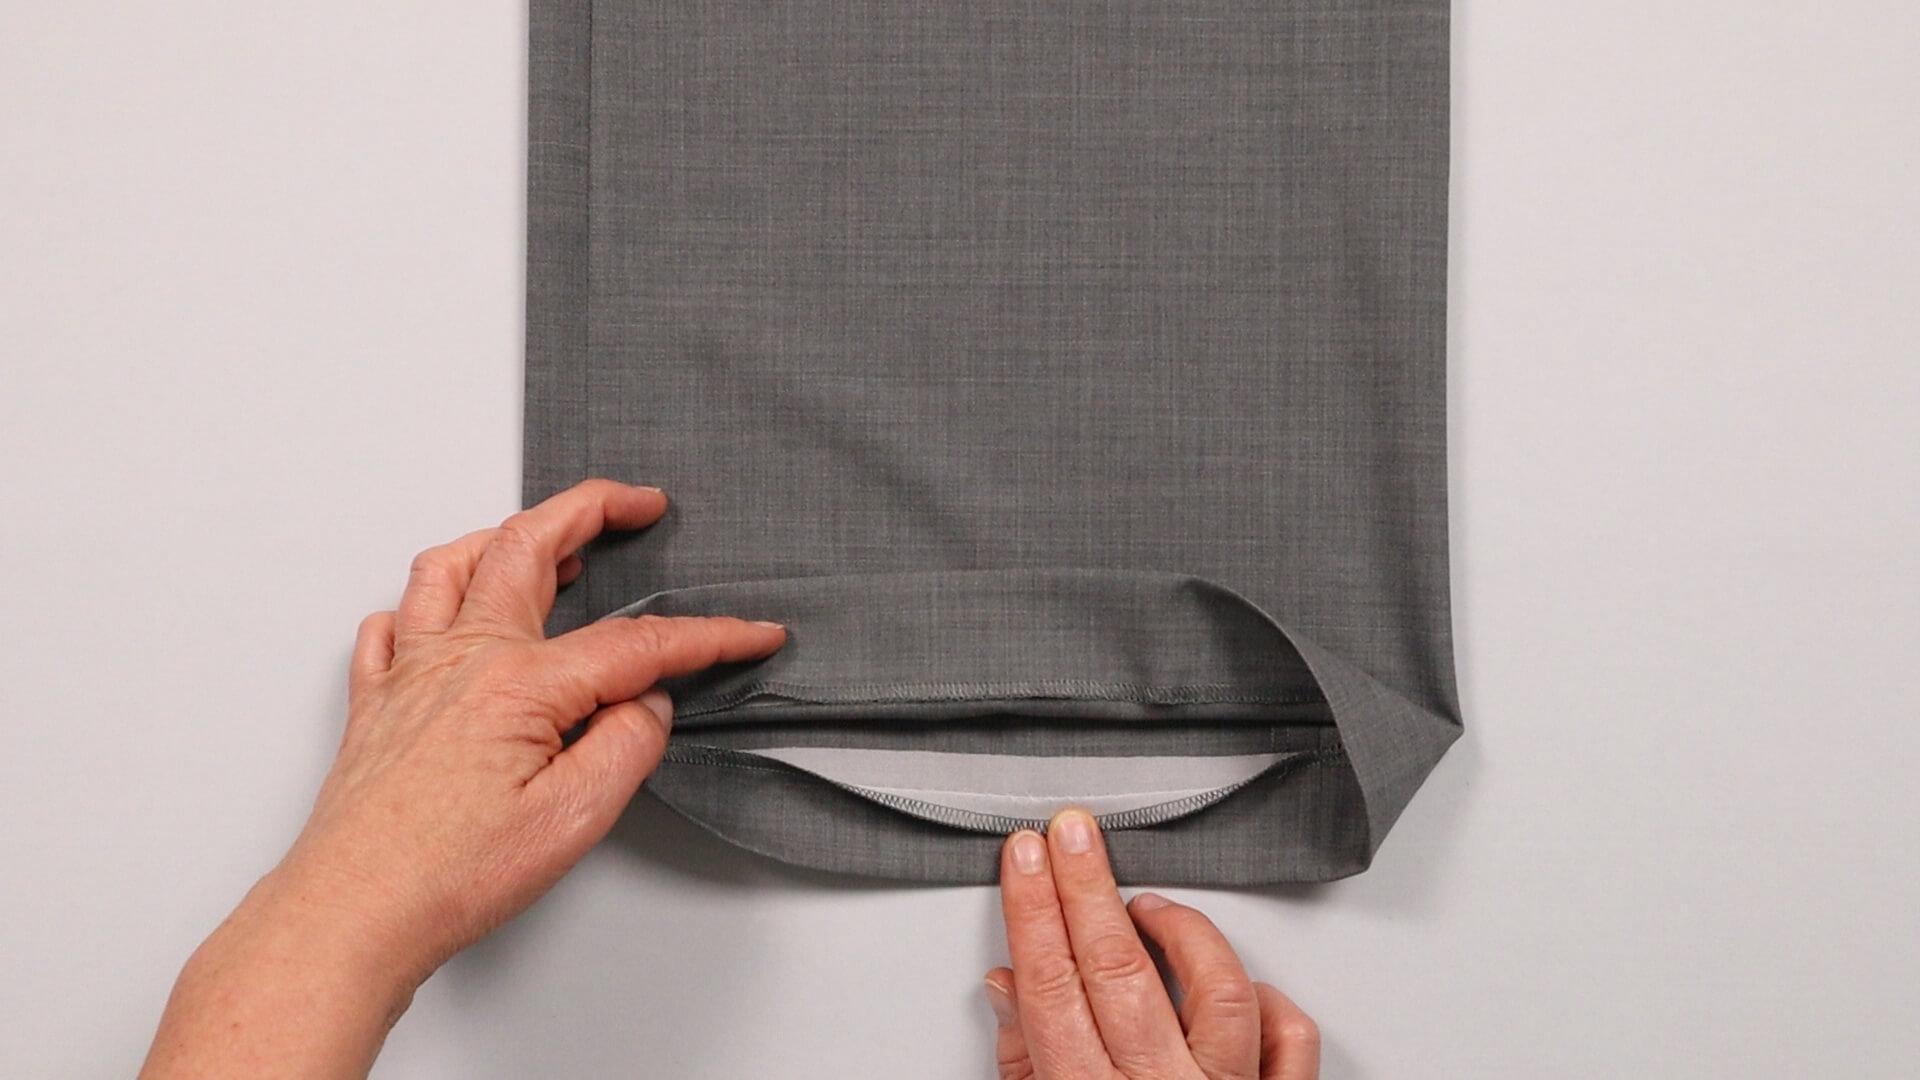
Here you can see how the top edge of the hem can be folded away because the tape is double-layered in this area.
8. Sew blind hem with the machine

First I finish the hem edge with an overlock or zigzag stitch.
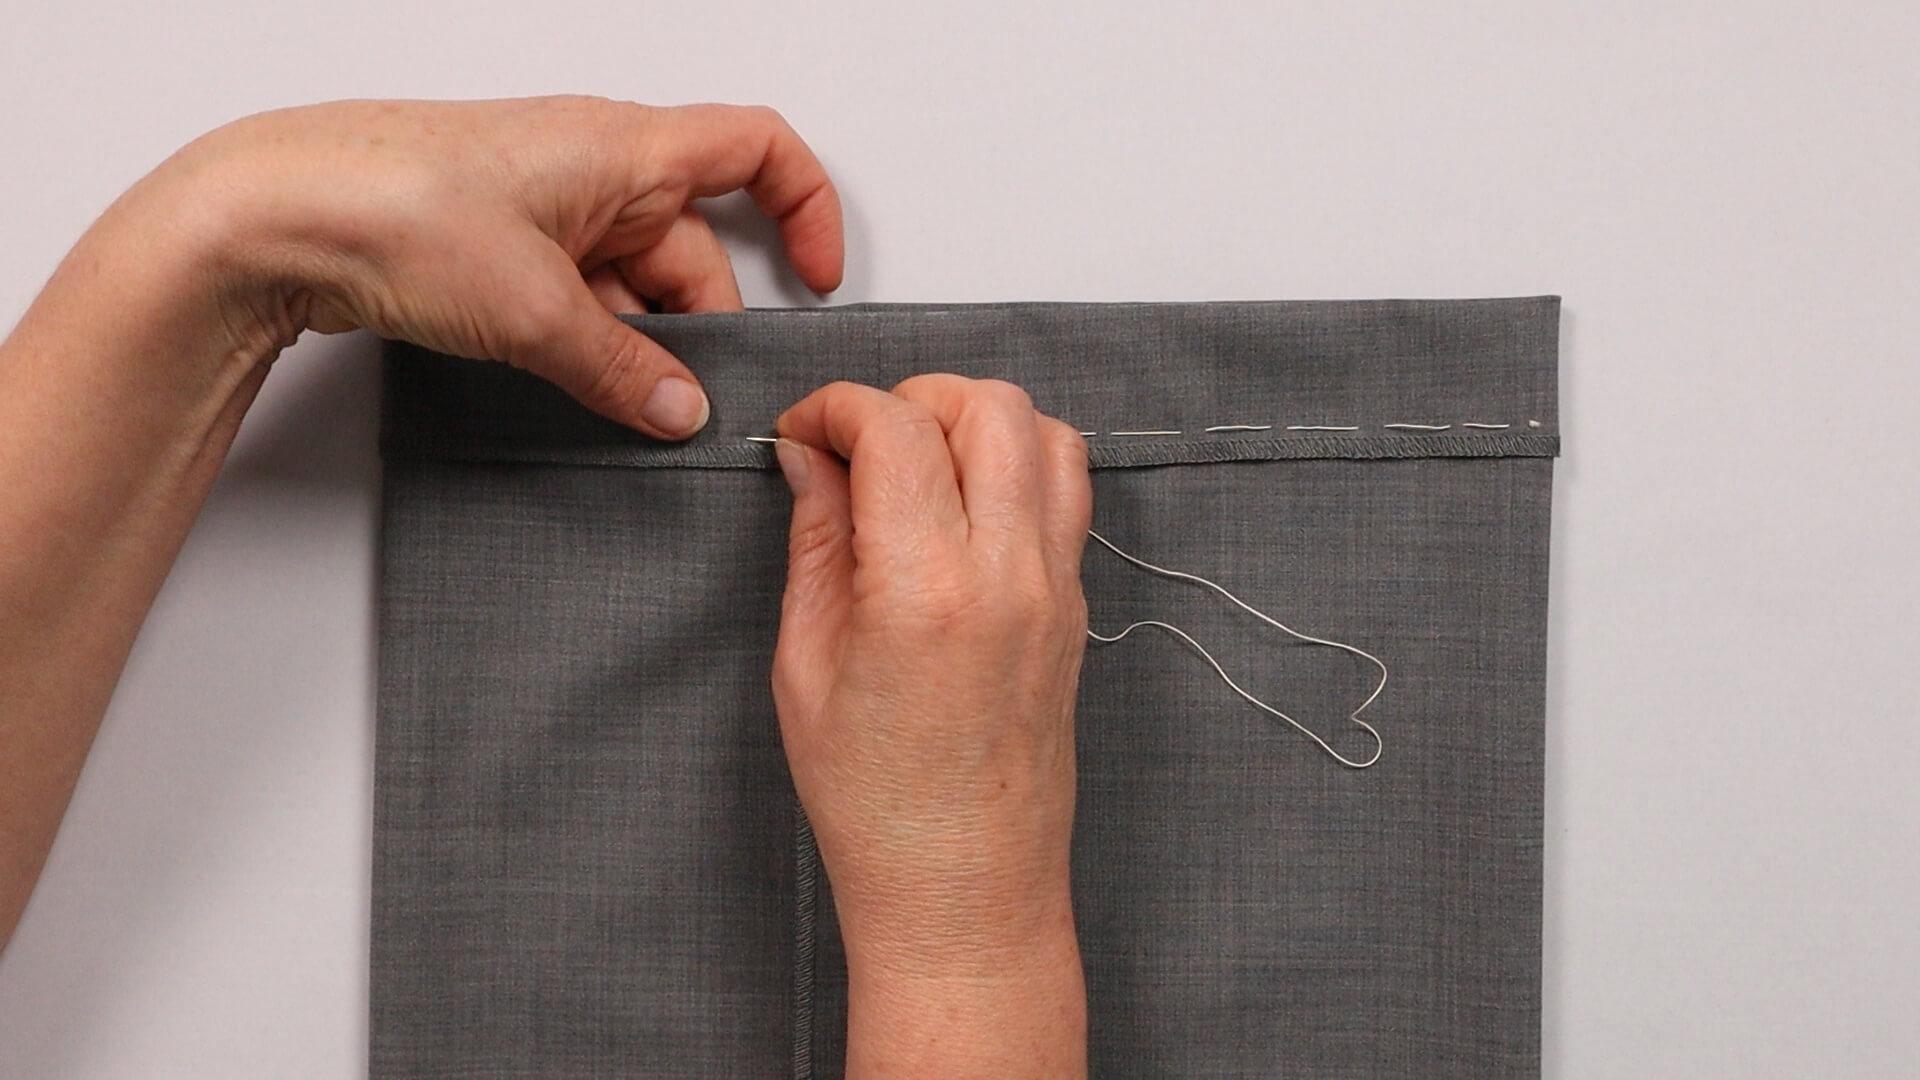
Then I baste the hem at a distance of approx. 8 mm from the cut edge or pin or clip it in place.
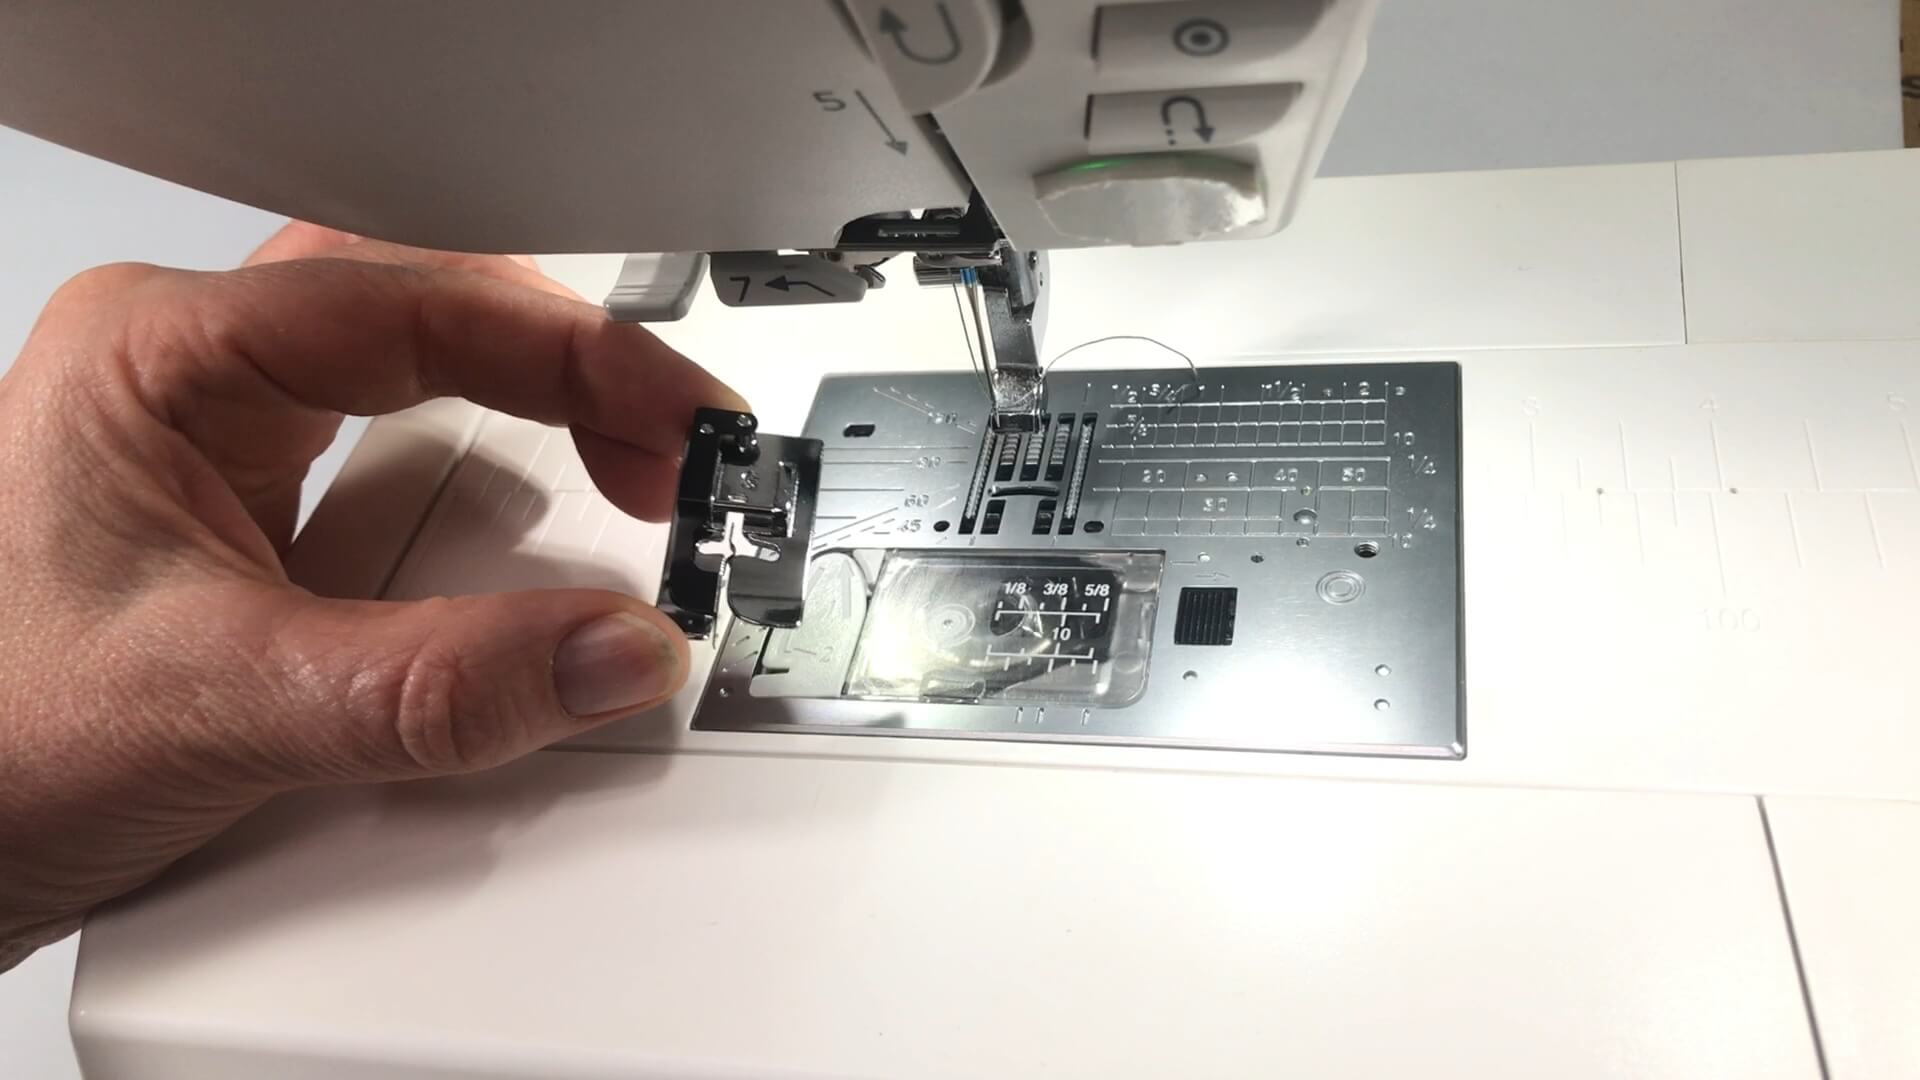
There is a special presser foot for sewing the blind hem with the sewing machine. This has a guide along which the outer layer of fabric is lead when sewing.
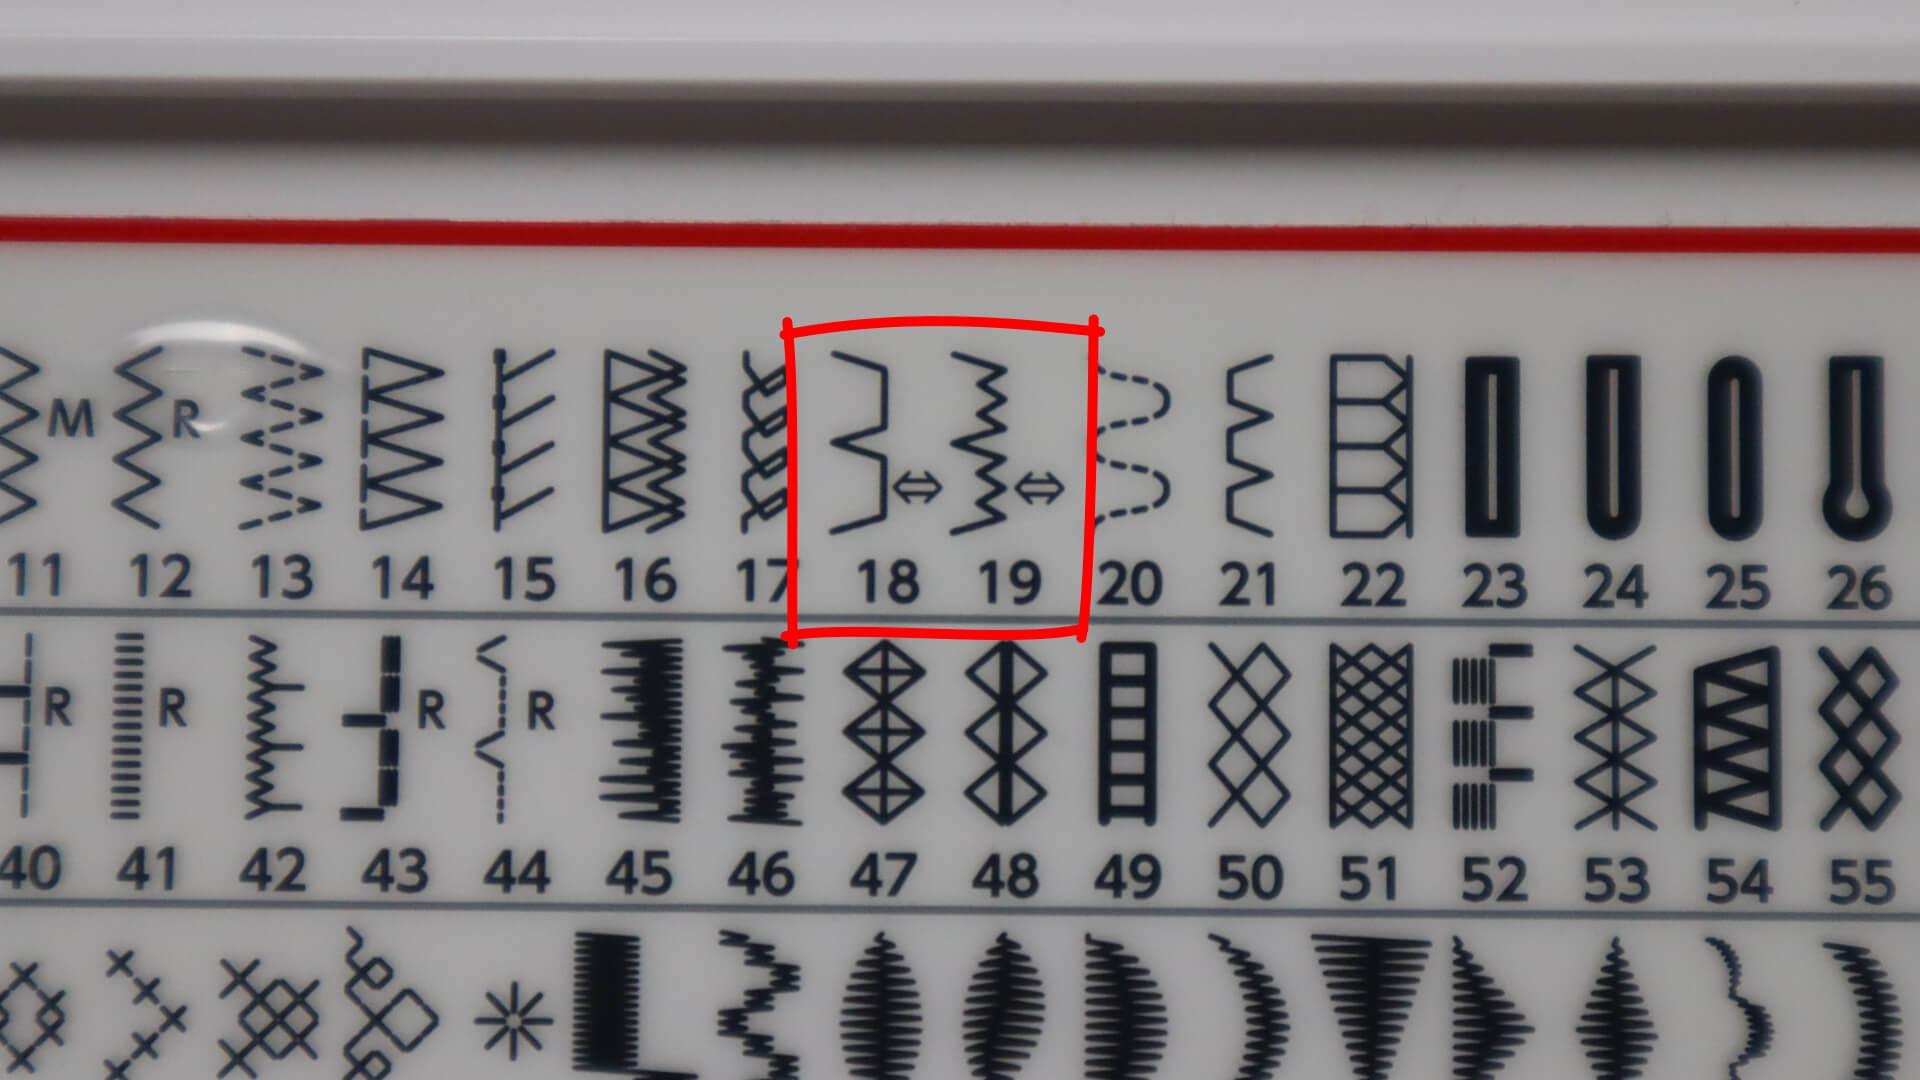
Then I set the appropriate program. My machine has one blind stitch each for woven and elastic fabrics.
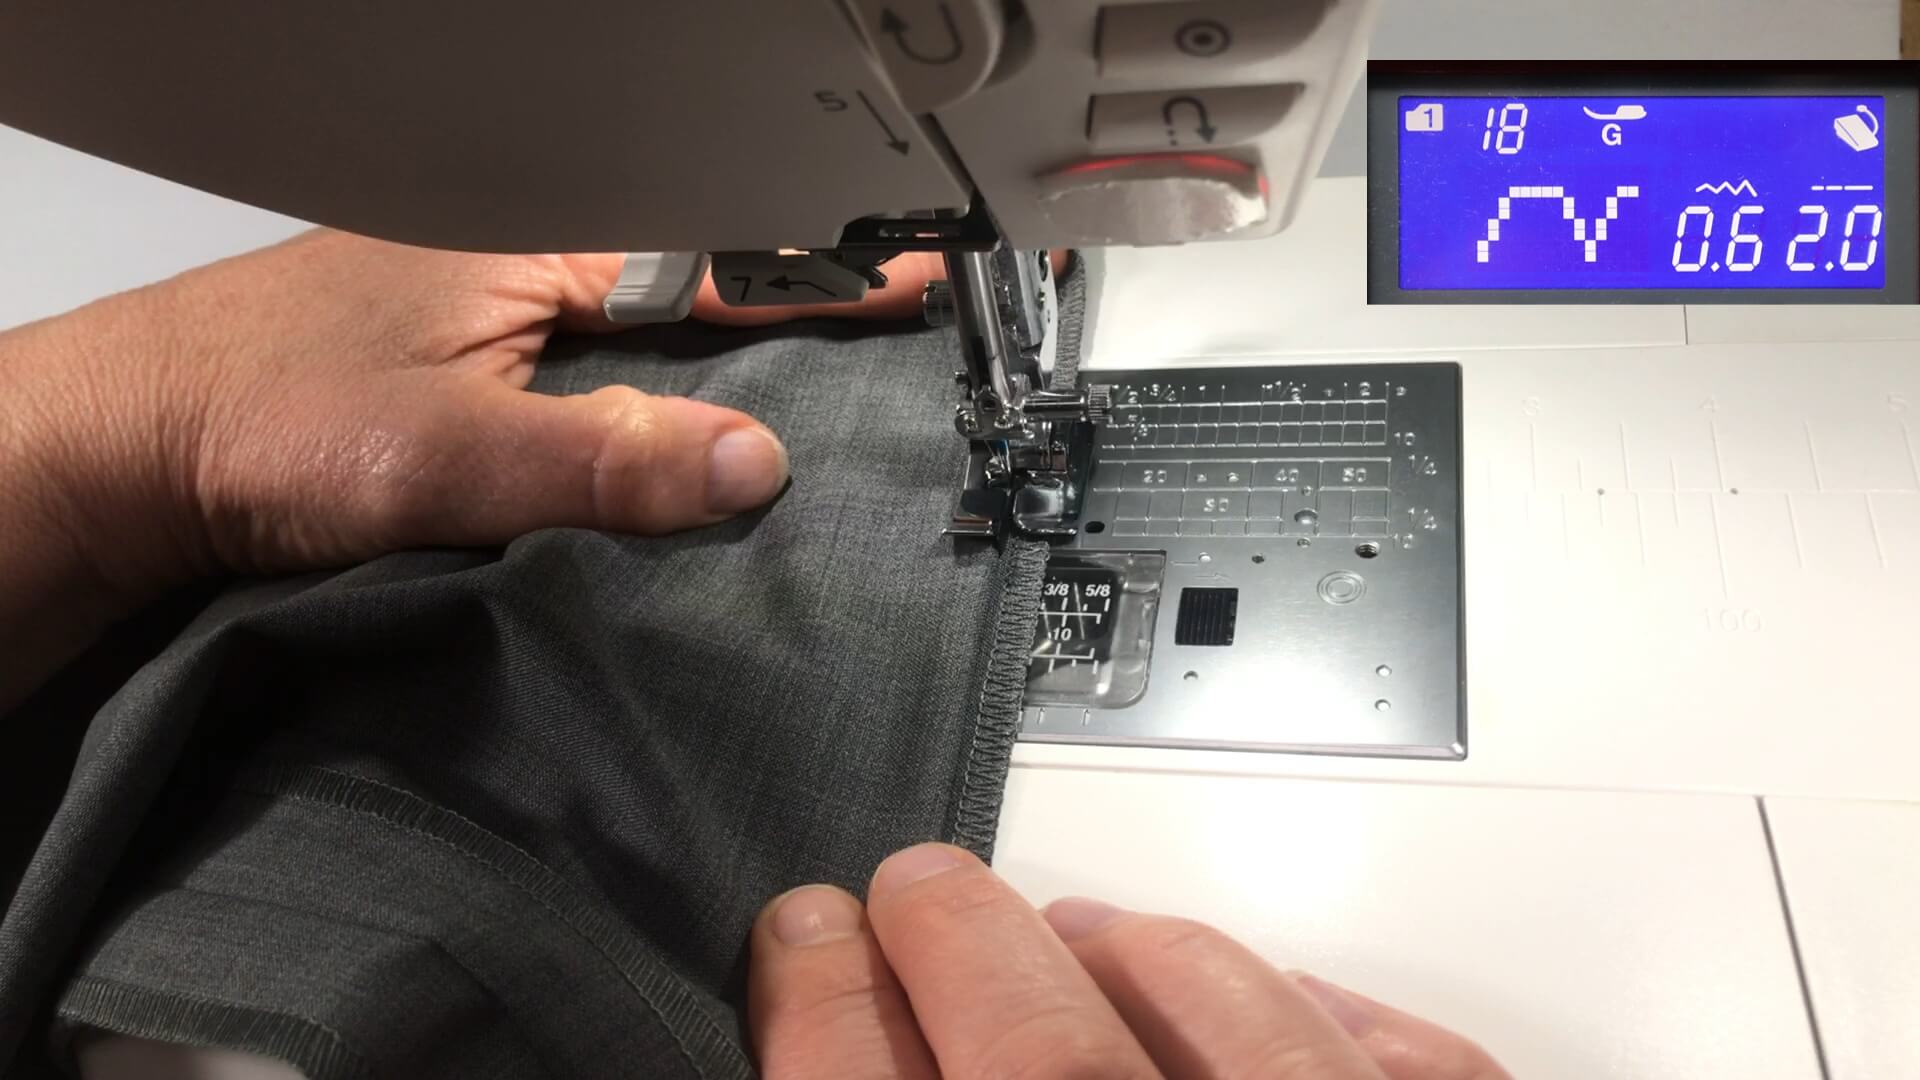
I fold the hem over from the inside and place the foot so that the distance between the hem edge and the guide is approx. 8 mm. The stitch works in such a way that several small stitches are stitched into the serged hem edge and then one stitch reaches to the other fabric layer.
I sew all the way around and the blind hem is finished.
9. Sew blind hem by hand

First, I finish the hem edge with an overlock or zigzag stitch.

Then I baste the hem at a distance of approx. 8 mm from the serged edge.
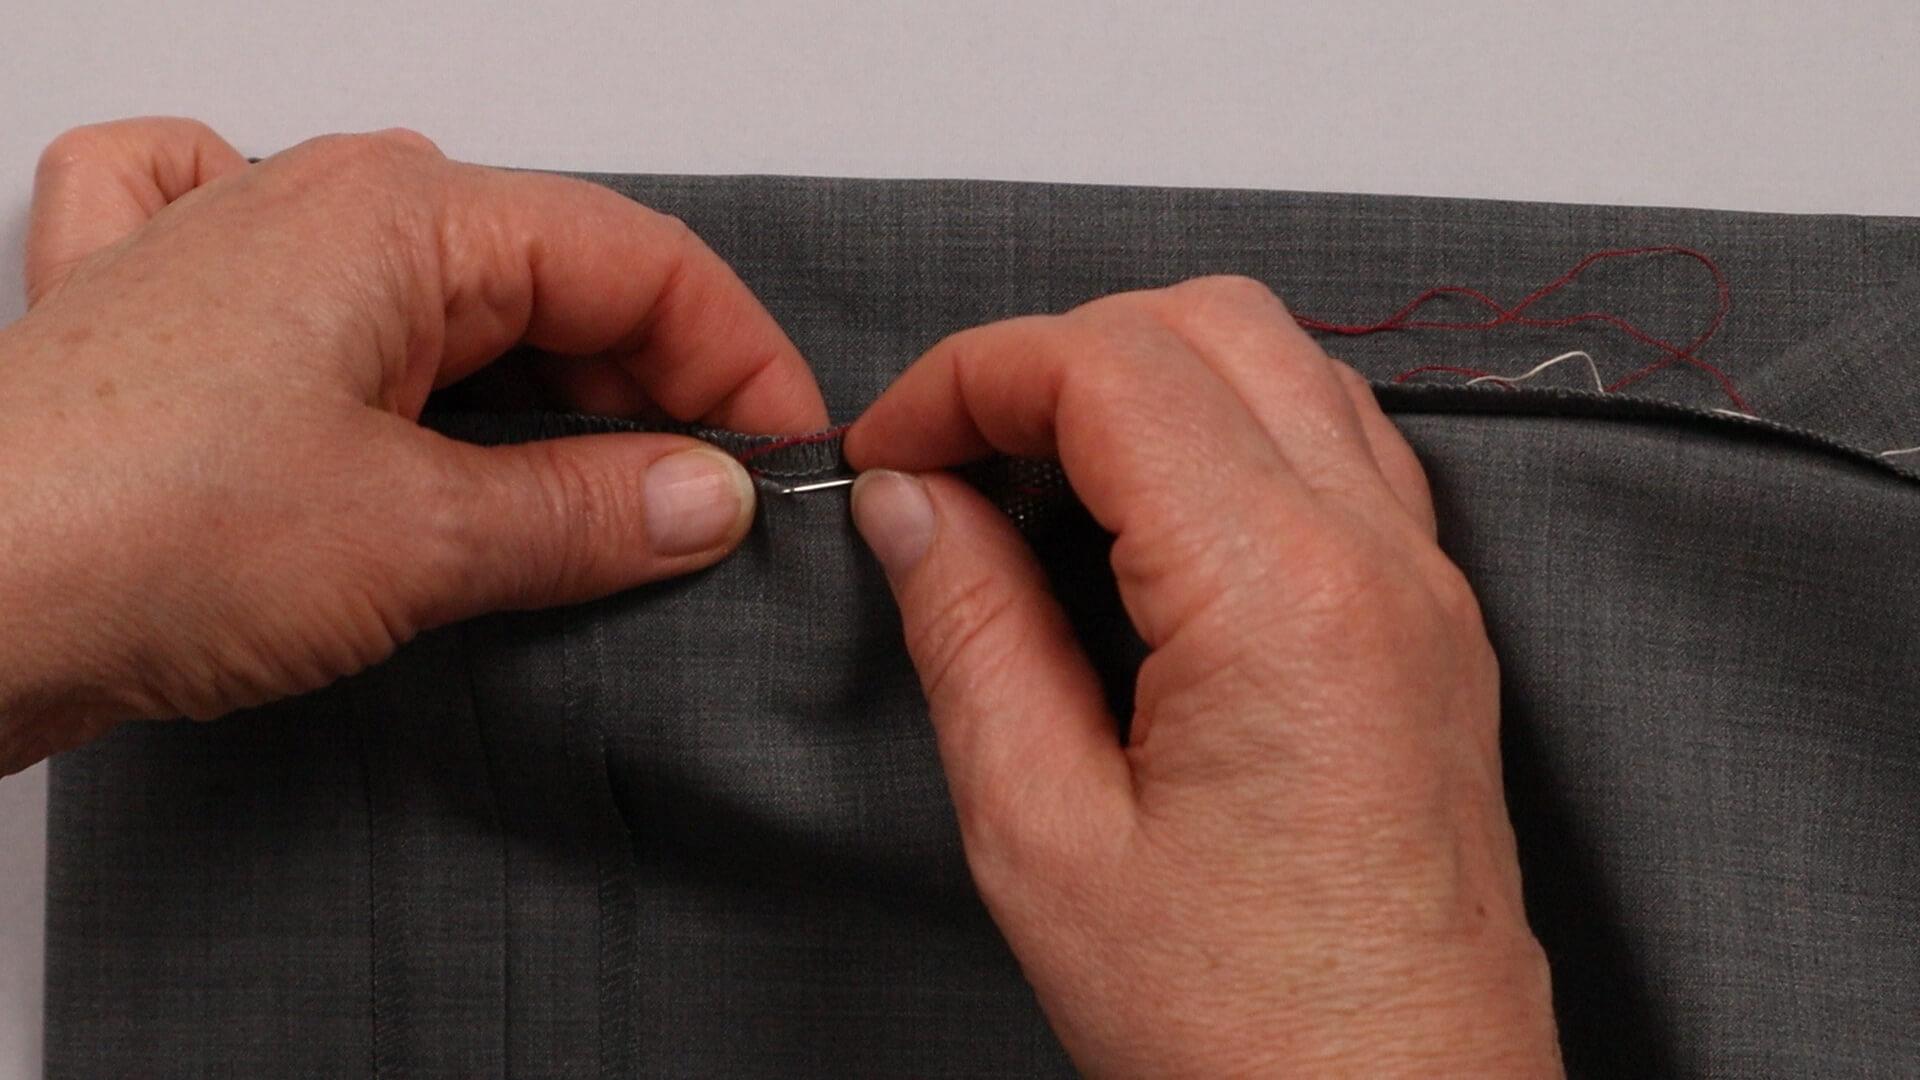
In this example, I use a contrasting colored thread for sewing so that the stitch is easier to see.
I iron the yarn with steam beforehand.
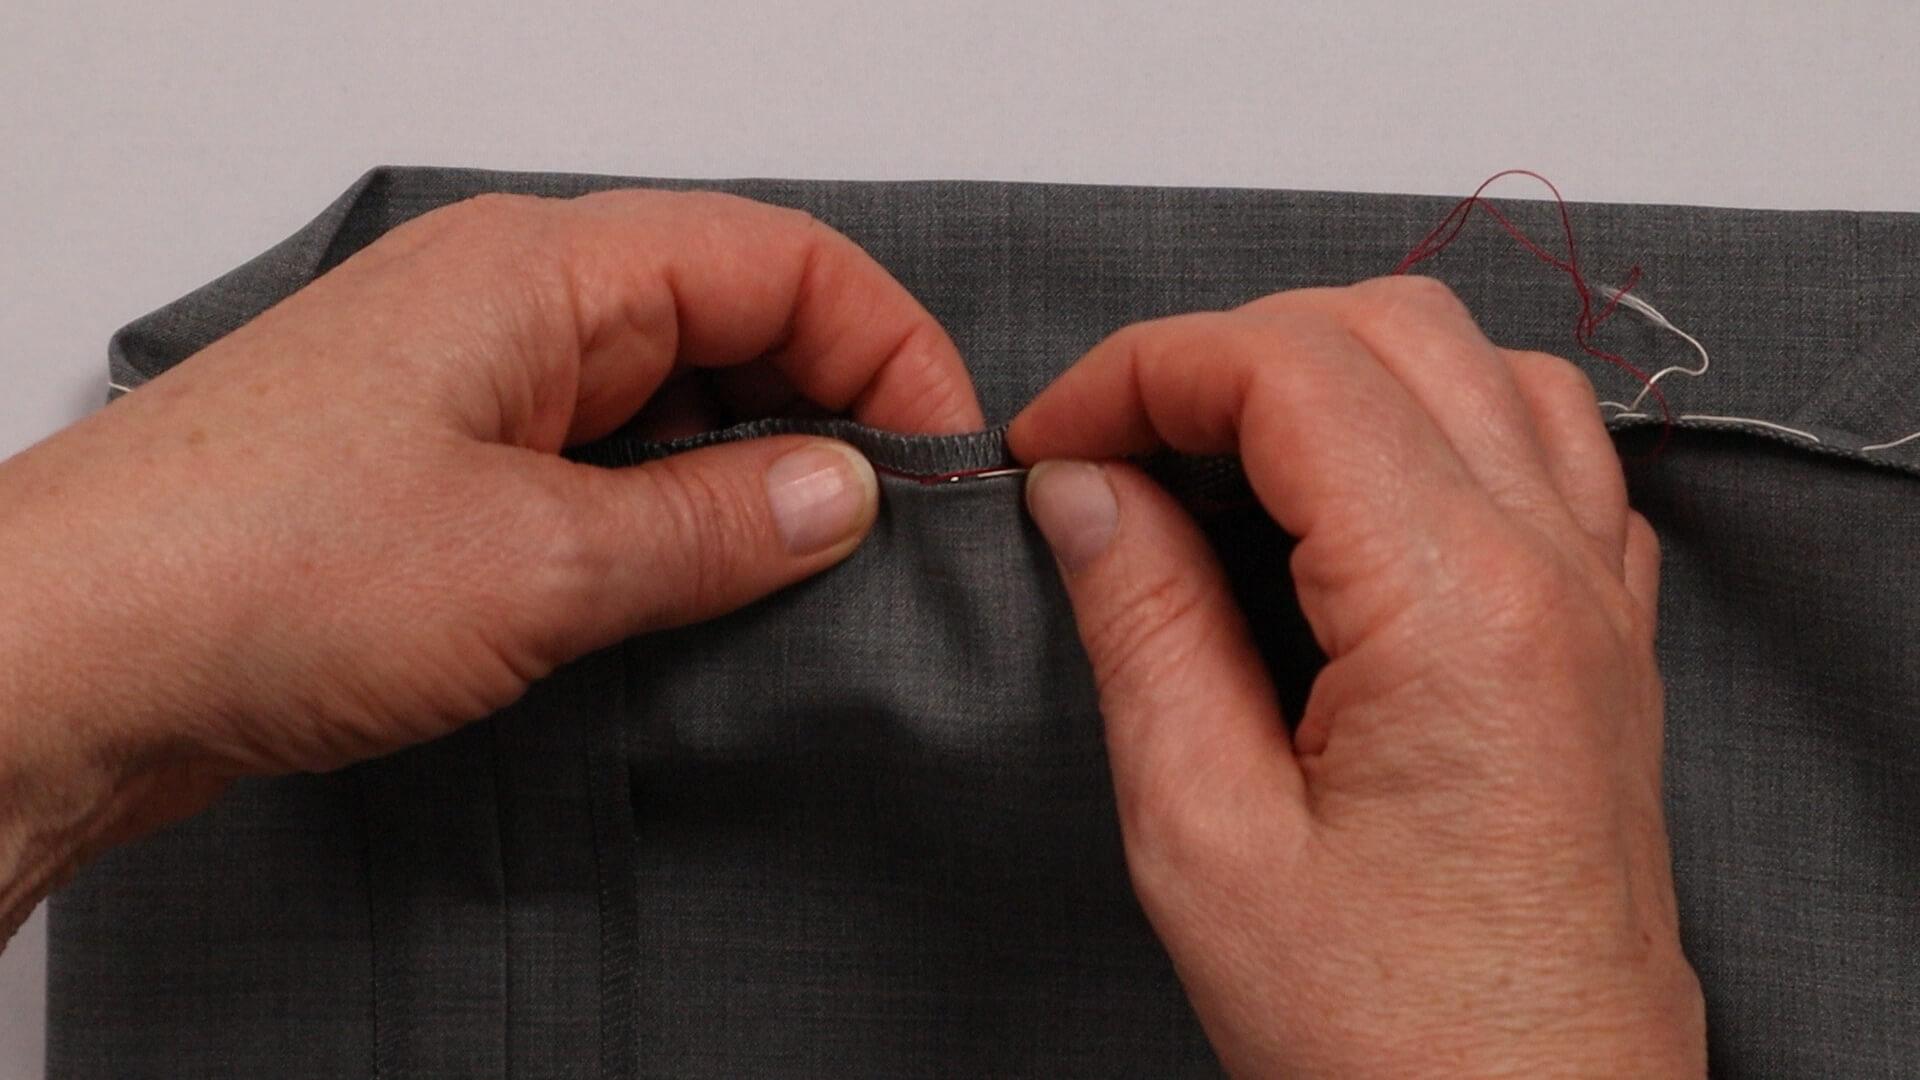
I turn the hem to the outside at the basted seam and use the herringbone stitch. The thread is not pulled tight, but remains relatively loose.
I start with an approx. 3 mm long stitch through the turnedin hem. Then I carefully stitch through 1 to 2 threads of the folded outer fabric approx. 4 mm further to the right, taking care not to stitch through to the outside. Approx. 7 mm further to the left, I make the 3 mm long stitch through the turnin again and repeat the stitches. After three to four stitch sequences, I make another back stitch on the turnin side. This prevents the entire thread from unraveling if you accidentally get caught in it. At the end, I secure the end of the thread into the seam allowance.
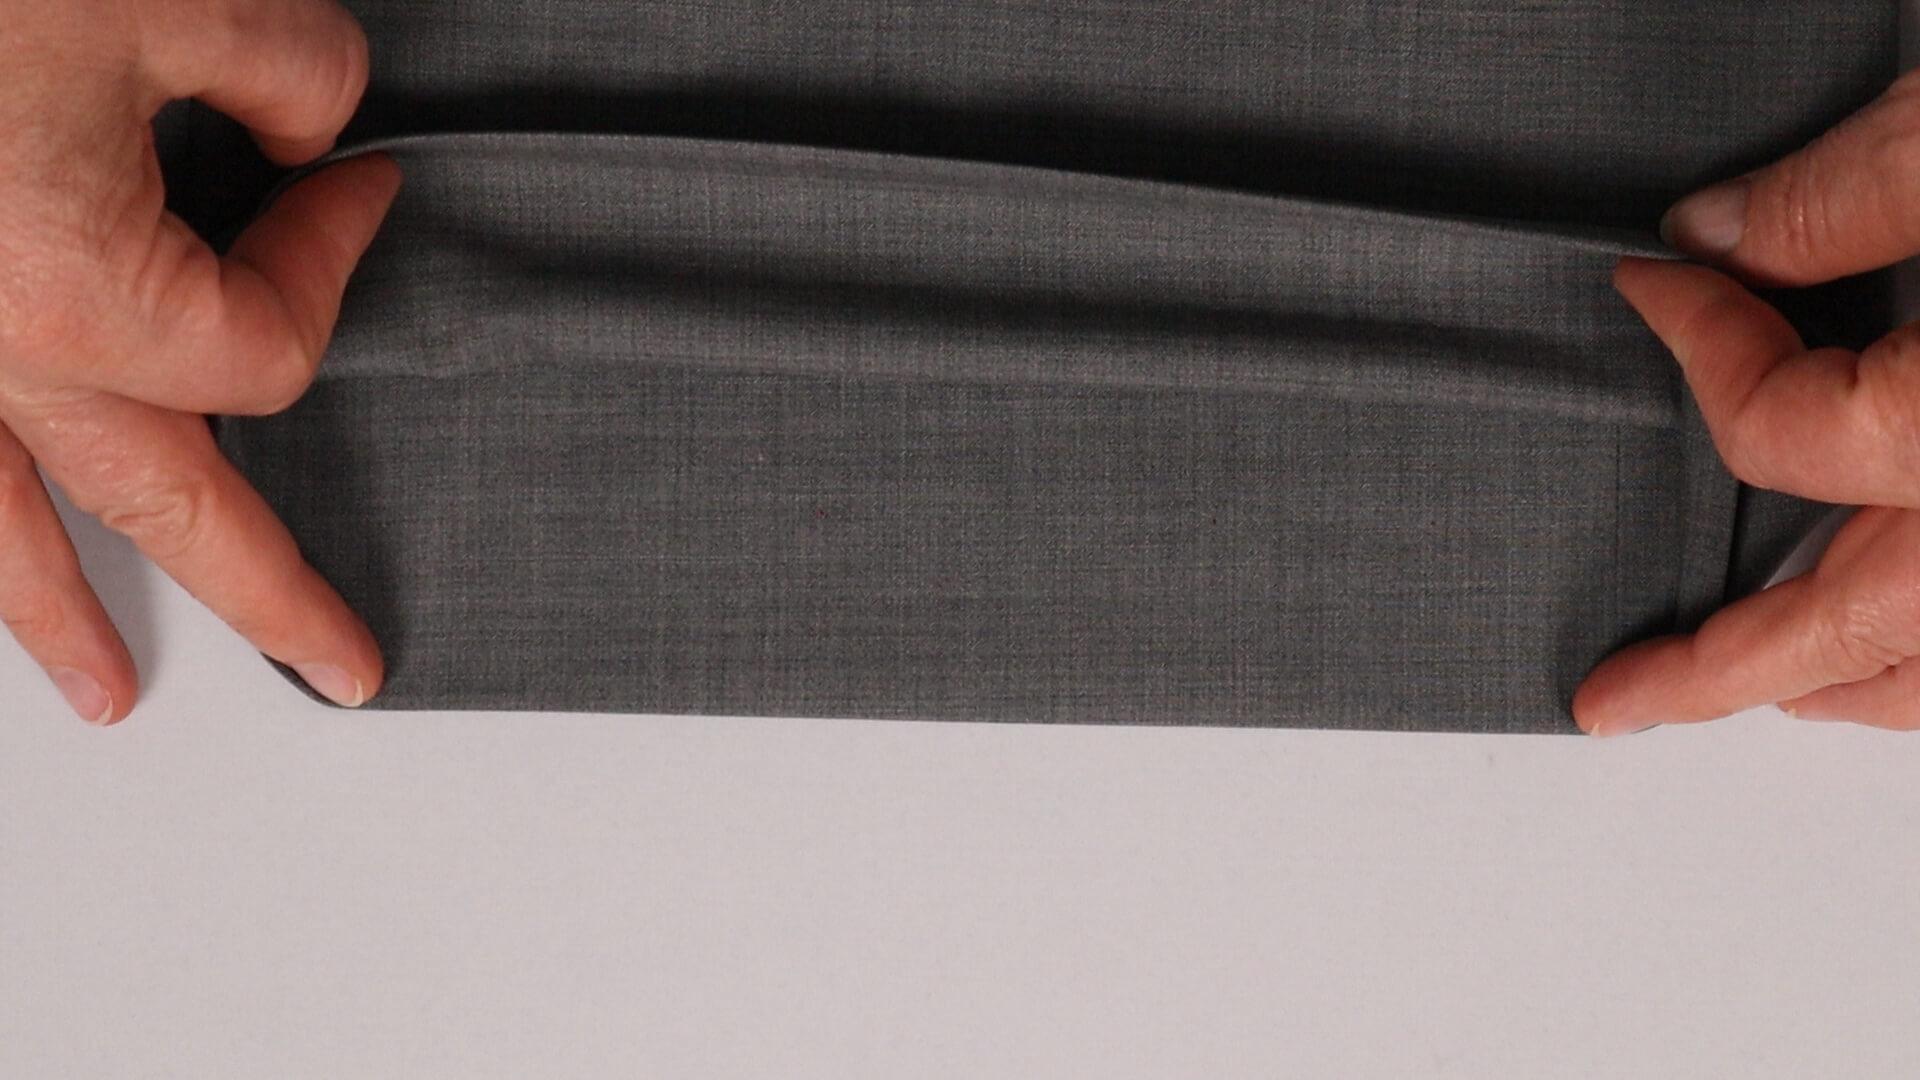
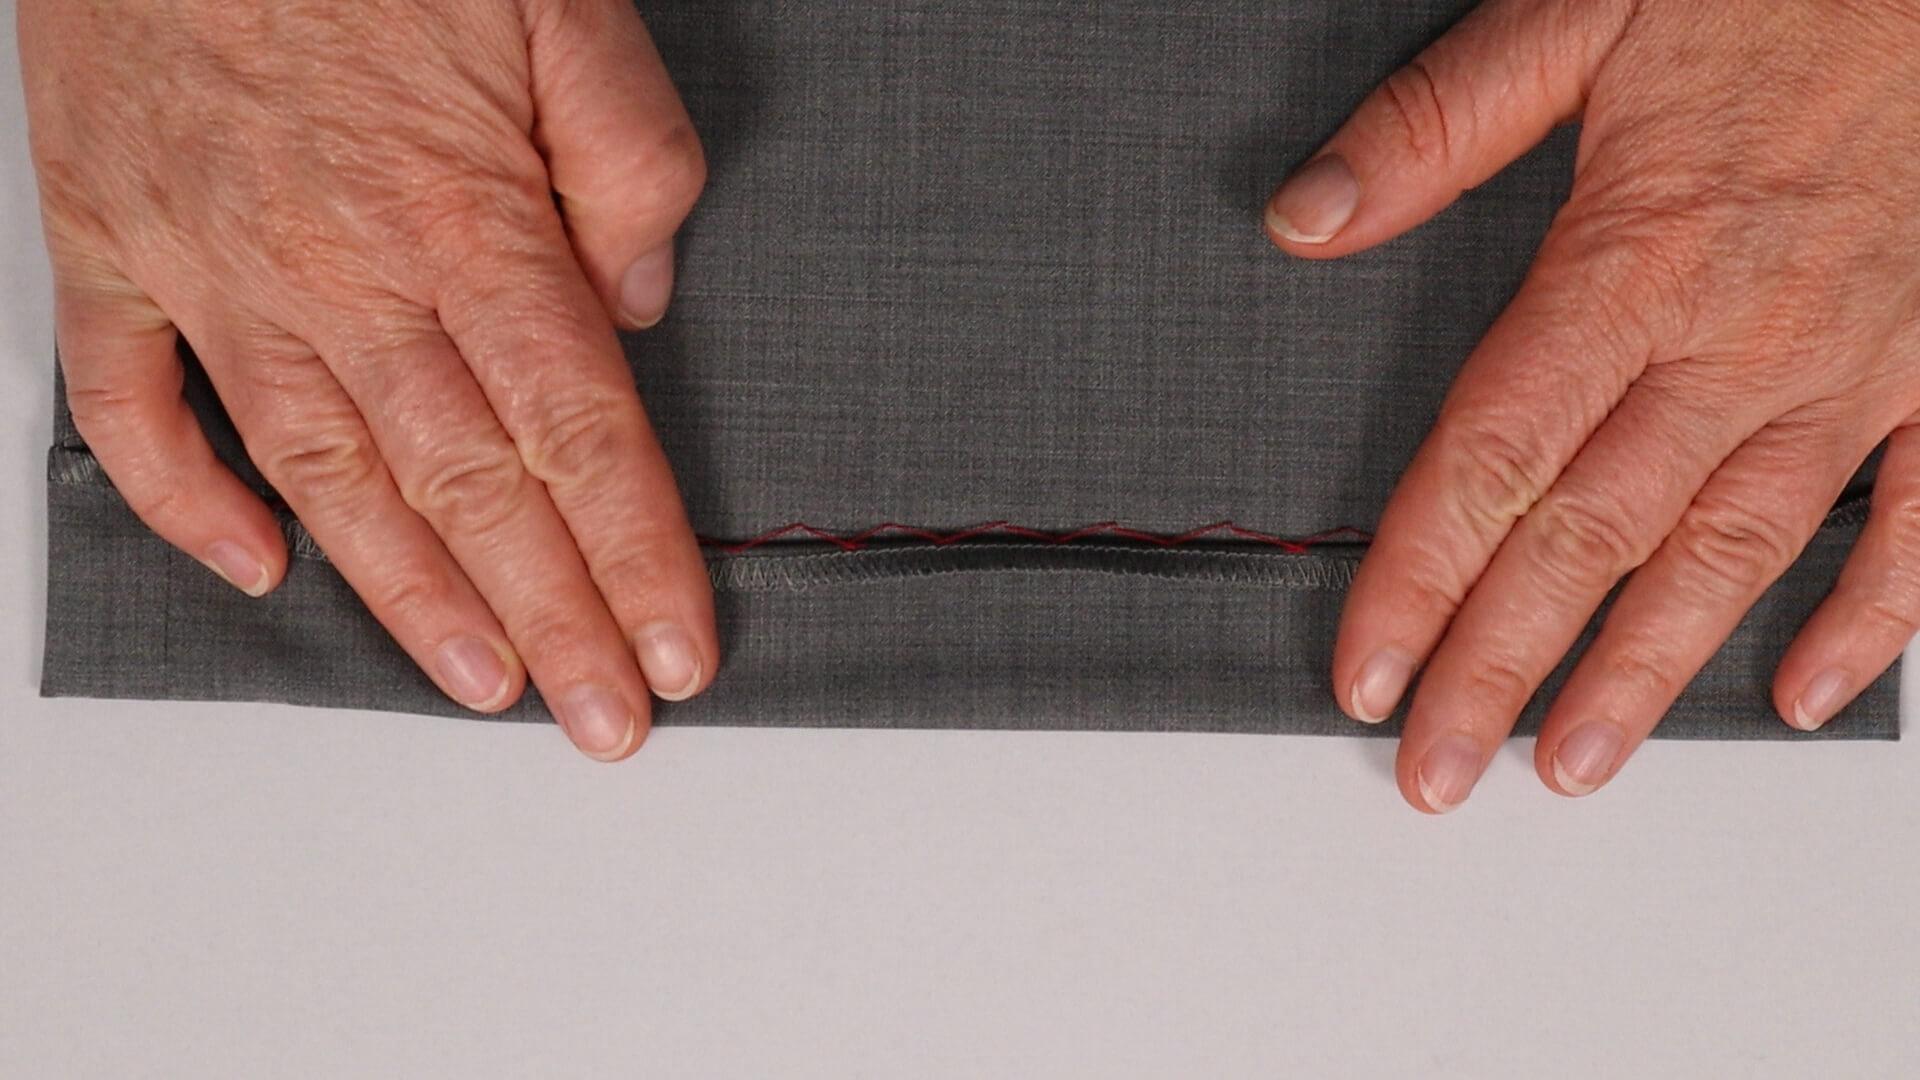
This is what the finished handsewn blind hem looks like. The thread cannot be seen from the outside.
10. Finished blind hem variants
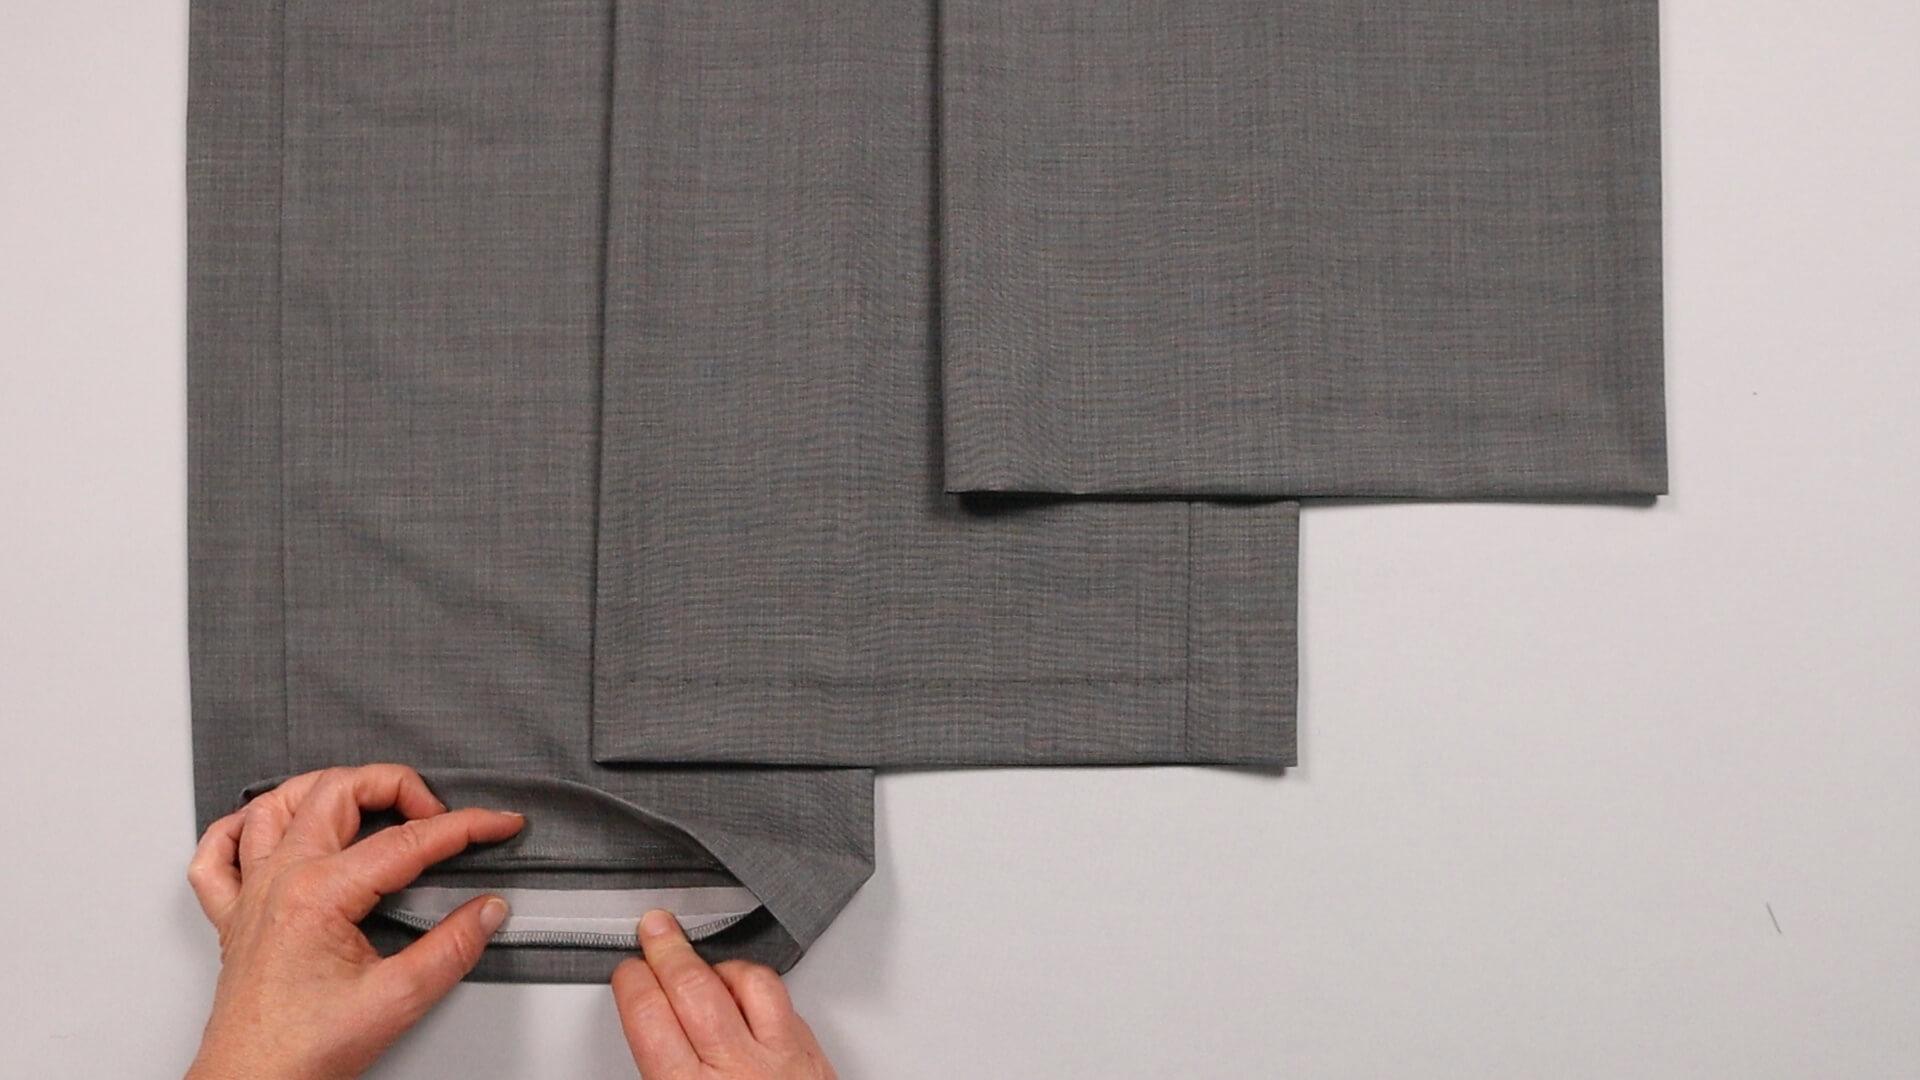
Here you can see the three variations – glued hem, blind hem with machine stitch and hand-stitched hem – side by side.
If you have opted for pressed pleats, these are now also pressed in the hem area.
If you also want to add a crease to the back of the trousers, you can find the corresponding instructions here.
Here you will find the link to the next step:
If you’re not quite ready yet and perhaps want to start at the beginning, you’ll find some links here:


