
Loading cart contents...


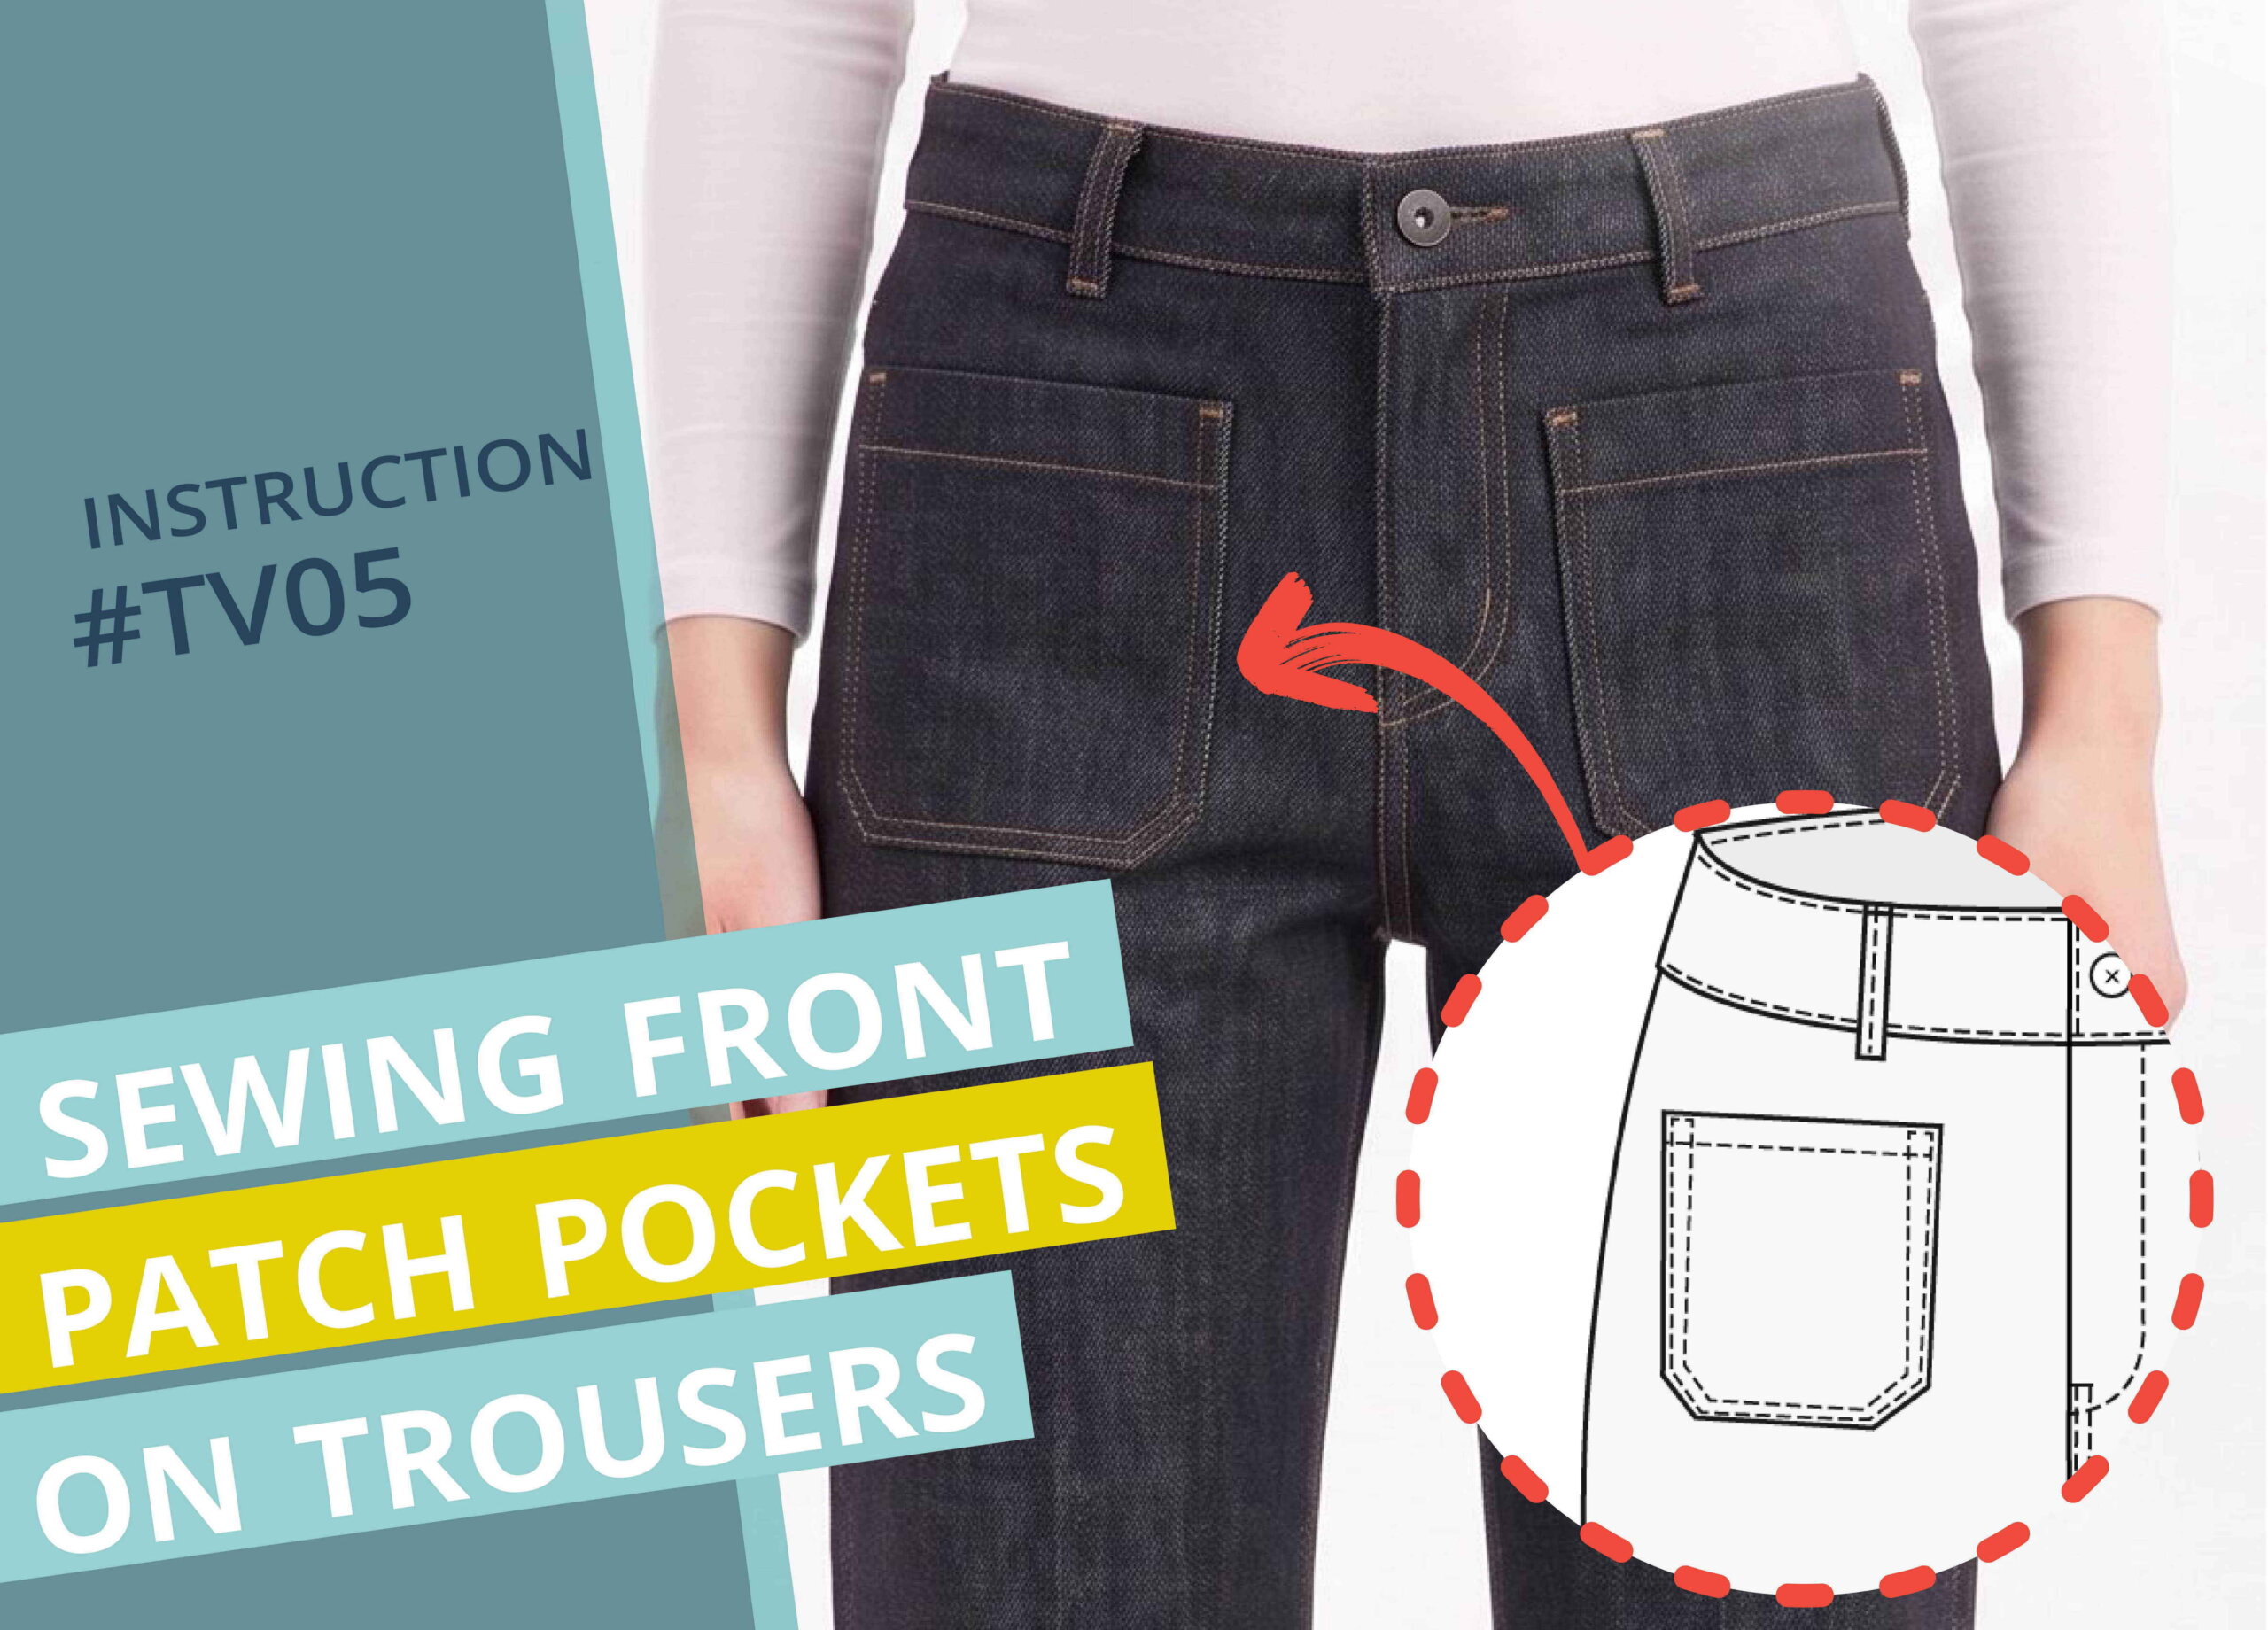
Sewing Front Patch Pockets #TV05
In this tutorial, I’ll explain step by step how I sew front patch pockets on trousers.
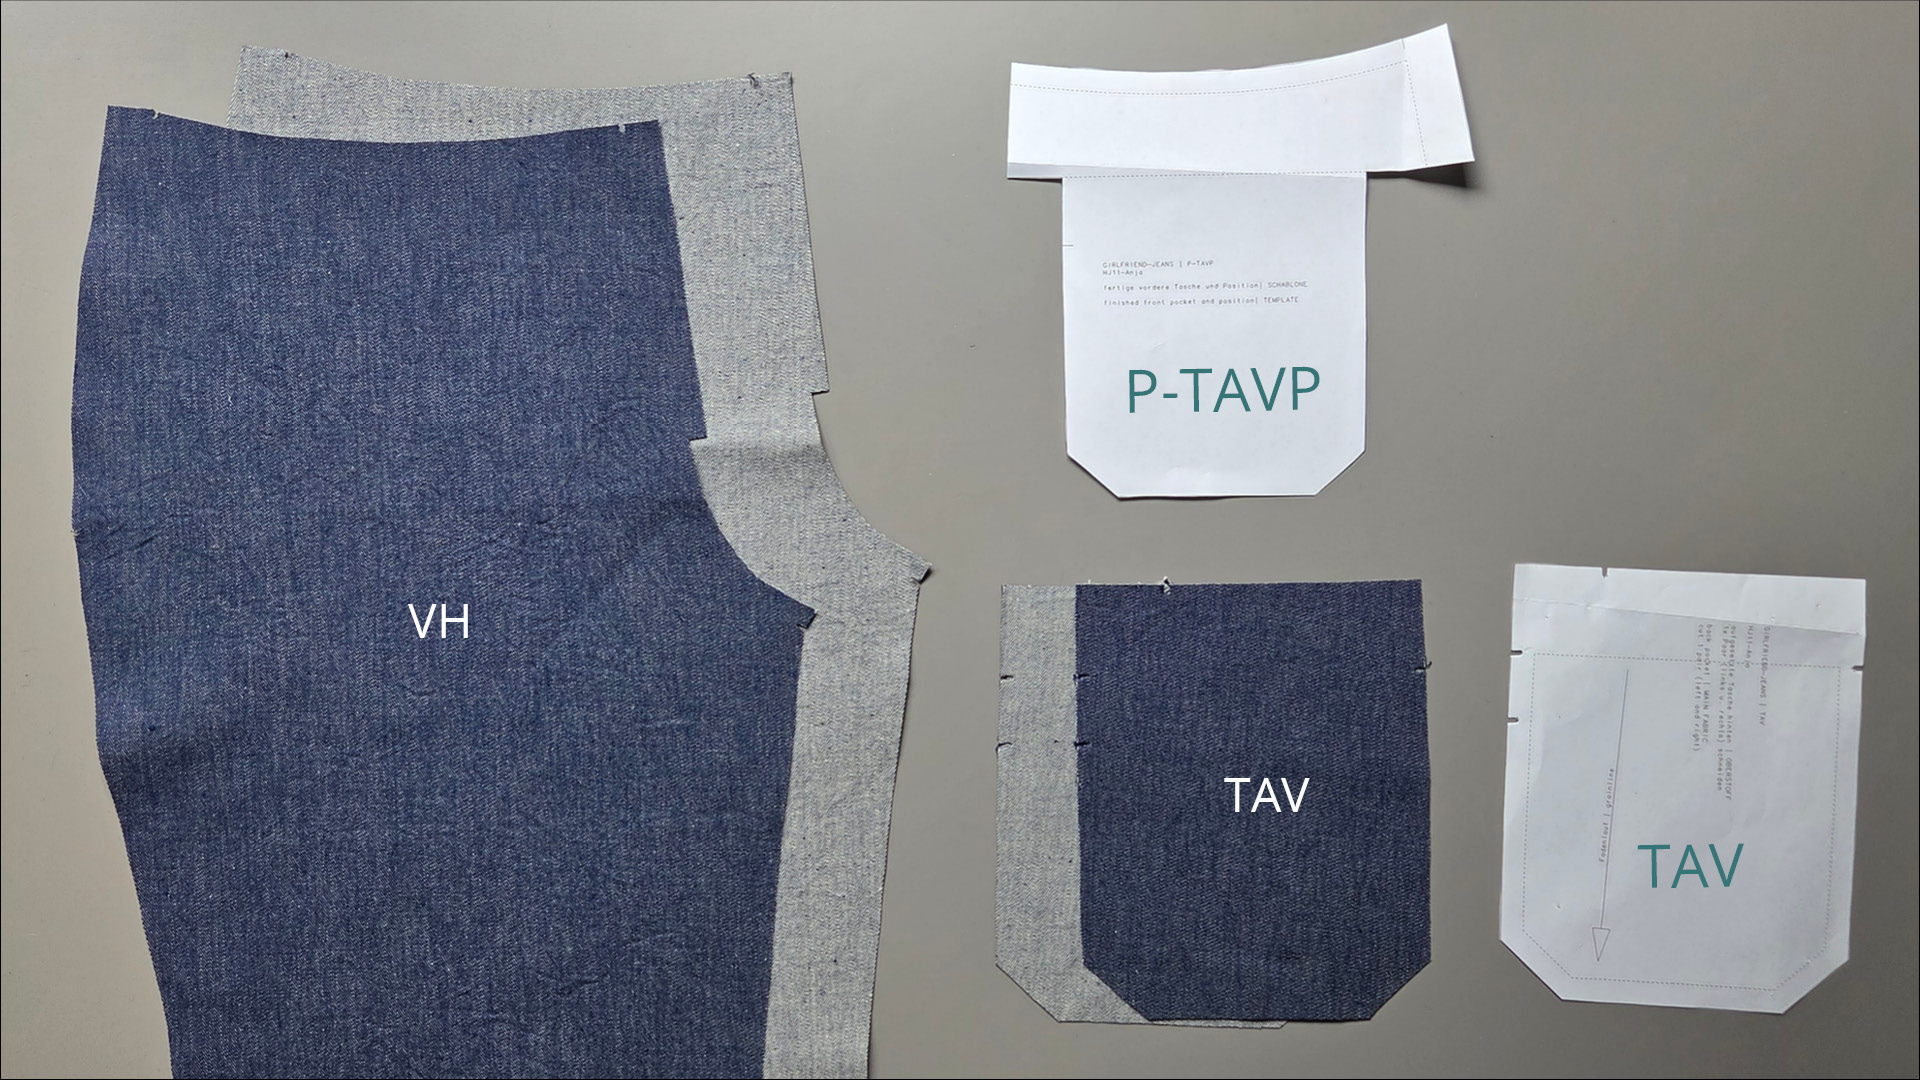
Pattern pieces made from main fabric:
- Front (VH) – 1 pair
- Front patch pocket (TAV) – 1 pair
Paper pattern pieces:
- Template for the front pocket position (P-TAVP)
Tools and aids:
- Pins or clips
- Chalk or marker pen
- if necessary, a pressing ruler
2. Prepare the front patch pockets
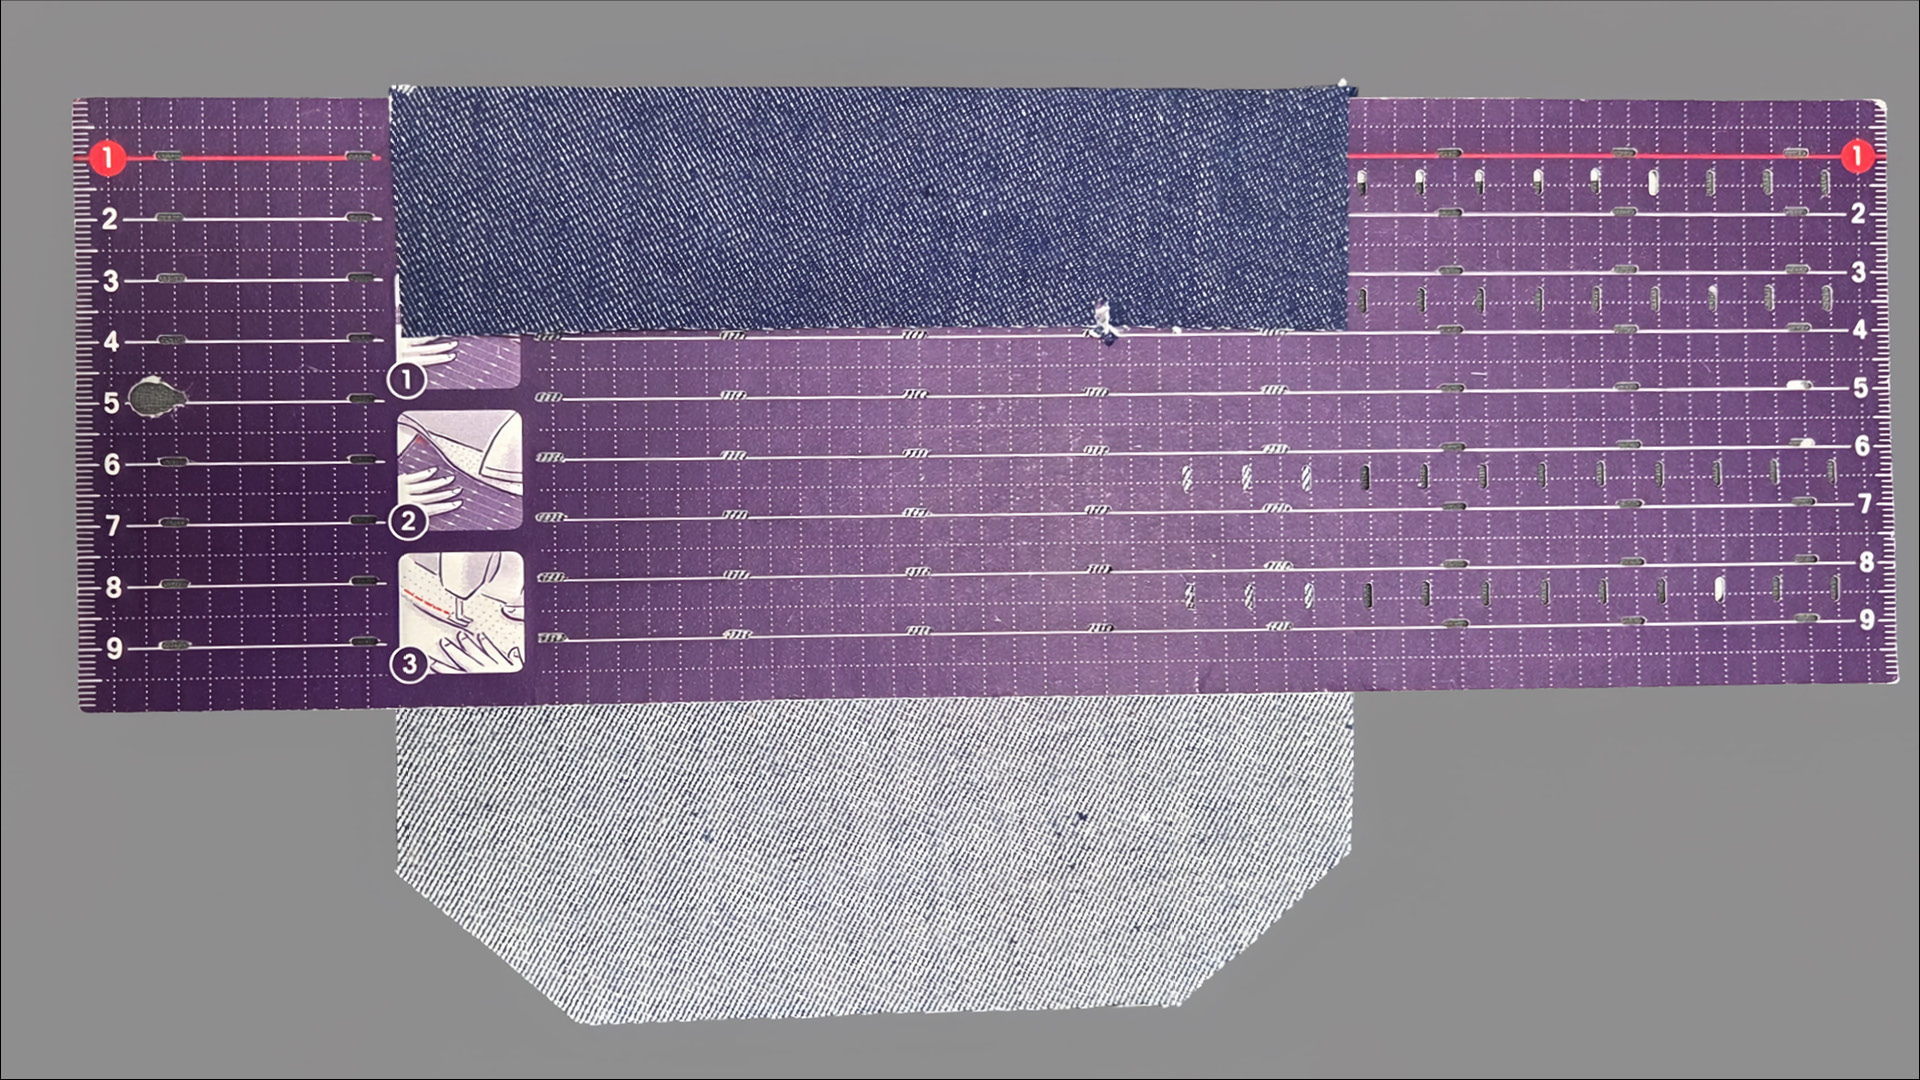
I start by pressing the top edge of each patch pocket towards the wrong side, using the notches at the sides as a guide. To get a nice, straight fold, I like to use a pressing ruler.
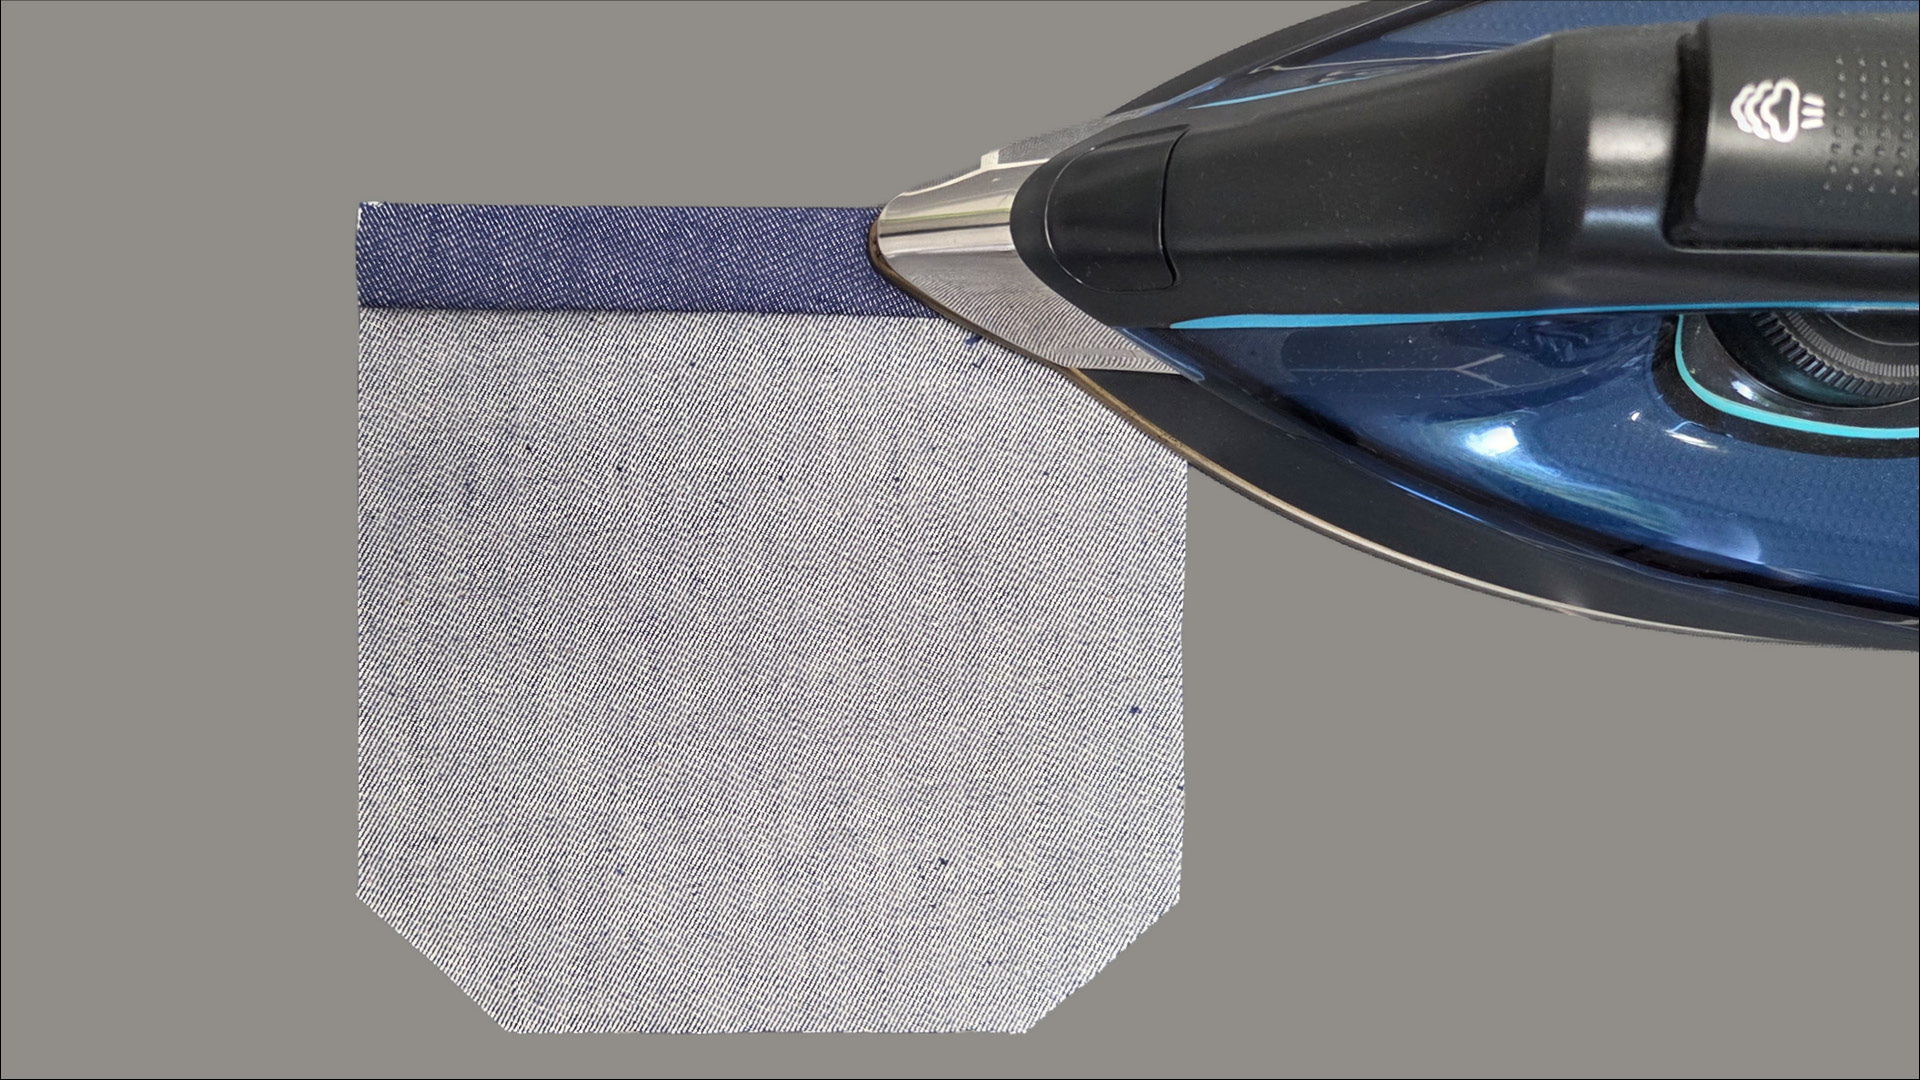
You can fold the top edge over twice; this way, the cut edge will be on the inside, and the stitching you’ll do in the next step will be narrower.
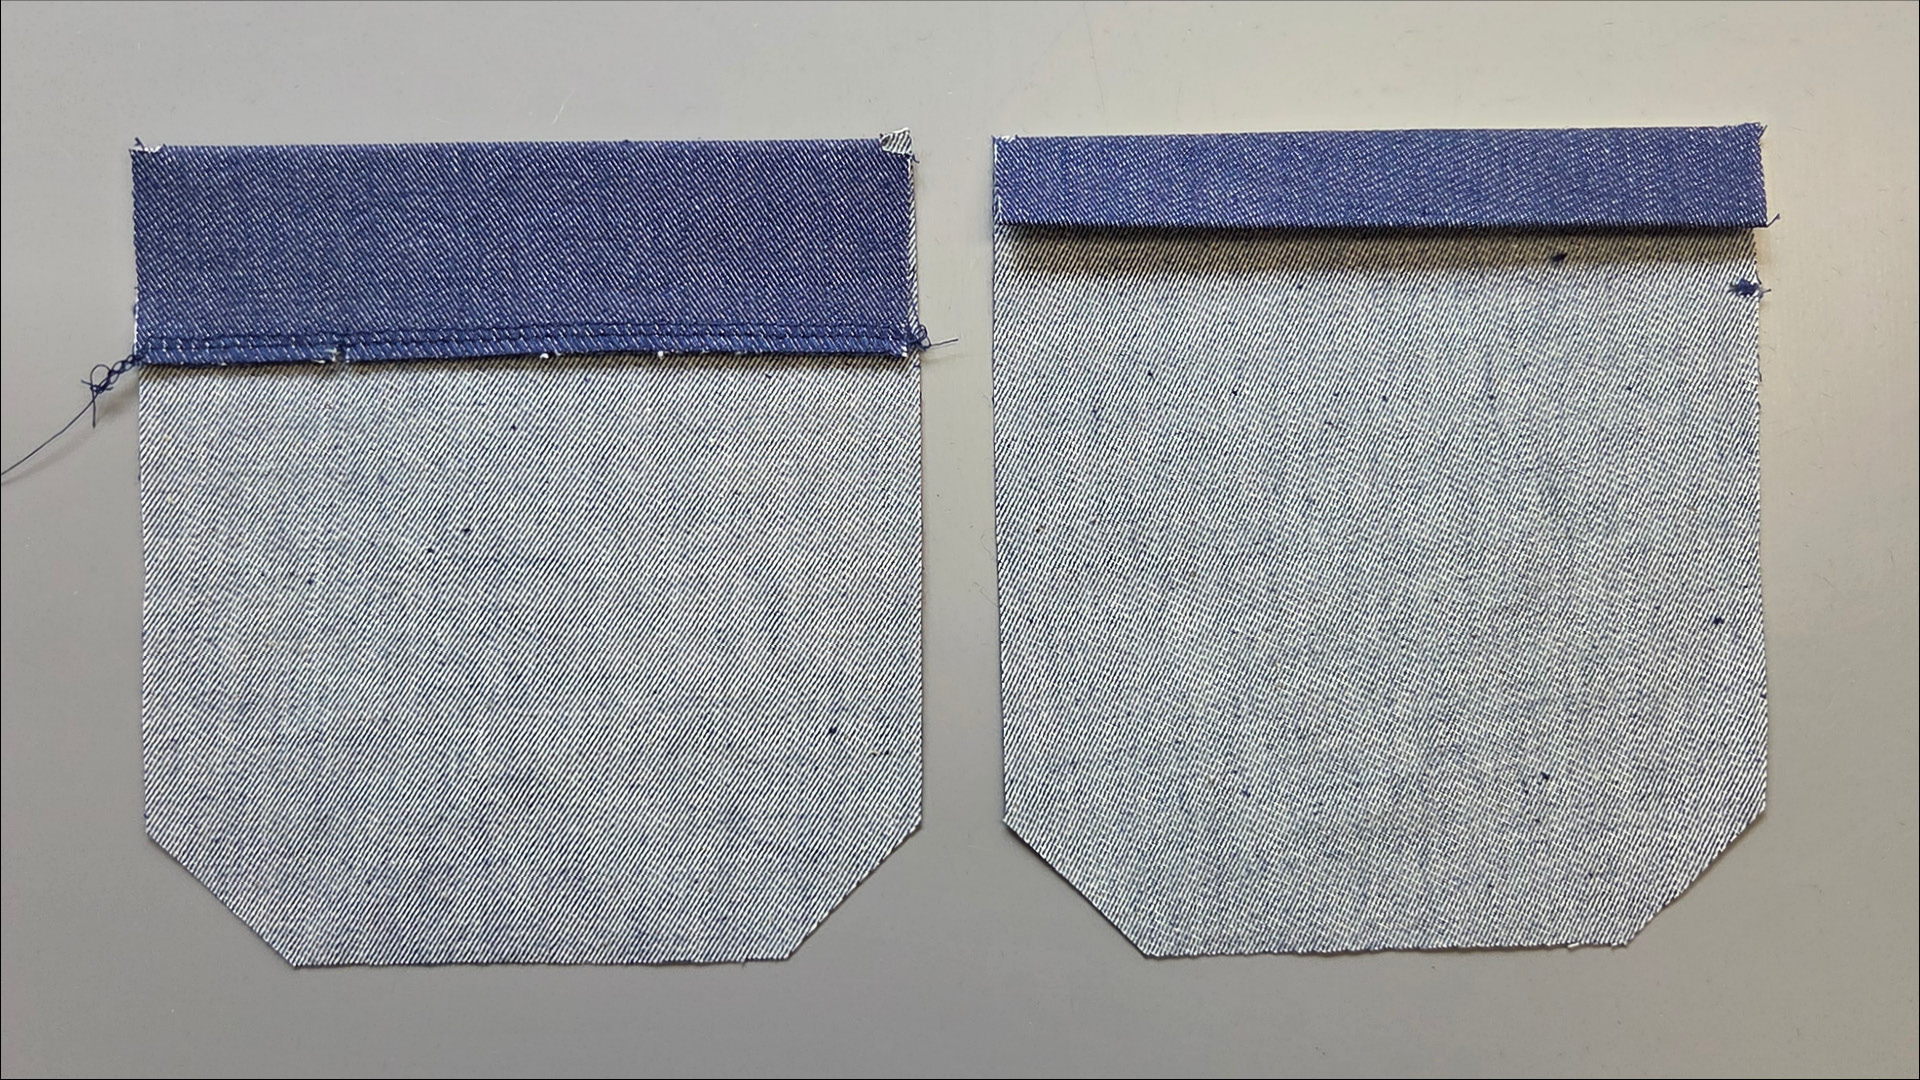
If you prefer to topstitch further away from the top edge, finish the raw edge with an overlocker or a zigzag stitch, as shown on the left in the picture.
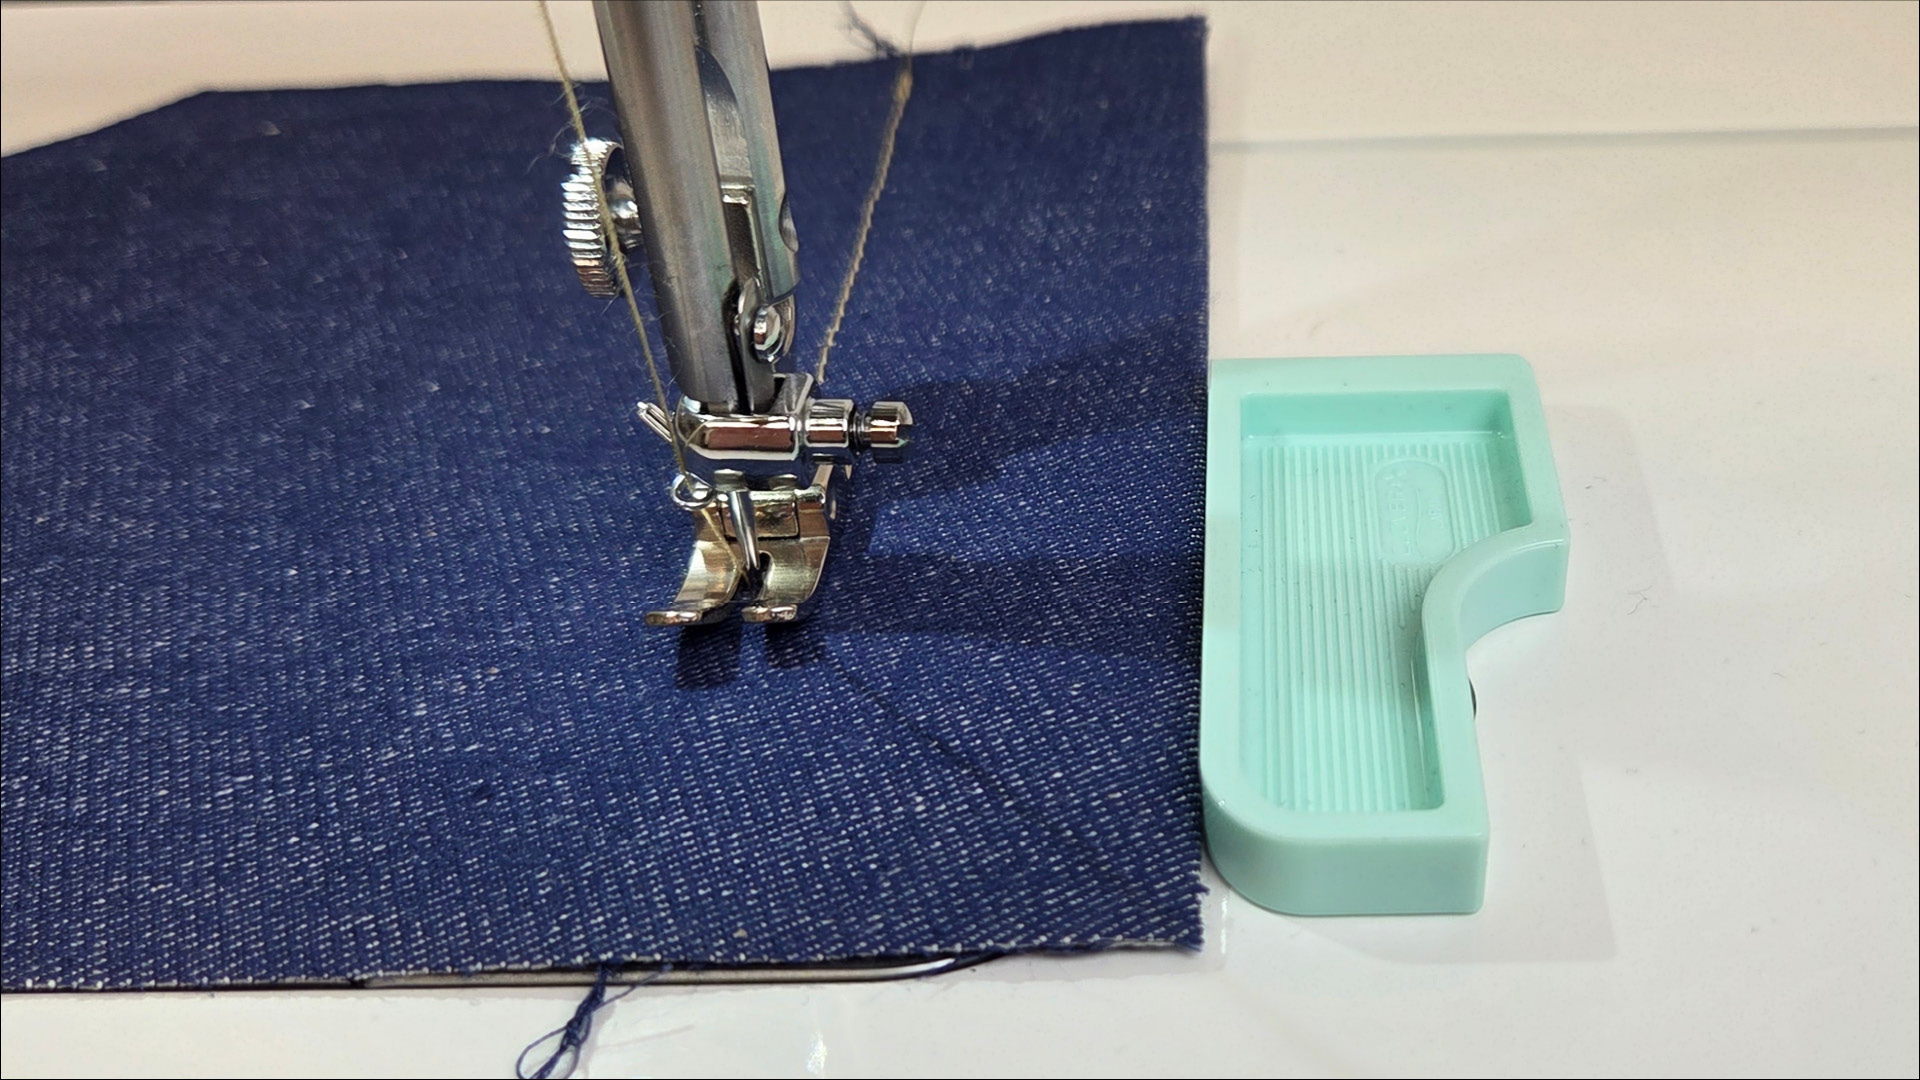
I decided to topstitch further away from the top edge. To keep the distance even, I use a stitch guide. The one shown here is from Clover and attaches to the sewing machine at the desired distance from the needle. It can easily be removed and reused.
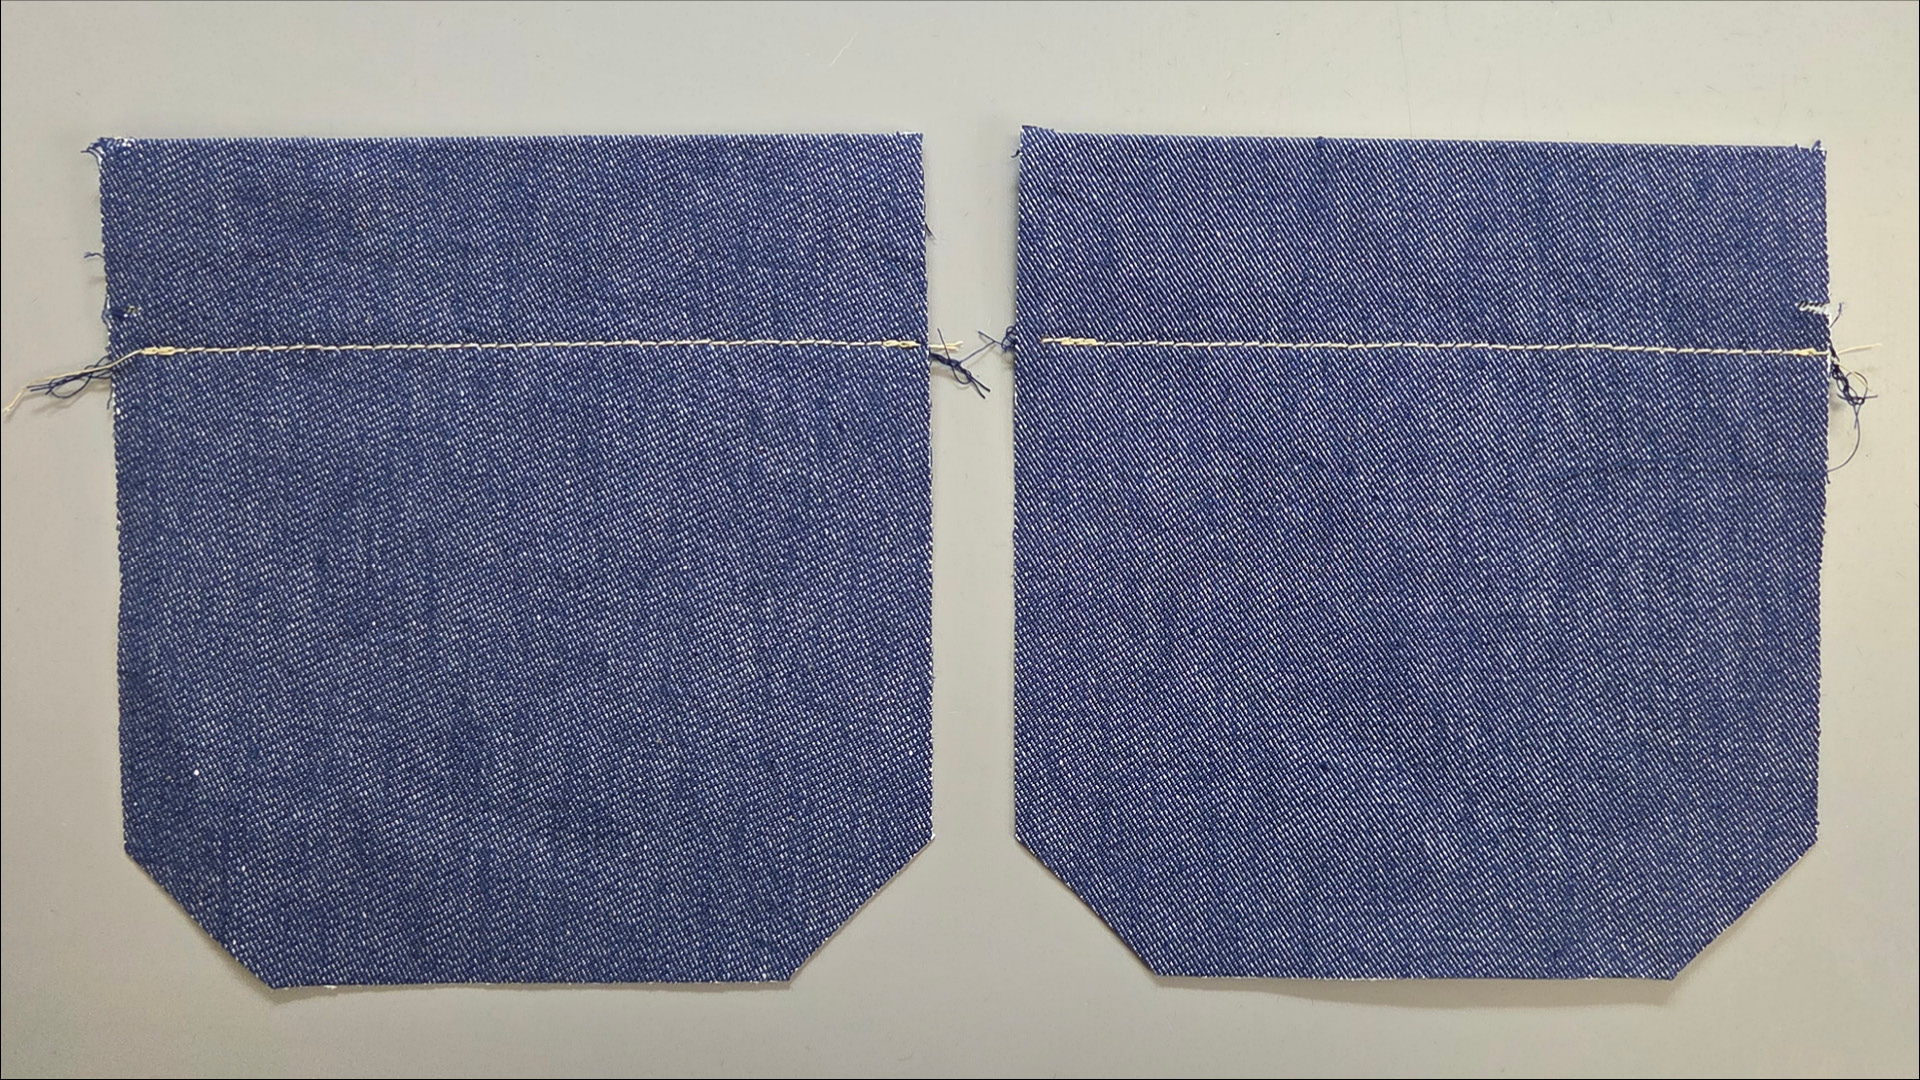
This is what the pockets with topstitched openings look like.
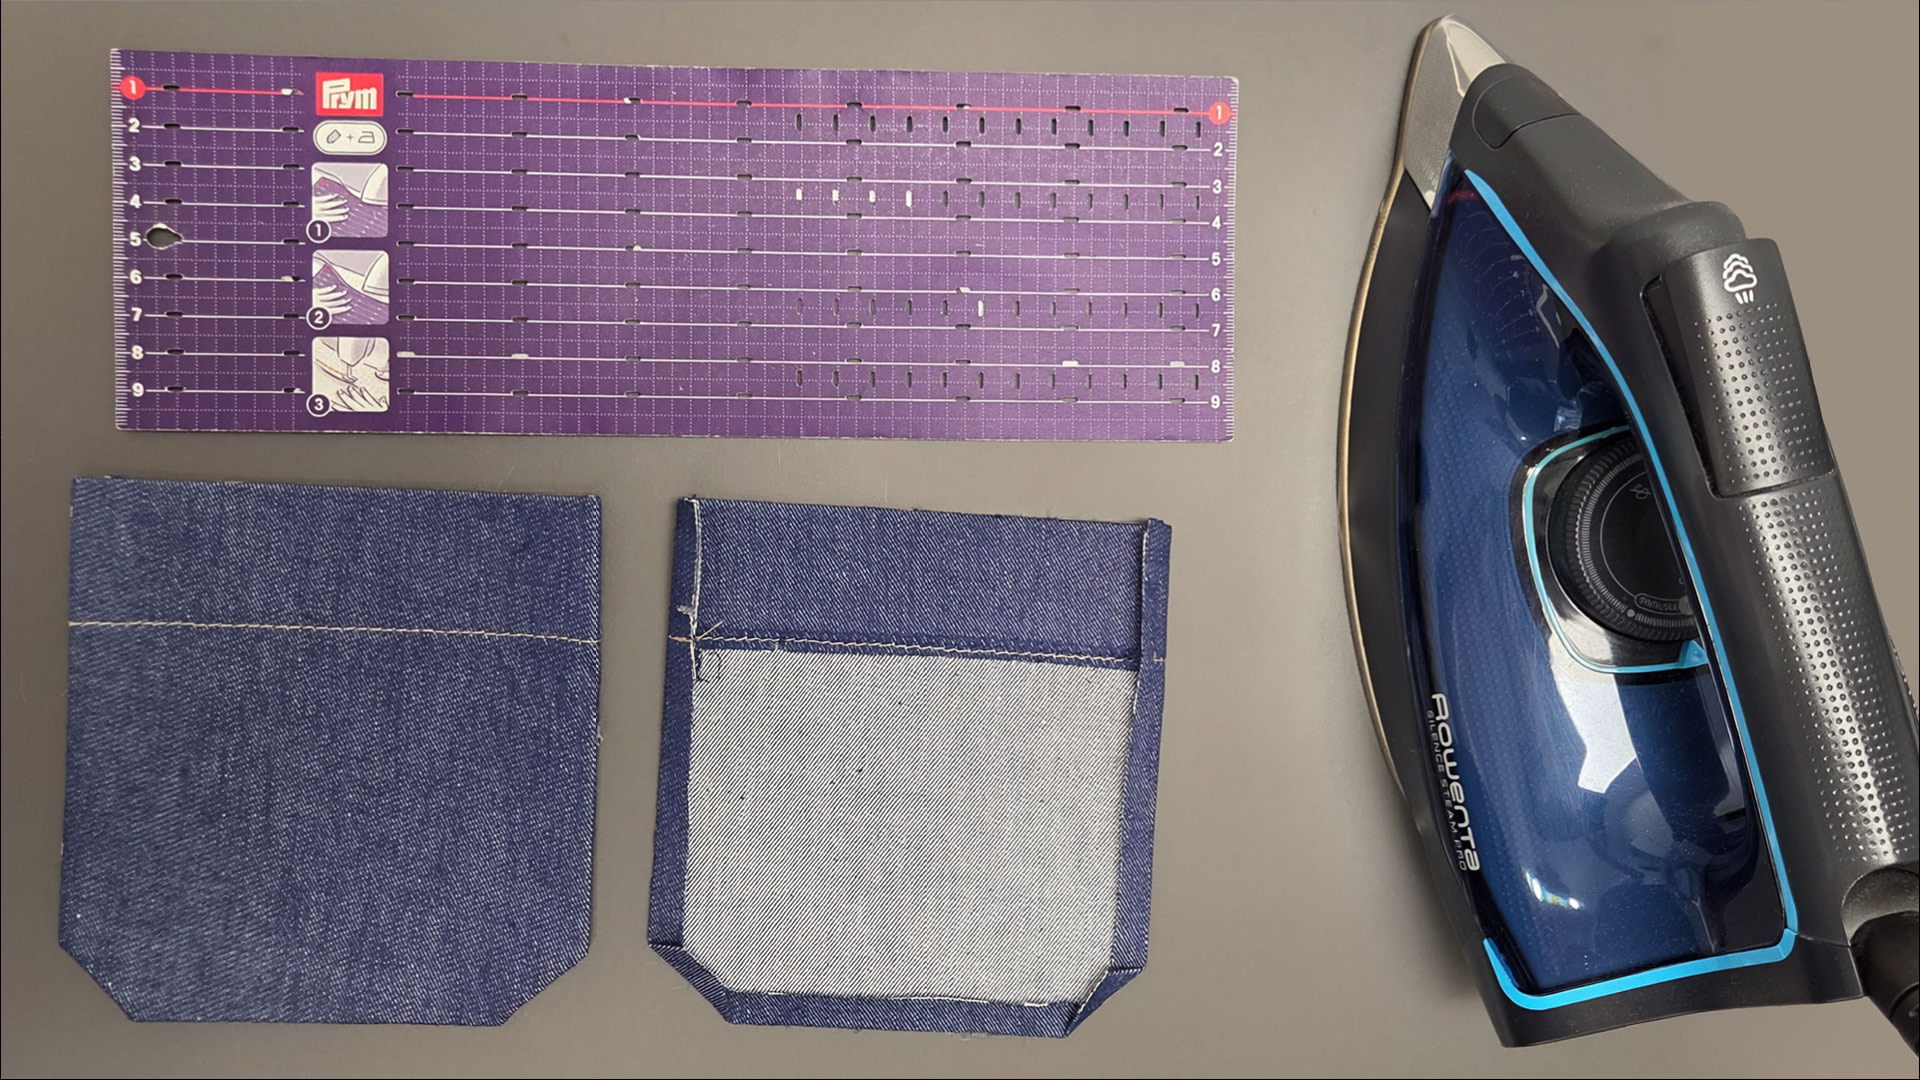
Using the pressing ruler, I now press all the remaining open edges toward the inside. Here in the picture, you can see the bag from both the right and the left sides.
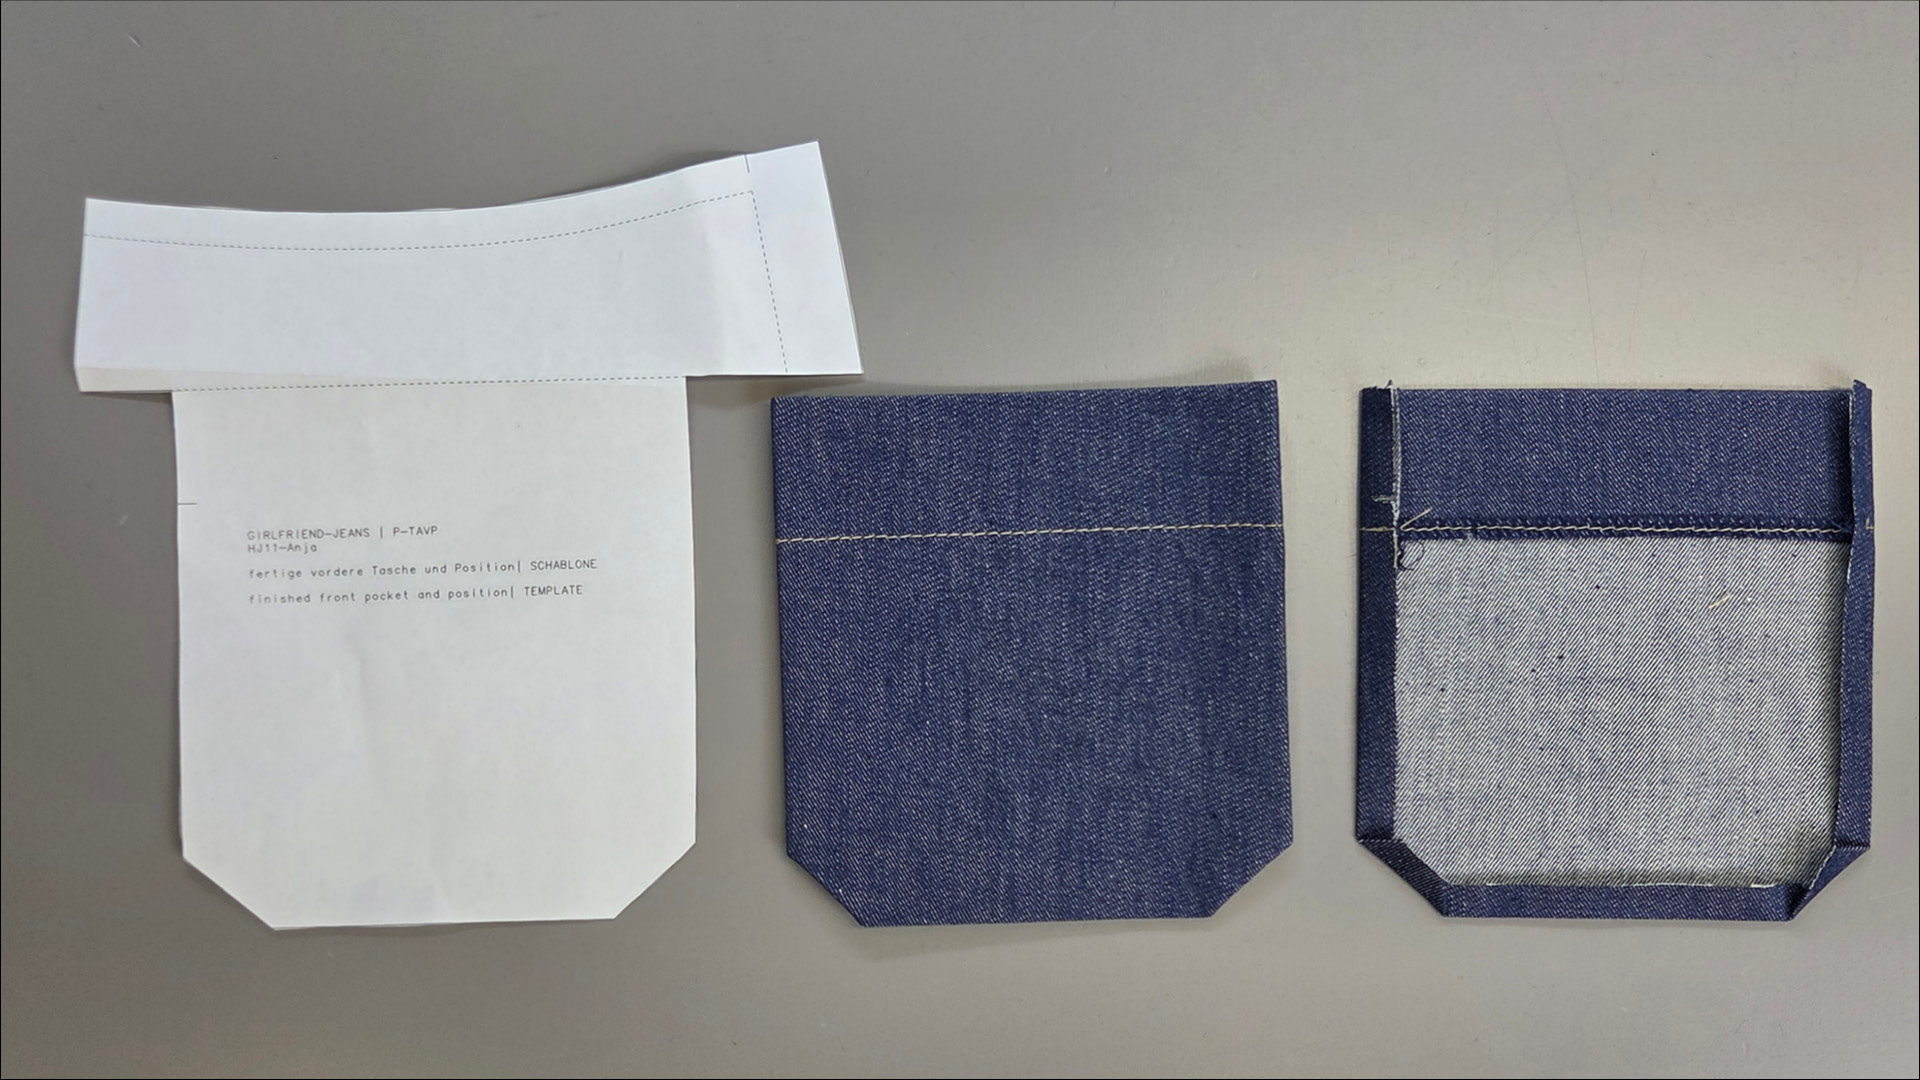
You can also use the pocket position template to iron the edges of the pocket bags and check their size.
3. Mark the pocket position
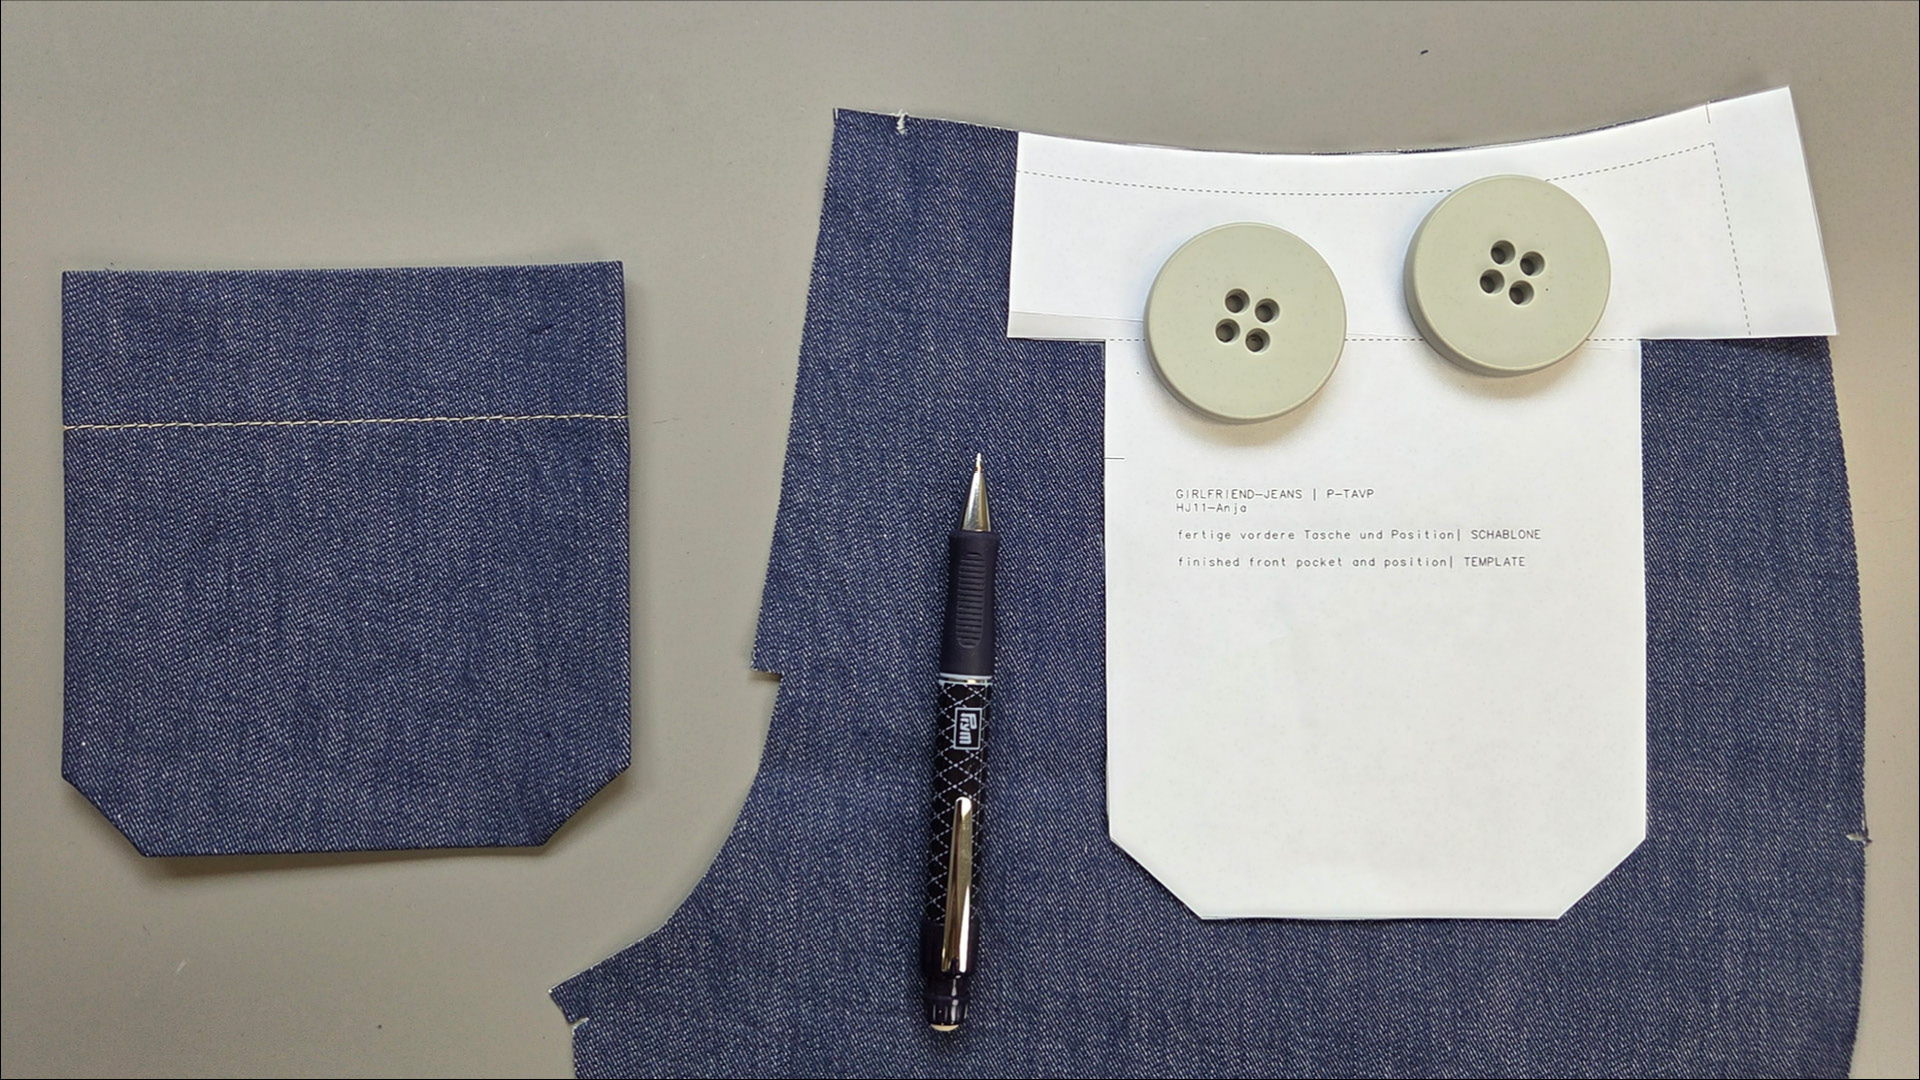
To transfer the pocket position to the front trouser piece, I place the template on the right side of the fabric. The seam allowances marked on the template indicate where to position it – in this example, with the top and side edges aligned.
For the other front trouser piece, I flip the template over so that the text faces down and position it in the same way.
I use pattern weights to keep the template in place. Of course, you can also use clips or pins.
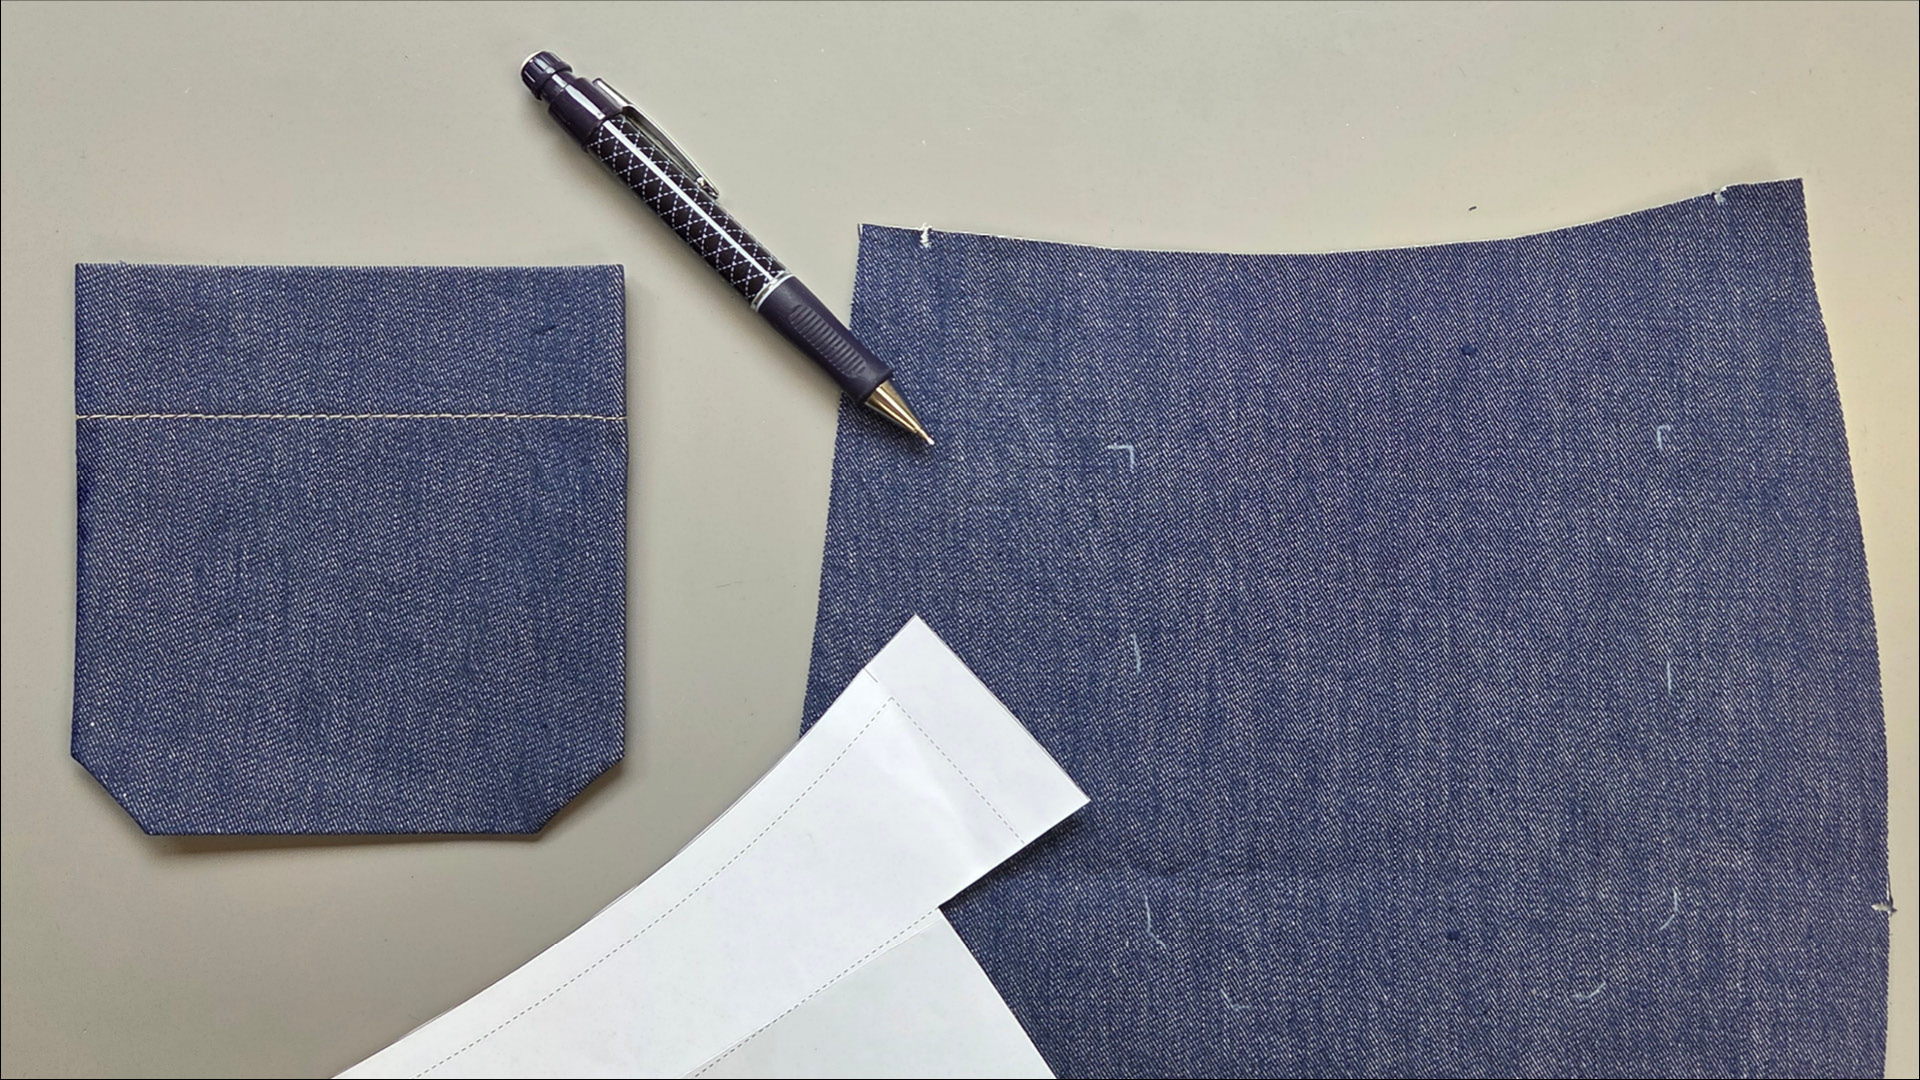
I mark the position of the pocket on the front trouser.
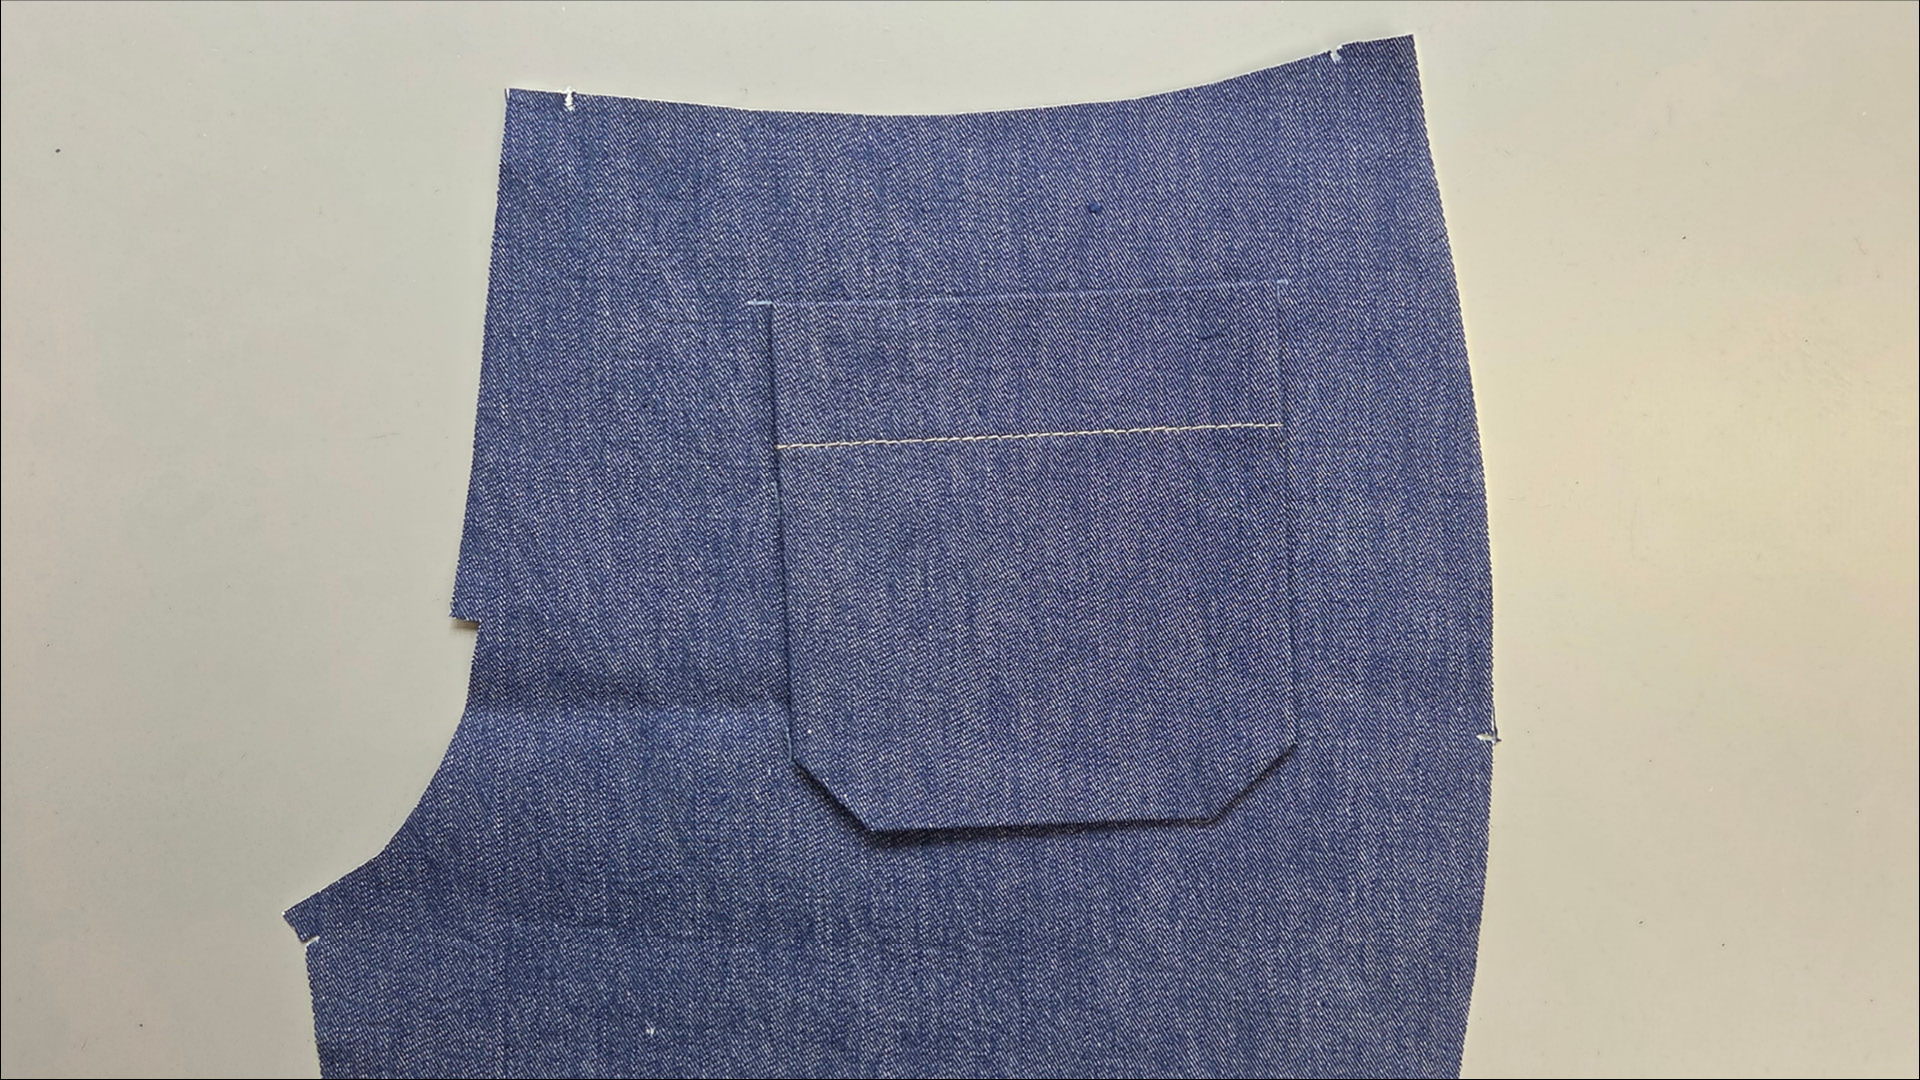
Then I position the front patch pocket on the trouser piece, following the markings. Make sure you use the correct pocket for each trouser leg so that the grainlines of both pieces run in the same direction. You can check this using the notch, which is marked on only one side of both the pocket and the template. The notch points towards the centre front.
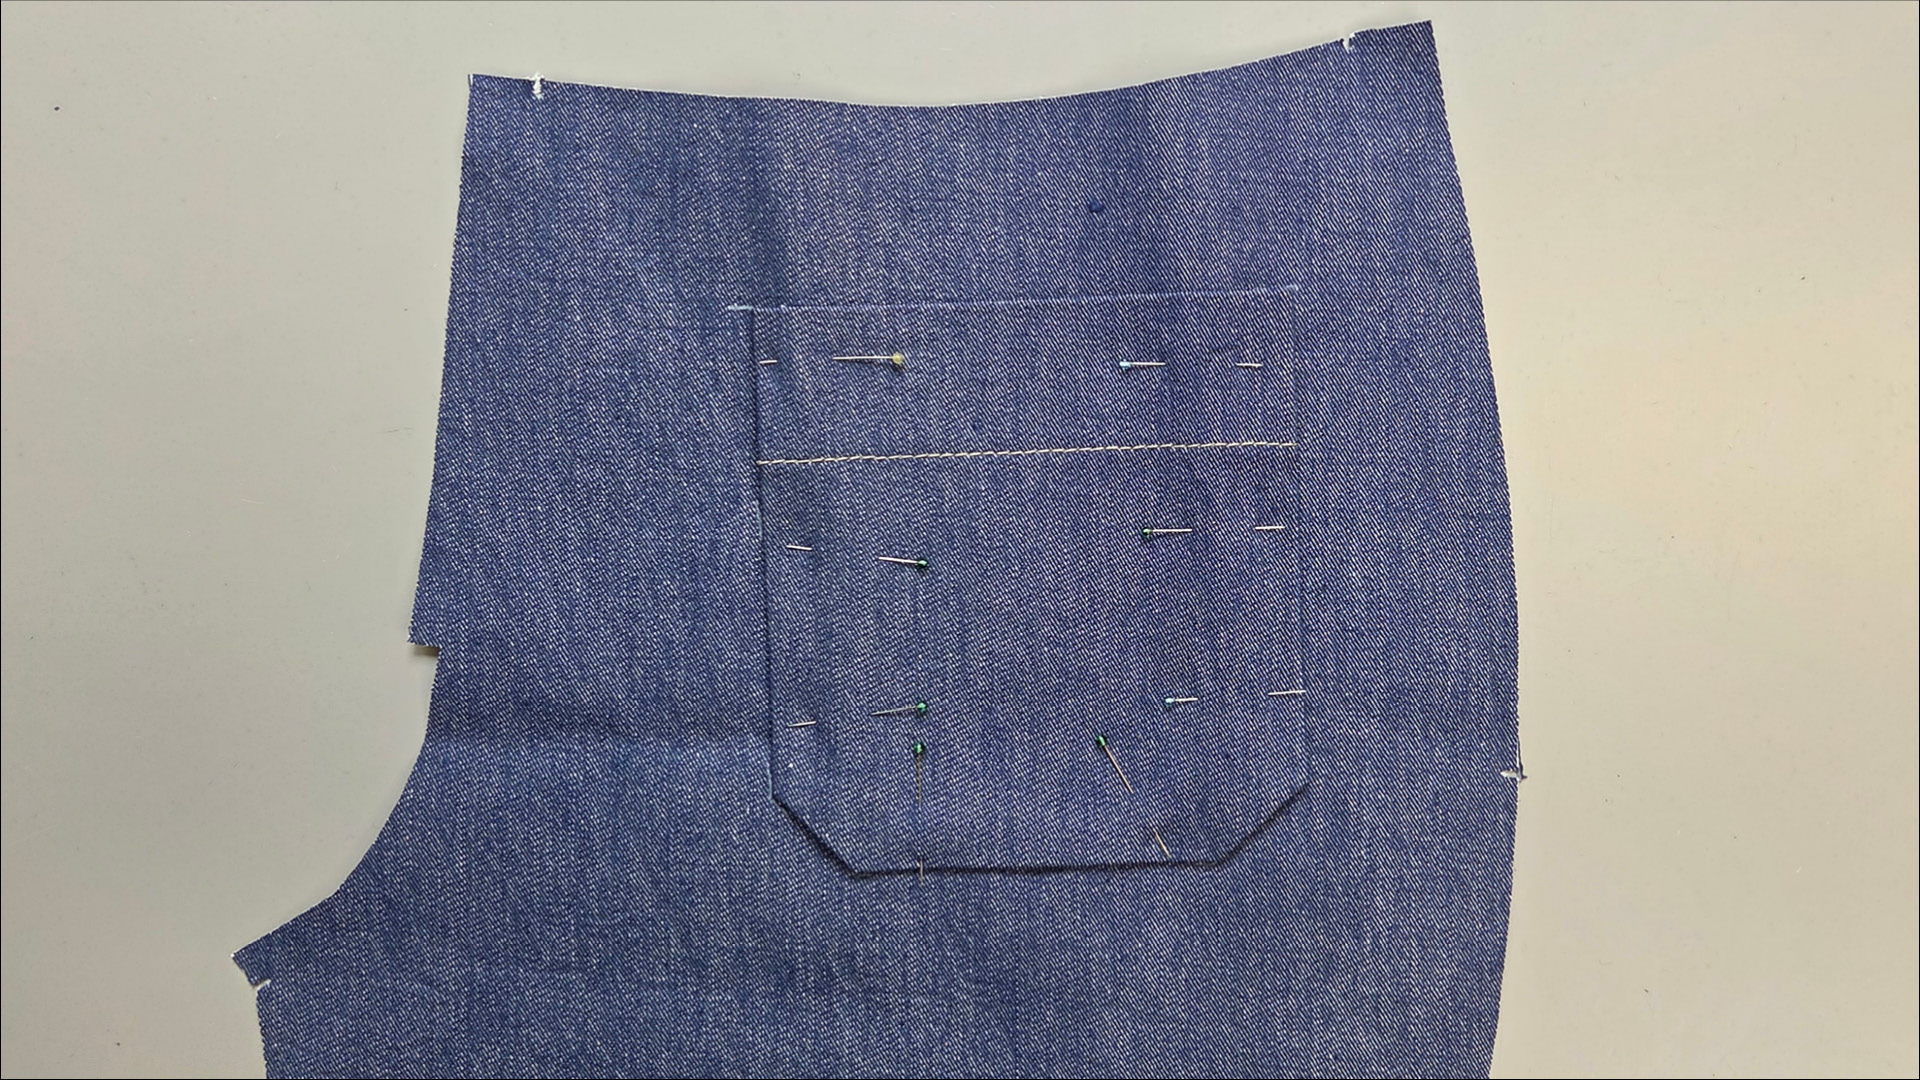
I pin the pocket in place to prevent it from shifting while sewing.
4. Attach the front patch pockets
How you topstitch the pockets – with one or two rows of stitching, for example – is entirely up to you. Here, I’ll show you how to sew two parallel rows of topstitching.
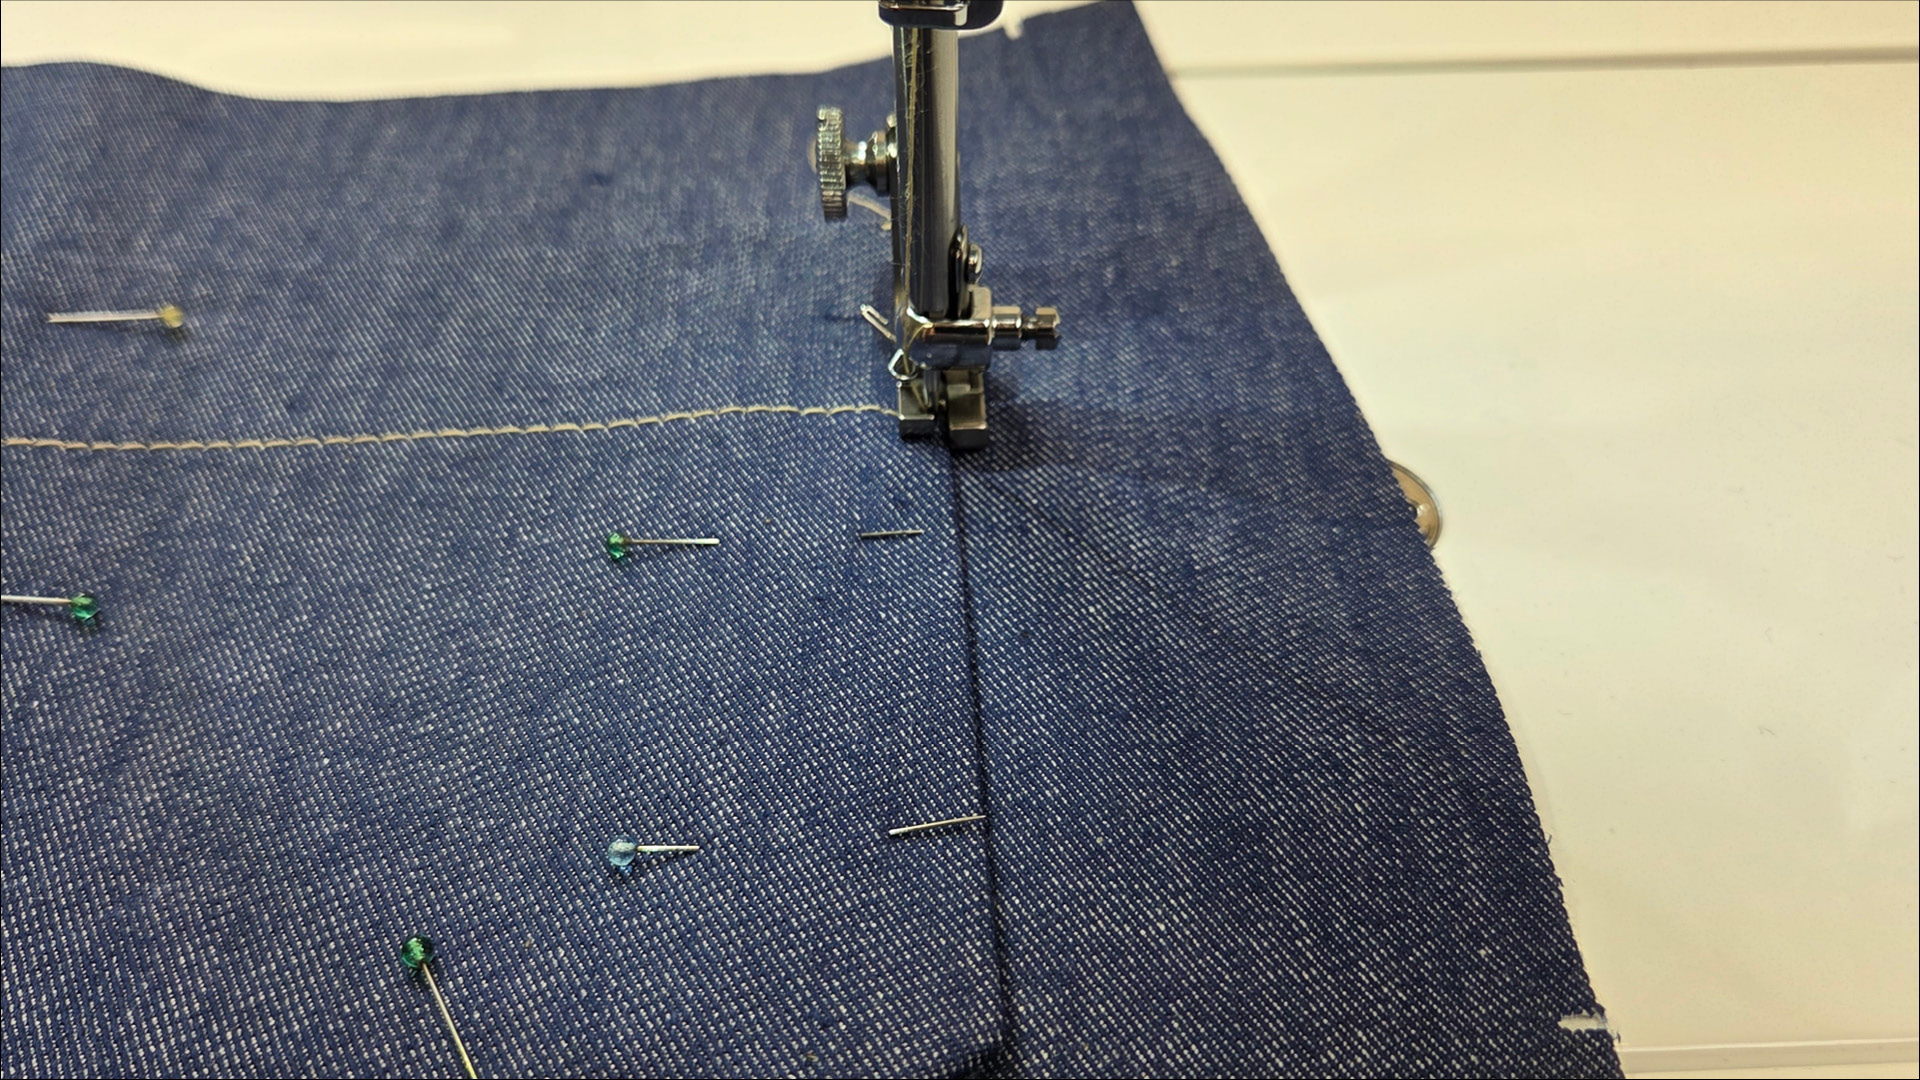
I start at the top edge of the patch pocket and stitch close to the edge.
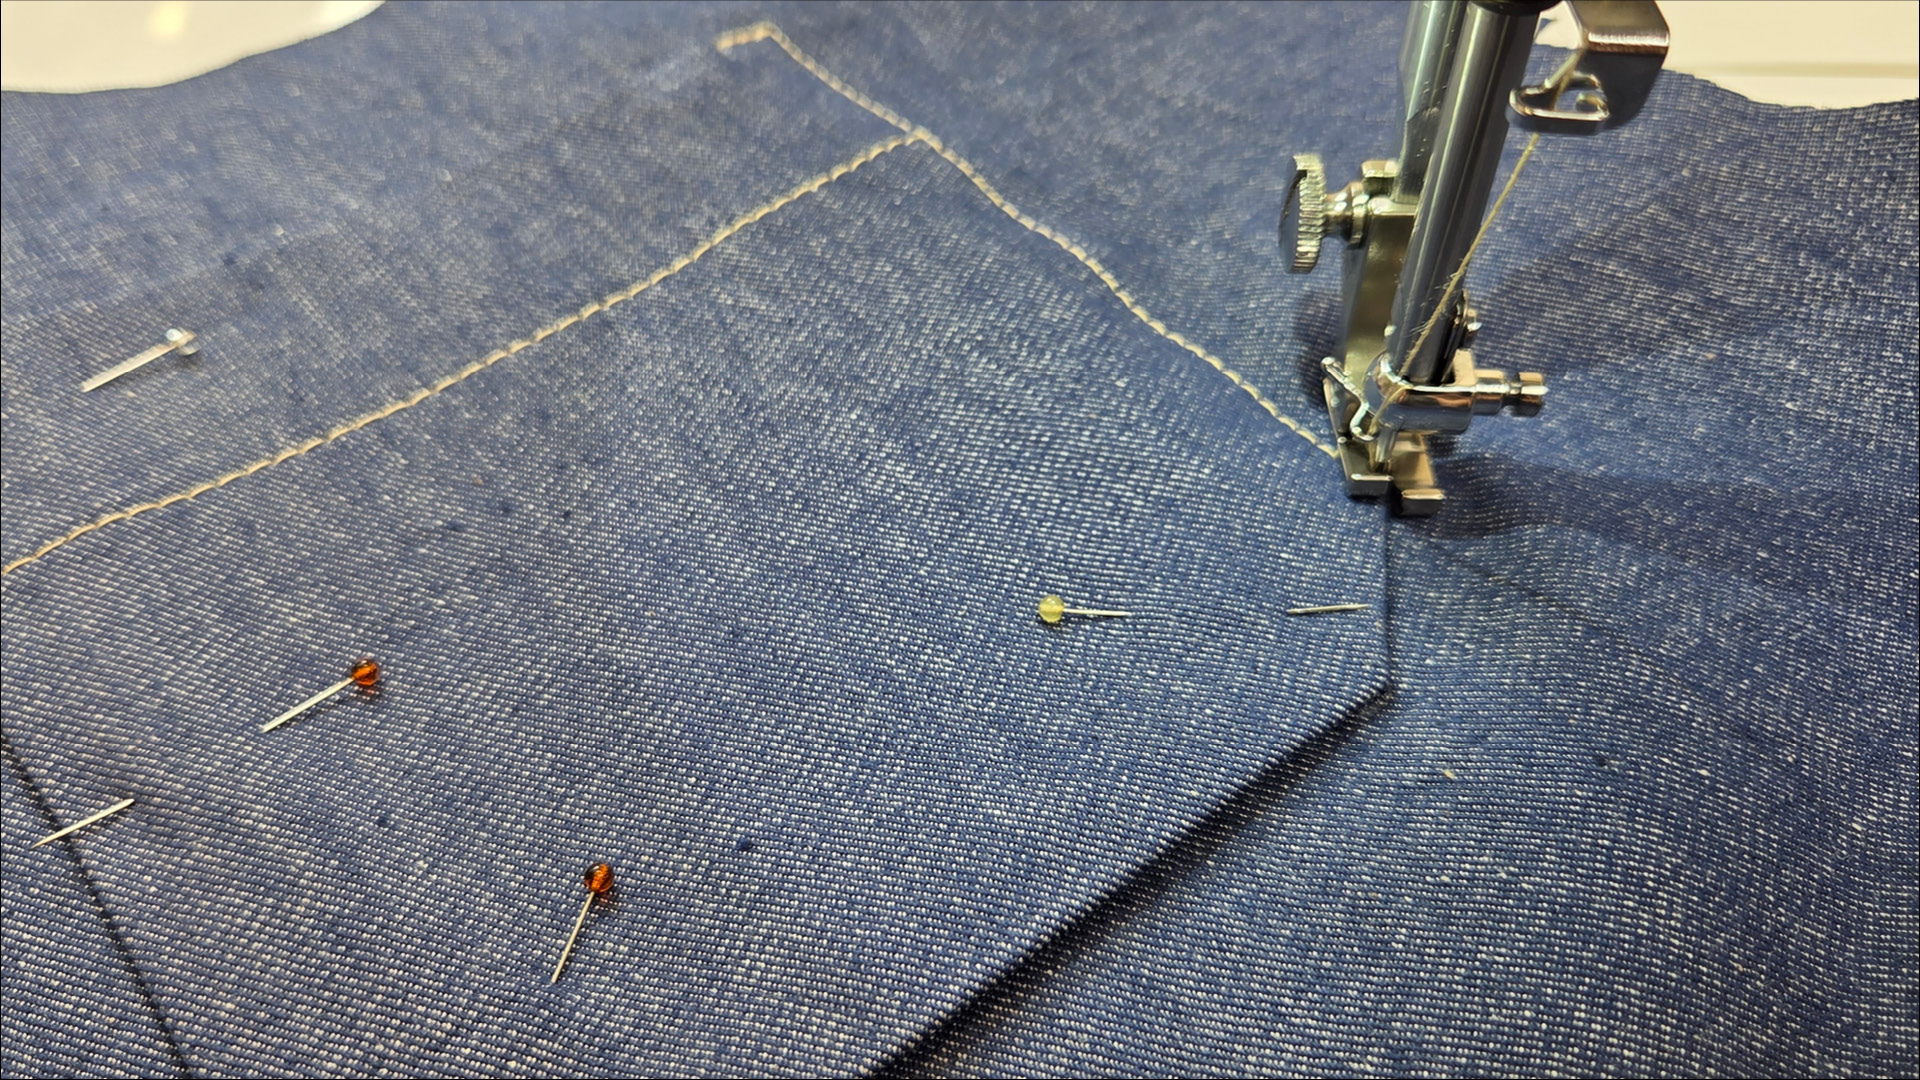
At the corners, I lift the presser foot, turn the fabric, and lower the presser foot again.
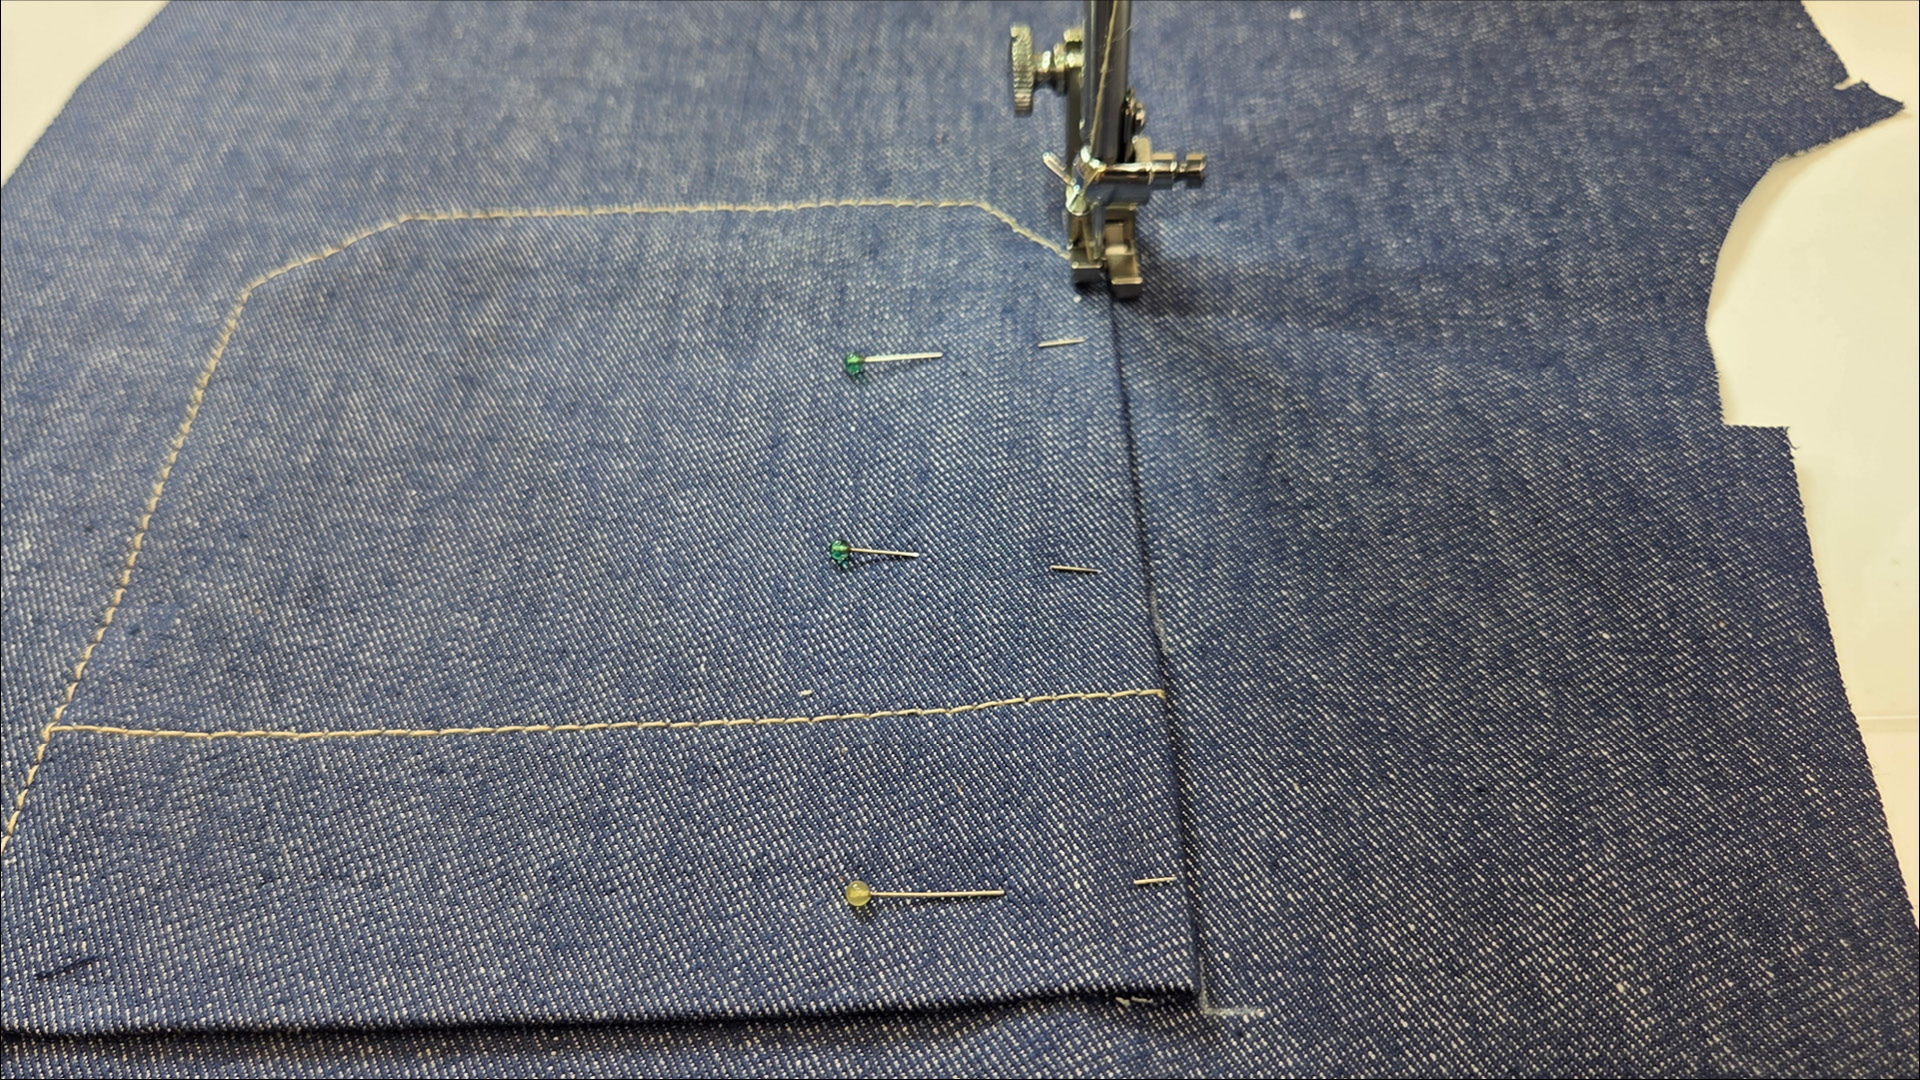
Here you can see how I’m topstitching the second long side of the pocket close to the edge.
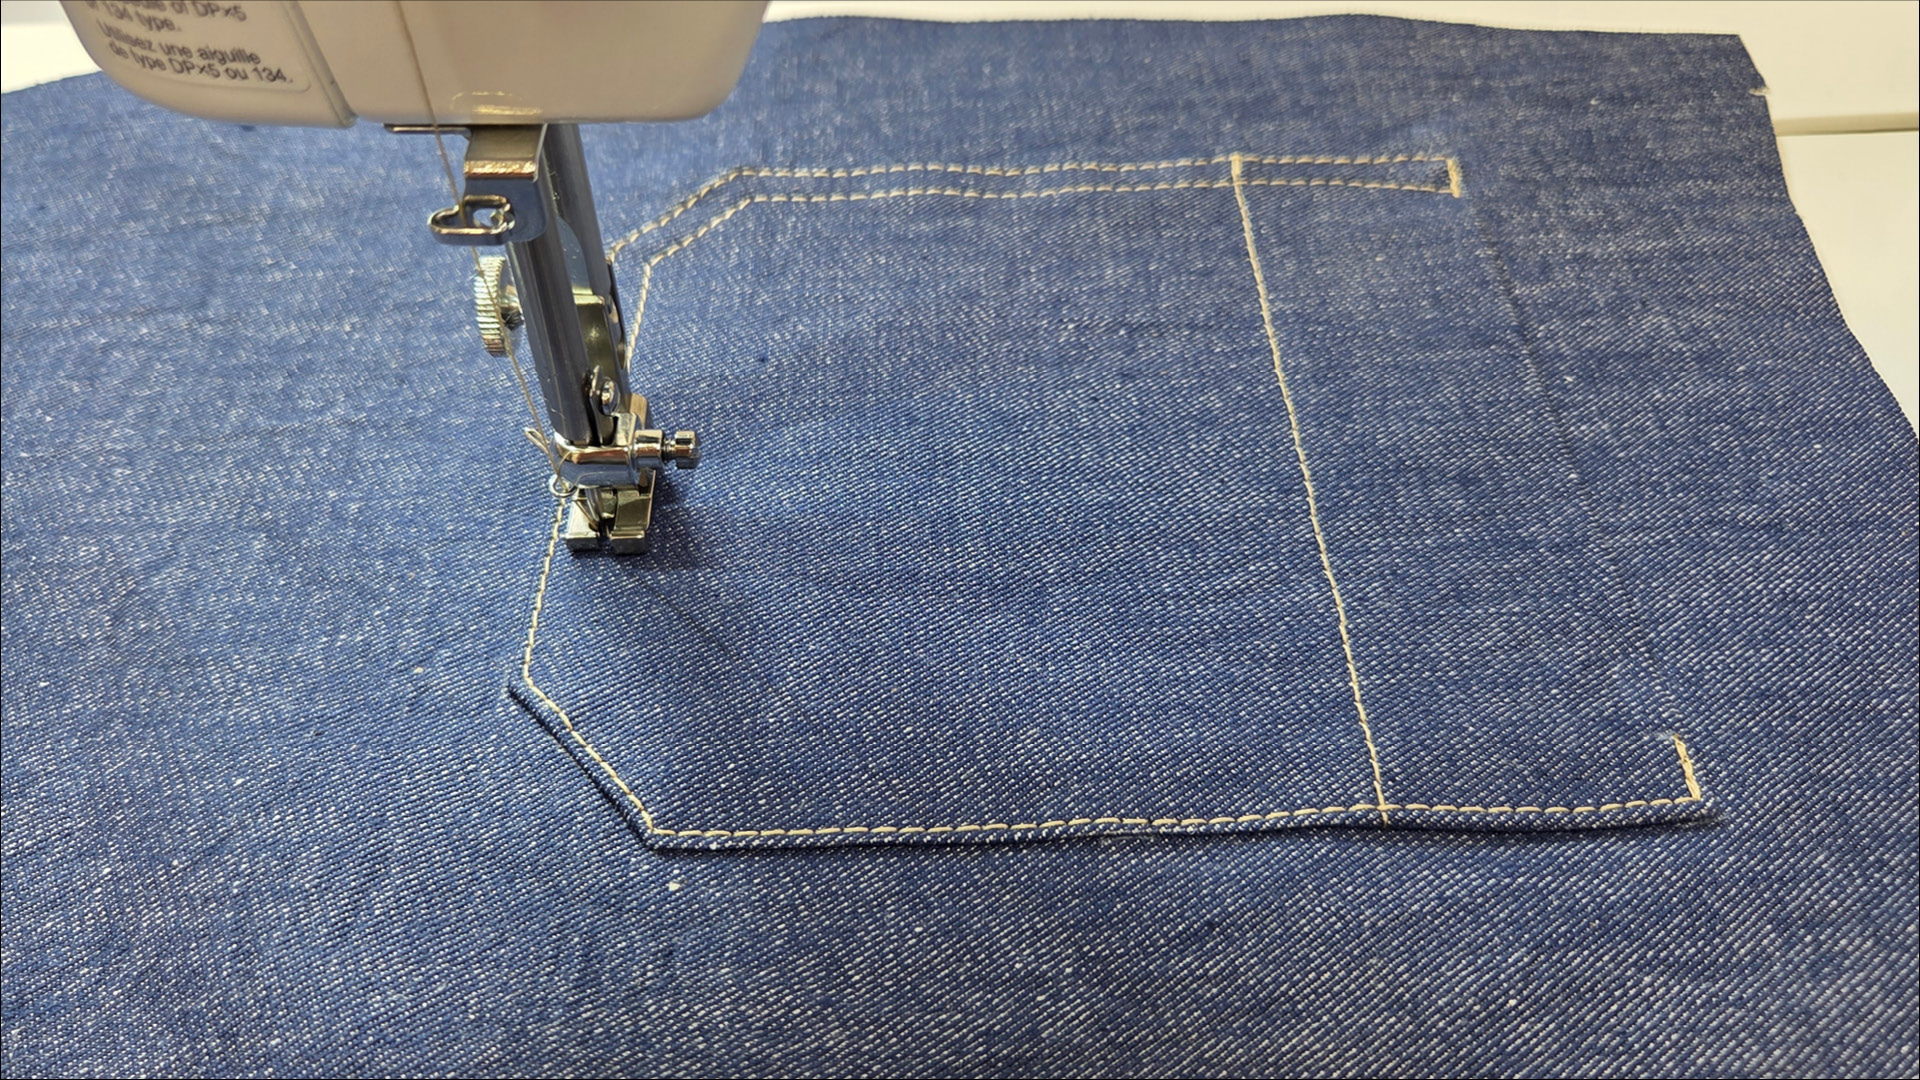
I sew the upper, short seam back and forth again to give the area more stability, and then I sew the second topstitch right away.
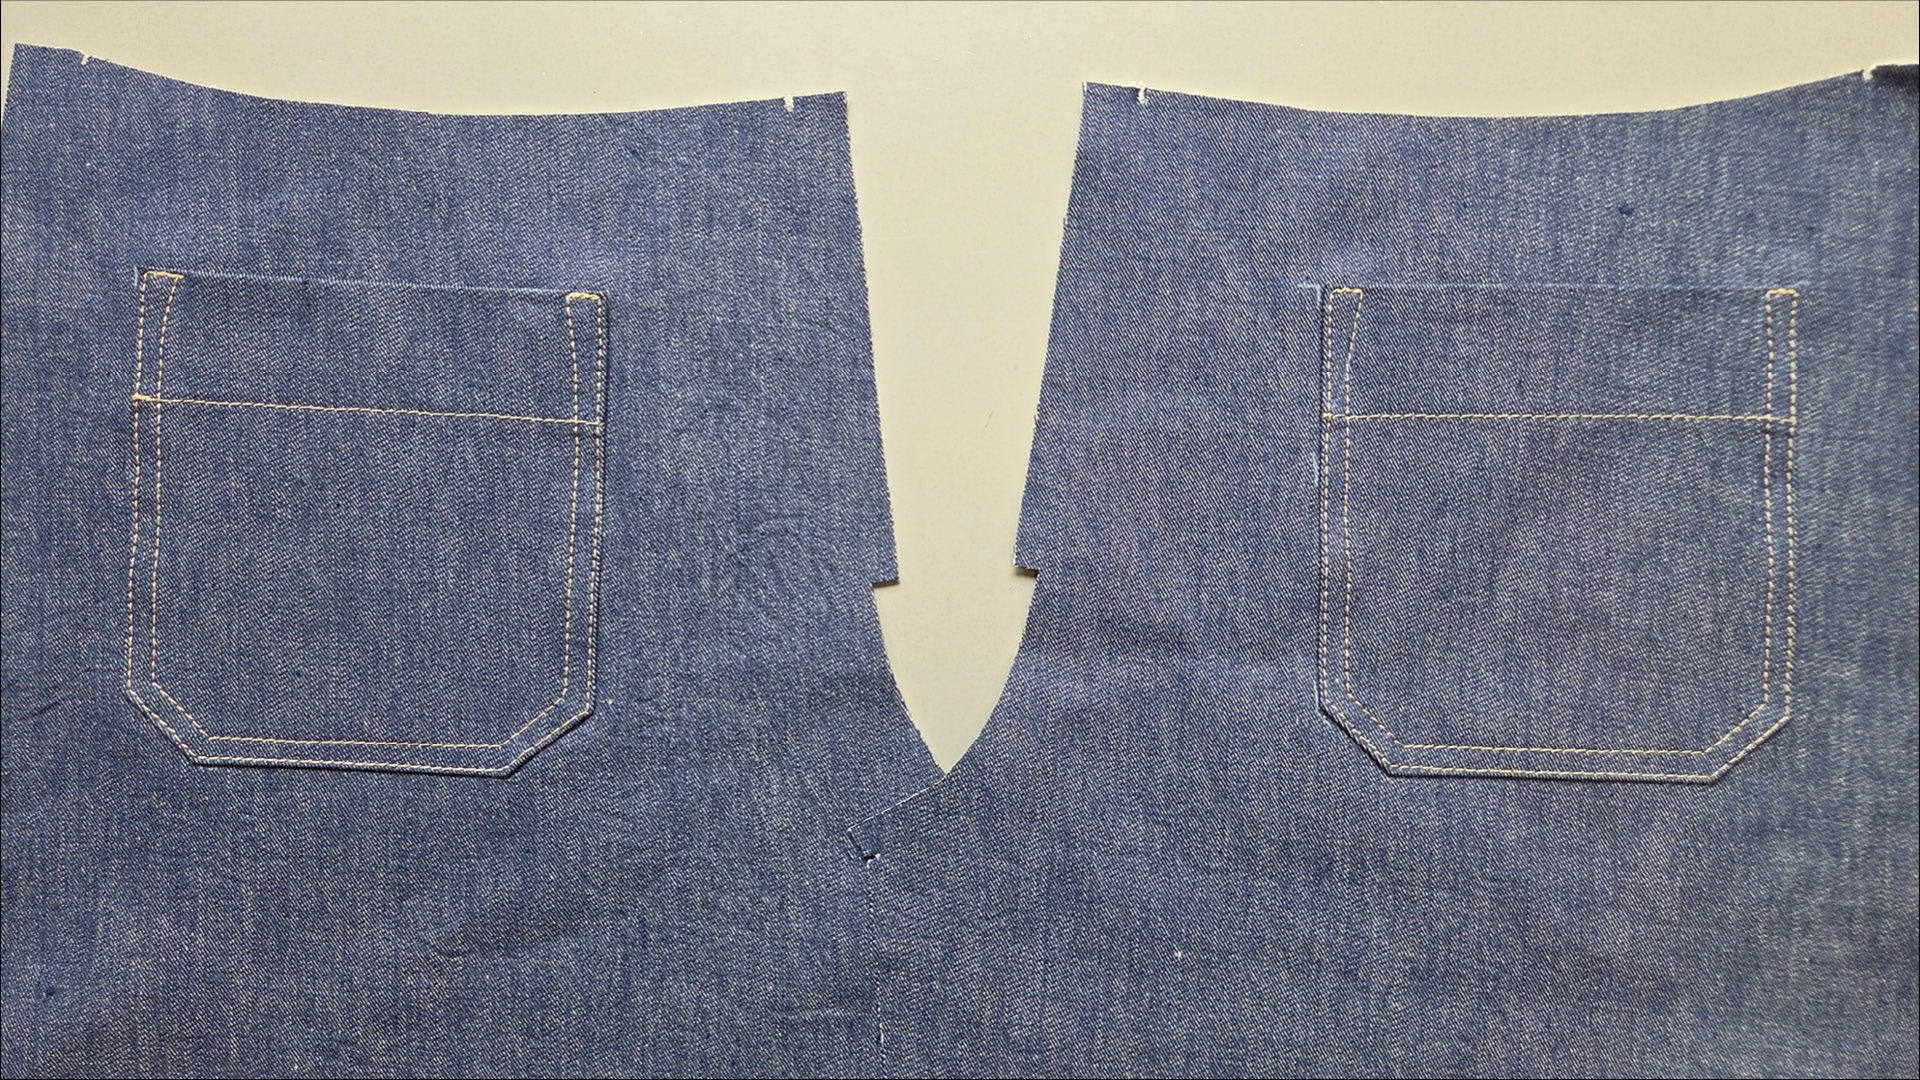
And this is what the pockets look like once they’re sewn on.
Here you will find the link to the next step:
If you’re not quite ready yet and want to start from the very beginning, here are a few more links: