Sew patch pockets on trousers #TH01
In this step-by-step tutorial, I’ll show you how to sew patch pockets on the back of your trousers using video and illustrated text instructions.
1. This is required
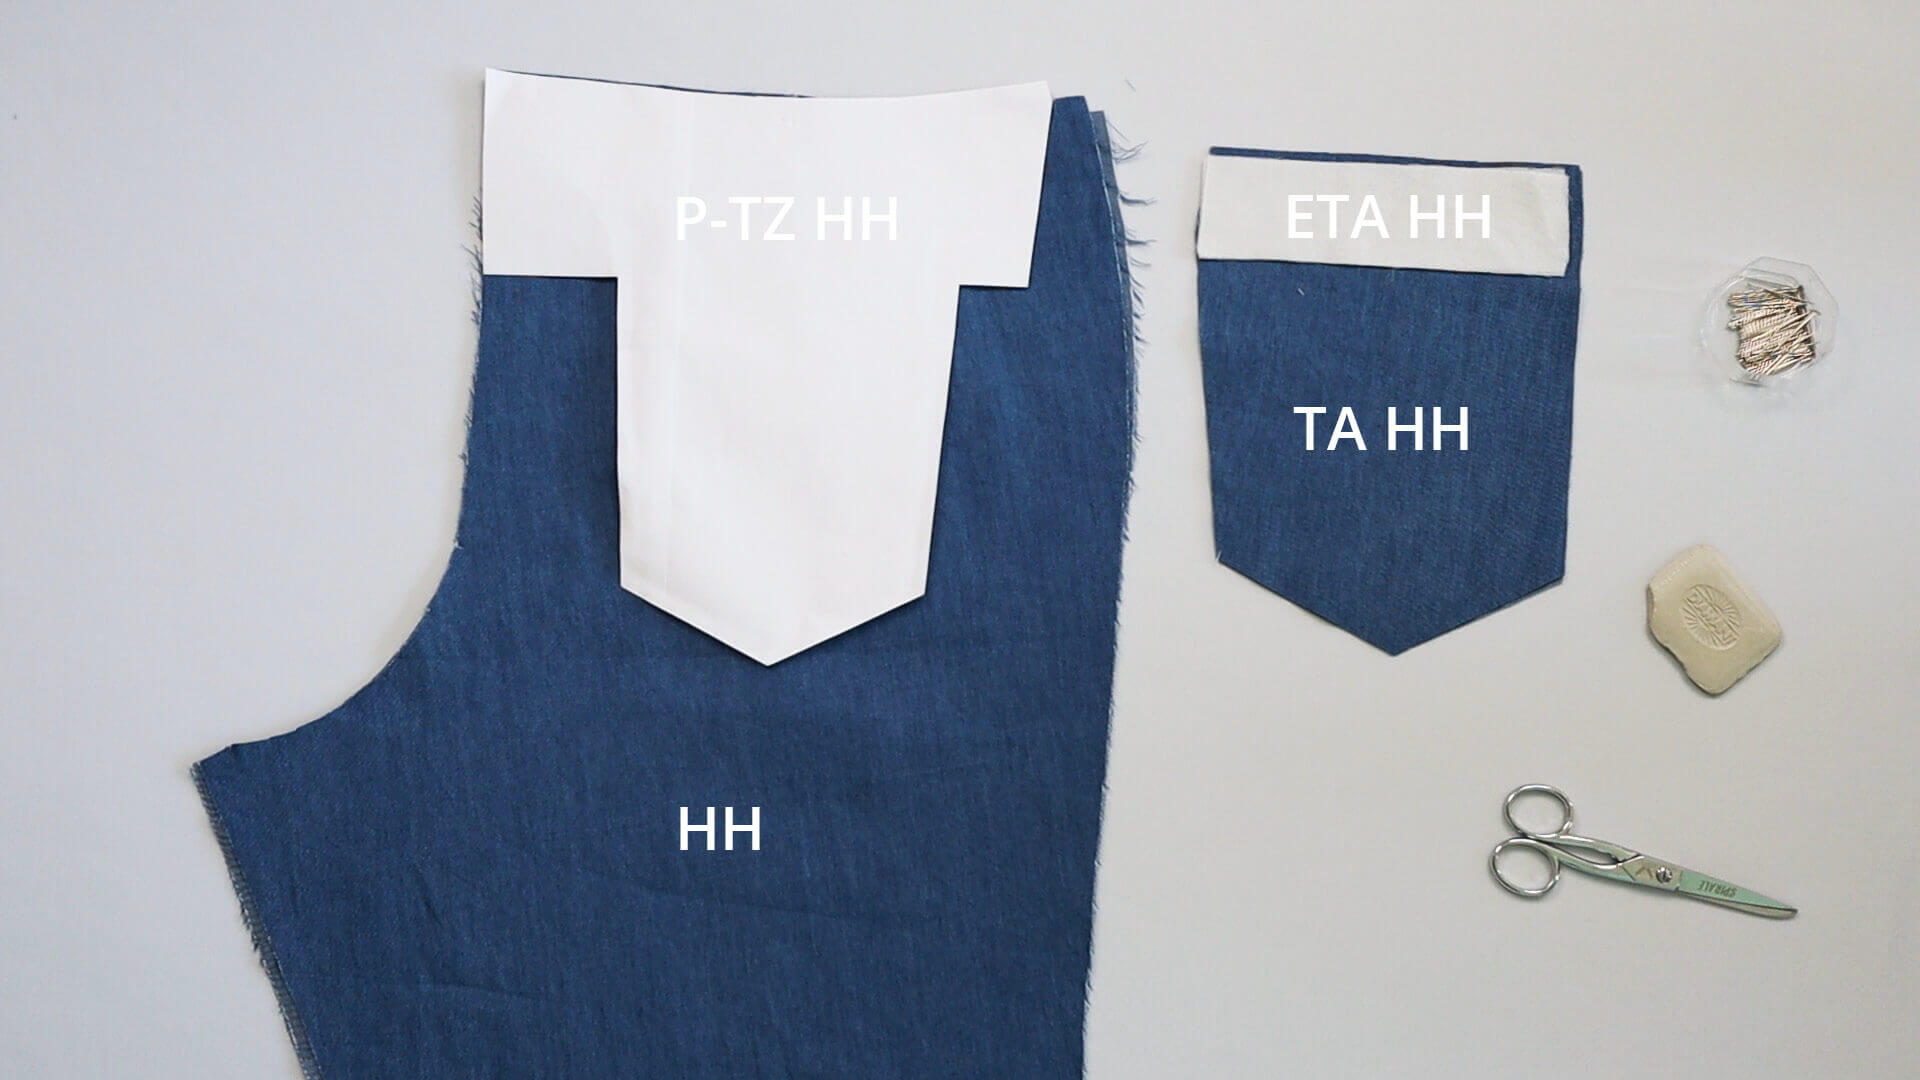
Pattern pieces made from main fabric:
- back trouser pieces (HH) – 1 pair
- patch pocket (TA HH)- 1 pair
Pattern pieces from interfacing:
- patch pocket (ETA HH)- 1 pair
Tools and aids:
- template for the pocket position (P-TZ HH) out of paper
- pins
- scissors
- tailor’s chalk or fabric marker
2. Prepare trouser pockets
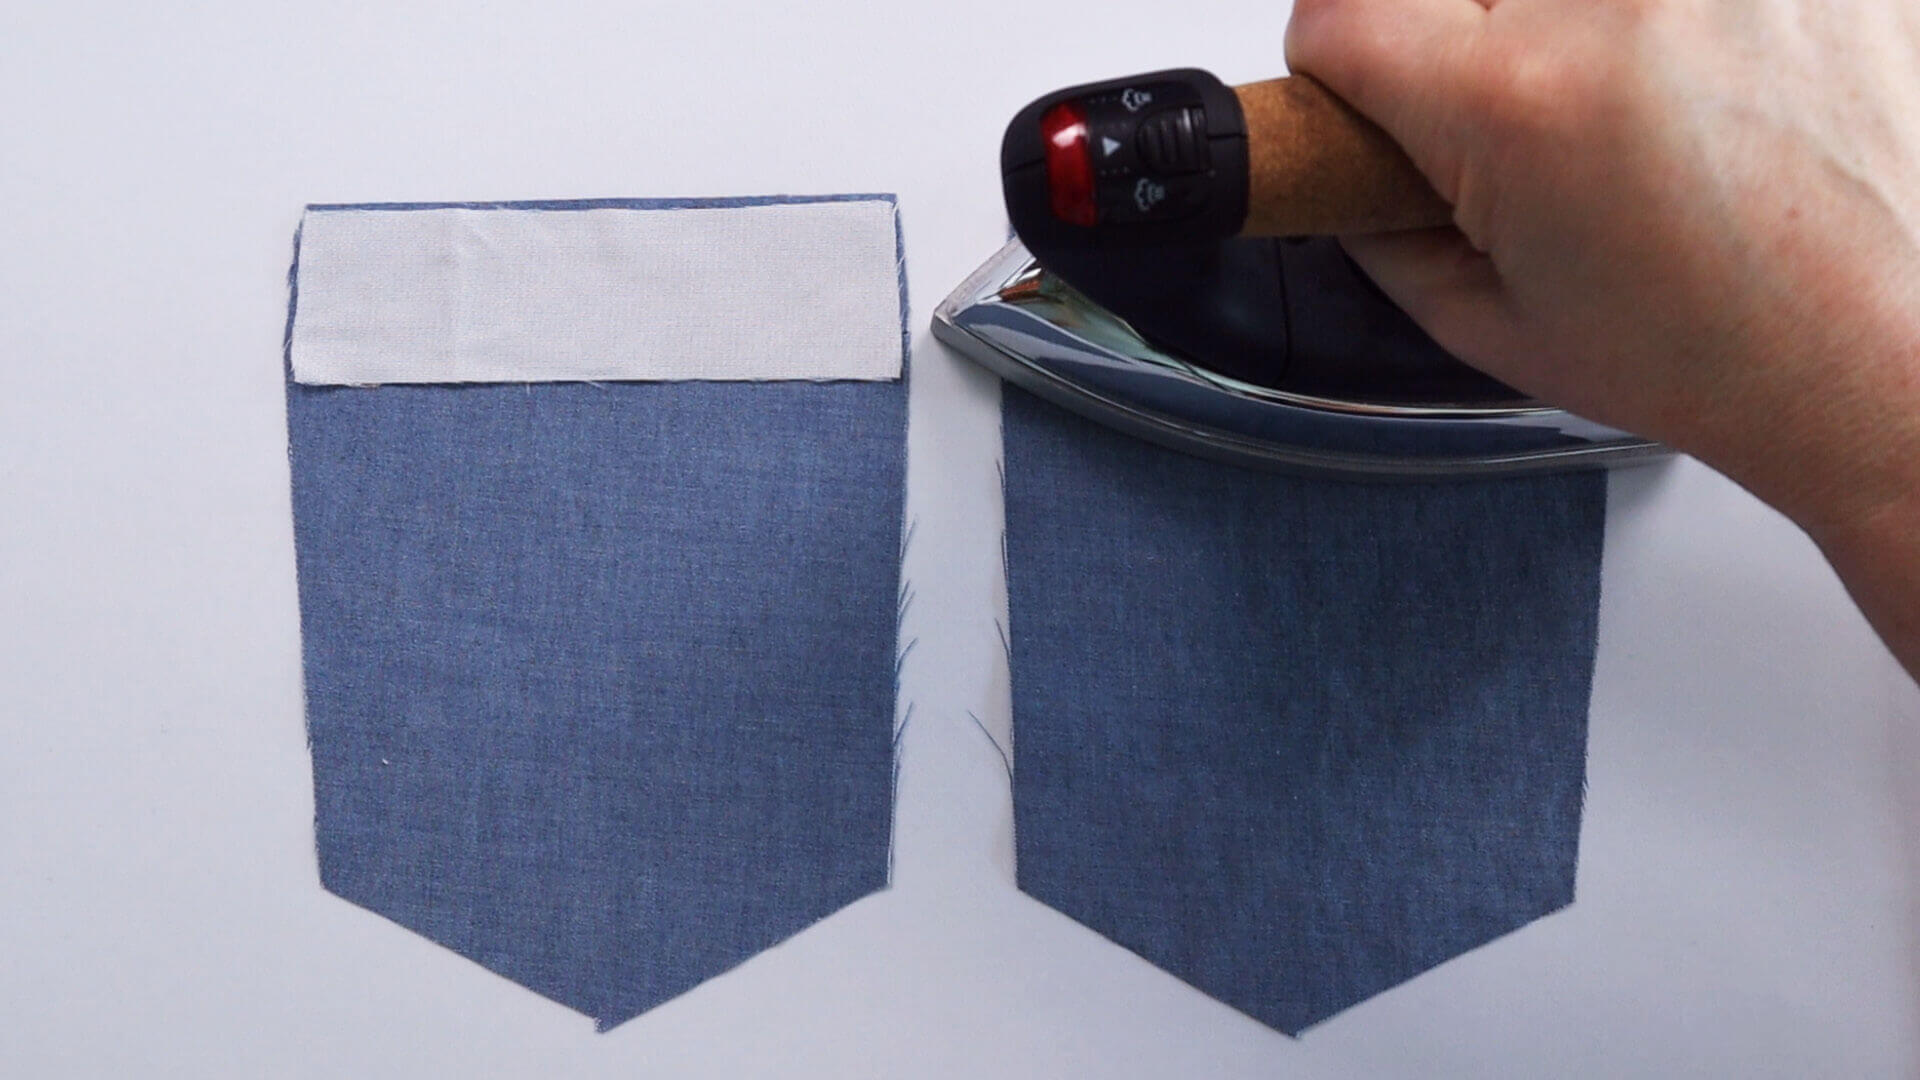
First, I press the interfacing on the top edge of the patch pocket.
Then I press the turnin on the pocket opening at the side notches, wrong sides facing, so the interlining disappears underneath.
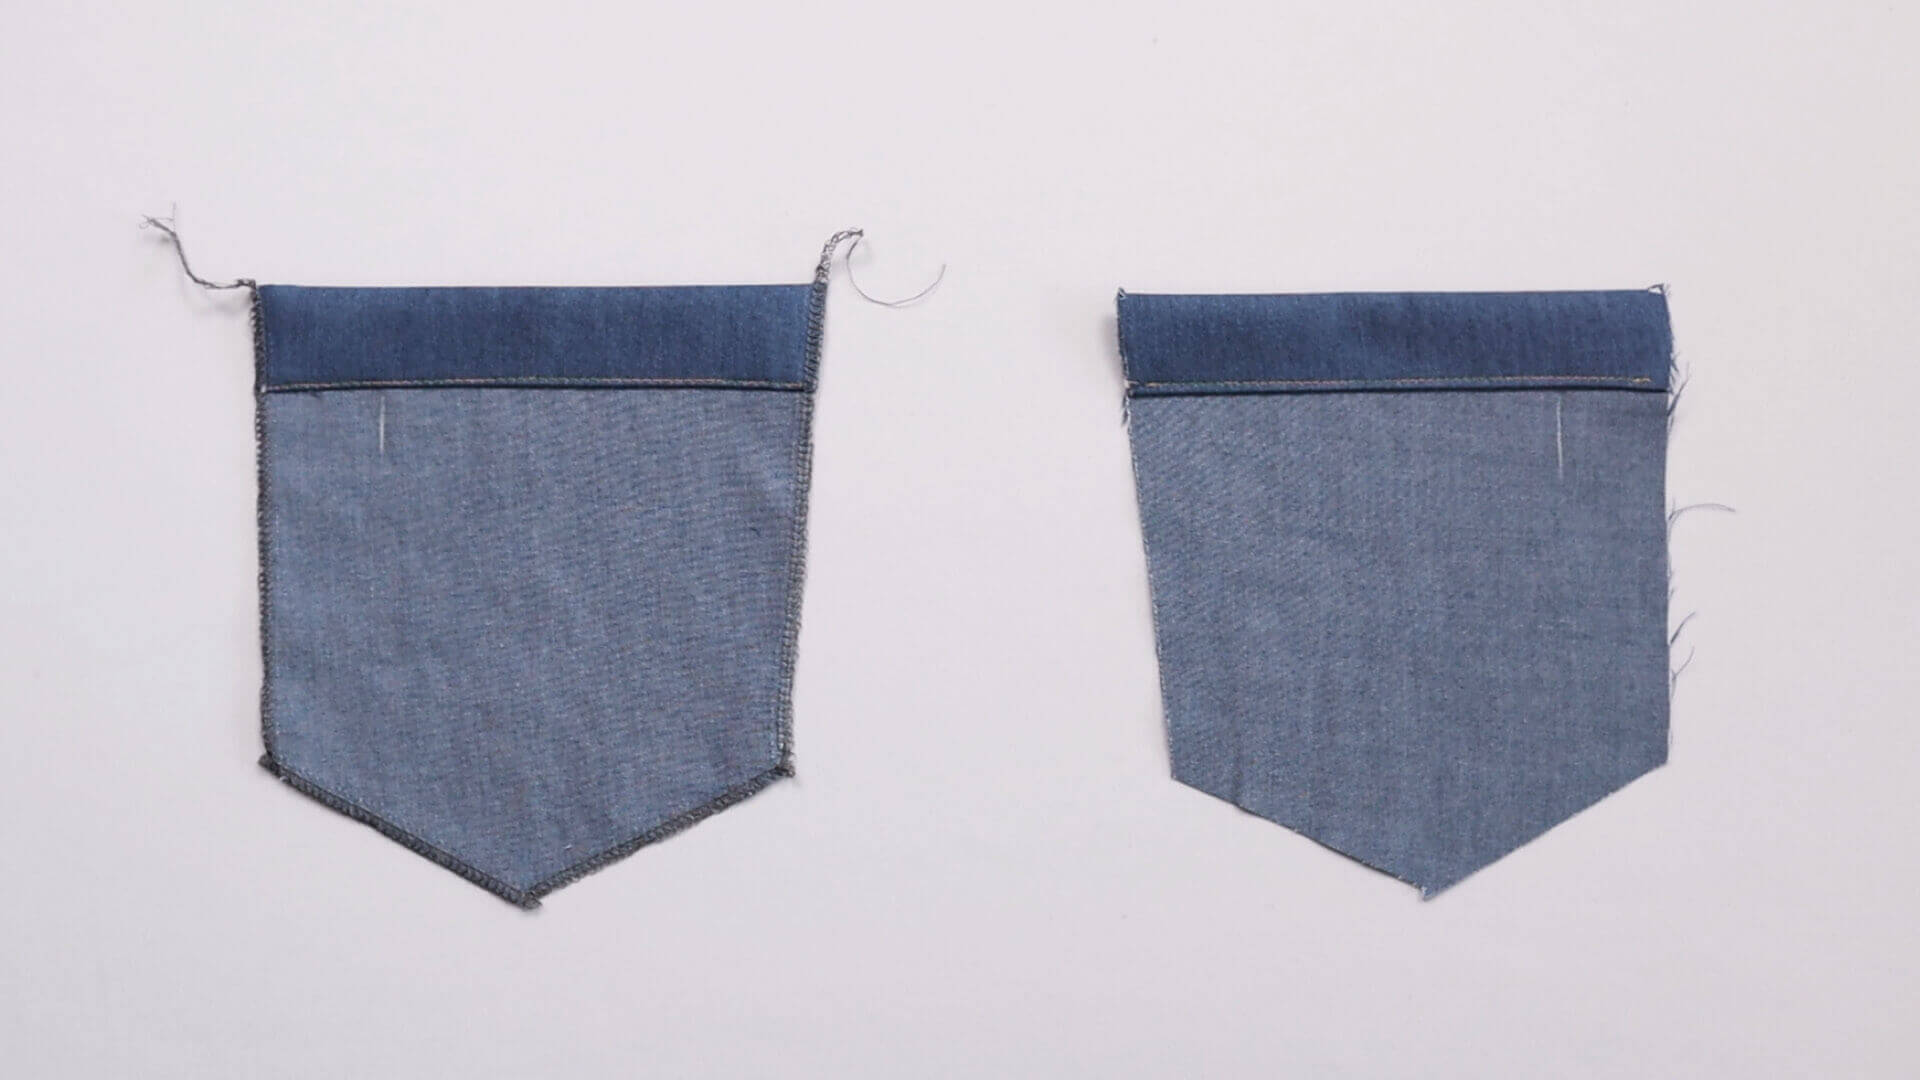
Make sure to transfer the notch at the top – this indicates, which pocket side is aligned with the center back. The raw edge is folded 1 cm and topstitched close to the edge. You can also neaten the raw edge and topstitch it, which is recommended for thicker fabrics.
Depending on the material, the cut edges can be neatened.
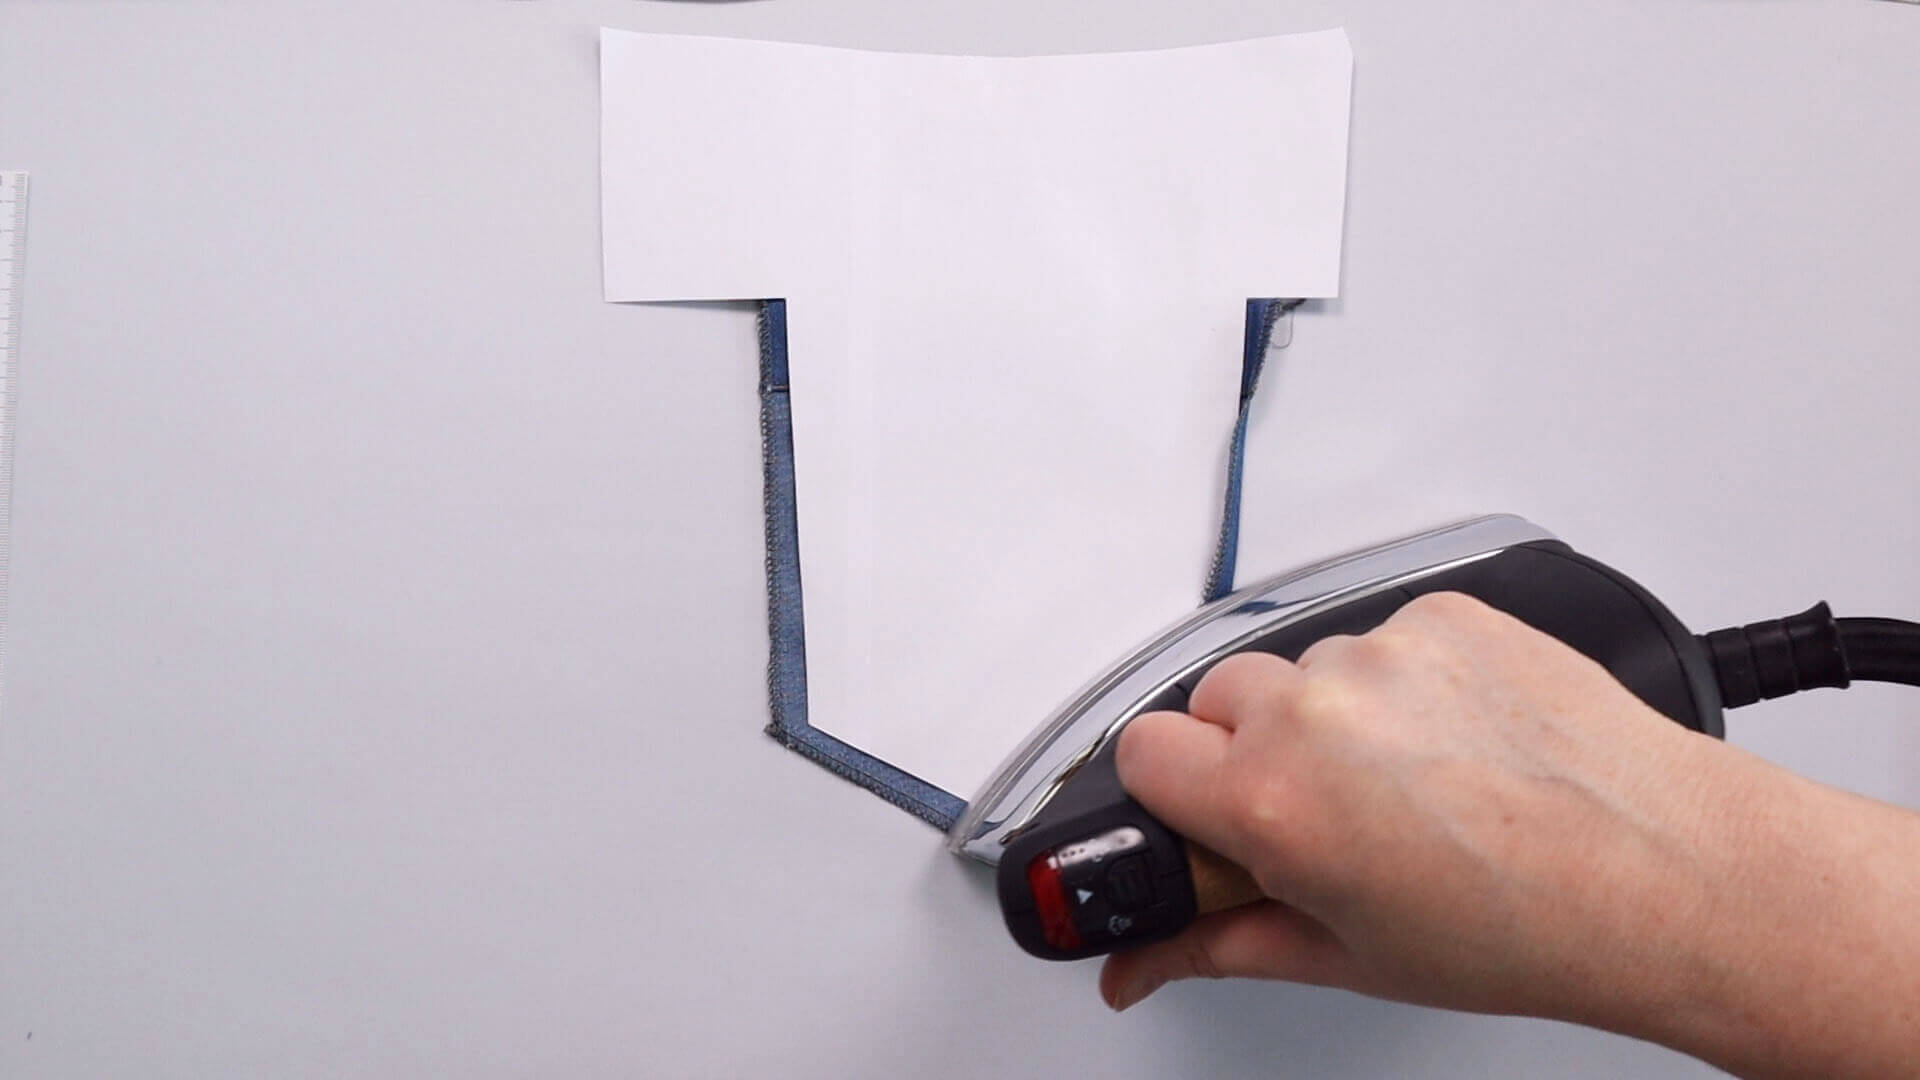
The side and bottom edges of the pocket are pressed over by 10 mm. The marking template can be used here as an ironing aid.
3. Place the pockets on the back of the trousers
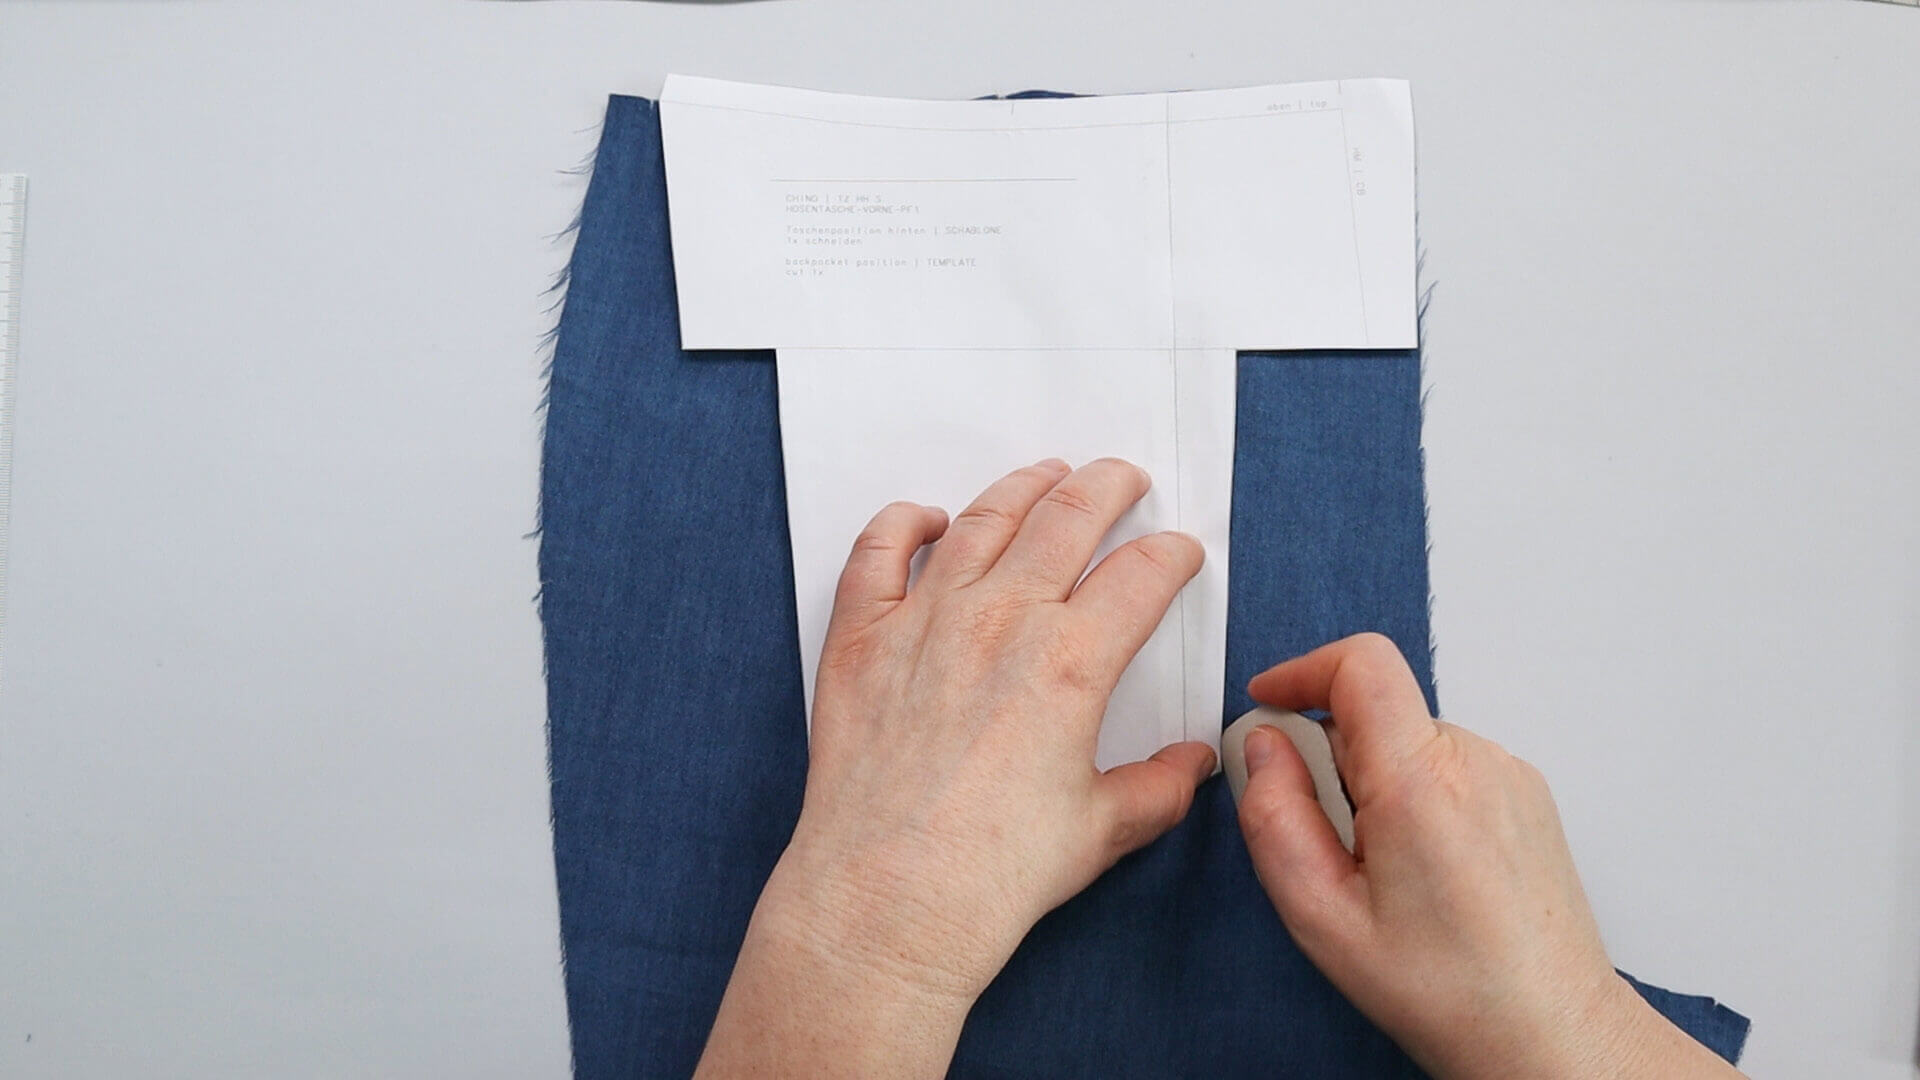
Now mark the pocket position on the back of the trousers on the right side of the fabric. To do this, position the template aligning to the top edge and the center back.
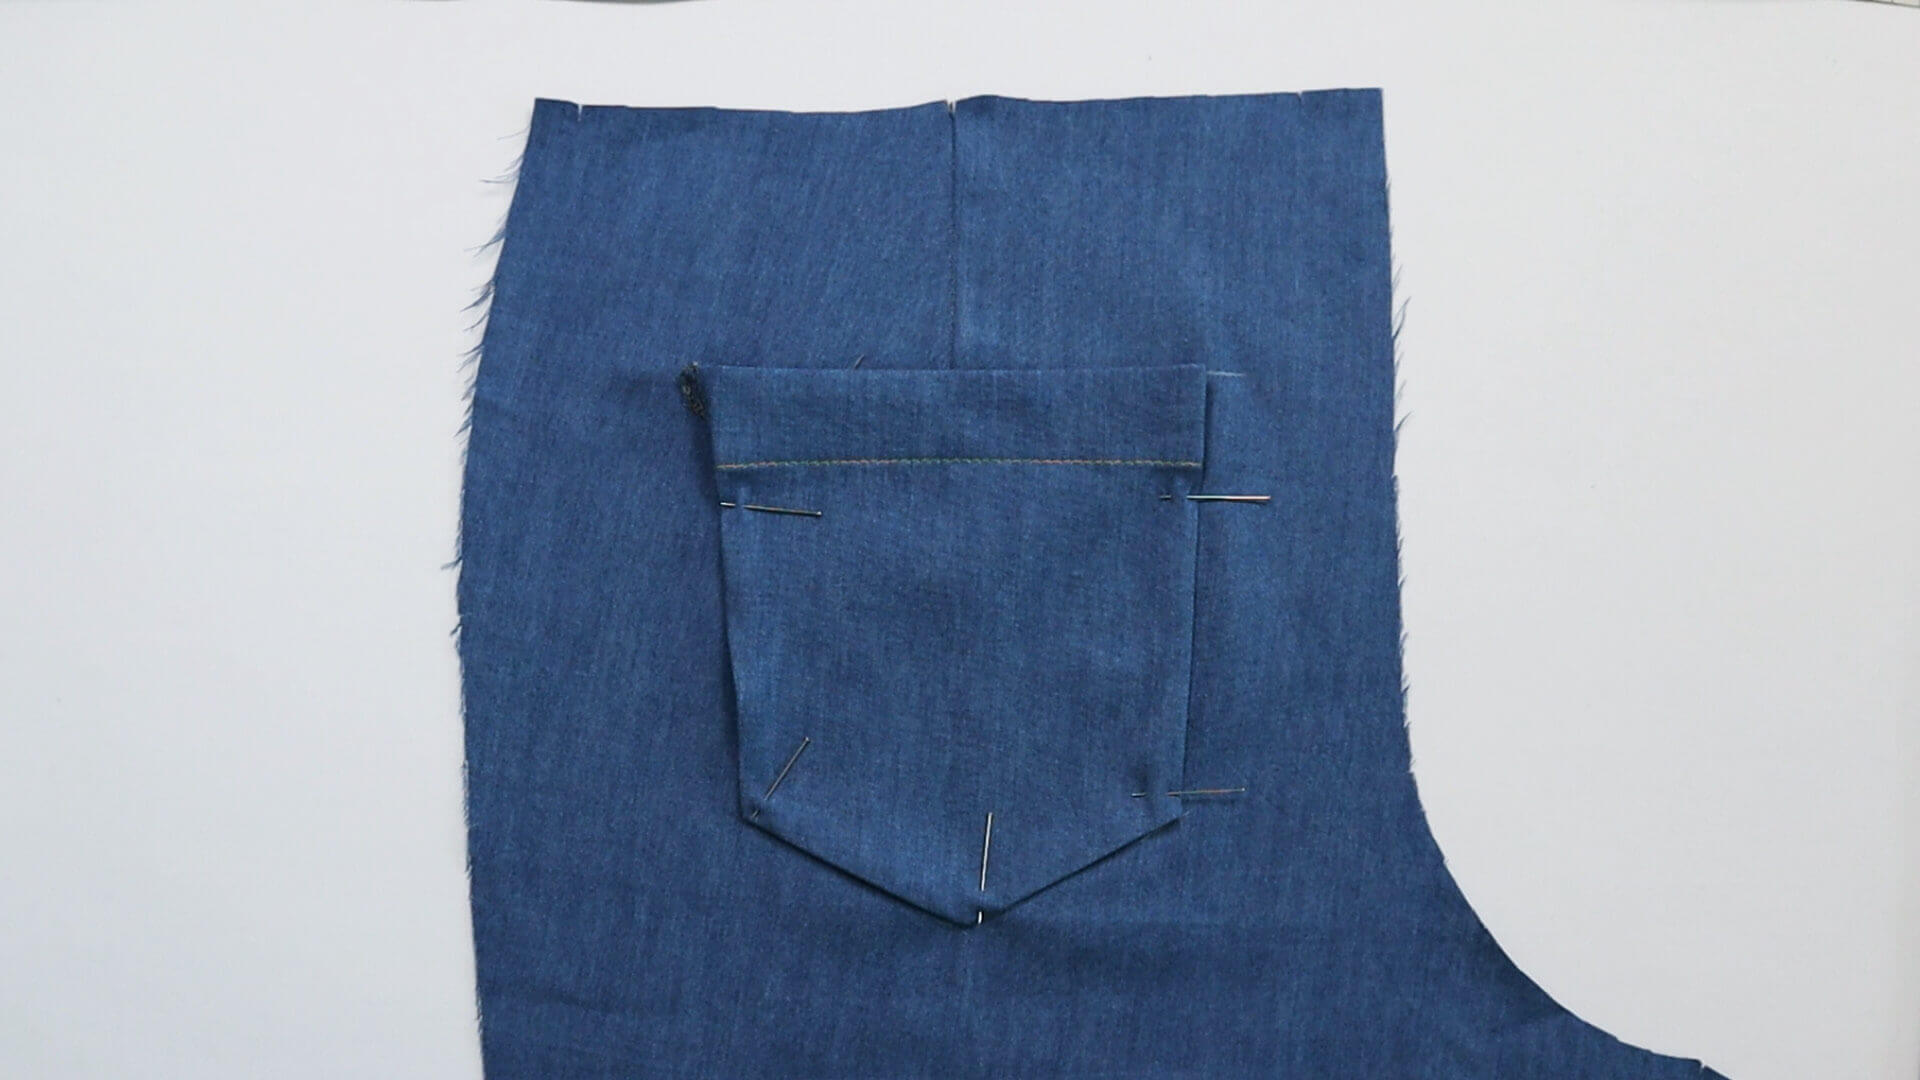
The pocket is positioned and pinned in place.
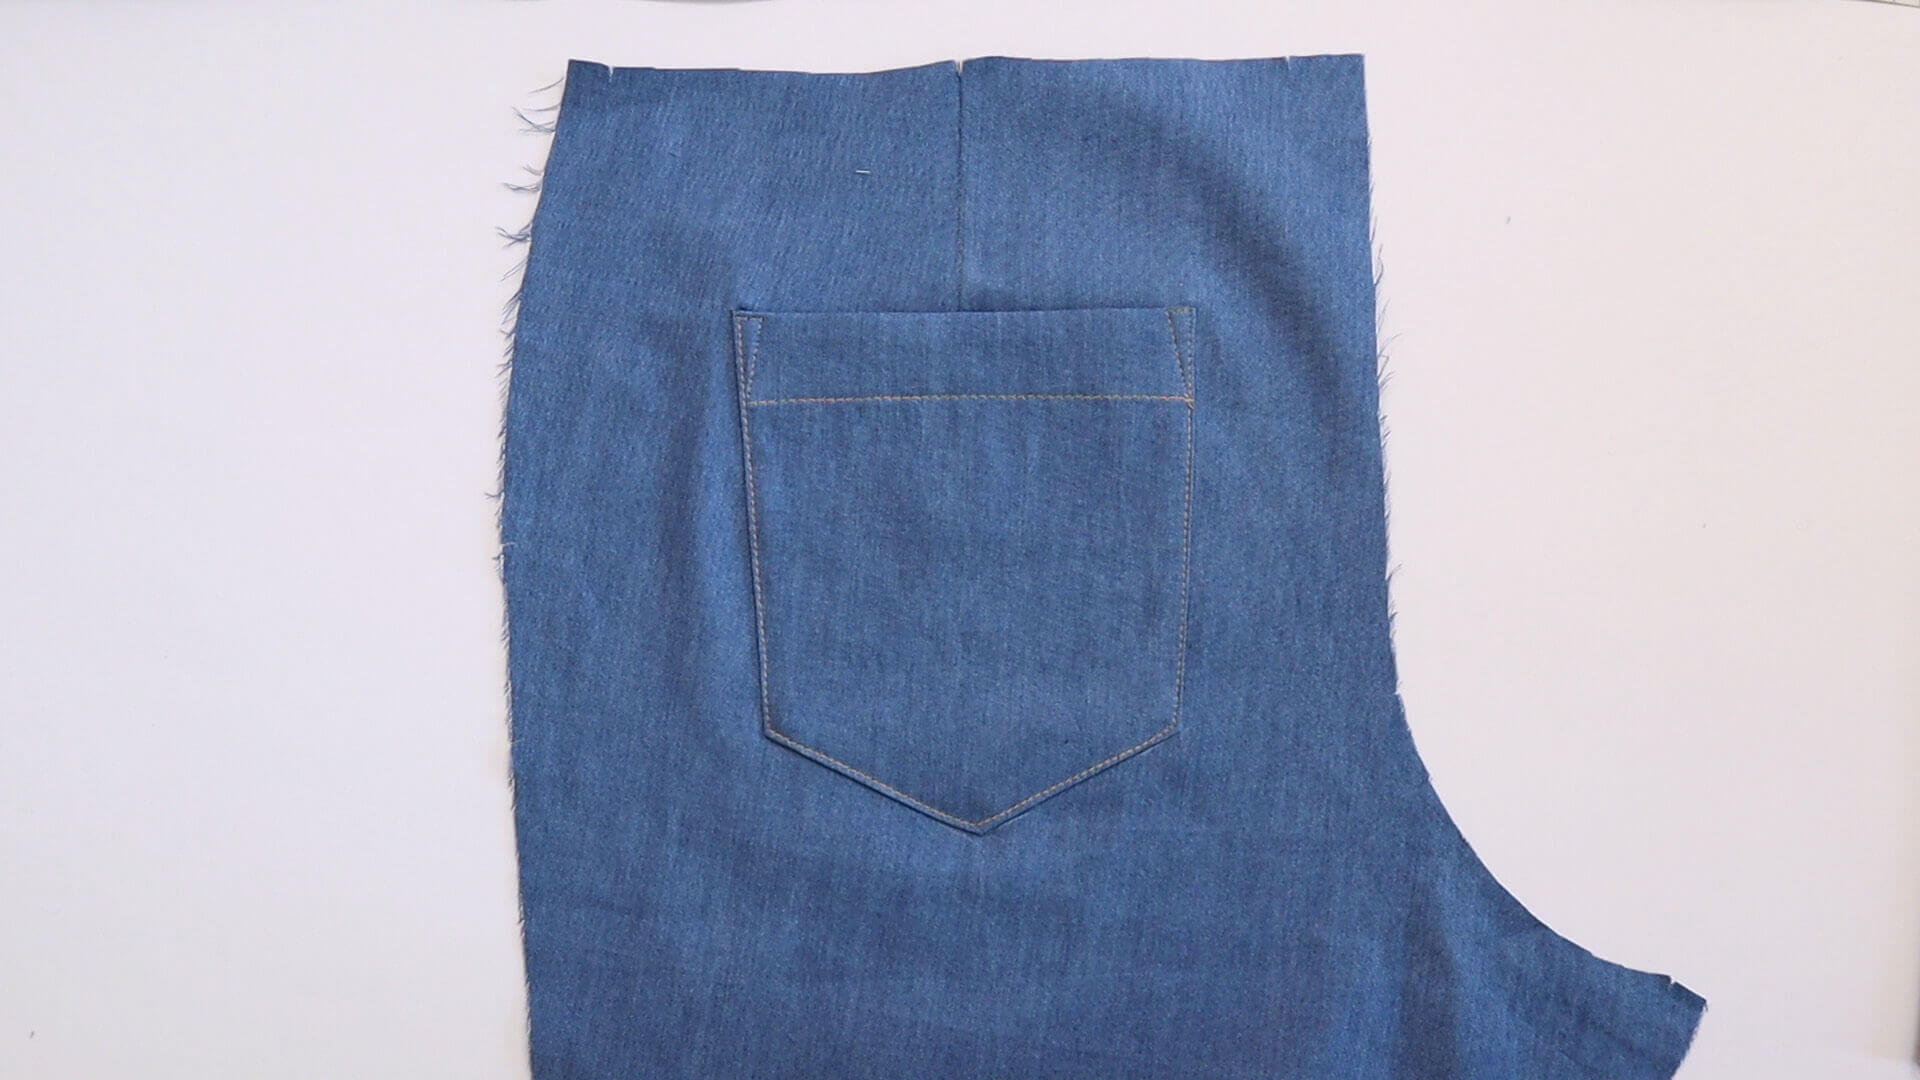
There are various options for topstitching the pocket. You can, for example, topstitch them narrow-edged and bartack them approx. 5mm across the opening . In this example, I have used a triangular topstitching and topstitched the rest narrow-edged.
Below you will find a selection of links to further steps:
If you’re not quite ready yet and perhaps want to start from scratch, you’ll find some links here:


