Sewing fly with zipper #Z01
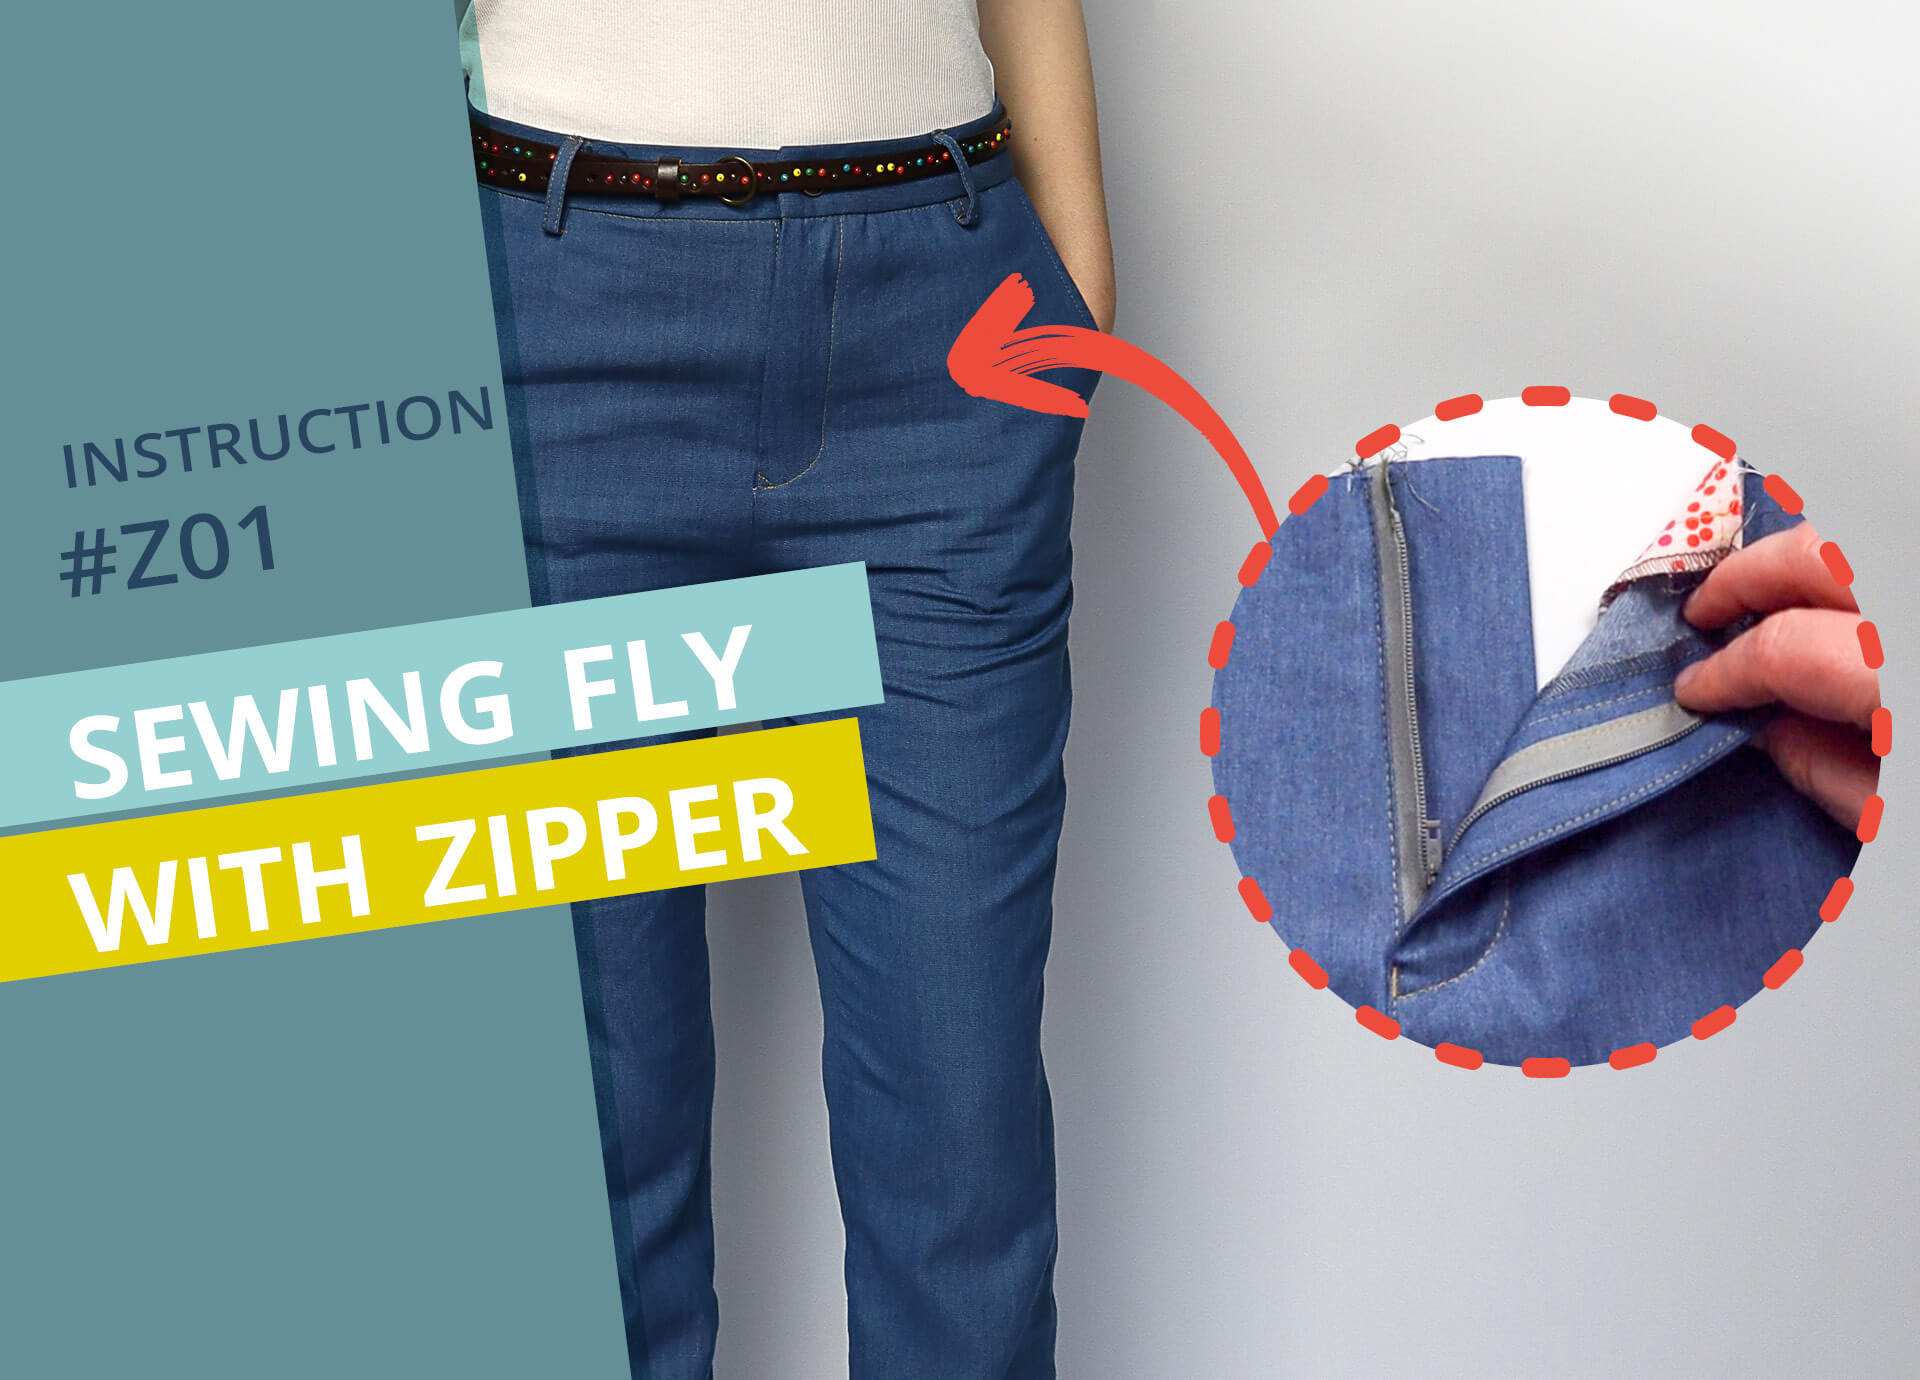
Selfmade and tailor-made! In the following tutorial, I explain step by step how to sew a fly with zipper into a pair of trousers using video and illustrated text instructions. The fly is worked into the left center front and has an underlap on the right side. Then have fun!
1. This is required
![Sew your own fly with zipper - required pattern pieces and materials The picture shows which pattern pieces and materials are required.](https://smartpattern.de/wp-content/uploads/2021/05/reissverschluss-hosenschlitz-naehen-diy-1-das-wird-benoetigt.jpg)
Pattern pieces made from main fabric:
- front pieces (VH) – 1 pair
- fly facing (ZB) – 1 x
- fly shield (ZU) – 1 x
Pattern pieces from interfacing:
- fly facing (EZB) – 1 x
- fly shield (EZU) – 1 x
Paper pattern pieces:
- front trousers (VH)
- template for the fly stitching (P-SZ)
Tools and materials:
- 1 zipper (see instrucions or front pattern piece for required length)
- pins or clips
- scissoers
- tailor’s chalk or fabric marker
- ruler
2. Iron on interfacing
![Sew your own fly with zipper - iron the interlining onto the fly pieces The picture shows how the interlining is ironed onto the slit pieces.](https://smartpattern.de/wp-content/uploads/2021/05/reissverschluss-hosenschlitz-naehen-diy-2-einlage-aufbuegeln.jpg)
I start by ironing the interfacing onto the wrong side of the fly facing and fly shield.
3. Produce fly shield for fly with zipper
![Sew your own fly with zipper, shorten the lower edge of the fly bottom and turn it over The picture shows how to prepare the fly shield](https://smartpattern.de/wp-content/uploads/2024/03/sew-fly-with-zipper-sew-and-turn-bottom-fly-underlay-edge.jpg)
I fold the bottom of the fly shield in half lengthwise, right sides together, and sew the bottom edge (this is the side where the side notch are located) with a 10 mm seam allwoance. Then I turn the piece over and press it in half from the outside.
4. Sew on the left fly facing
![Sew your own fly with zipper-trim the left front cutting edge The picture shows how the left front cutting edge is trimmed.](https://smartpattern.de/wp-content/uploads/2021/05/reissverschluss-hosenschlitz-naehen-diy-4a-linke-kante-beschneiden.jpg)
I trim the front edge at the center front by 7 mm. This cutting line is marked in the pattern so you can use it as a guide.
![Sew your own fly with zipper - place fly facing on left front piece The picture shows how the slit facing is placed on the left front piece.](https://smartpattern.de/wp-content/uploads/2021/05/reissverschluss-hosenschlitz-naehen-diy-4b-schlitzbeleg-platzieren.jpg)
I place the left fly facing from the top flush right sides facing, pin it in place and mark the end of the fly at the notch. I stitch the pieces together with a straight stitch with a 10 mm seam allwoance, starting exactly at the notch. The fly end is secured with some forward and backward stitches.
![Sew your own fly with zipper-low-stitched fly facing seam The picture shows the topstitched fly facing.](https://smartpattern.de/wp-content/uploads/2021/05/reissverschluss-hosenschlitz-naehen-diy-4d-schlitzbelegnaht-niedersteppen.jpg)
At the notch at the fly end, I cut the seam allowances right up to the seam. Before turning the edge, you can iron over the seam allowance or stitch it down with a 2 mm distance to the seam on the facing side.
![Sew your own fly with zipper - turned fly facing The picture shows the turned slotted cover.](https://smartpattern.de/wp-content/uploads/2021/05/reissverschluss-hosenschlitz-naehen-diy-4e-schlitzbelegnaht-wenden.jpg)
I turn the fly facing inwards and iron it in place. I place the lower cut edge of the facing to the cut edge of the front trousers. Depending on the design, the fly can be topstitched at the front edge, in which case you can skip the downstitching beforehand.
5. Overlocking the cut edges
![Sew your own fly with zipper - overlocked raw edges The picture shows the cut edges finished with the overlocker.](https://smartpattern.de/wp-content/uploads/2021/05/reissverschluss-hosenschlitz-naehen-diy-5-versaubern-der-schnittkanten.jpg)
I finish the back raw edges of the fly facing, the crotch seams of both front pieces, the front edge of the left front piece and the back edge of the pressed fly shield using my my overlock machine or a zigzag stitch.
6. Sew on zipper on the right side
![zipper-pants-slit-seam-diy-6-rv-right-seam The picture shows how the zipper is stitched onto the right front piece.](https://smartpattern.de/wp-content/uploads/2021/05/reissverschluss-hosenschlitz-naehen-diy-6-rv-rechts-annaehen.jpg)
The measurement of the required zipper length is noted on the pattern of the front pattern piece and in the instructions. It can also be determined by measuring and corresponds to the length at the center front from the notch to the top edge minus 15 mm. I place the zipper right sides together (i.e. with the slider on the right side of the fabric) on the right front piece. Then I mark 8 mm from the front cutting edge and 15 mm from the top edge. I place the zipper tape in place and stitch it on close to the edge.
![Sew your own fly with zipper - overstitch zipper seam on right front piece The picture shows how to topstitch the zipper seam on the right front piece.](https://smartpattern.de/wp-content/uploads/2021/05/reissverschluss-hosenschlitz-naehen-diy-6b-reissverschluss-rechts-uebersteppen.jpg)
The zipper is now folded over so that the right side is visible. Then I topstitch the seam narrow-edged on the front piece.
7. Connect the front pieces
![Sew your own fly with zipper - join the front pieces at the inseam The picture shows how the front pieces are joined at the crotch seam.](https://smartpattern.de/wp-content/uploads/2021/05/reissverschluss-hosenschlitz-naehen-7a-vorderteile-verbinden.jpg)
Now I join the two front pieces together. To do this, I place them right sides together. I sew the crotch seam exactly to the fly end with a seam allowance of 10 mm.
![Sew your own fly with zipper - stretch the crotch seam allowance by ironing The picture shows how the seam allowance of the crotch seam is stretched by pressing.](https://smartpattern.de/wp-content/uploads/2021/05/reissverschluss-hosenschlitz-naehen-diy-7b-schrittnahtzugabe-dehnen.jpg)
I stretch the seam allowance in the curve by pressing. Caution – the seam itself should not be stretched too much.
8. Stitch the zipper to the fly facing
![reissverschluss-hosenschlitz-naehen-diy-8-rechts-vordere-mitte-anzeichen](https://smartpattern.de/wp-content/uploads/2021/05/reissverschluss-hosenschlitz-naehen-diy-8-rechts-vordere-mitte-anzeichen.jpg)
I draw the center front 7 mm parallel to the zipper on the right front piece.
![Sew your own fly with zipper - pin the fly together at the center front The picture shows how the slit at the center front is pinned together.](https://smartpattern.de/wp-content/uploads/2021/05/reissverschluss-hosenschlitz-naehen-diy-8b-schlitz-an-mitte-zusammenstecken.jpg)
I place the left front edge (where the fly facing was attached) on this line and pin it in place. Both front pieces are placed with the right side of the fabric facing up.
![Sew your own fly with zipper - pin the zipper tape to the fly facing The picture shows how the zipper tape is attached to the fly piece.](https://smartpattern.de/wp-content/uploads/2021/05/reissverschluss-hosenschlitz-naehen-diy-8c-rv-am-beleg-feststecken.jpg)
Then I turn the front pieces to the wrong side and pin the zipper to the facing. It is helpful to place a ruler under the fly facing to prevent stitching through the front trouser piece.
![Sew your own fly with zipper-Sew zipper tape on fly facing The picture shows how the zipper tape is sewn onto the fly piece.](https://smartpattern.de/wp-content/uploads/2021/05/reissverschluss-hosenschlitz-naehen-diy-8d-ziue-auf-beleg-steppen.jpg)
9. Fly topstiching
![Sew your own fly with zipper - signs of fly stitching The picture shows how the slit stitching is marked.](https://smartpattern.de/wp-content/uploads/2021/05/reissverschluss-hosenschlitz-naehen-diy-9a-schlitzsteppung-anzeichnen.jpg)
I place the fly template on the left front piece and mark the topstitching line.
![Sew your own fly with zipper - pin the fly facing under the front part The picture shows how the slit facing is tucked under the front piece.](https://smartpattern.de/wp-content/uploads/2021/05/reissverschluss-hosenschlitz-naehen-diy-9b-schlitzbeleg-an-vorderteil-stecken.jpg)
I pin fly facing and front piece together.
![Sew your own fly with zipper - different quilting and design variations The picture shows different quilting and design variants.](https://smartpattern.de/wp-content/uploads/2024/03/design-examples-to-sew-fly-with-zipper.jpg)
There are many options for designing the fly and the short crotch seam. I have shown a few examples here. You can topstitch the fly single or double, as well as the short crotch seam below the fly, which can also be left unstitched. You can work with a cross or lengthwise bartack at the end of the fly. However, latter is only done after the fly shield has been attached.
10. Connect fly shield
![Sew the fly with zipper yourself Place the fly underneath and pin in place The picture shows how the fla shield is placed.](https://smartpattern.de/wp-content/uploads/2021/05/reissverschluss-hosenschlitz-naehen-diy10a-schlitzunertritt-verbinden.jpg)
From the inside, I place the fly shield over the fly facing. I pin the serged long edge to the seam allowance of the fly facing and sew it in place.
![Sew your own fly with zipper - sewn-on fly underlay The picture shows the sewn-on fly bottom.](https://smartpattern.de/wp-content/uploads/2021/05/reissverschluss-hosenschlitz-naehen-diy-10b-angebnaehter-untertritt.jpg)
![Sew your own fly with zipper - sew the bottom facing and bottom edge together The picture shows how the lower facing edge and bottom edge are sewn together.](https://smartpattern.de/wp-content/uploads/2021/05/reissverschluss-hosenschlitz-naehen-diy-10c-beleg-und-untertritt-verbinden.jpg)
On the opposite side of the fly, I join the fly shield and fly facing with a short seam or bartack.
11. Bartack at fly with zipper
![Sew your own fly with zipper - fly end with longitudinal bar tack The picture shows how the end of the fly is secured with a bartack](https://smartpattern.de/wp-content/uploads/2021/05/reissverschluss-hosenschlitz-naehen-diy-11-schlitzriegel.jpg)
As described above, you can secure the end of the fly with a bartack. In this example, I used a narrow zig-zag stitch with a stitch width of 1.5 mm and a stitch length of 0.4 mm. I tried out the stitch on a test piece before applying it to the trousers.
12. Finished fly with zipper
![Sew your own fly with zipper - inside and outside view of the finished fly The picture shows the inside and outside view of the finished slot.](https://smartpattern.de/wp-content/uploads/2021/05/reissverschluss-hosenschlitz-naehen-diy-fertiger-schlitz.jpg)
And this is what the finished fly with zipper looks like.
Below you will find the link to the next step:
If you’re not quite ready yet and perhaps want to start at the beginning, you’ll find some links here: