Sewing inseam pockets into trousers #TV04
I explain step by step how I sew an inseam pocket into a pair of trousers in the following video and illustrated text instructions. Ineam pockets are virtually invisible from the outside and therefore do not distract from other design elements, such as creases or pleats.
I’m anticipating the instructions for closing the leg seams and sewing the different hem variations, as the side seam needs to be closed to finish the seam pocket.
1. This is required:
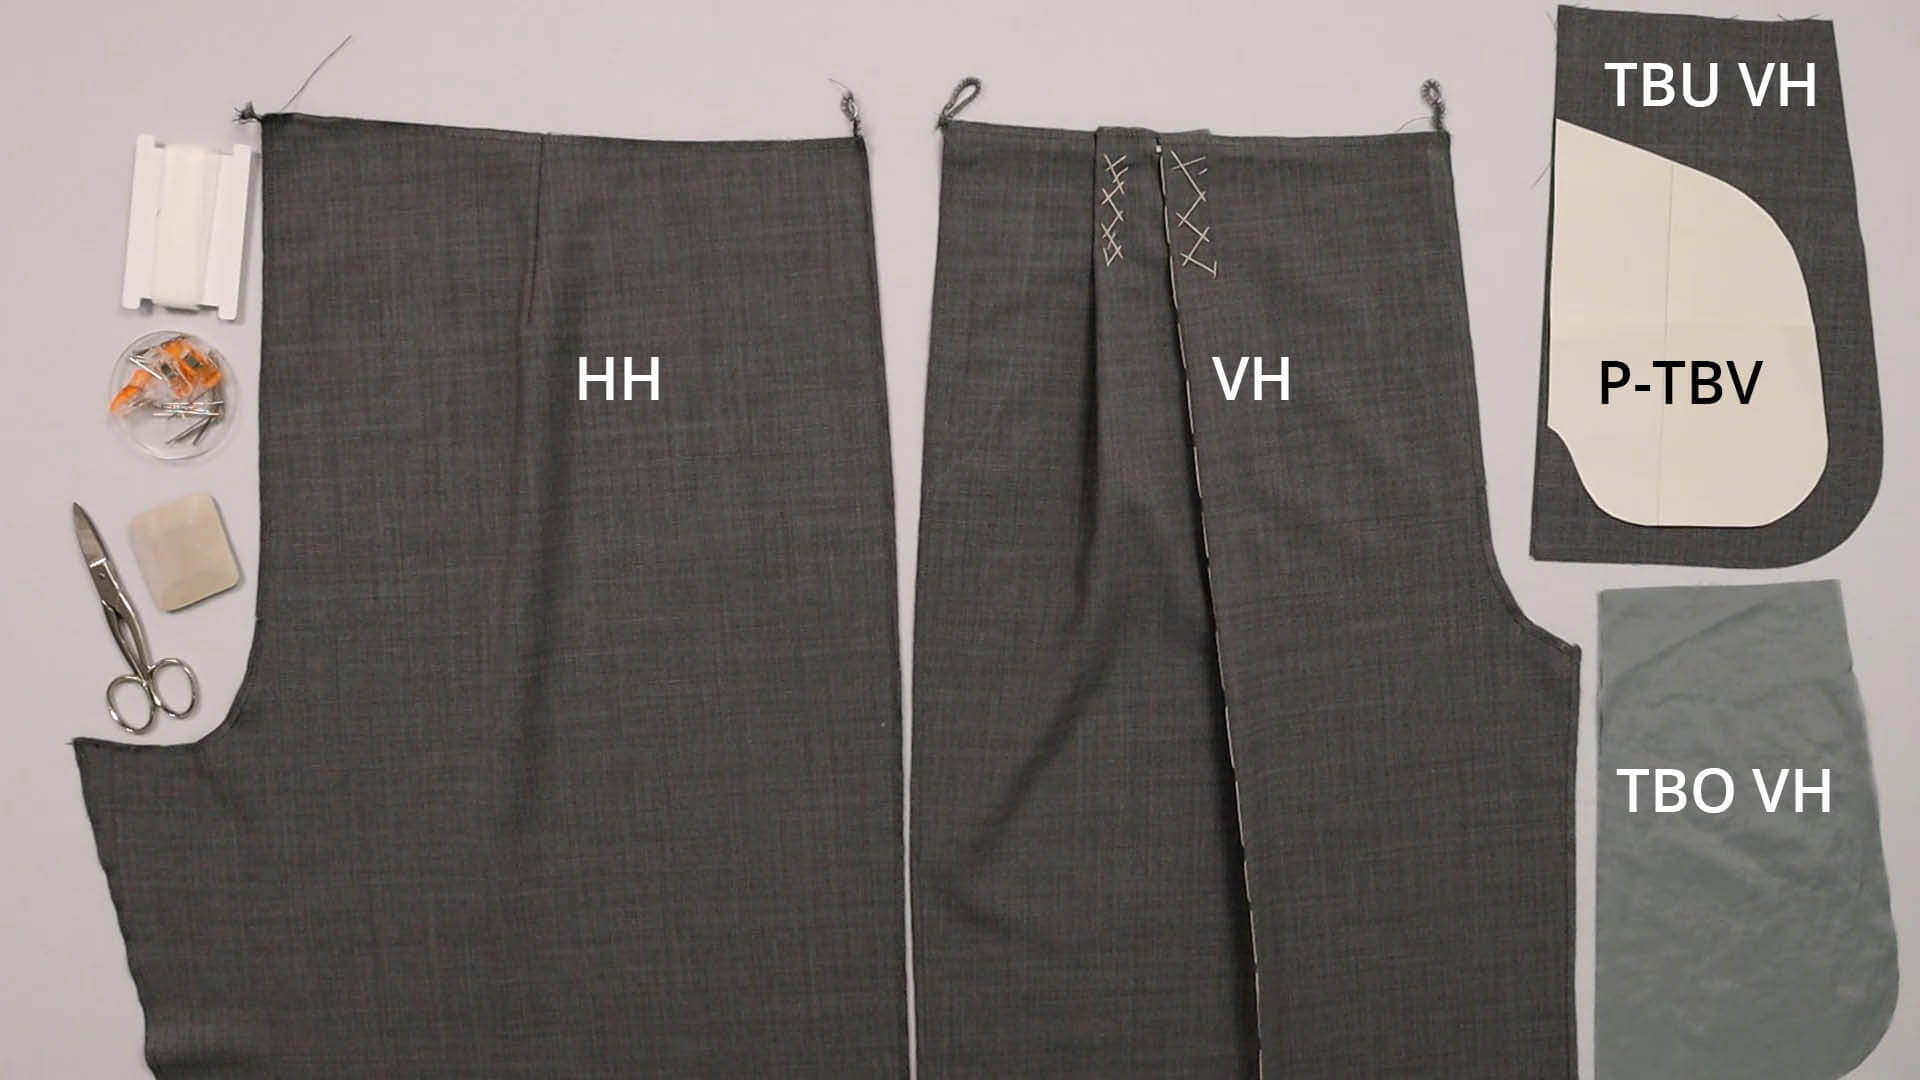
Pattern pieces made from main fabric:
- front pieces (VH)- 1 pair
- back pieces (HH) – 1 pair
- pocket bag (TBU VH) – 1 pair
Pattern pieces made from lining fabric:
- bocket bags (TBO VH) – 1 pair
Paper pattern pieces:
- pocket template (P-TBV)
Tools and aids:
- edge tape for the pocket opening if the trousers are sewn without knee lining (e.g. T20 from Vlieseline)
- pins or clips
- scissors
- chalk or fabric marker
2. Reinforce the opening of the inseam pocket
If you are working your trousers with lining fabric, you have already reinforced the opening of the seam pocket and can continue with step 3.
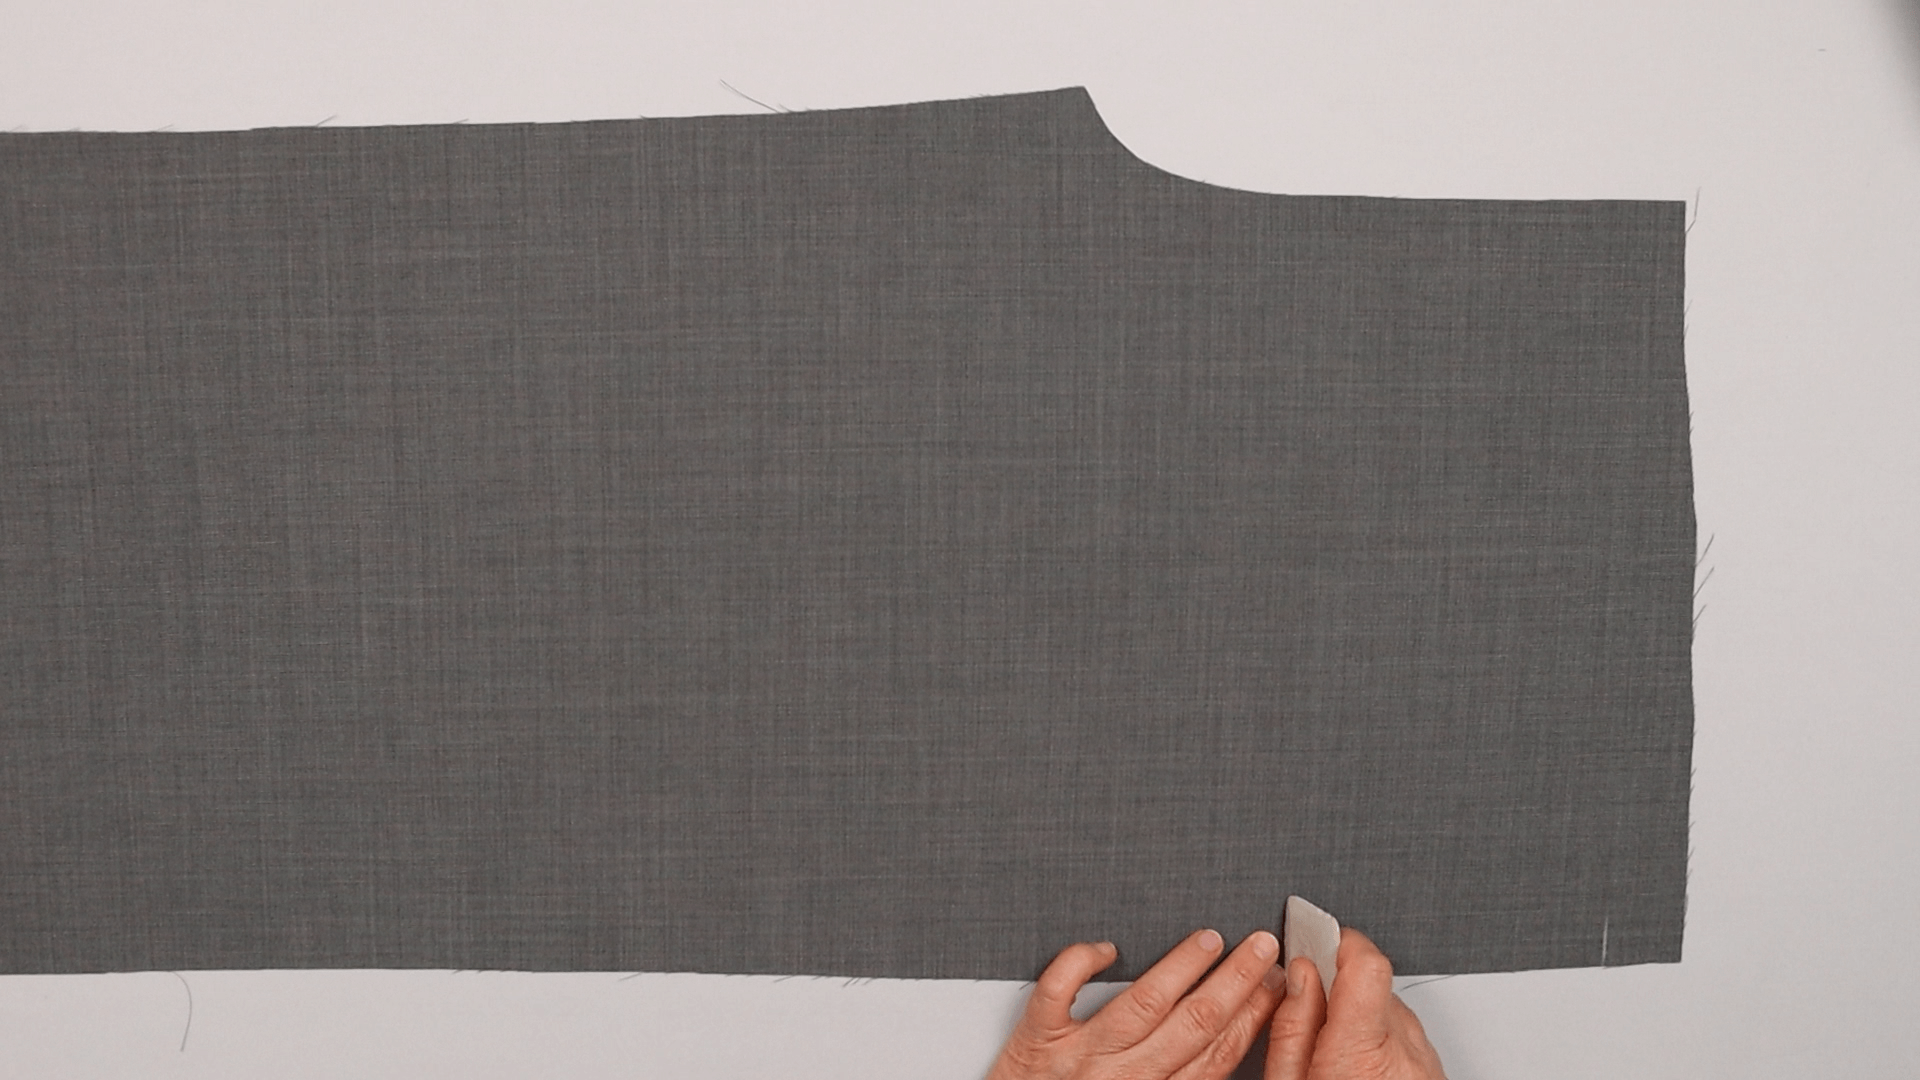
I reinforce the pocket opening on the front trousers without knee lining . To do this, I transfer the notches for the pocket opening from the pattern to the wrong side of the front trousers.
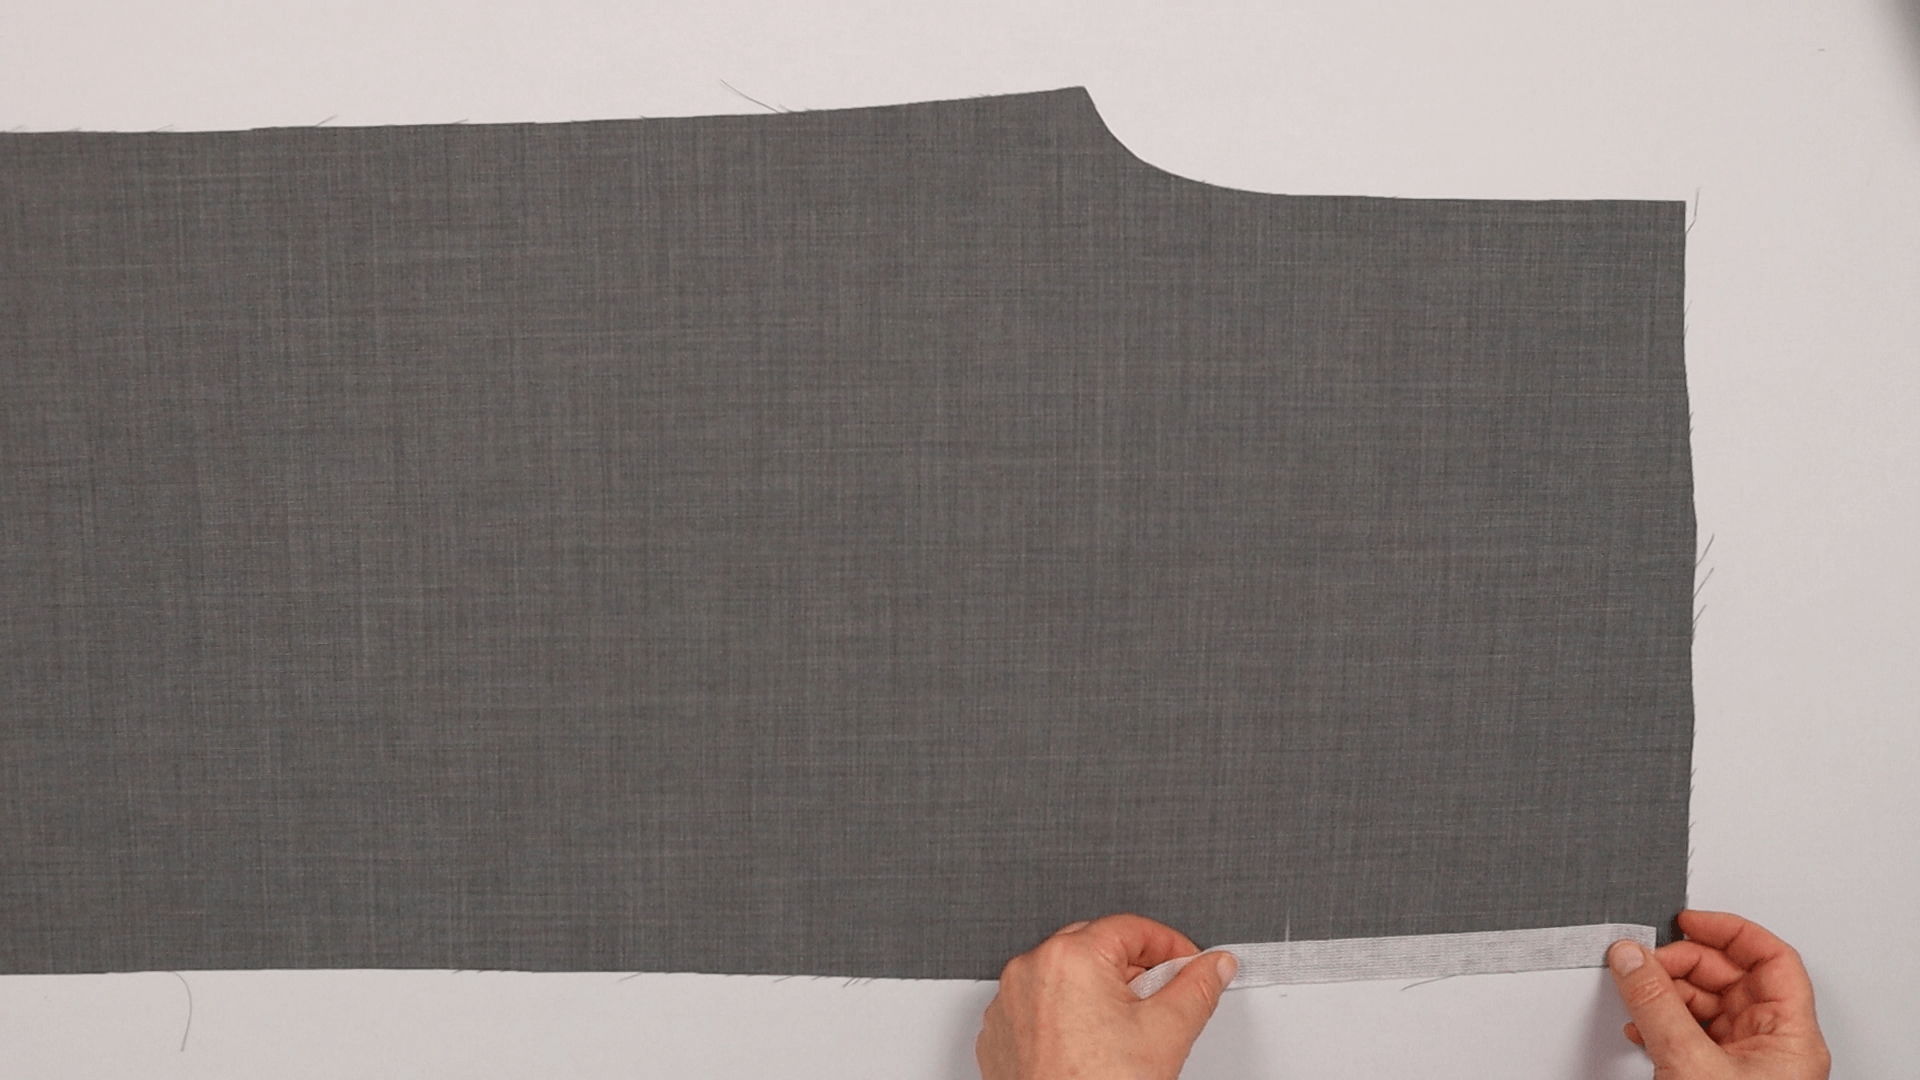
I apply the edging tape directly to the outer edge. It extends approx. 1 cm beyond the notches for the pocket opening. Then I iron on the tape.
3. Close the side seam
If you are sewing your trousers without a knee lining, the trouser parts have not been serged yet. Therefore you must finish the outer leg seams of all four parts (2 x front trousers and 2 x back trousers) with the overlocker or a zigzag stitch.
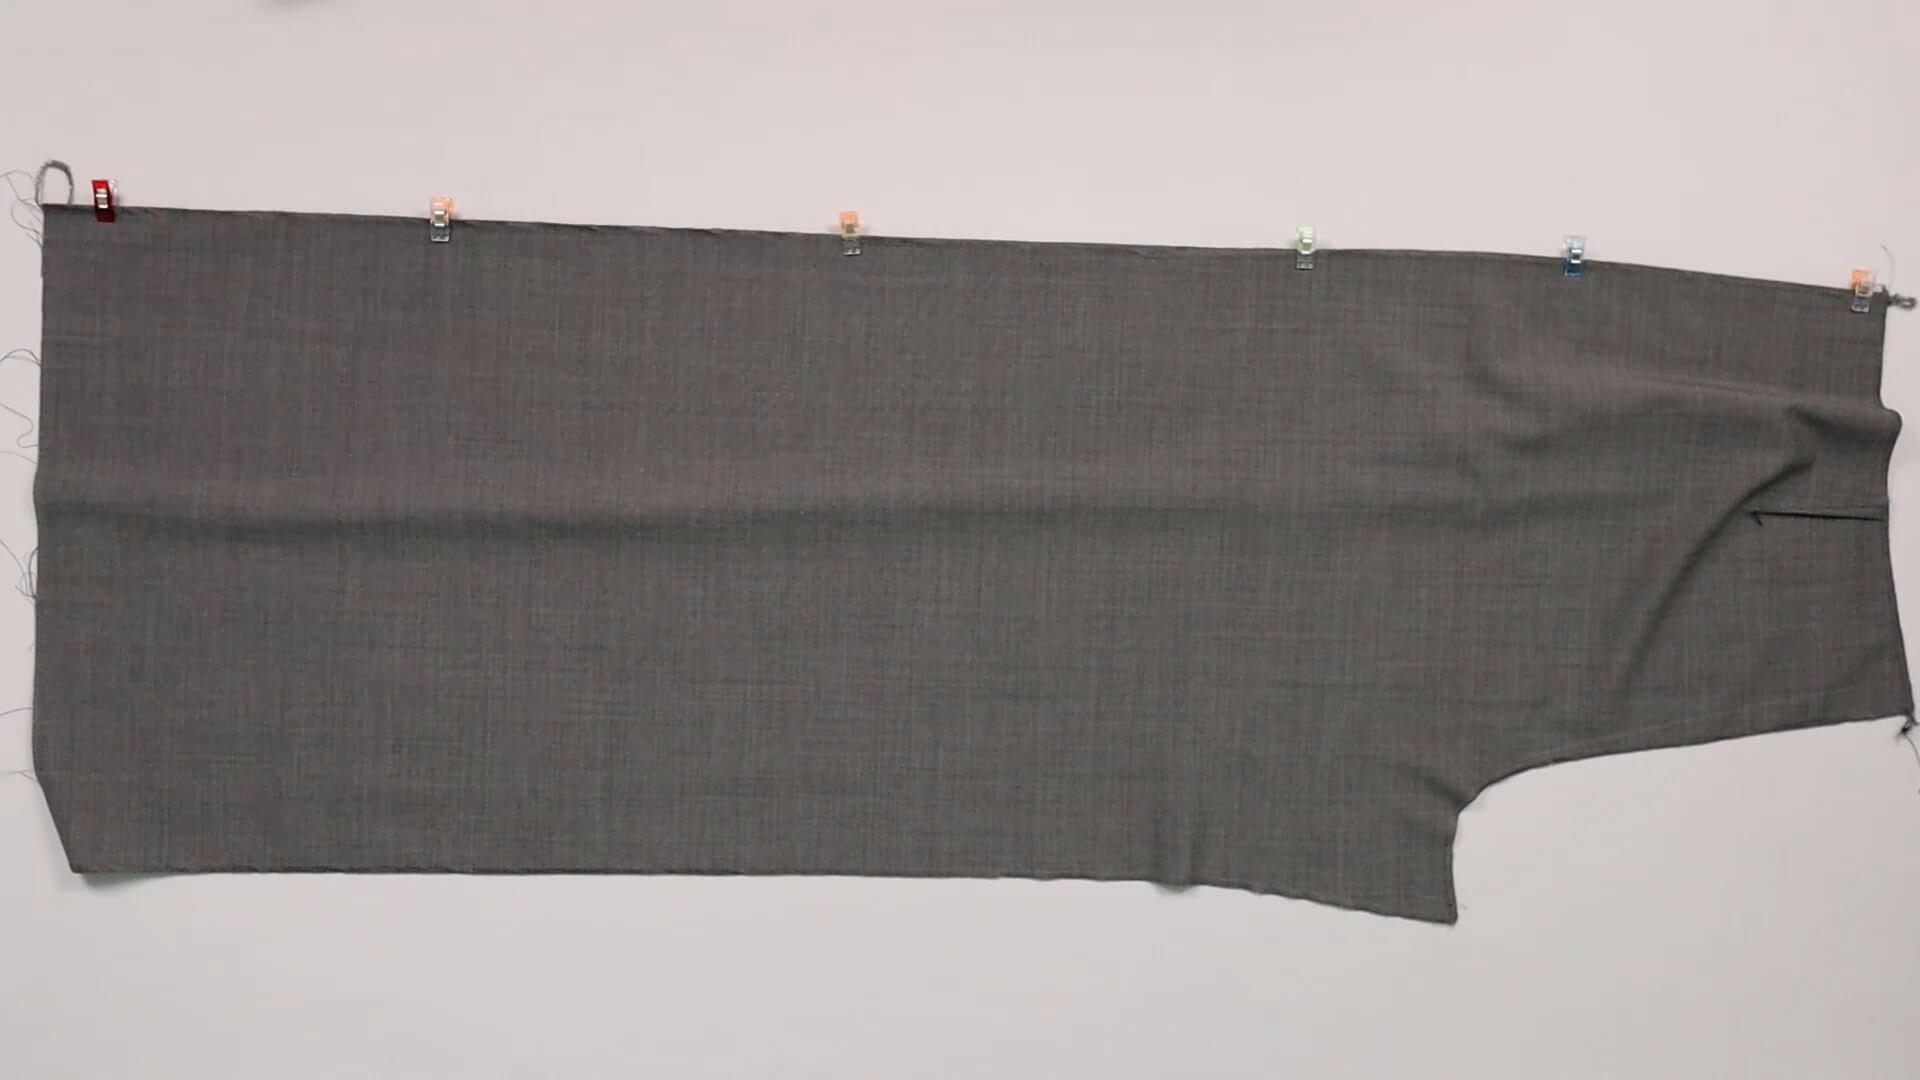
Then I close the side seam. To do this, I lay the front and back trousers right sides together and pin them in place.
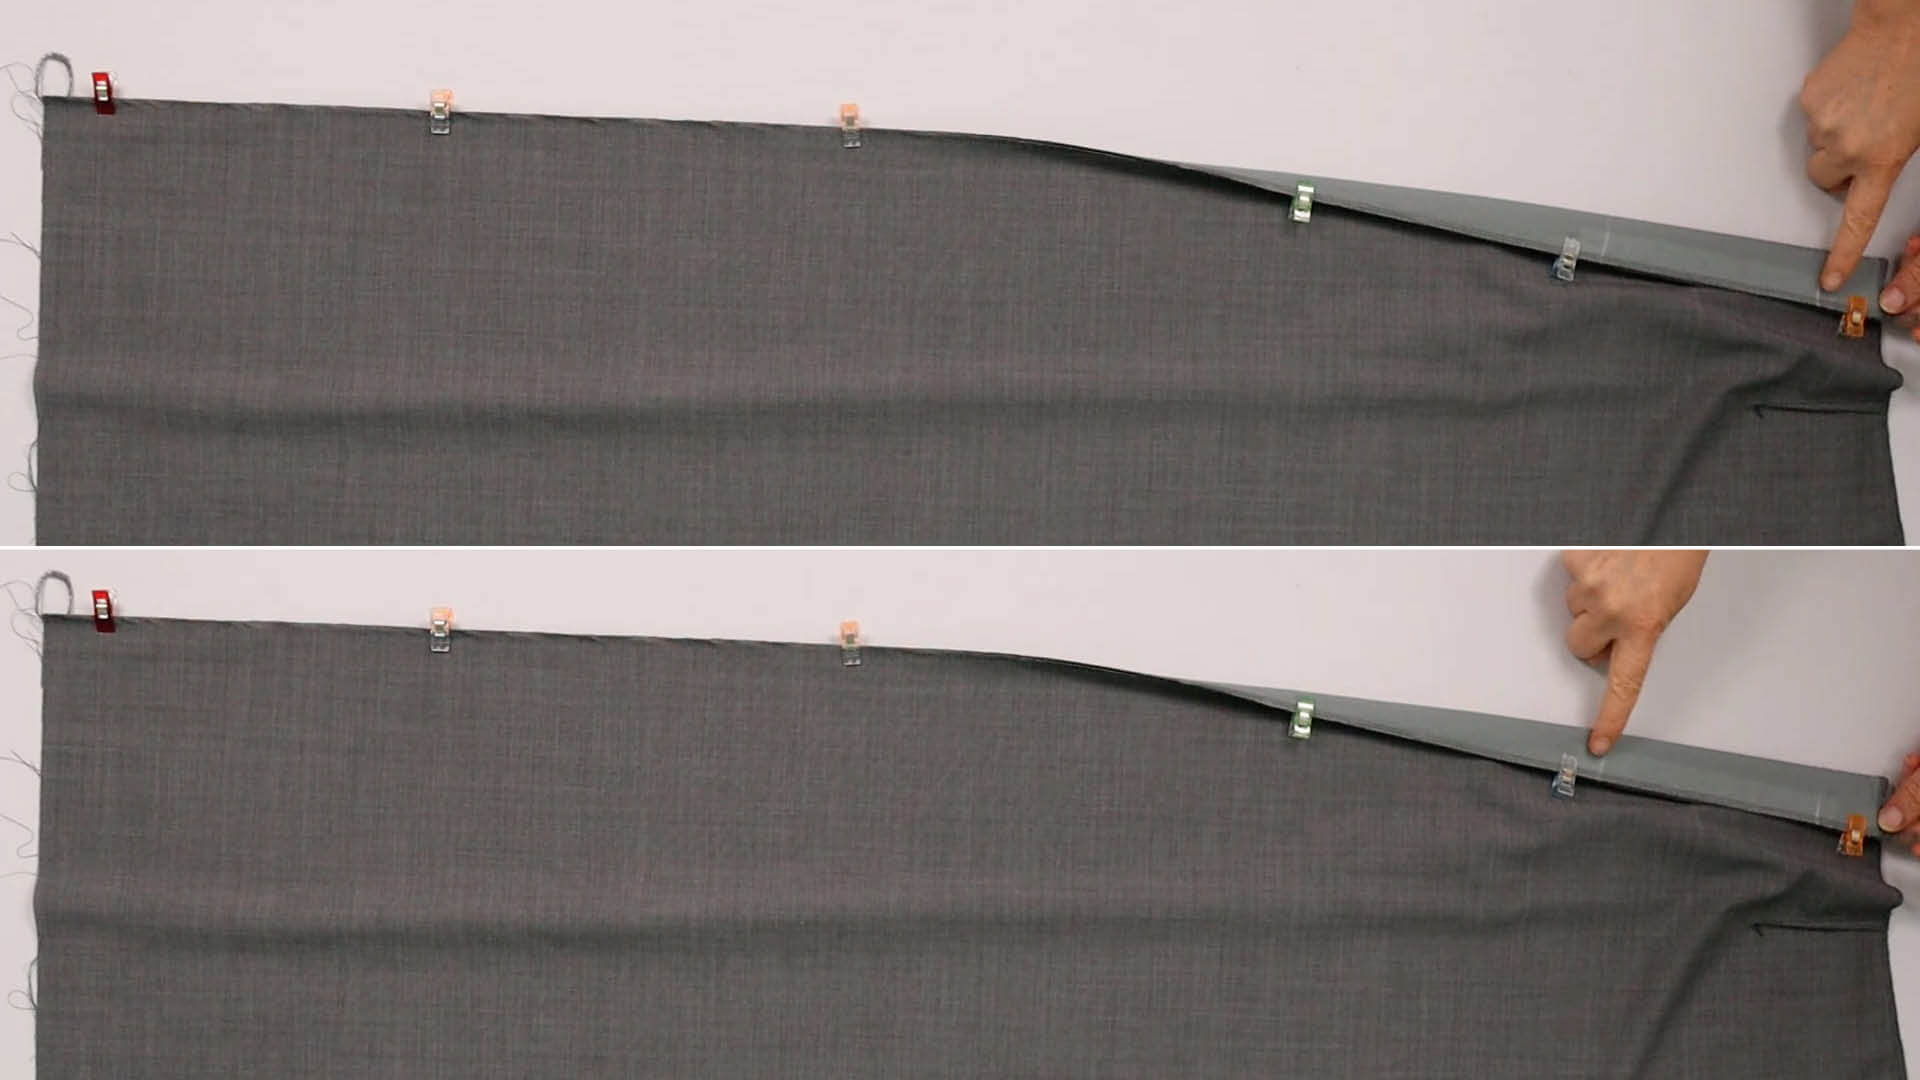
I check whether the markings for the pocket opening are still recognizable. If not, I transfer them to the front trousers again.
As I’m sewing trousers with a knee lining in this example, you can’t see the edge tape – I ironed it on before I added the lining.
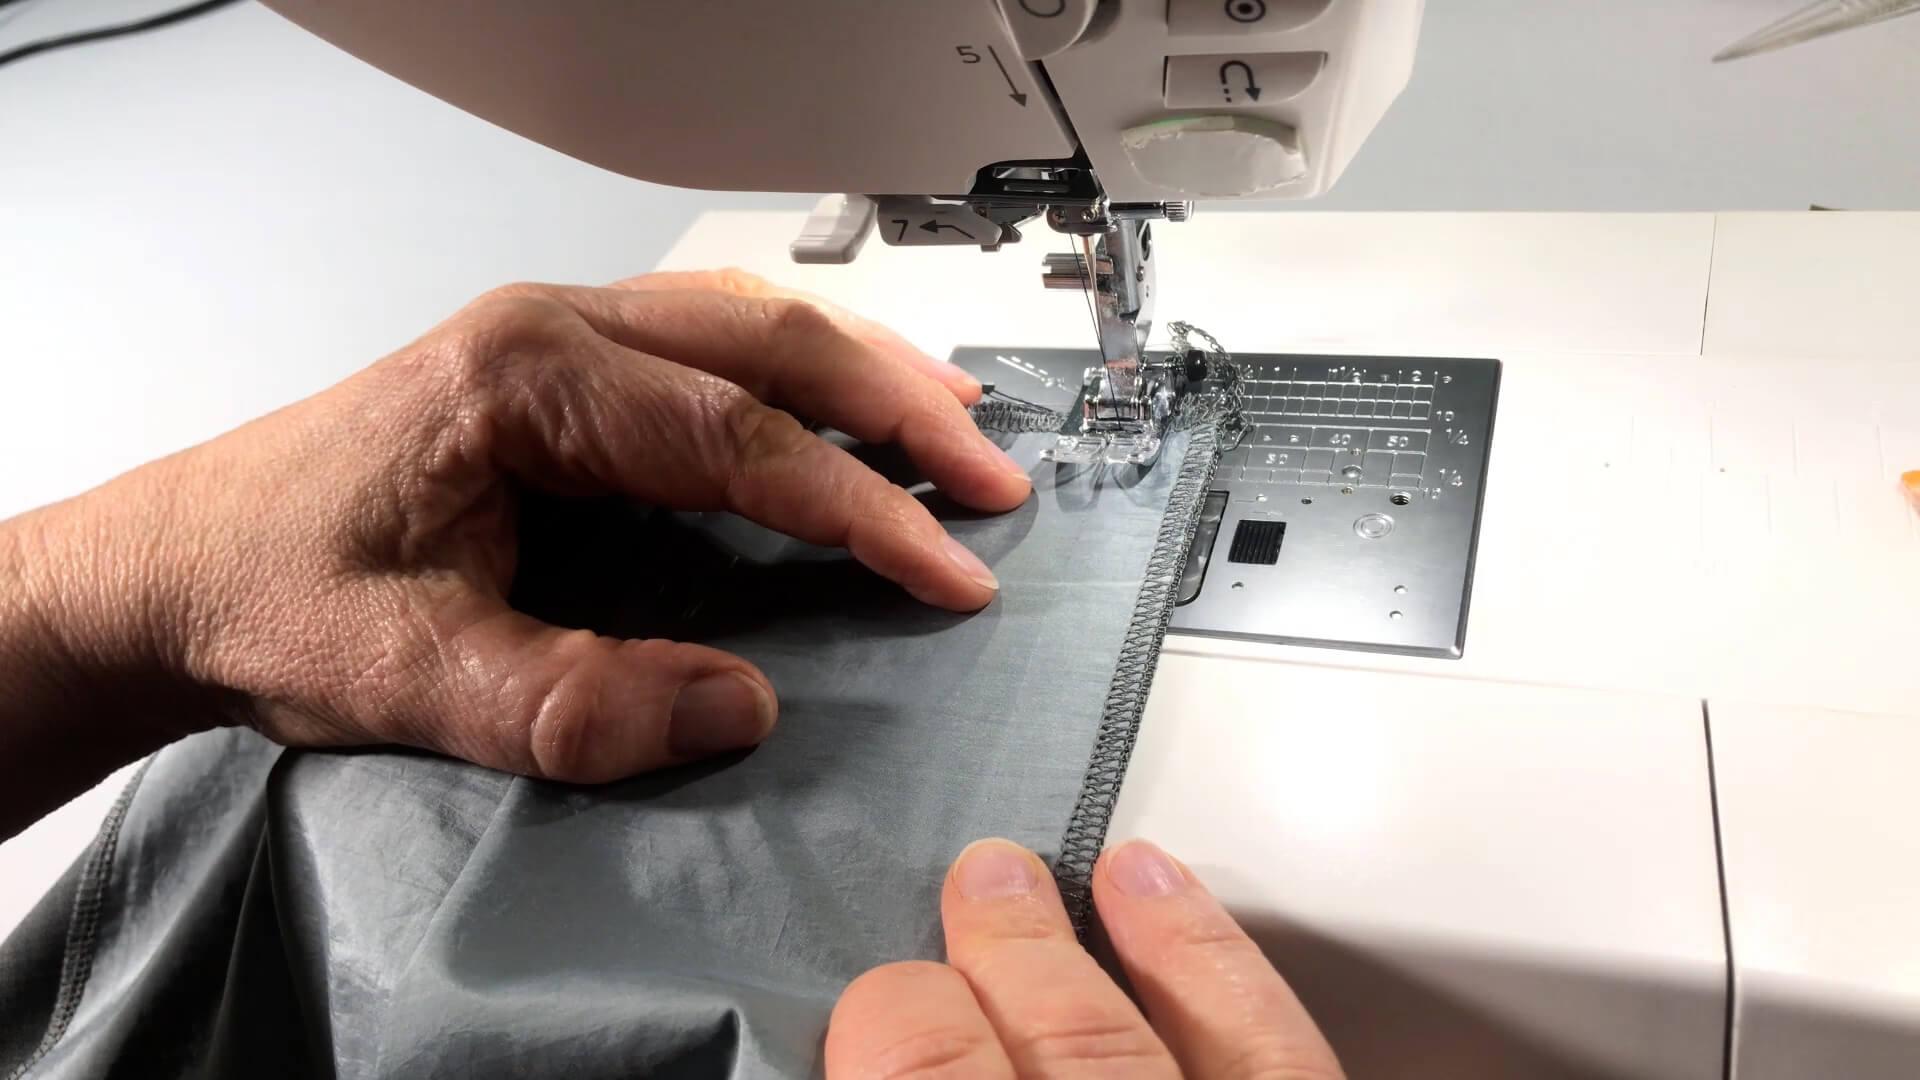
The front trousers are facing upwards when sewing. First, I sew the seam between the upper edge and the upper notch for the pocket opening. Note the width of the seam allowance that results from your pattern.
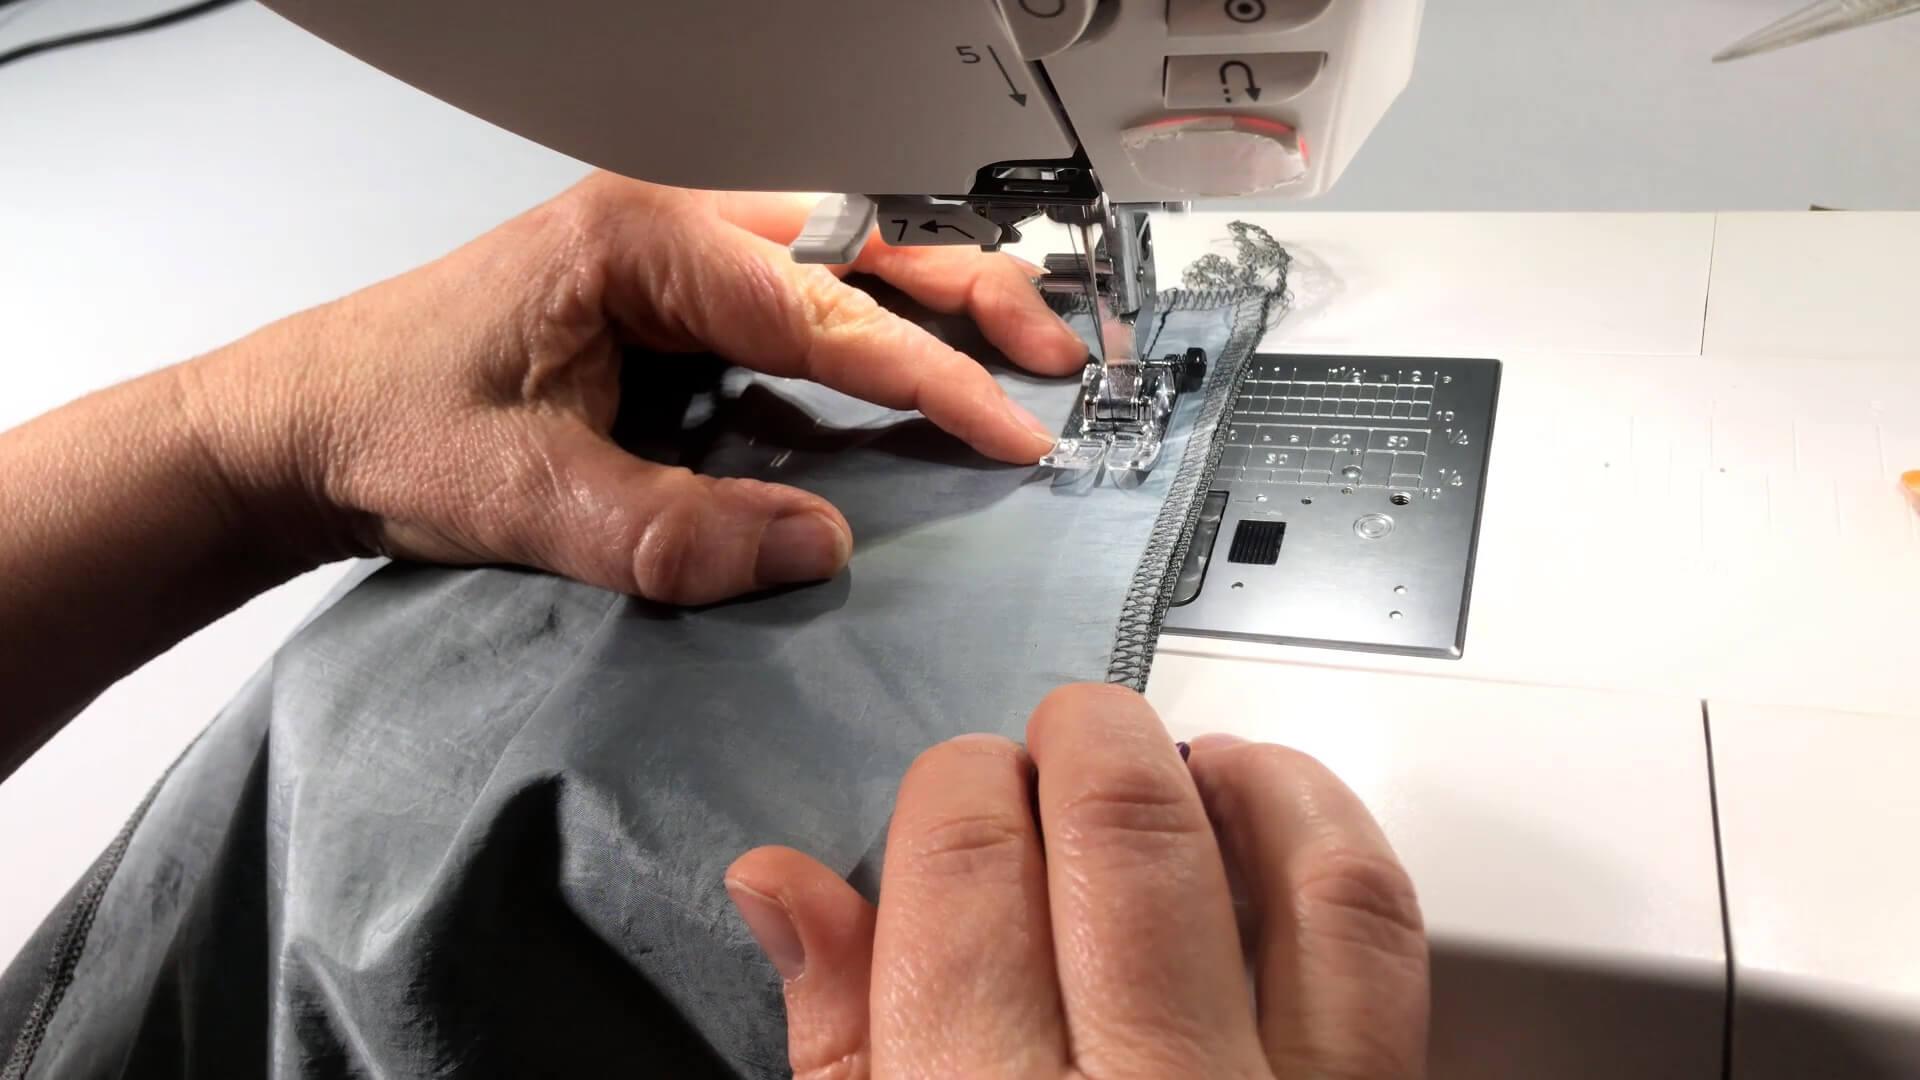
I secure the seam at the marking.
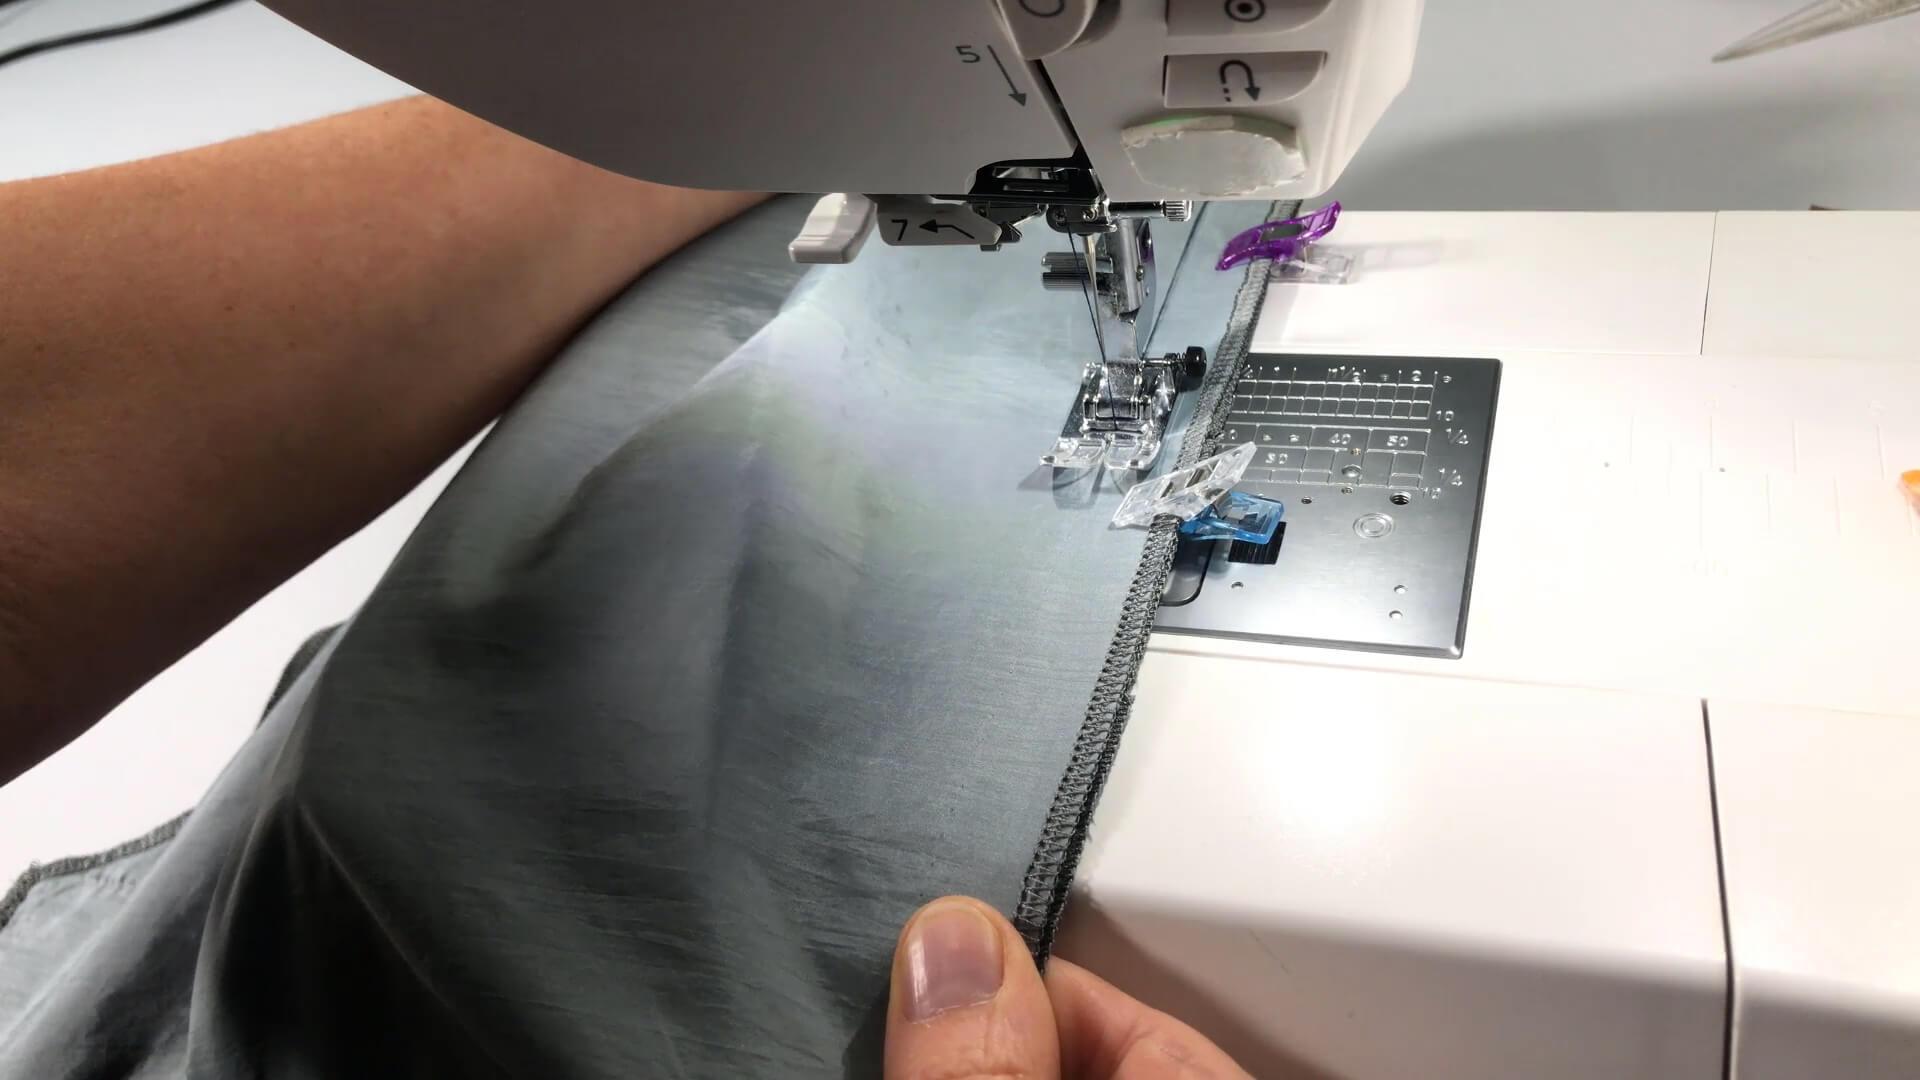
Then I sew at the lower end of the pocket opening. The thread that you can see at the back of the picture is hanging loose – don’t let this confuse you.
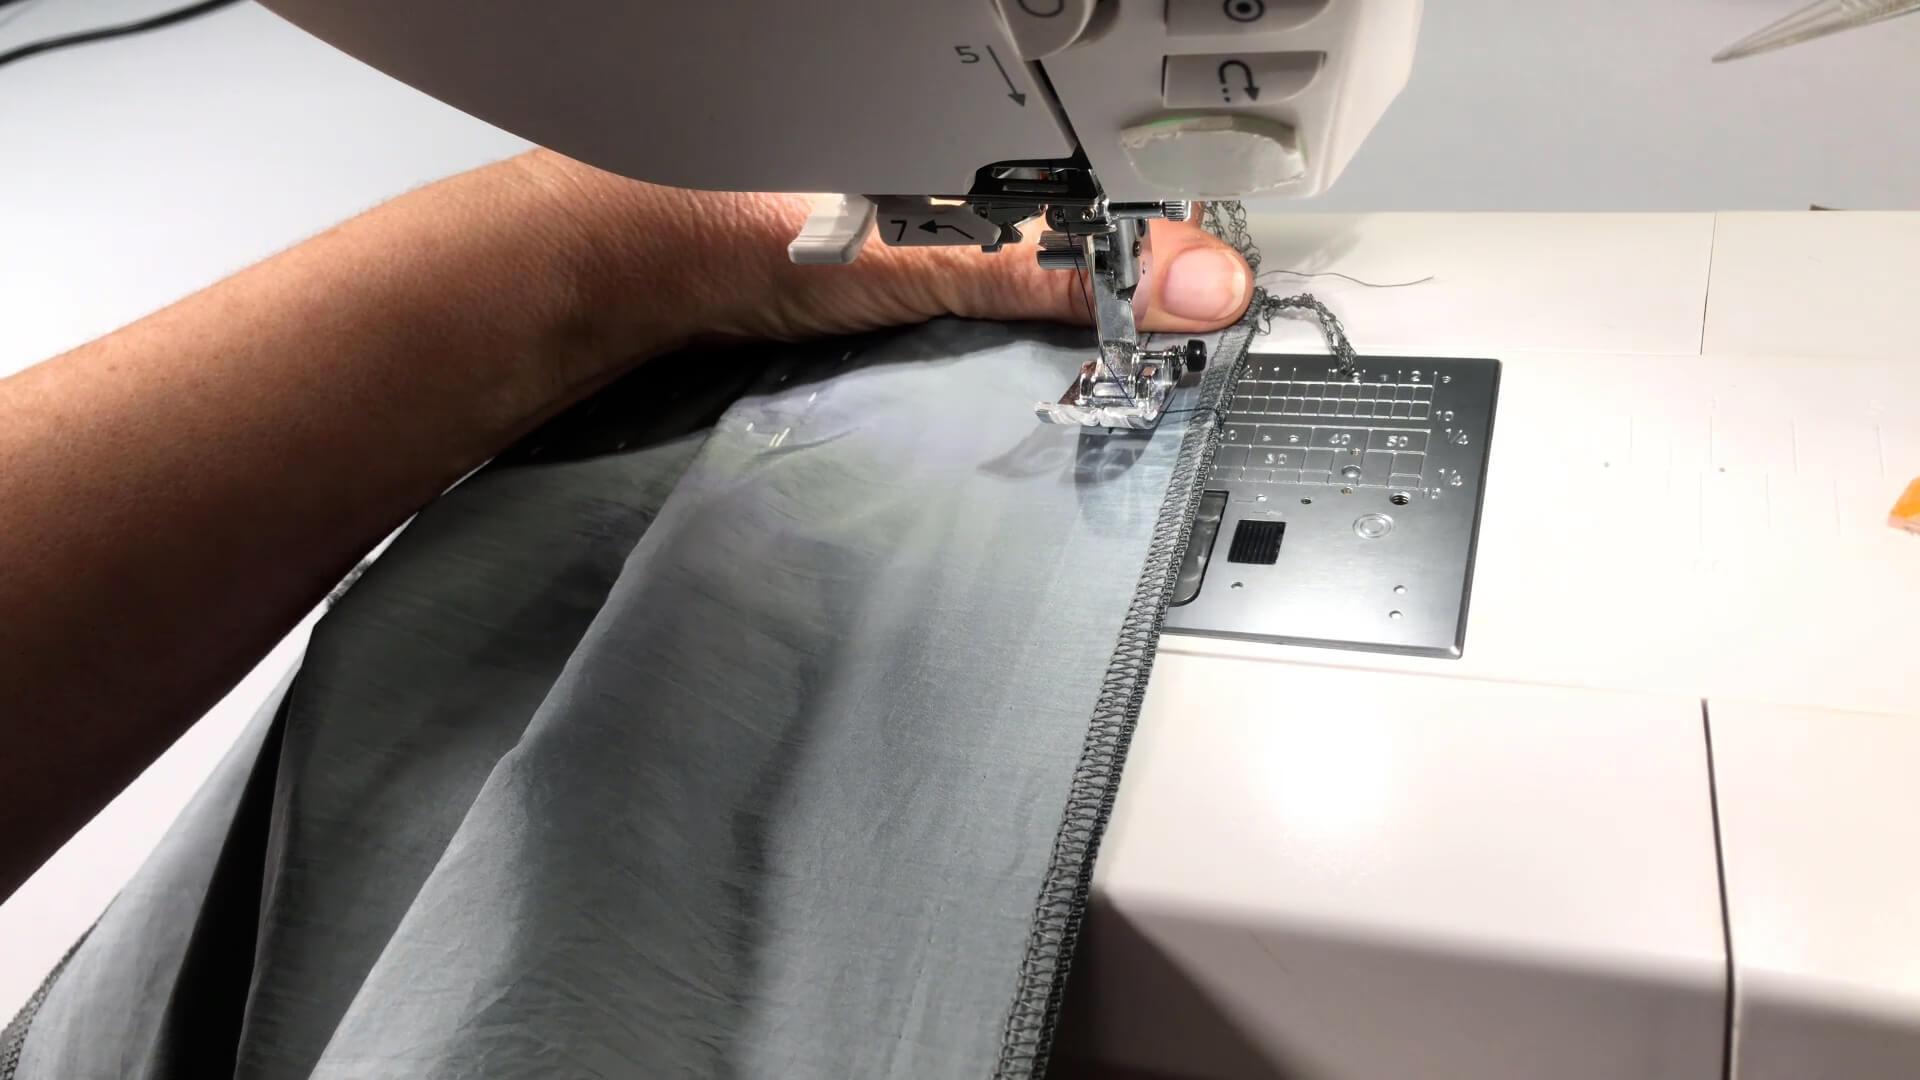
I secure the beginning of the seam and close the side seam up to the hem.
For the second trouser leg, I work in reverse so that I can also sew on the front trousers. So I start at the hem and end at the top of the trousers.
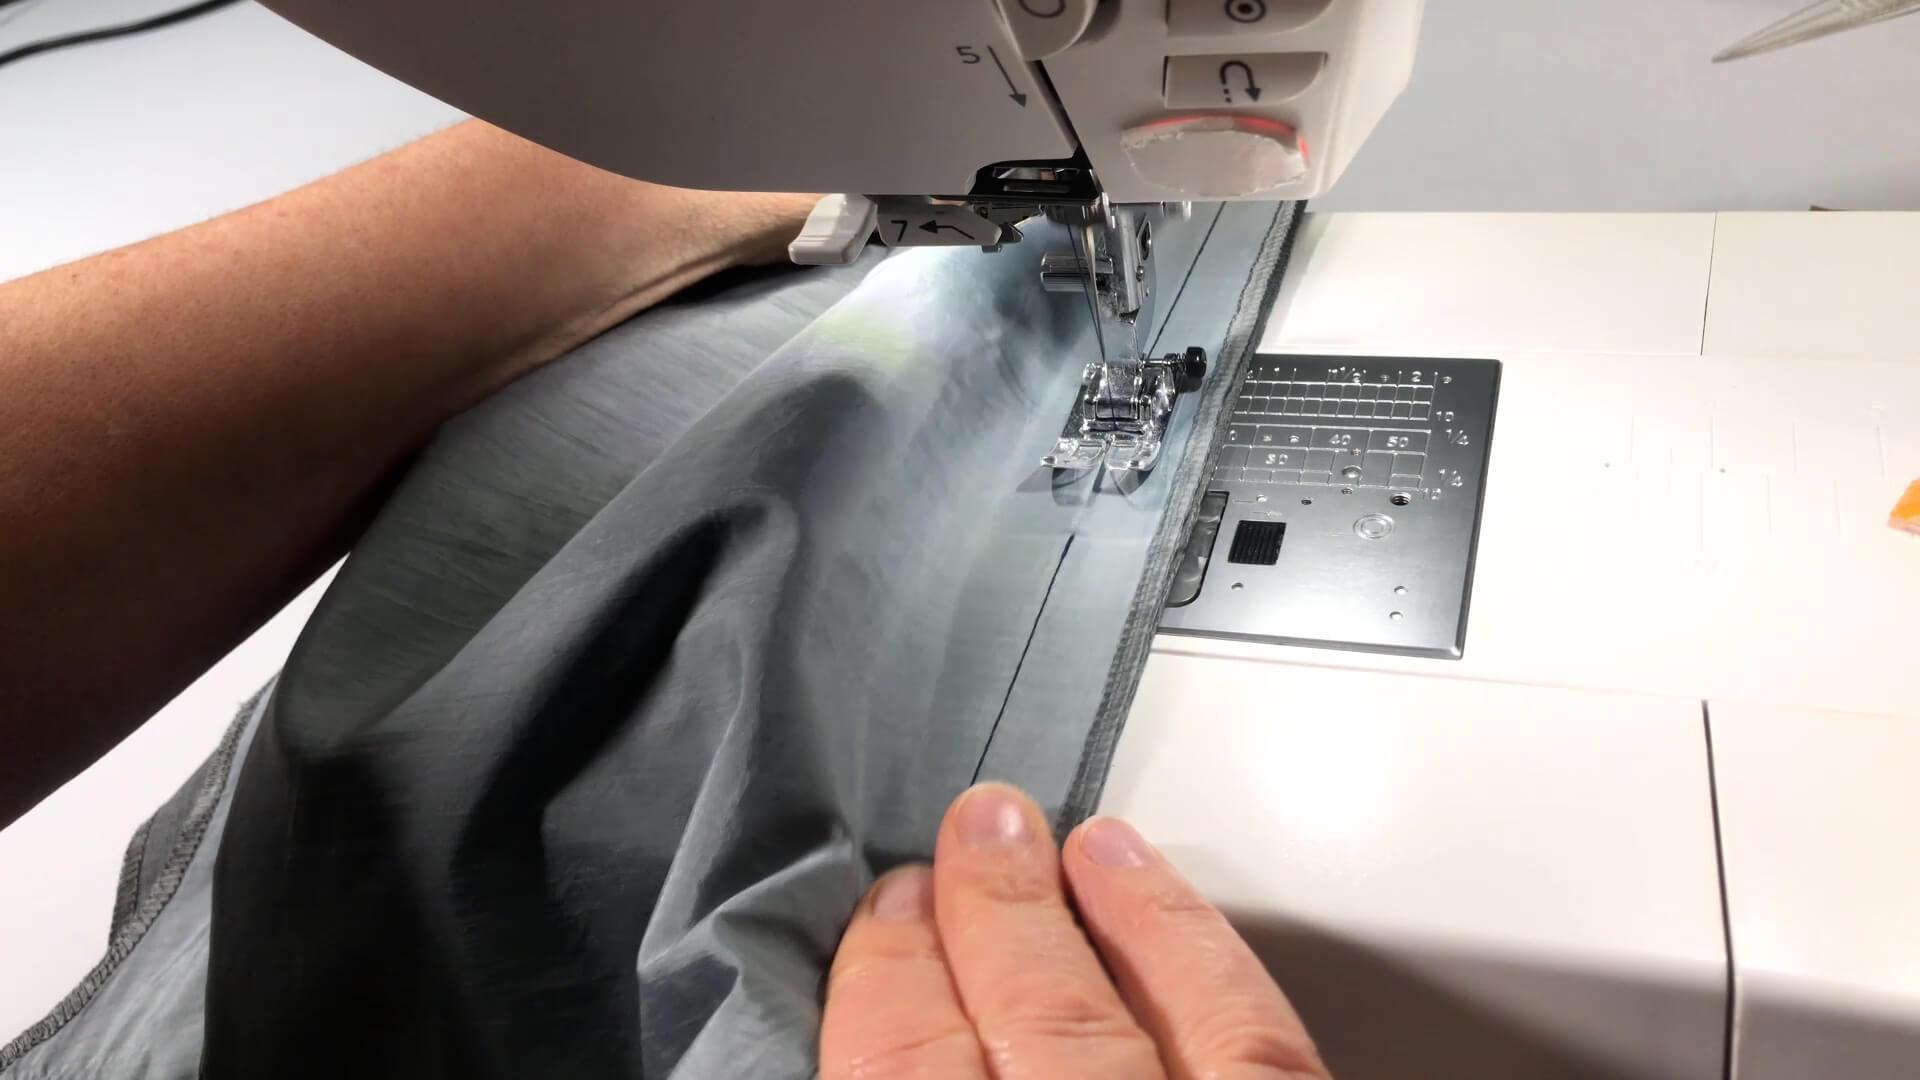
I baste the pocket opening with a long stitch along the seam. The start and end of the seam are not secured. For further processing, it is helpful to use thread in contrasting colour to the fabric.
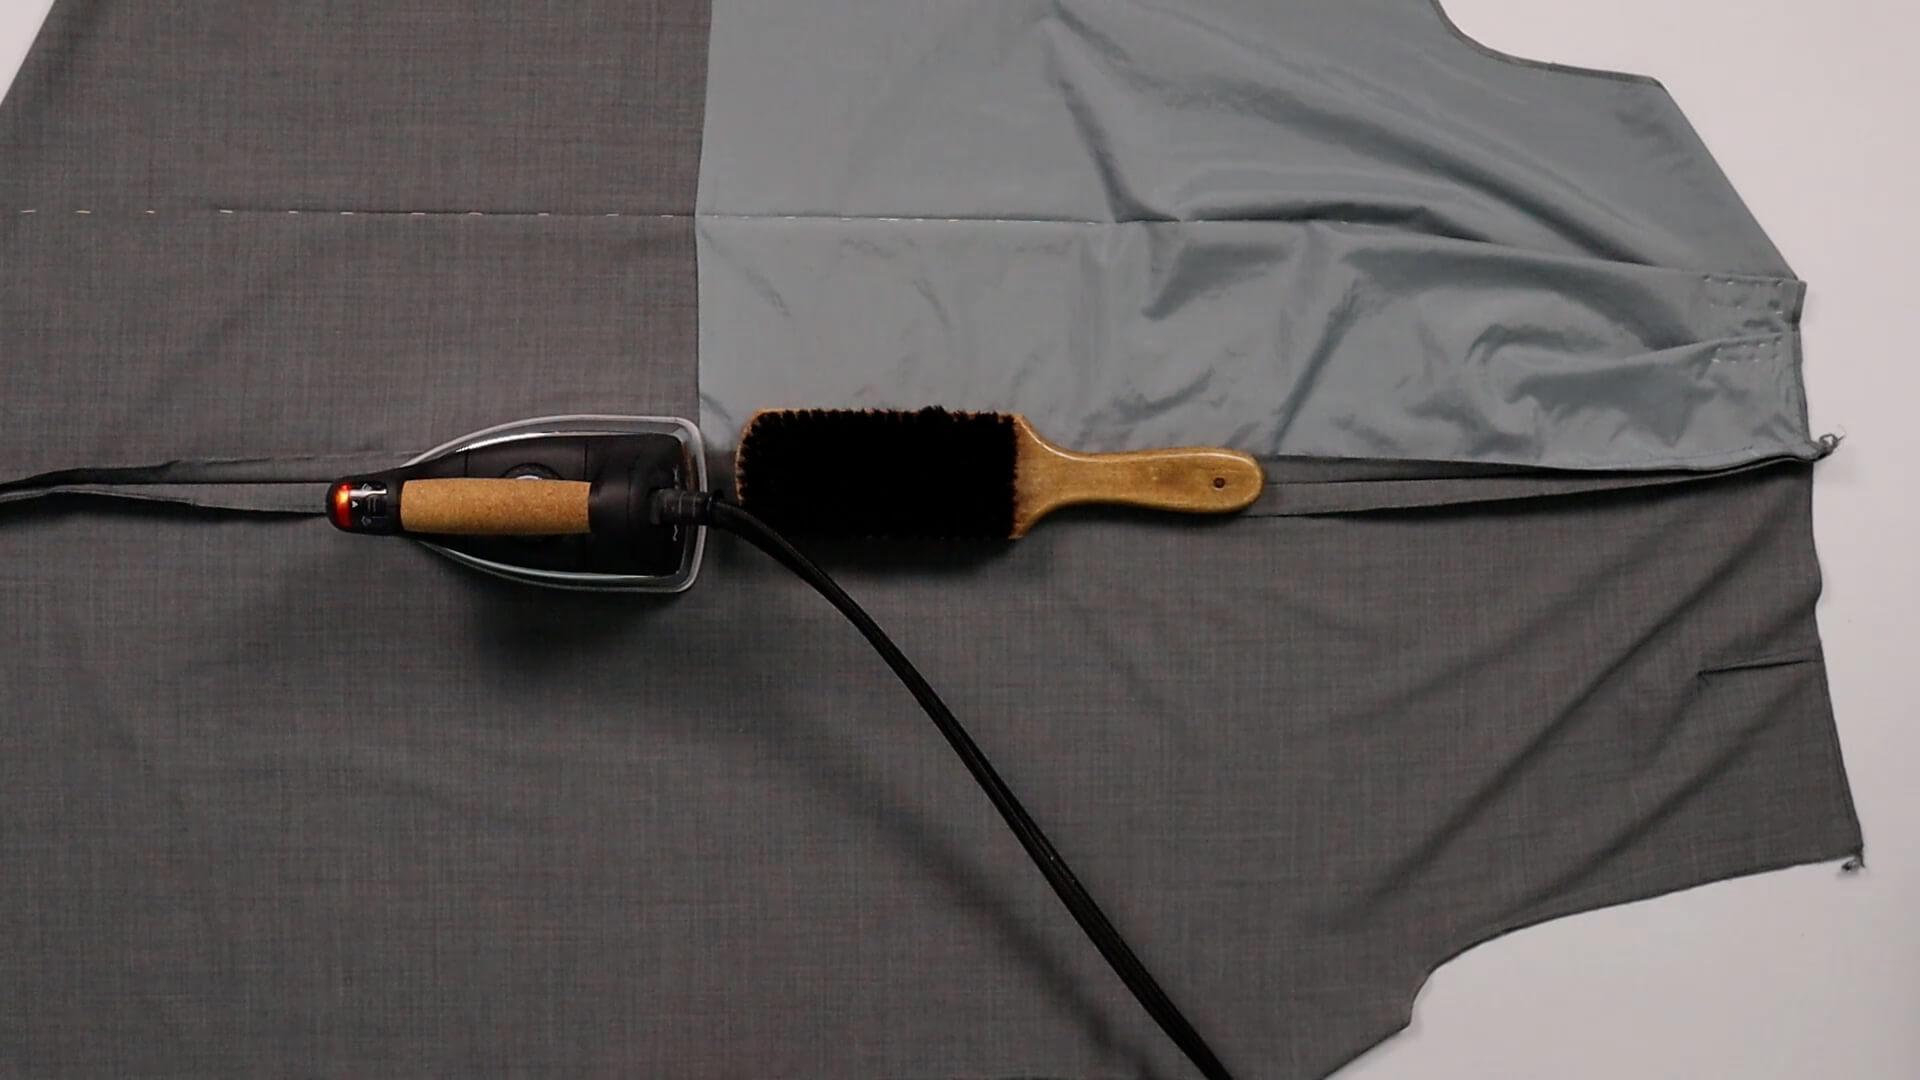
Then I press the seam allowances of the side seam open.
Here, too, I use the back of my clothes brush so that the wood can absorb the moisture. The more carefully you work here, the neater the seam will be.
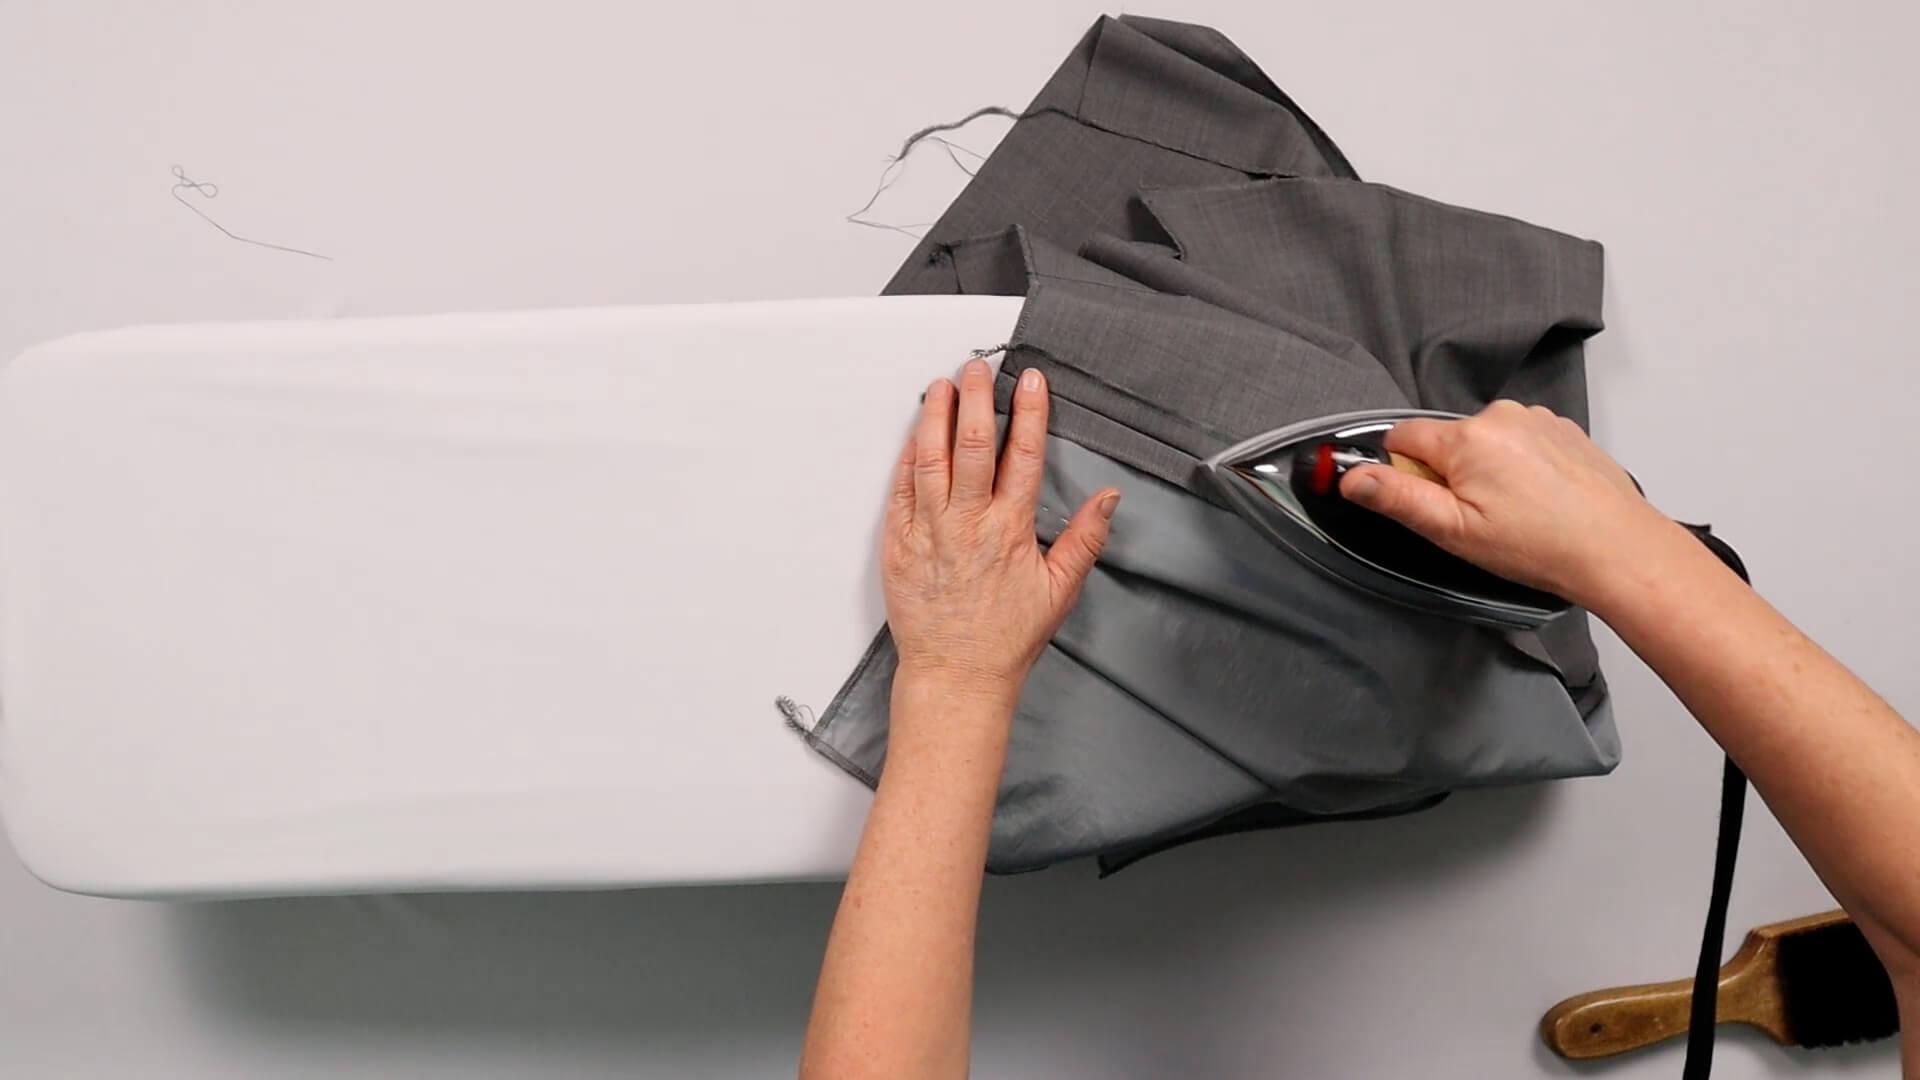
I place the upper part of the trousers on an ironing pad or the curve of the ironing board to iron the seam.
4. Serging the pocket bags
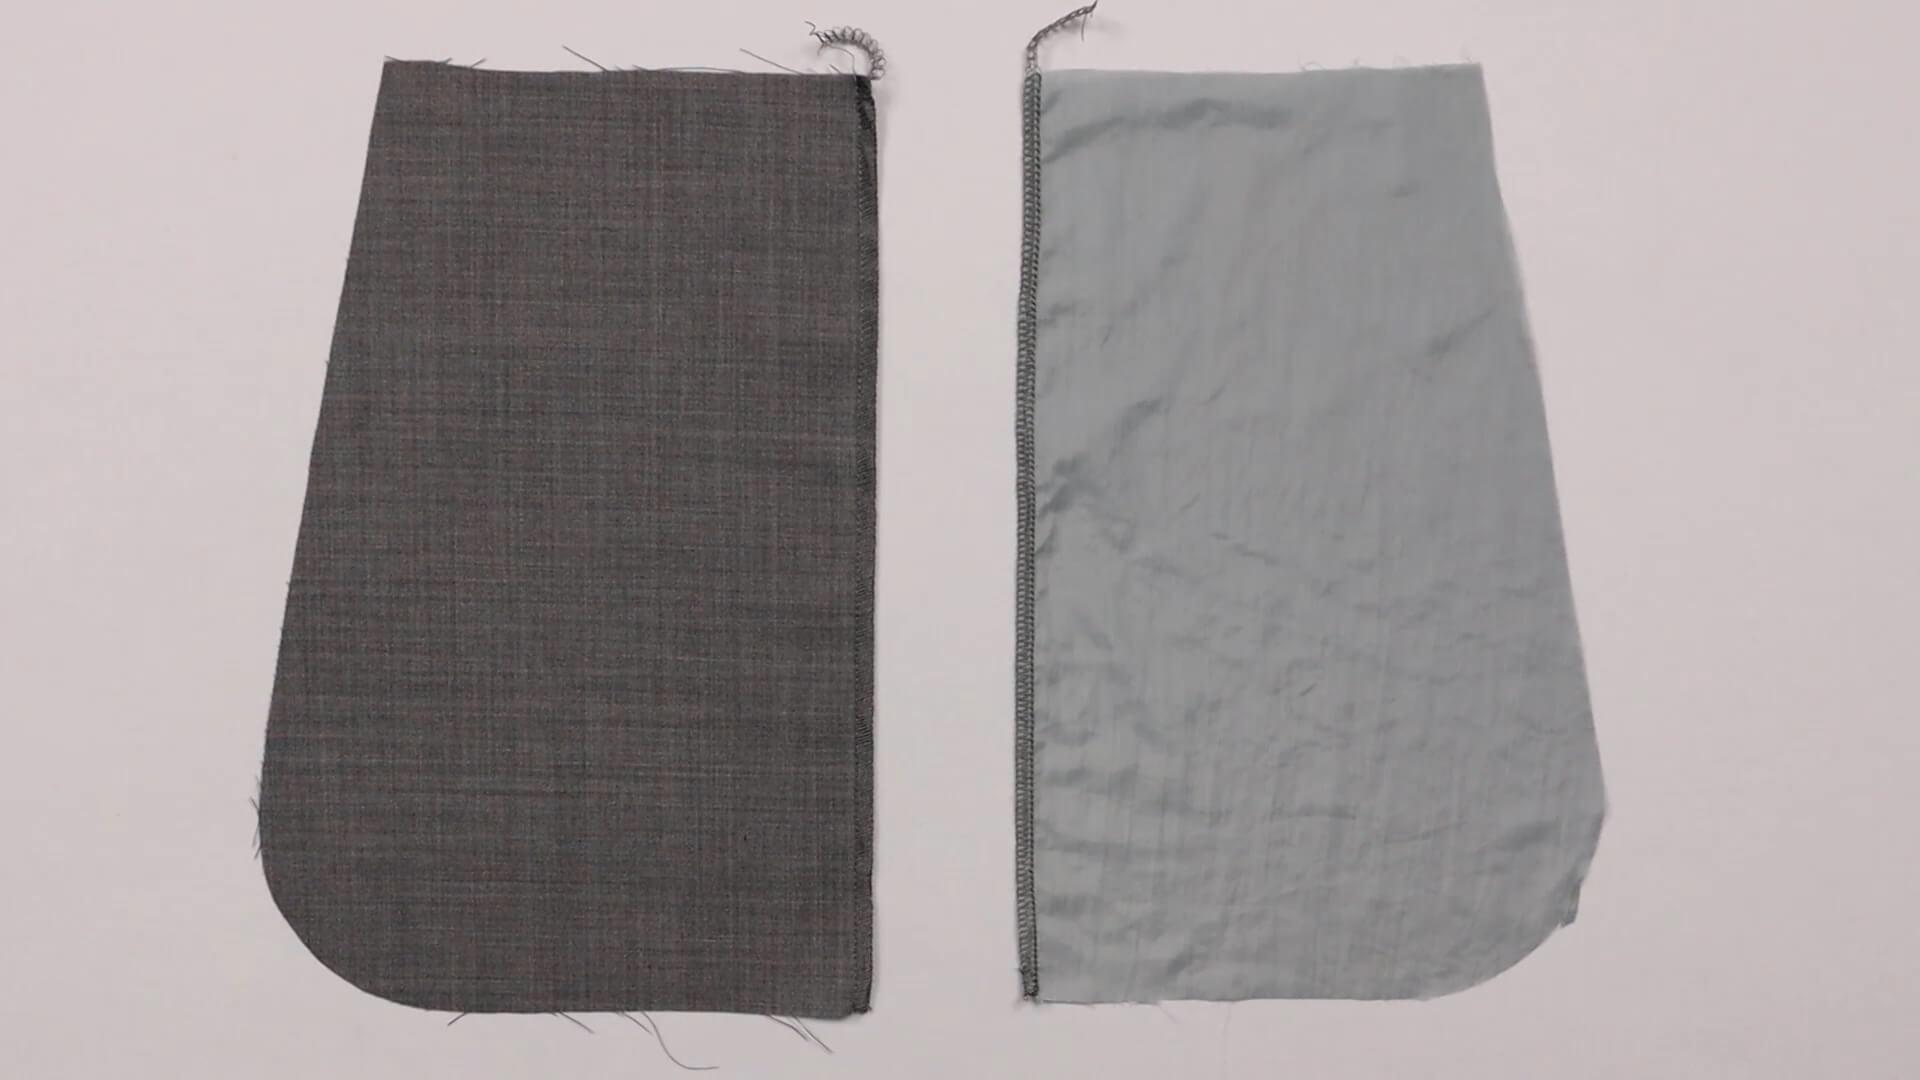
I finish the outer edges of all four pocket bags with the overlocker. Alternatively you can use a zigzag stitch on your sewing machine.
5. Sew on the upper pocket bag of the inseam pocket
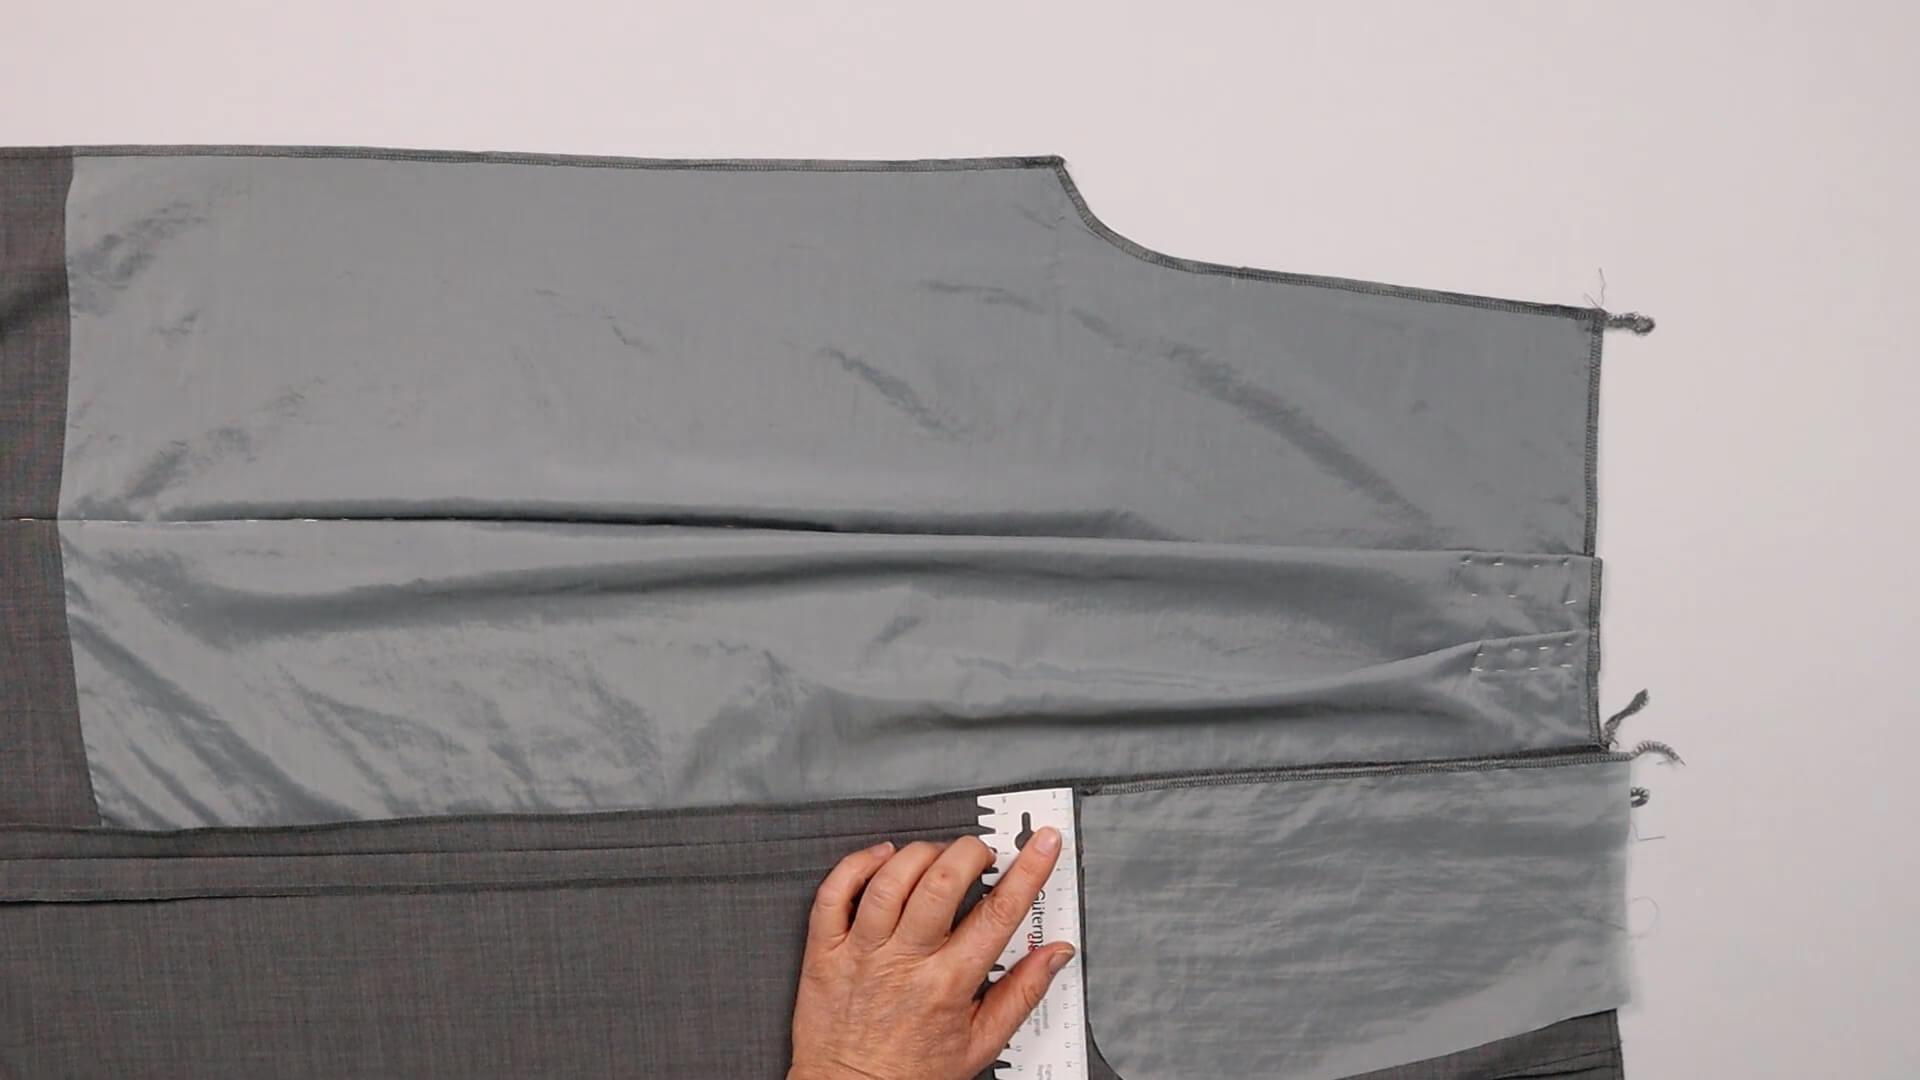
Now I sew the upper pocket bag made of lining fabric to the seam allowance of the front trousers. The seam of the pocket bag should be approx. 5 mm from the side seam.
The top edge of the pocket bag may protrude by approx. 1 cm. I will cut back the excess later.
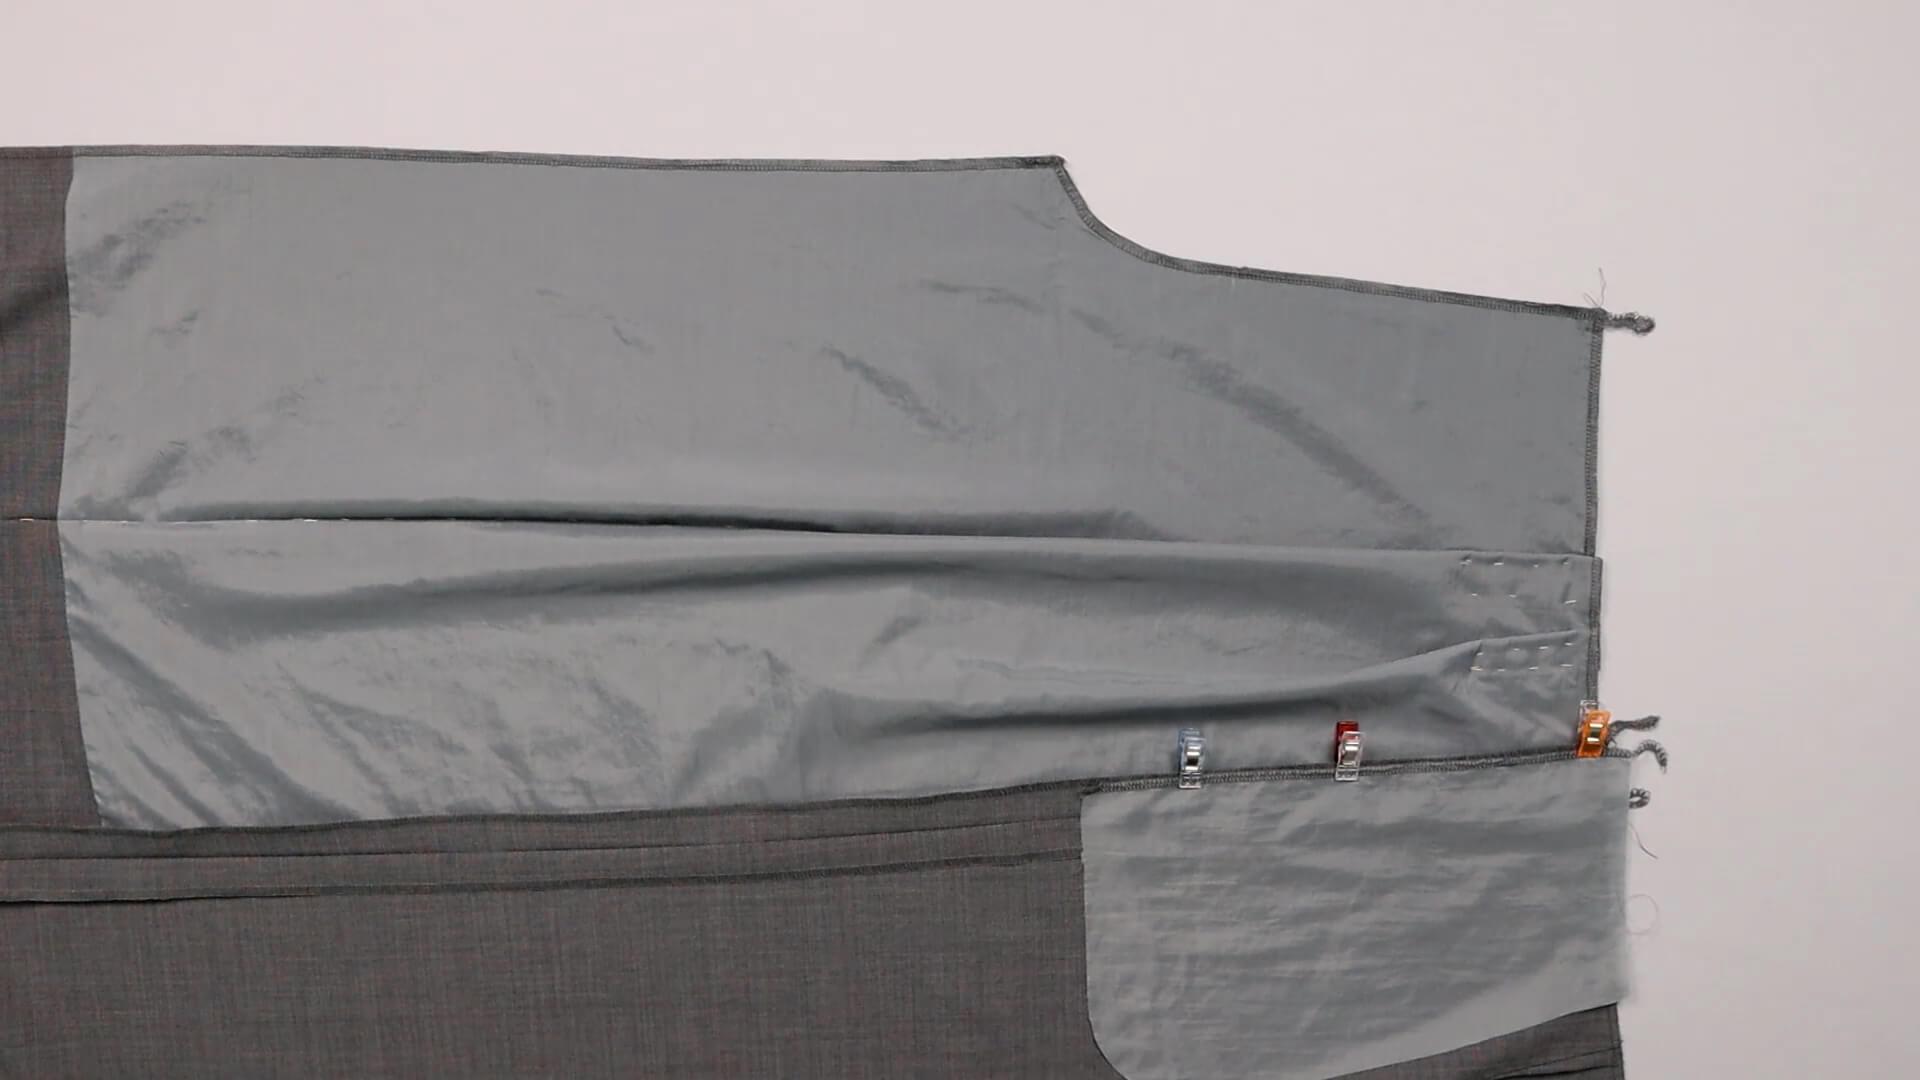
As my side seam has a seam allowance of 20 mm, I pin the pocket bag to the front trousers with a 5 mm distance to the outer edge. This allows me to sew with 1 cm distance to the edge of the pocket bag and the seam has the desired 5 mm distnace to the side seam.
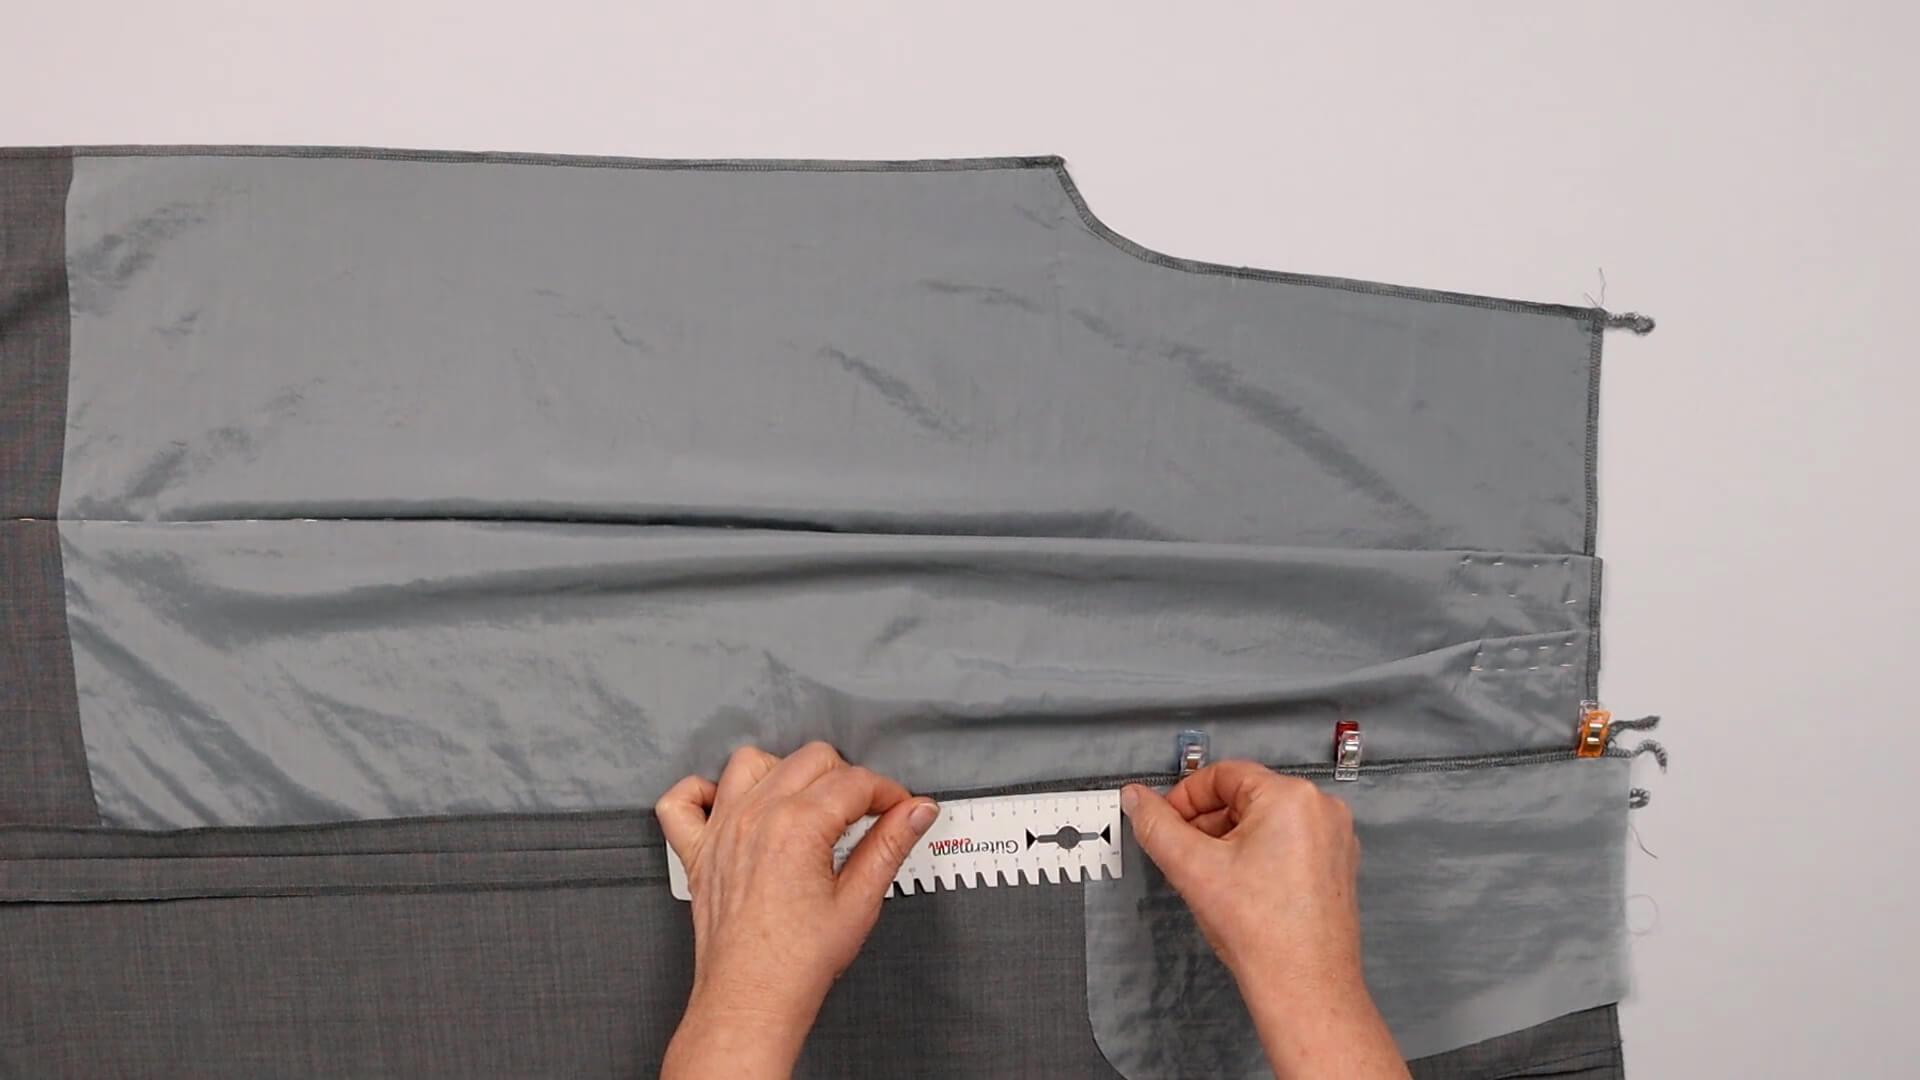
I mark the beginning of the seam, which is approx. 1.5 cm from the bottom of the pocket bag.
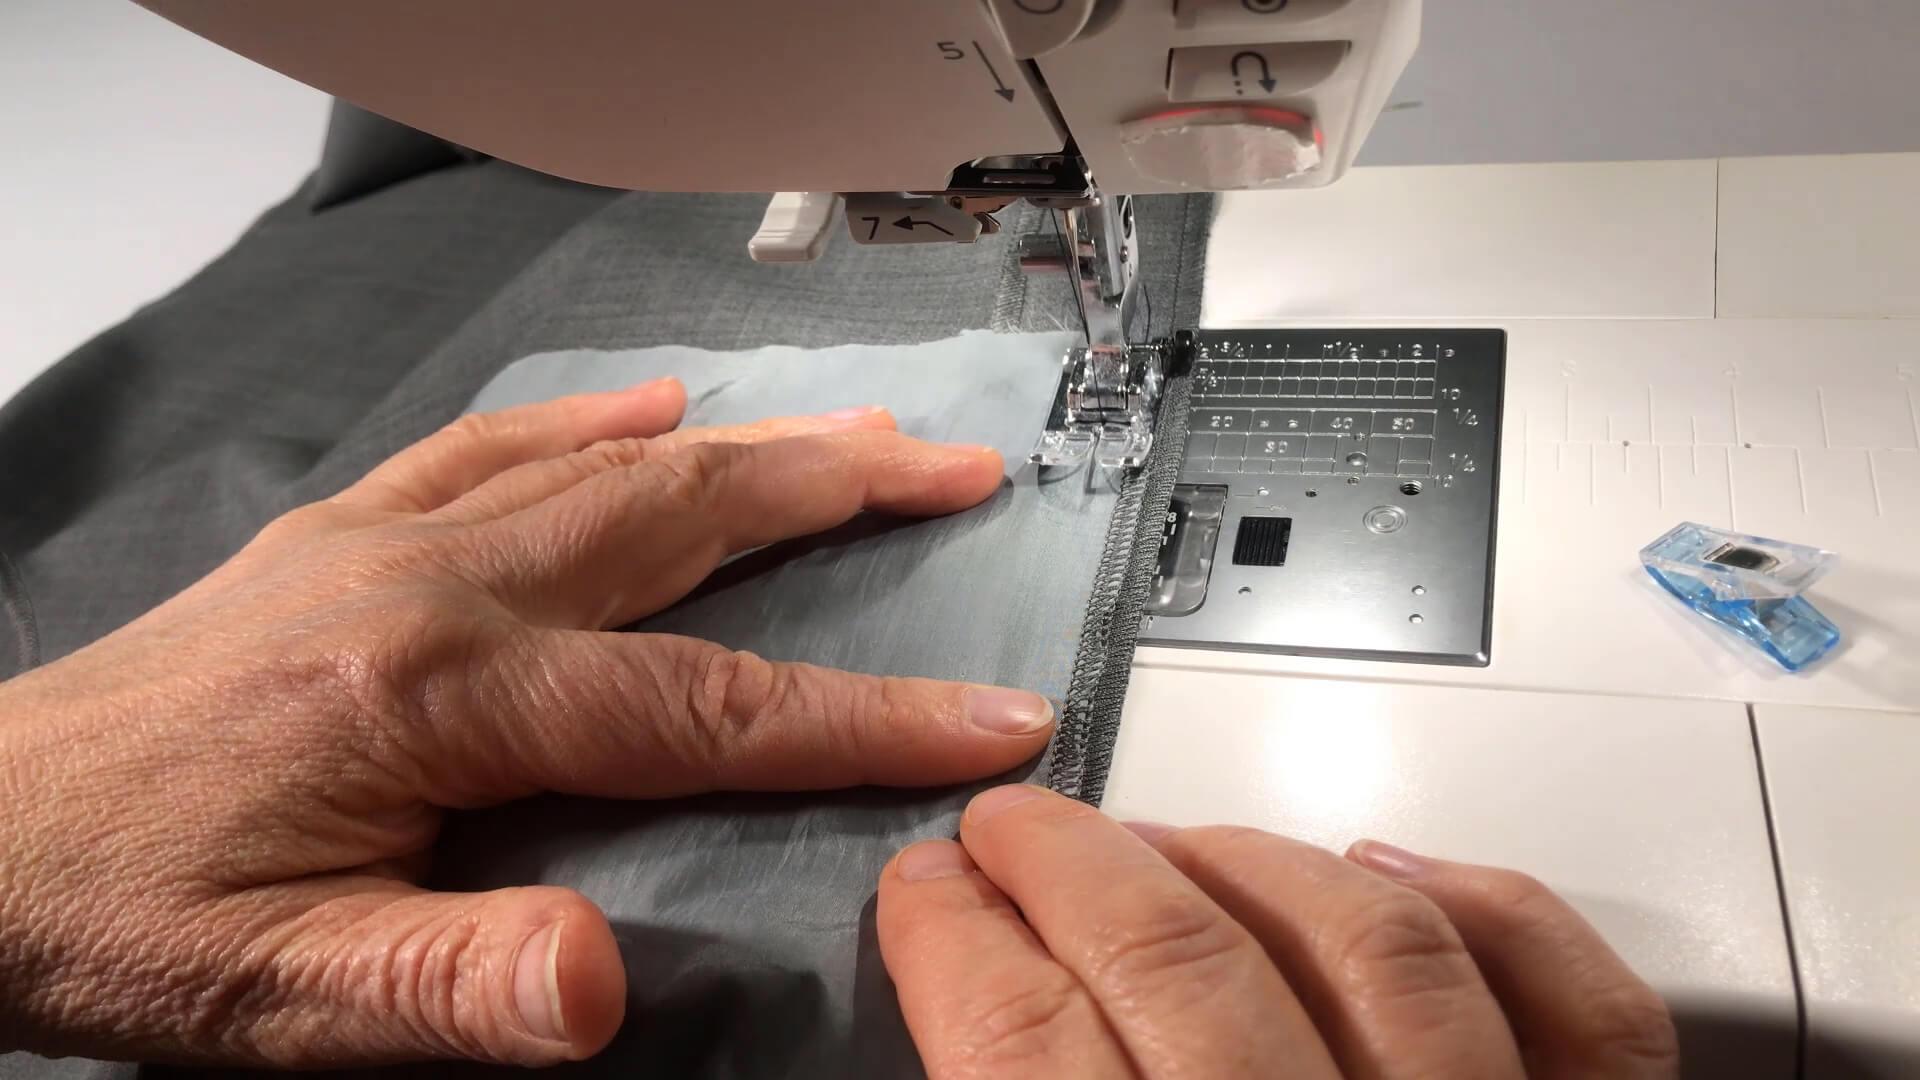
Then I sew on the upper pocket bag as described above, leaving a 1 cm distance to the edge of the pocket bag.
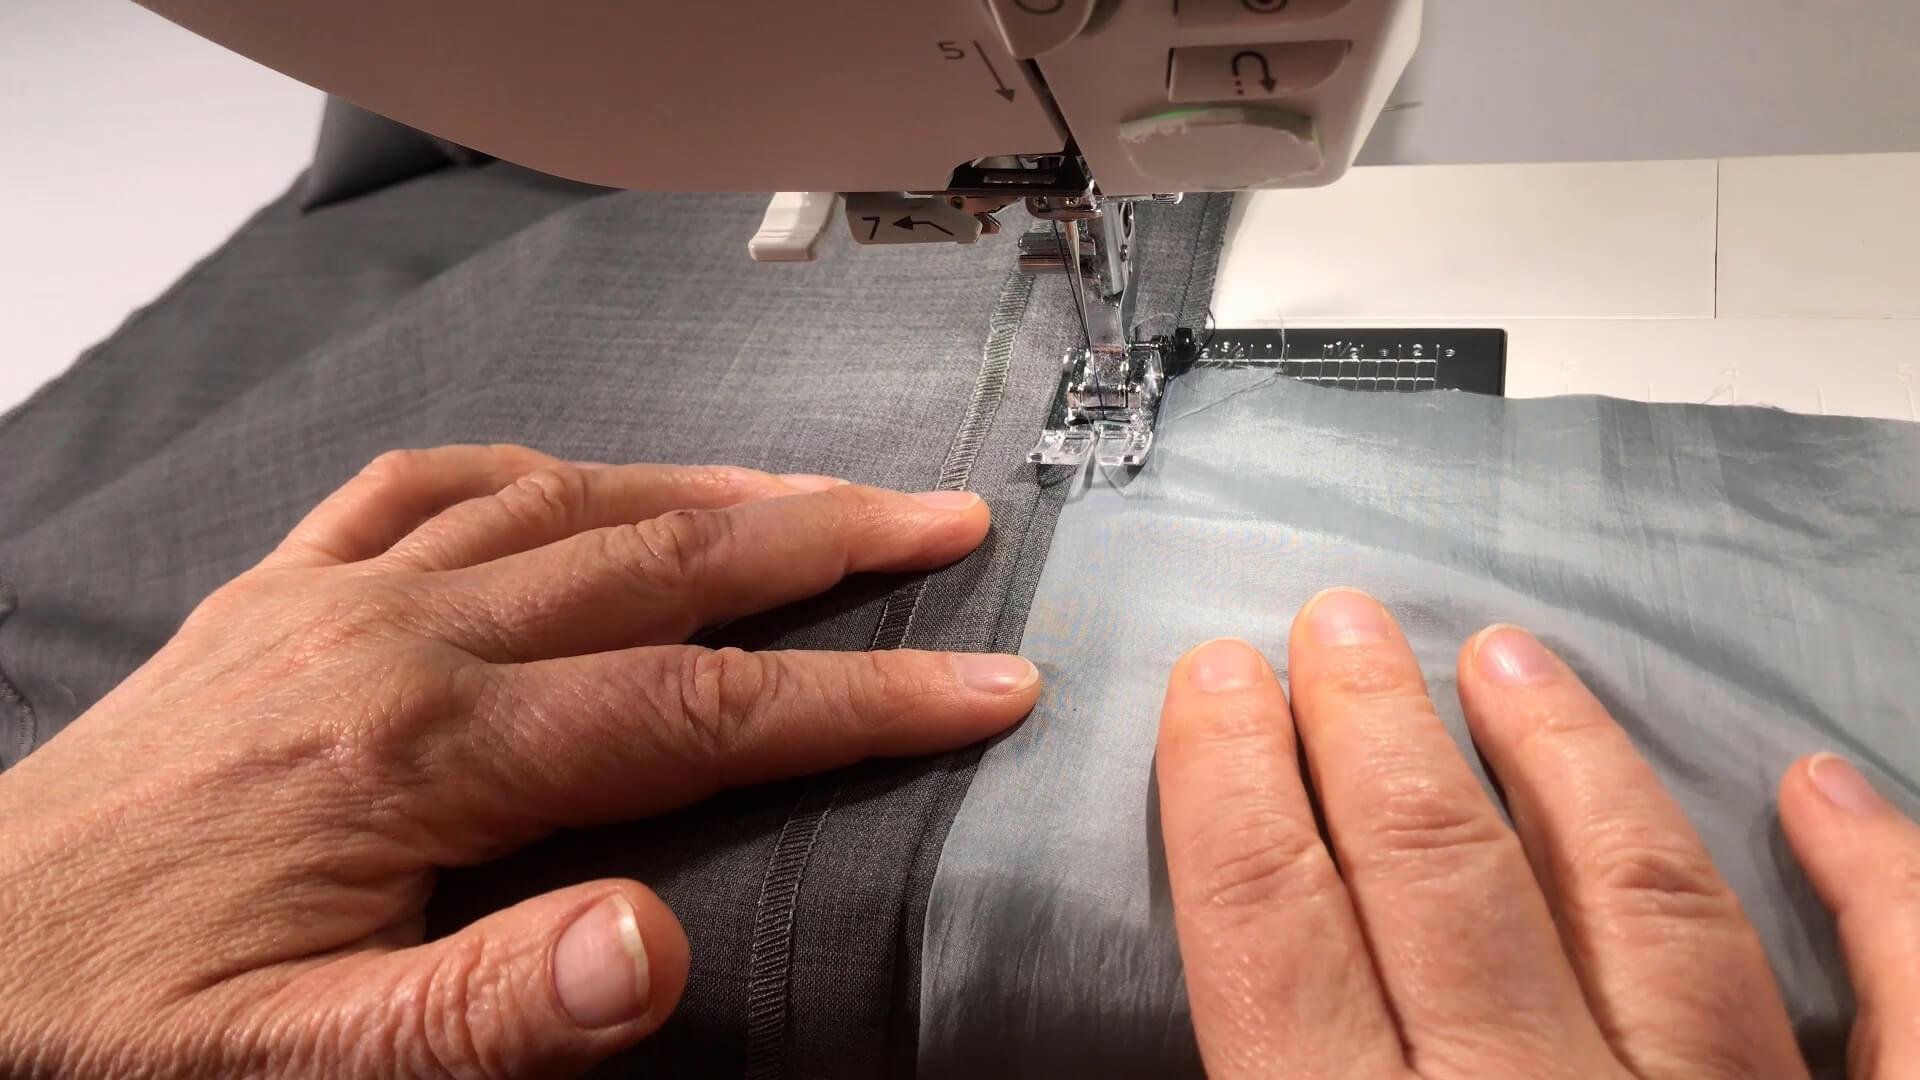
I fold the pocket bag to the side and topstitch it close to the seam allowance. Note the distance of approx. 1.5 cm to the lower edge.
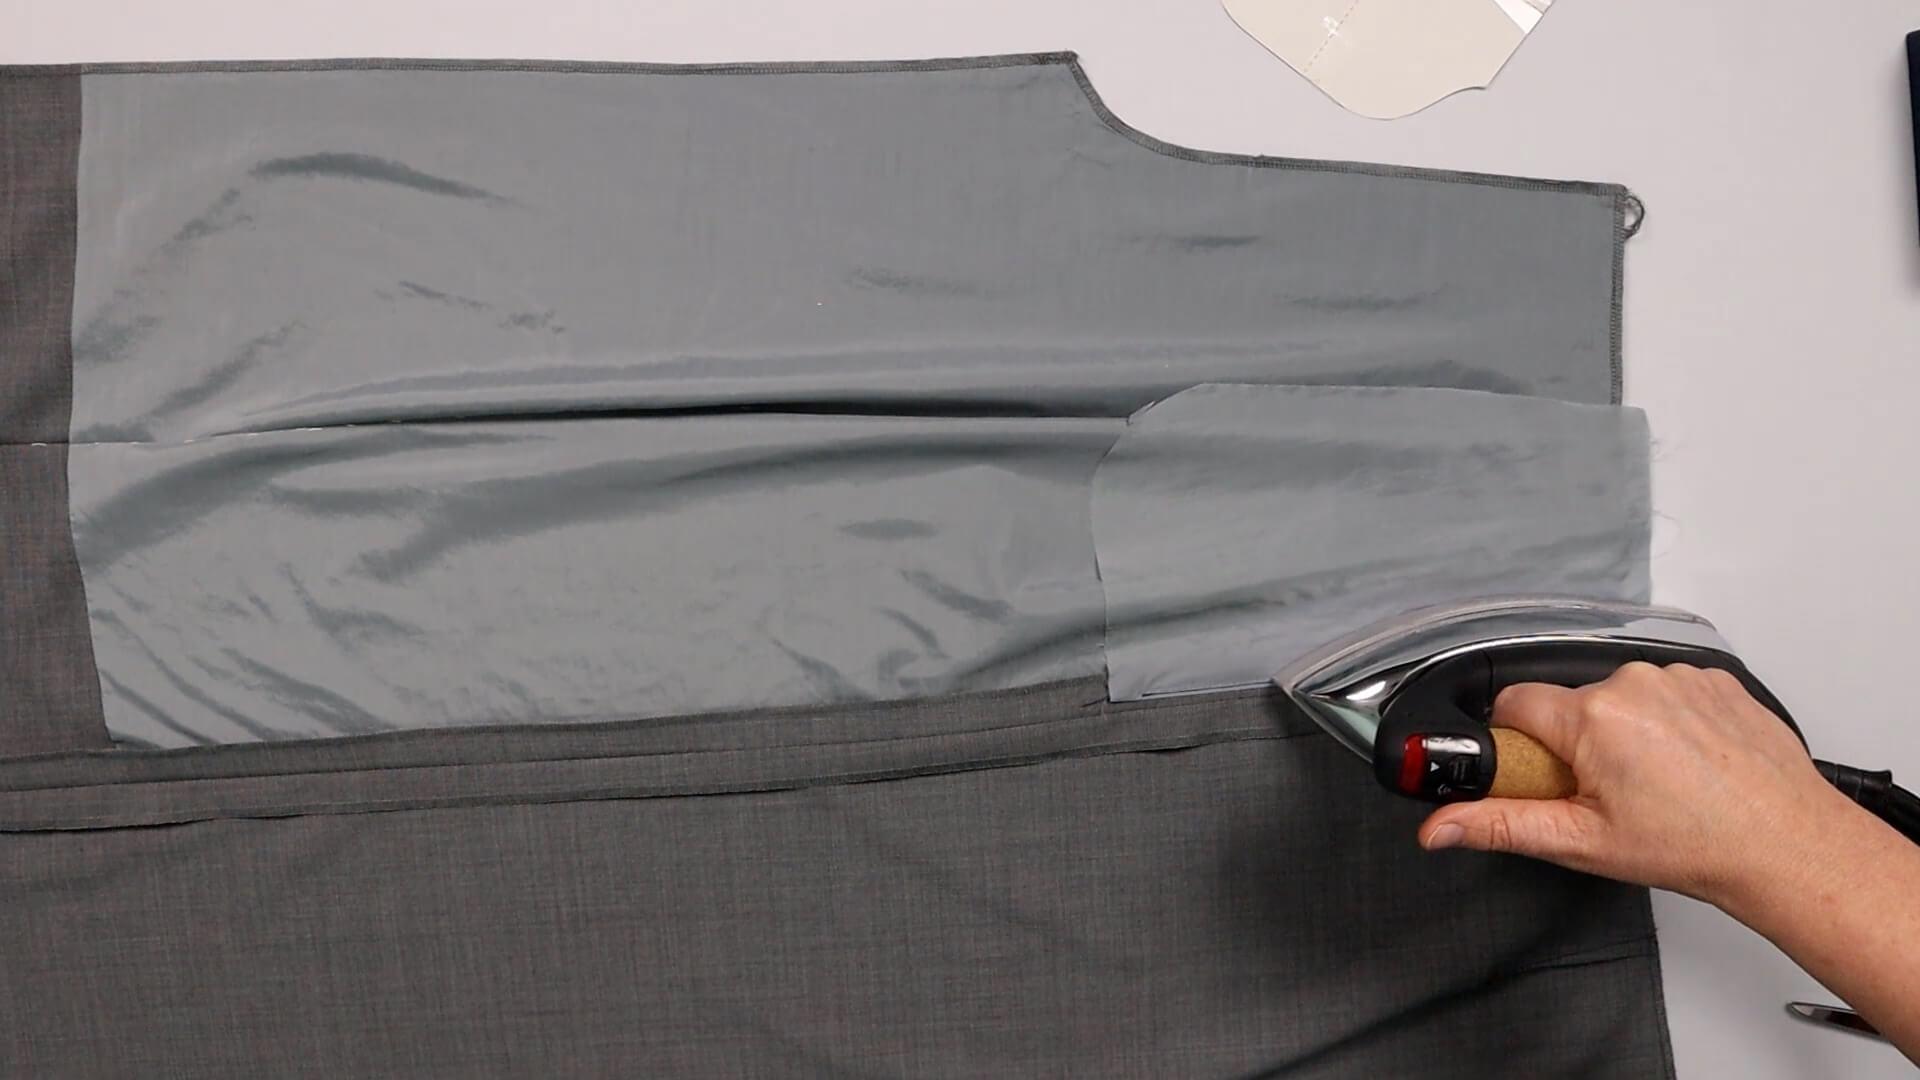
Before continuing with the lower pocket bag, I again press the seam on the upper pocket bag.
6. Sew on the lower pocket bag of the inseam pocket
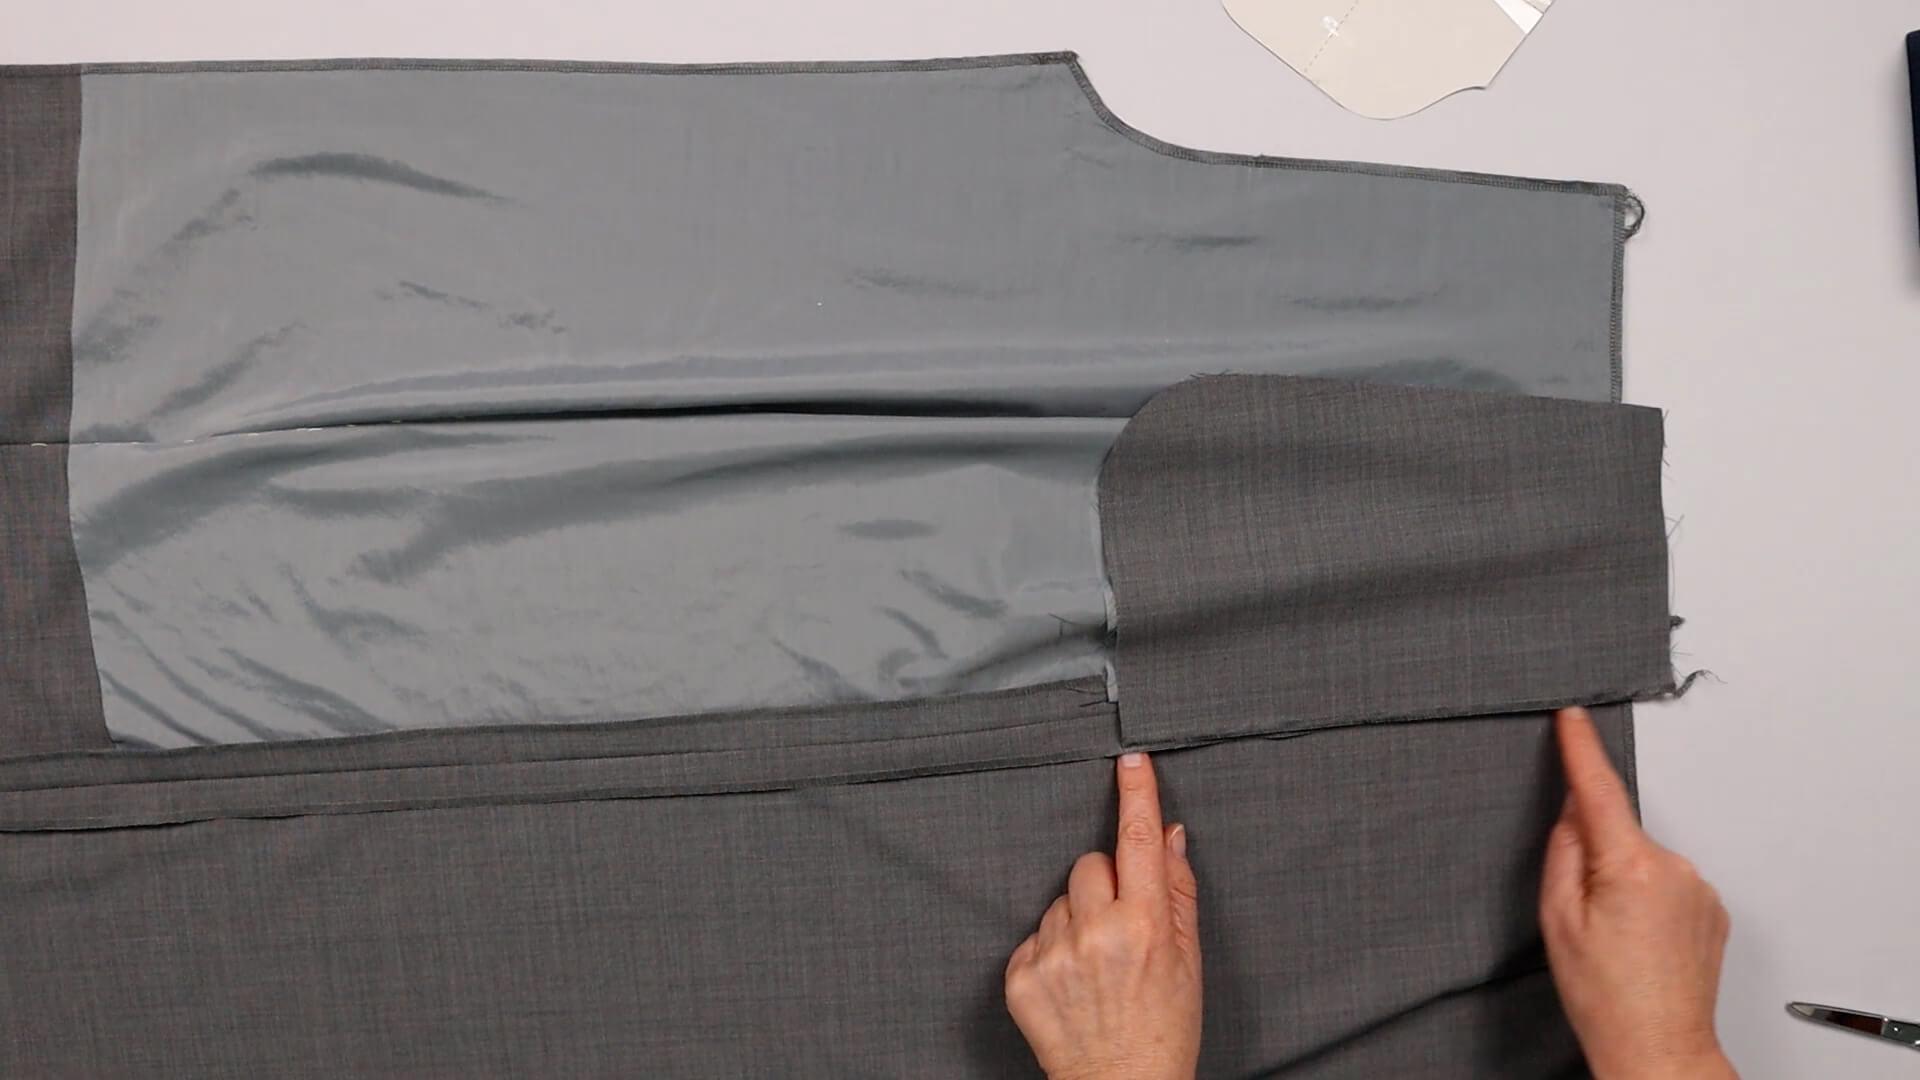
I place the lower pocket bag so it aligns the side edge of the back trousers. I place it flush on the top edge of the upper pocket bag.
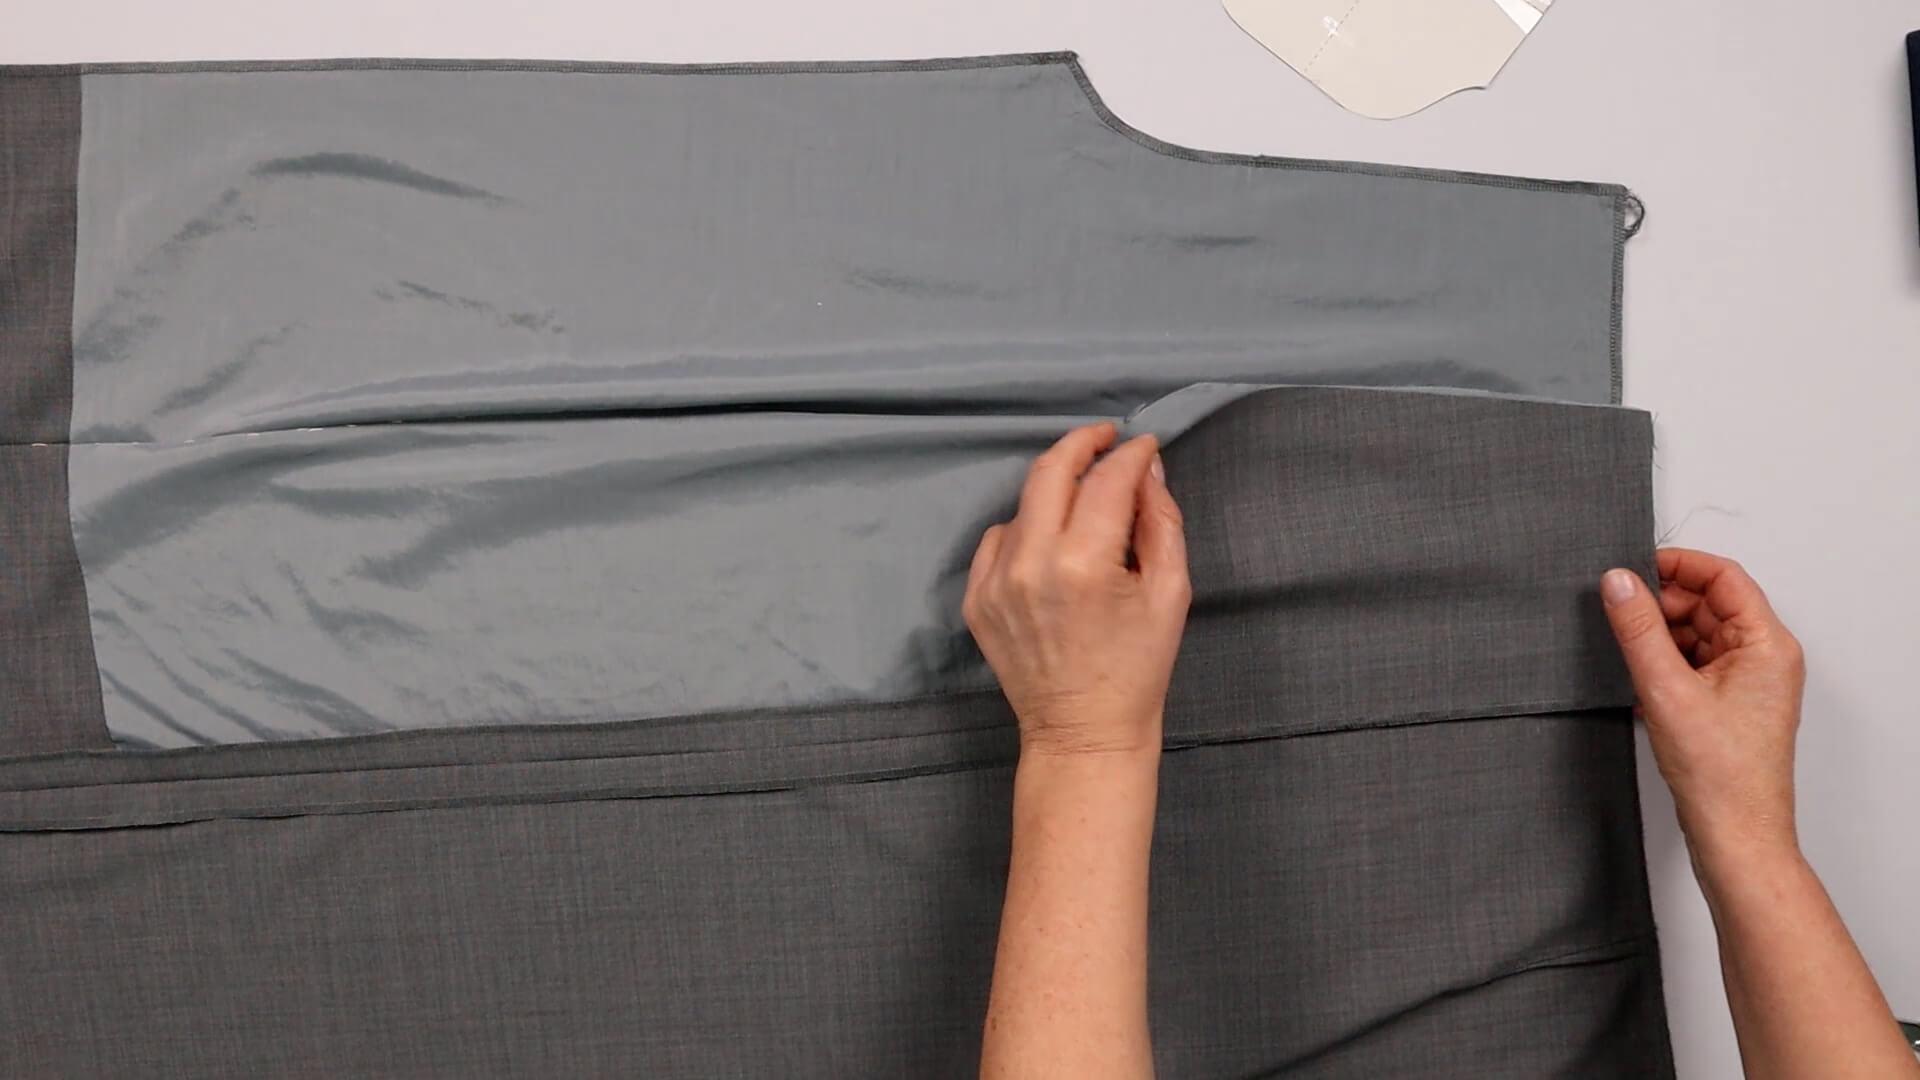
It doesn’t matter if the pocket bags don’t fit together exactly at the cut edge – I’ll cut it to size later.
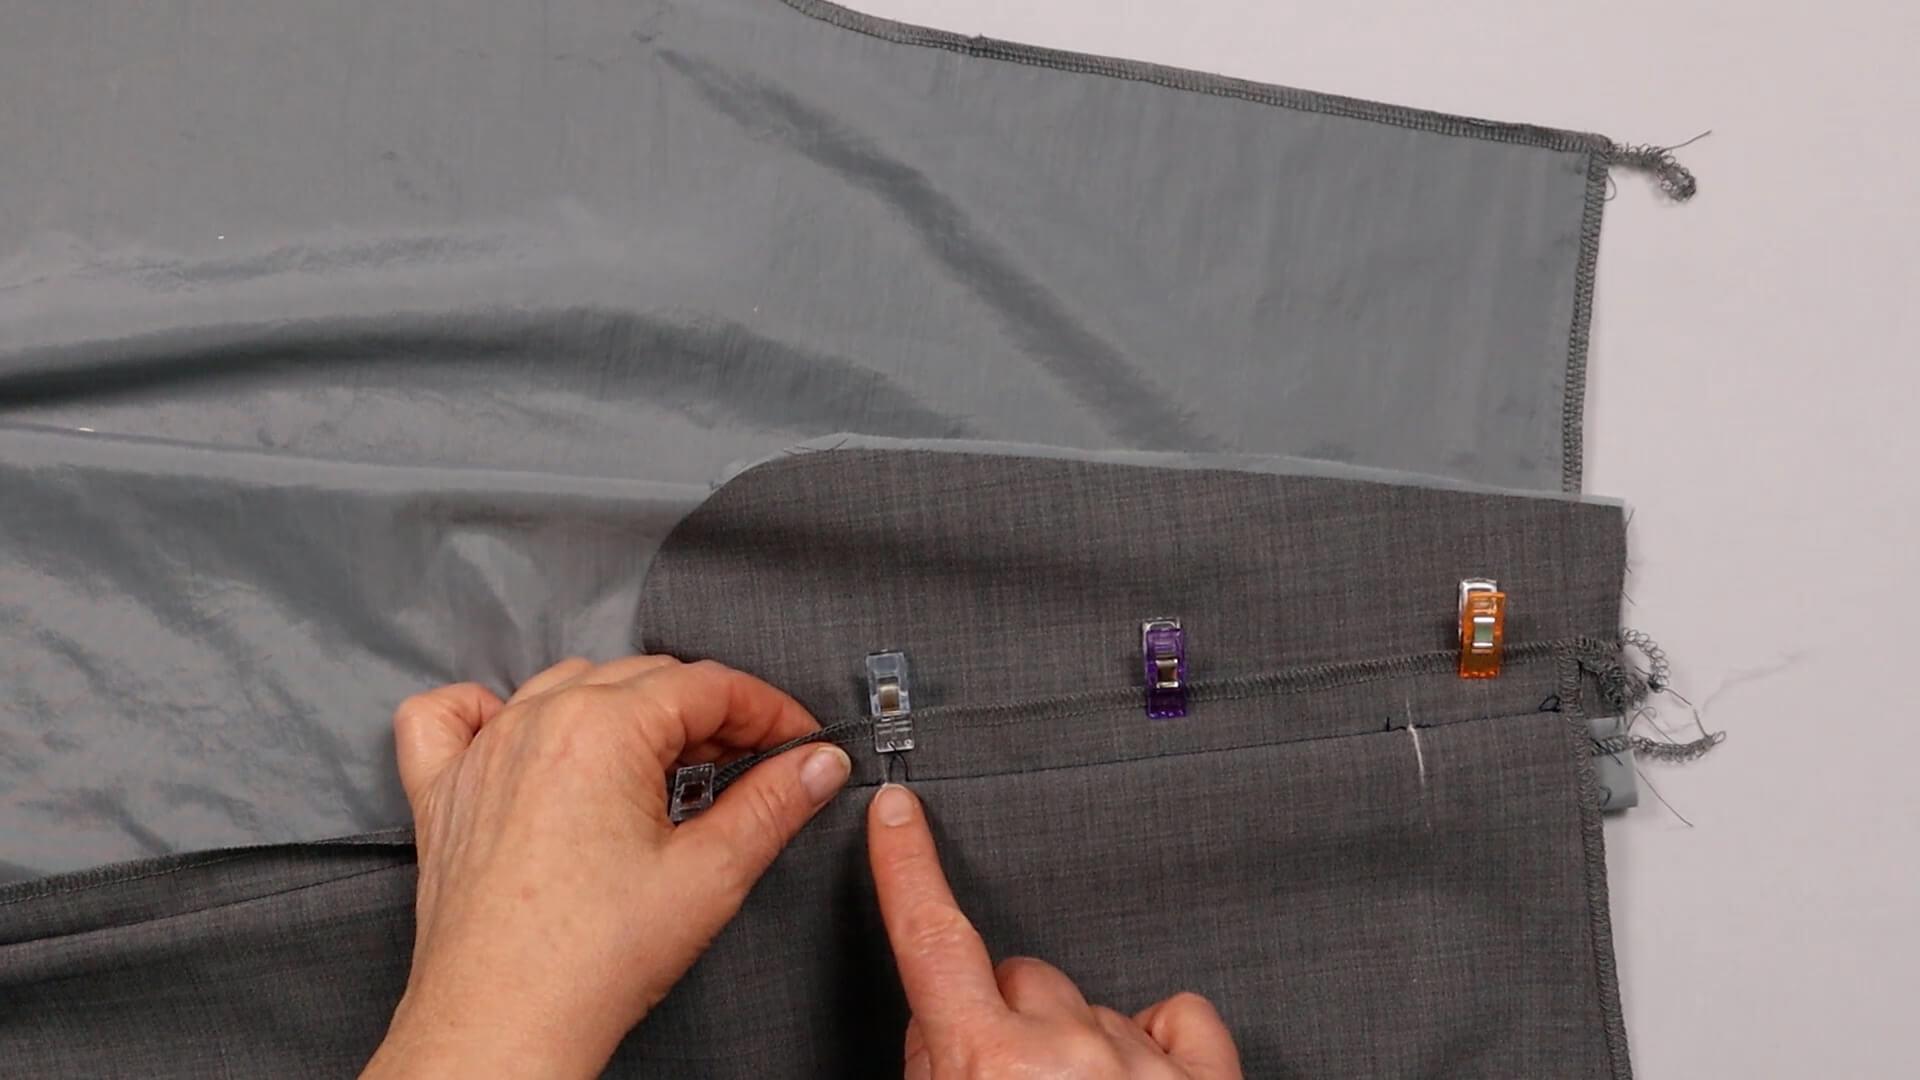
In this position, I pin the lower pocket bag to the seam allowance of the back trousers and stitch it exactly within the markings for the pocket opening using a normal stitch length.
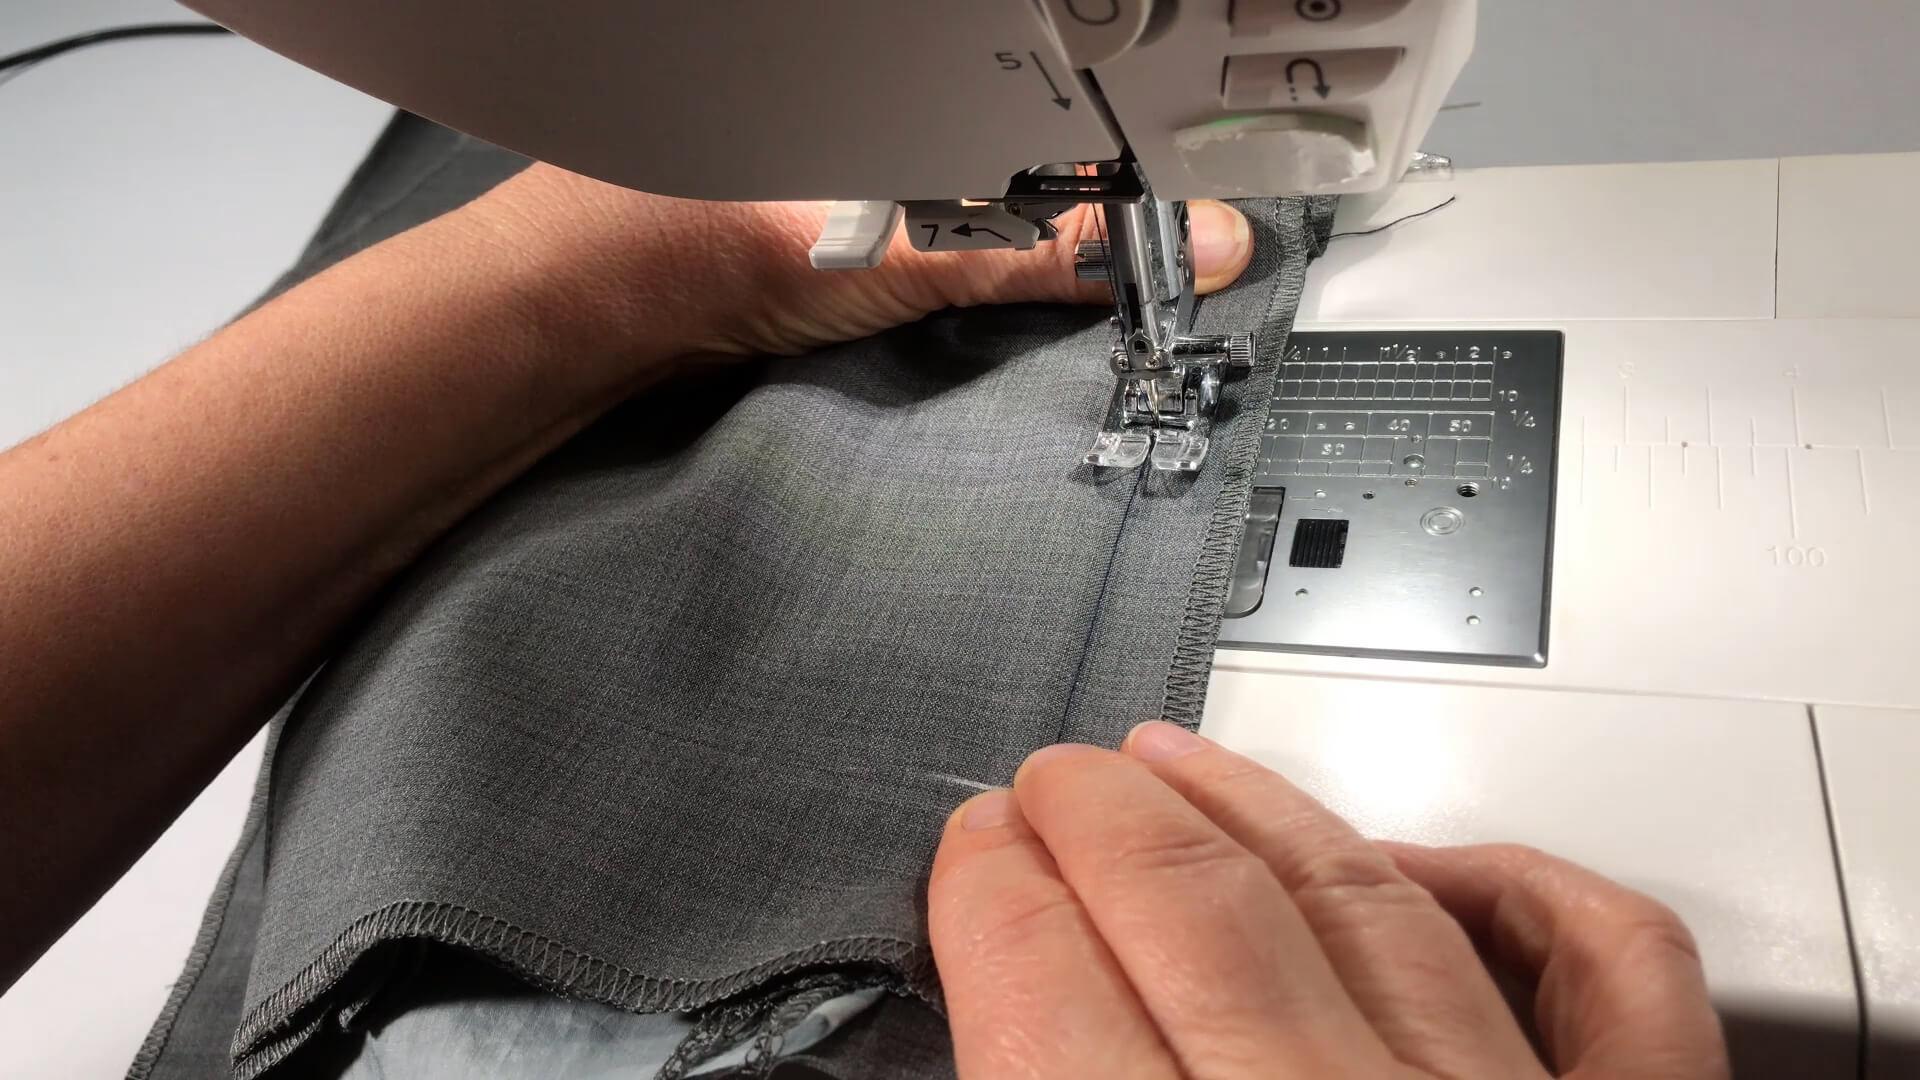
Stitch very close to the auxiliary seam, taking care not to overstitch it. The start and end of the seam are secured.
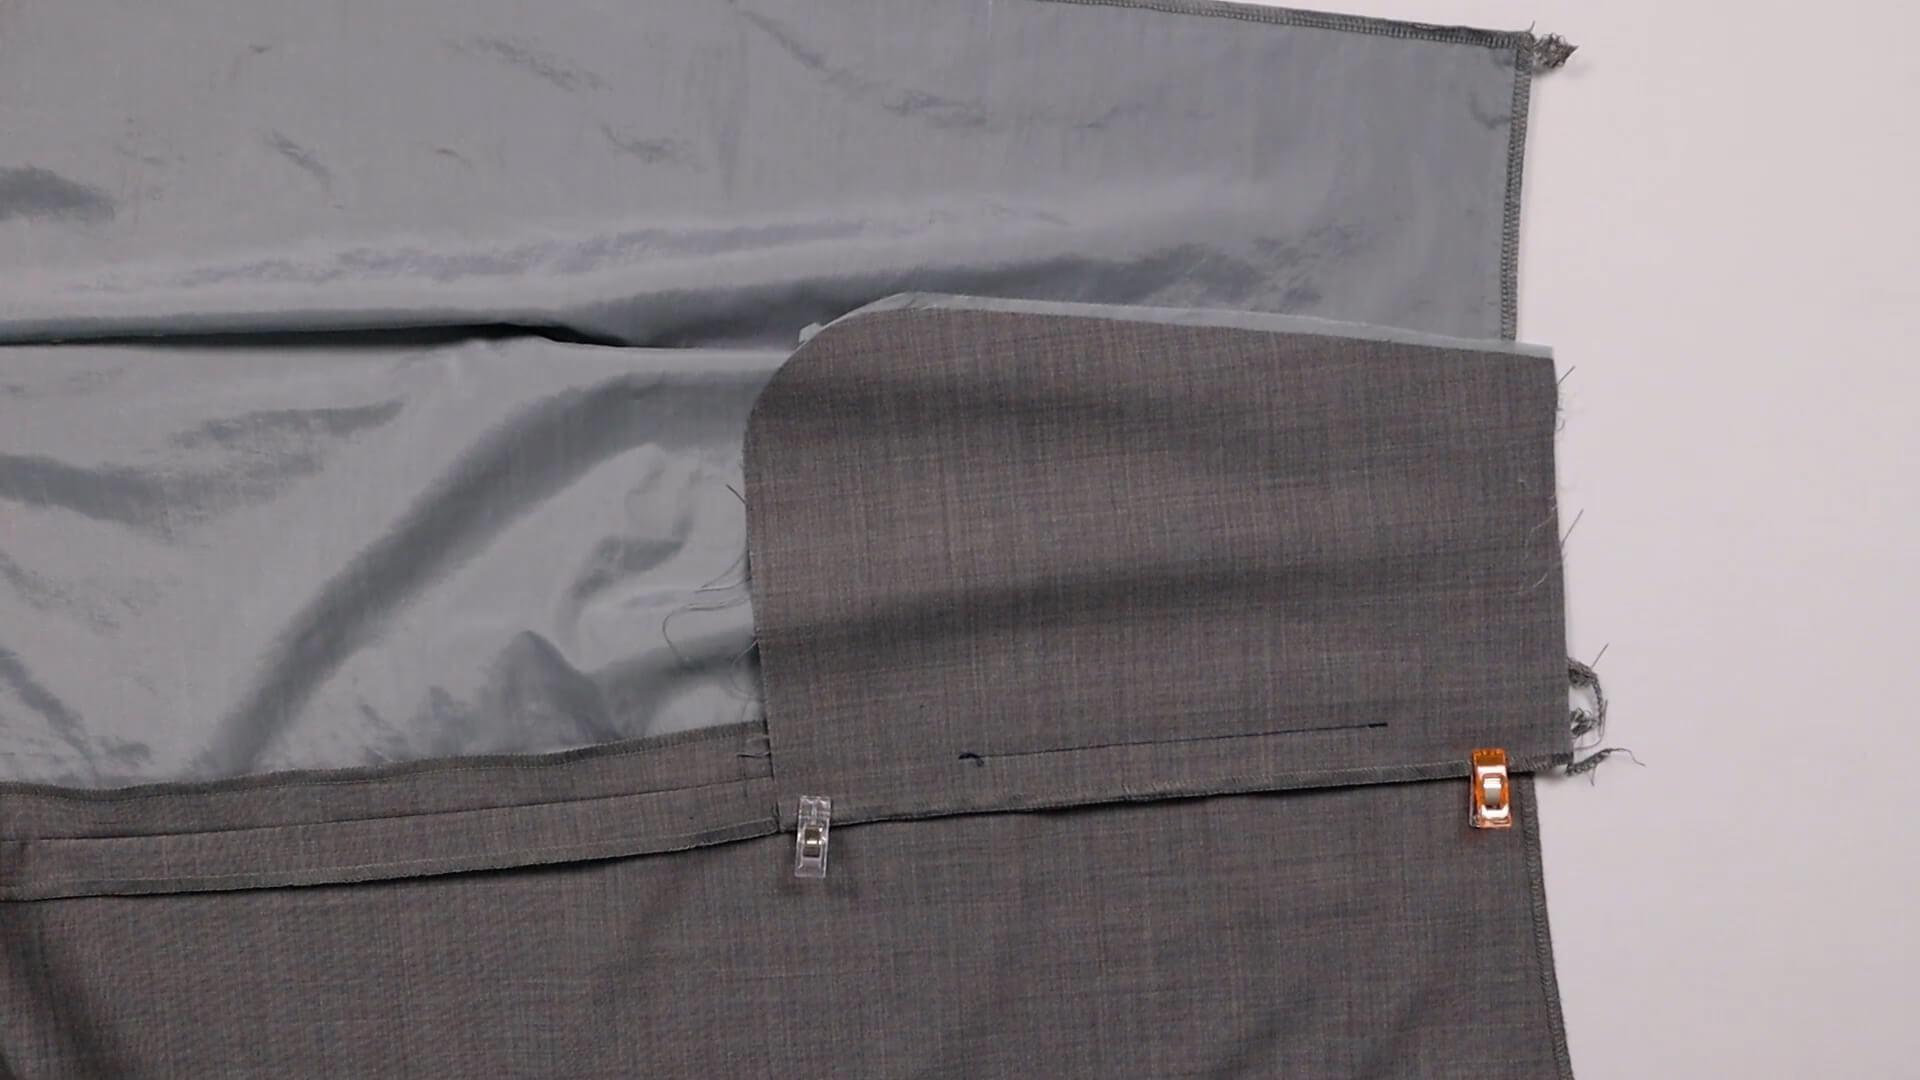
Here you can see the straight seam from the side that was at the bottom when sewing.
7. Connect pocket bags
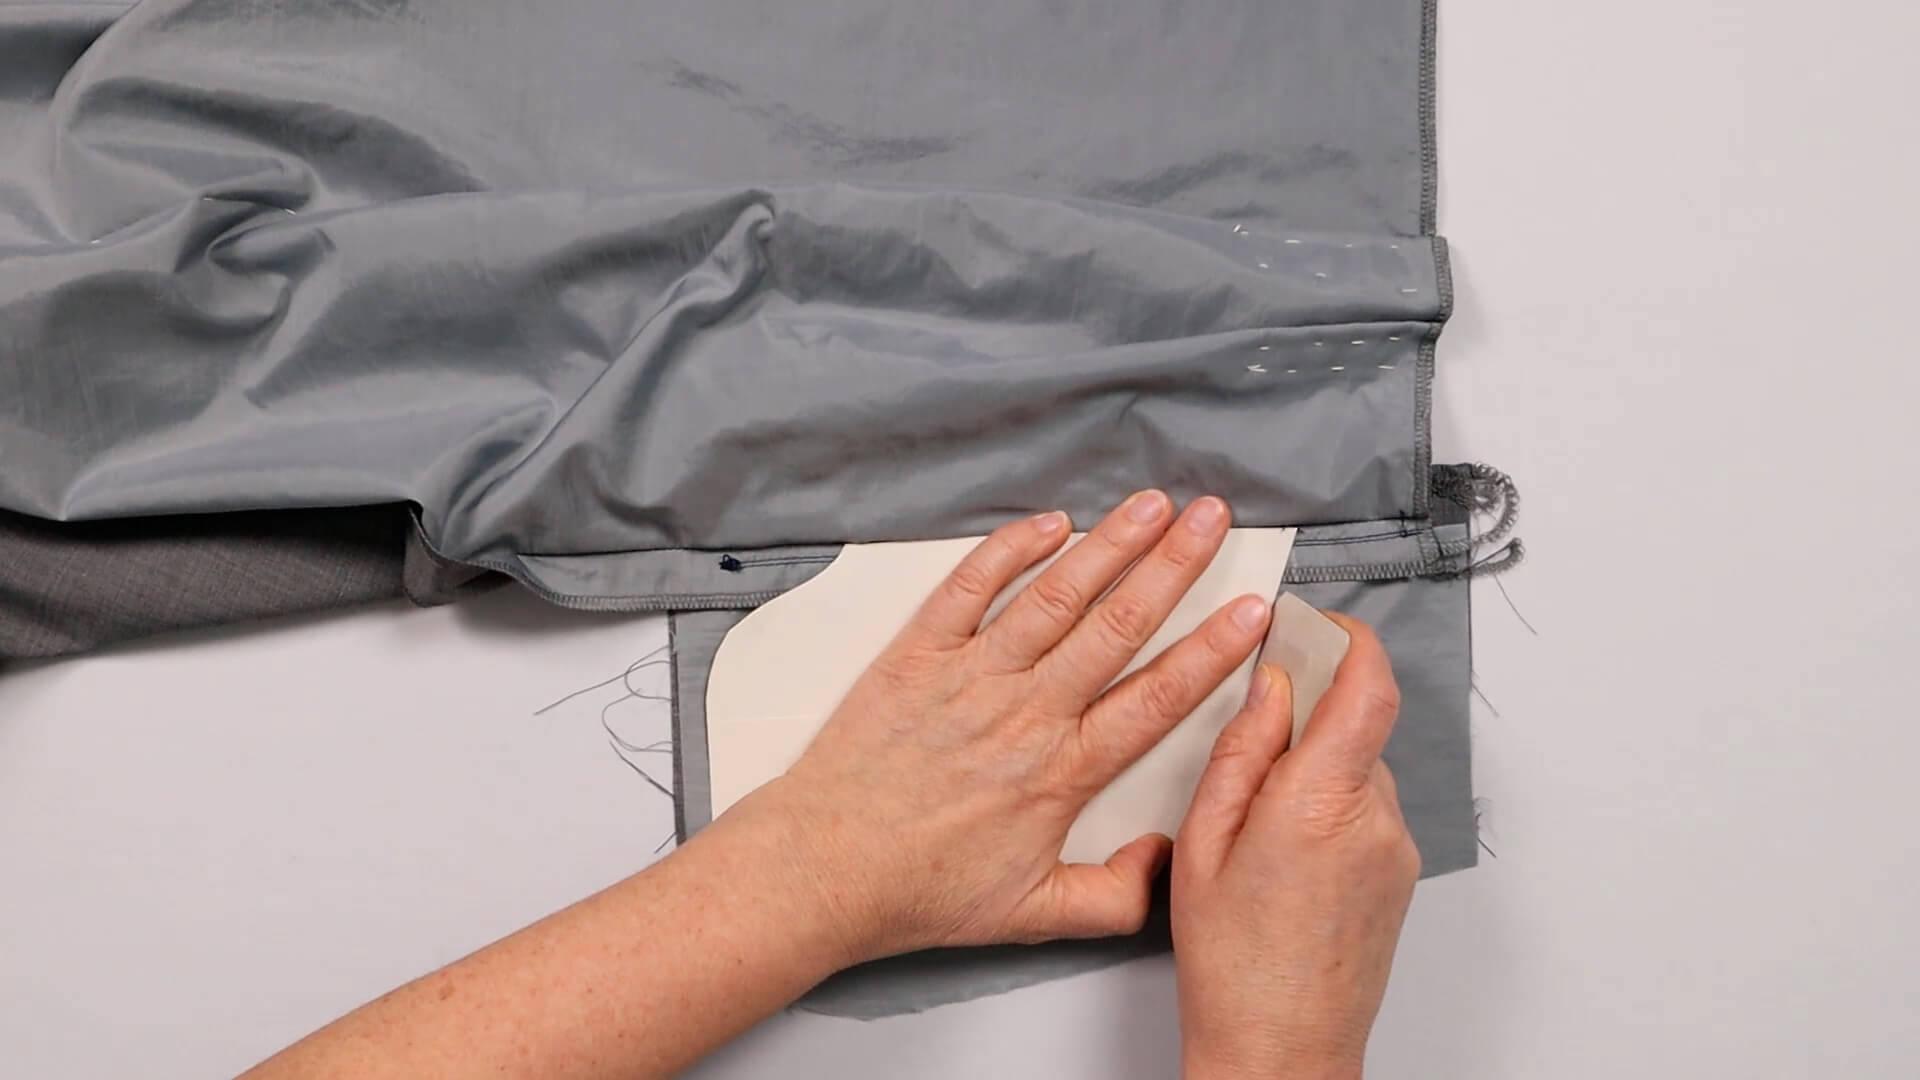
I place the template for the pocket bag exactly within the markings on the top pocket bag.
Then I transfer the outline of the pocket bag onto the lining fabric using tailor’s chalk or a fabric marker.
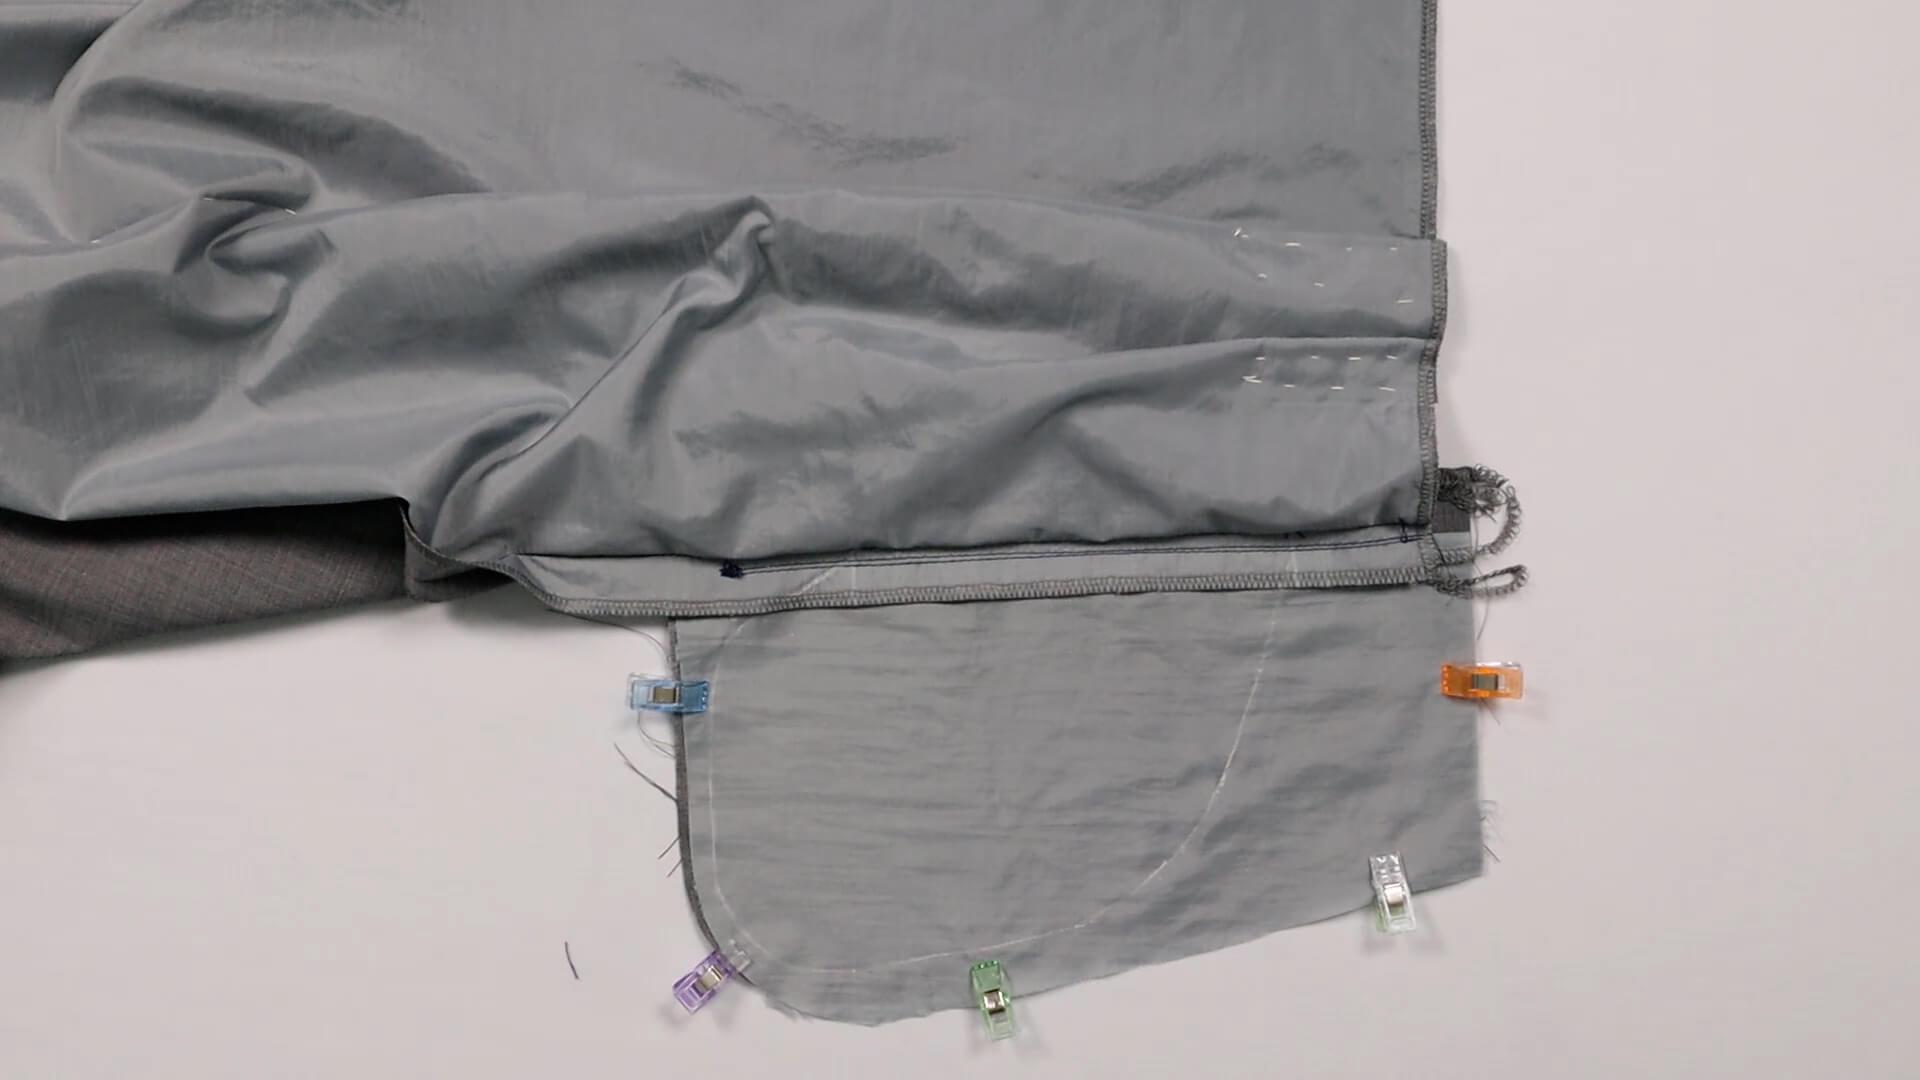
I pin the outer edges of the two pocket bags in place. If they are not exactly on top of each other, this is not a problem. Under no circumstances should you distort the pocket bags just so that the outer edges are aligned.
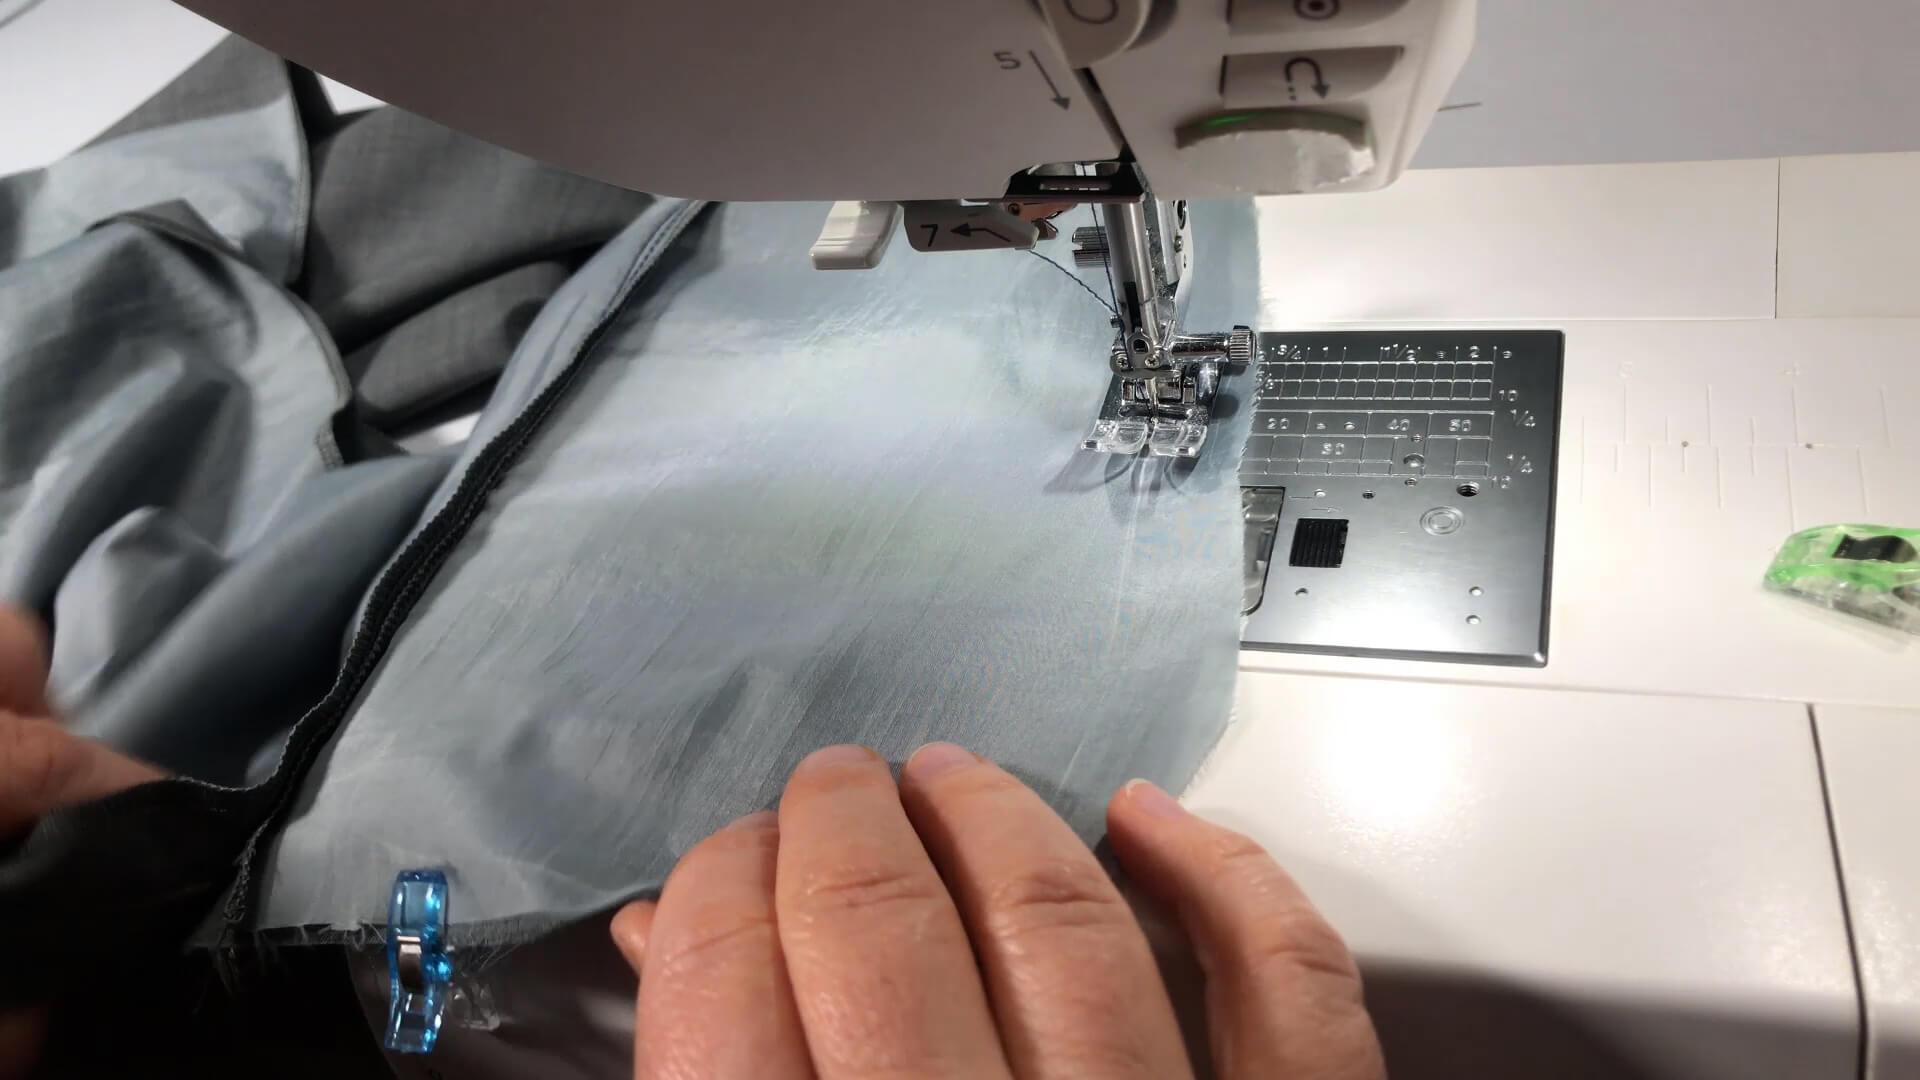
I stitch the pocket bags together along the marking, starting and ending exactly at the side seam.
Make sure that the seam allowances of the side seam are still apart. The side seam allowances of the back trousers and lower pocket bag are not sewn together when sewing the pocket bag.
8. Finish the inseam pocket
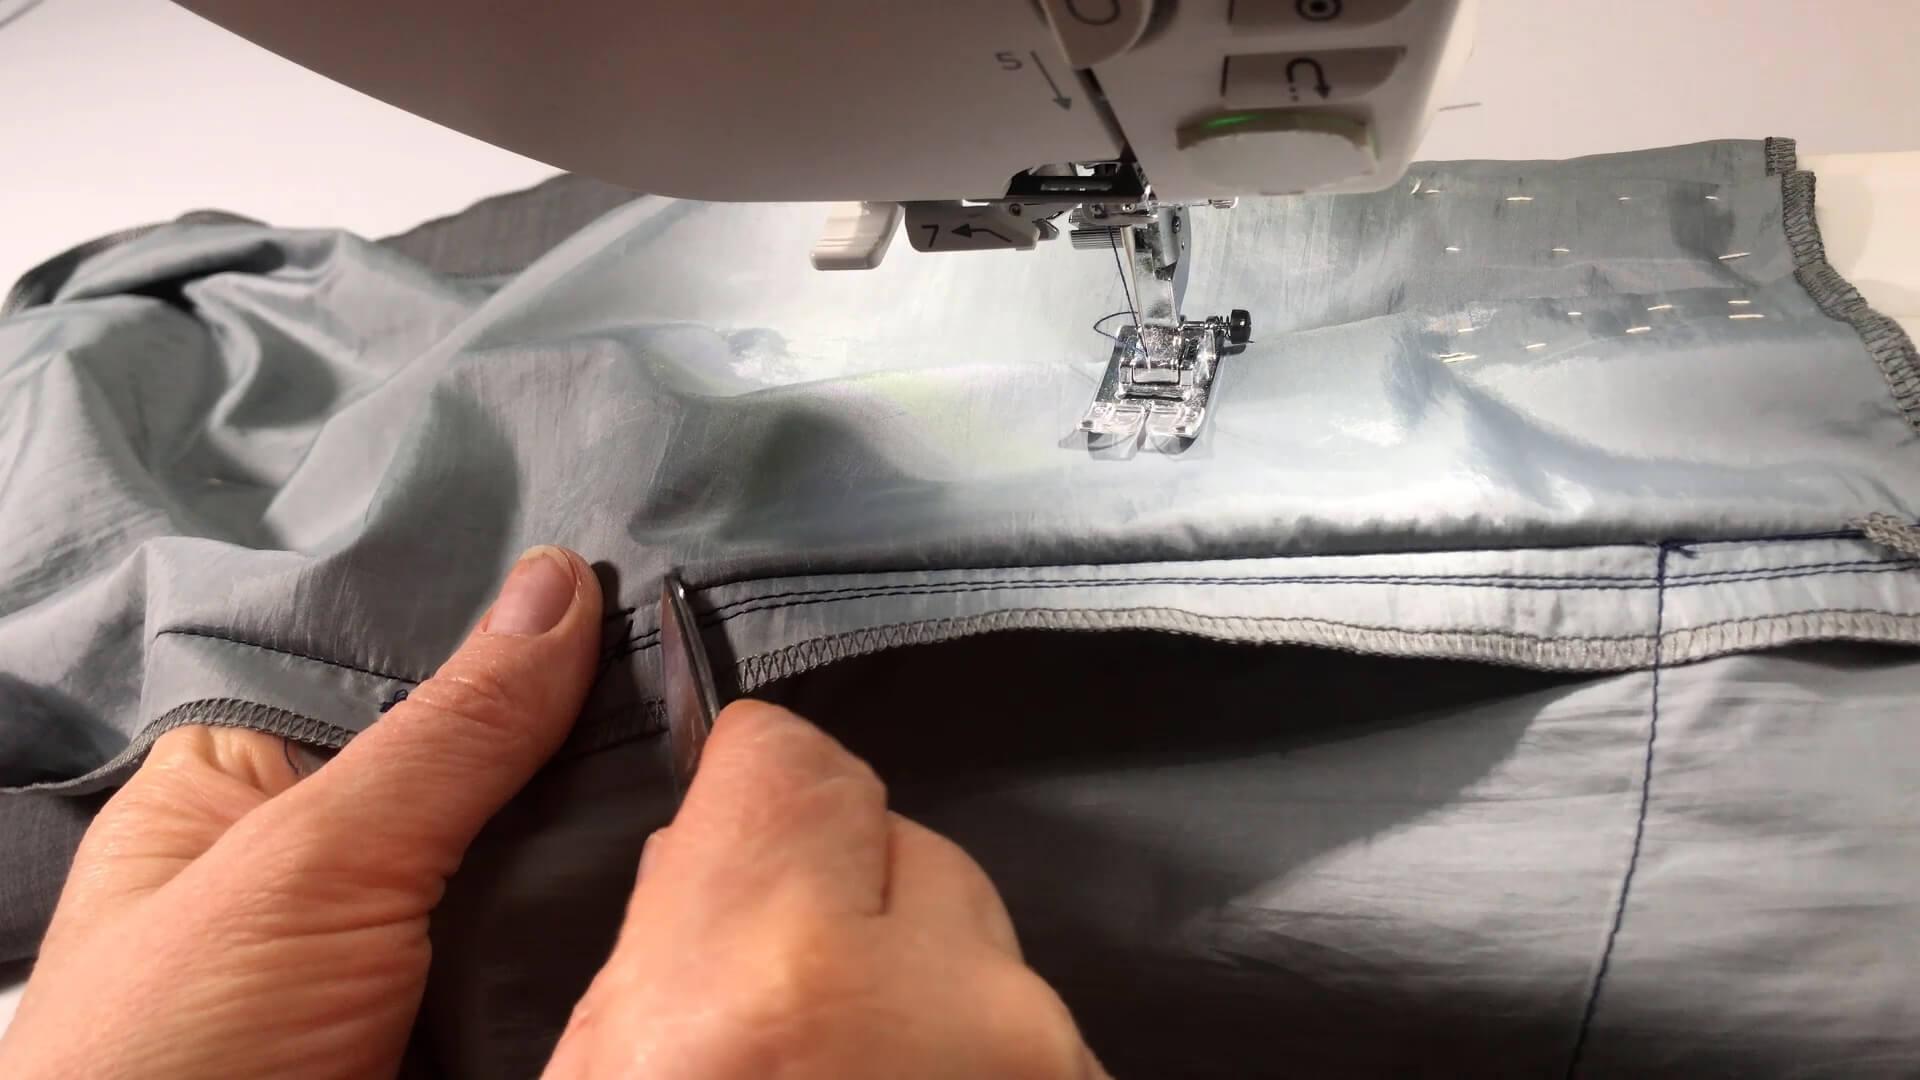
Before going further, I remove the auxiliary thread at the pocket opening.
This is what the finished pocket opening looks like.
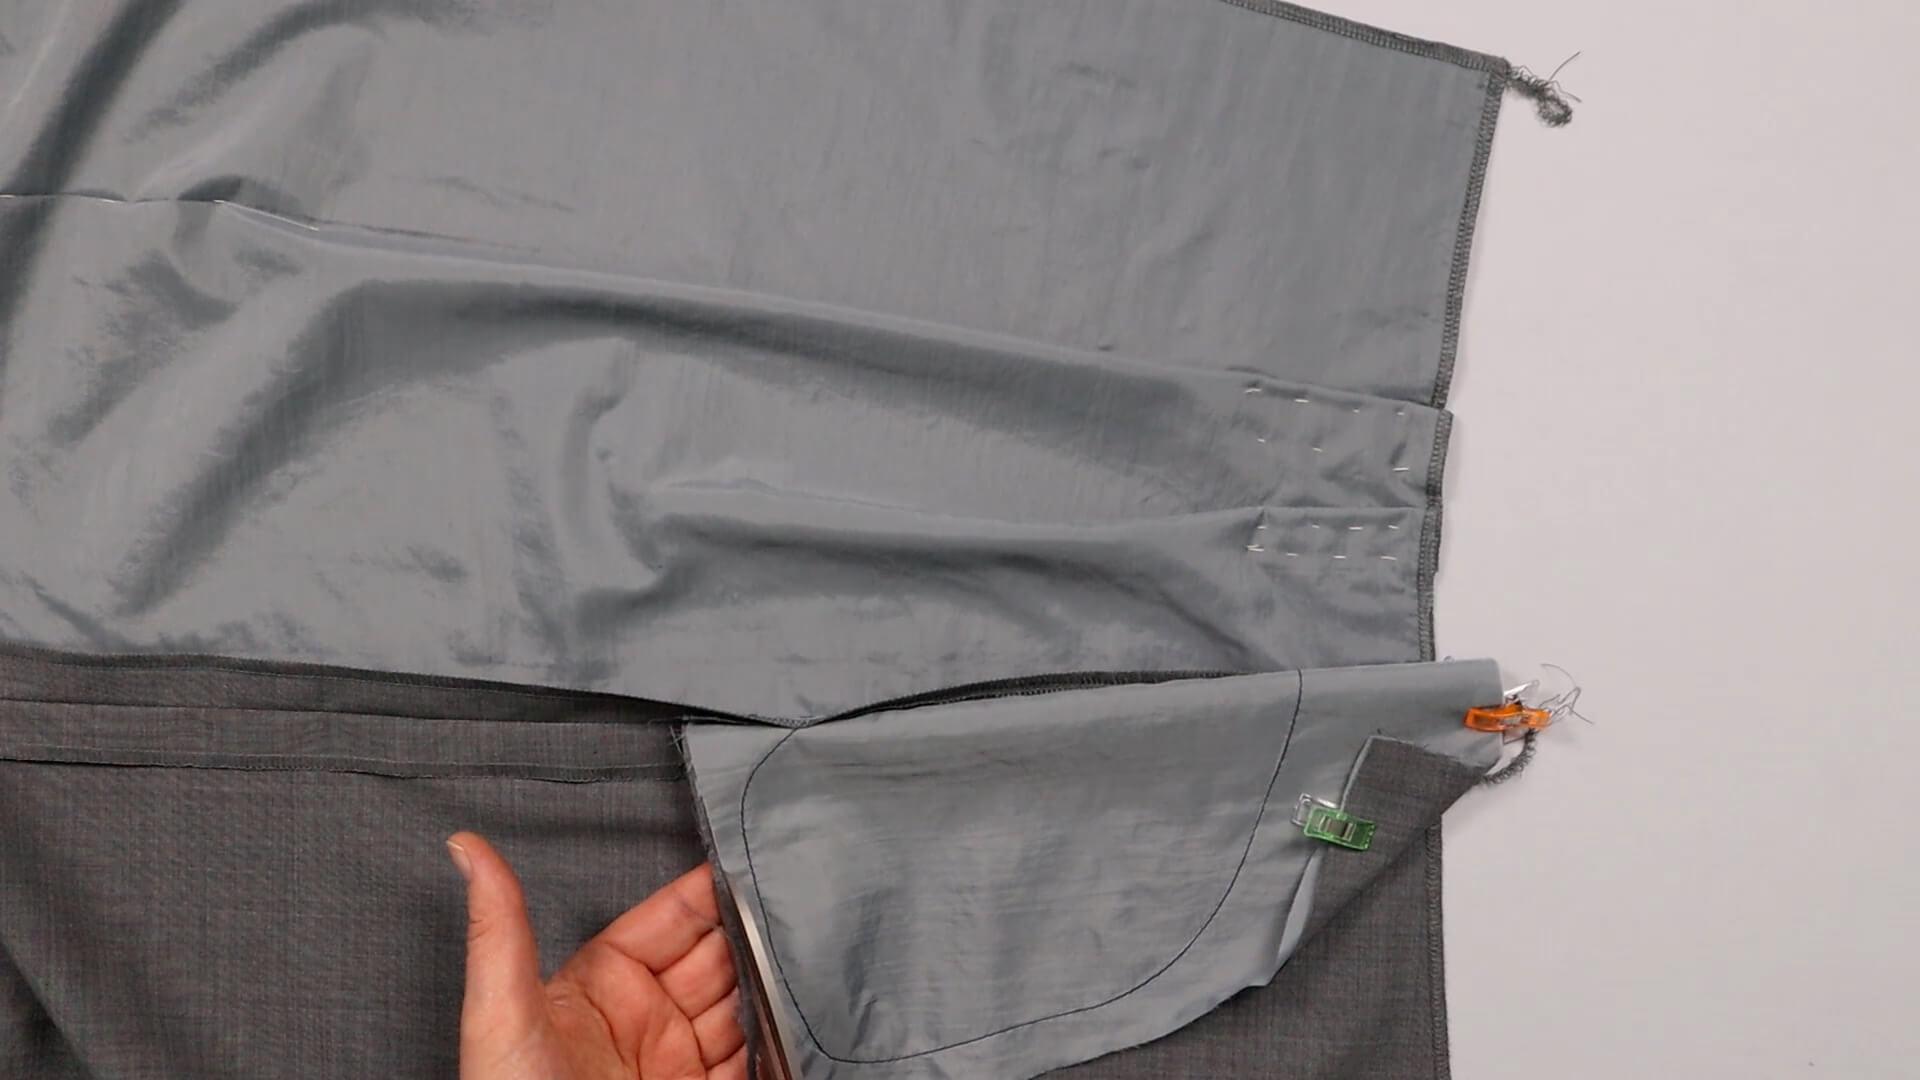
The pocket bag of the inseam pocket must now be finished.
If your pocket bags are not exactly aligned, you can trim them at the same time as overlocking. I cut back the protruding seam allowance of the lower pocket bag with beforehand so that I can also grab the lining fabric when overlocking.
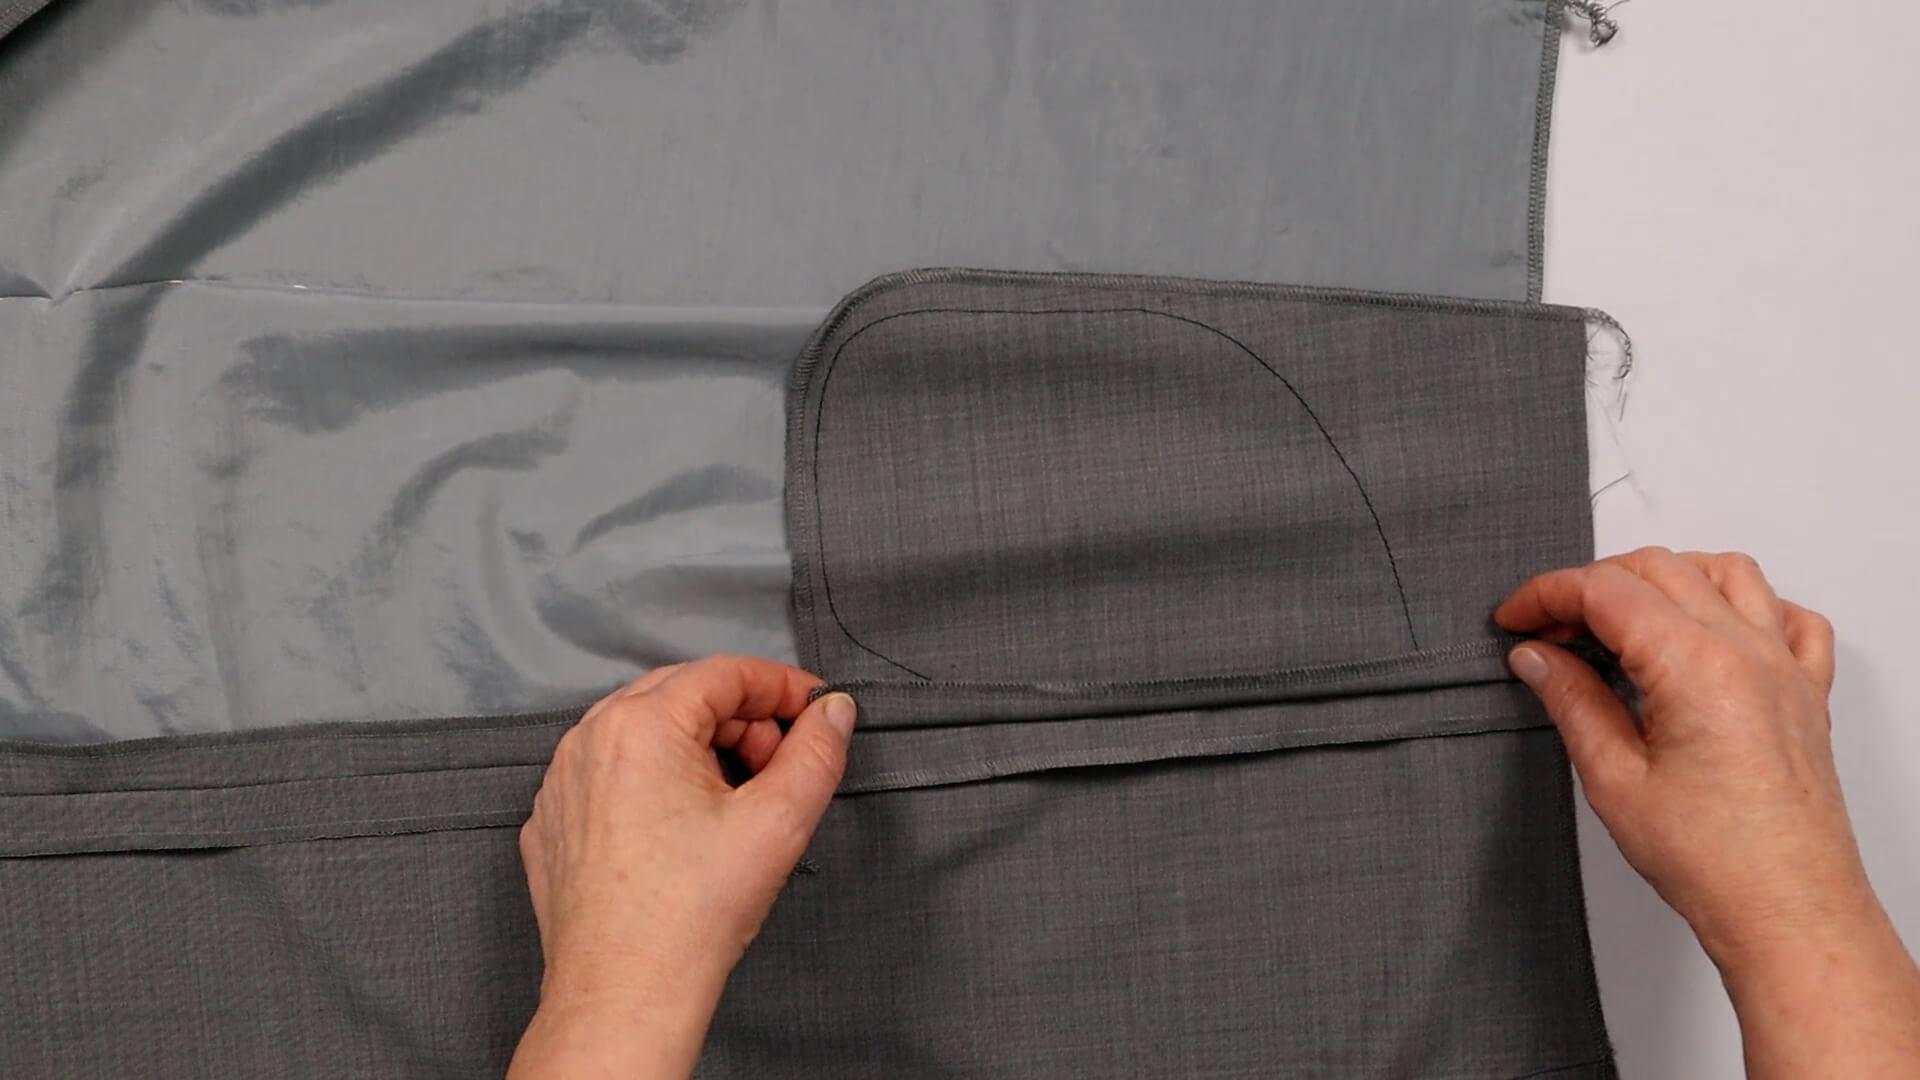
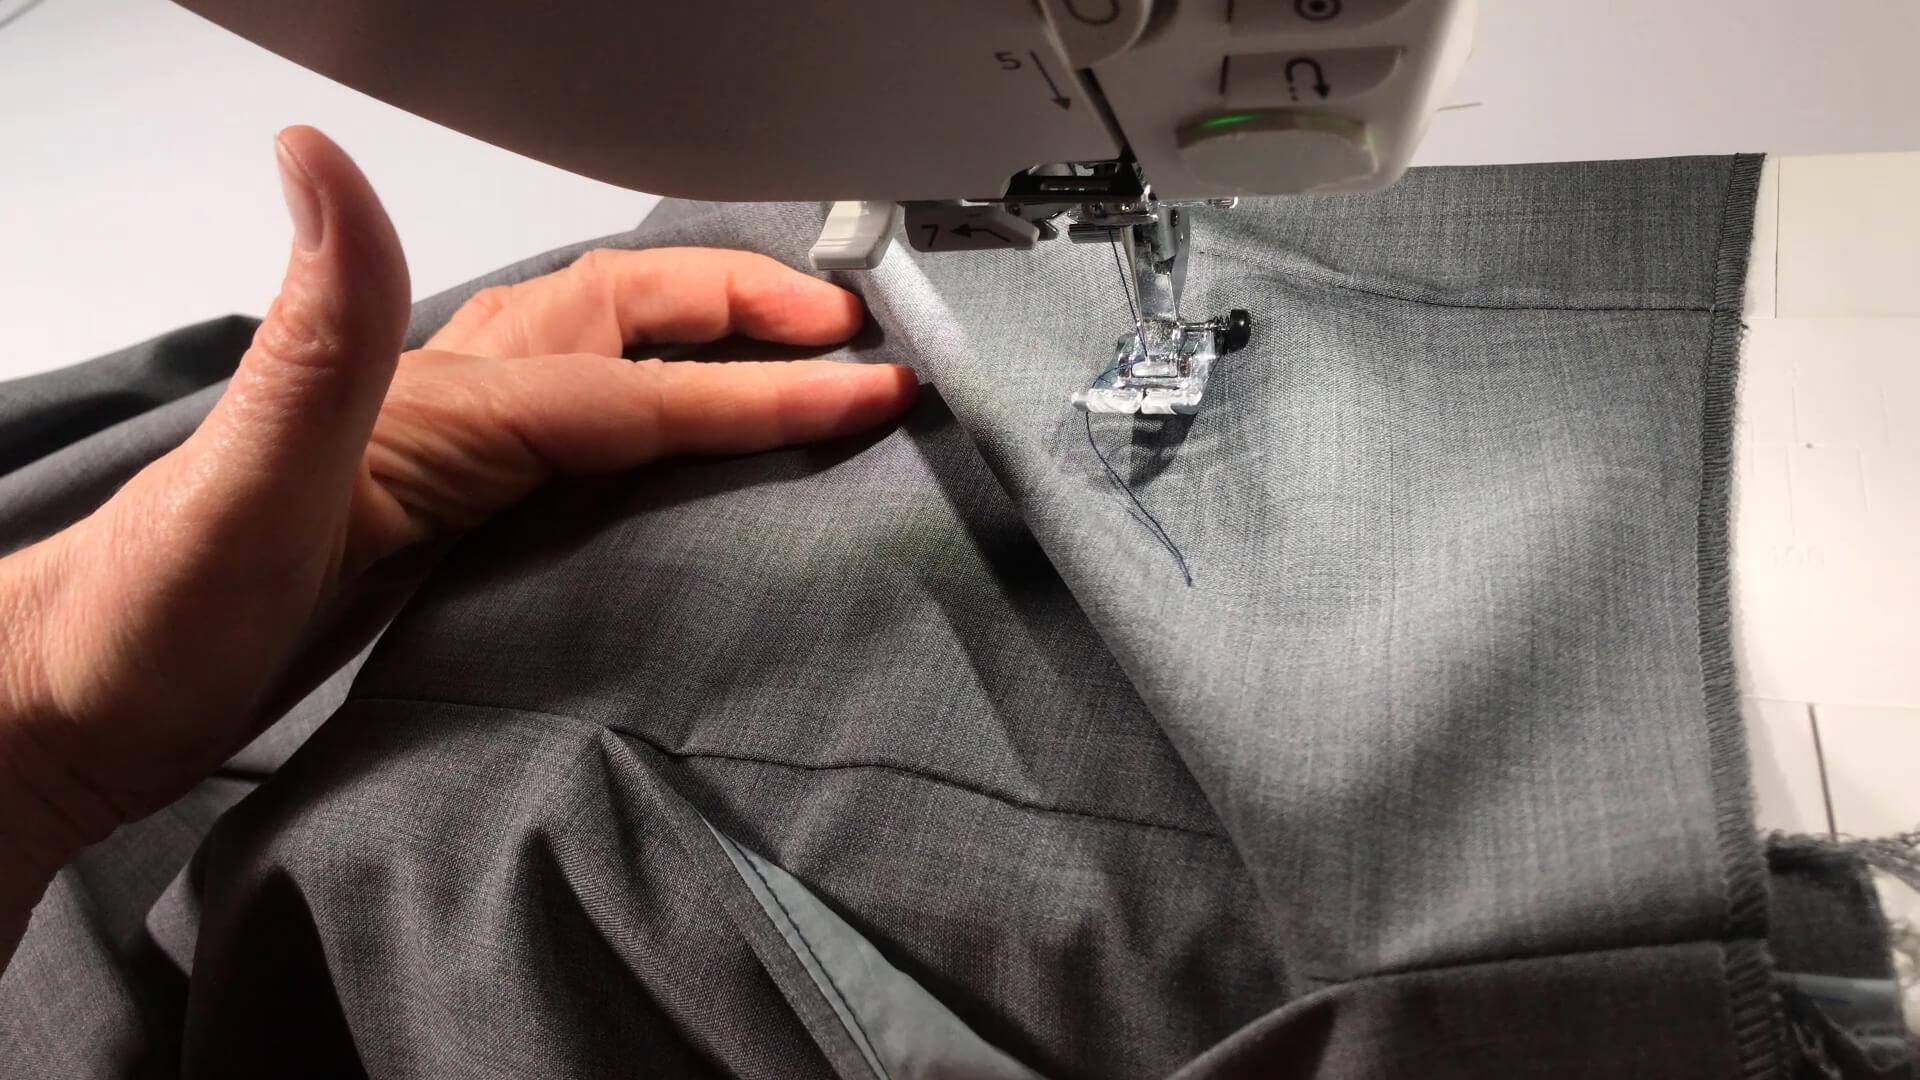
I sew the seam allowance of the lower pocket bag onto the seam allowance of the back trousers, close to the edge.
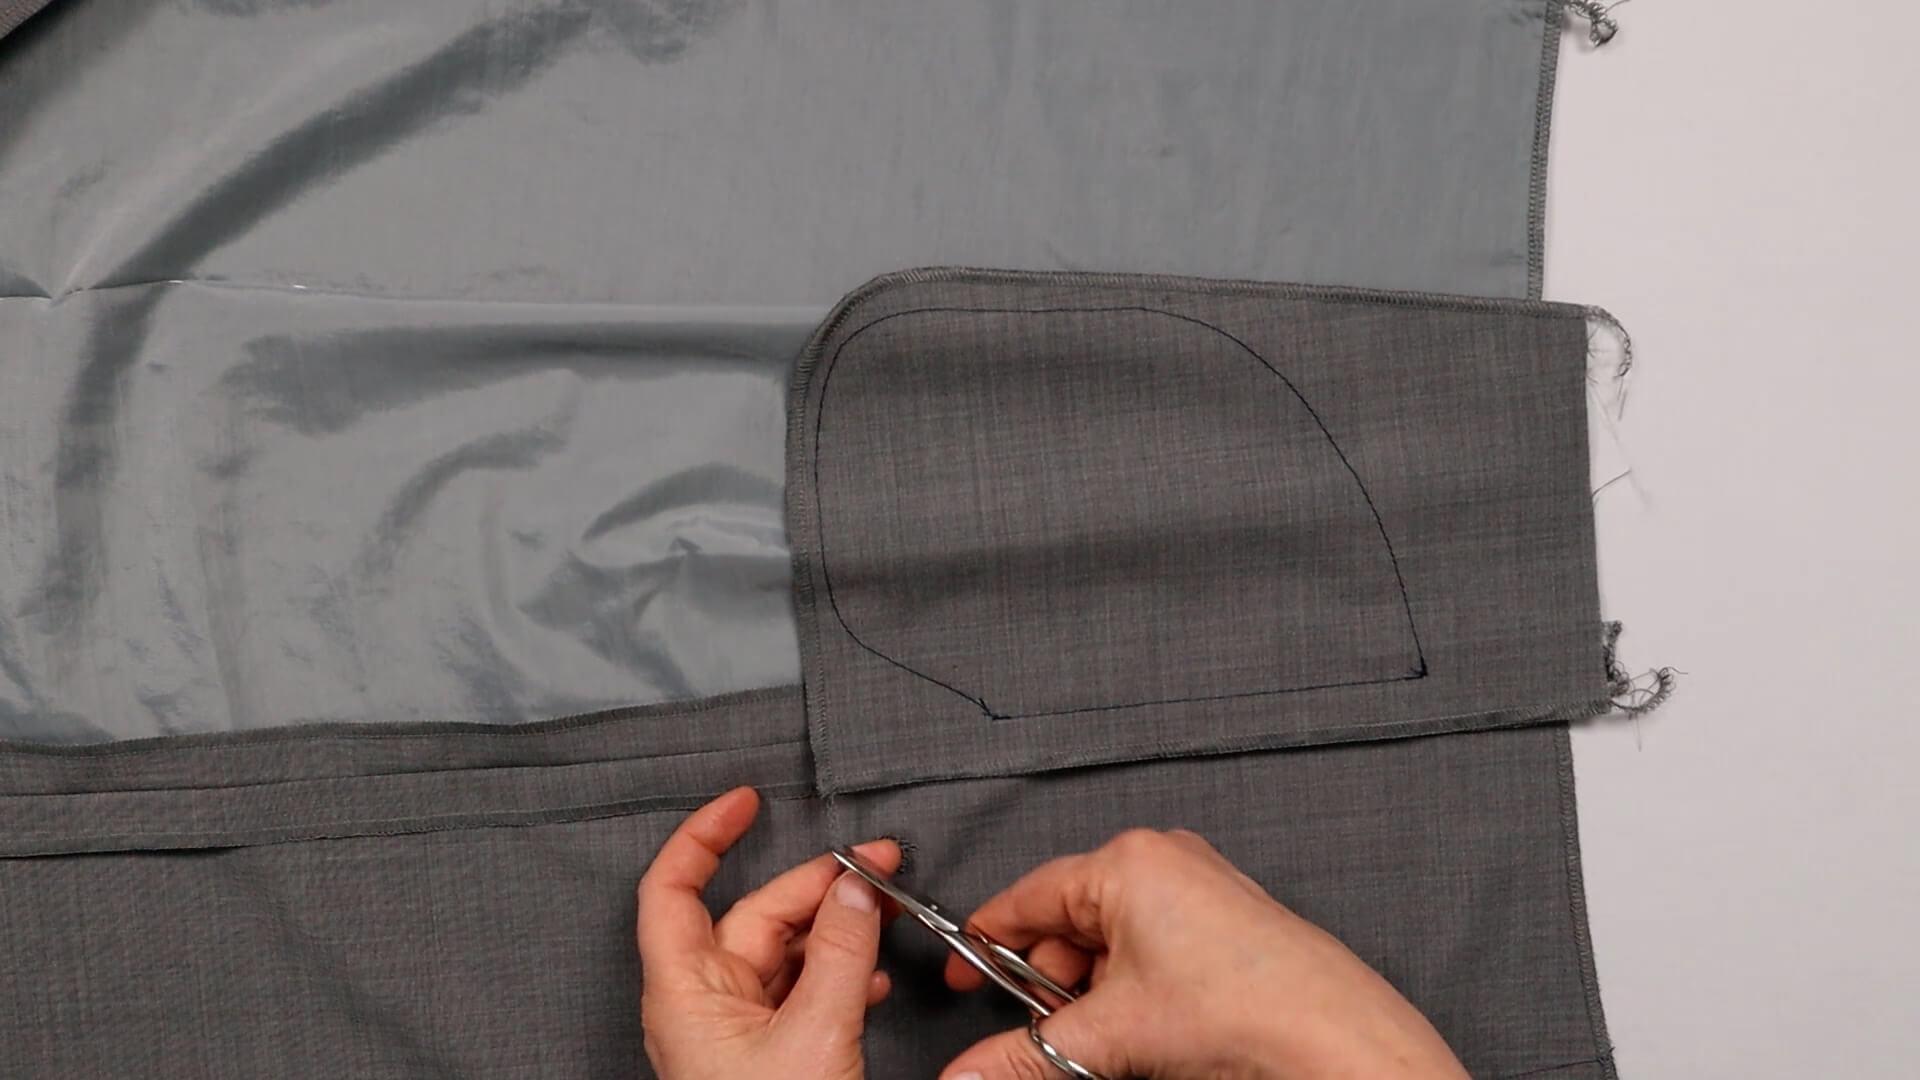
Before I do this, I cut off about 2 cm of the thread that was created when serging with the overlocker.
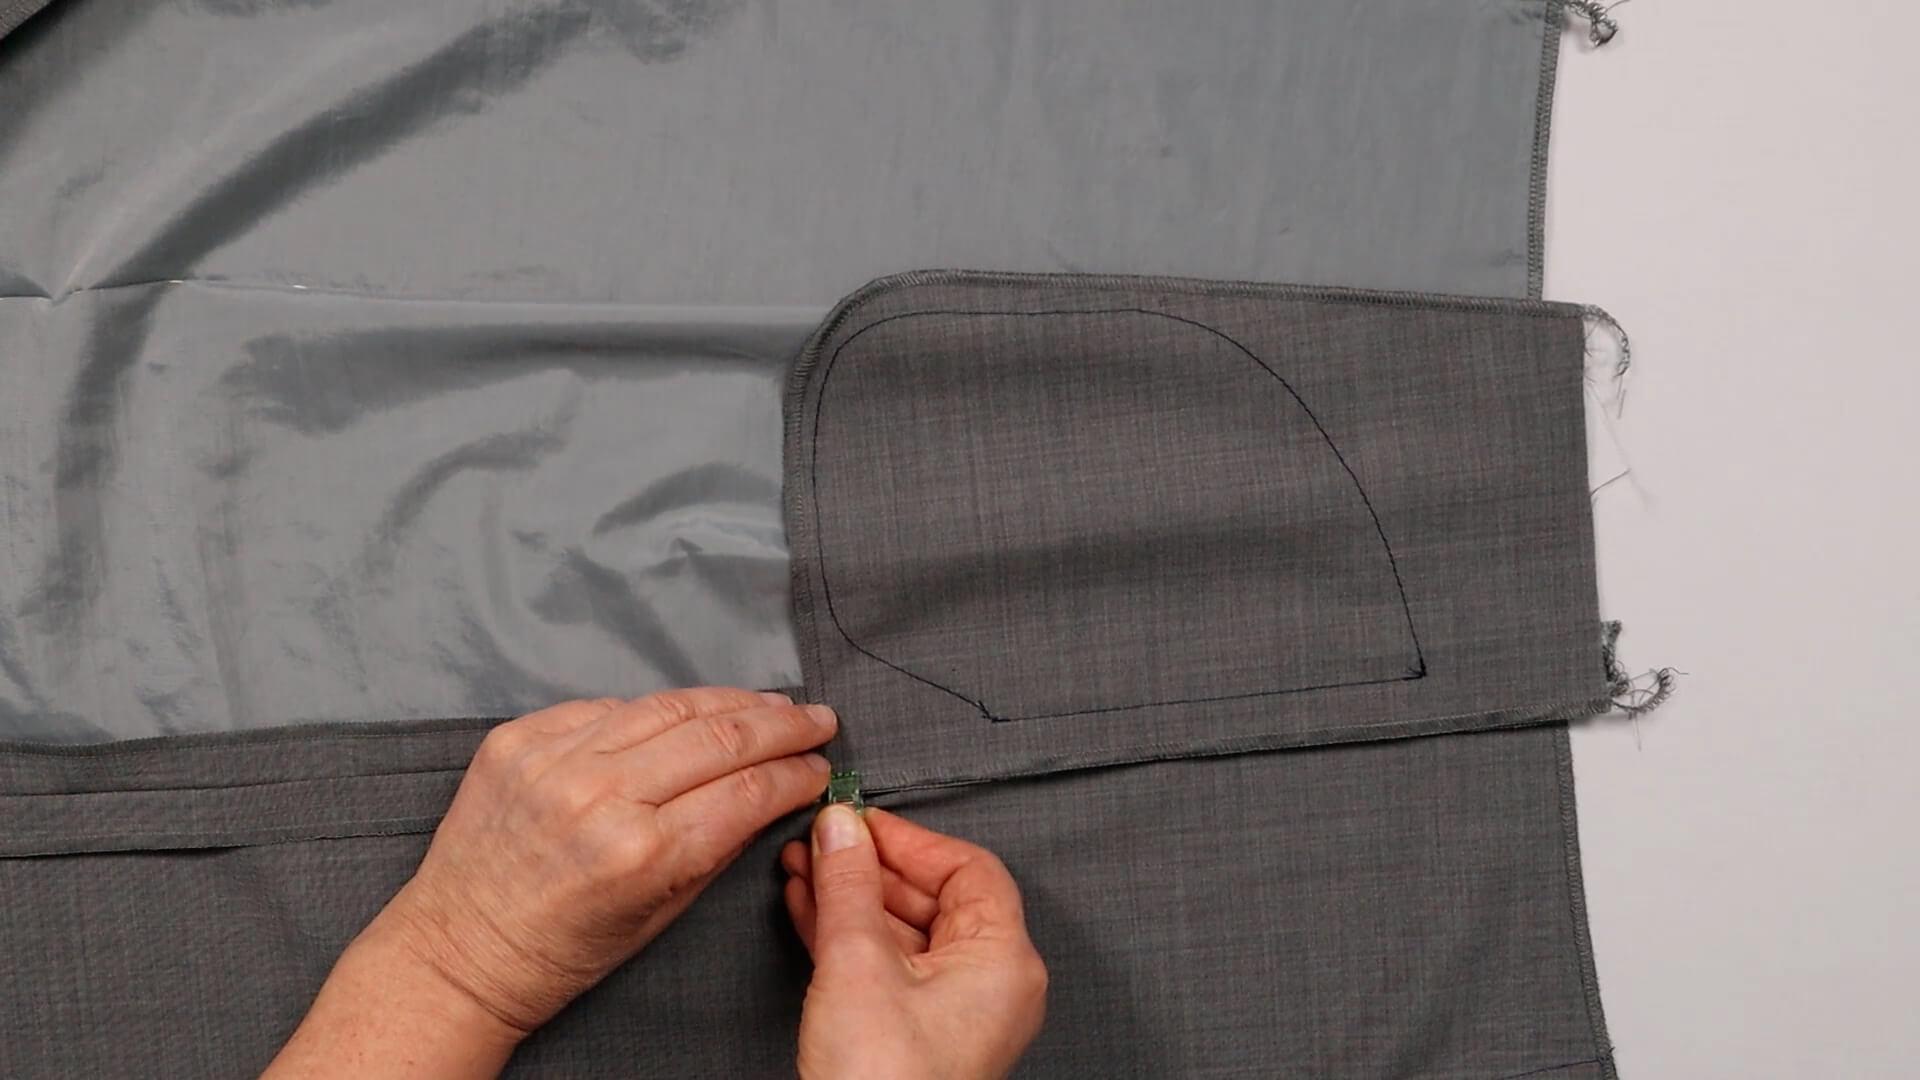
Then I place it between the seam allowances and pin them in place.

I sew the two seam allowances of the back trousers and lower pocket bag together with a distance of approx. 4 mm to the outer edge.
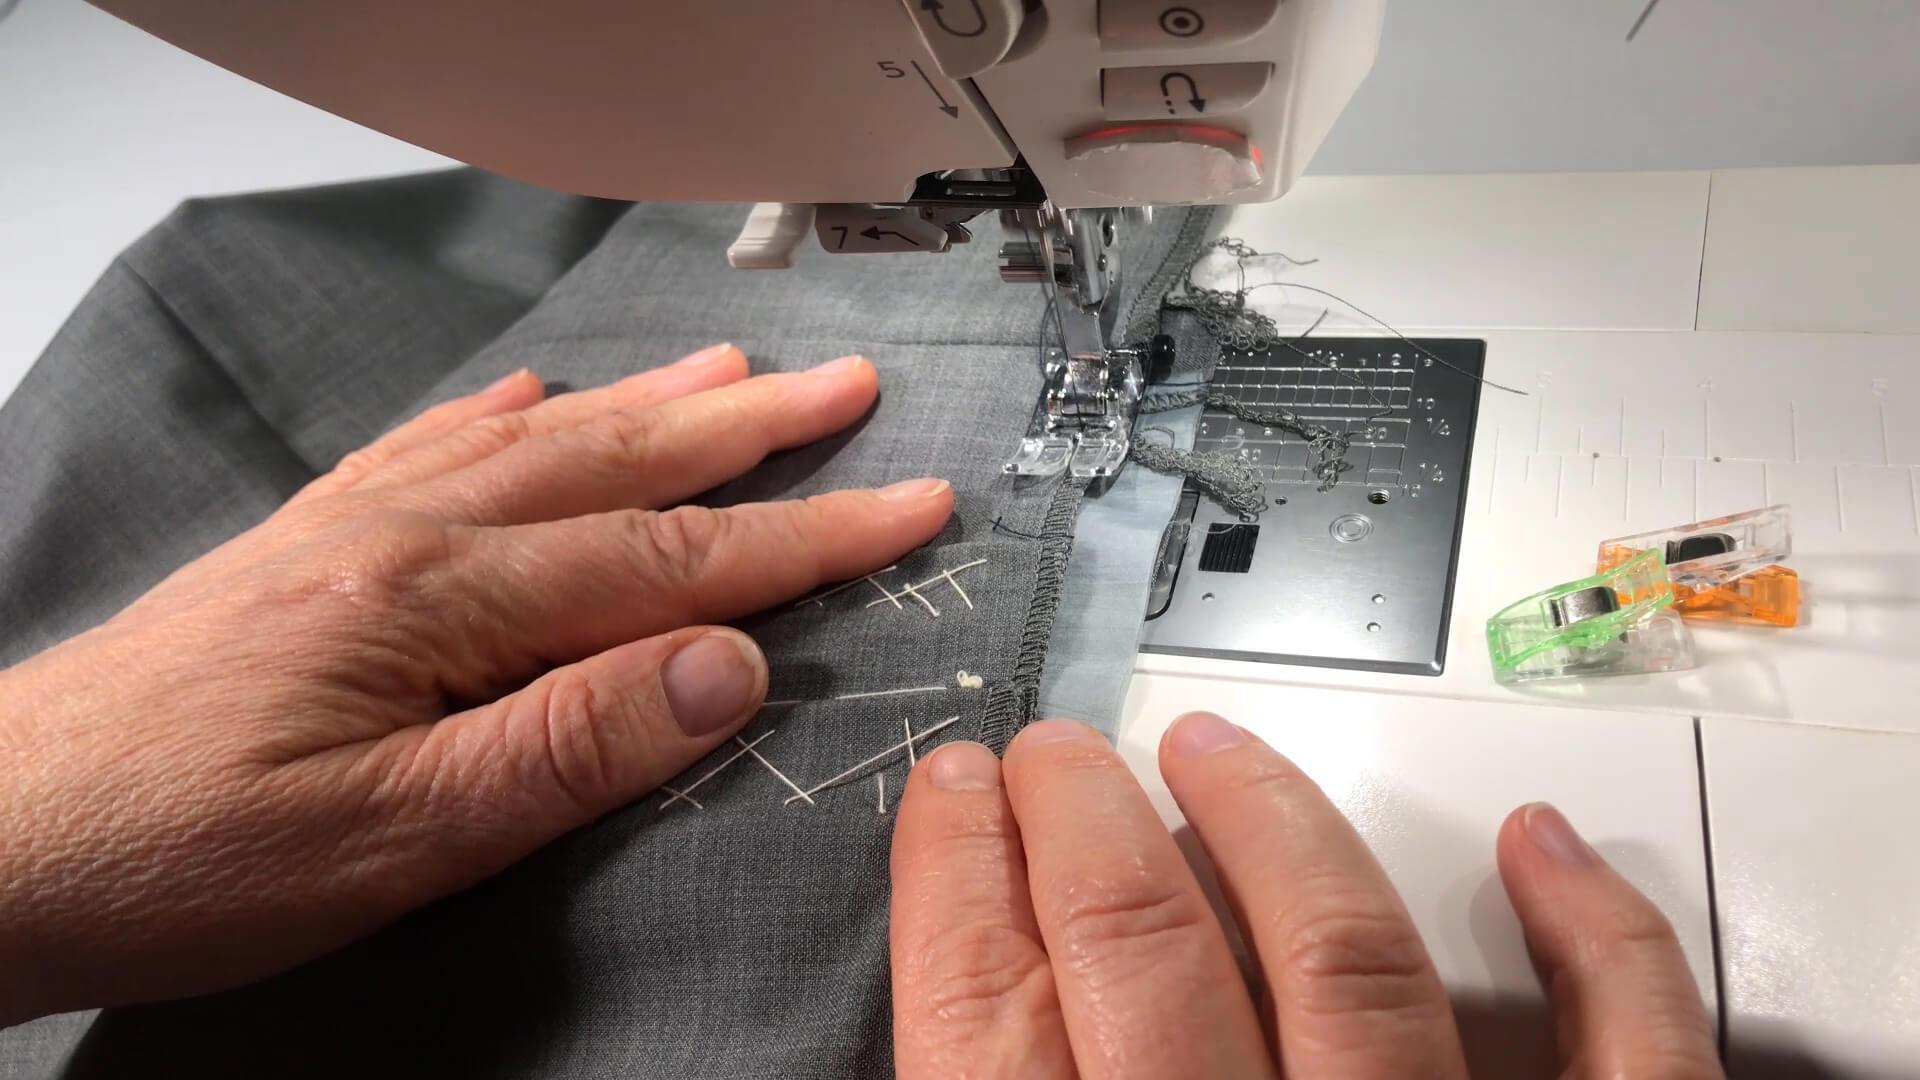
I sew the pocket bag to the upper edge of the trousers within the seam allowance on the front trousers so that it does not slip during further processing. Make sure that everything lies smoothly on top of each other and that the bag is not distorted.
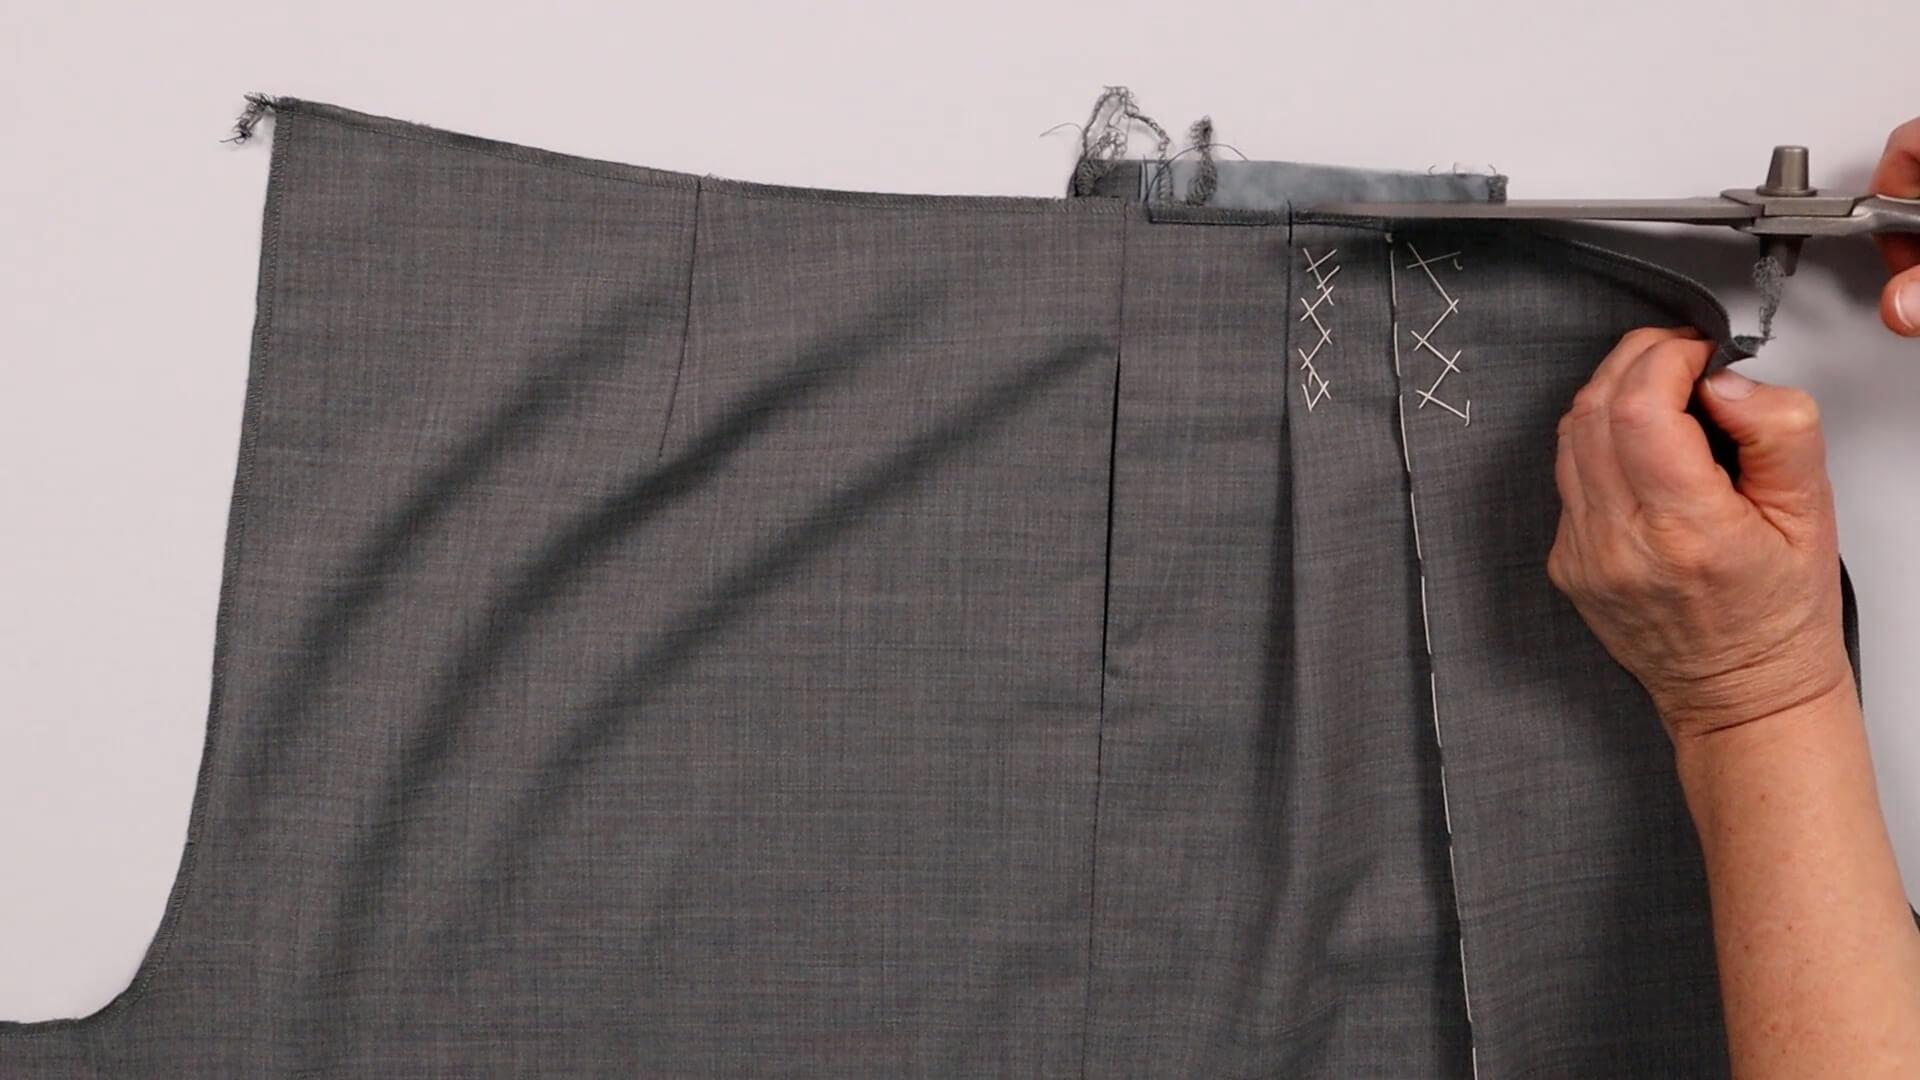
Now I can cut back the excess fabric at the top edge aligned to the front piece.
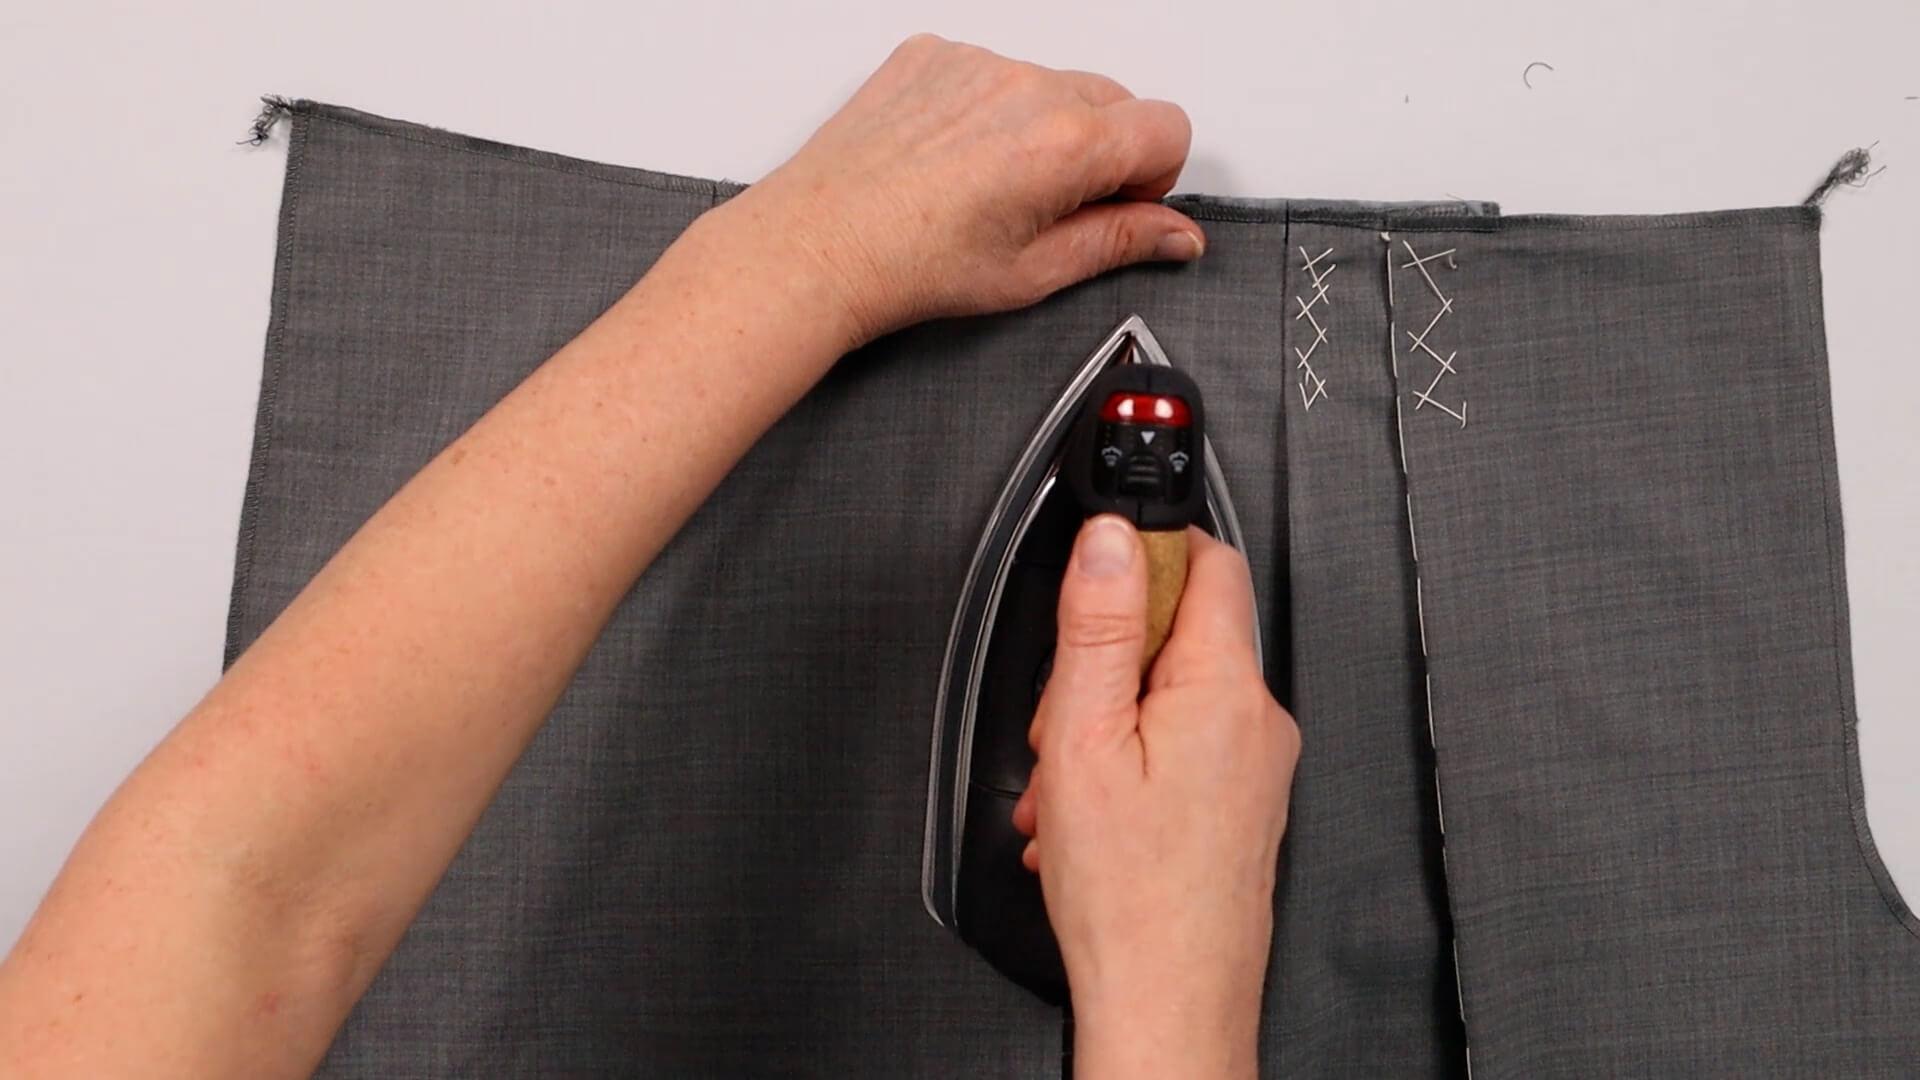
I iron the pocket opening again so that everything lies flat and then sew the inseam pocket of the second trouser leg the same way.
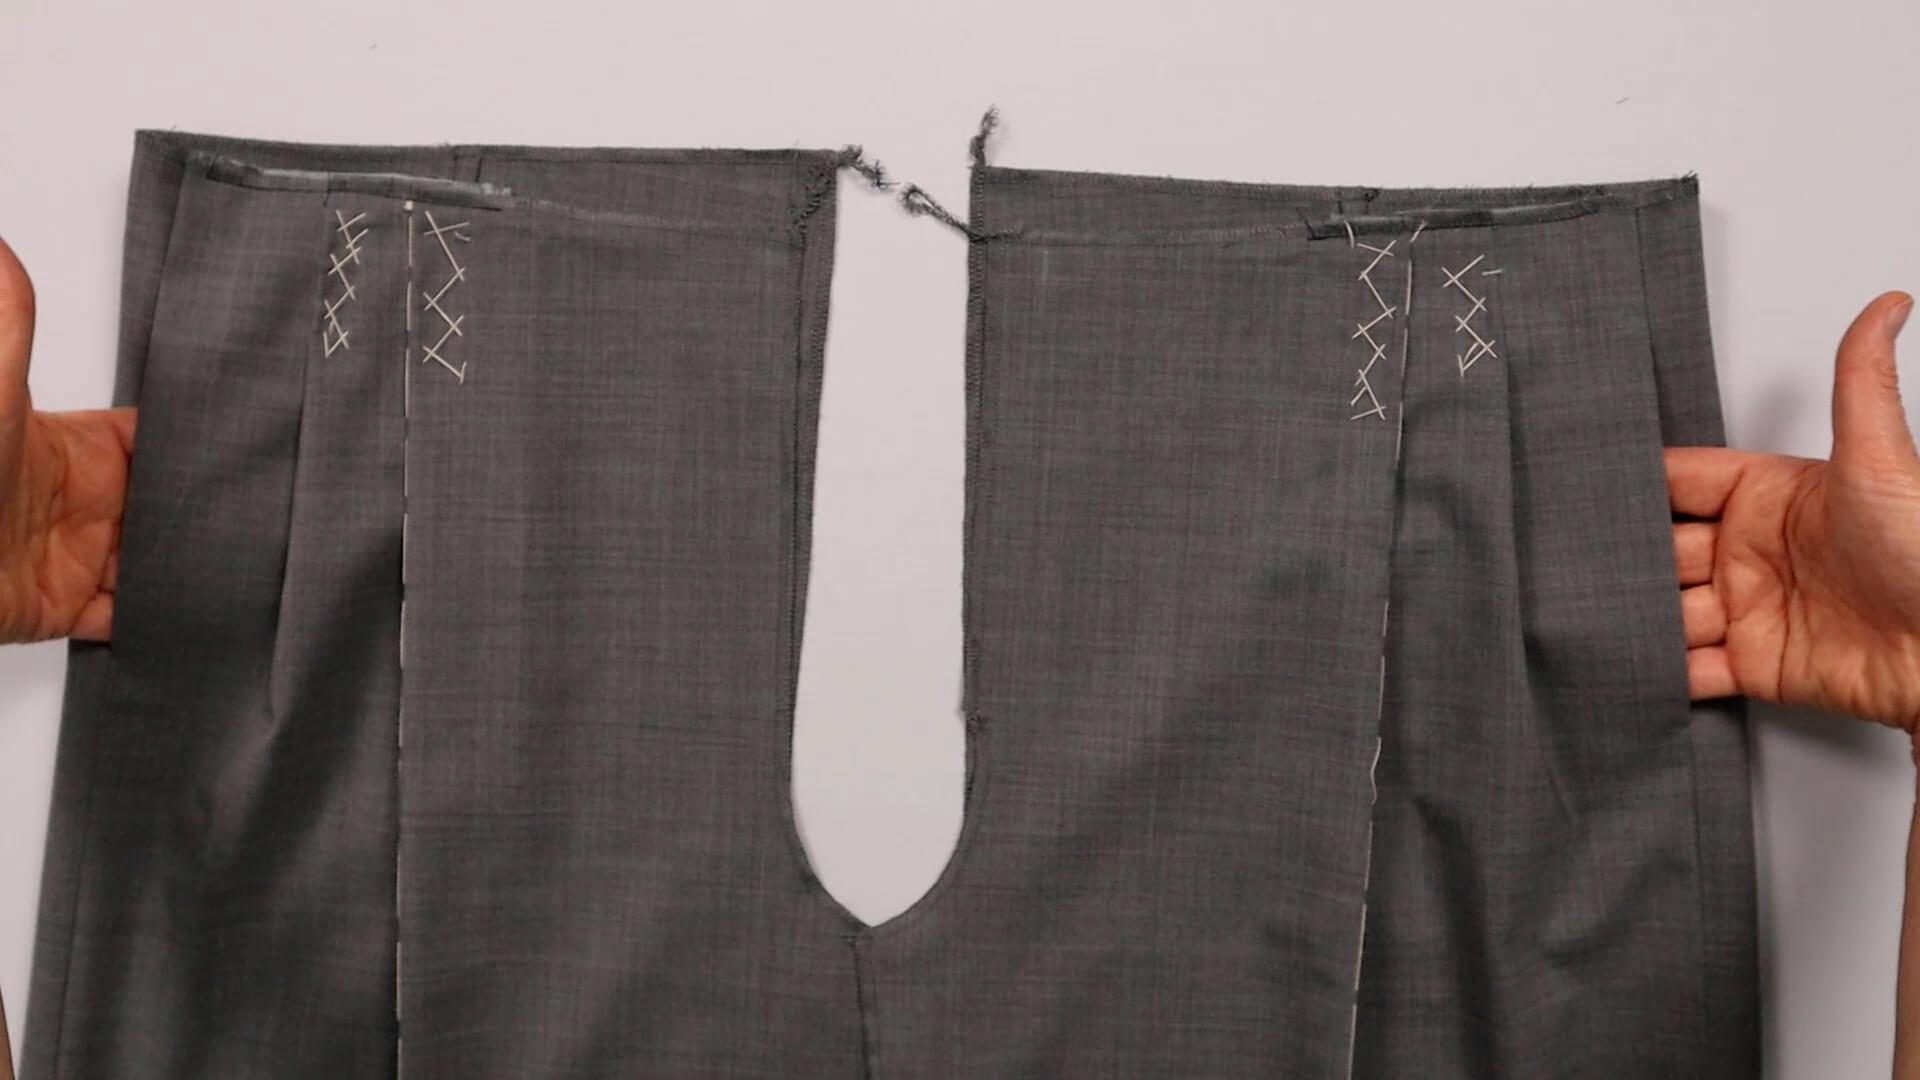
And this is what your two trouser legs look like with the finished inseam pockets.
Here you will find the links to the next step:
- Sew leg seams and turnup hem #BE03
- Sew leg seams and blind hem #BE04
- Sew leg seams and topstiched hem #BE05
If you’re not quite ready yet and perhaps want to start at the beginning, you’ll find some links here:


