
Loading cart contents...


Sewing a Hem Detail with Button Fastening #S03
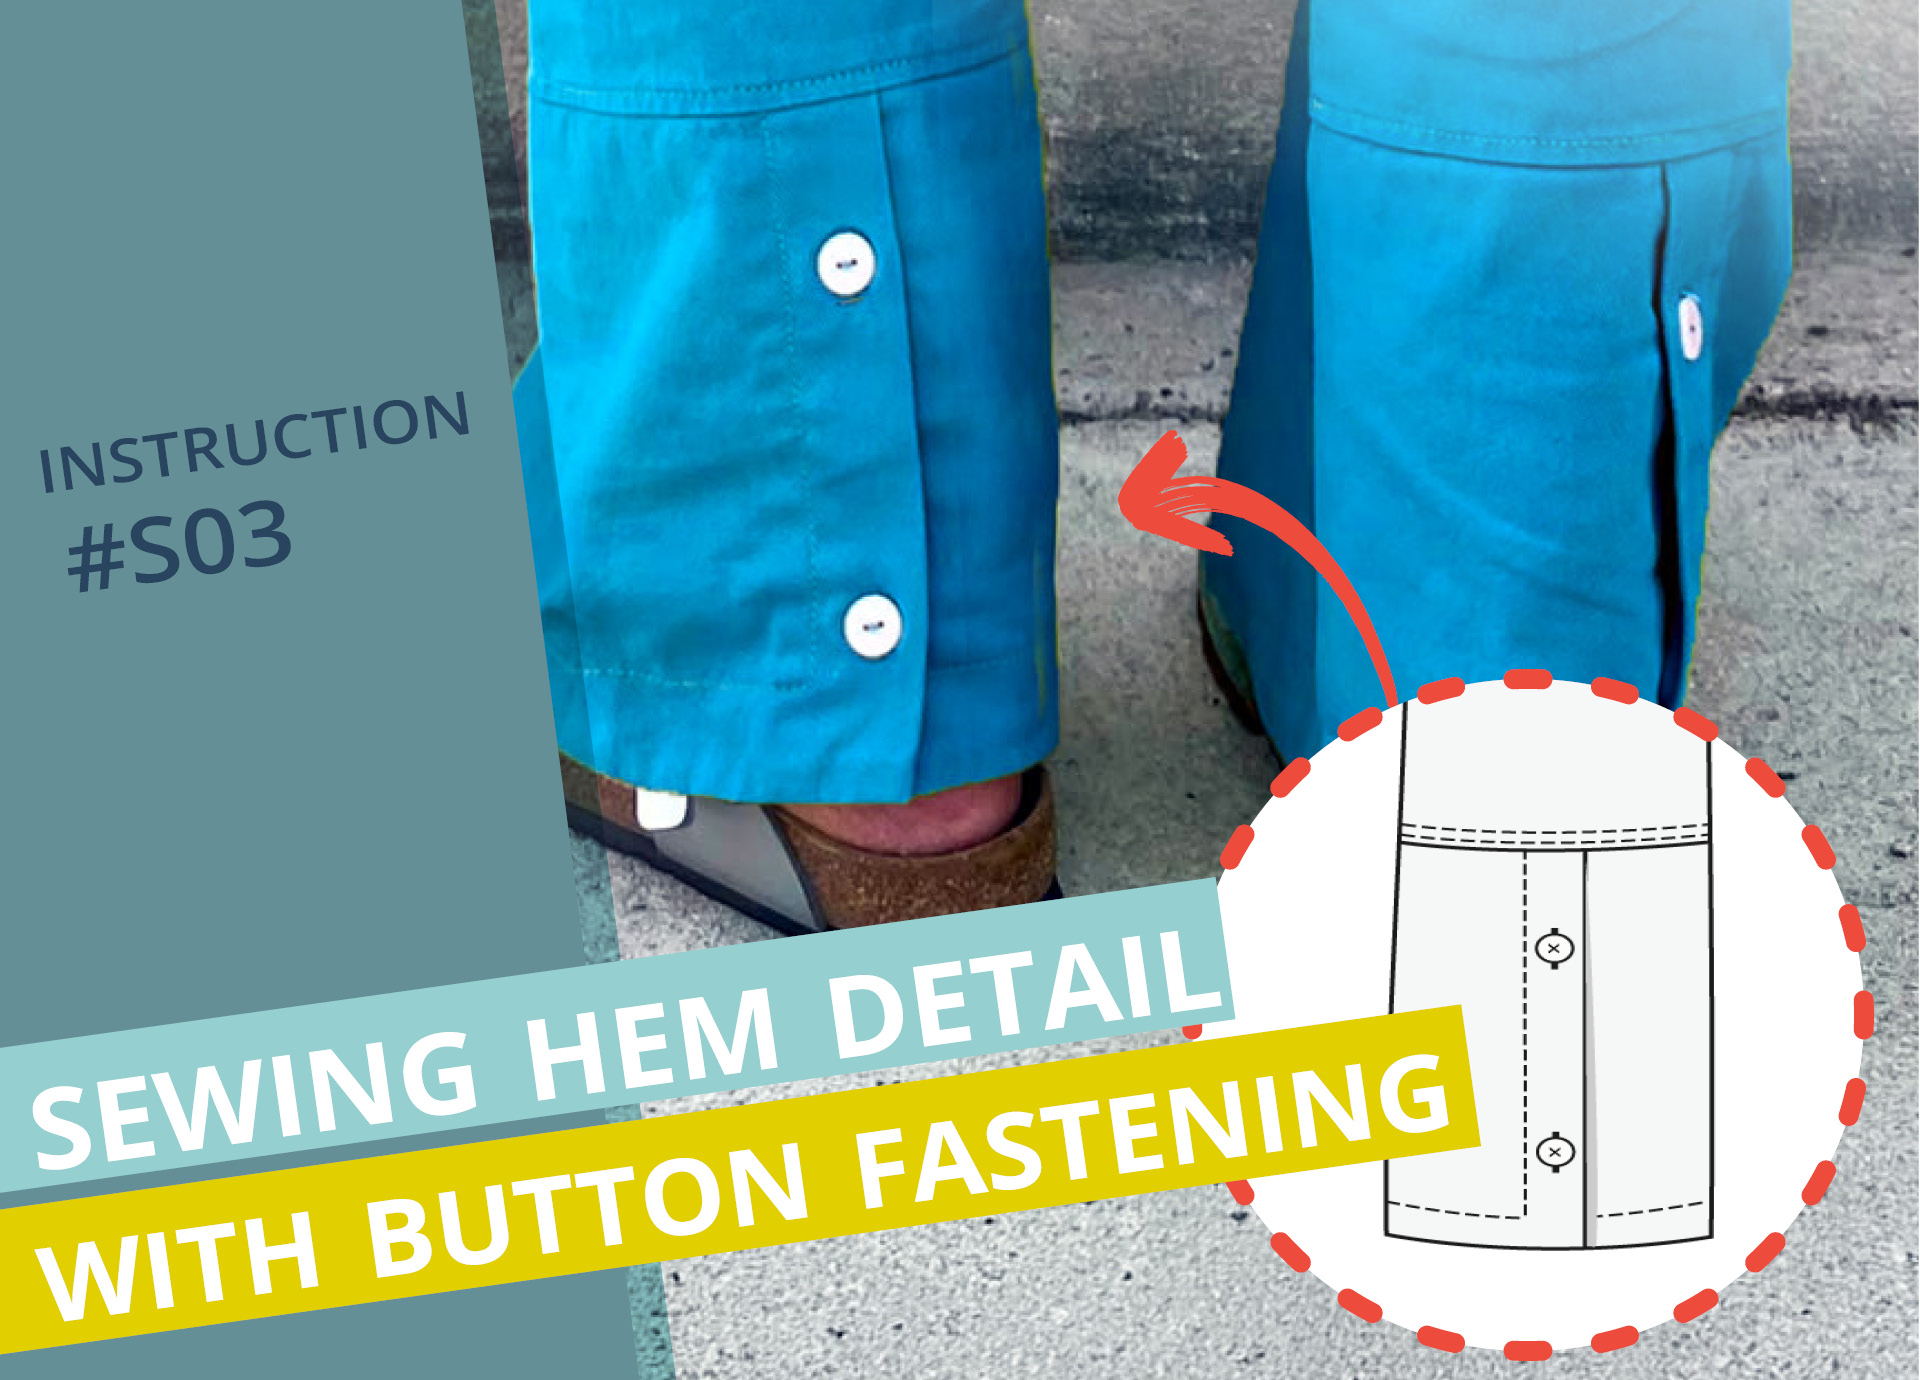
In this tutorial, I’ll show you step by step how to sew a hem detail with optional button fastening onto a pair of trousers. A separate hem band is attached to each trouser leg and can be finished with buttons, cufflinks or no fastening at all. As the hem band is finished with a facing on the inside, it can also be turned up and secured with cufflinks if desired. Using a contrasting fabric for the facing is a great way to make the hem detail stand out.
Have fun sewing!
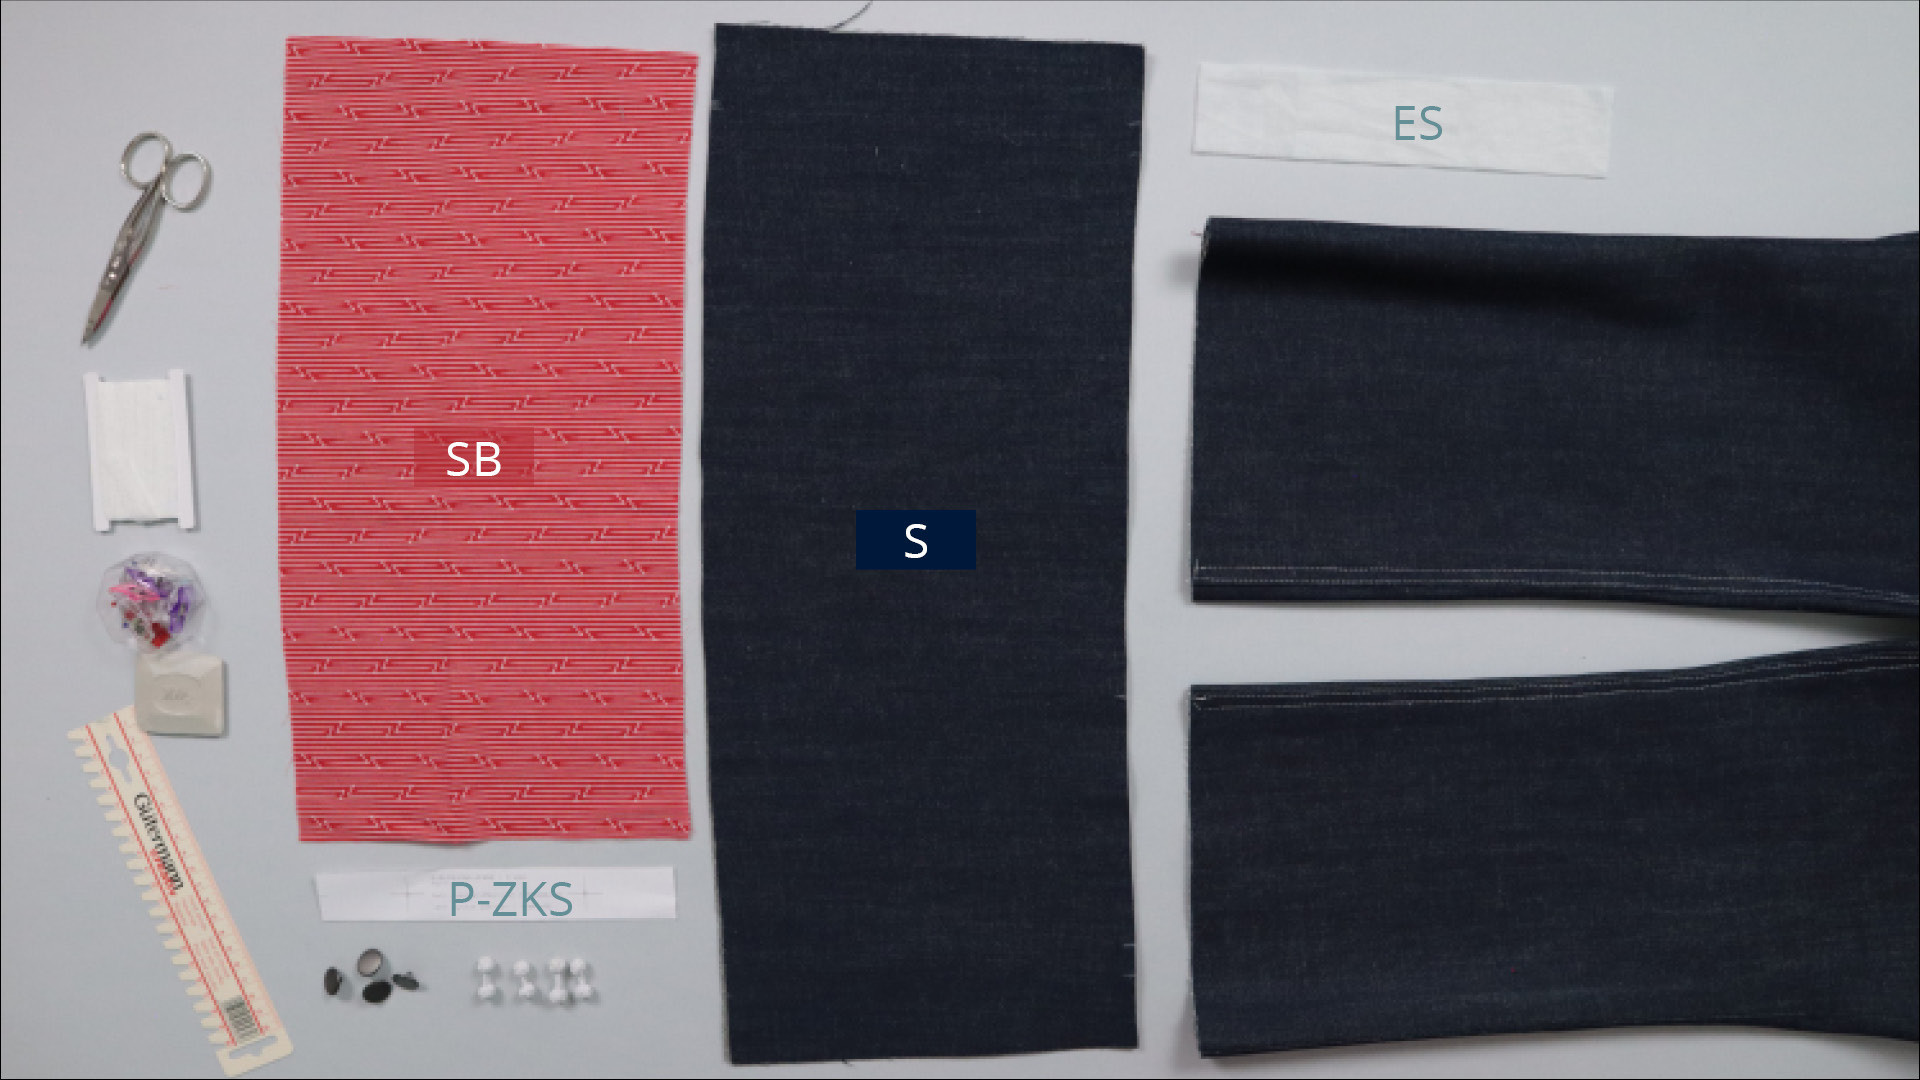
Pattern pieces made from main fabric:
- Hem (S) – 1 pair
Pattern pieces made from lining fabric:
- Hem facing (SB) – 1 pair
Paper pattern pieces:
- Button Position Template (P-SK)
Pattern pieces from interfacing:
- Hem vent (ES) – 1 pair
Additional materials:
- If the hem is not to be turned up: 4 buttons, approx. 15 – 17 mm diameter
- If you want to turn up the hem (optional): 4 pairs of cufflinks or cuff knots
- Bias tape, such as Vlieseline T12
Tools and aids:
- Pins or clips
- Chalk or marker pen
- Hand measure or ruler
- Scissors
2. Reinforce the hem with interfacing
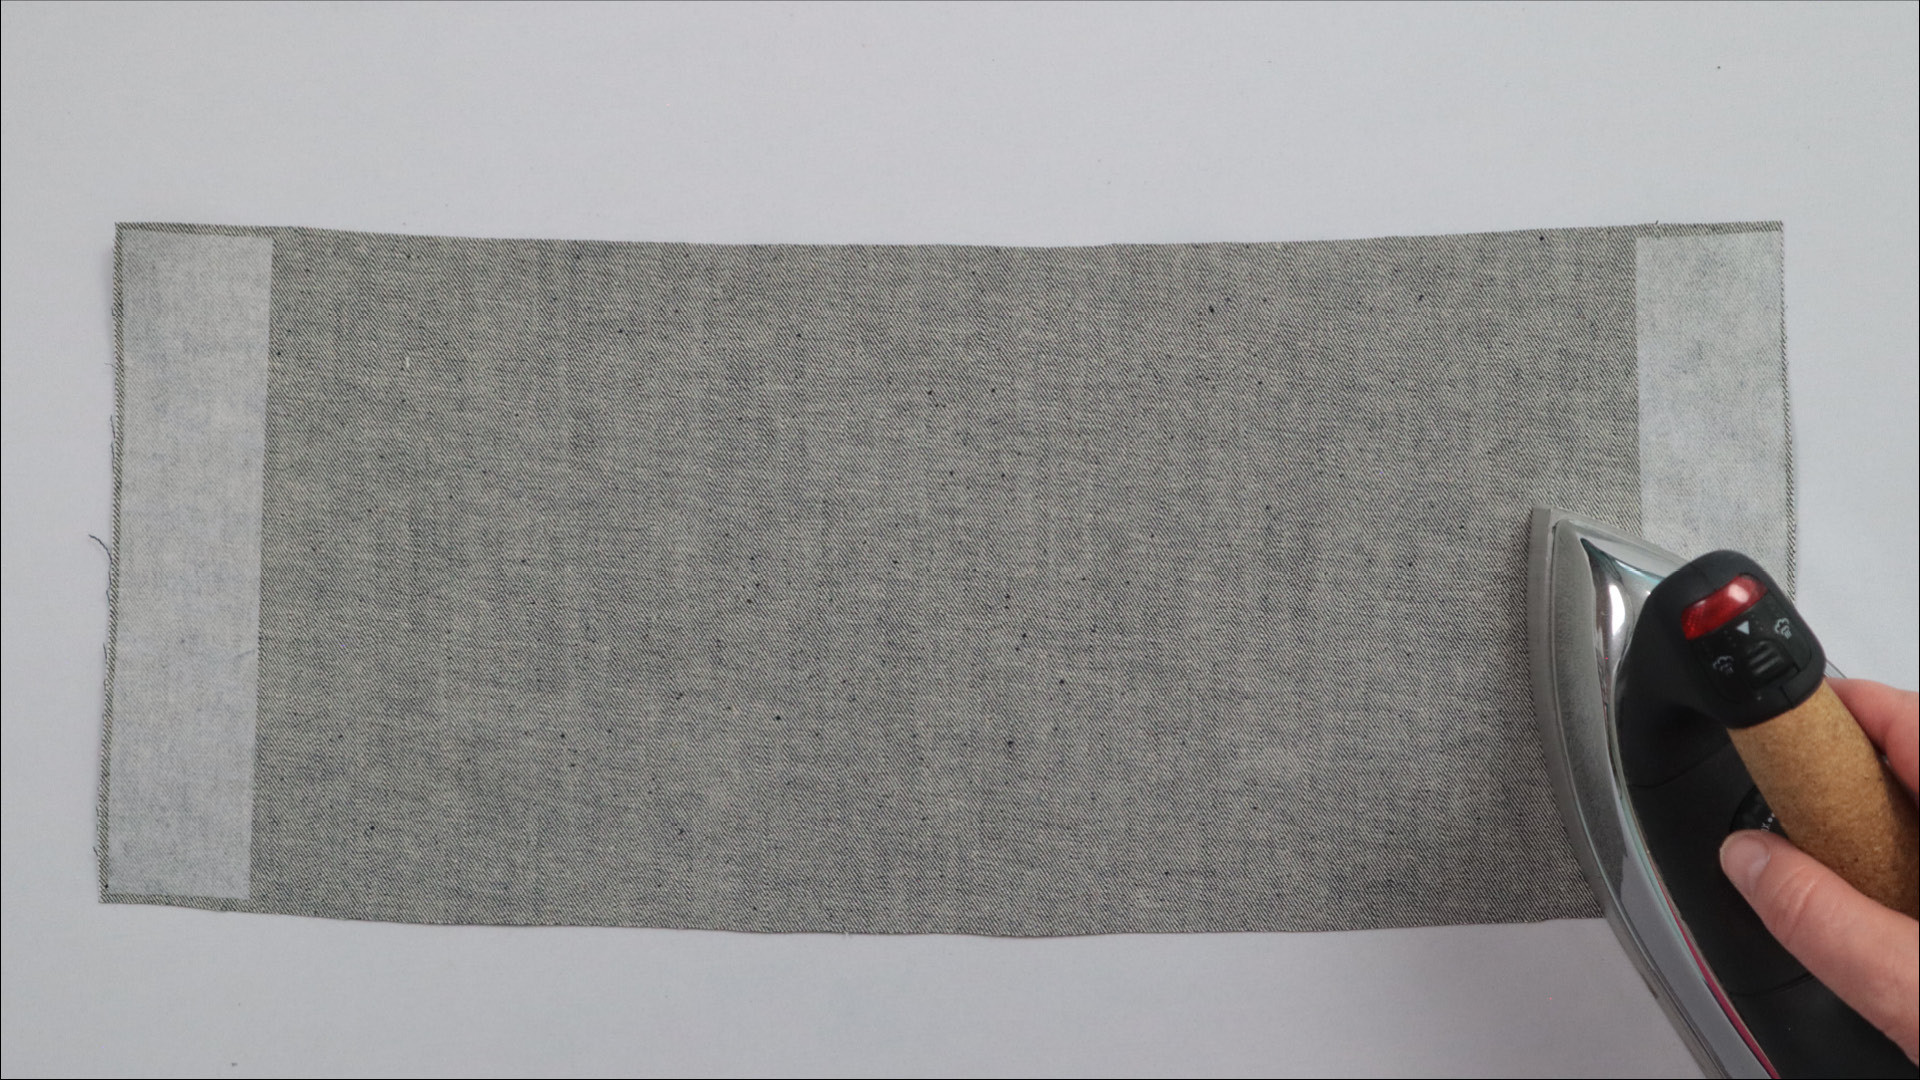
First, I reinforce the hem. To do this, I iron the interfacing strips for the slit onto the wrong side of the fabric along the short edges on the right and left.
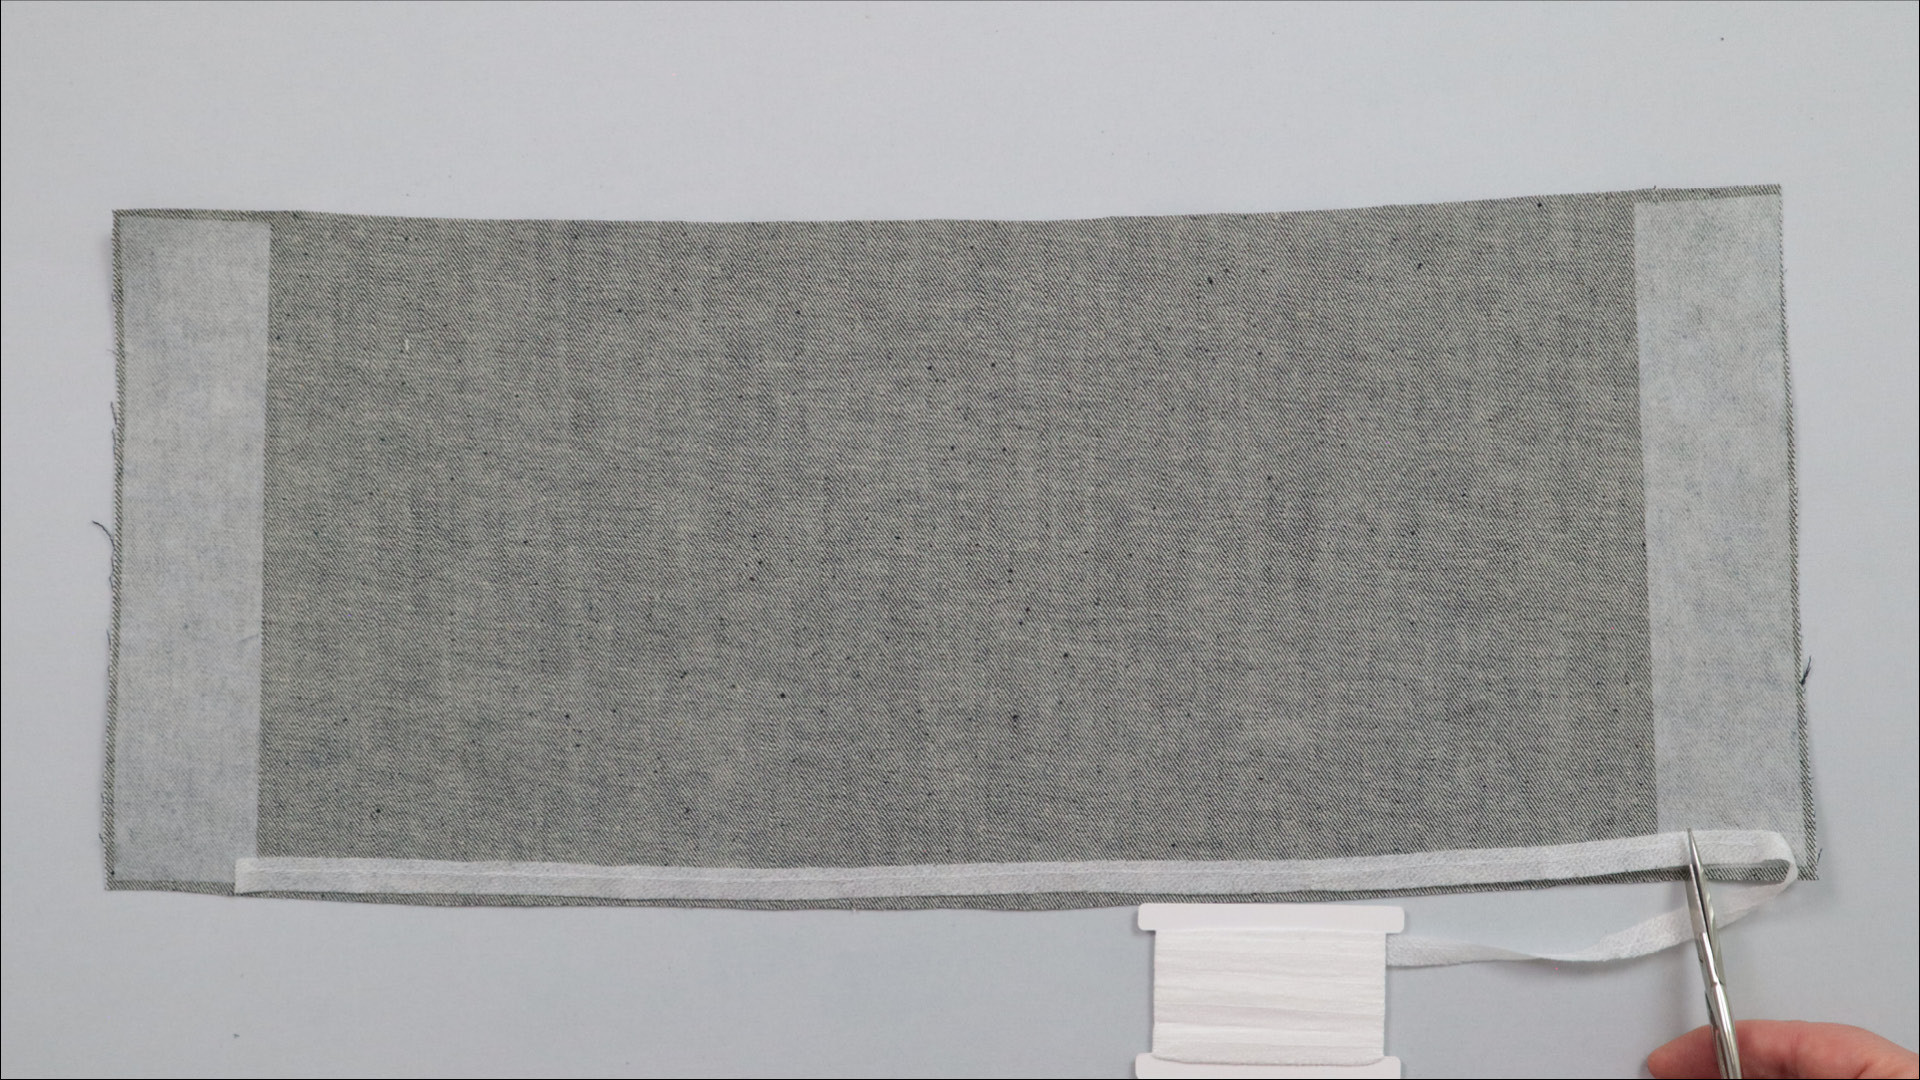
For the bottom edge, I cut a piece of bias tape that overlaps the interfacing by about 1 cm on each side, and iron it on.
For reference: There are two notches on each side of the top edge, and only one on each side of the bottom edge. The top corners are also slightly angled.
3. Sew the hem facing
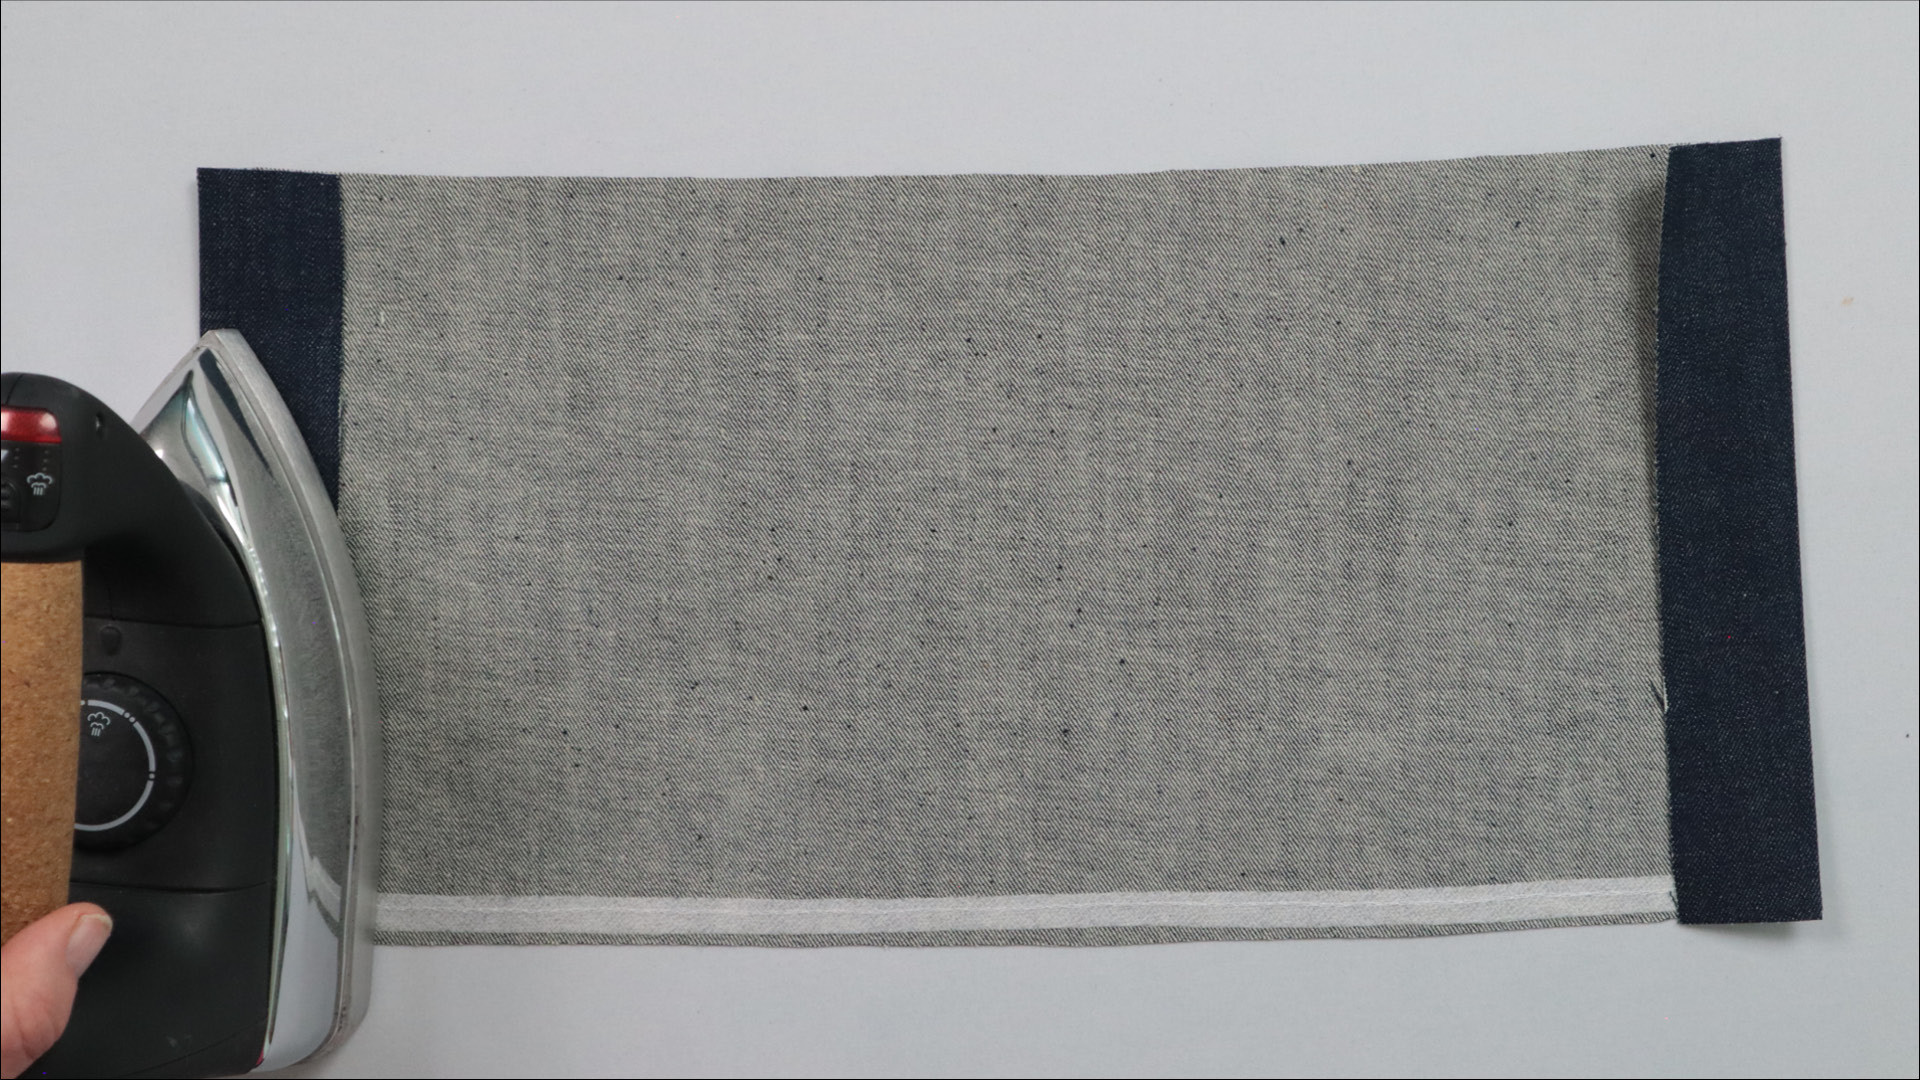
First, I fold the side edges at the outer notches, right sides together, and press the folded edges.
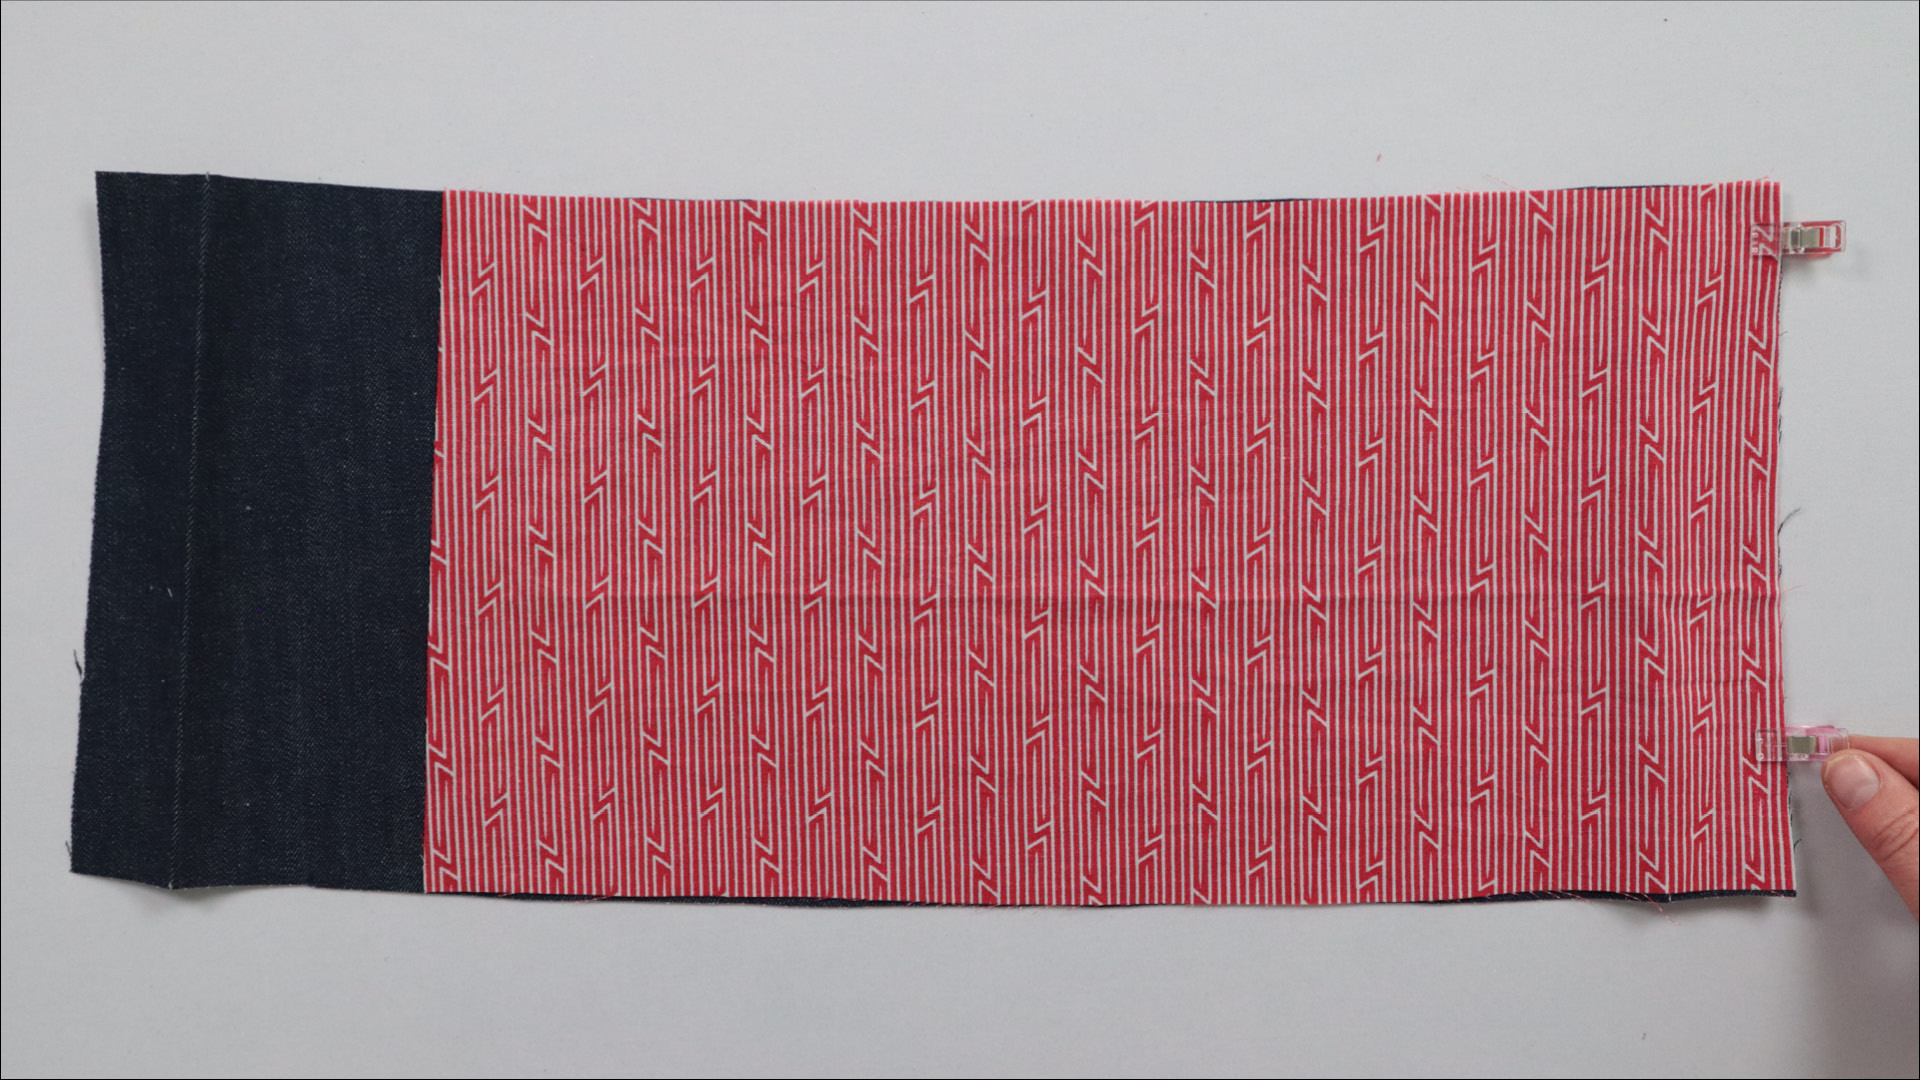
Then I unfold the edges and pin the hem facing to the hem, right sides together, along the sides.
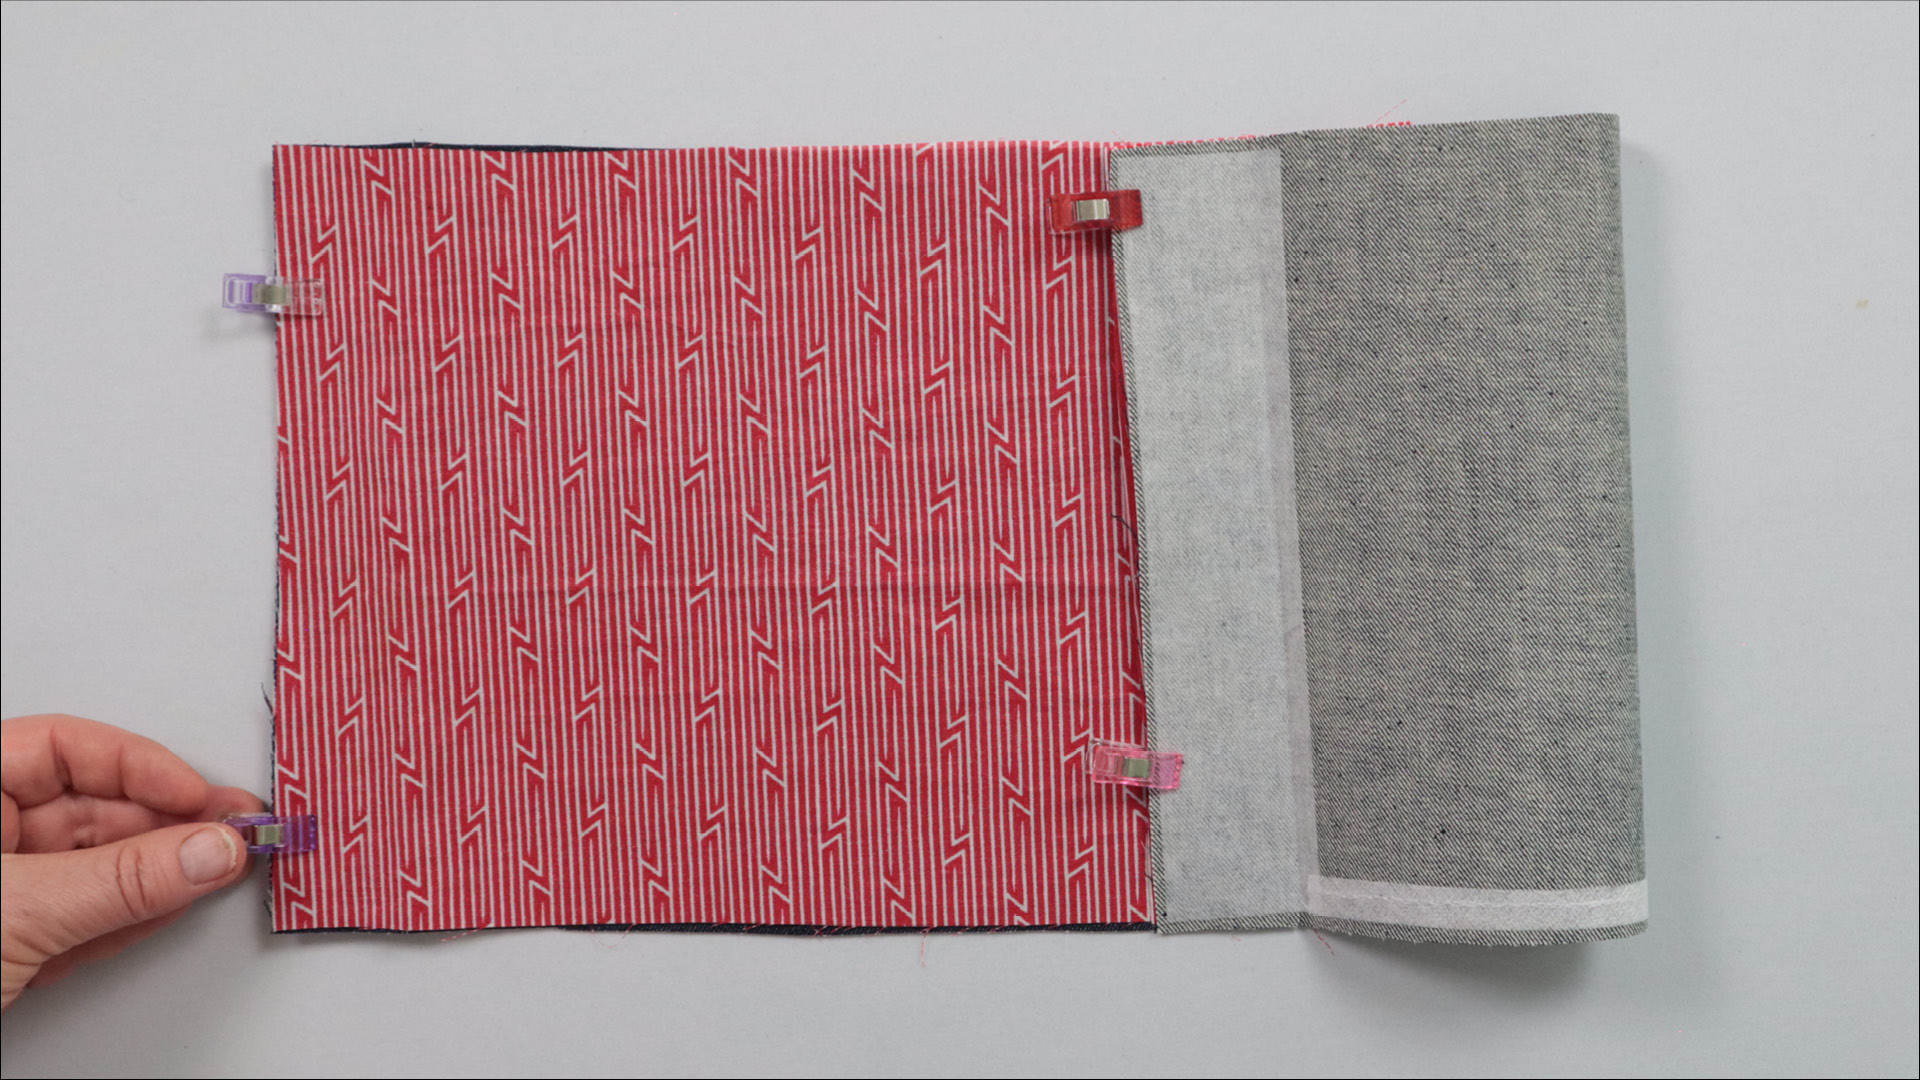
As the hem facing is narrower than the main fabric piece, you’ll need to pull it across slightly to align the edges on the other side as well.
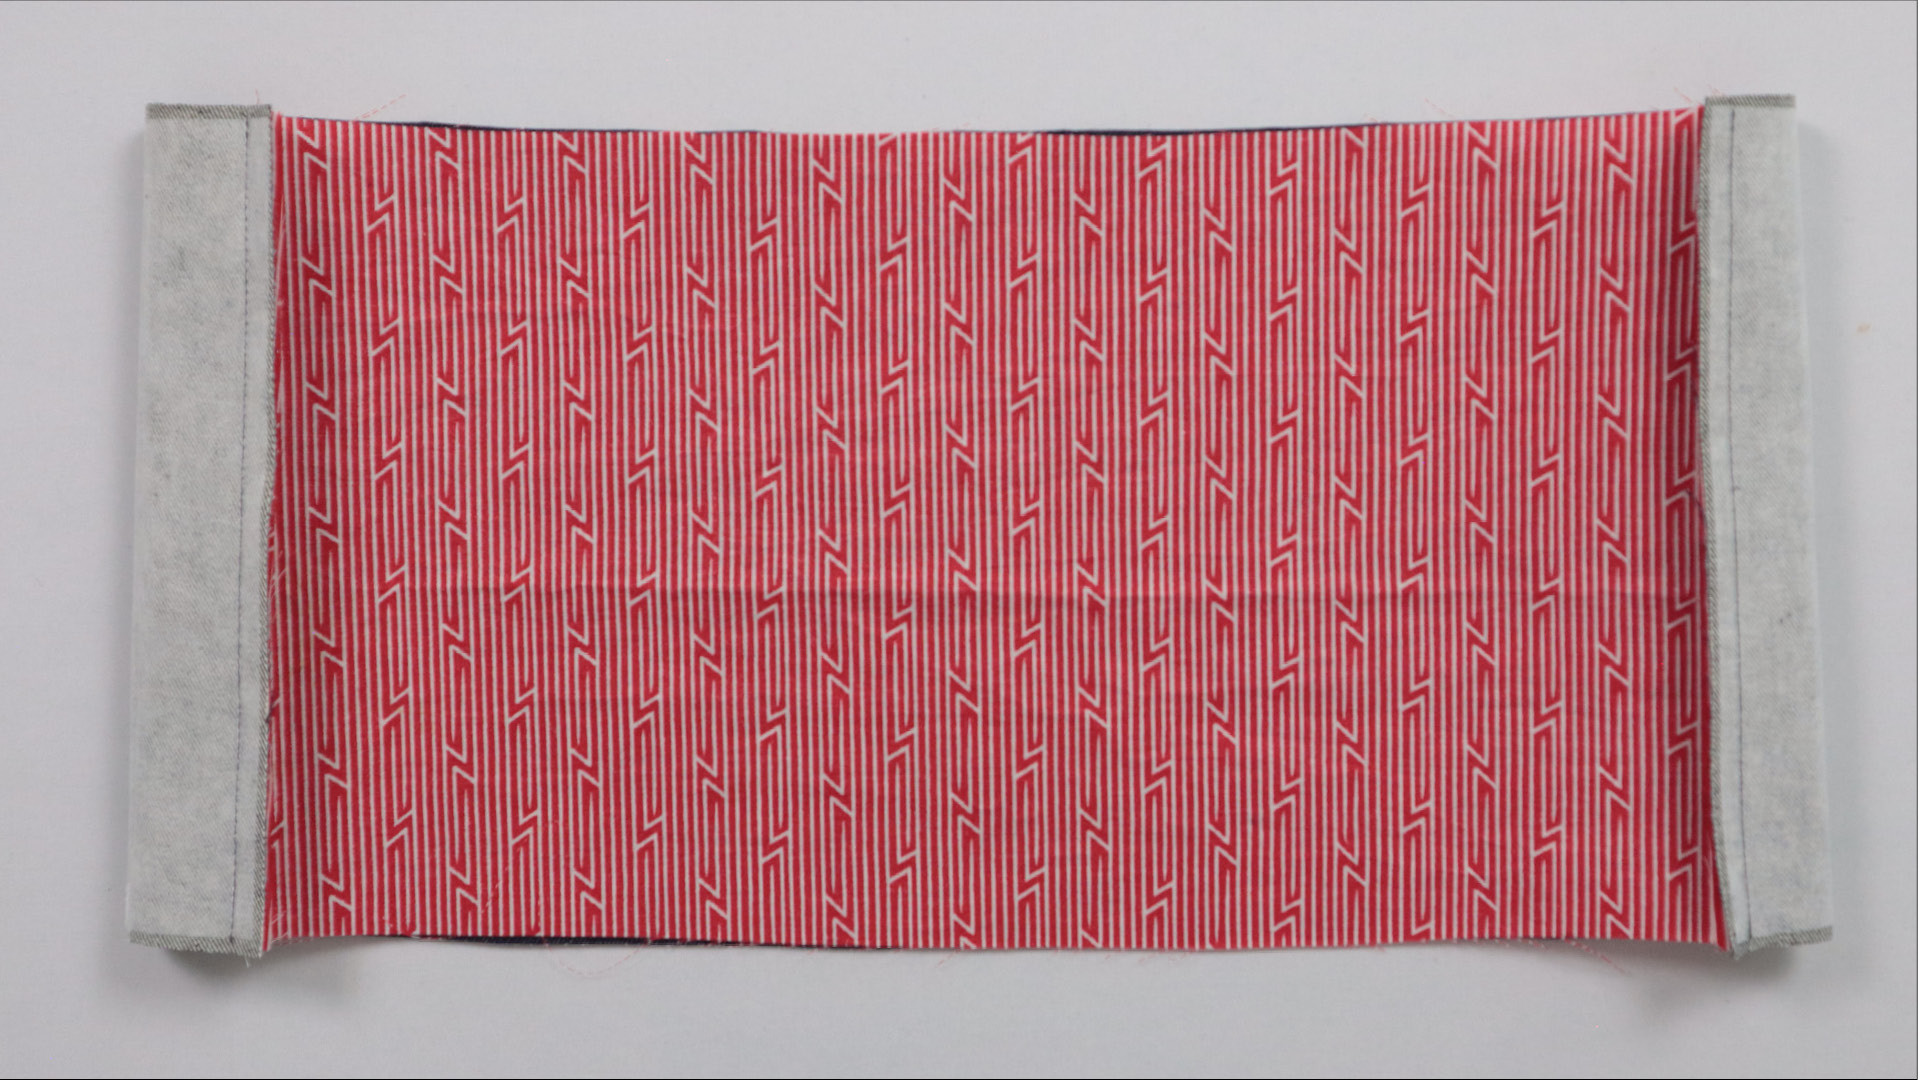
I sew both short edges together with a 1 cm seam allowance.
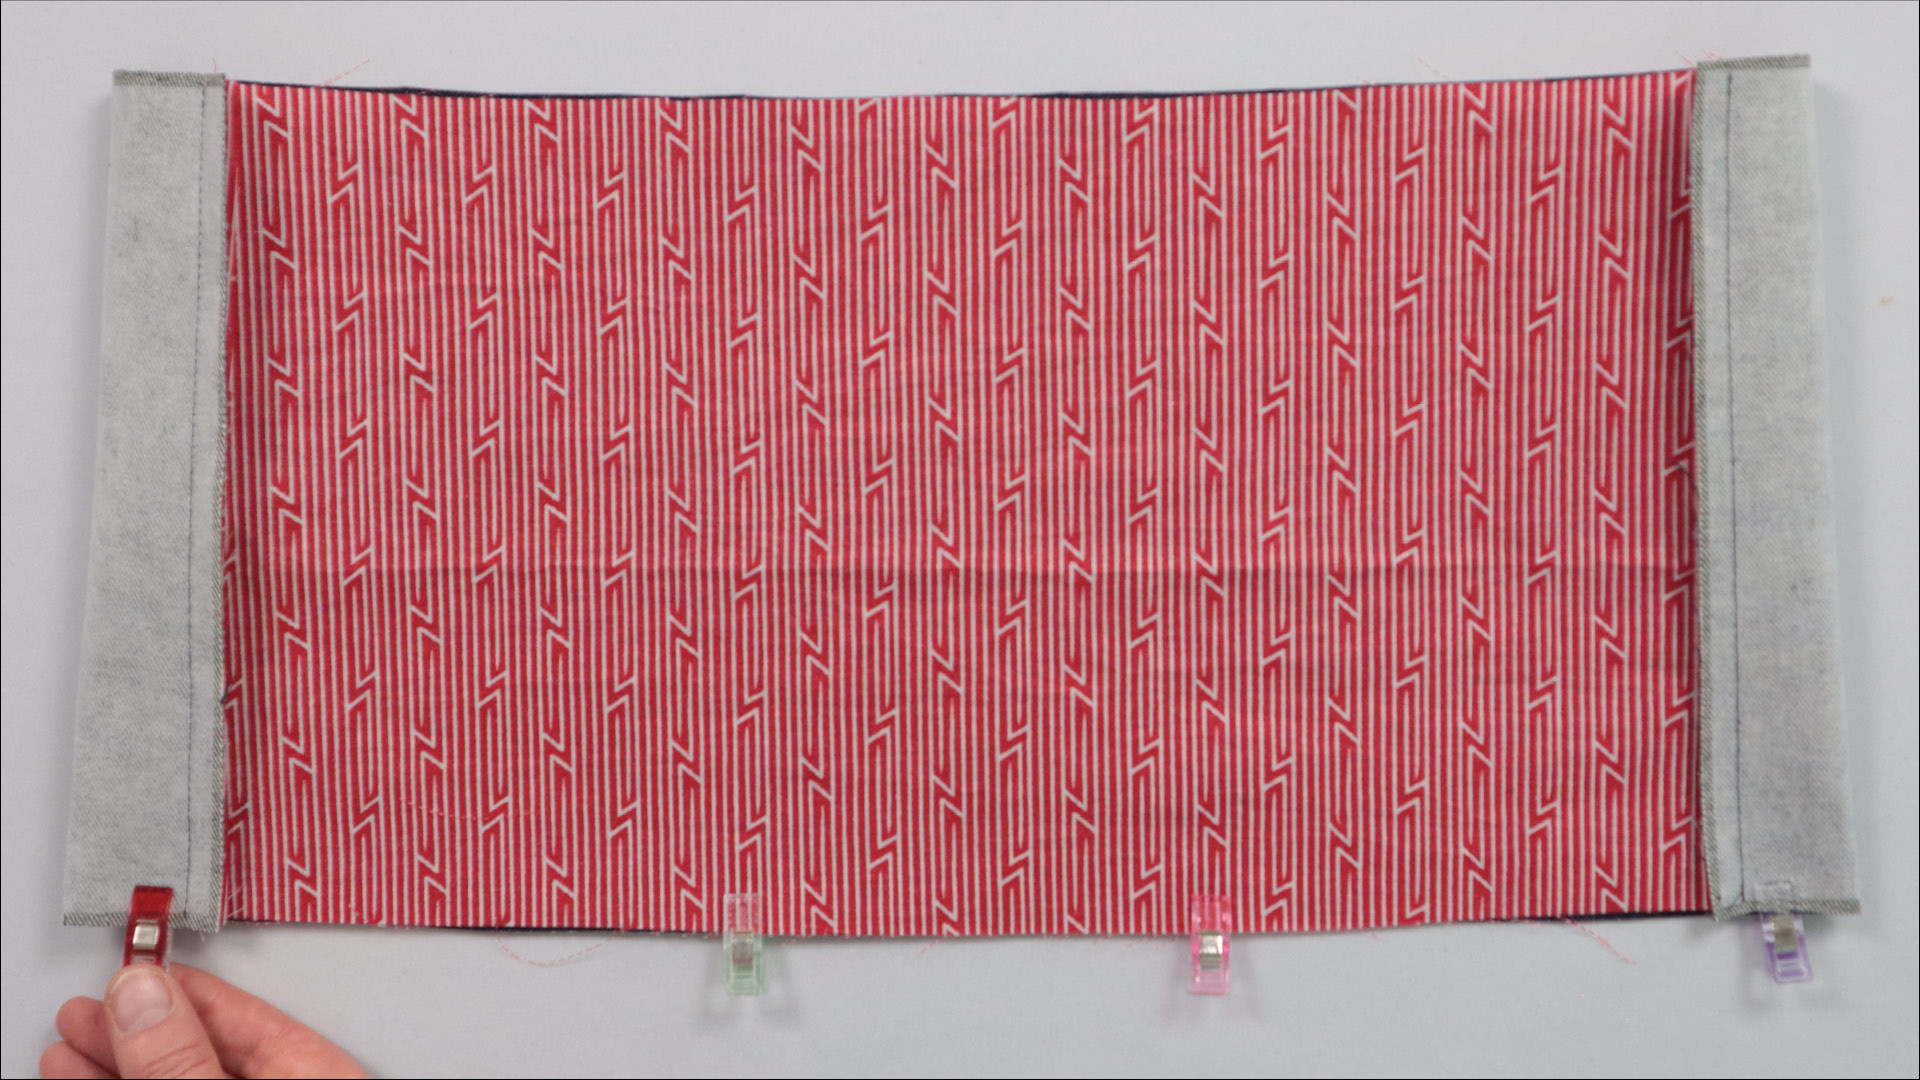
Then I pin the bottom edges together, right sides facing, making sure that the outer fabric is folded exactly along the fold line.
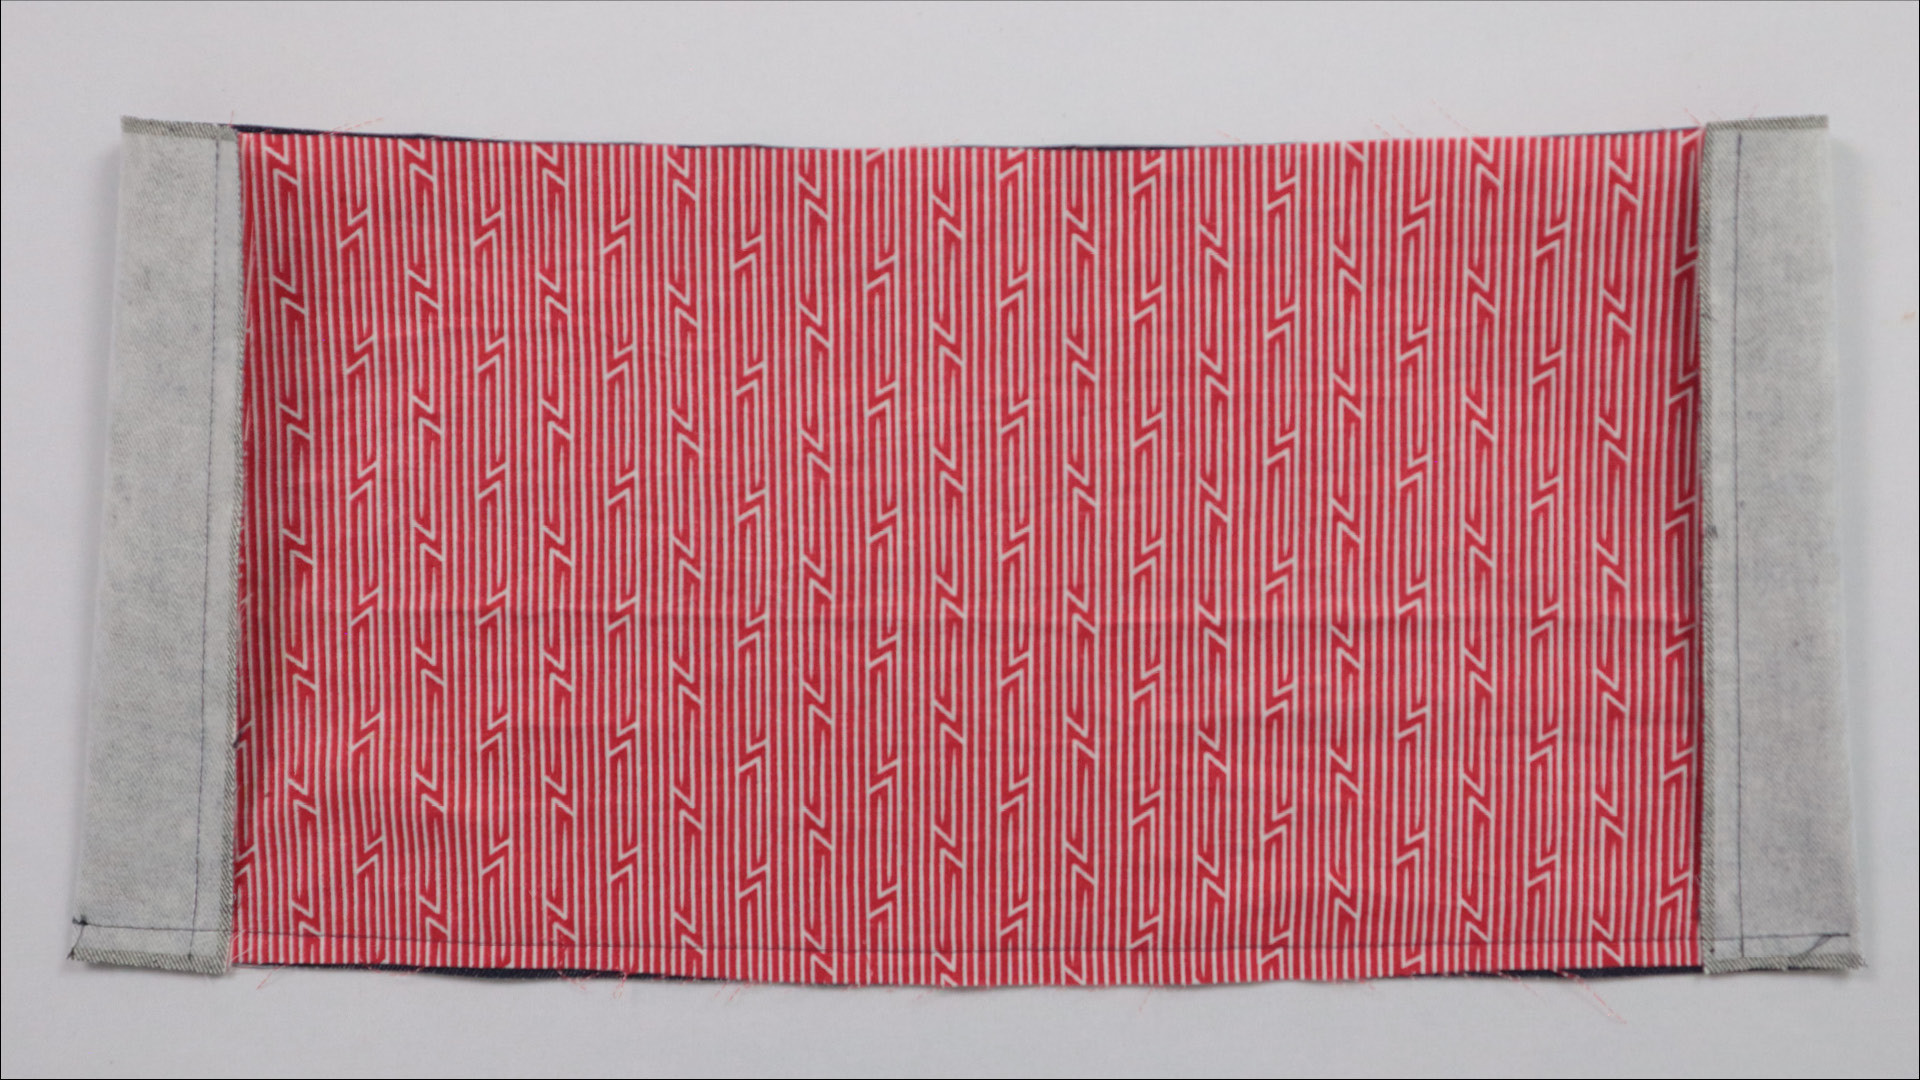
I sew the bottom edge along its entire length with a 1 cm seam allowance.
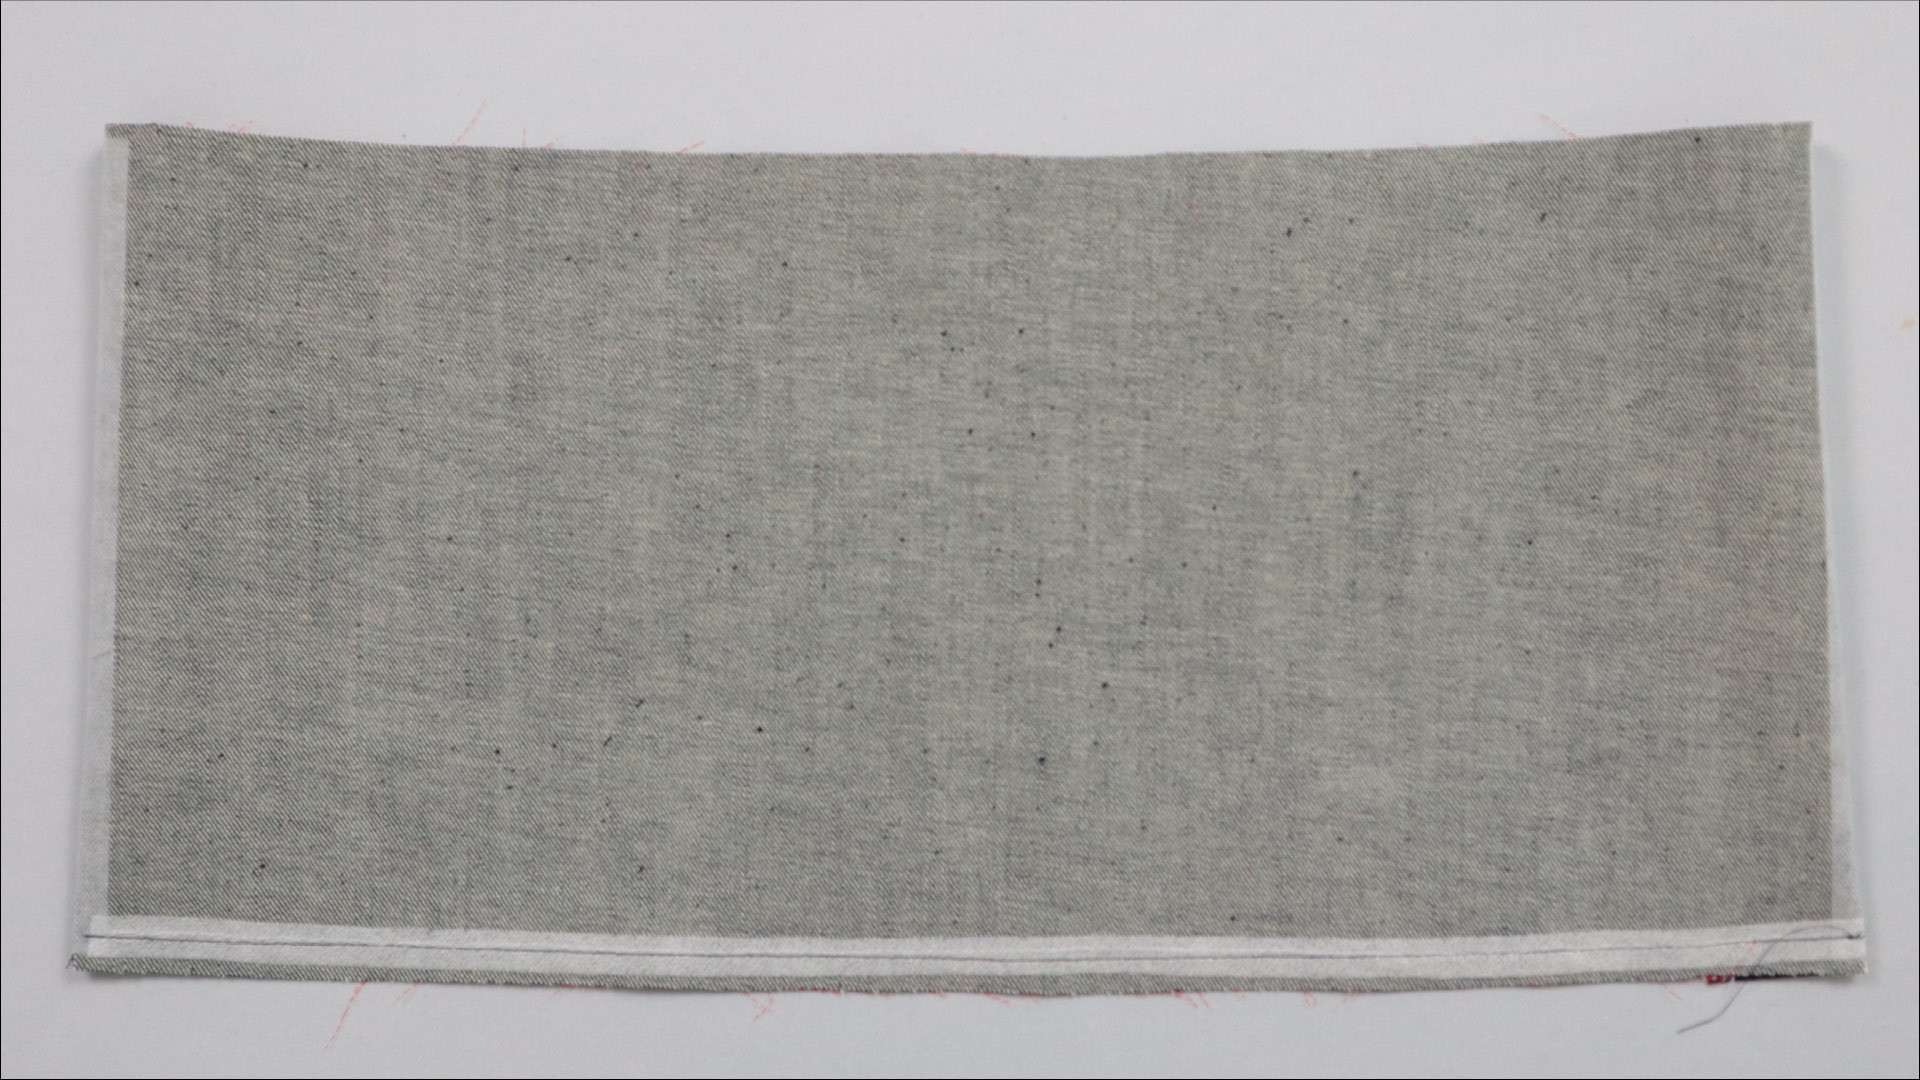
Here you can see the piece again from the other side with the iron-on interfacing that stabilizes the seam.
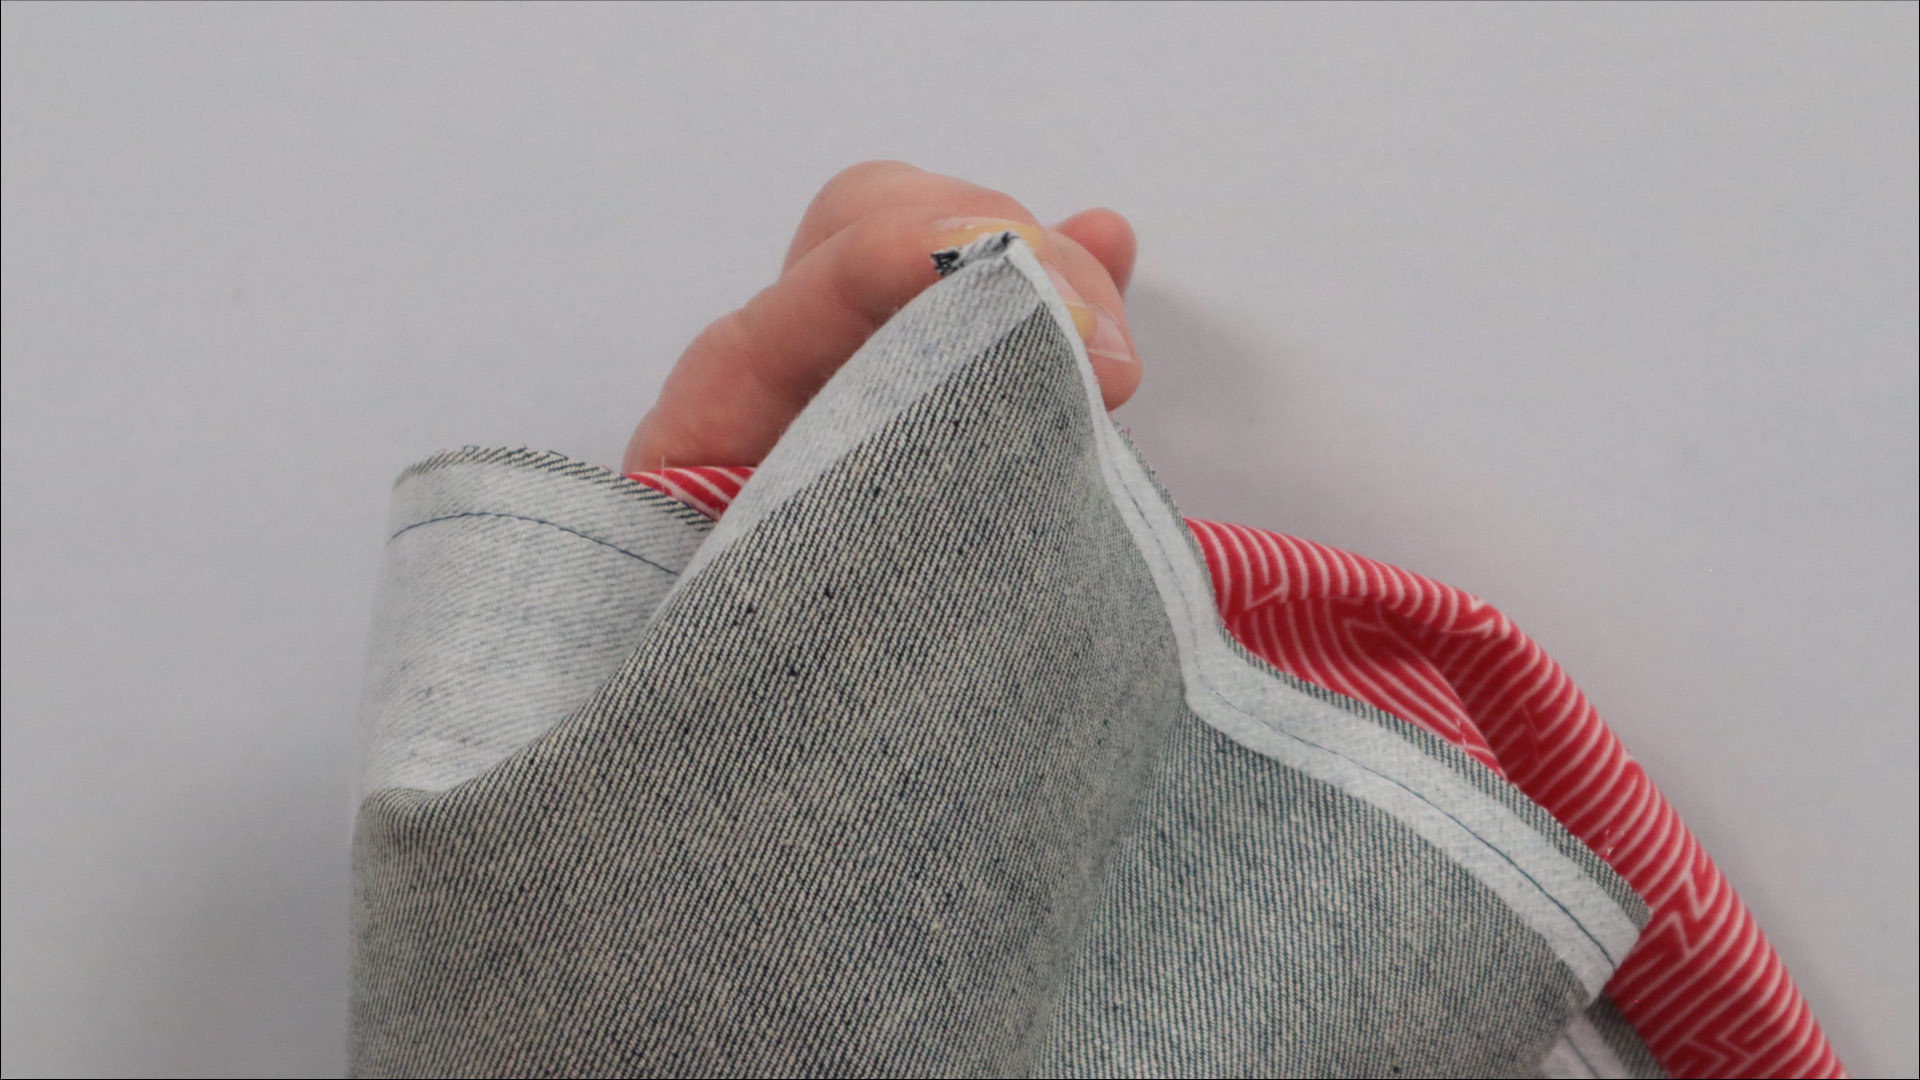
Then I fold the seam allowances over one another at the bottom corner, making sure the folds lie exactly along the stitching lines. This helps create a neat corner when turning the hem band right side out.
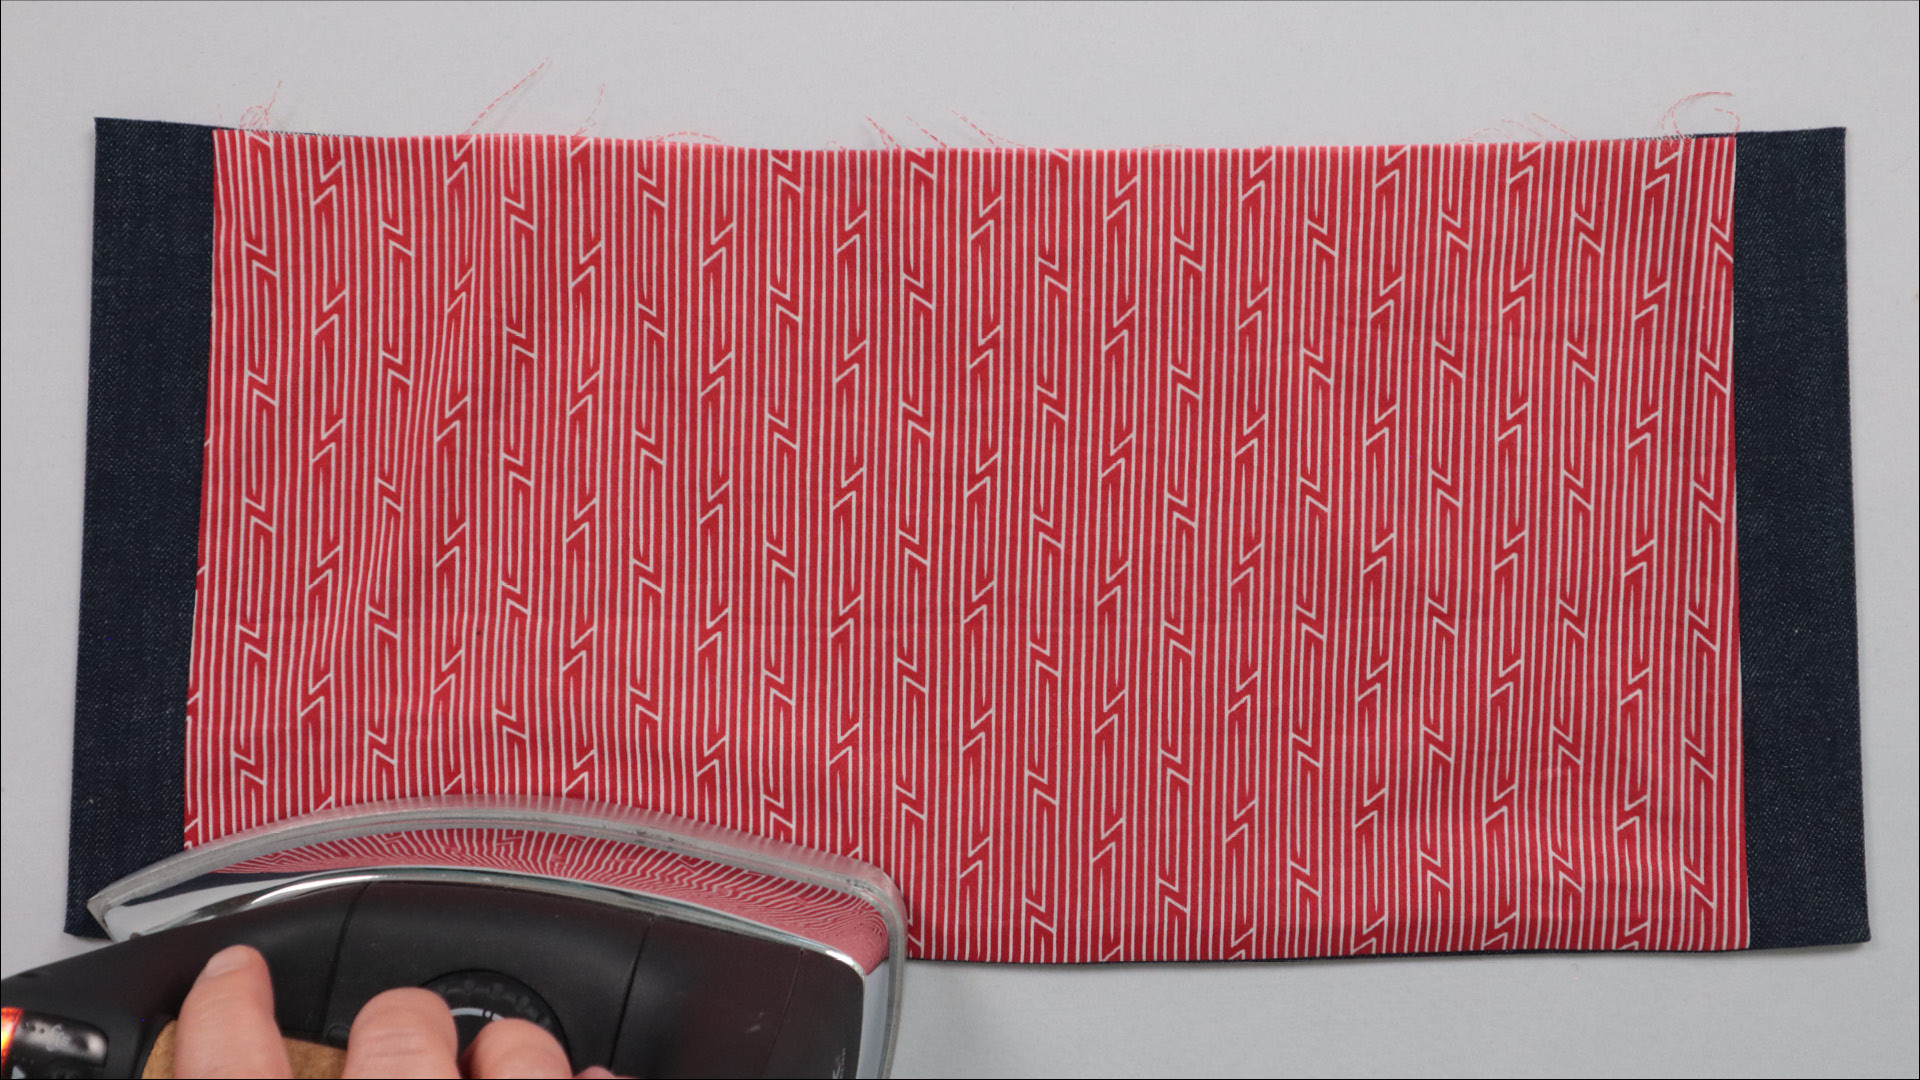
I press the bottom edge, making sure that the hem facing (or lining fabric) is not visible from the right side. I also press the side seams again.
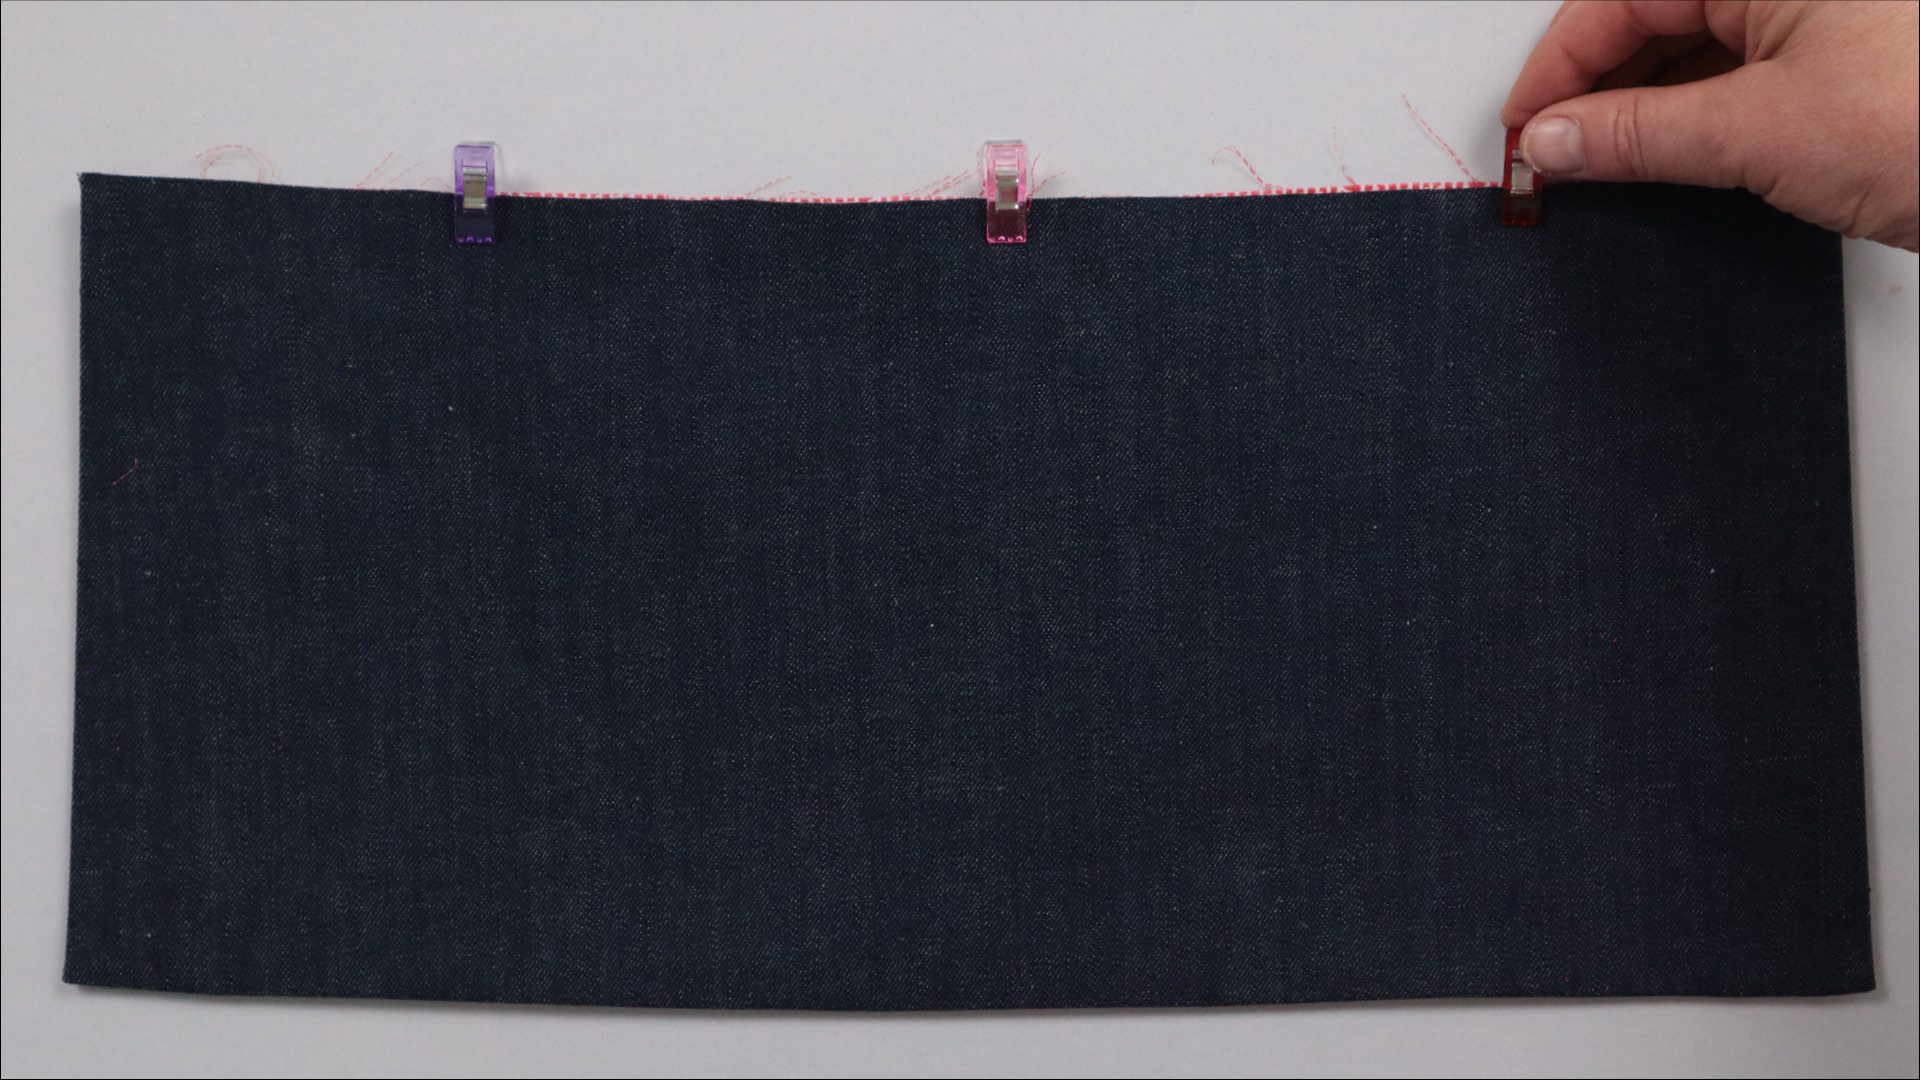
To prevent the layers from shifting during the next steps, I pin them together along the top edge.
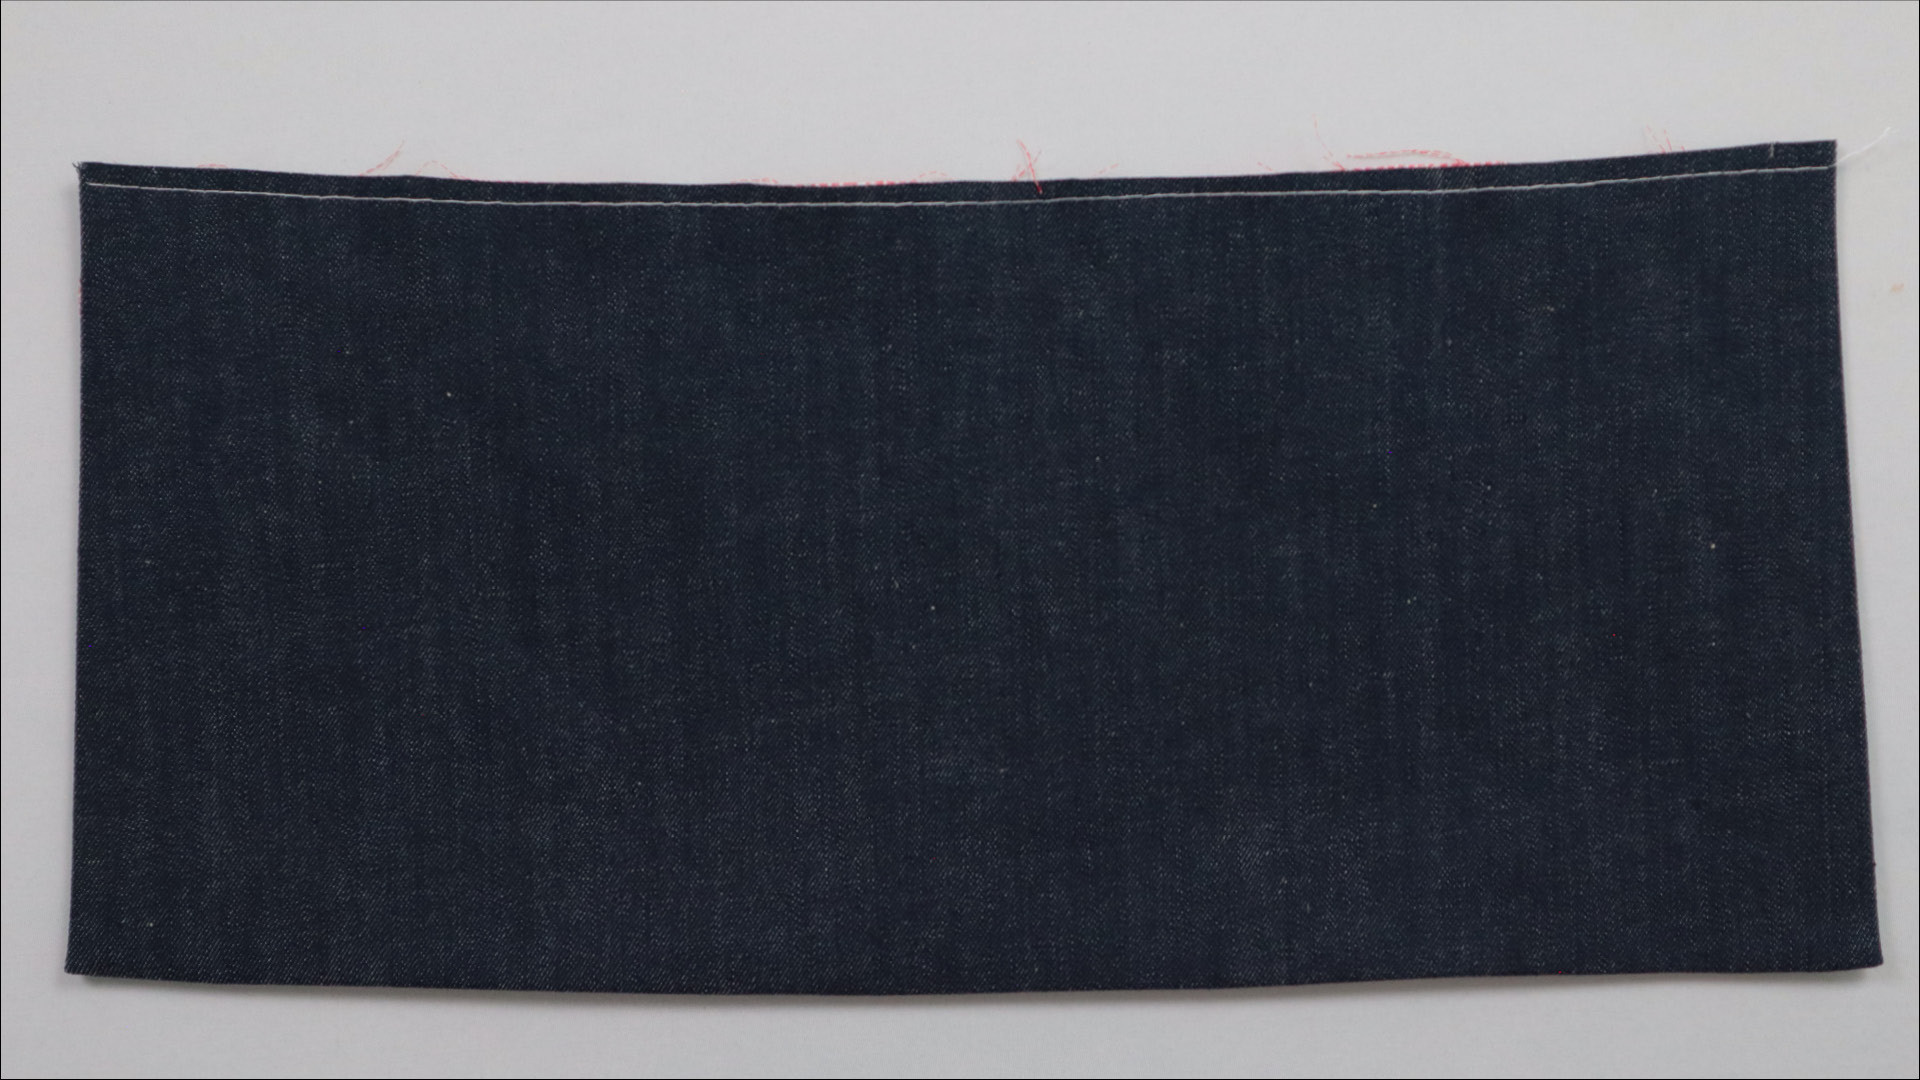
I then tack the two layers together within the seam allowance.
4. Stitch the hem
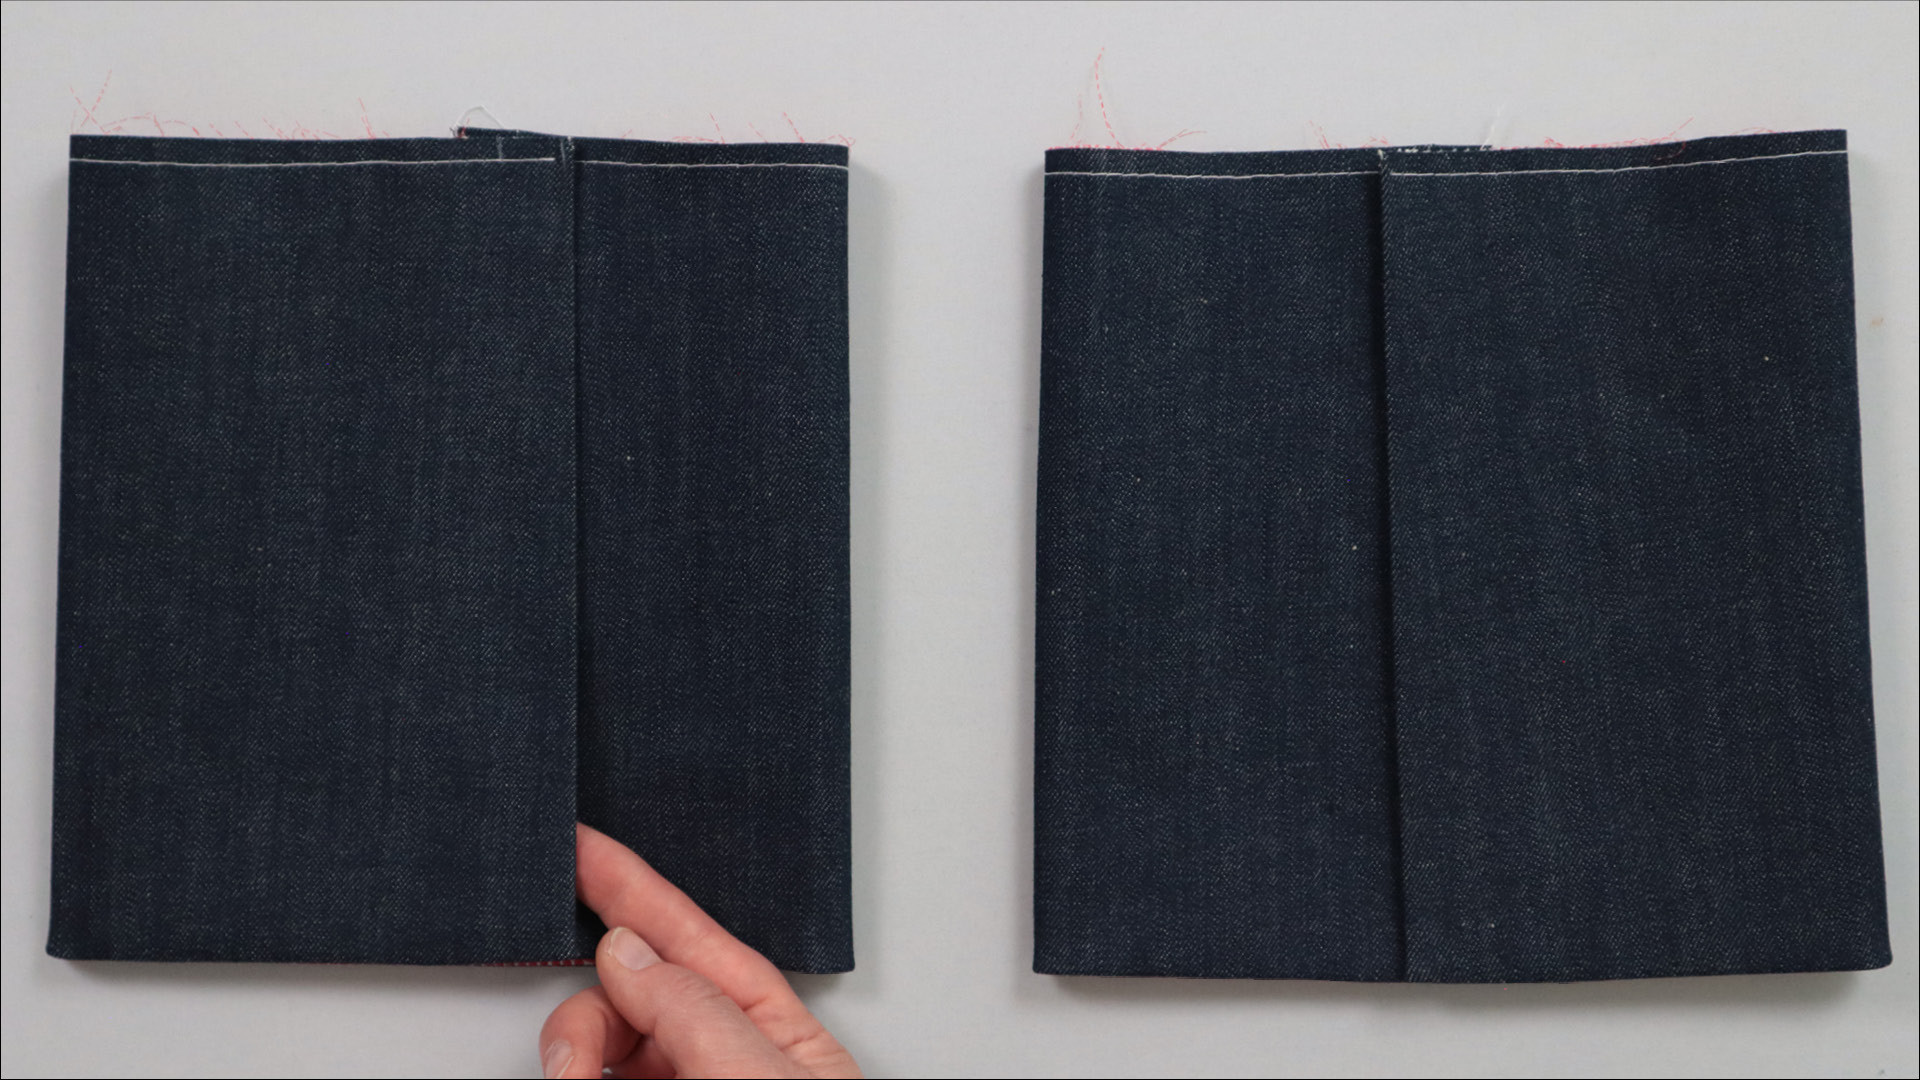
Here you can see the hem pieces laid out as they will look later.
When following the steps below, remember to work on both hem pieces as mirror images!
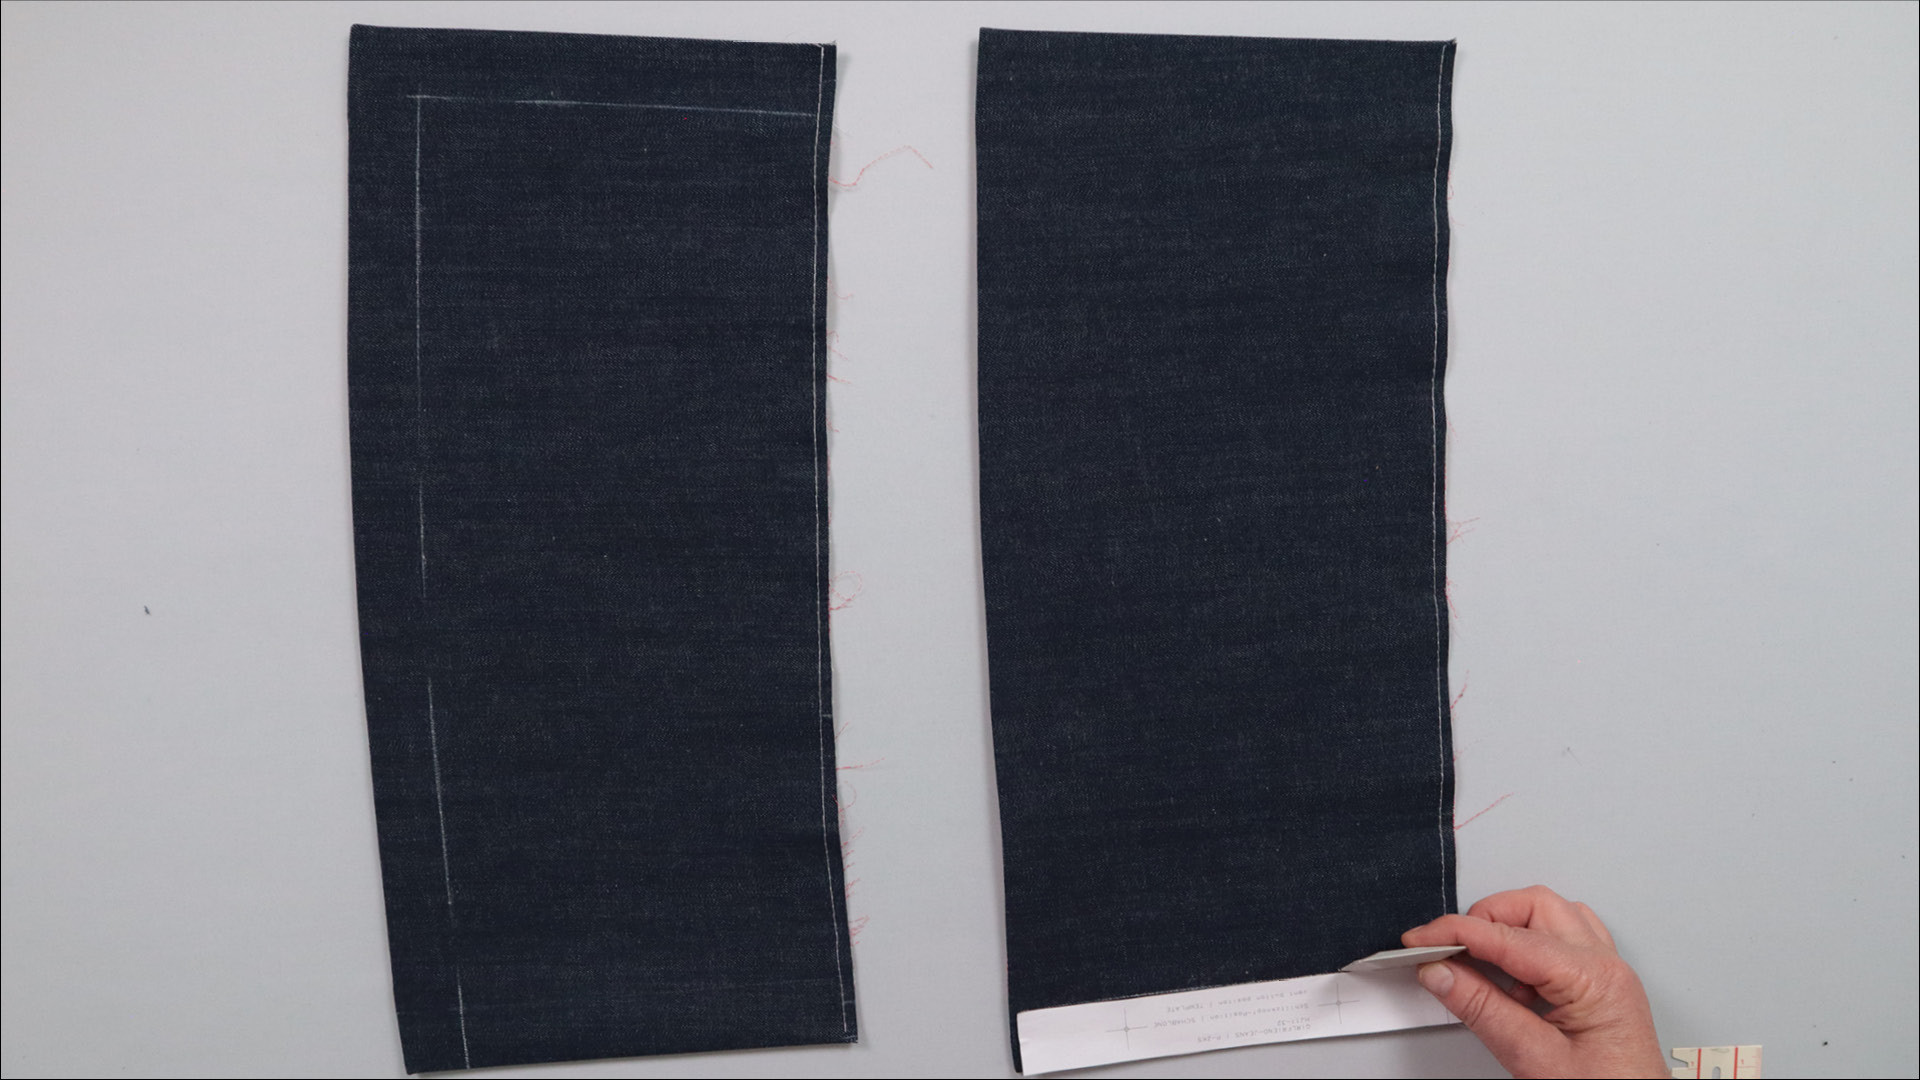
How you stitch the hem pieces is a matter of personal preference. Here, I use the button placement template to mark the width of my stitching along the short edge and the bottom edge.
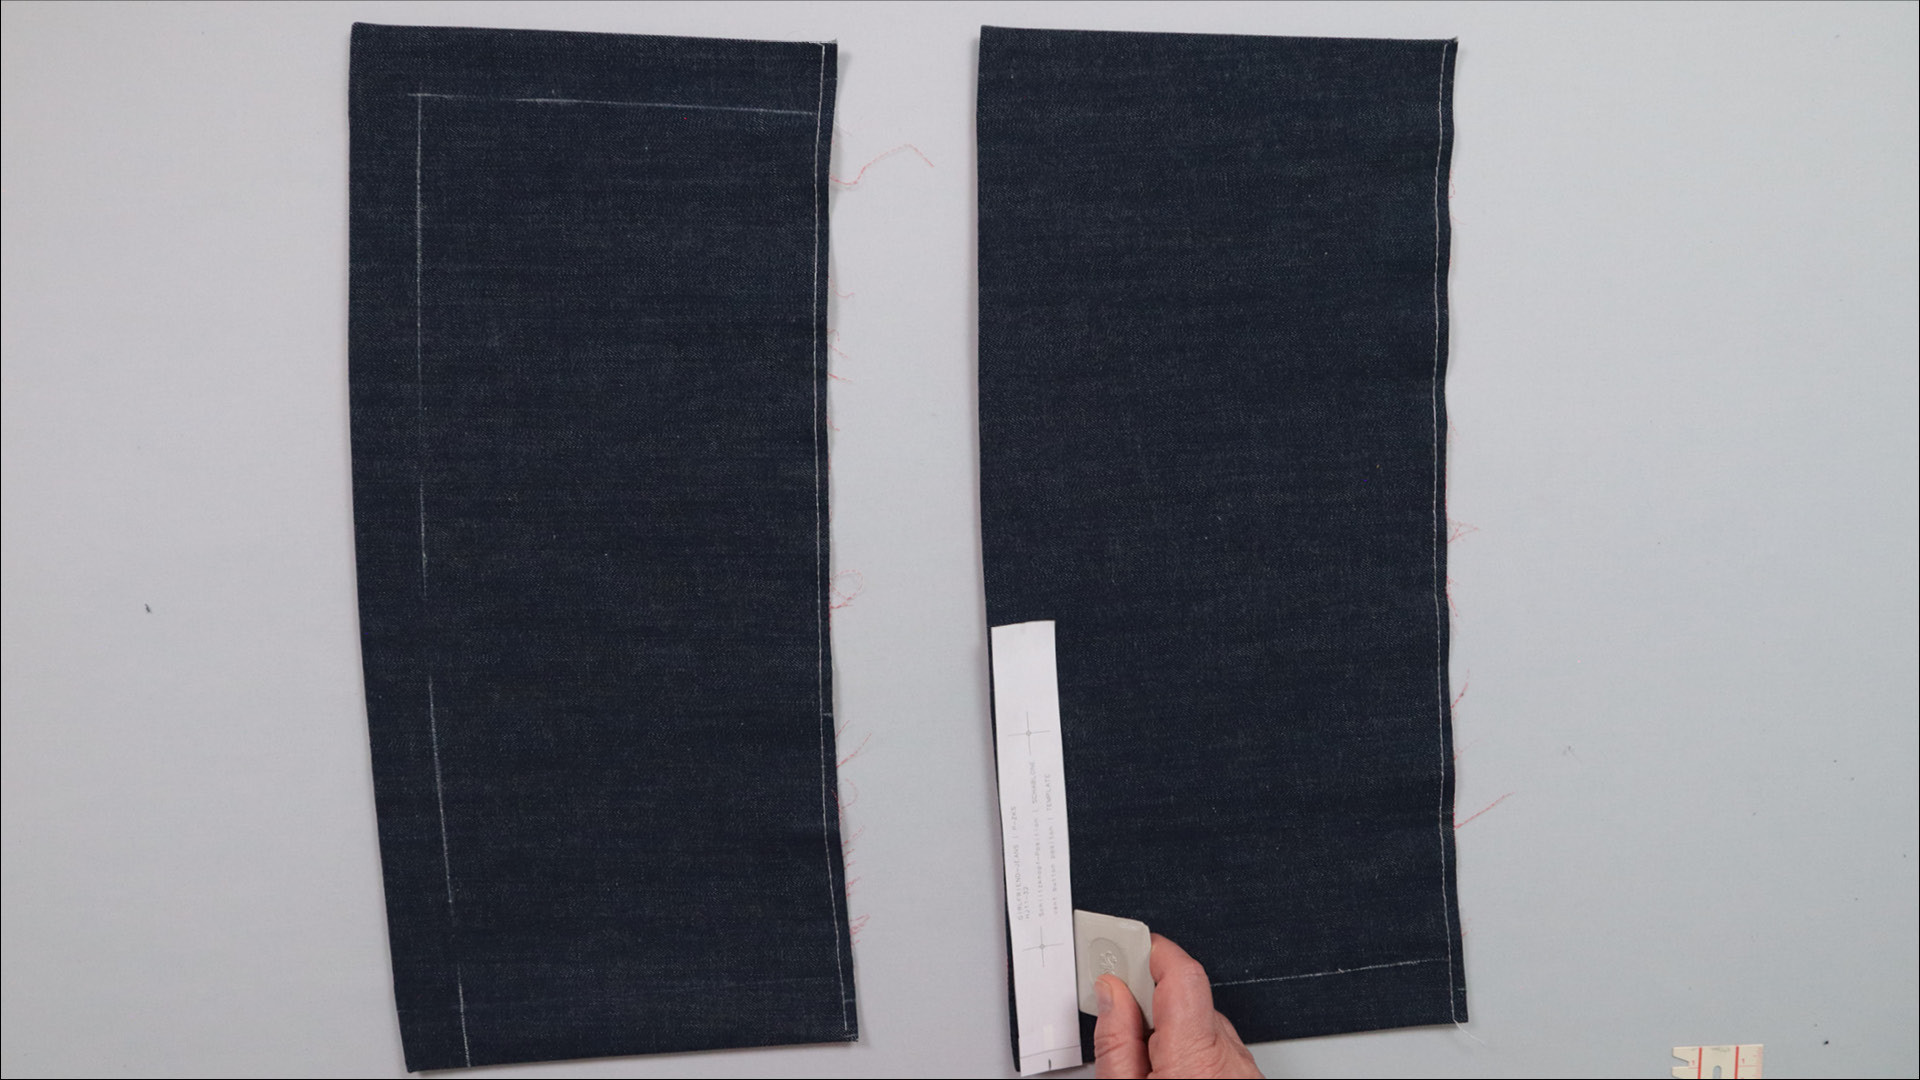
I don’t stitch down the short side that will later be on the inside. But of course, you can do it however you like best.
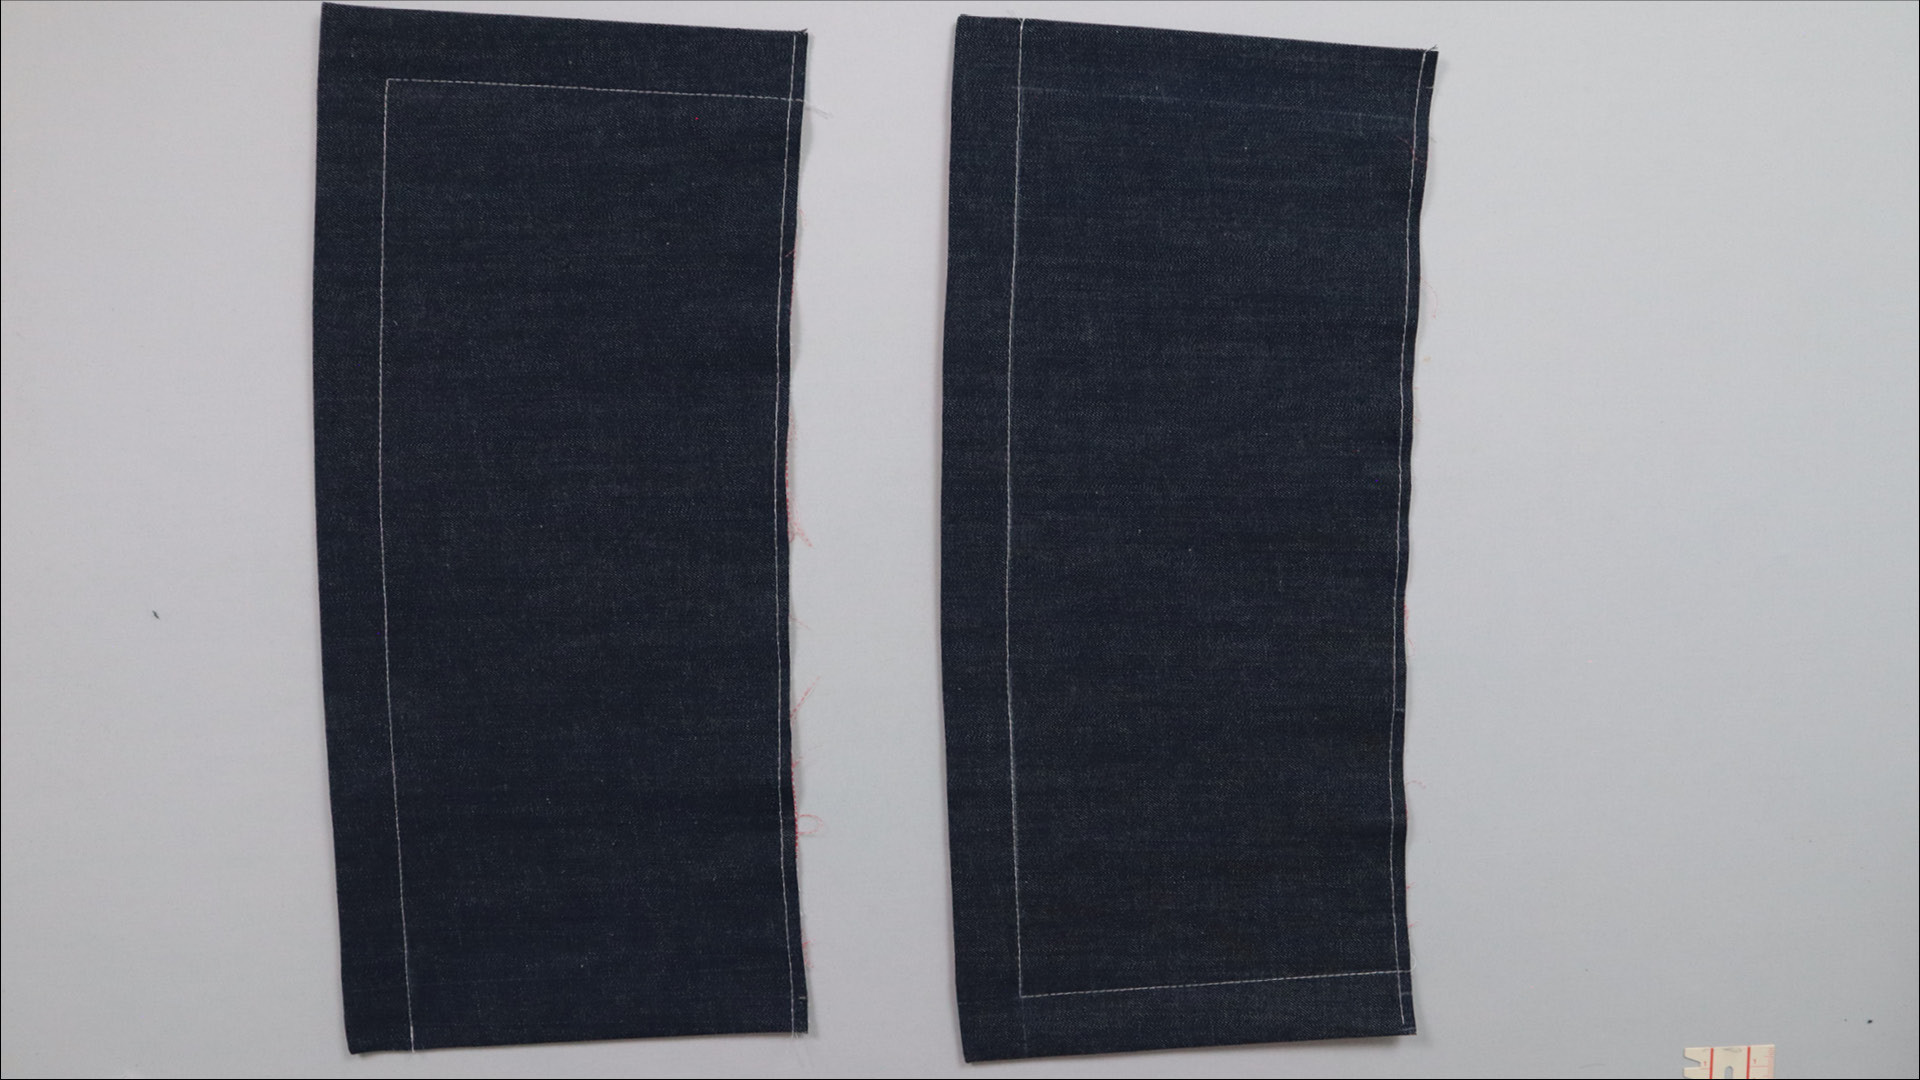
This is what my hem pieces look like after I’ve topstitched them on the opposite side.
5. Sew buttonholes and buttons onto the hem detail
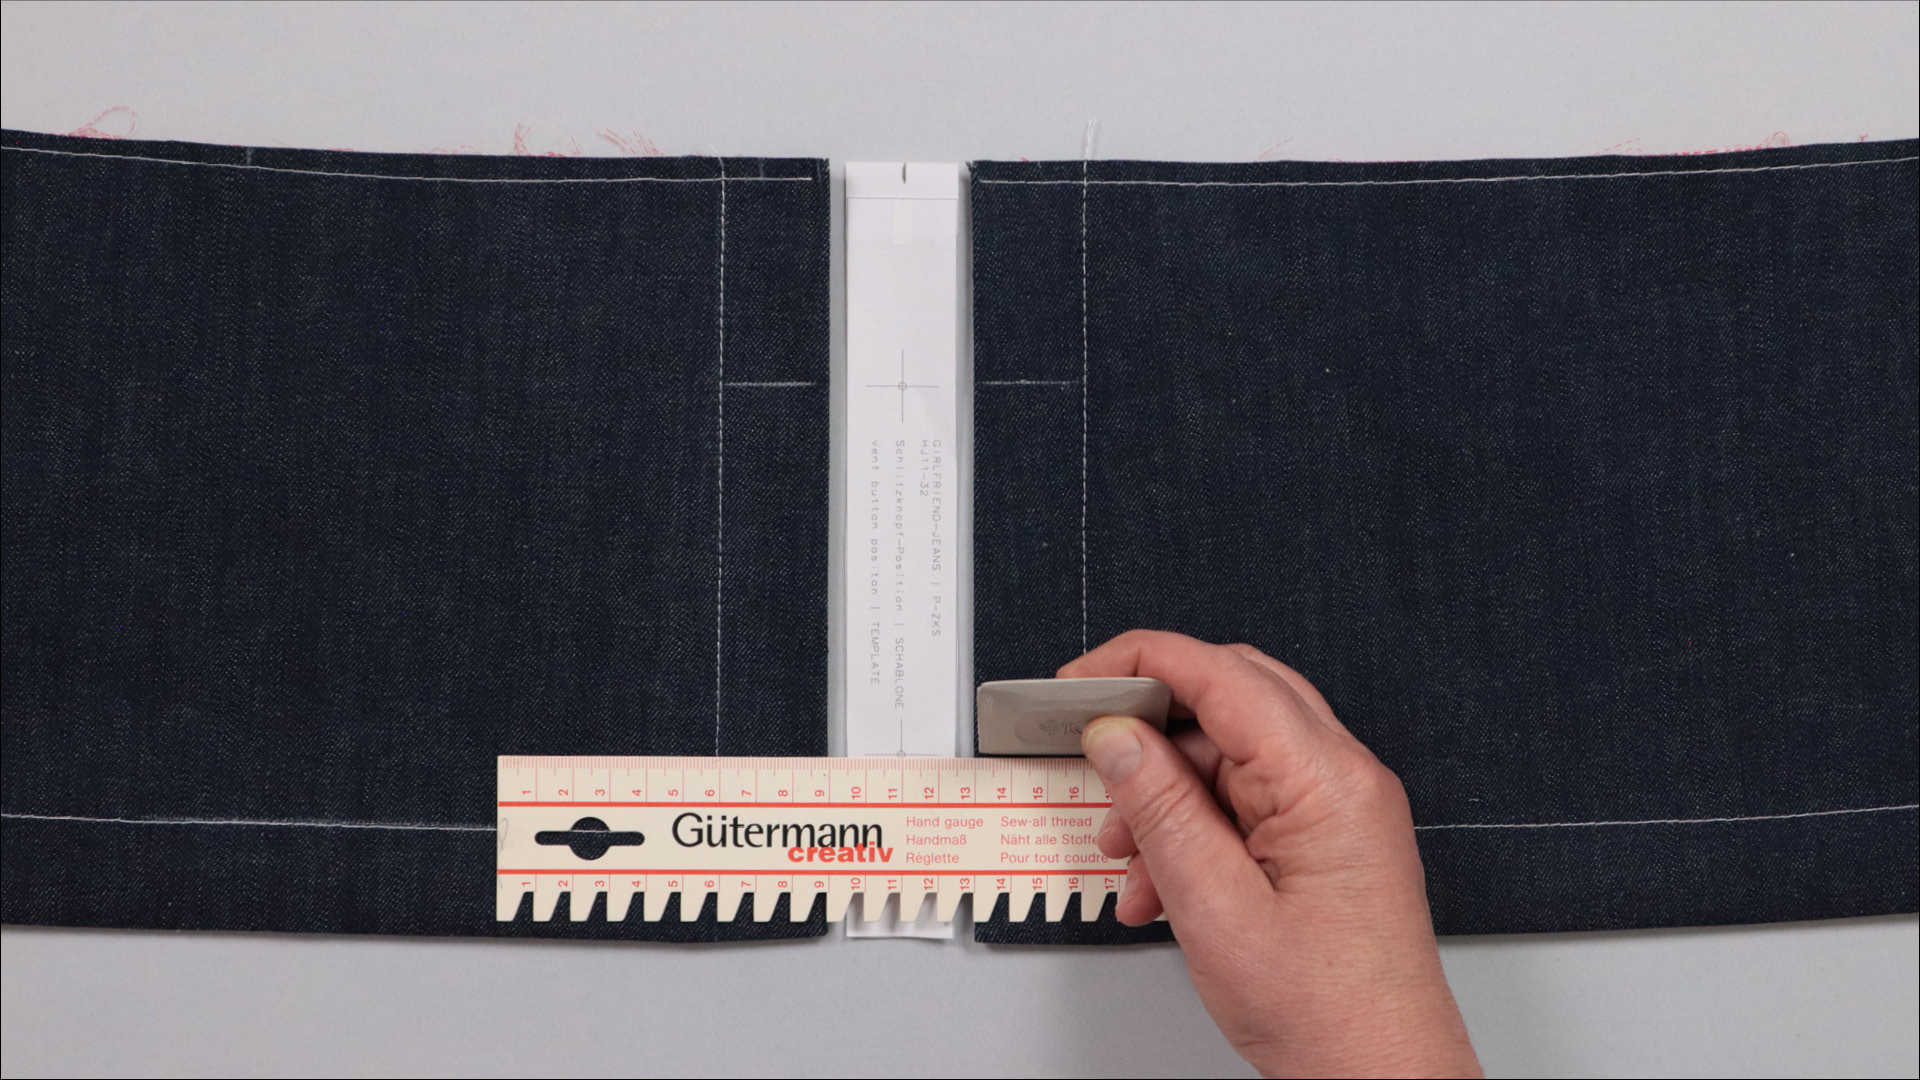
I use the template to mark the buttonhole position.
To do this, I align the bottom edges of both hem pieces so they are at the same height. I place the buttonhole template between them so that its bottom edge is flush with the hem pieces. Then I mark the buttonhole positions parallel to the hem edge.
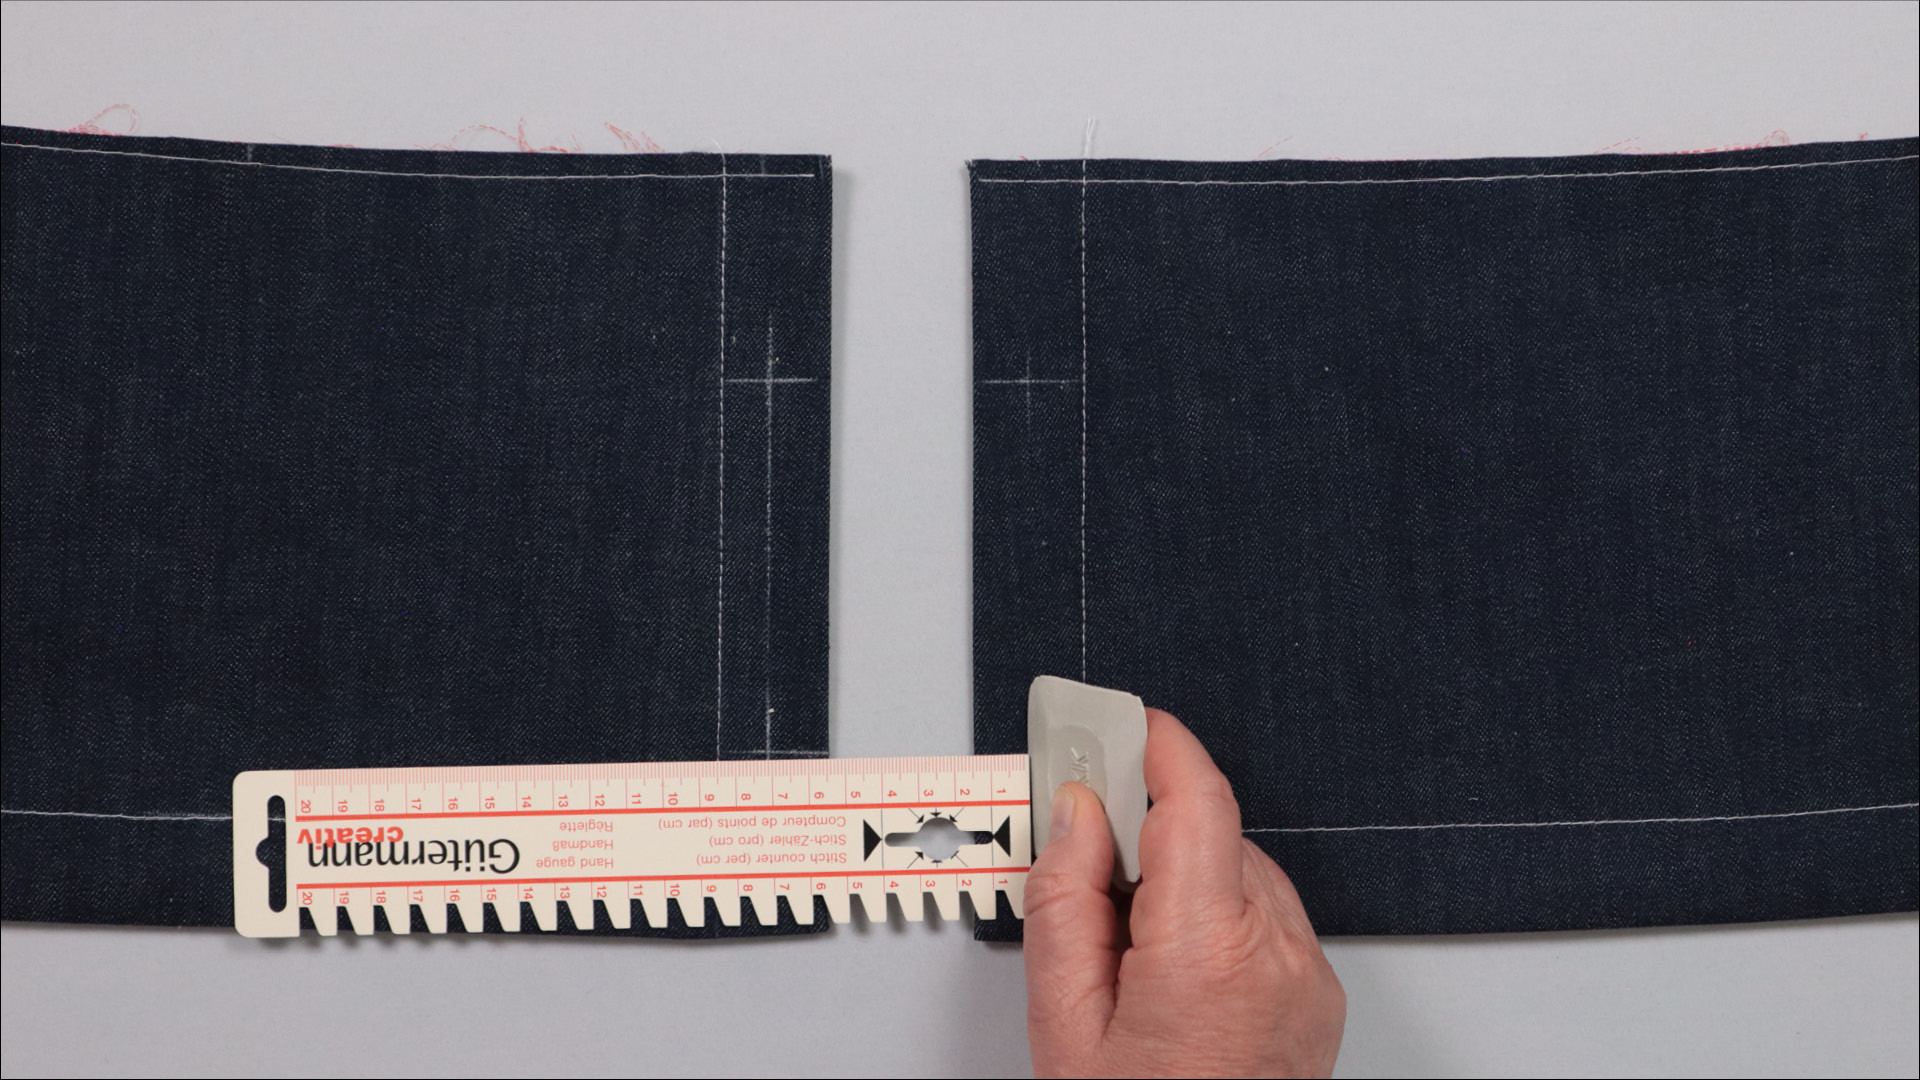
The centre of the buttonhole is 1.5 cm from the side edge. I mark this position drawing a line parallel to the side edge.
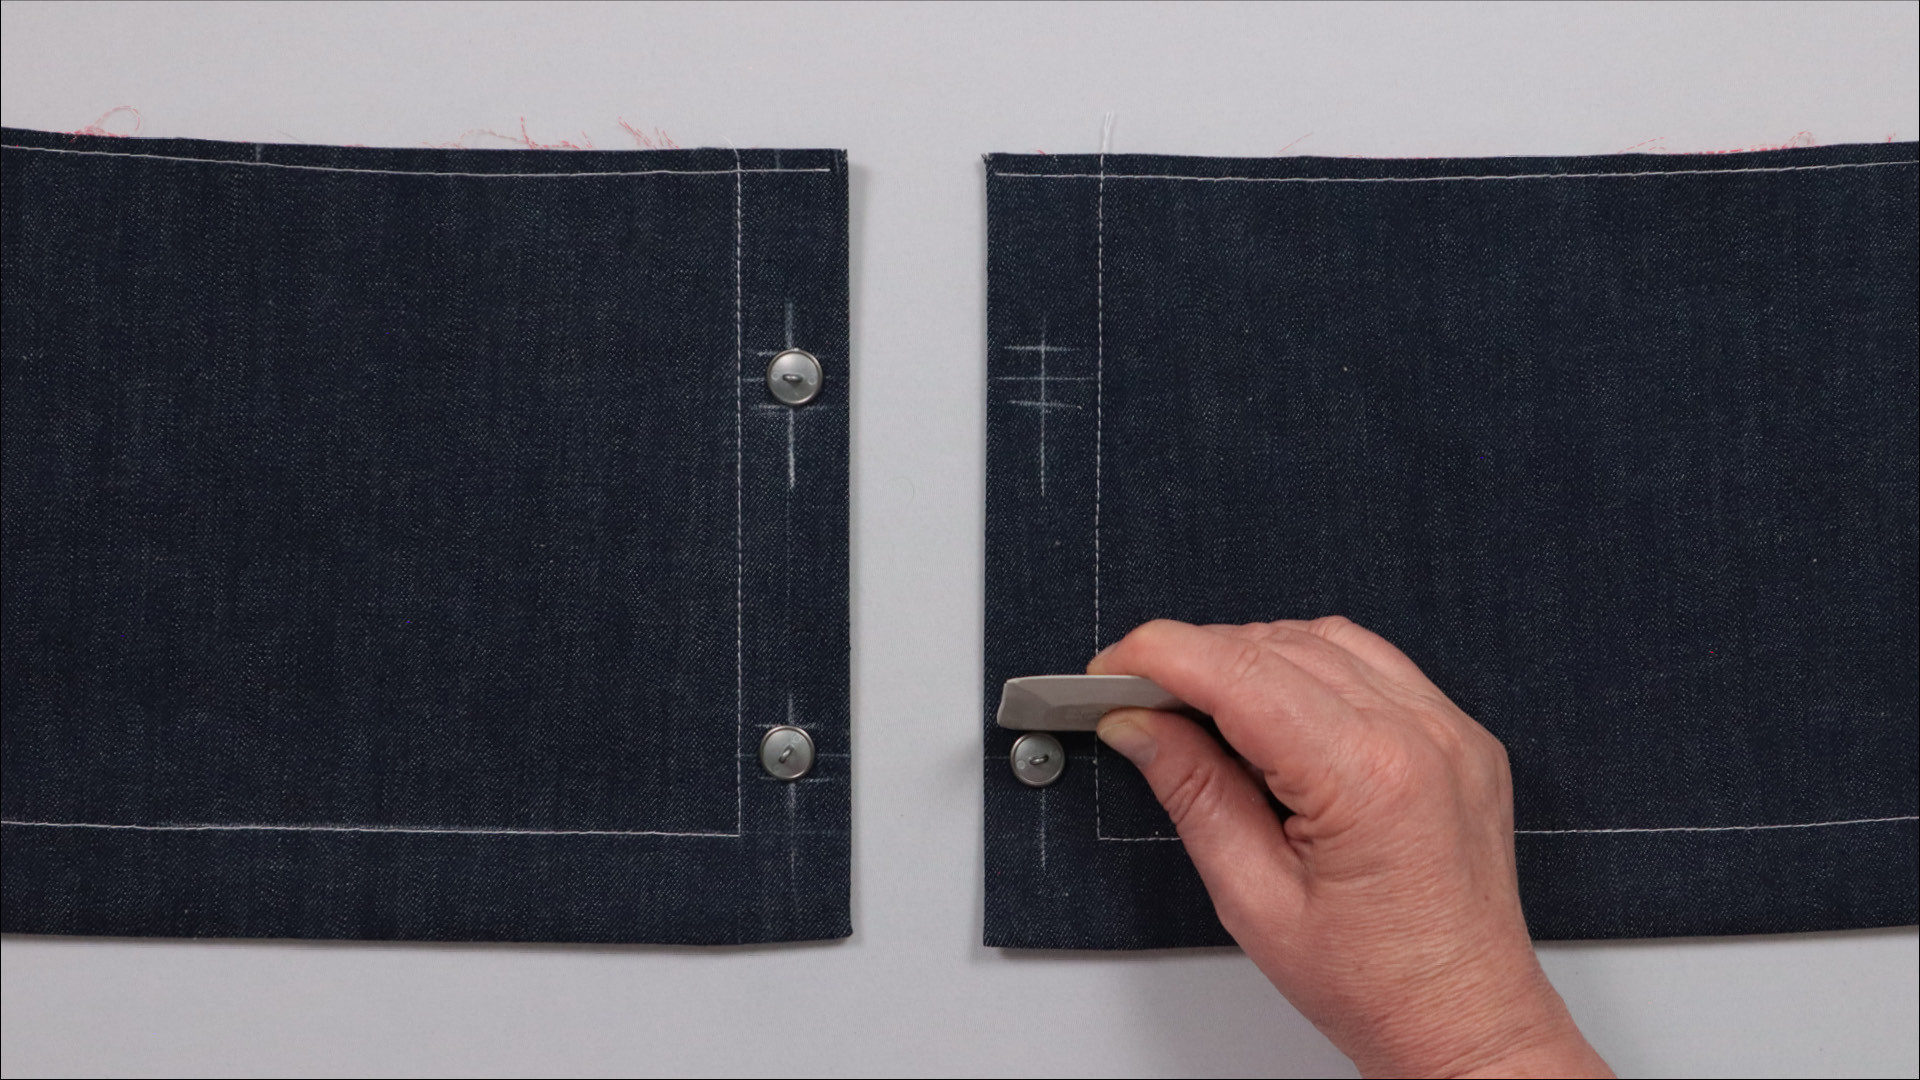
The marking on the template indicates the centre of the buttonhole. The buttonhole length depends on the size of your buttons or cufflinks. Measure the diameter of your buttons or cufflinks, then mark half the required buttonhole length above and below the centre.
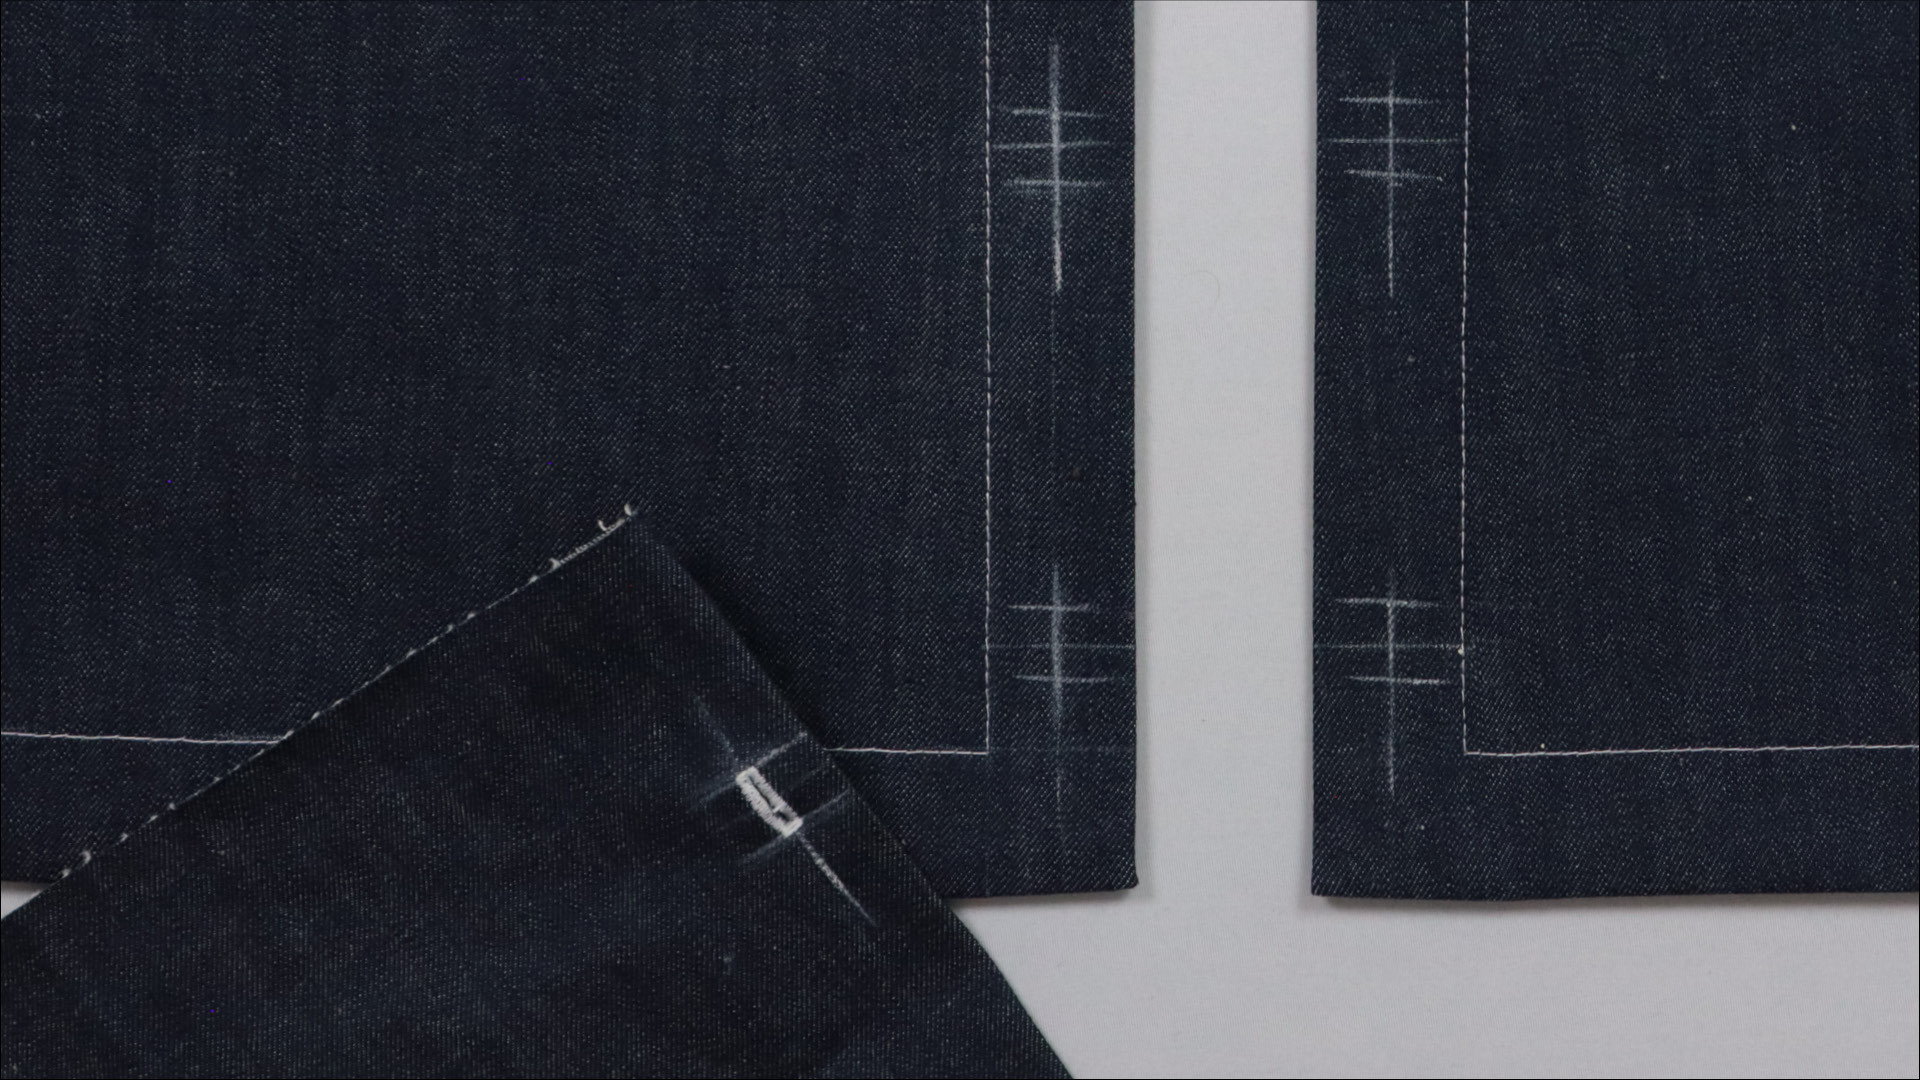
Before sewing the buttonholes on the hem pieces, I test them on a scrap of the same fabric. This allows me to check whether the marked buttonhole length is suitable for my chosen buttons or cufflinks.
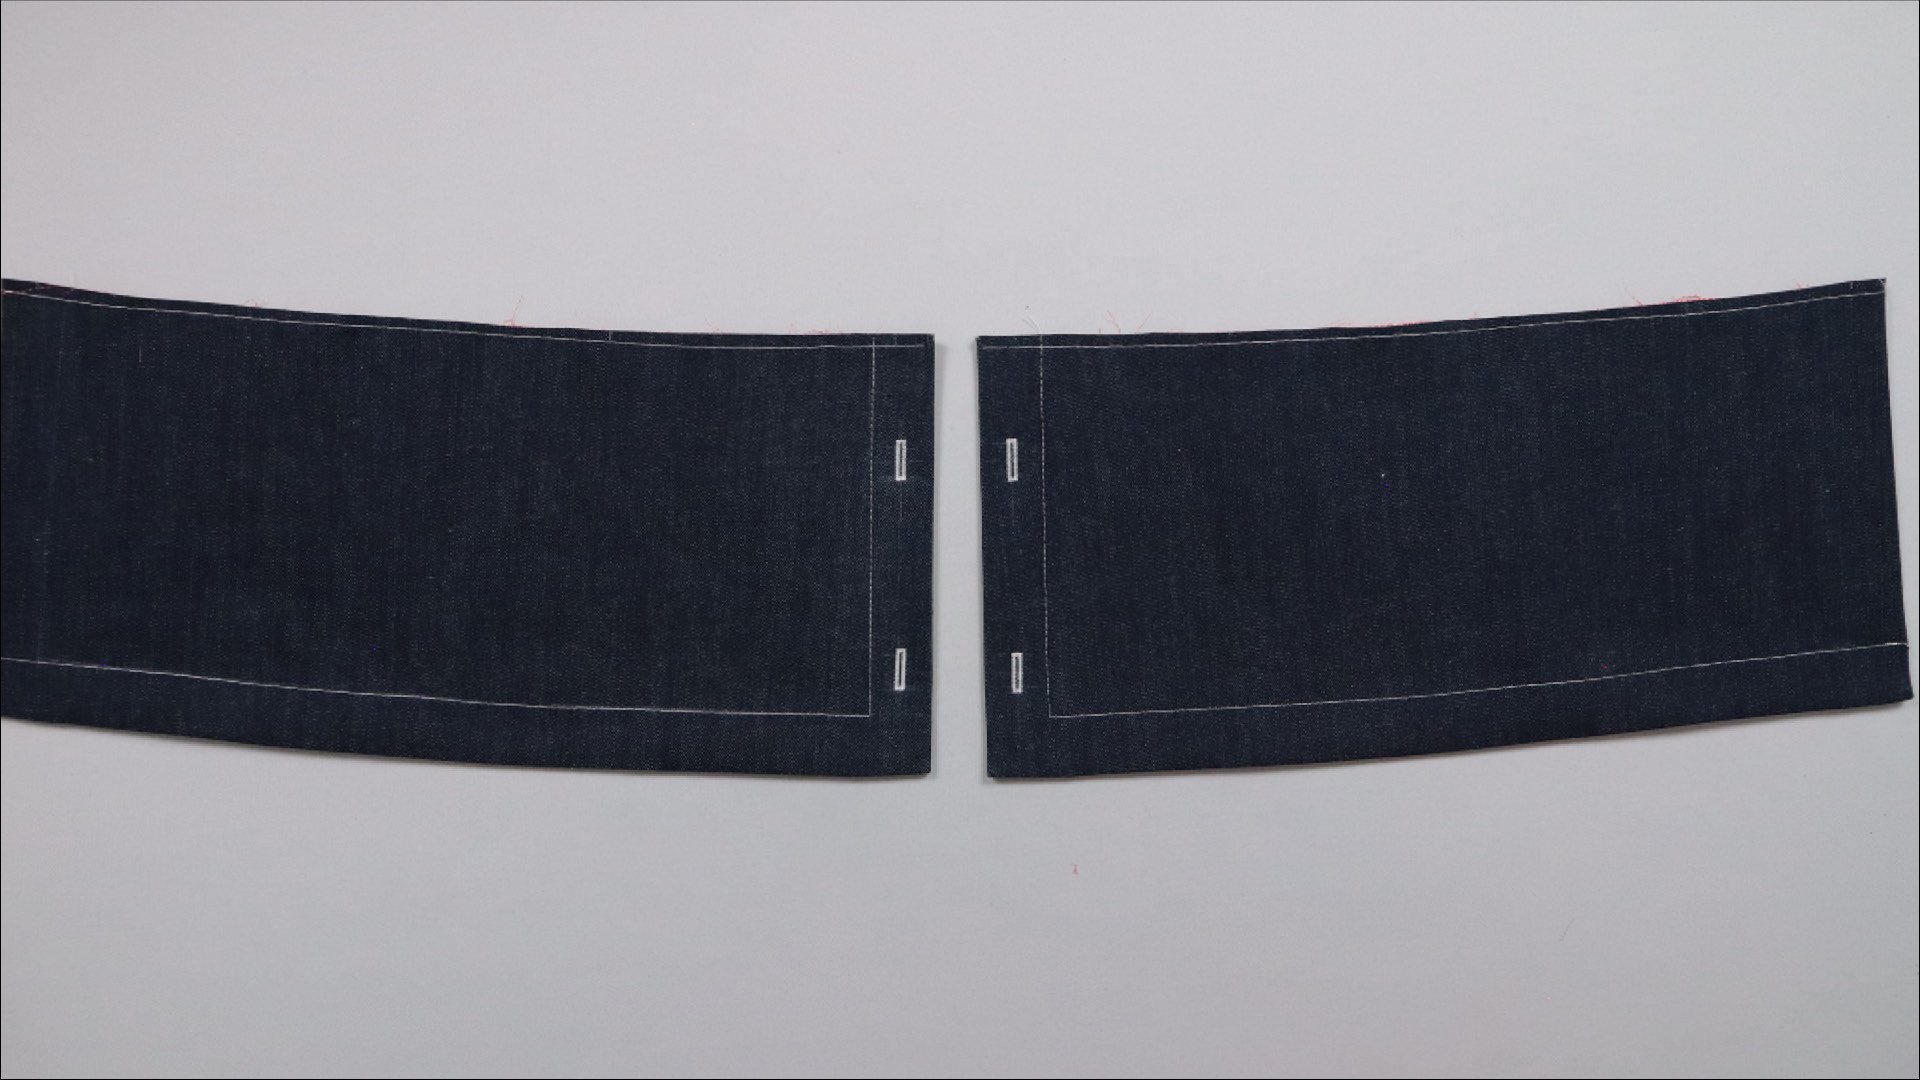
Next, I sew the buttonholes in both hem pieces, making sure they are positioned as mirror images.
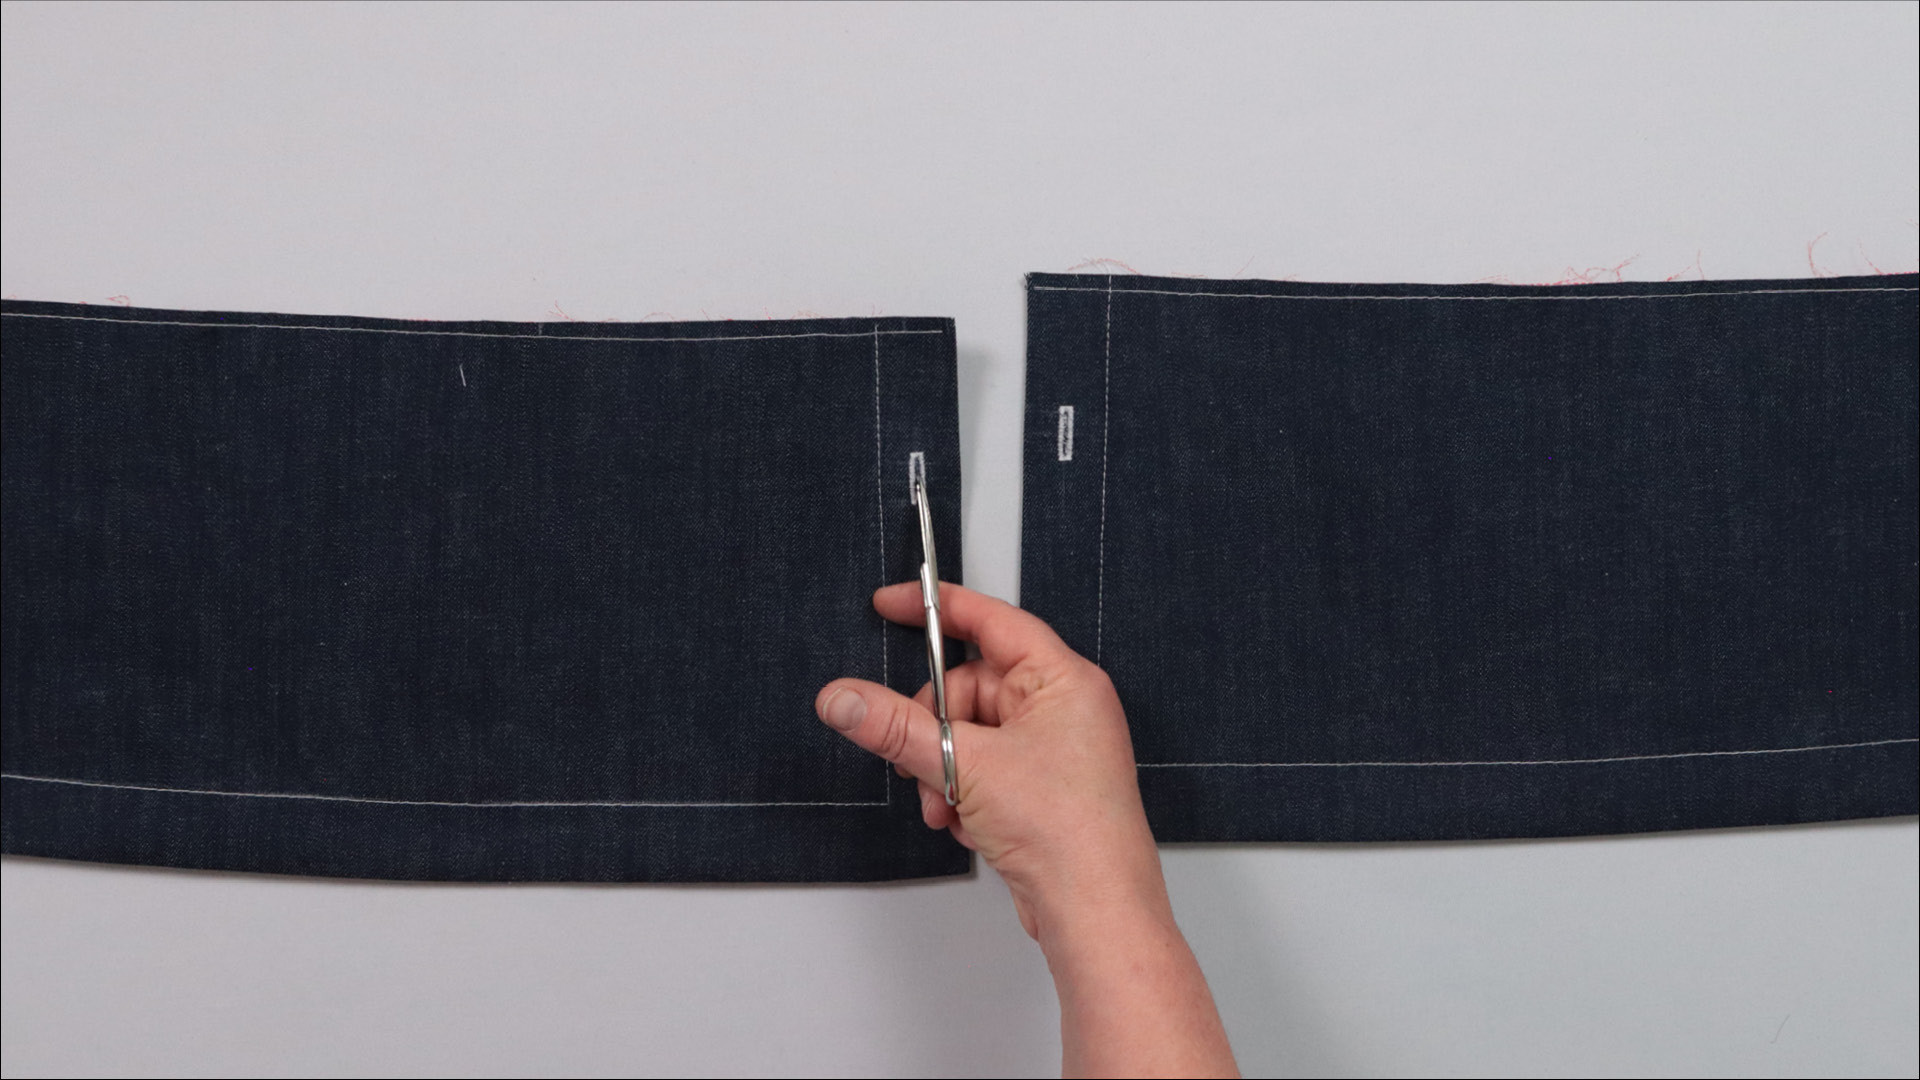
I carefully cut open the buttonholes with buttonhole scissors or a seam ripper.
To avoid accidentally cutting past the end, you can place a pin across the bar tack.
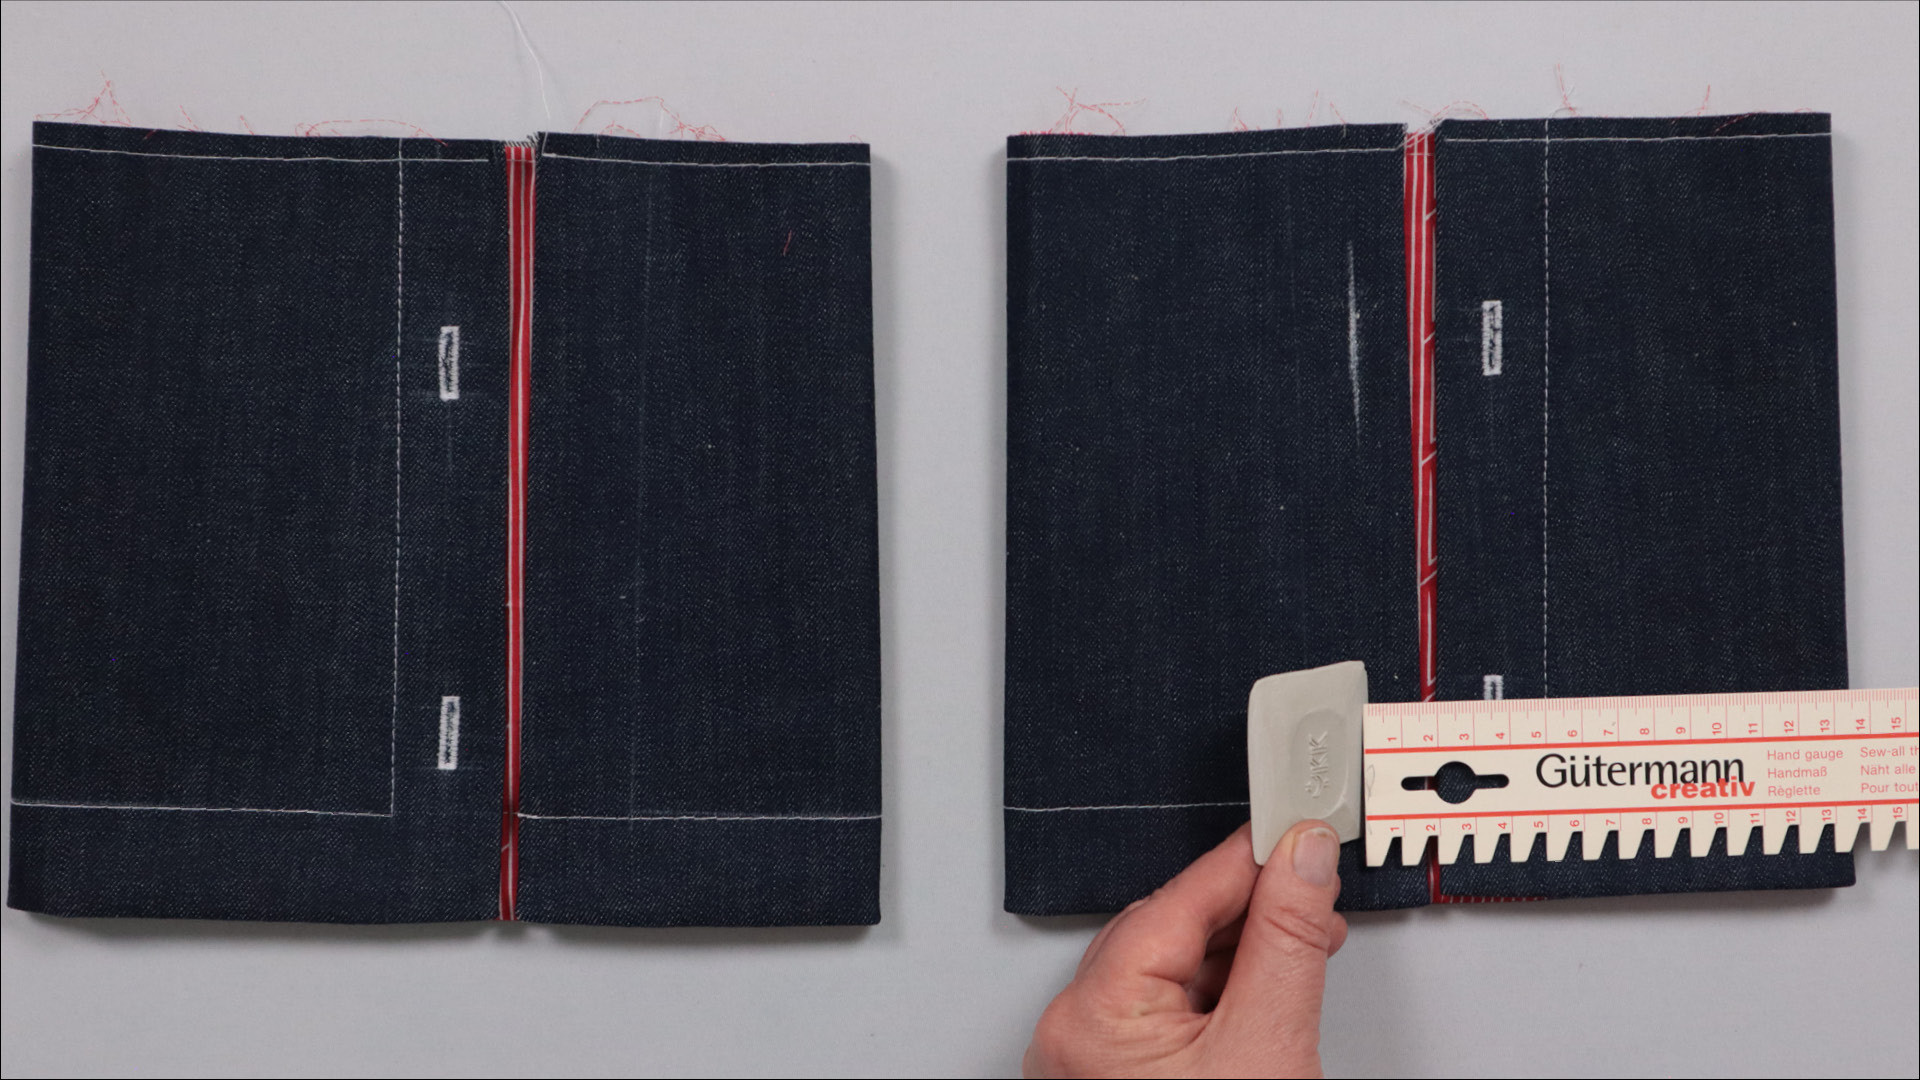
On the opposite edge, I also mark a distance of 1.5 cm.
Option: standard buttons
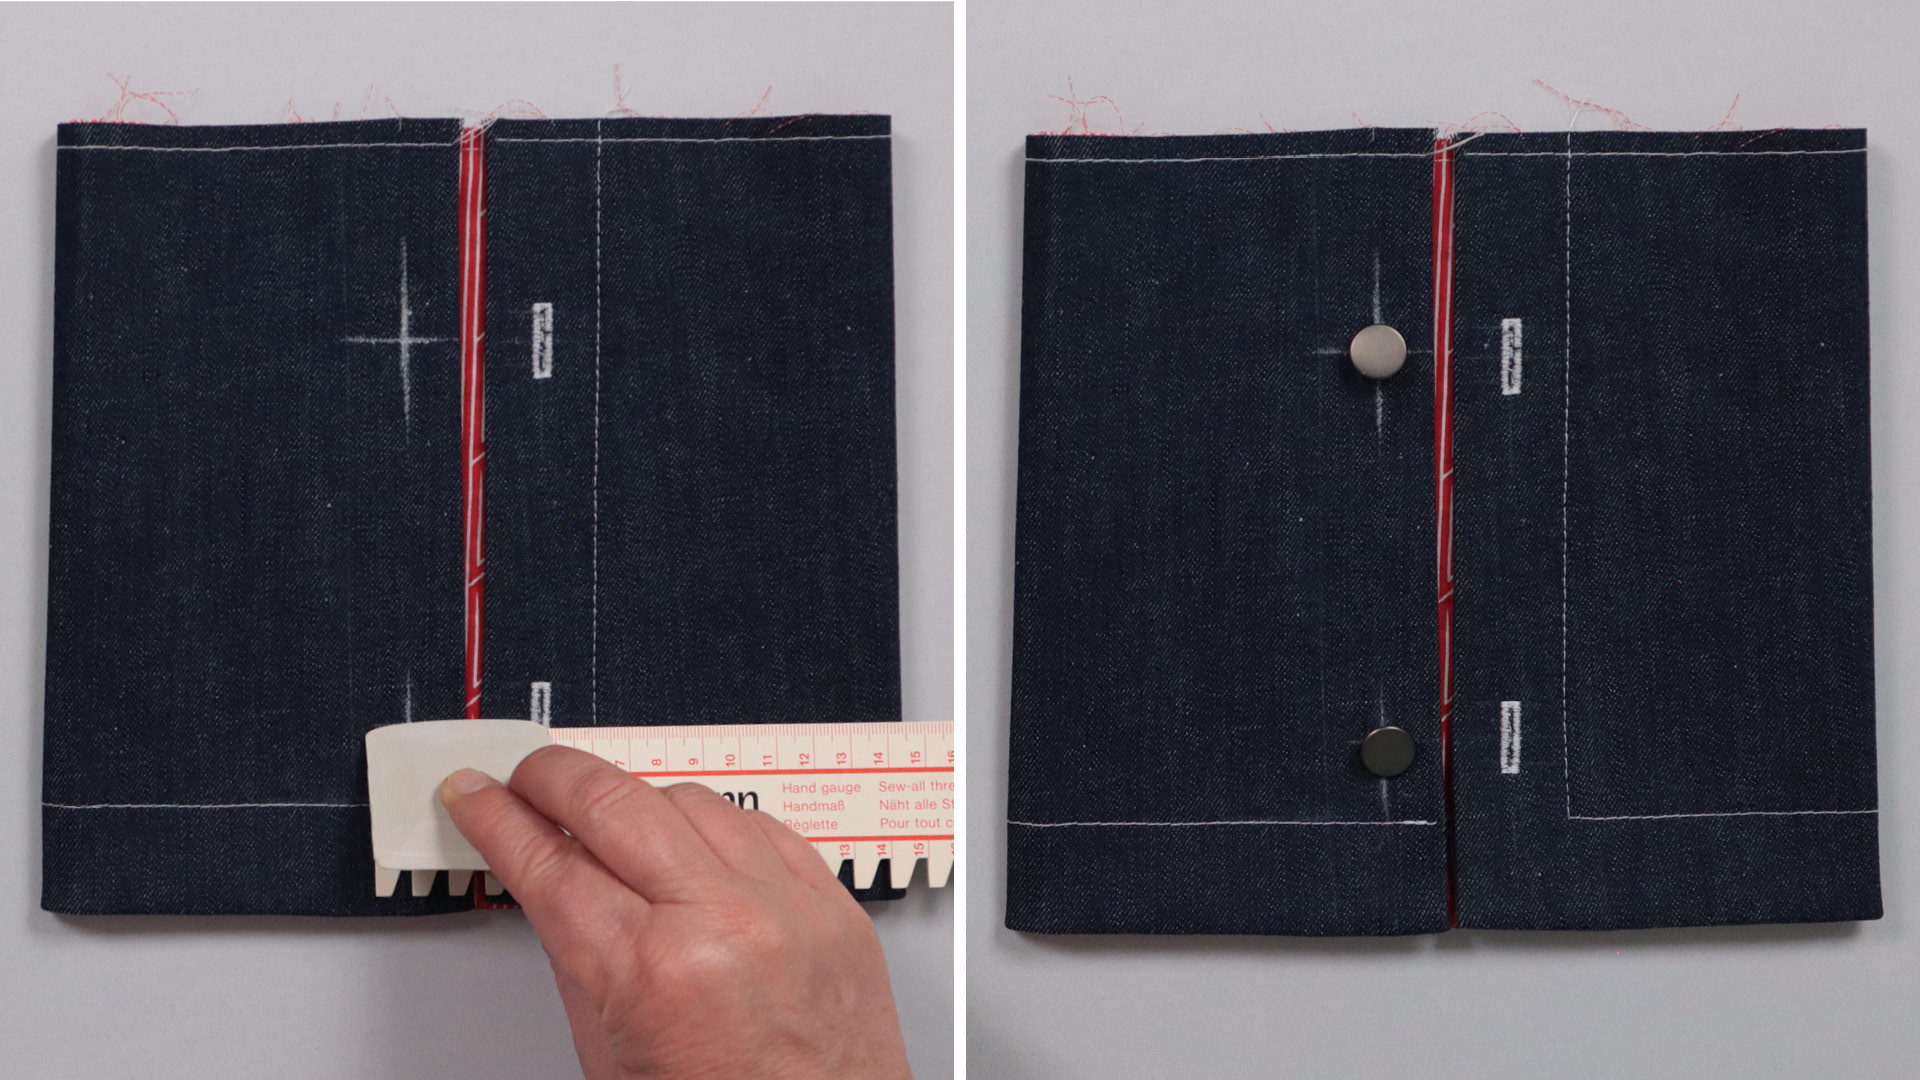
If you don’t want to turn up the hem, you can sew on regular buttons or attach cufflinks at this point.
For regular buttons, mark the centre of each buttonhole on the opposite side and sew the buttons on where the markings intersect.
Option: Cufflinks
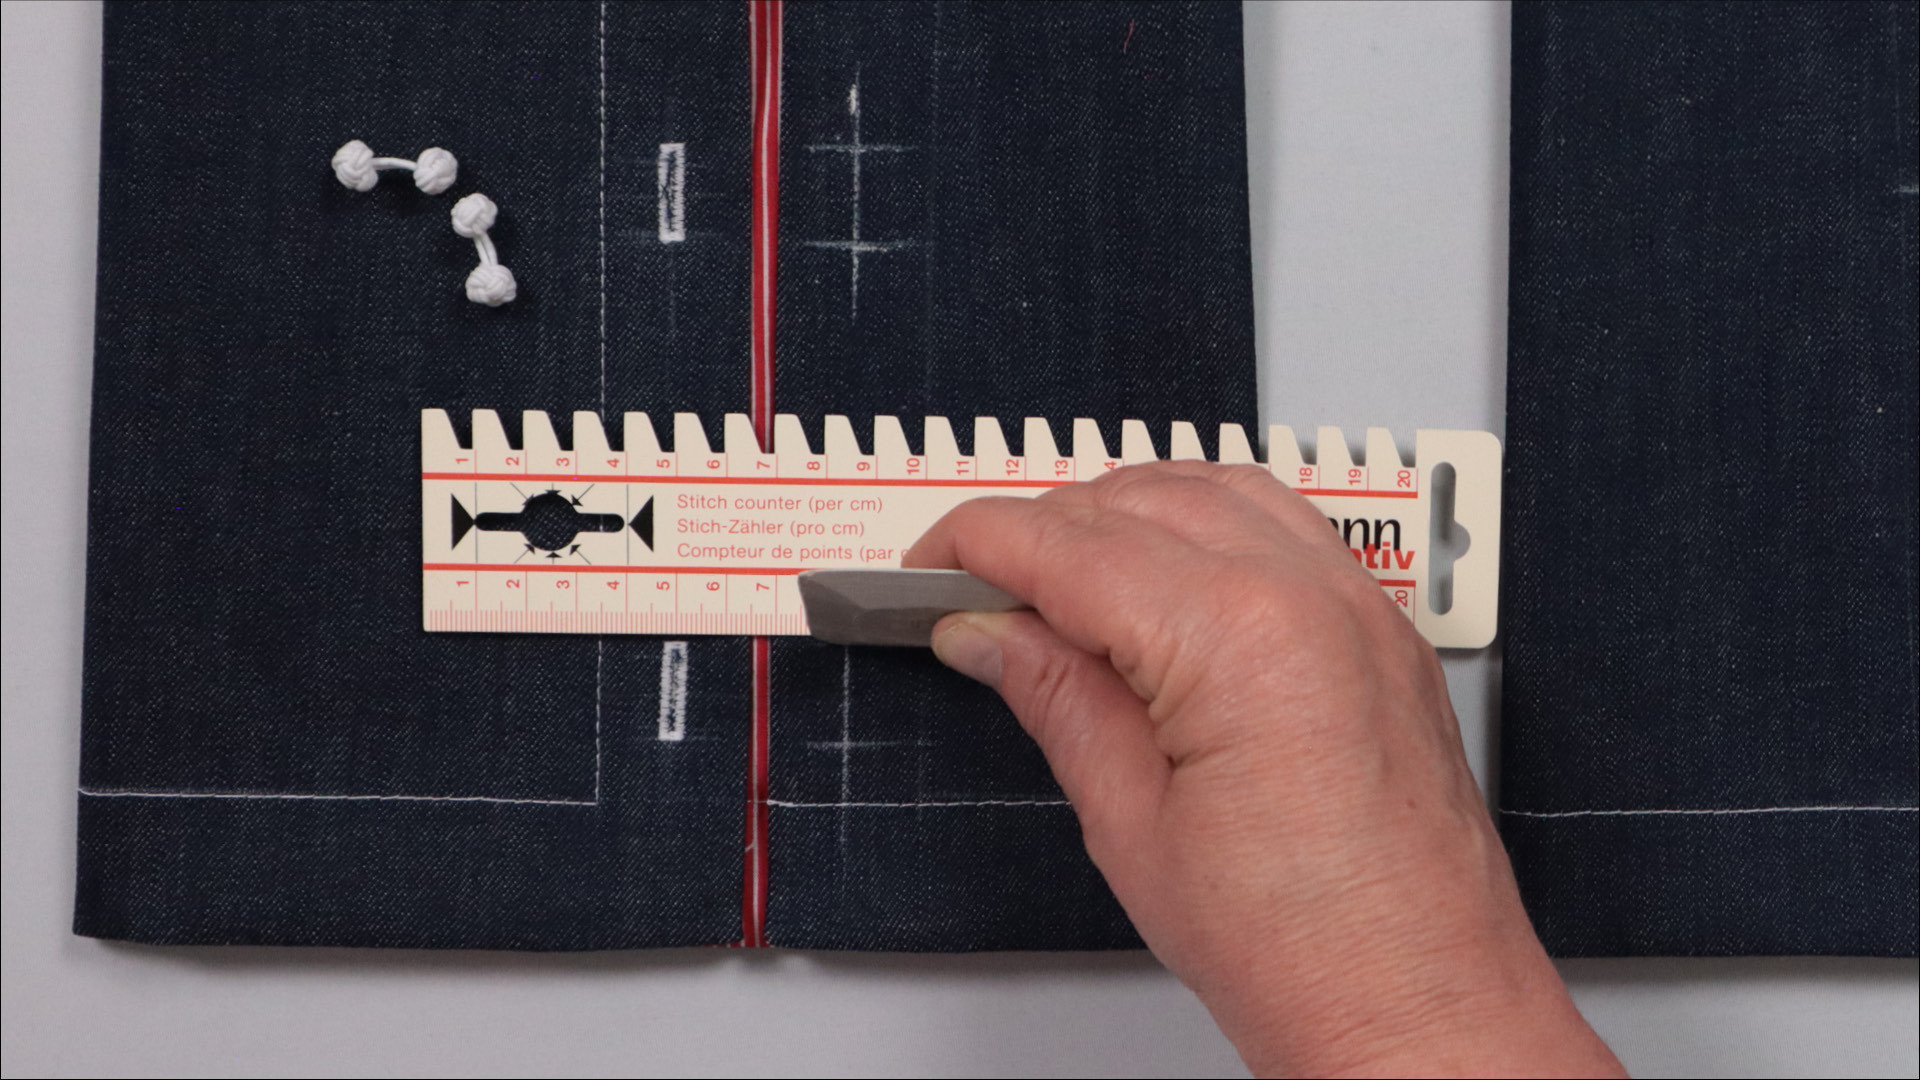
To allow the hem to be worn either turned down or turned up, I also sew buttonholes on the opposite side.
To do this, I transfer the positions of the upper and lower ends of the finished buttonholes to the opposite side.
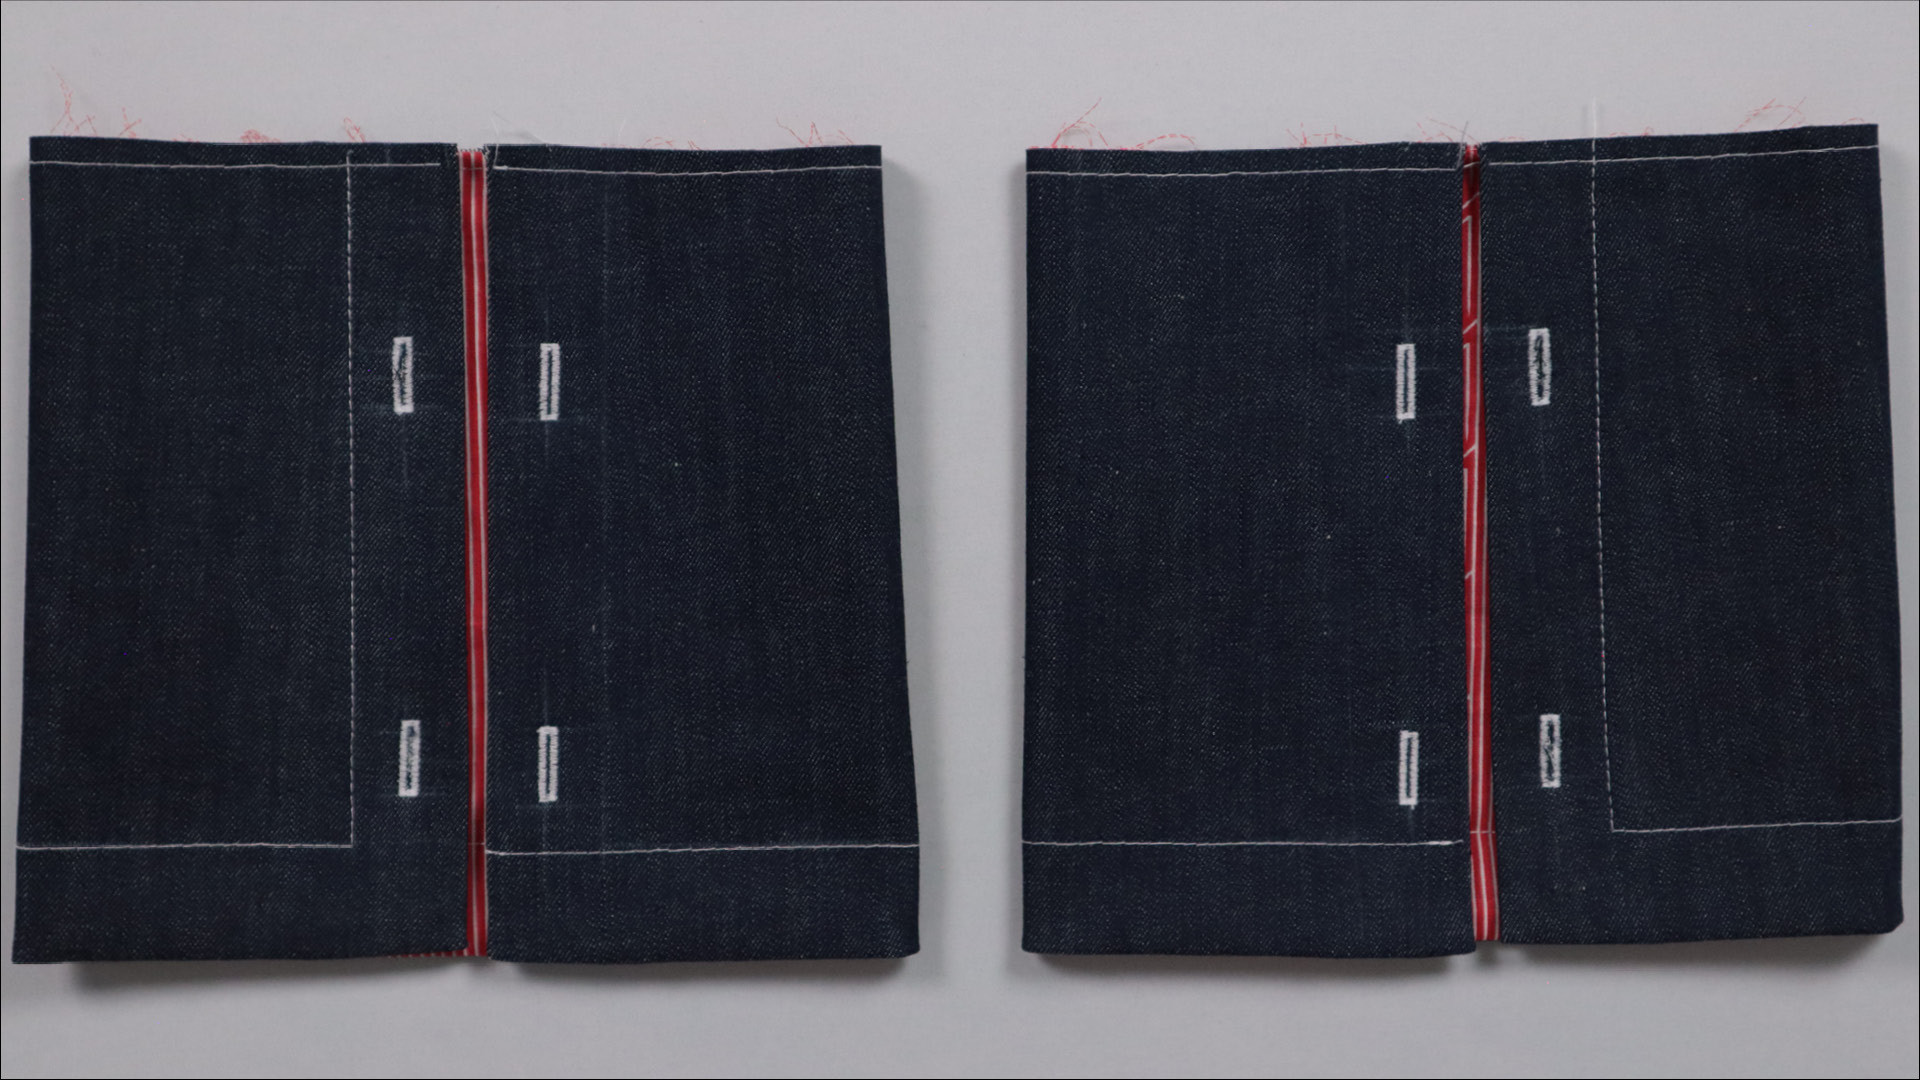
Then I sew these buttonholes as well and carefully cut them open.
The aligned buttonholes allow you to insert cufflinks or a decorative knot through both layers to secure the turned-up hem. I’ll show you what this looks like at the very end of the tutorial.
6. Join the hem pieces to form a ring
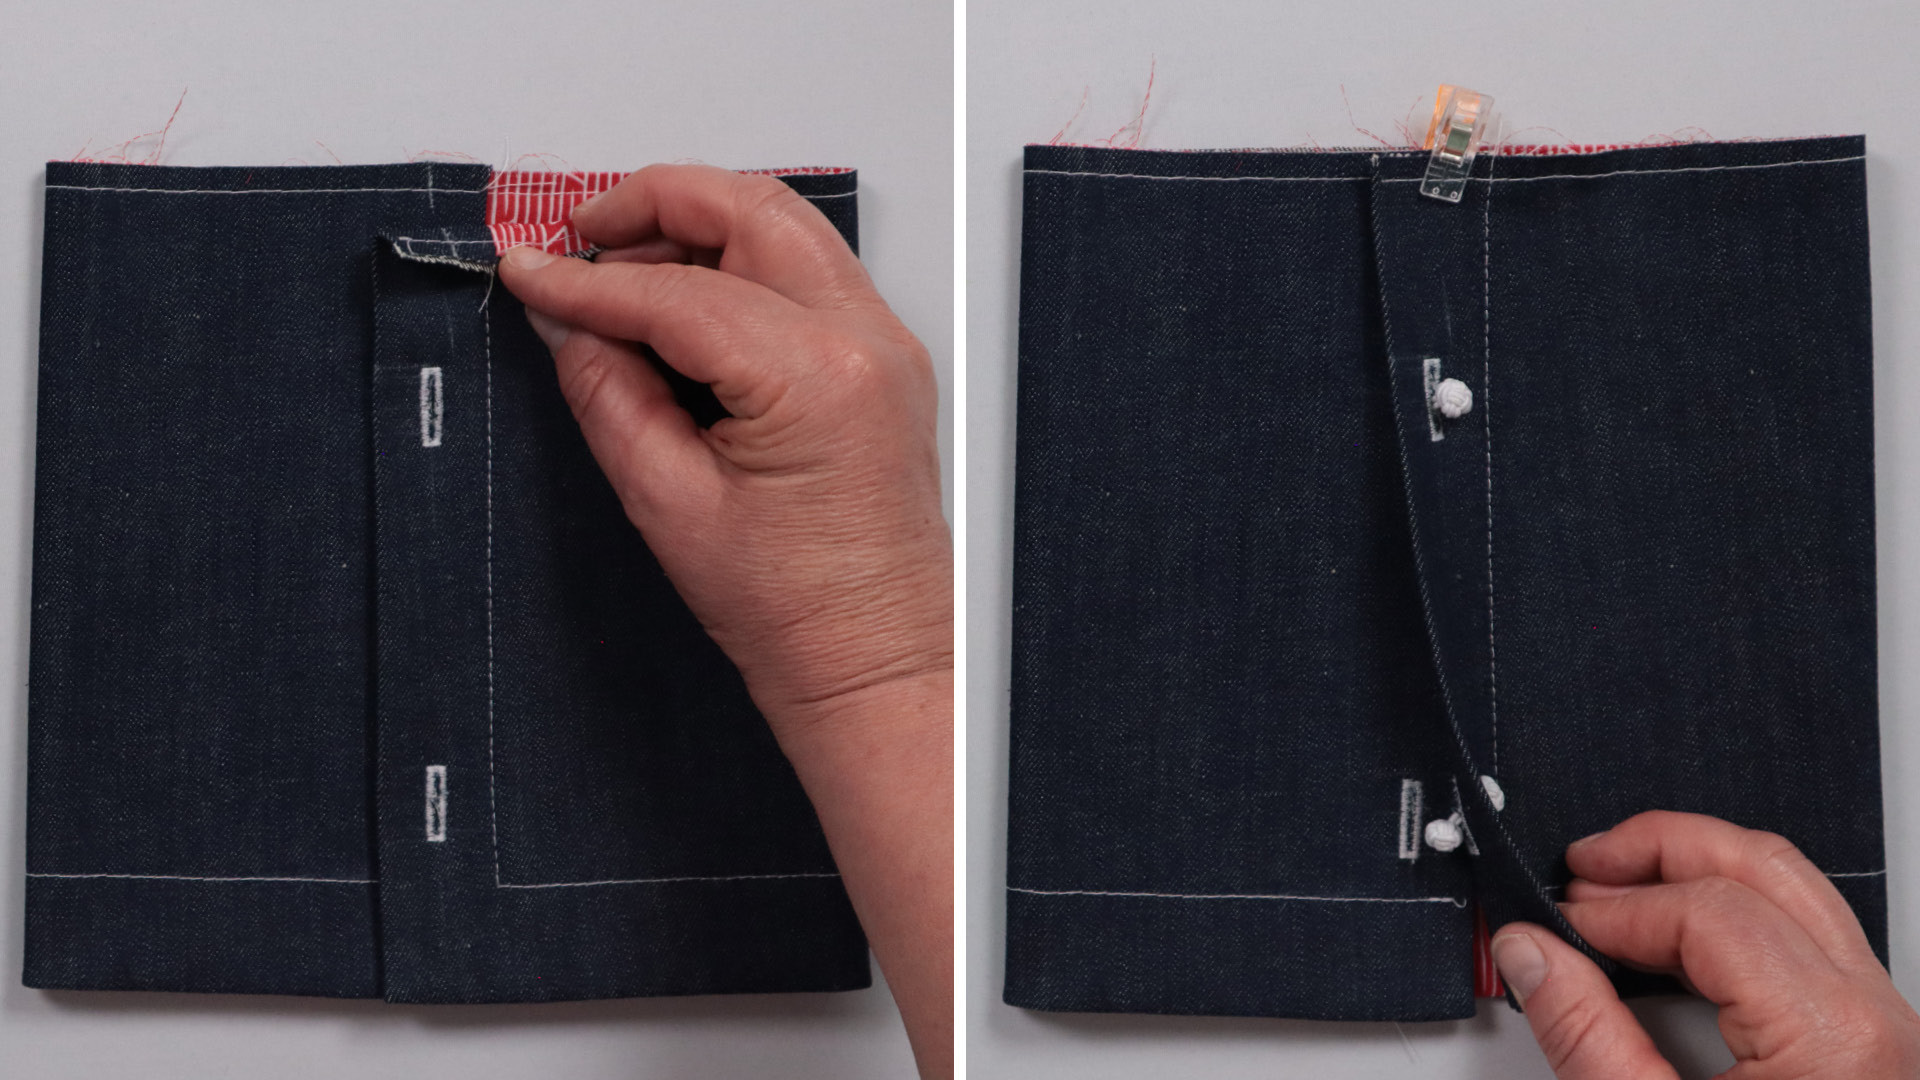
I place the hem pieces on top of each other so that the upper piece overlaps the lower one by 3 cm. The notches along the top edge should align exactly.
Then I pin the two layers together, making sure the bottom edges are perfectly aligned. I use my cuff knots to hold the layers together. If you’re using regular buttons, the process is the same.
To prevent the layers from shifting while sewing, I secure the overlap at the top with a row of tacking stitches within the seam allowance.
7. Sew the hem piece to the trousers
Now decide where you want to position the slit on your trouser legs.
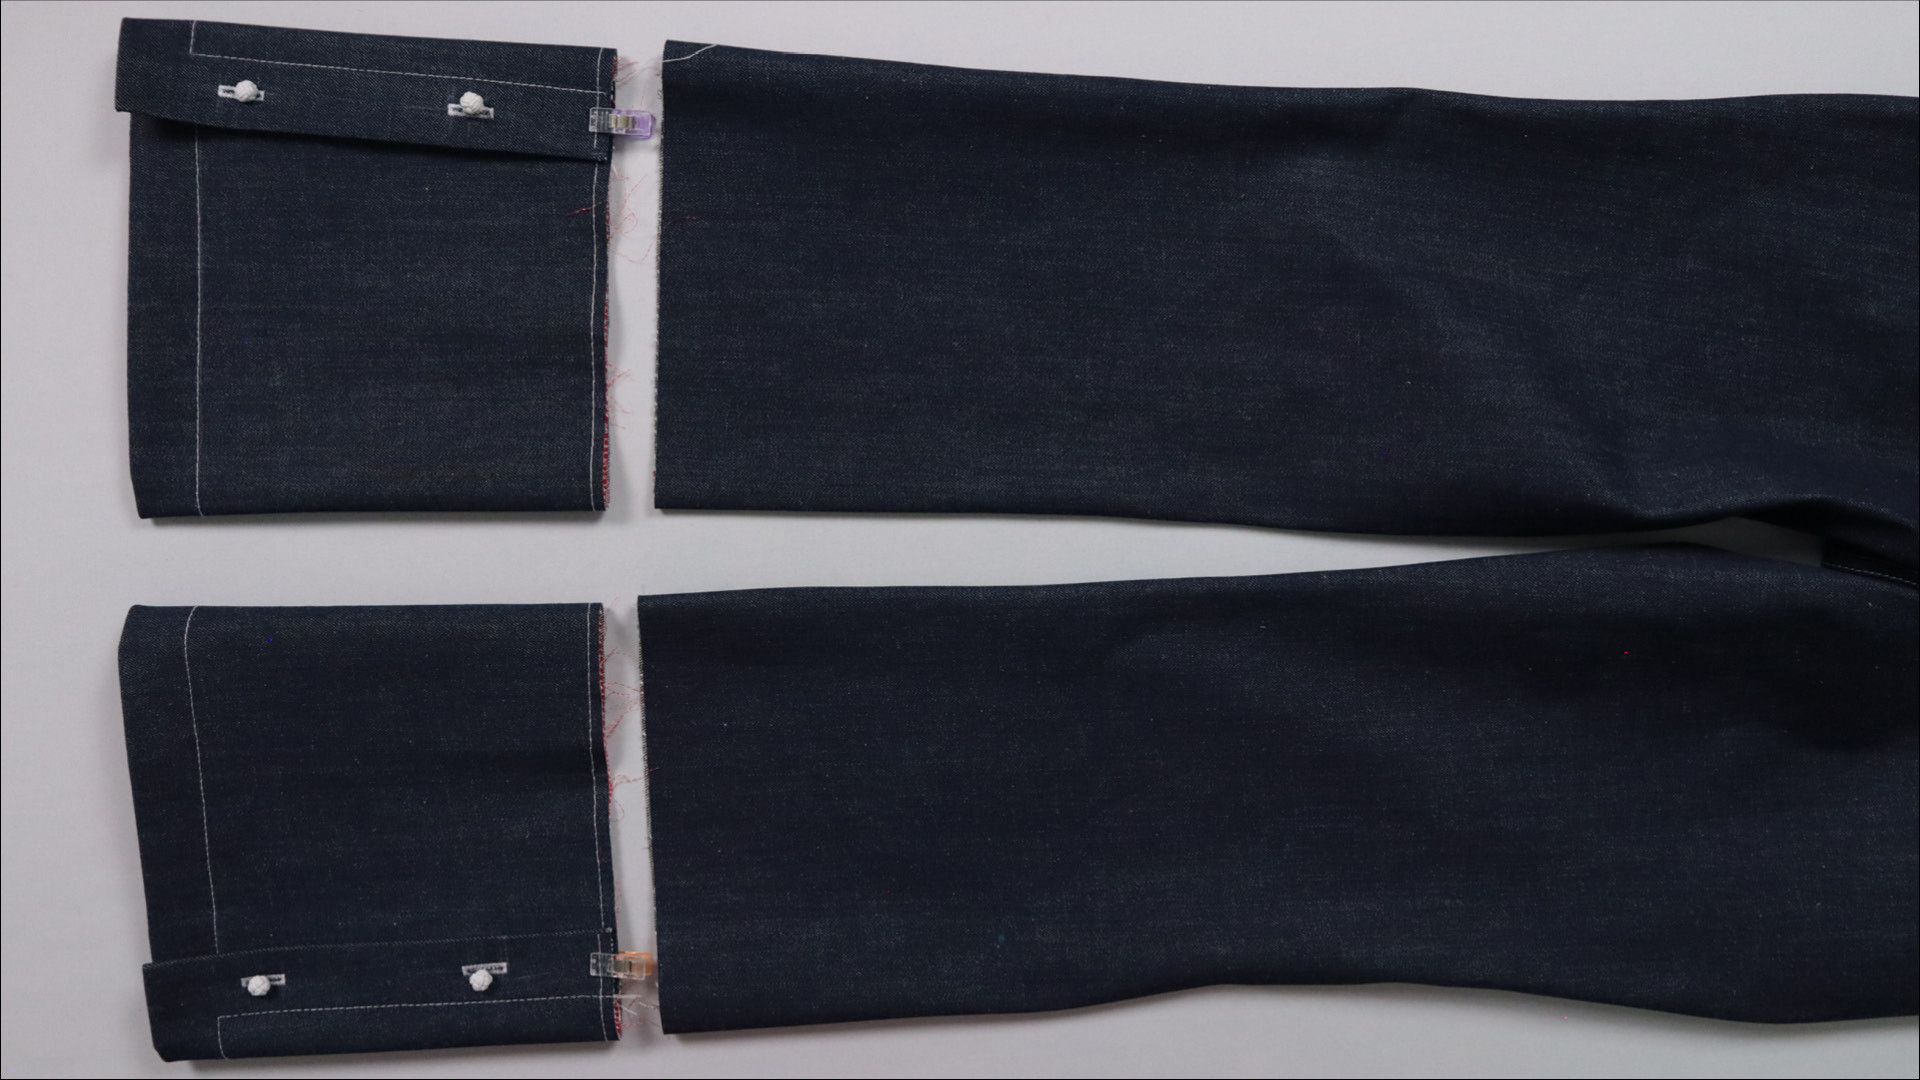
For example, it can be positioned at the cetnre front, on the side, or at the centre back of the leg.
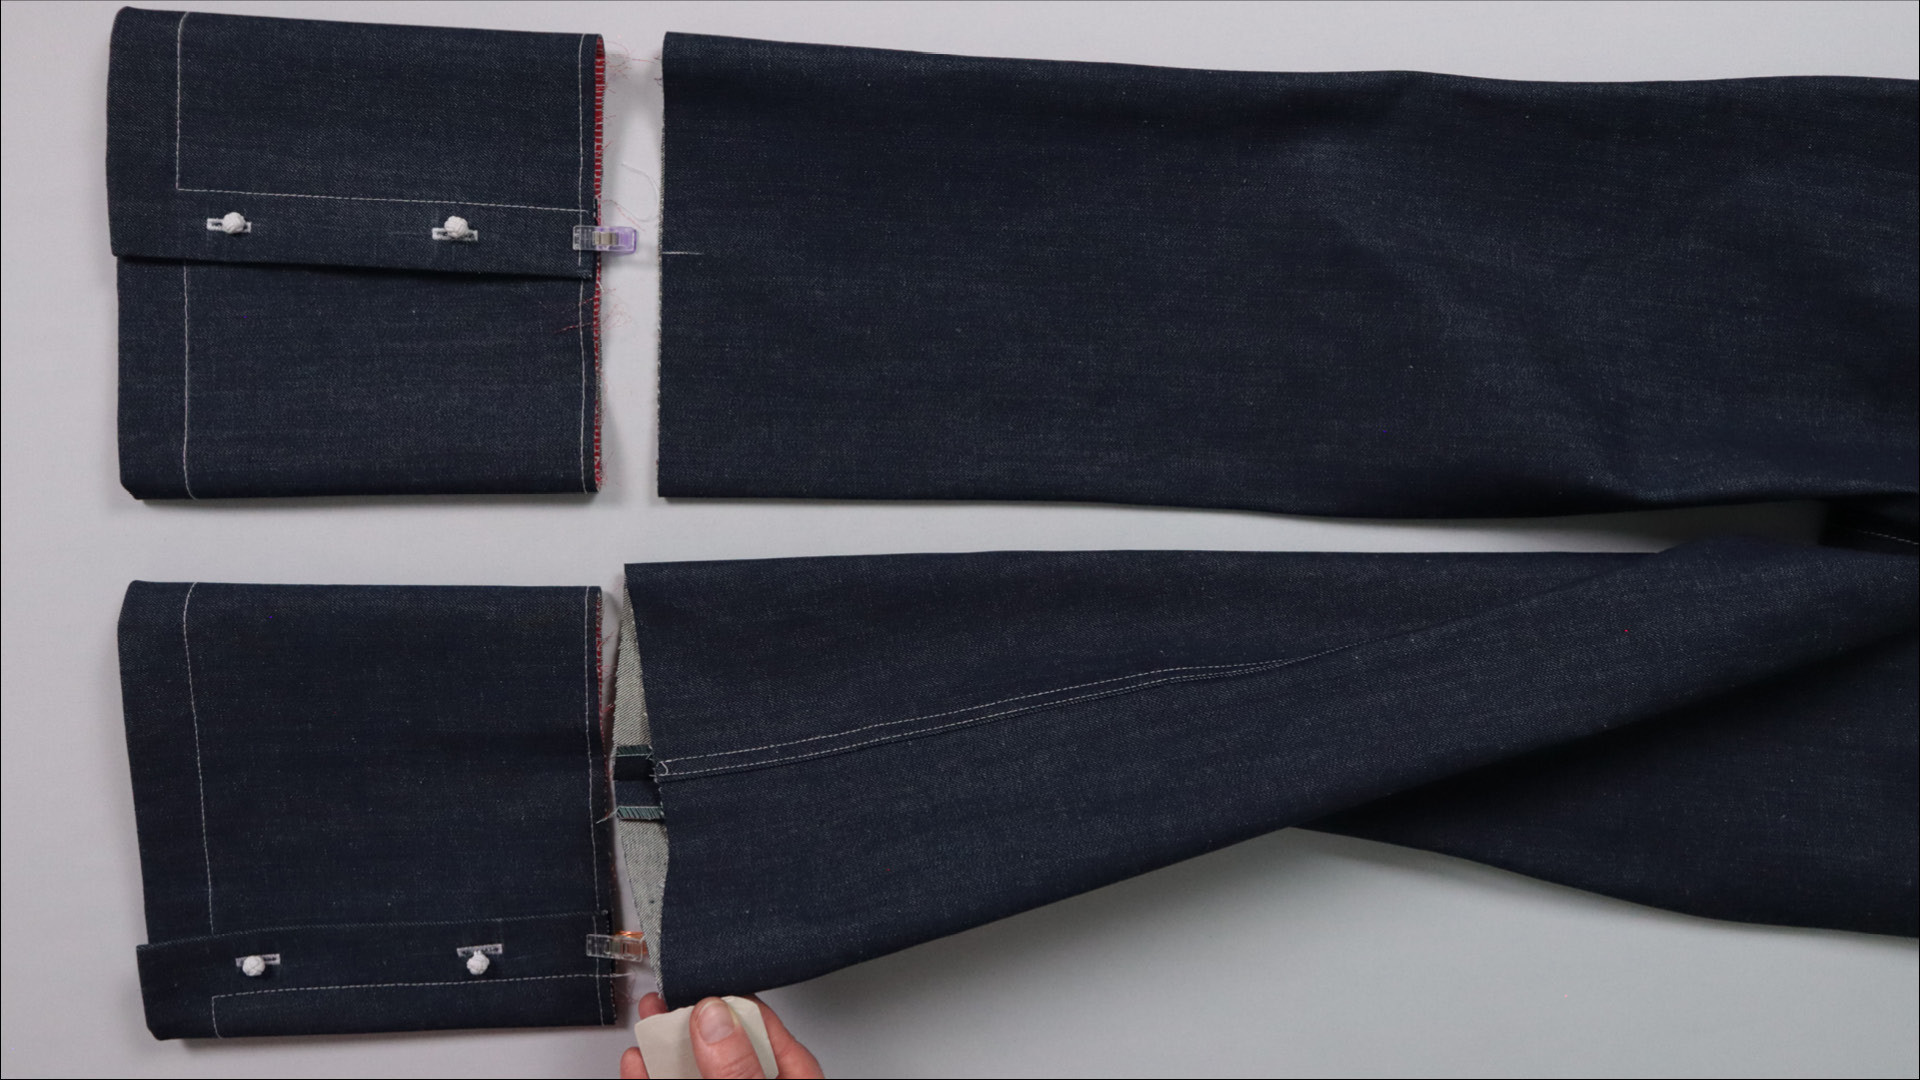
Here, I’ll show you how to position the slit at the centre back. First, I align the side seams to find the centre back of the trouser leg and mark this position.
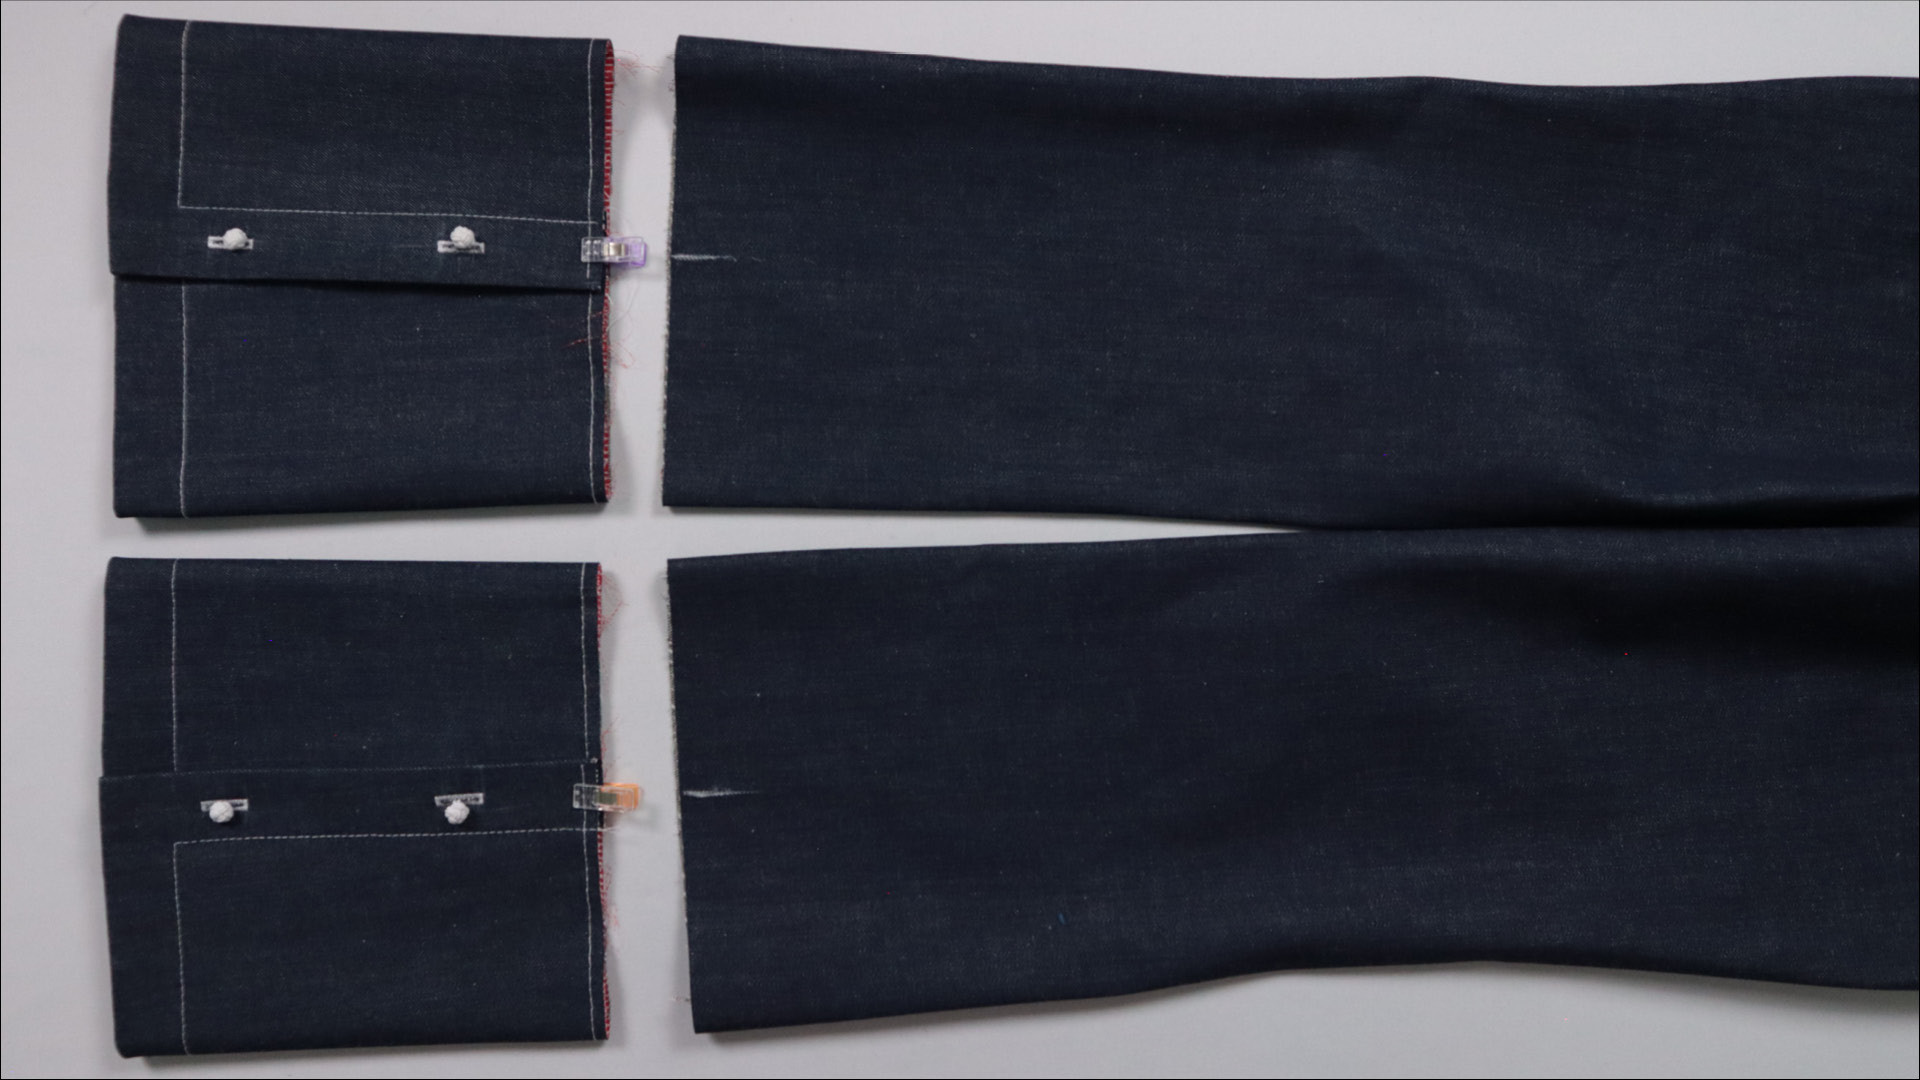
I use this marking to align the centre of the overlap. The hem pieces must be positioned symmetrically on both trouser legs, as mirror images of each other. You can decide which hem piece goes on which leg – in other words, which way you want the overlap to face.
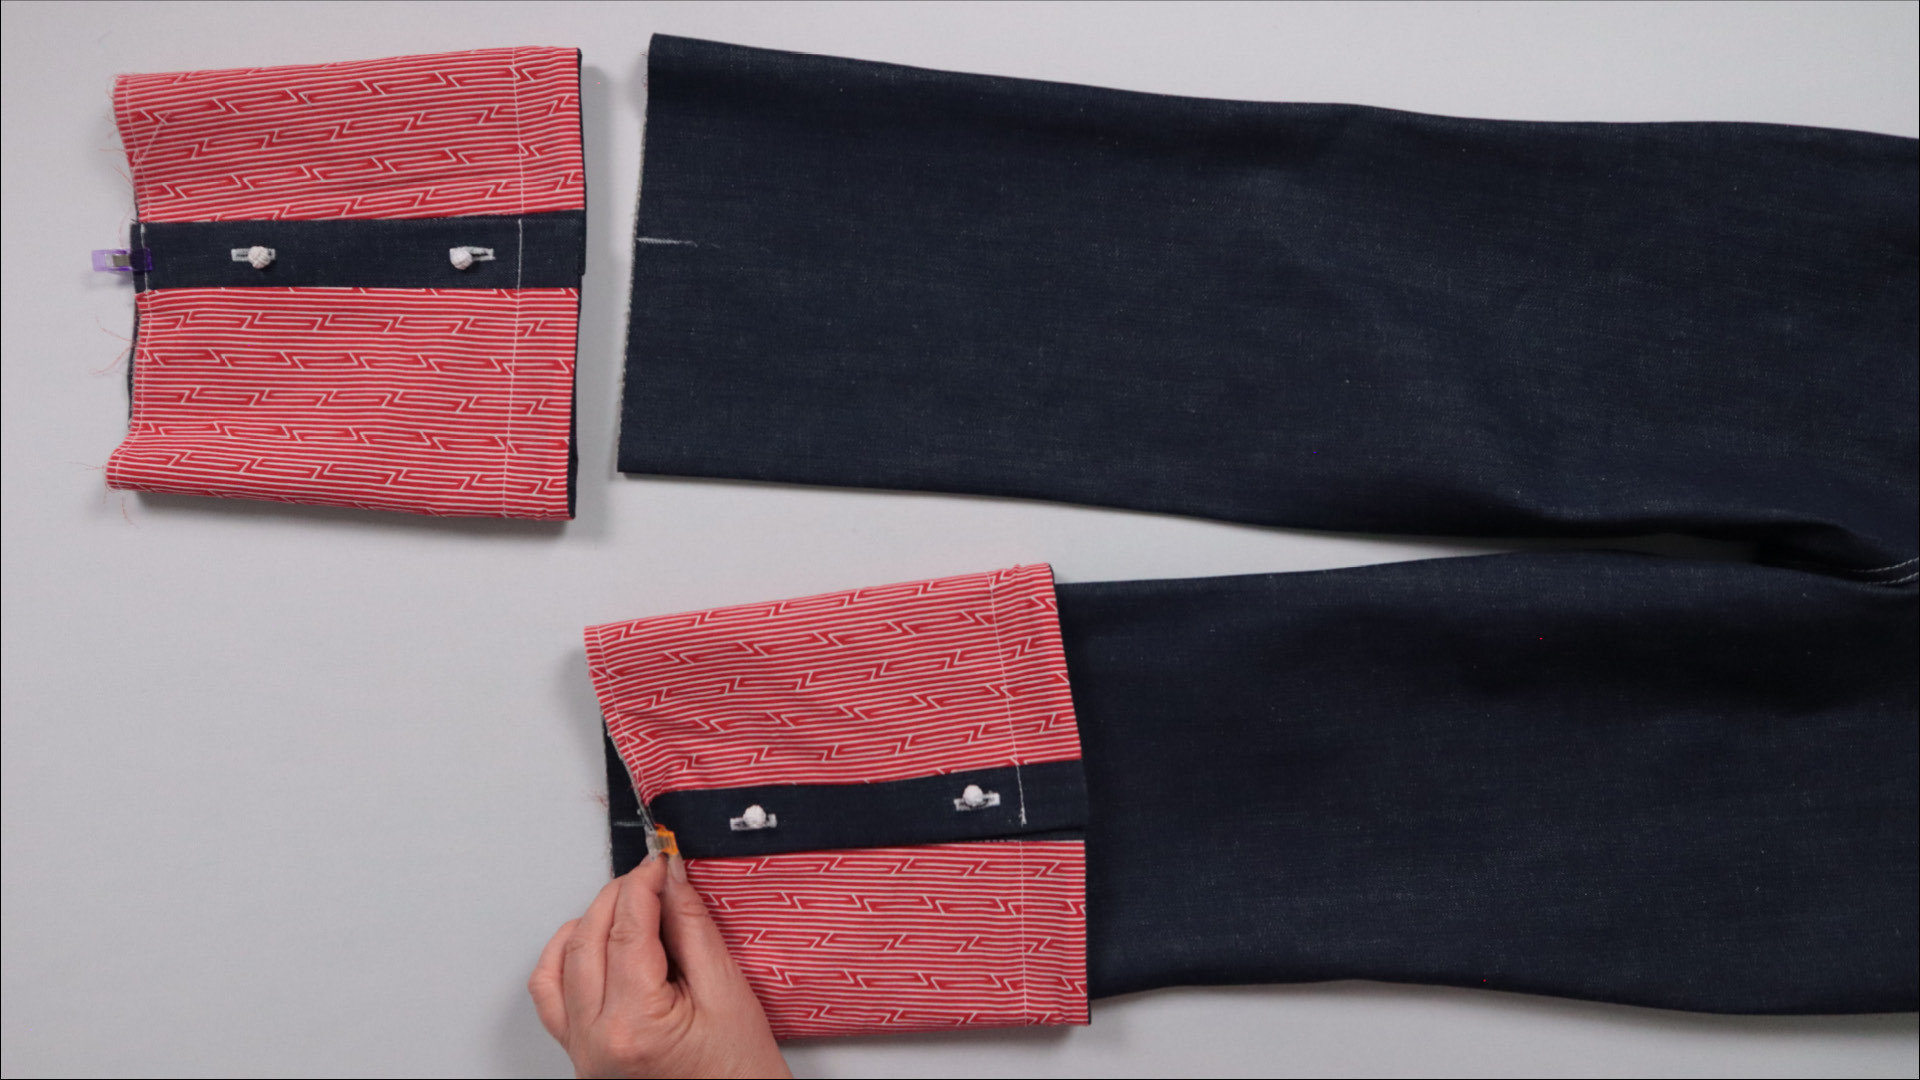
TIP:
If you skipped the section on trying on the pants, here’s an important note: There is a 3 cm seam allowance at the bottom edge of the trousers legs. This extra length serves as a buffer in case you find during the fitting that the pants are too short and need to be lengthened.
If you don’t need to adjust the length, you can trim the seam allowance back by 2 cm. This will leave a 1 cm seam allowance for sewing on the hem.
I pin the top edge of the hem piece to the trouser leg, right sides together, with the lining fabric facing me. I make sure that the markings on the hem piece align exactly with the centre back of the trouser leg.
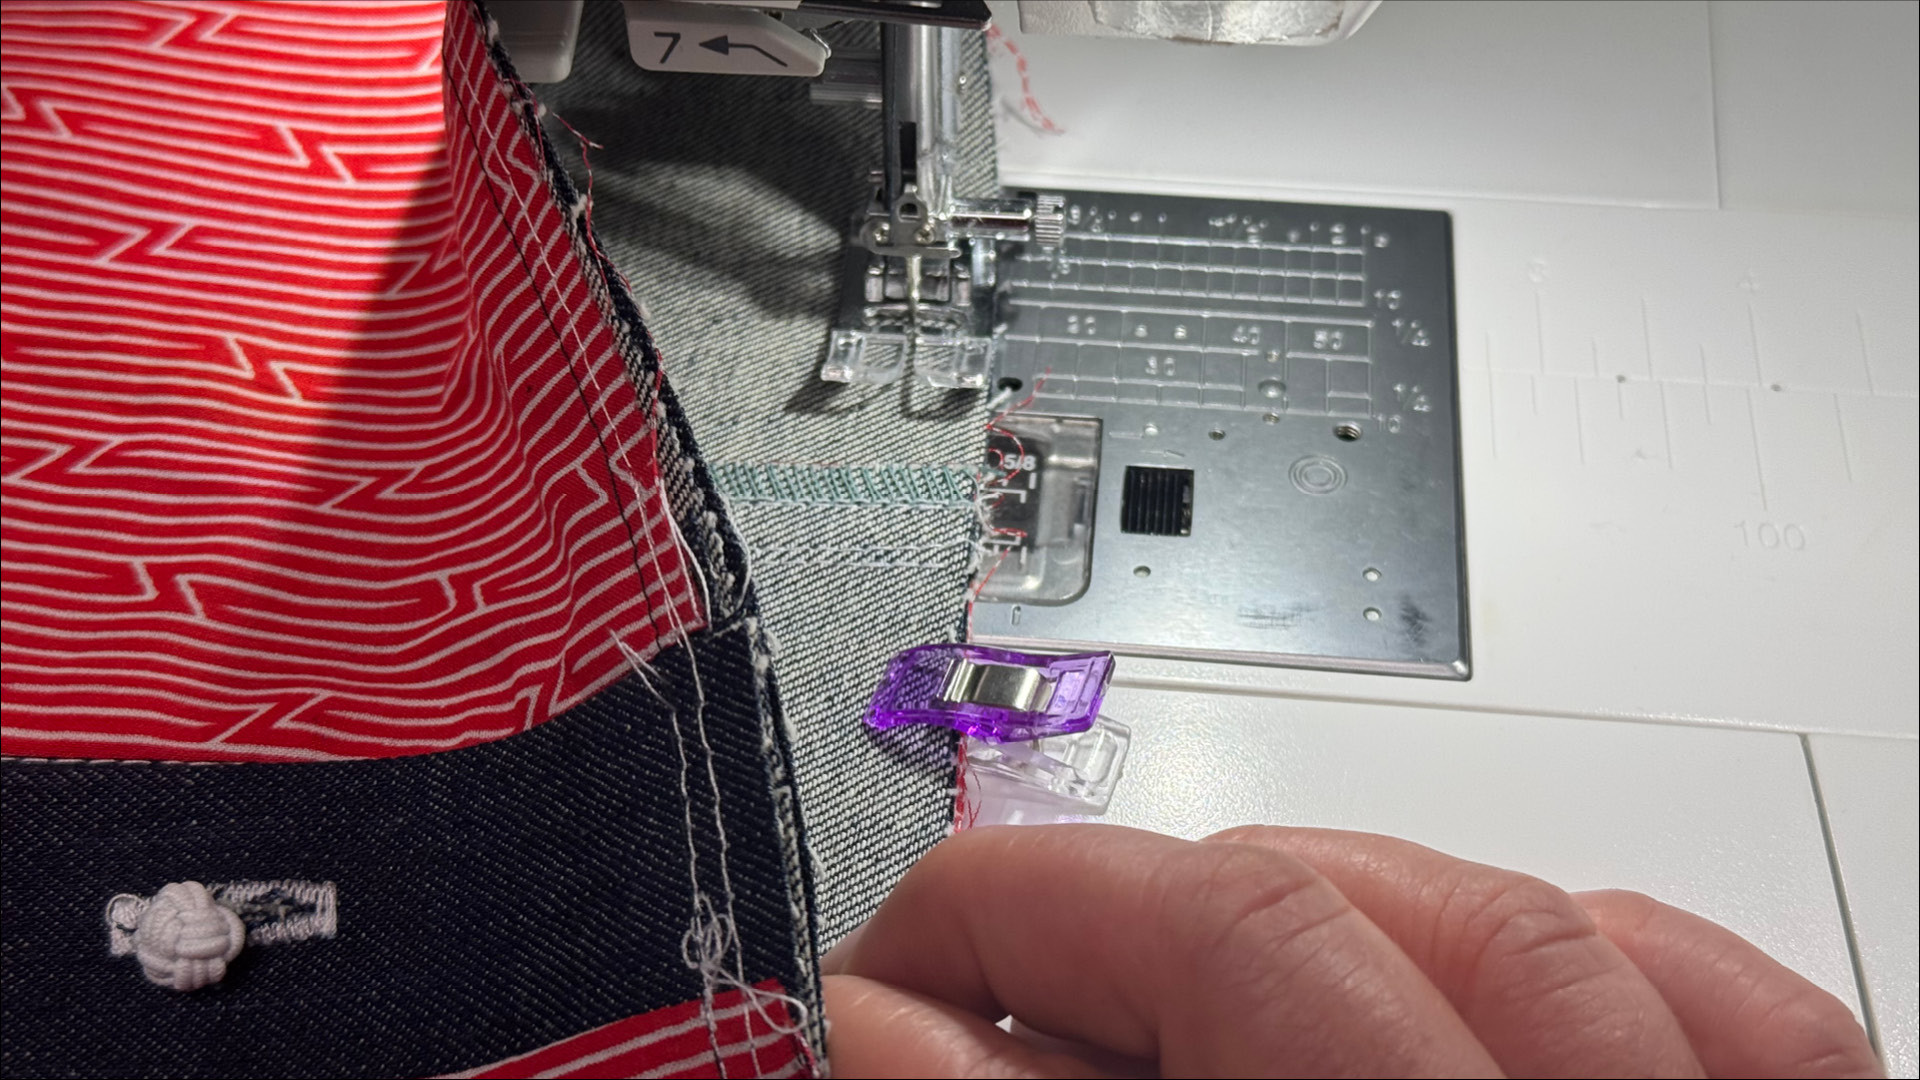
Then I sew the hem piece to the trouser leg with a 1 cm seam allowance.
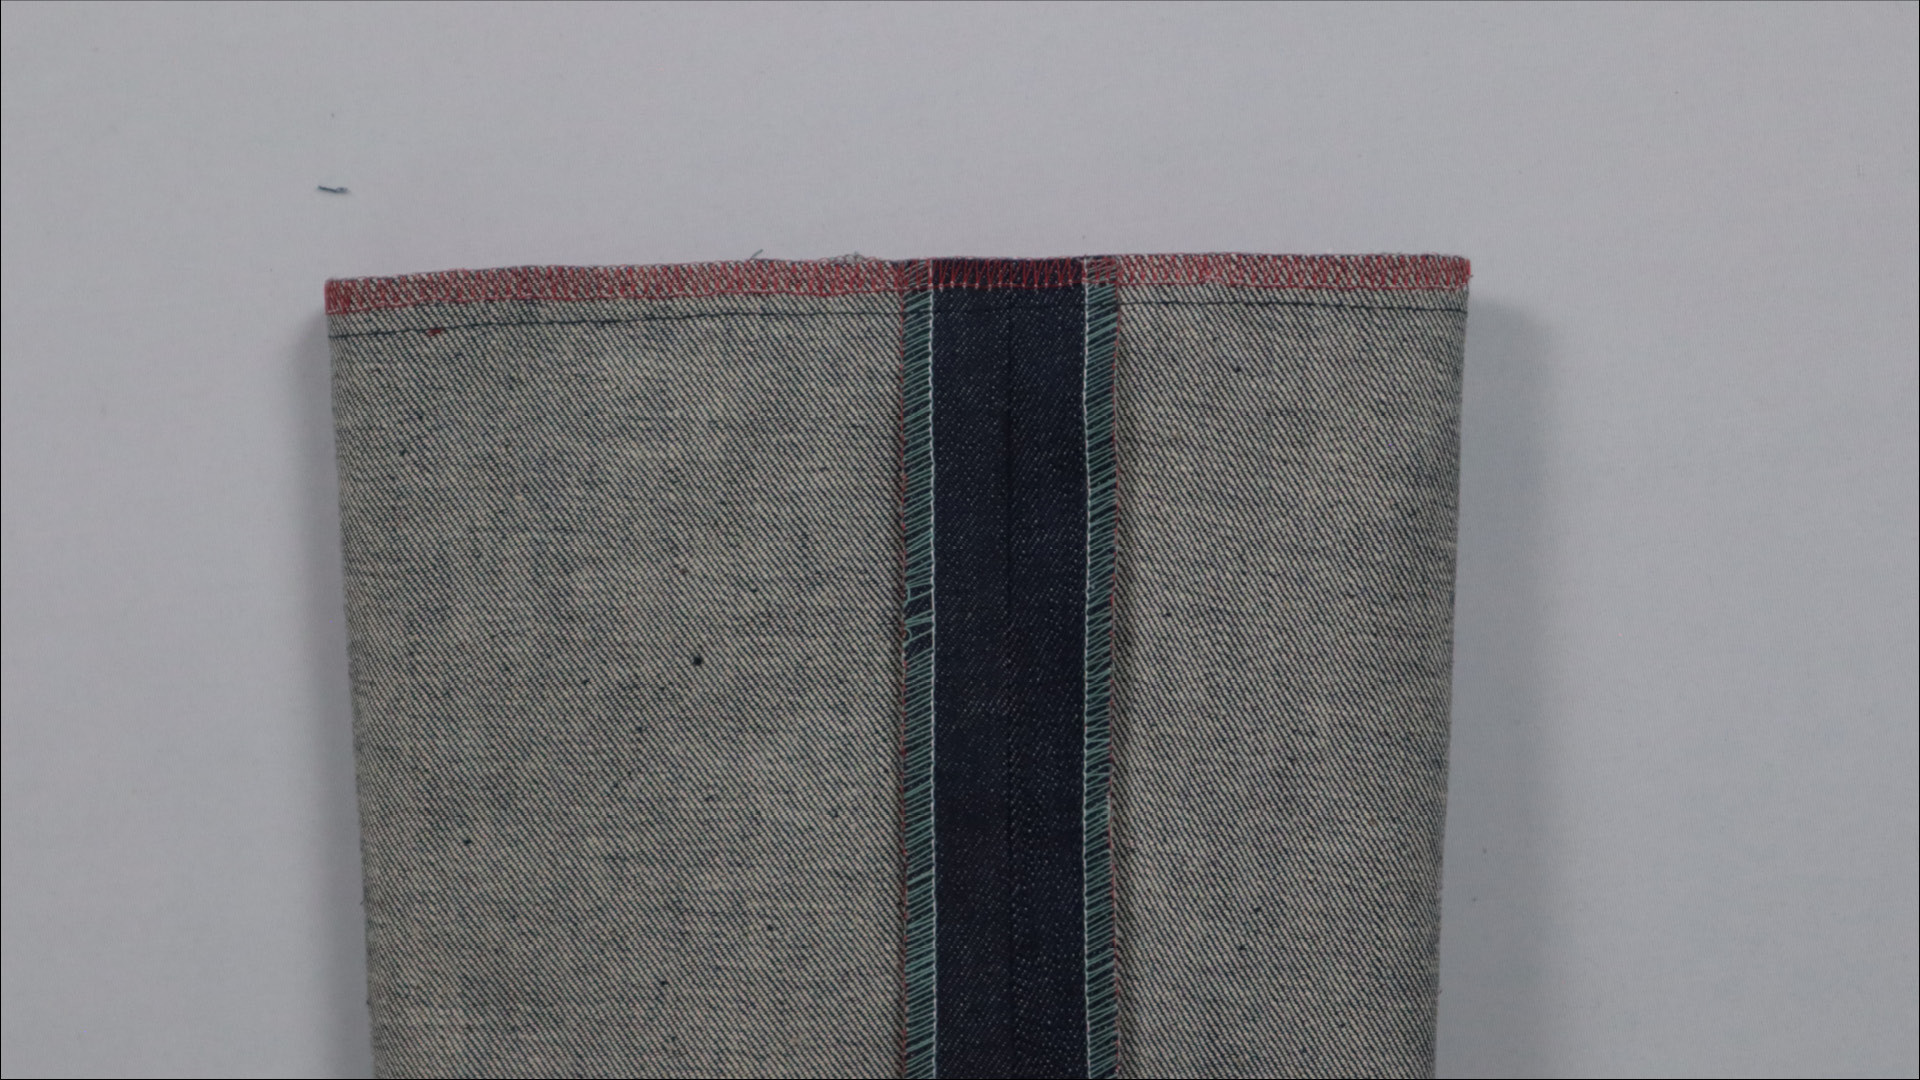
I neaten the seam allowances using the serger or a zigzag stitch.
8. Press the seam allowance and topstitch it
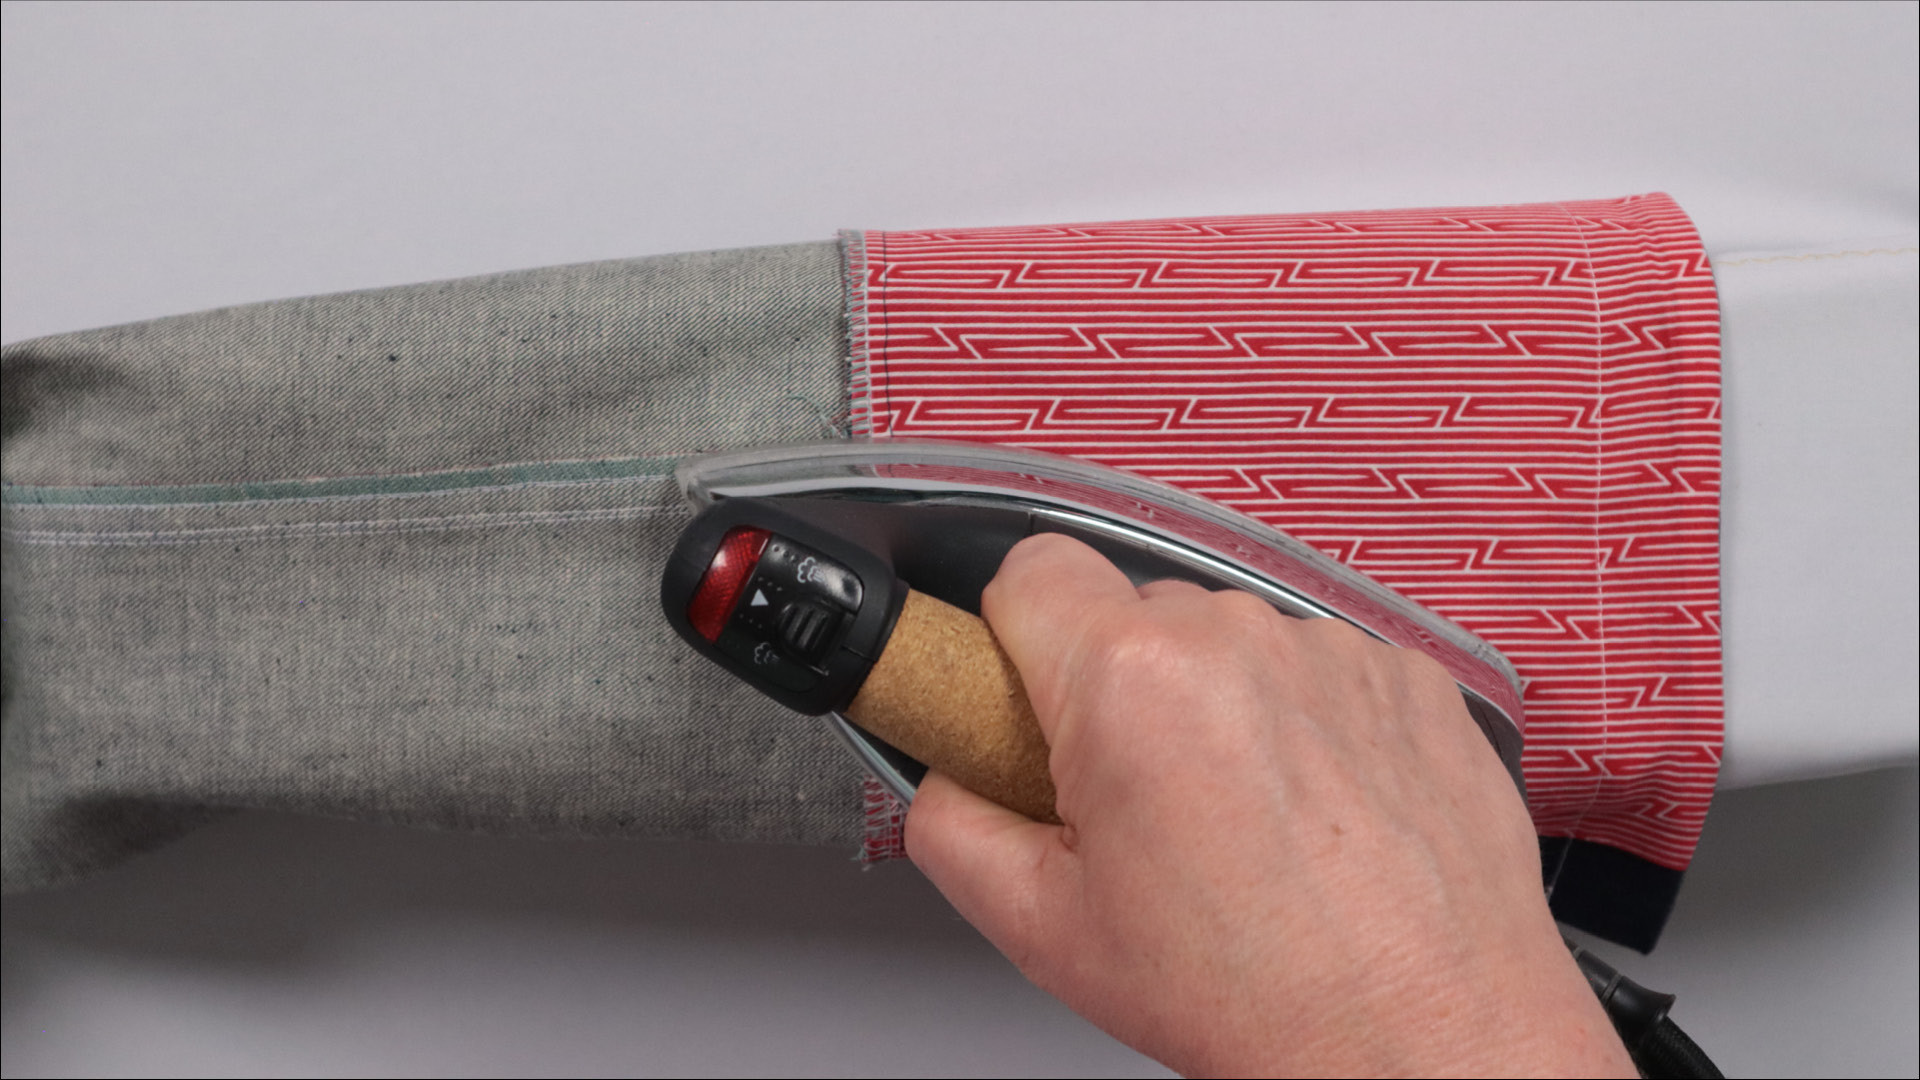
To press the seam allowances towards the trouser leg, I slip the trouser leg over my sleeve board. Of course, you can also do this without a sleeve board.
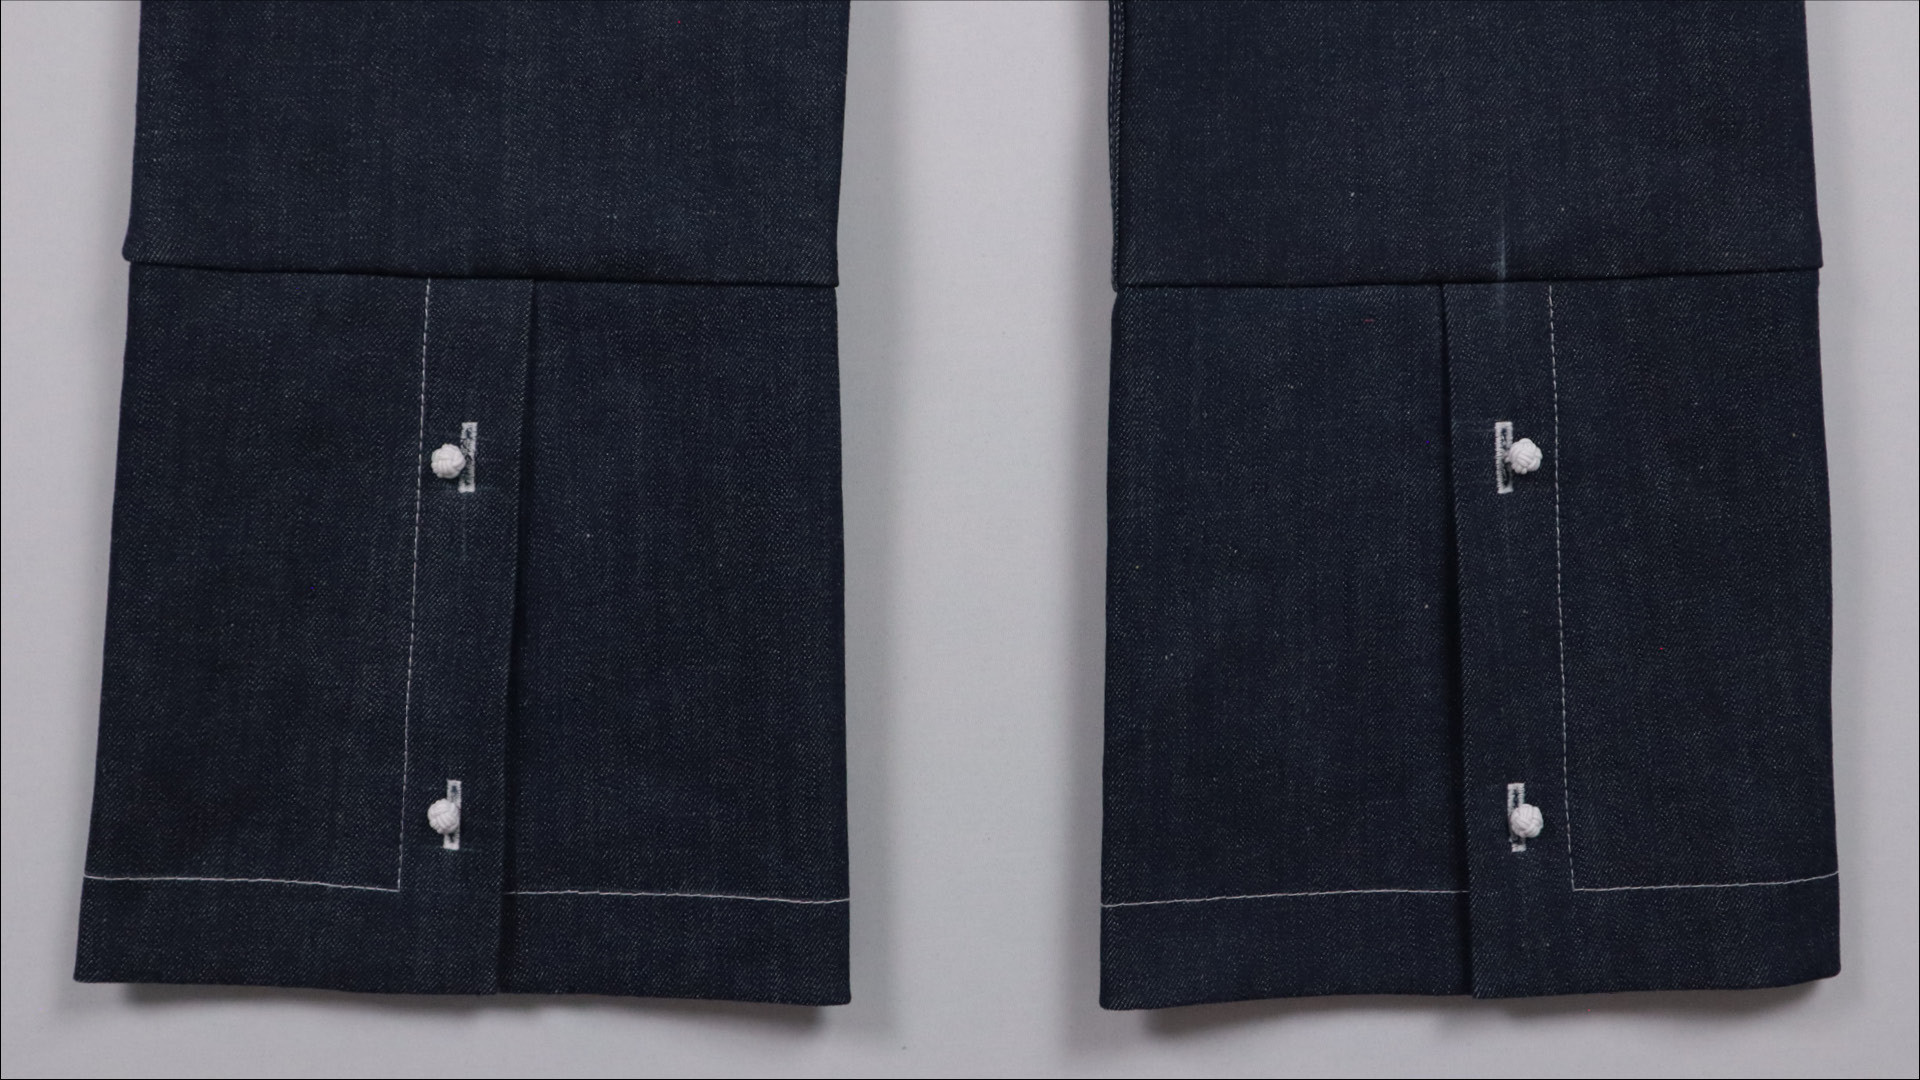
Then I turn the trousers right side out—and this is what they look like.
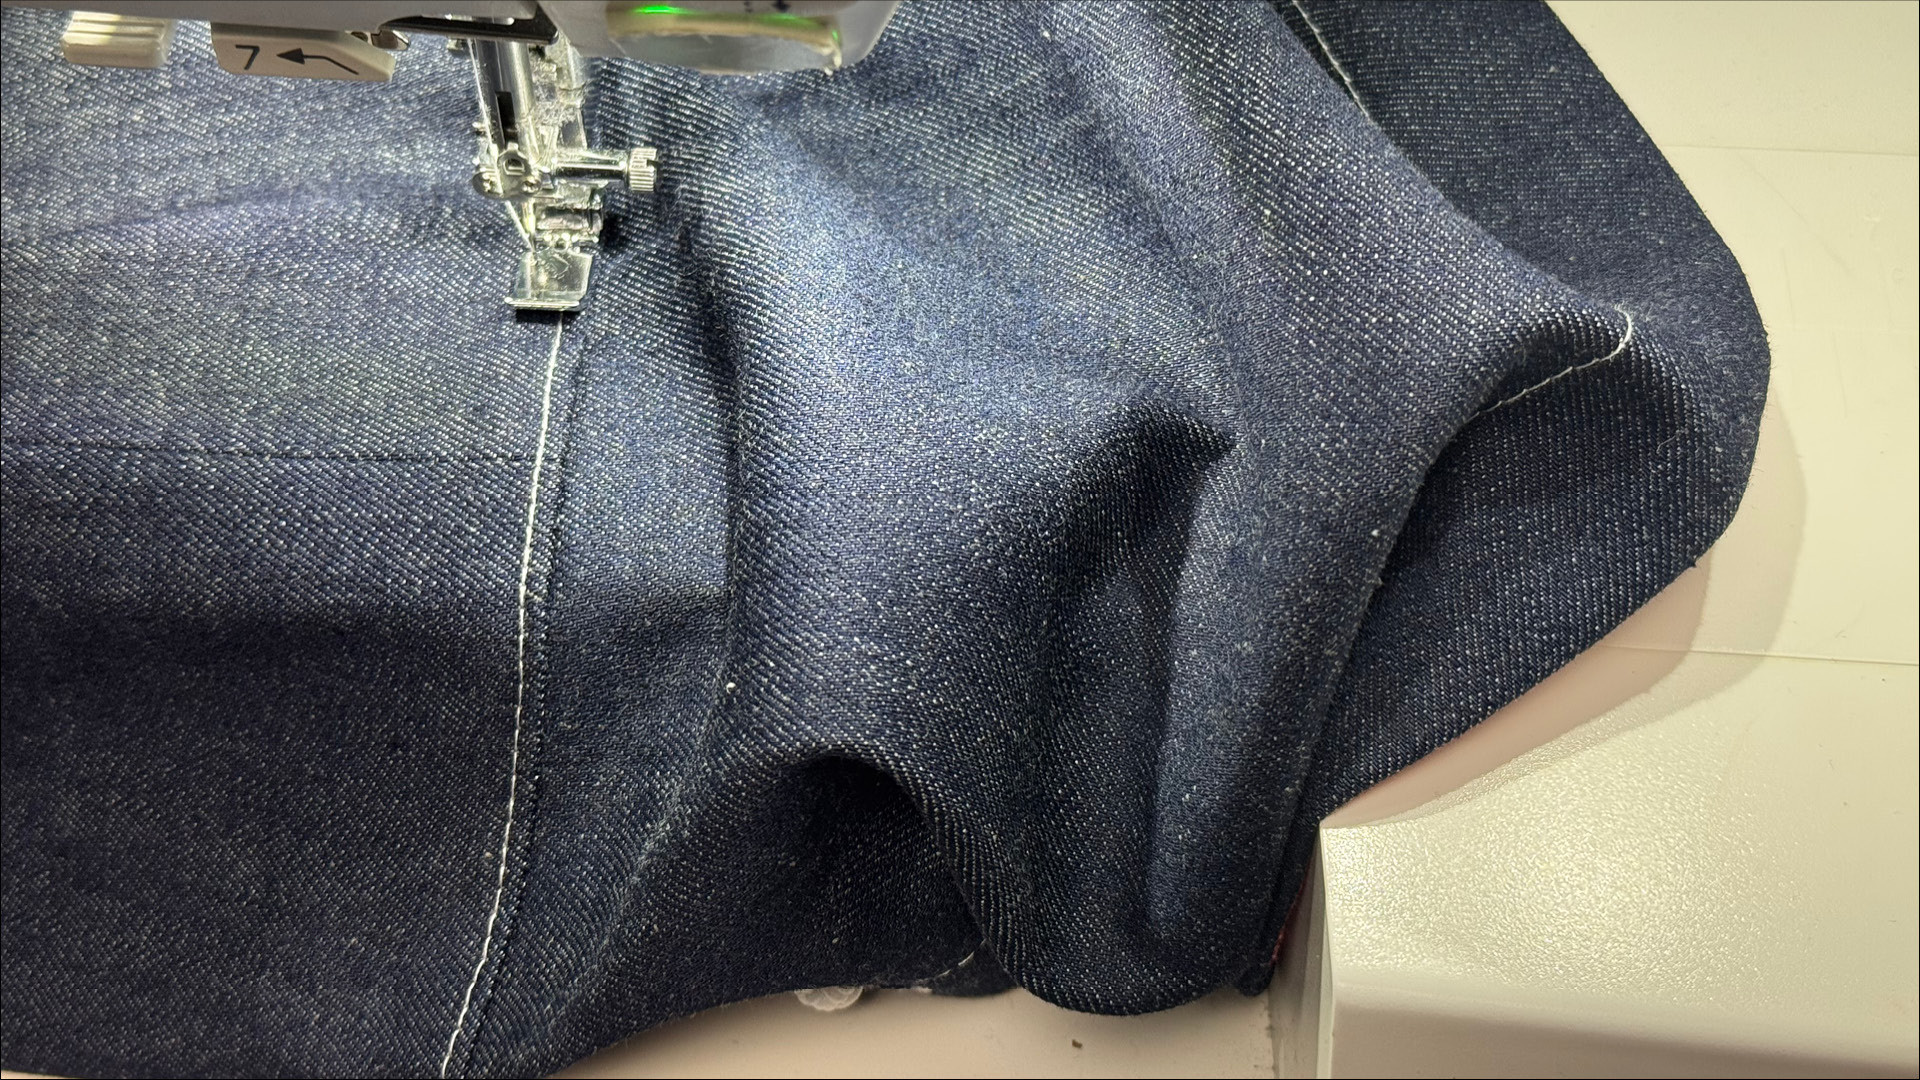
Topstitch the seam allowance from the right side. Again it’s up to you whether you do a narrow seam or a double seam.
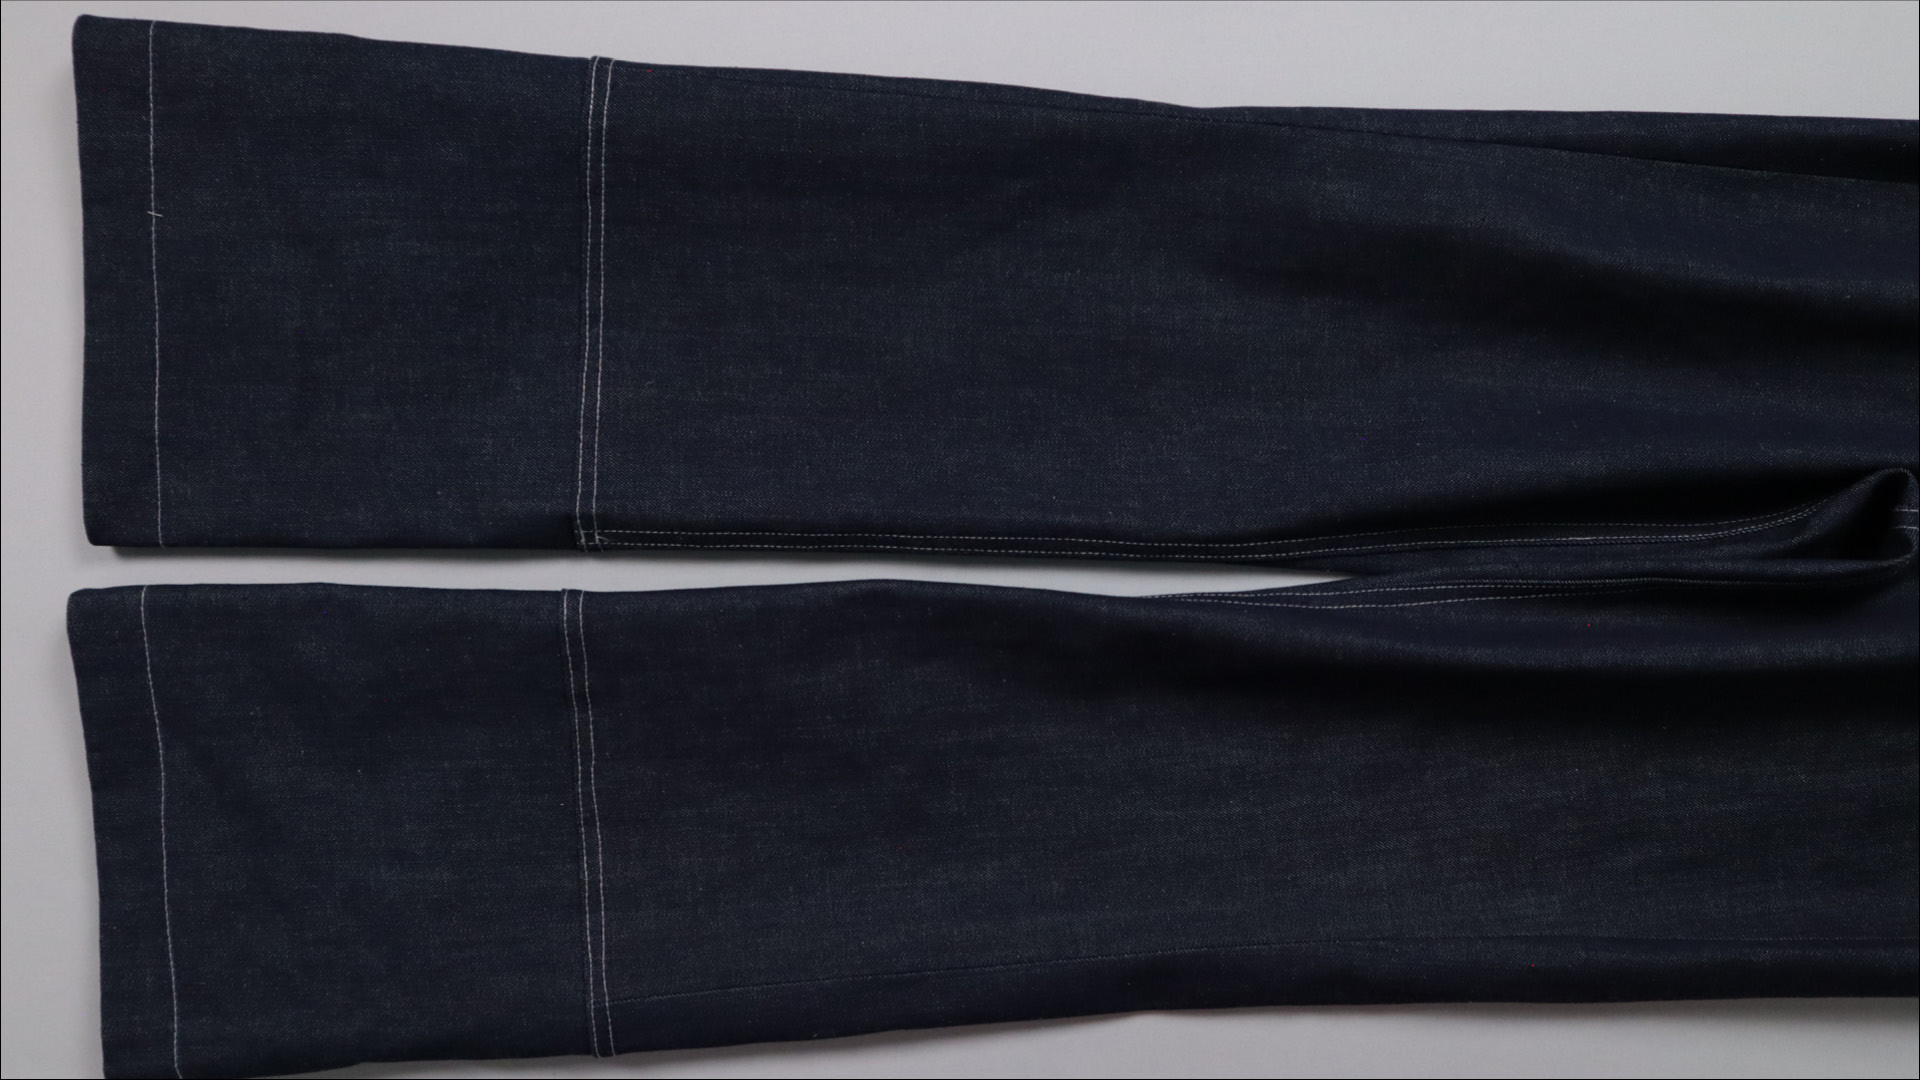
Here, I’ve added two parallel rows of topstitching, 2 mm and 6 mm from the seam.
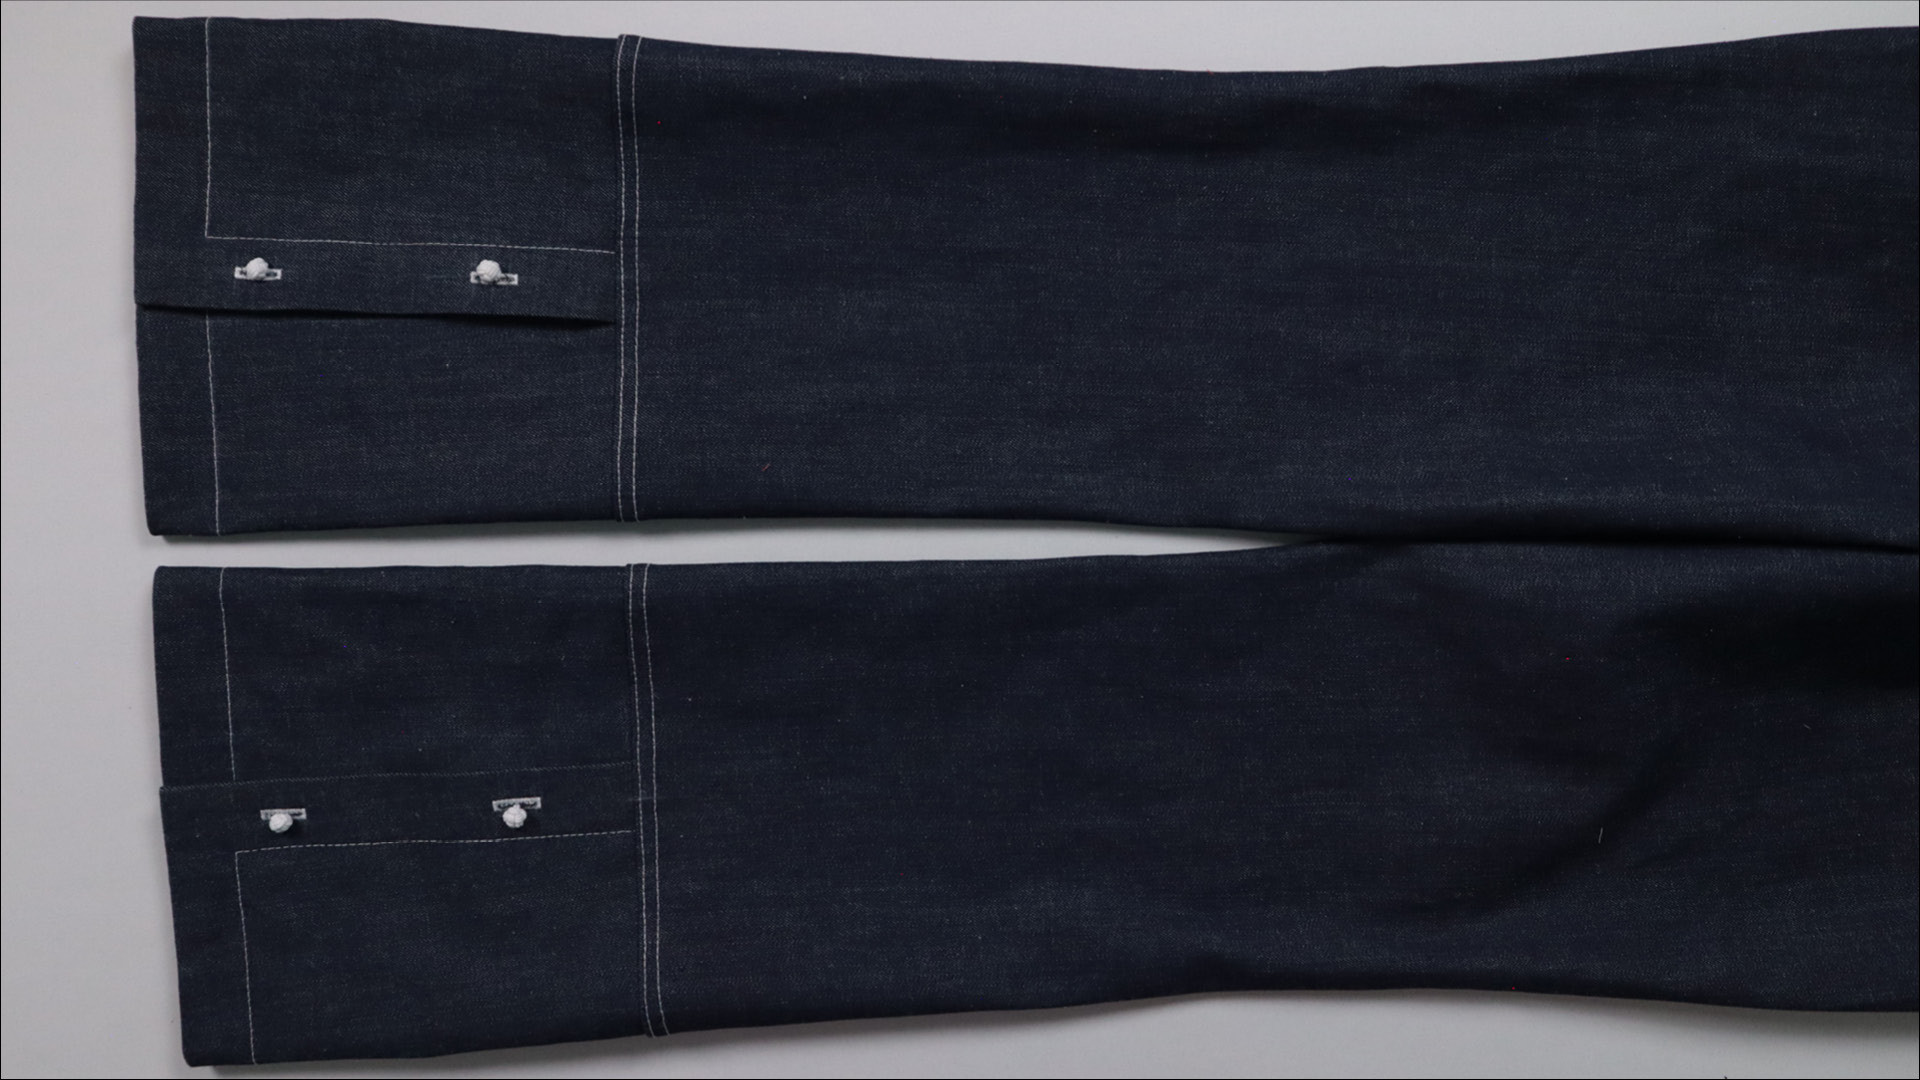
This is what it looks like from the back.
9. Turn up the hem (optional)
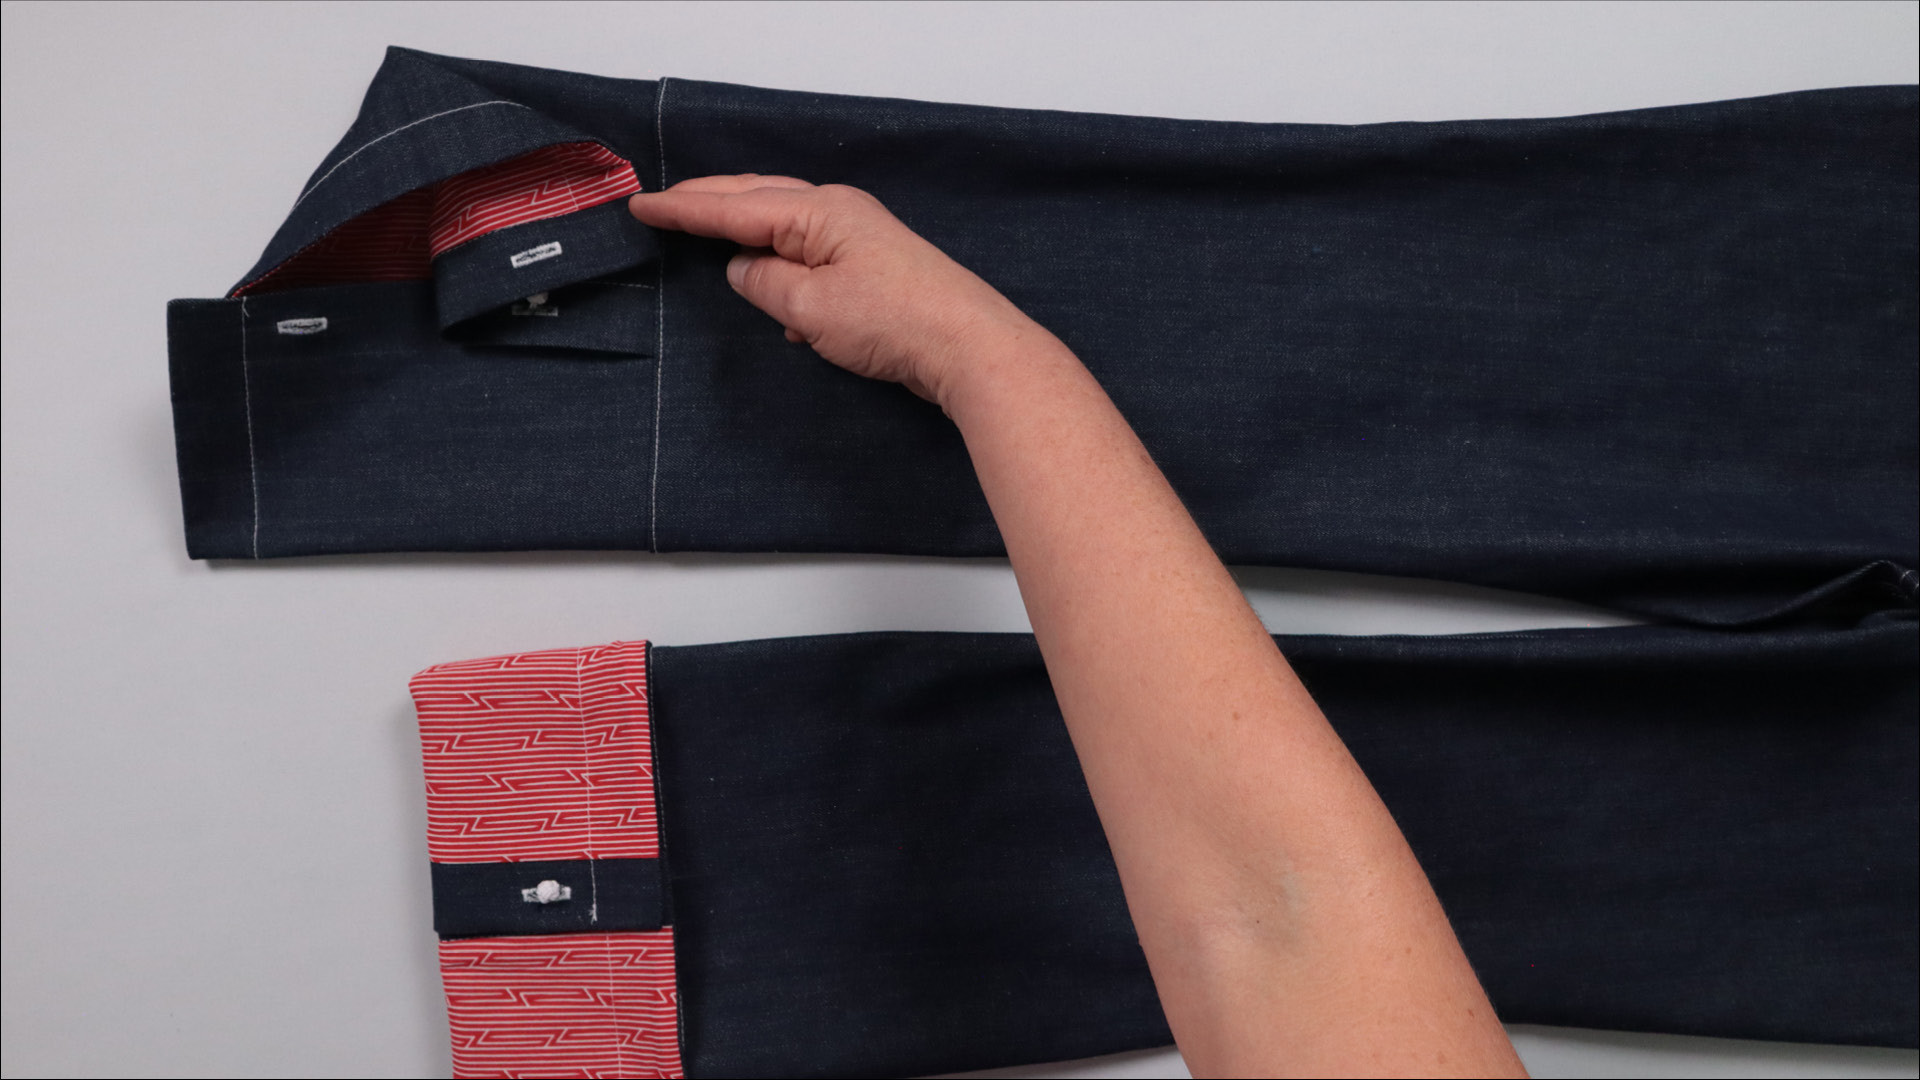
To turn up the hem, I release the lower end of the silk knot cufflink from the bottom buttonhole.
Then I fold the hem up towards the outside and fasten it to the upper end of the cufflink using the corresponding buttonhole. To prevent the loose end from getting lost, I can also fasten it through the same buttonhole.
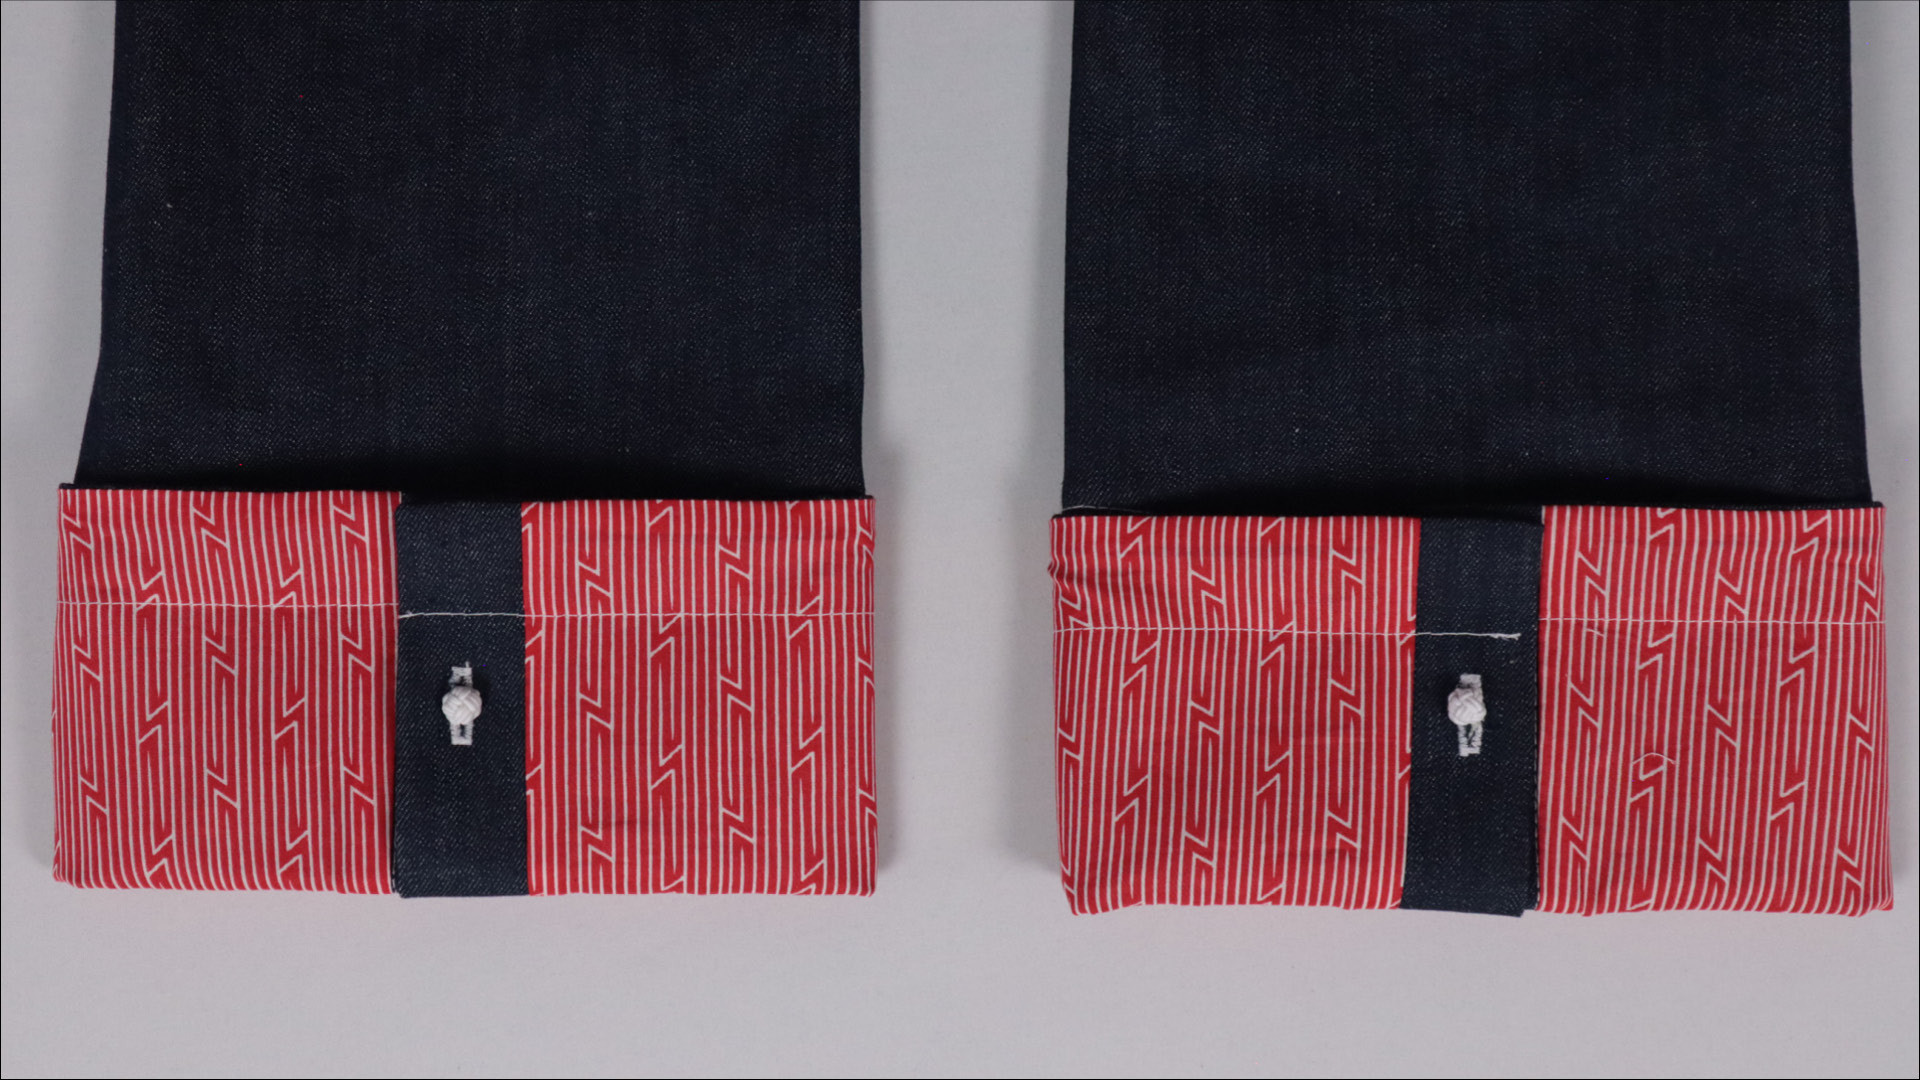
This is what the buttoned hem detail looks like when it’s turned up on both legs.
If you’re not quite ready yet and want to start from the very beginning, here are a few links: