Sew back patch jeans pocket #TH04
In the following video and illustrated text instructions, I explain how to sew a patch pocket on the back of a pair of jeans and what you need to bear in mind.
1. This is required
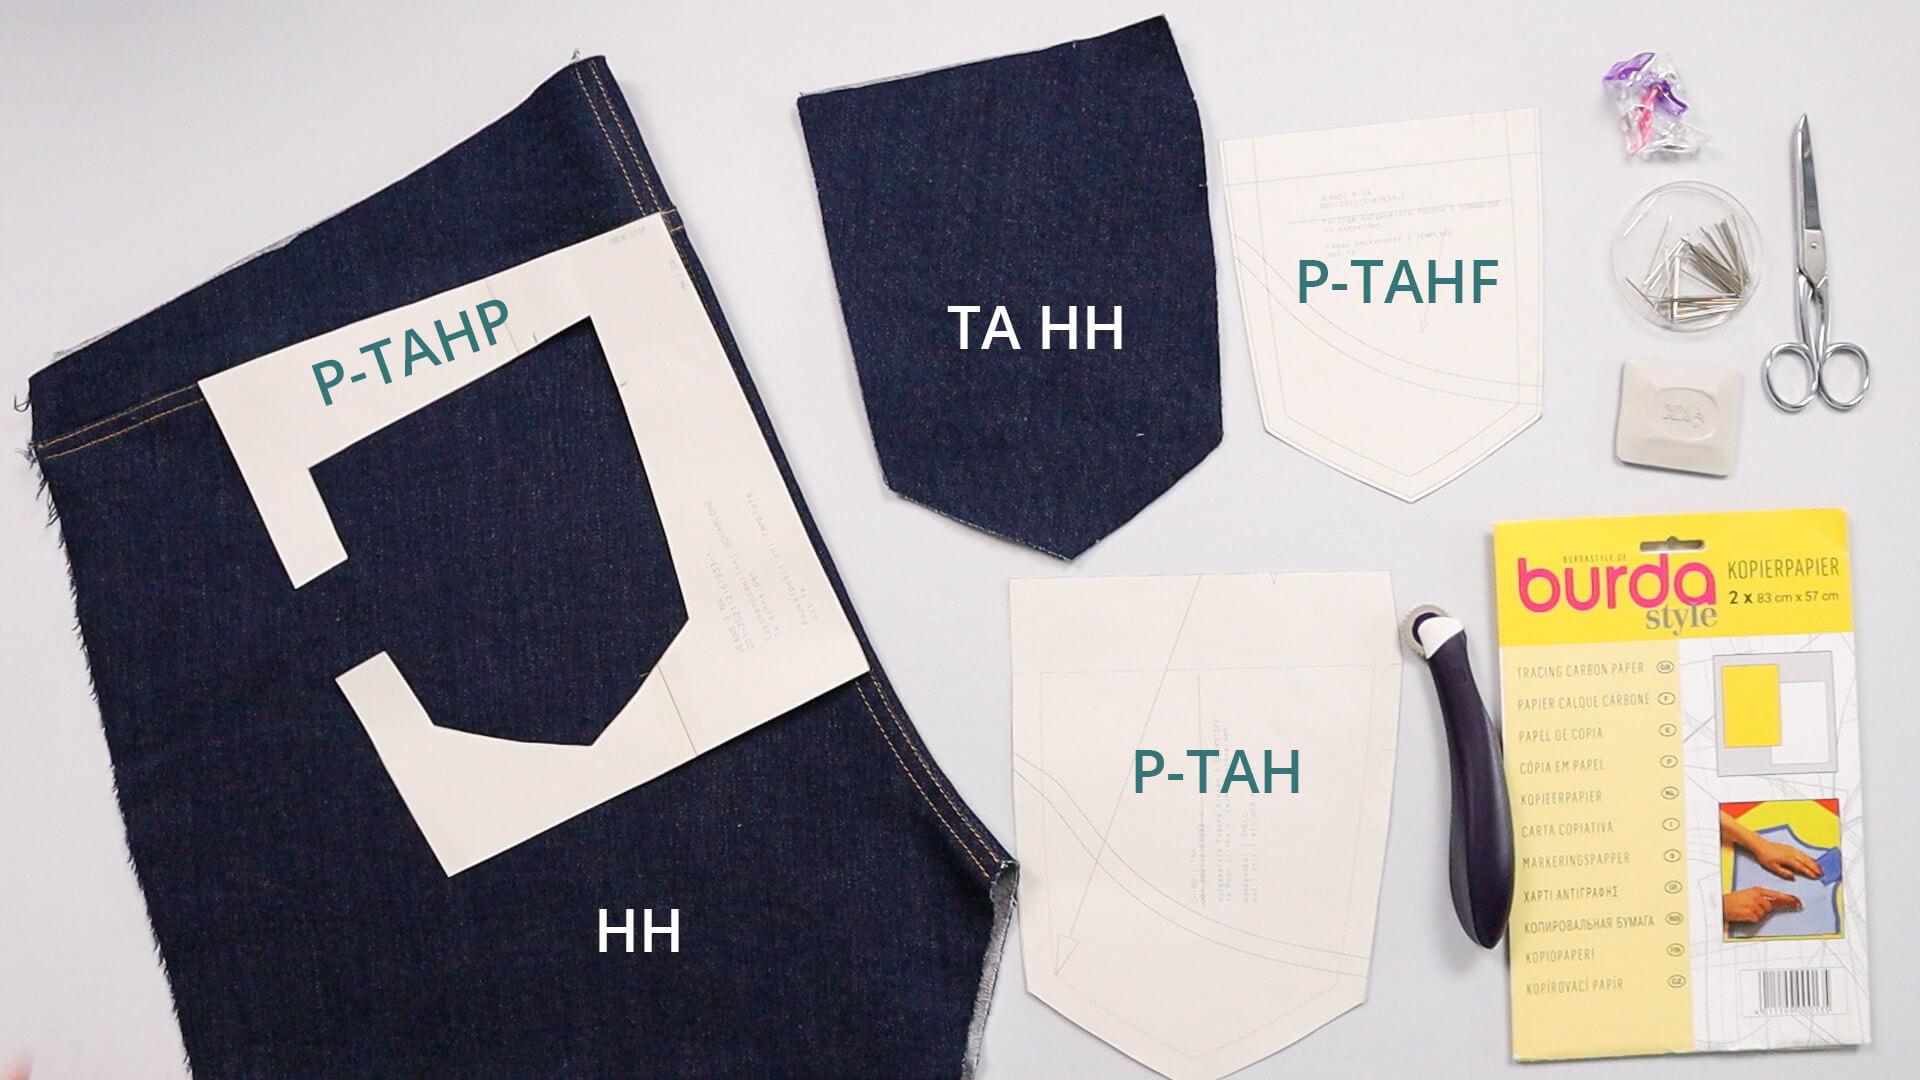
Pattern pieces made from main fabric:
- patch pocket (TA HH) – 1 pair
- back pieces (HH), where the yoke and back seams are already joined
Tools and aids:
- the paper template for the finished pocket (P-TAHF)
- the paper template for pocket position (P-TAHP)
- the template for pocket decorative topstitching (P-TAH), if applicable
- pins and/or clips
- scissors
- tailor’s chalk or marking pen
- copy paper and copy wheel for transferring the decorative stitching if necessary
Tip
If you are using selvage denim, you can create a great highlight by using the selvedge as the top edge of the jeans pocket. To do this, fold the pattern piece along the marked line and place it on the selvedge.
2. Apply decorative stitching
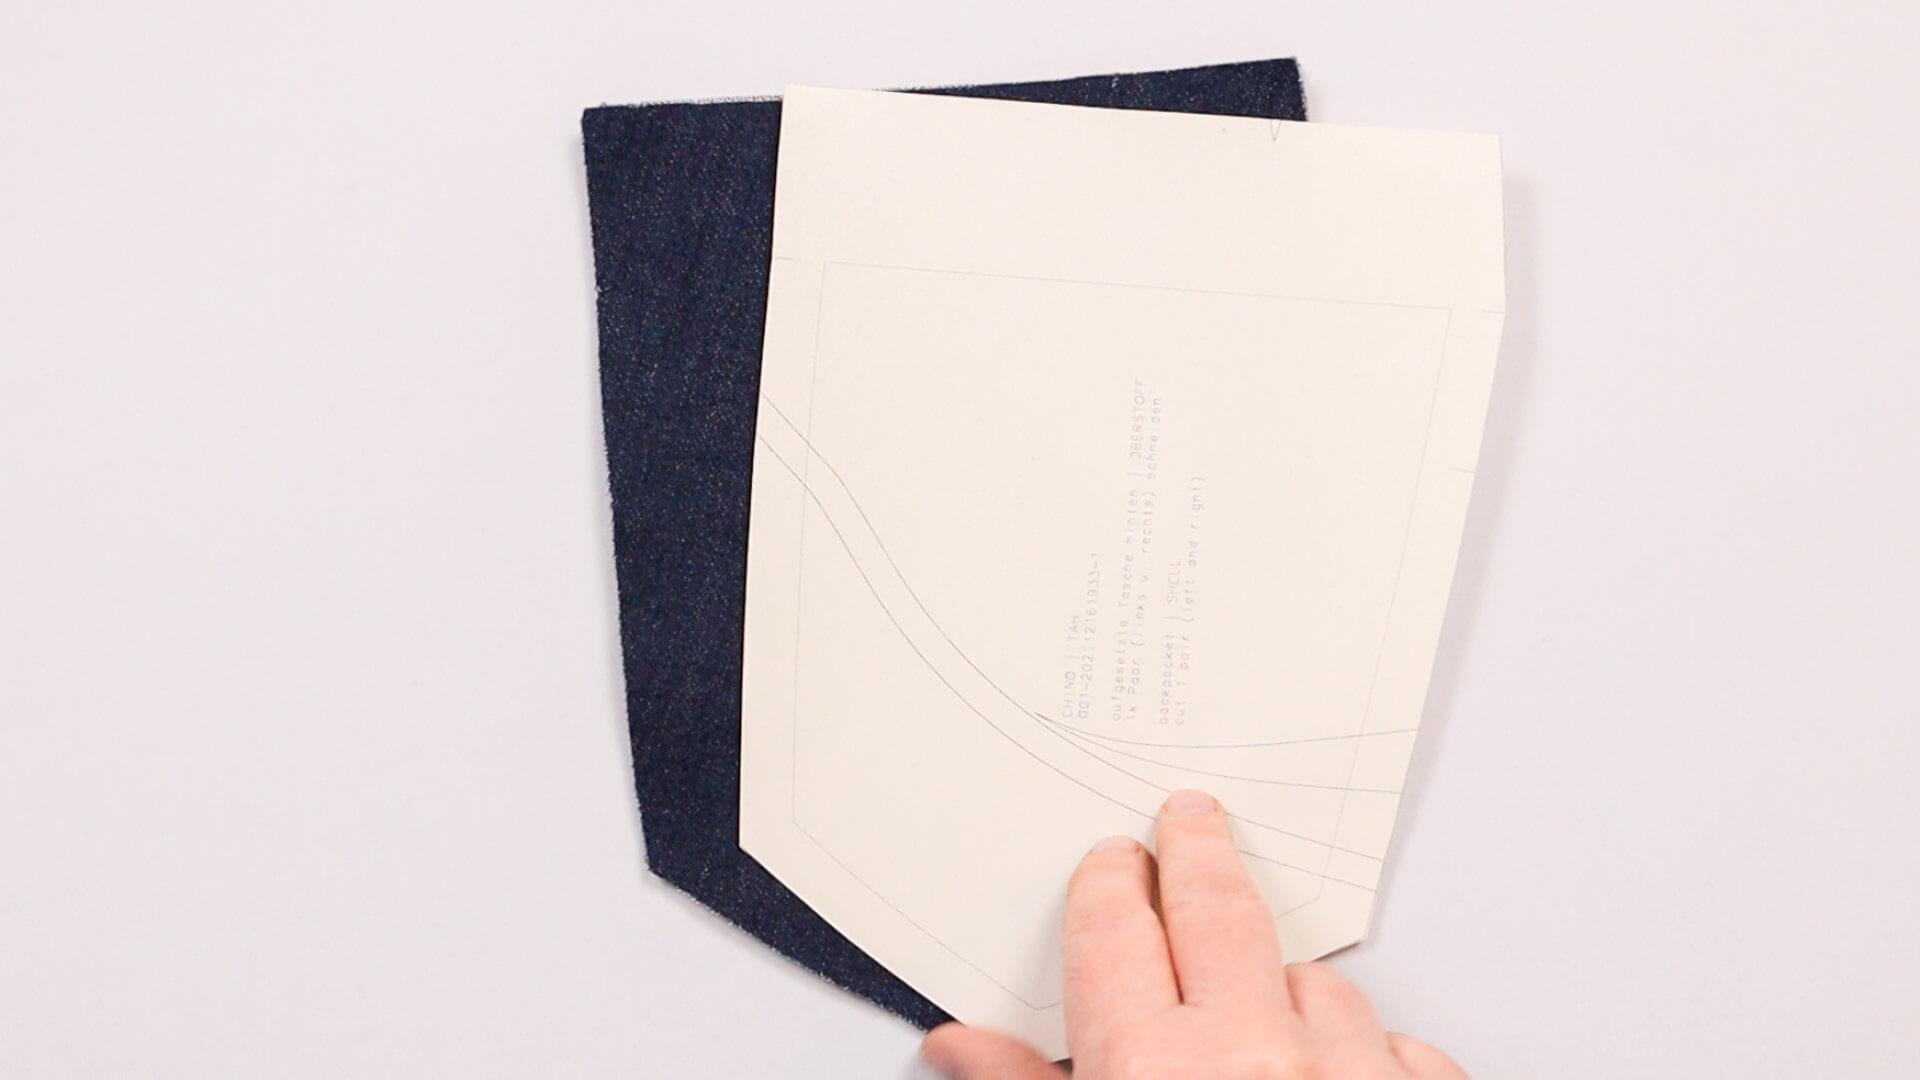
I start with the decorative topstitching to the trouser pocket. The shape can vary depending on the design. If you are working without decorative topstitching, you can continue reading here.
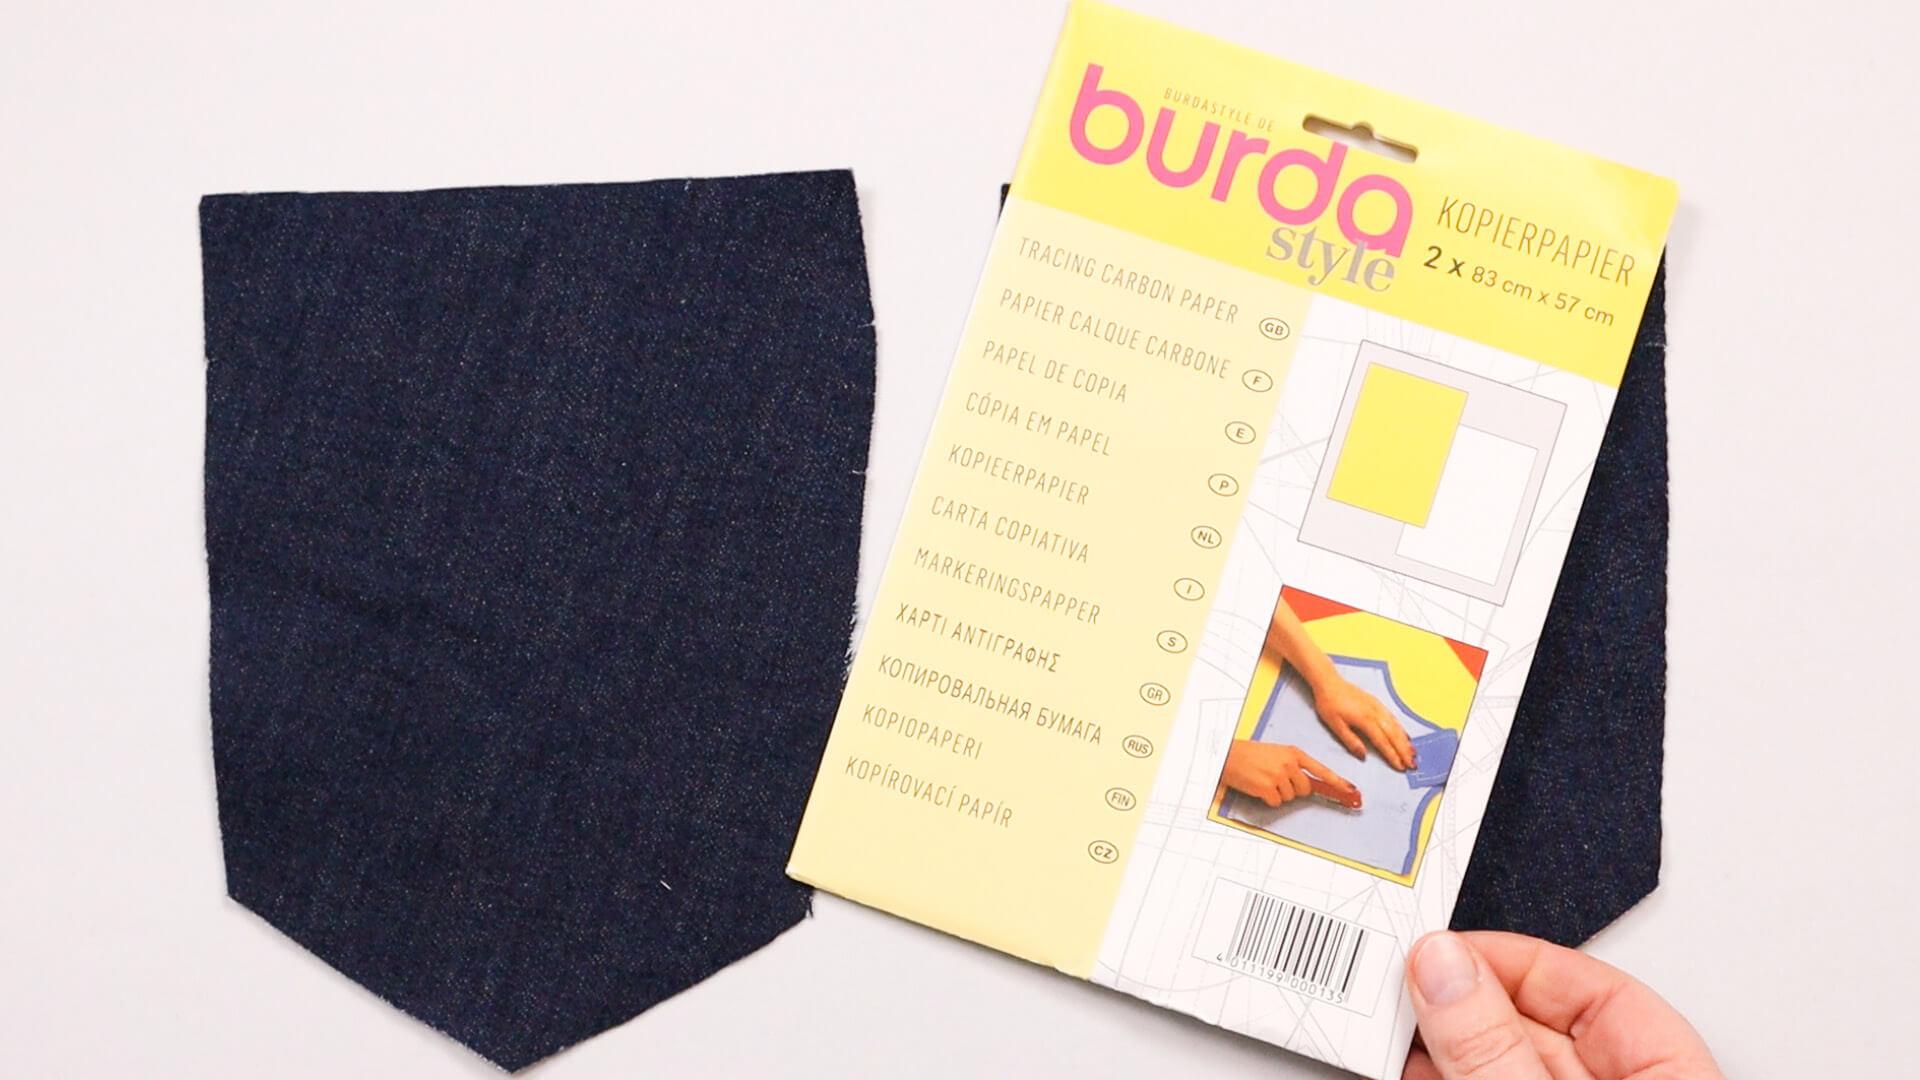
I use copy paper to transfer the decorative stitching.
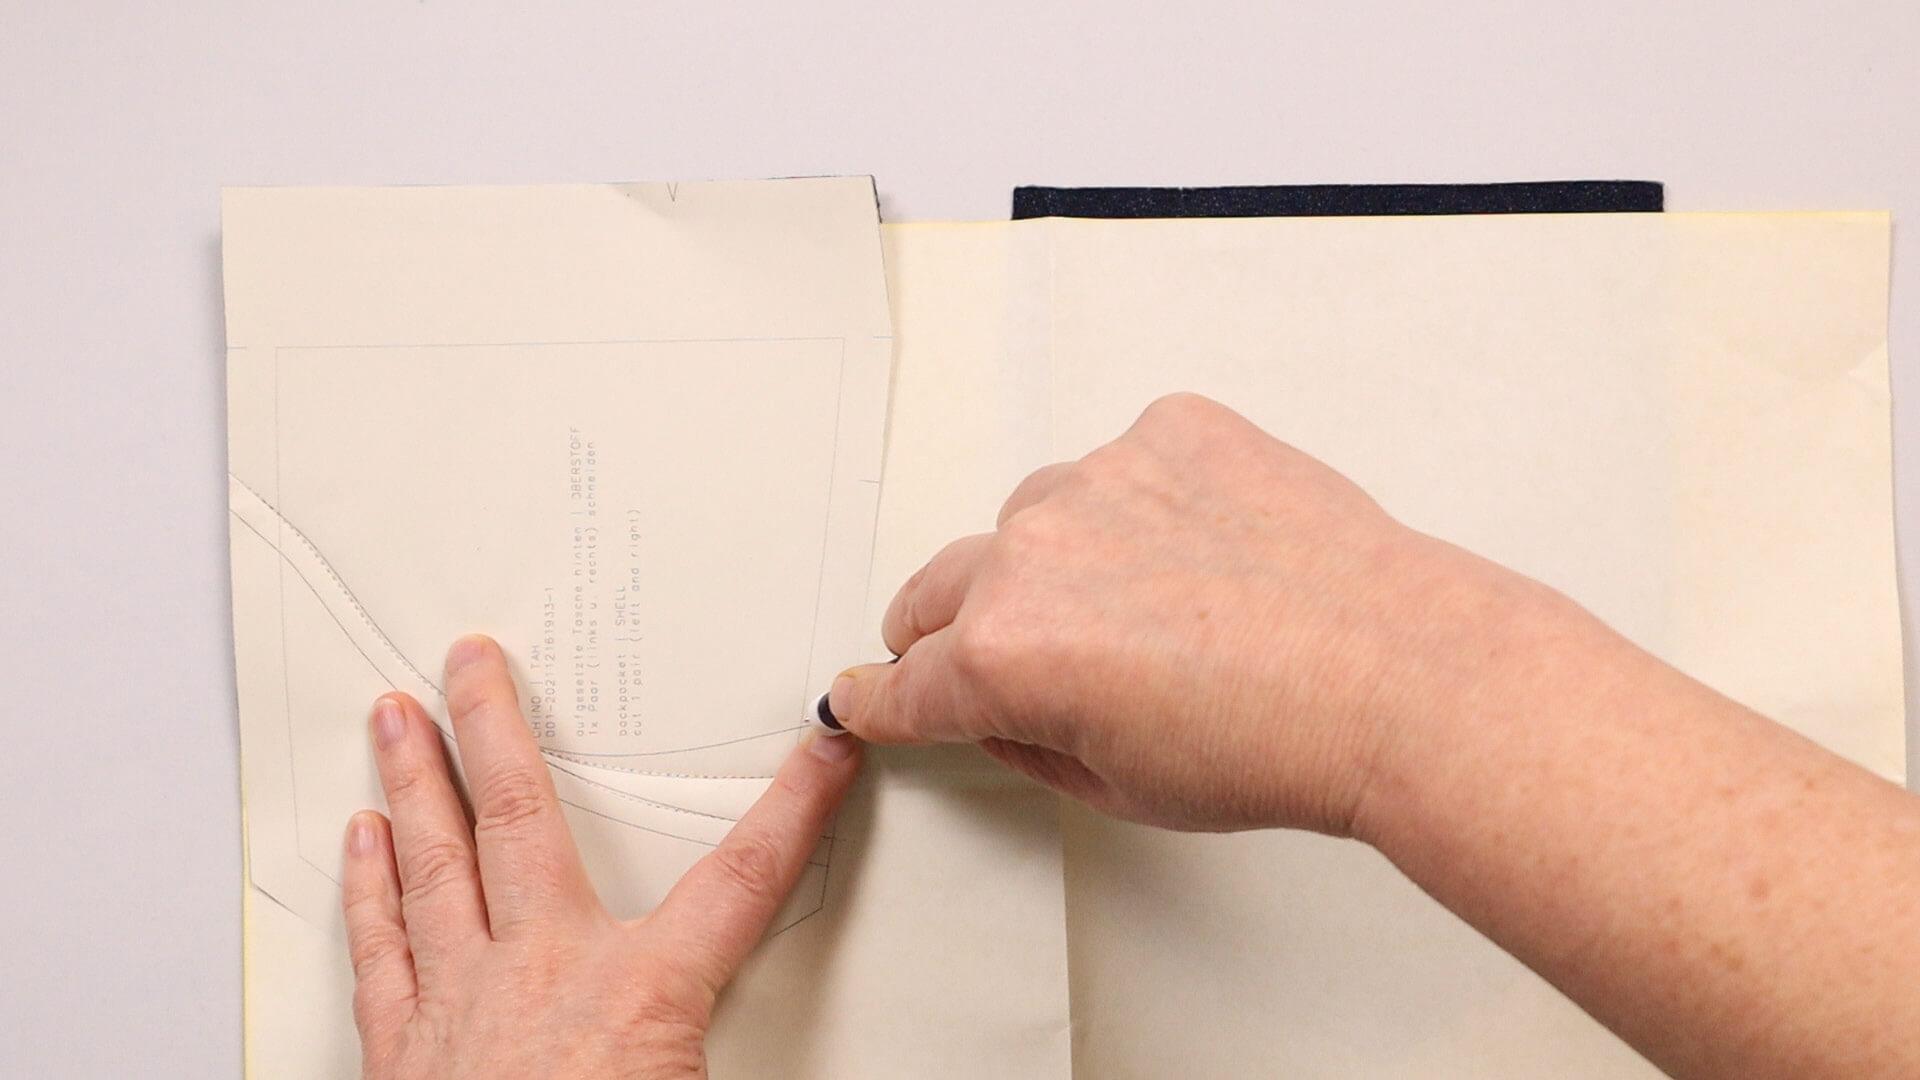
I place the tracing paper with the colored side on the fabric of the left trouser pocket so that I can still reach the edges to place and align the template. I trace the gradient with the copy wheel and transfer the color to the right side of the fabric. For parallel stitching, it is sufficient to transfer only one of the courses of lines.
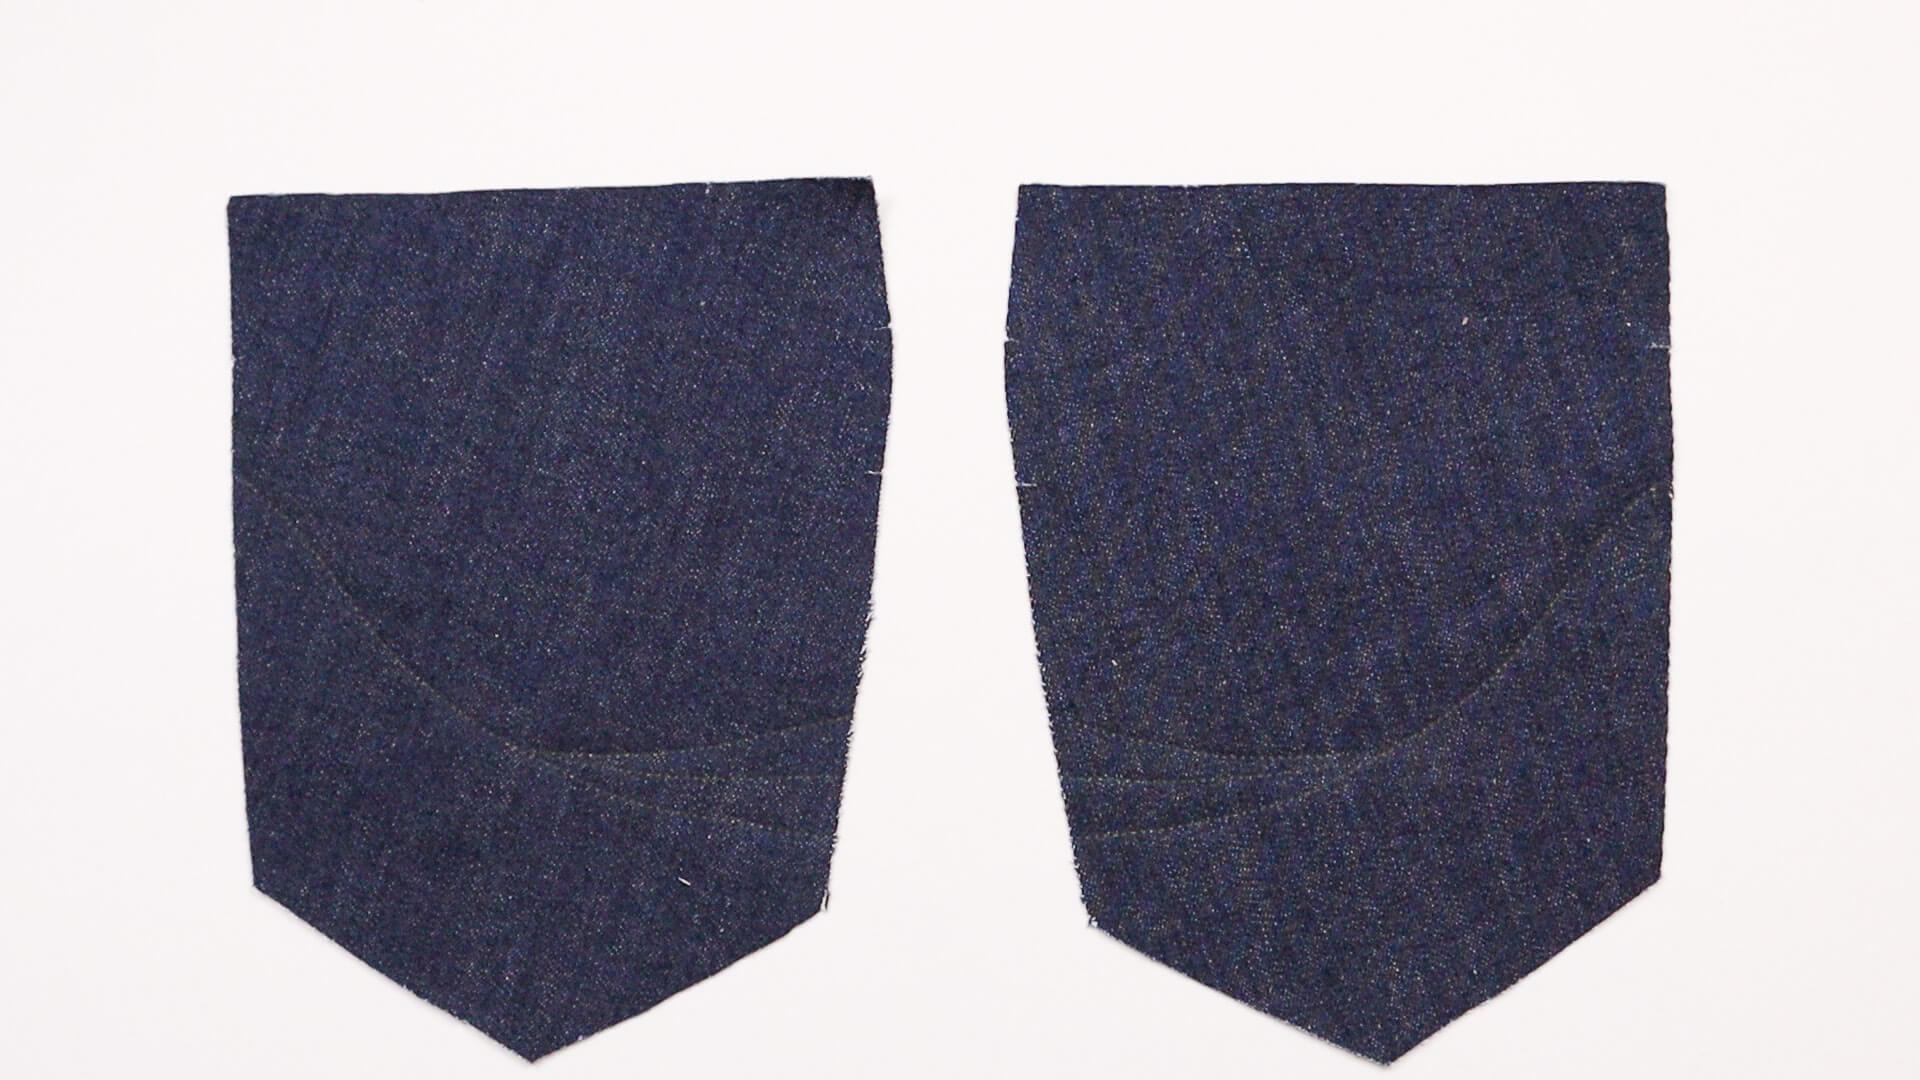
I mirror the template for the right trouser pocket and repeat the steps.
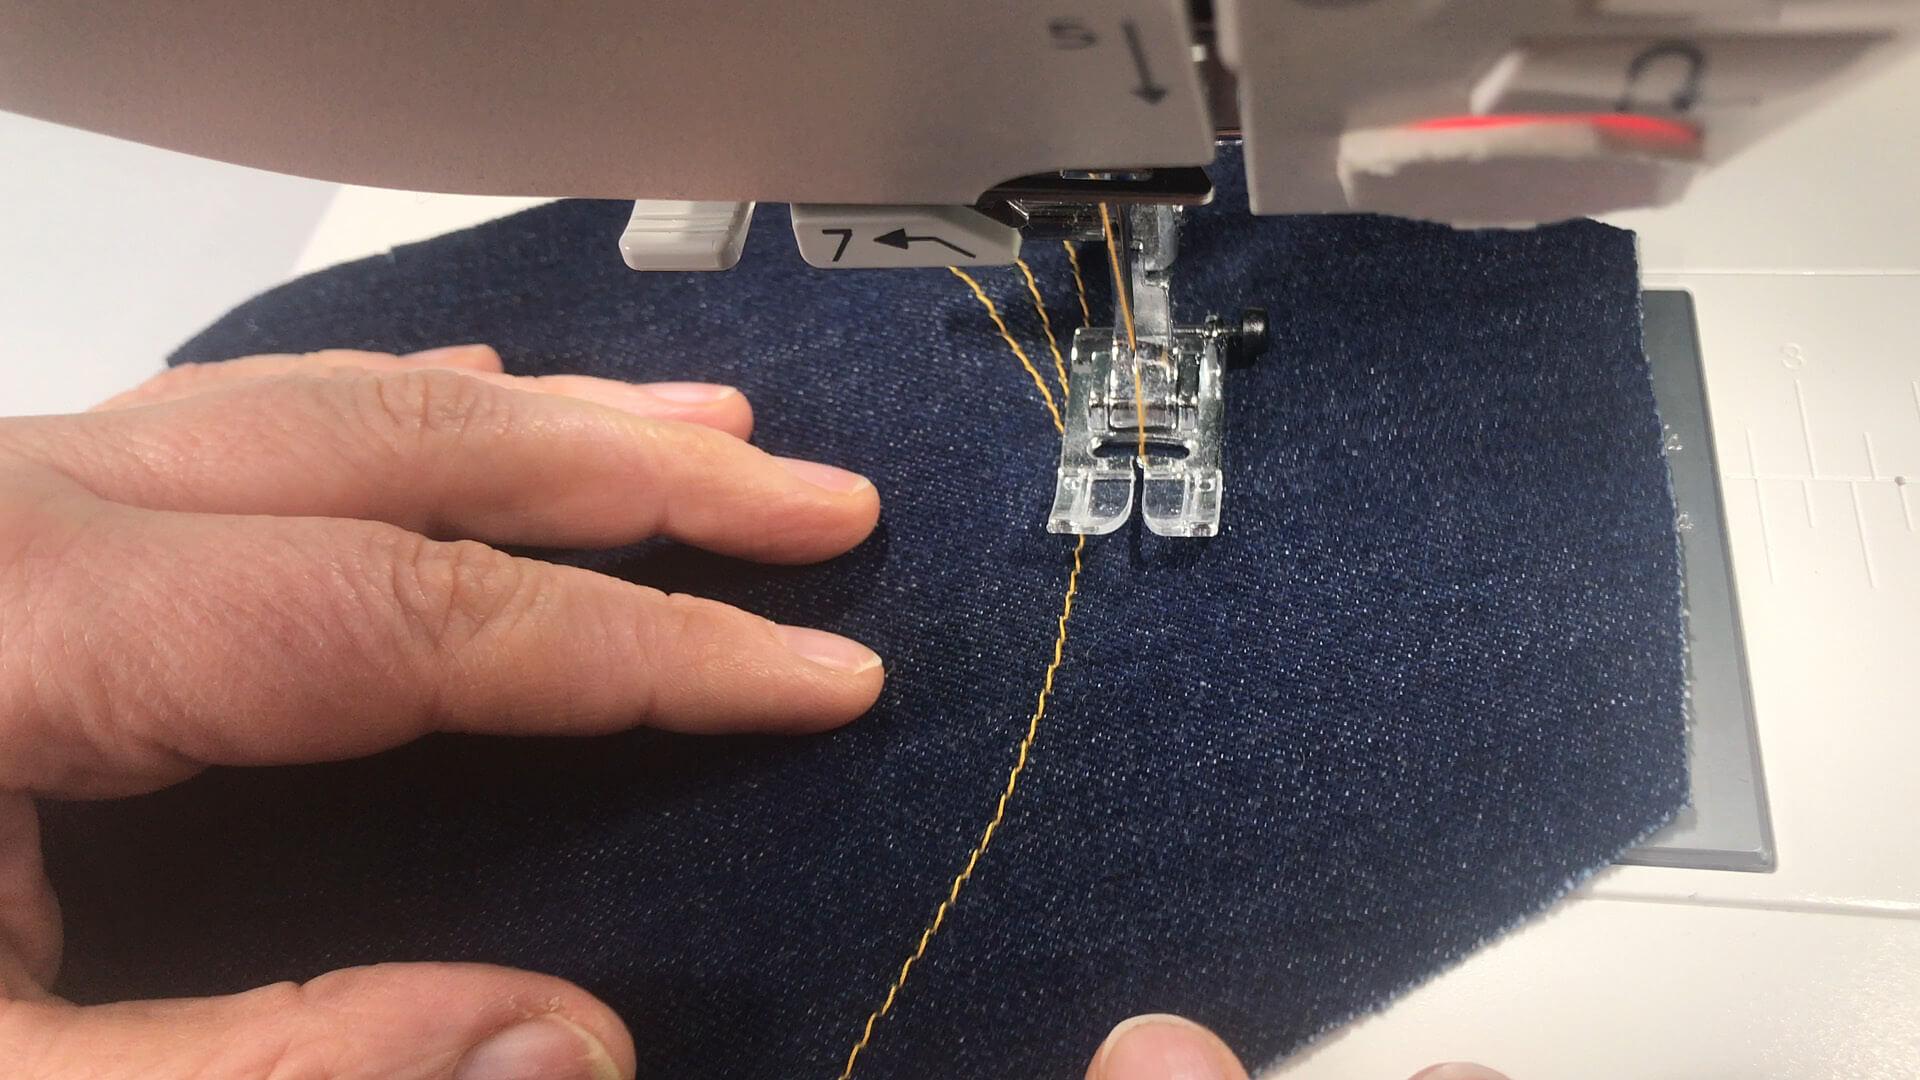
Now it’s time for the sewing machine. I stitch exactly on the markings.
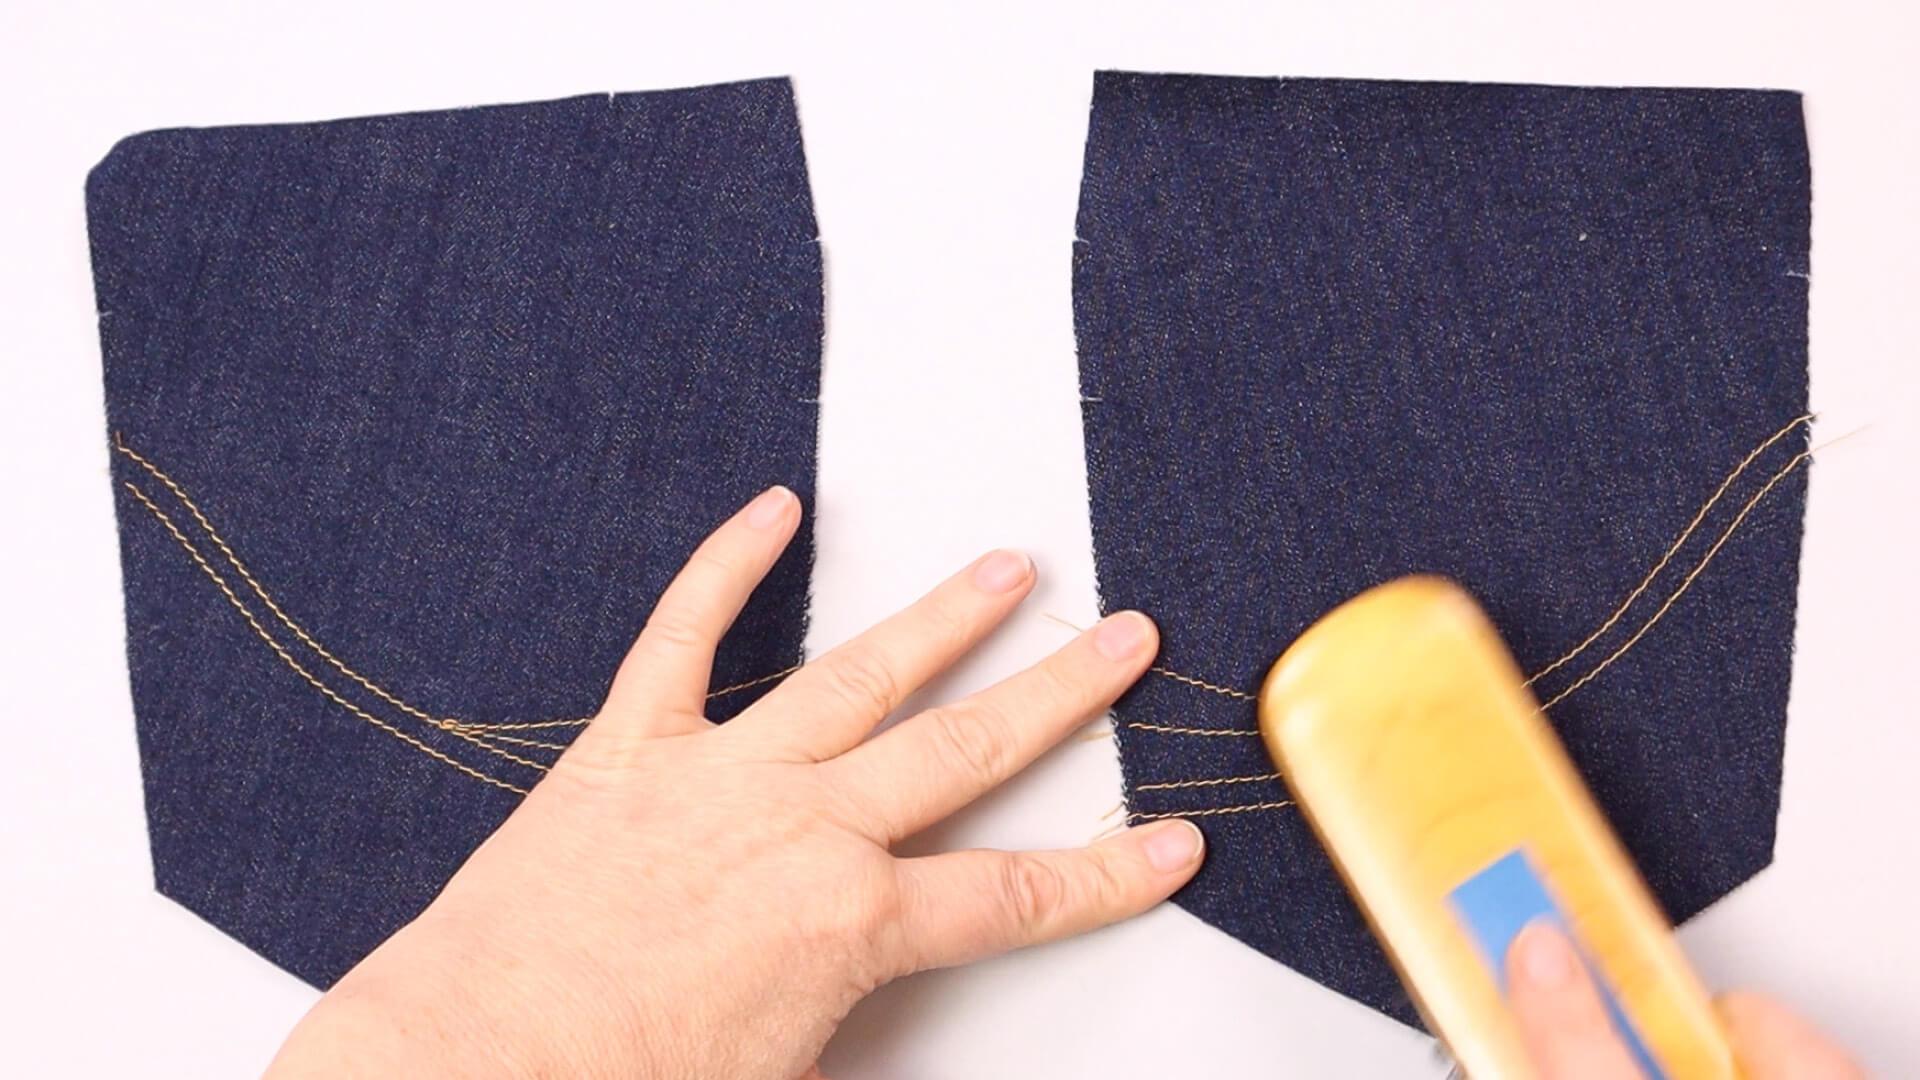
After topstitching, I brush the color of the copy paper out of the fabric as best I can. I have chosen a paper that matches the color of my topstitching thread. This means that it is not noticeable if the copy paper colour is not completely removed.
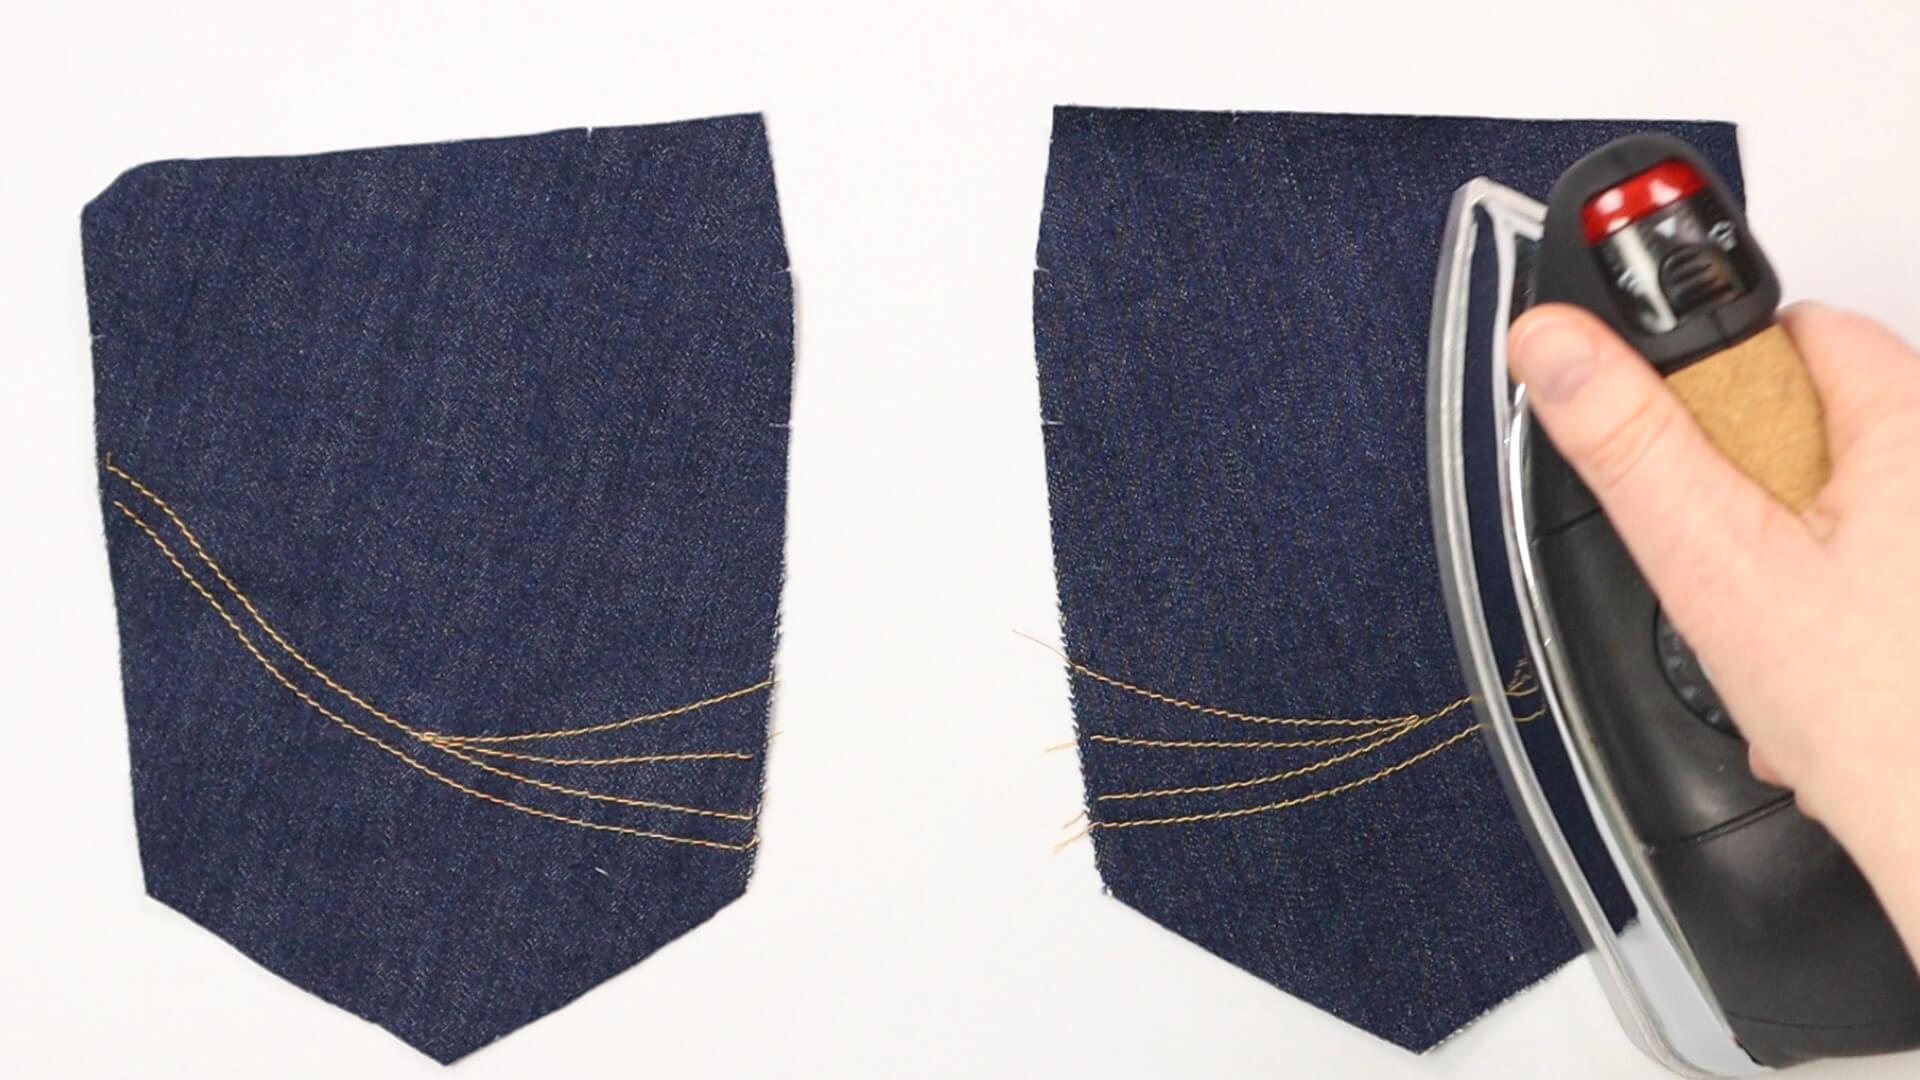
Finally, I iron the topstitching.
Finish the top edge of the pocket
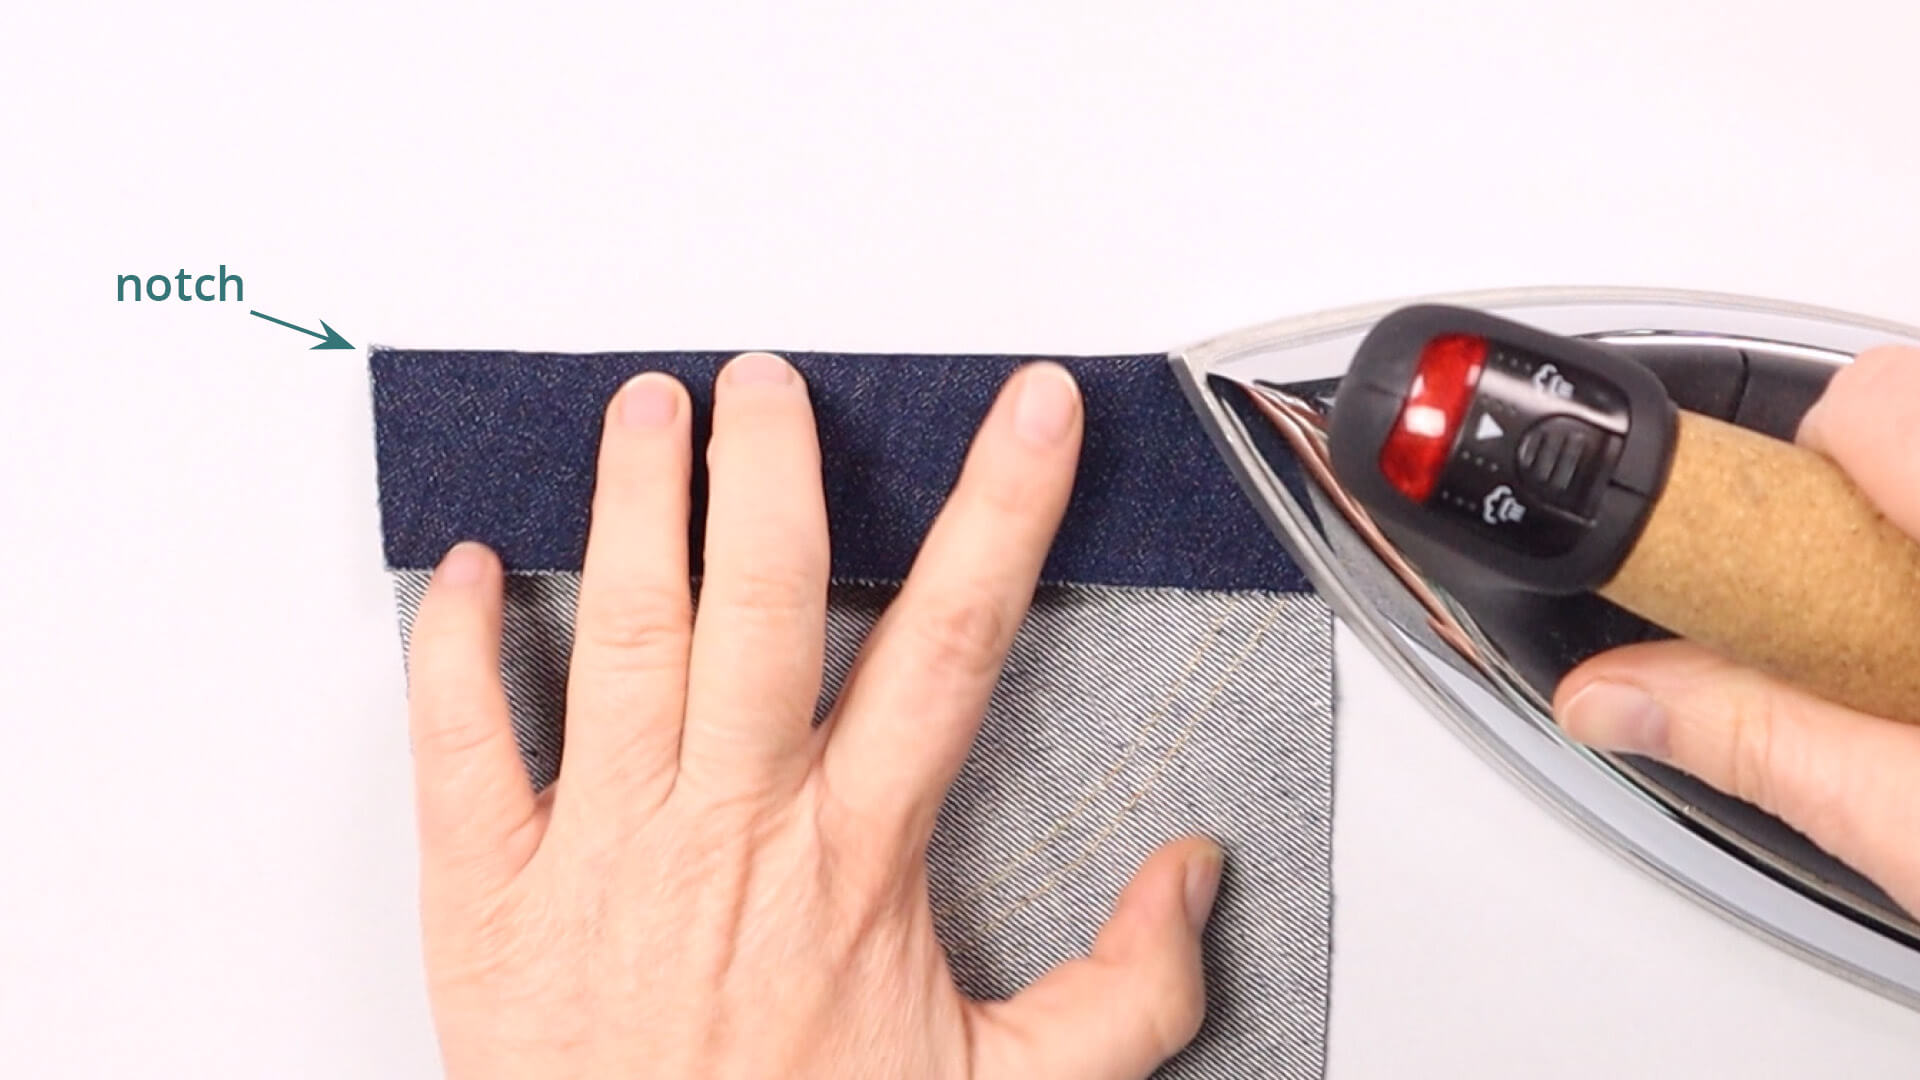
Next I fold the top edge to the wrong side at the notches.
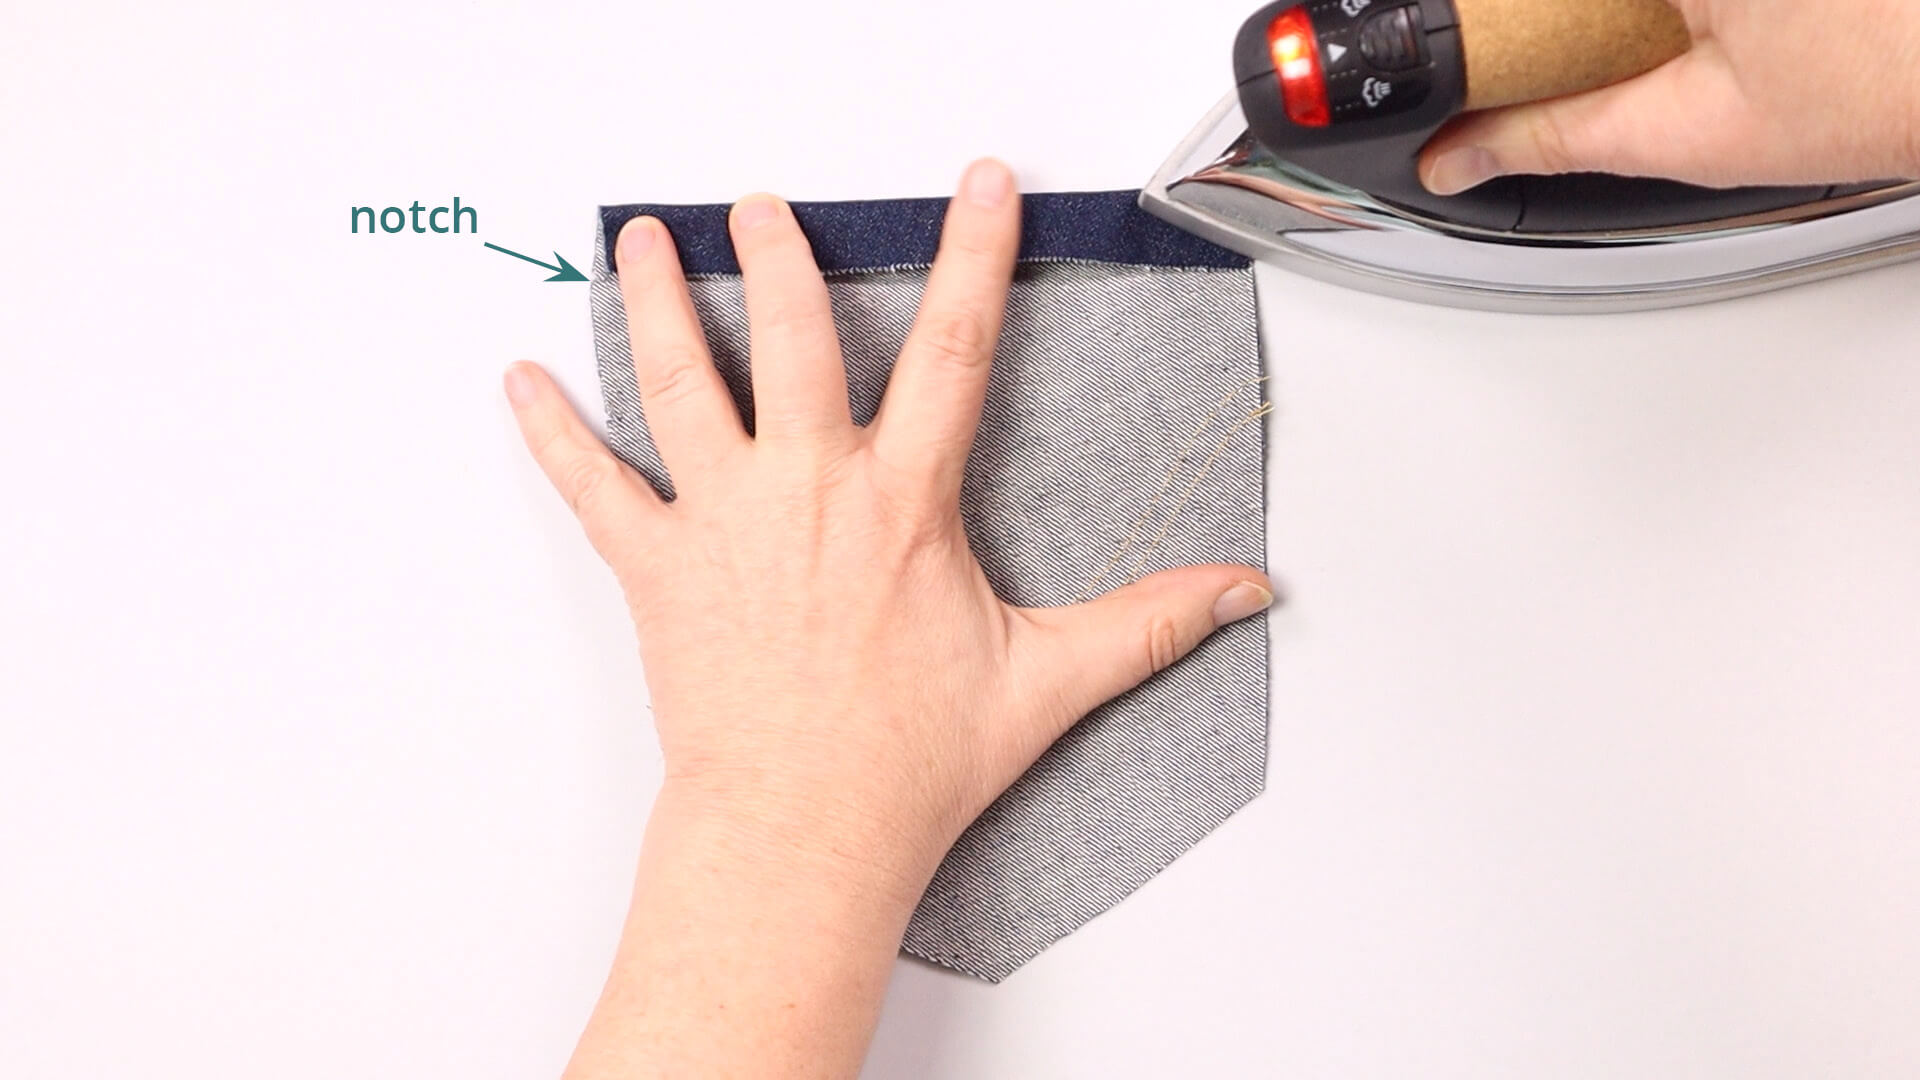
Then I fold the fold in half and press this edge over too.
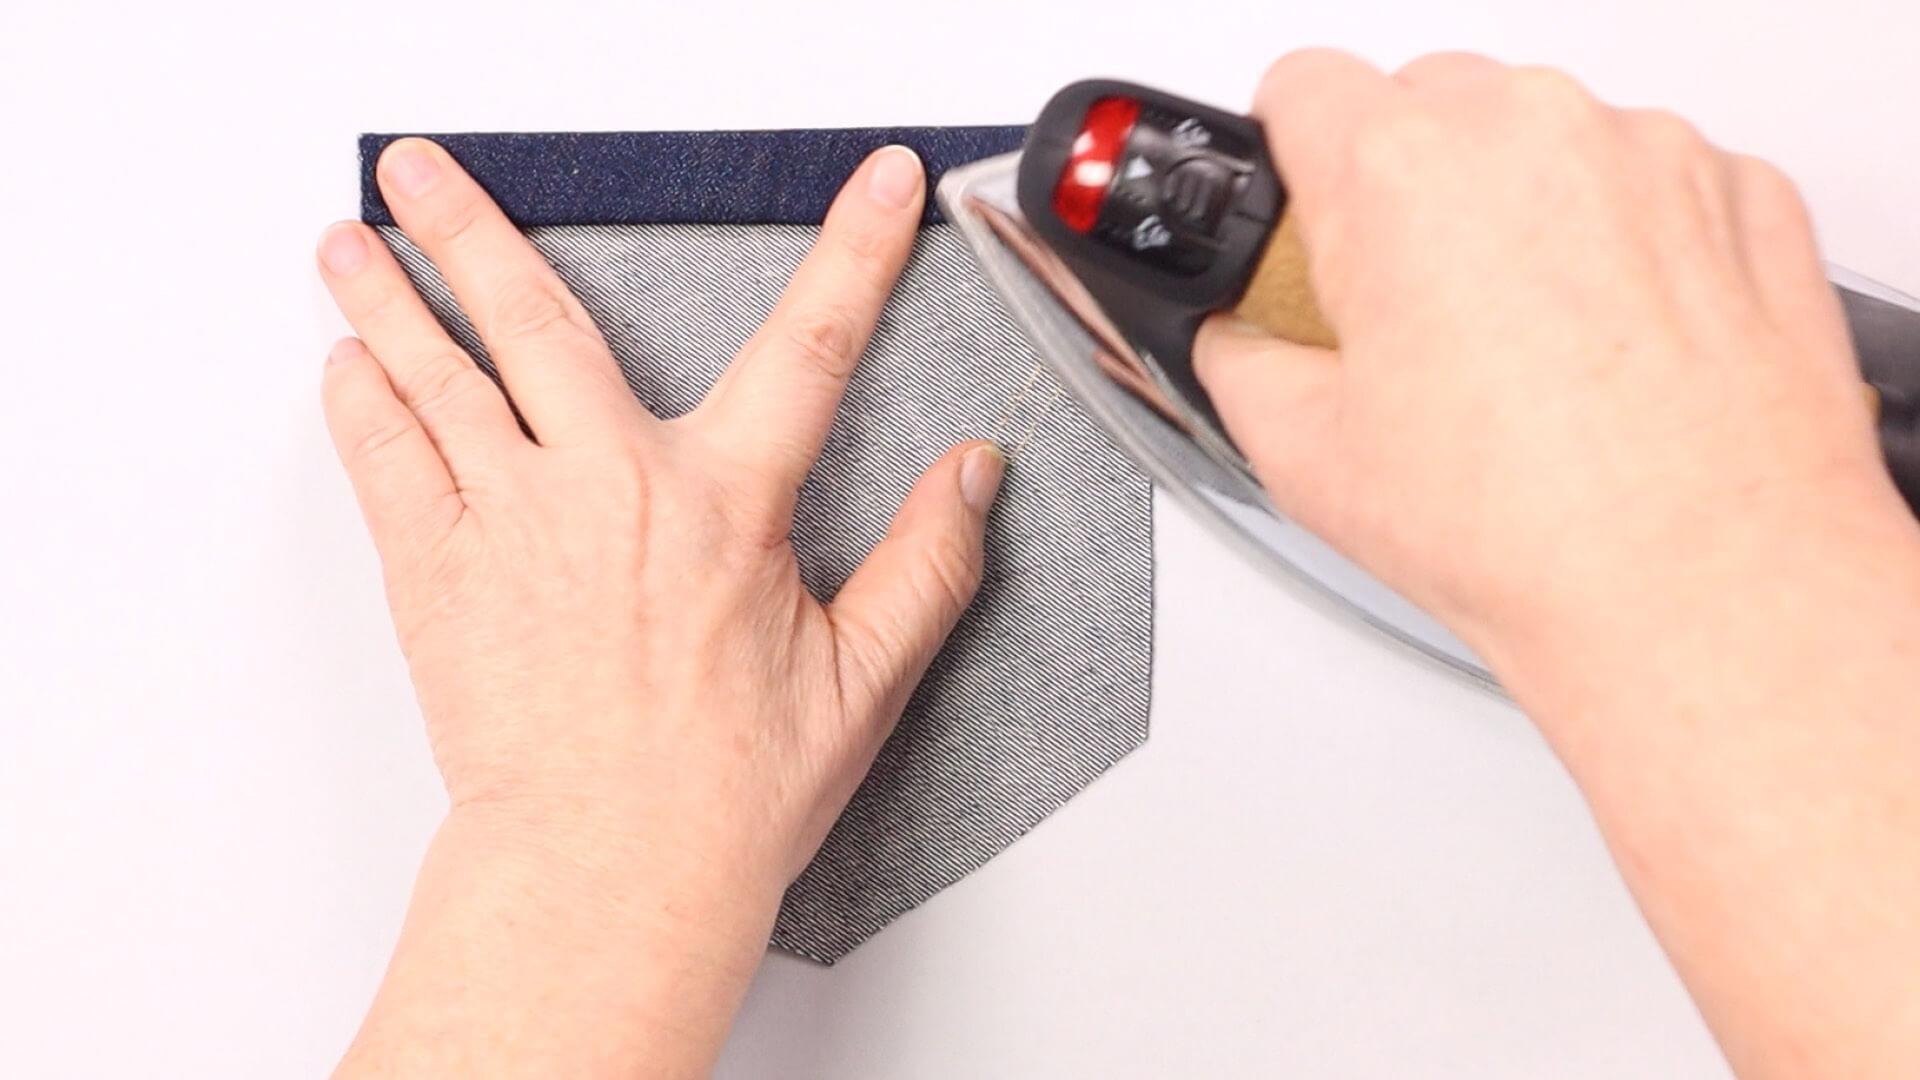
Now iron and pin the double fold in place.
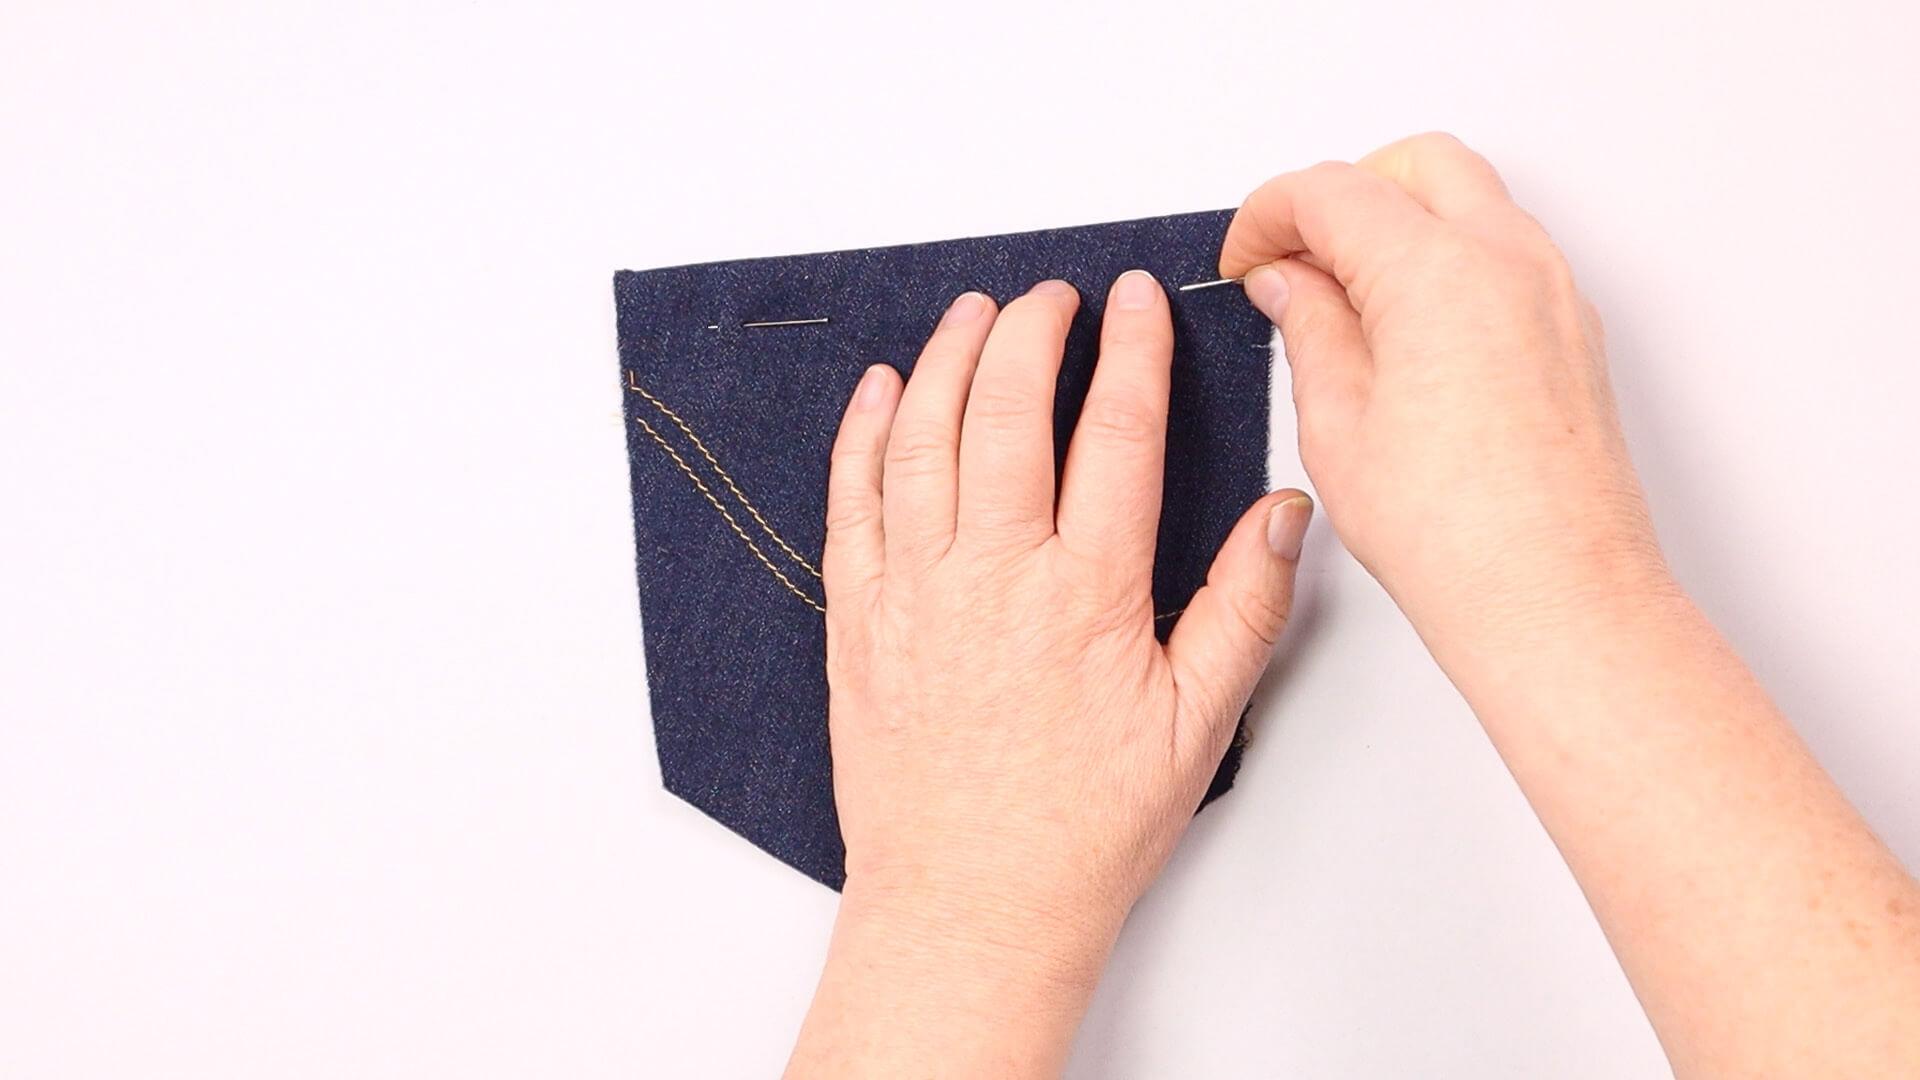
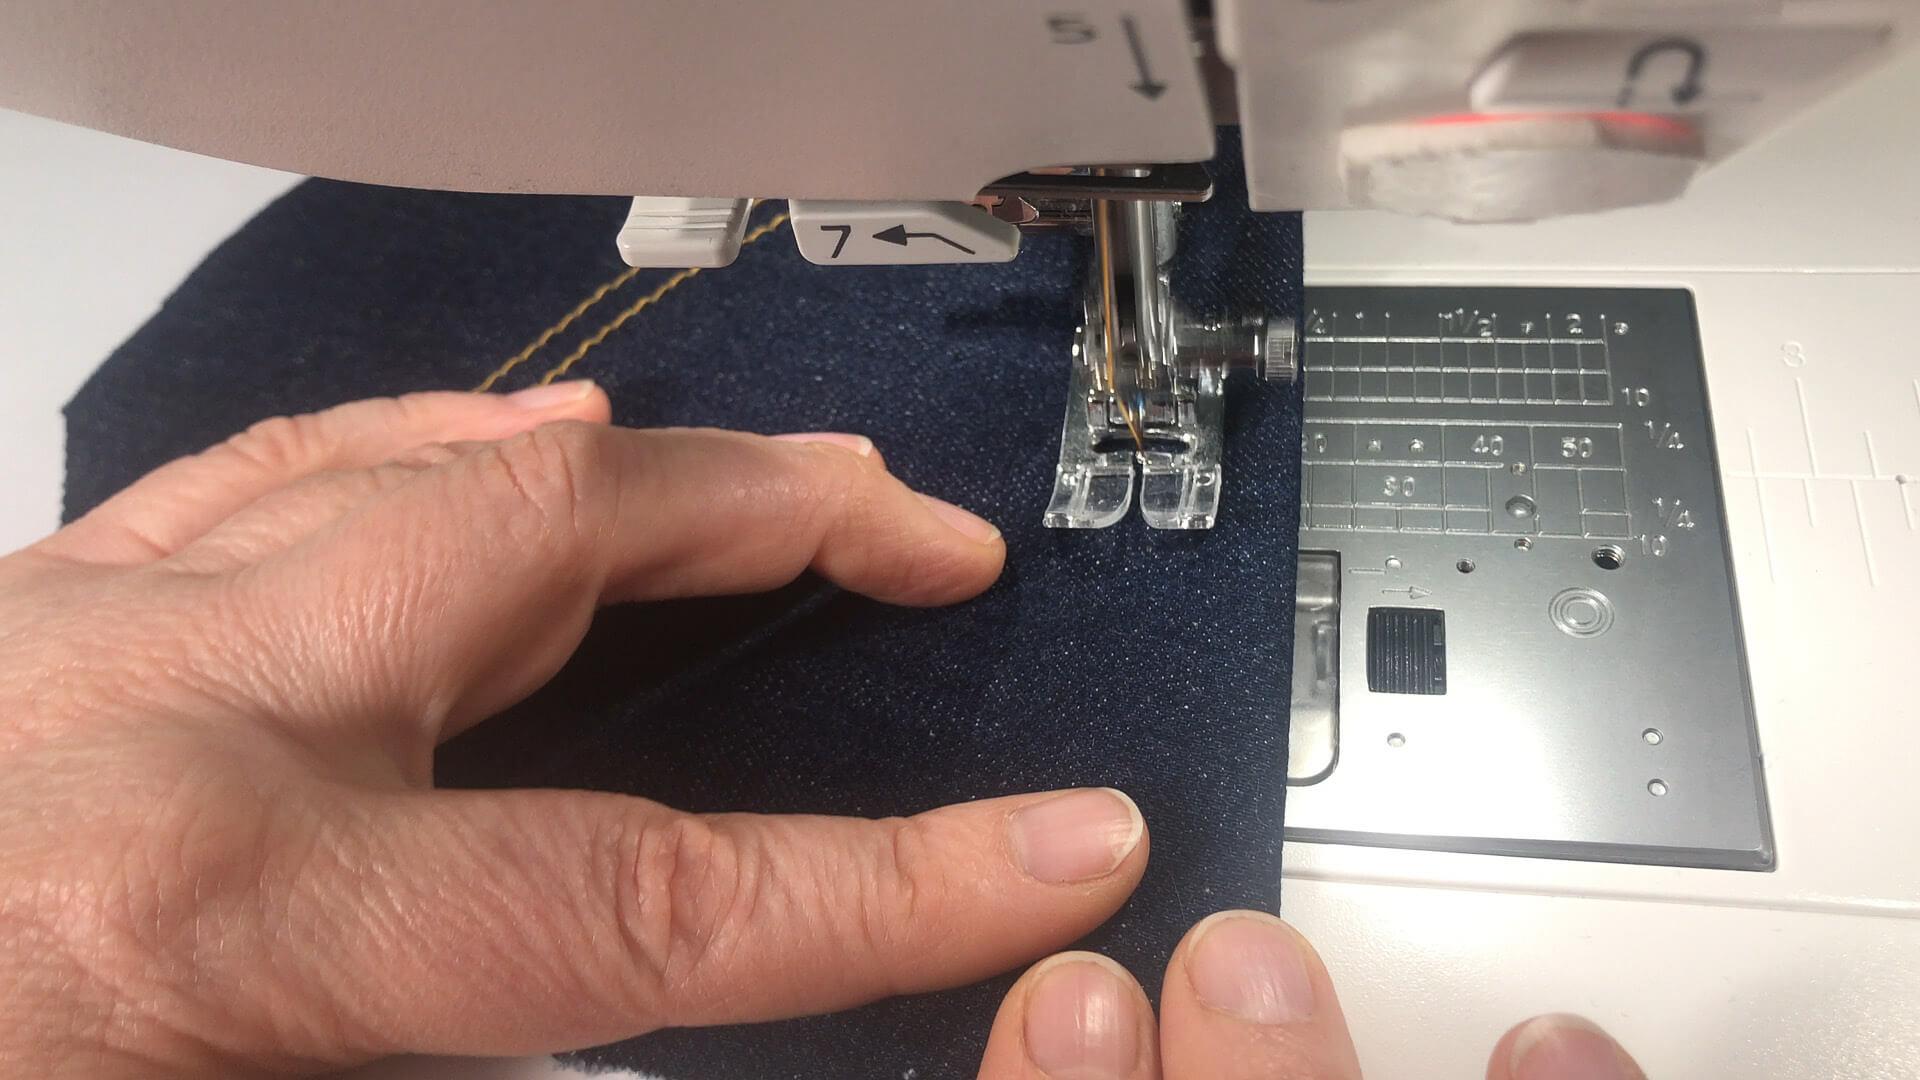
The fold is 20 mm wide here, so I topstitch it with 2 mm less width, i.e. with 18 mm distance fro the edge with contrasting colored thread from the outside. You can also fold over once and finish the cut edge with an overlocker. Then you can cut back the seam allowance a little if necessary. It should be approx. 5 mm wider than the desired topstitching width.
4. Iron over the pocket edges
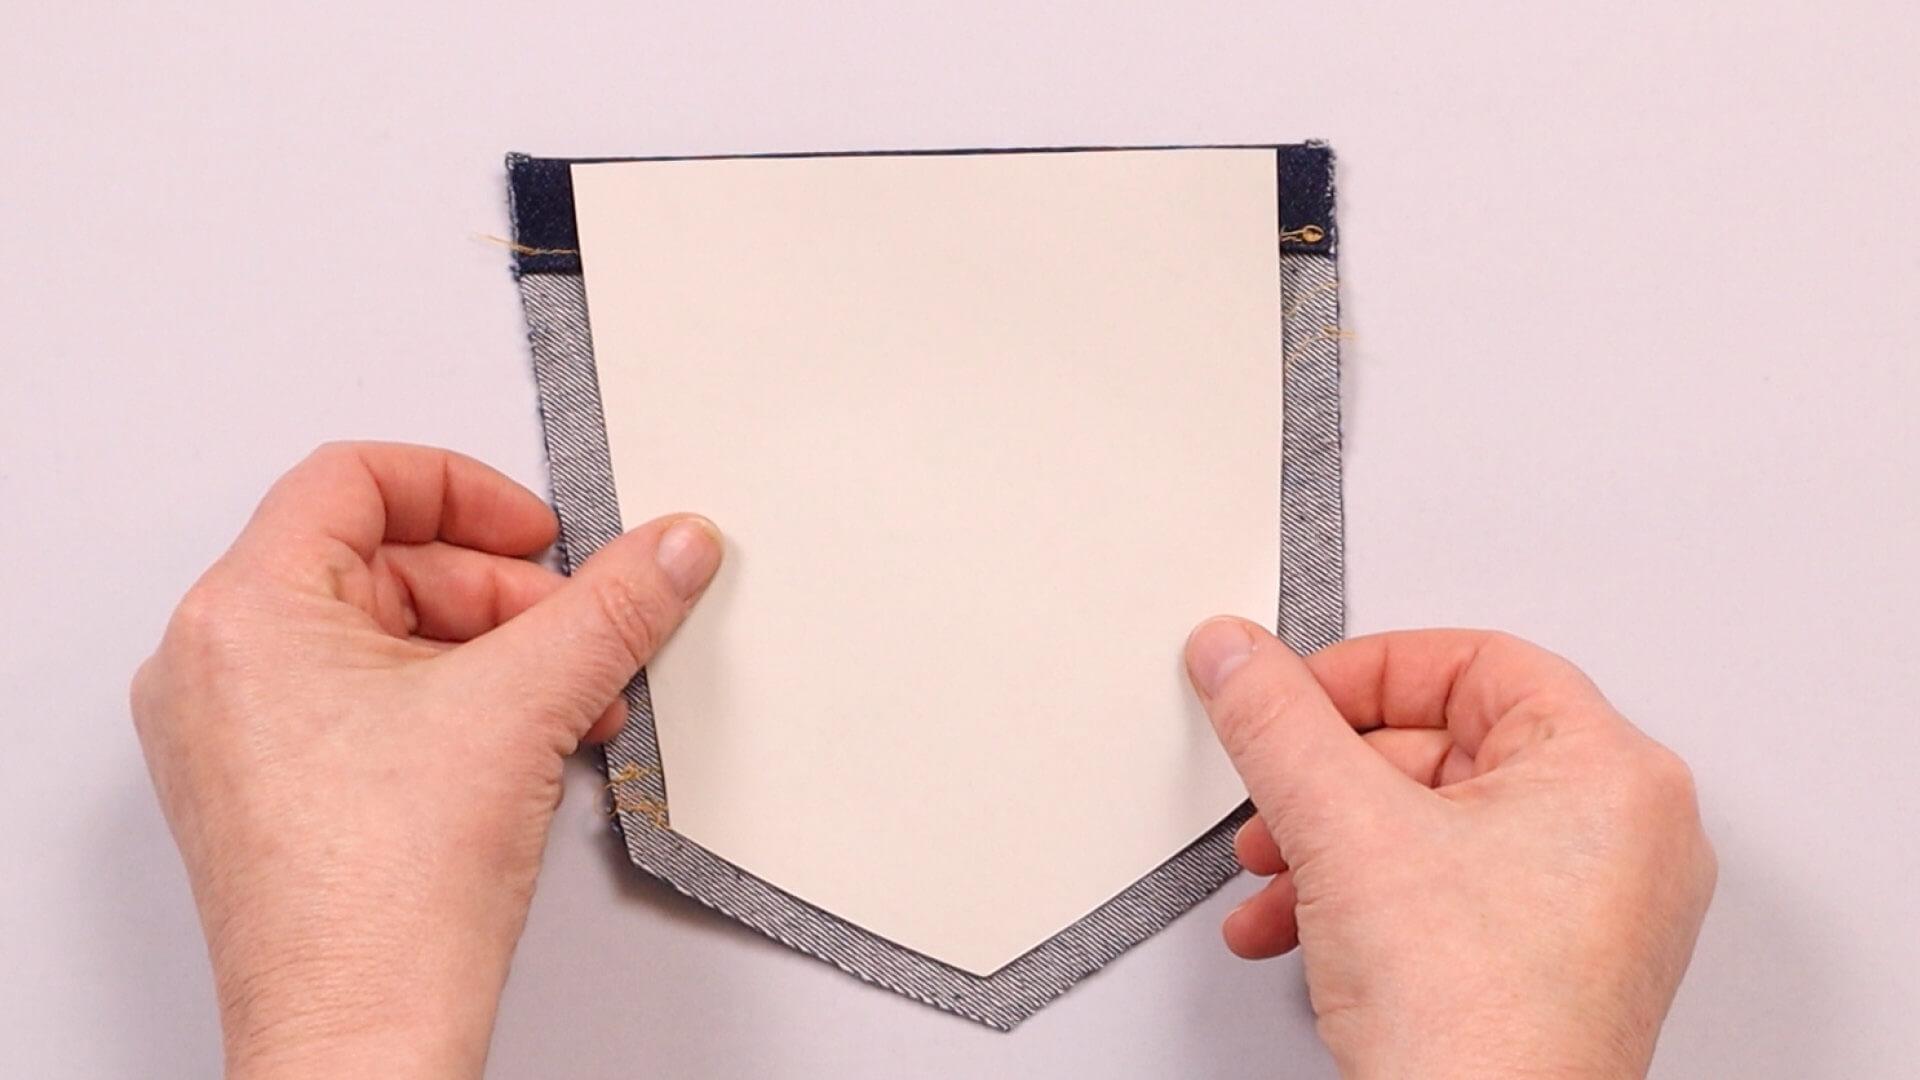
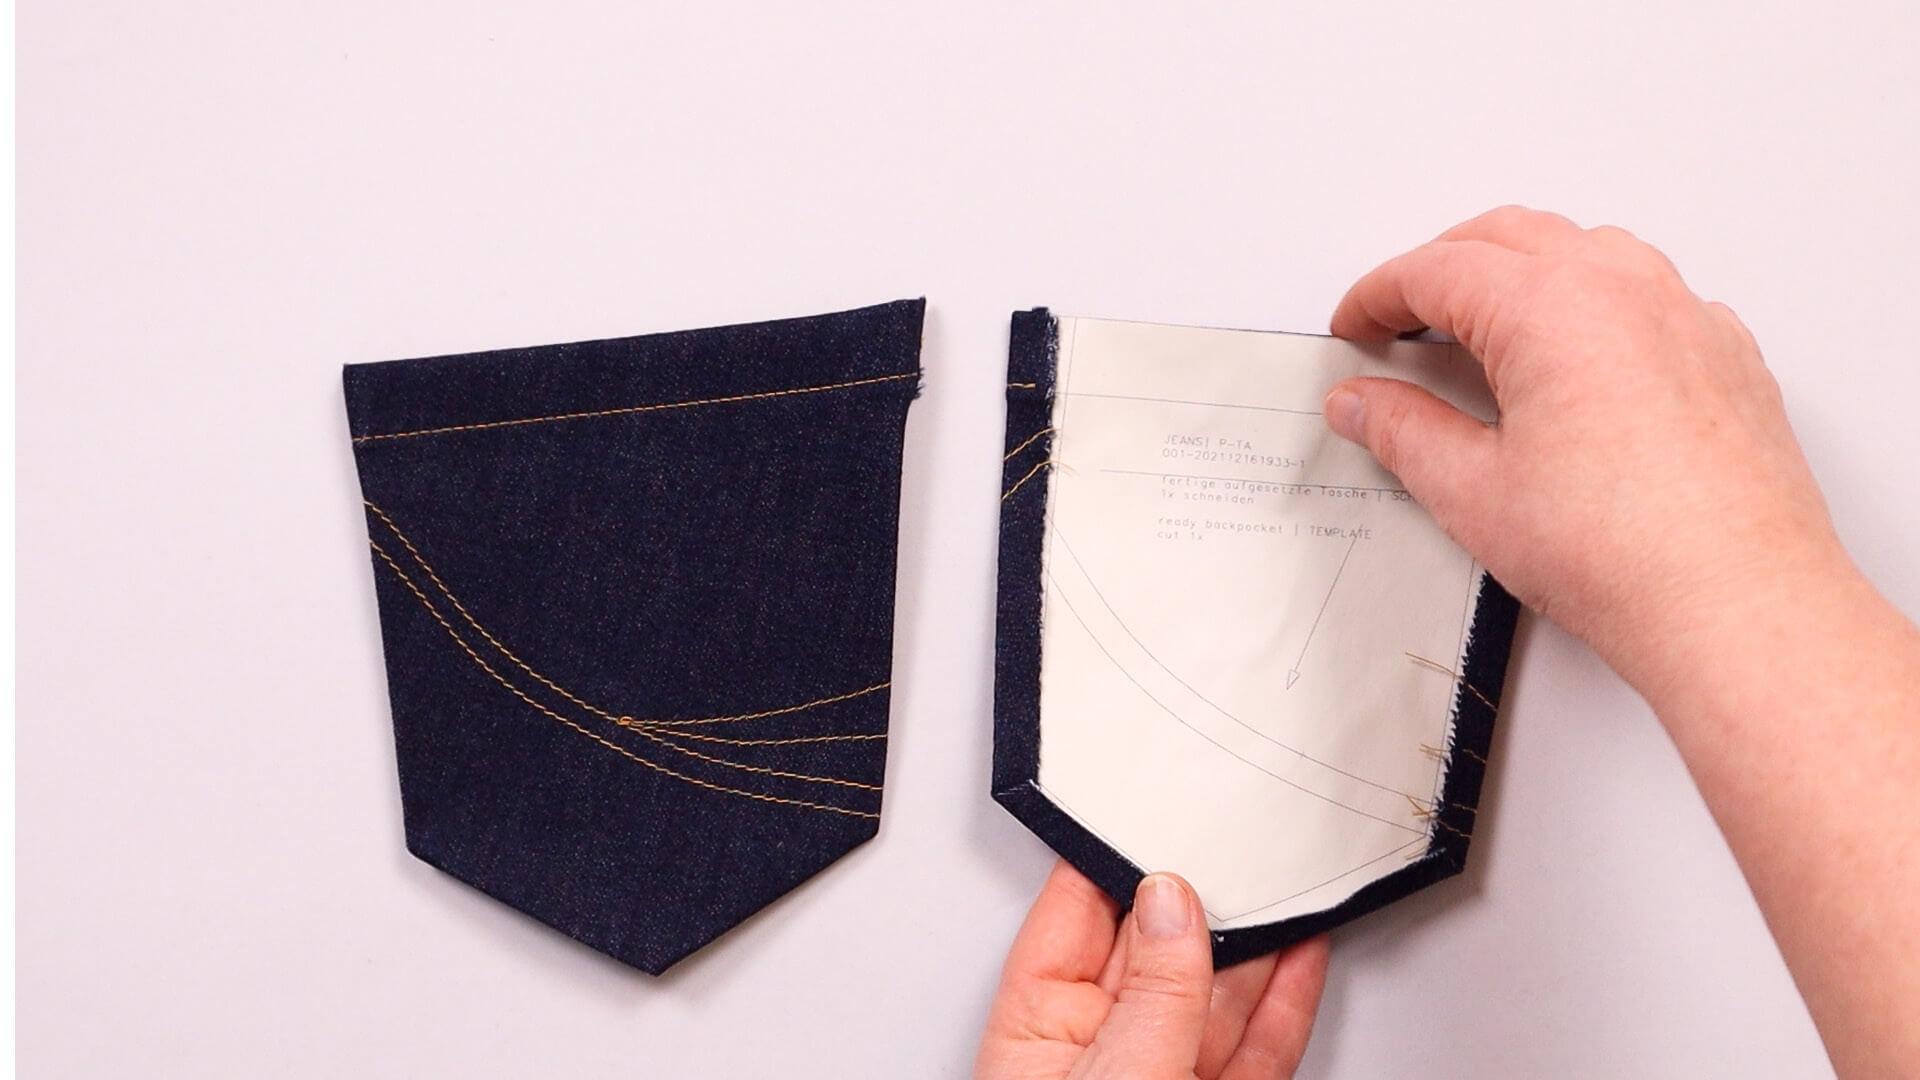
Then press the side edges over 1 cm wide. I use the template of the finished trouser pocket as an ironing aid. The template is placed so that its side notch is on the corresponding notch of the trouser pocket. The 1 cm wide seam allowance remains visible at the sides and bottom.
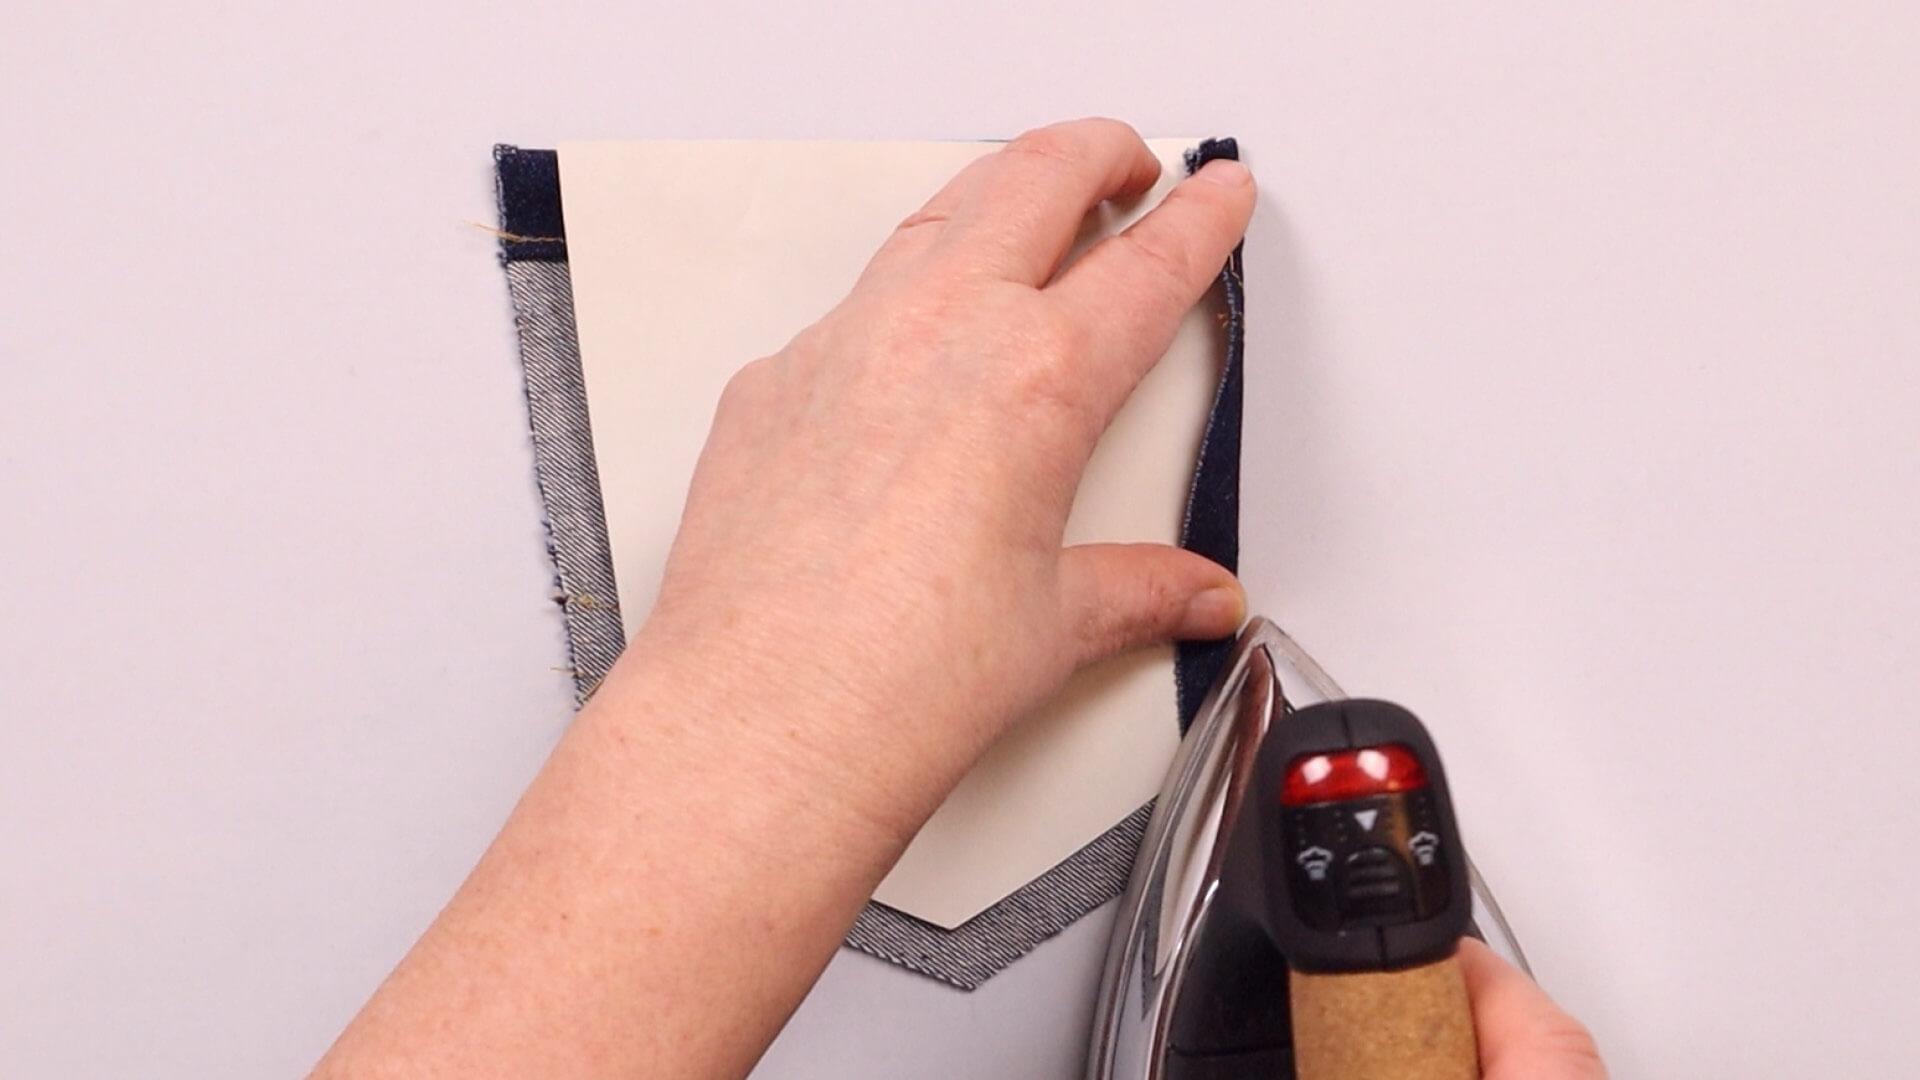
I press the seam allowance of the trouser pocket along the template.
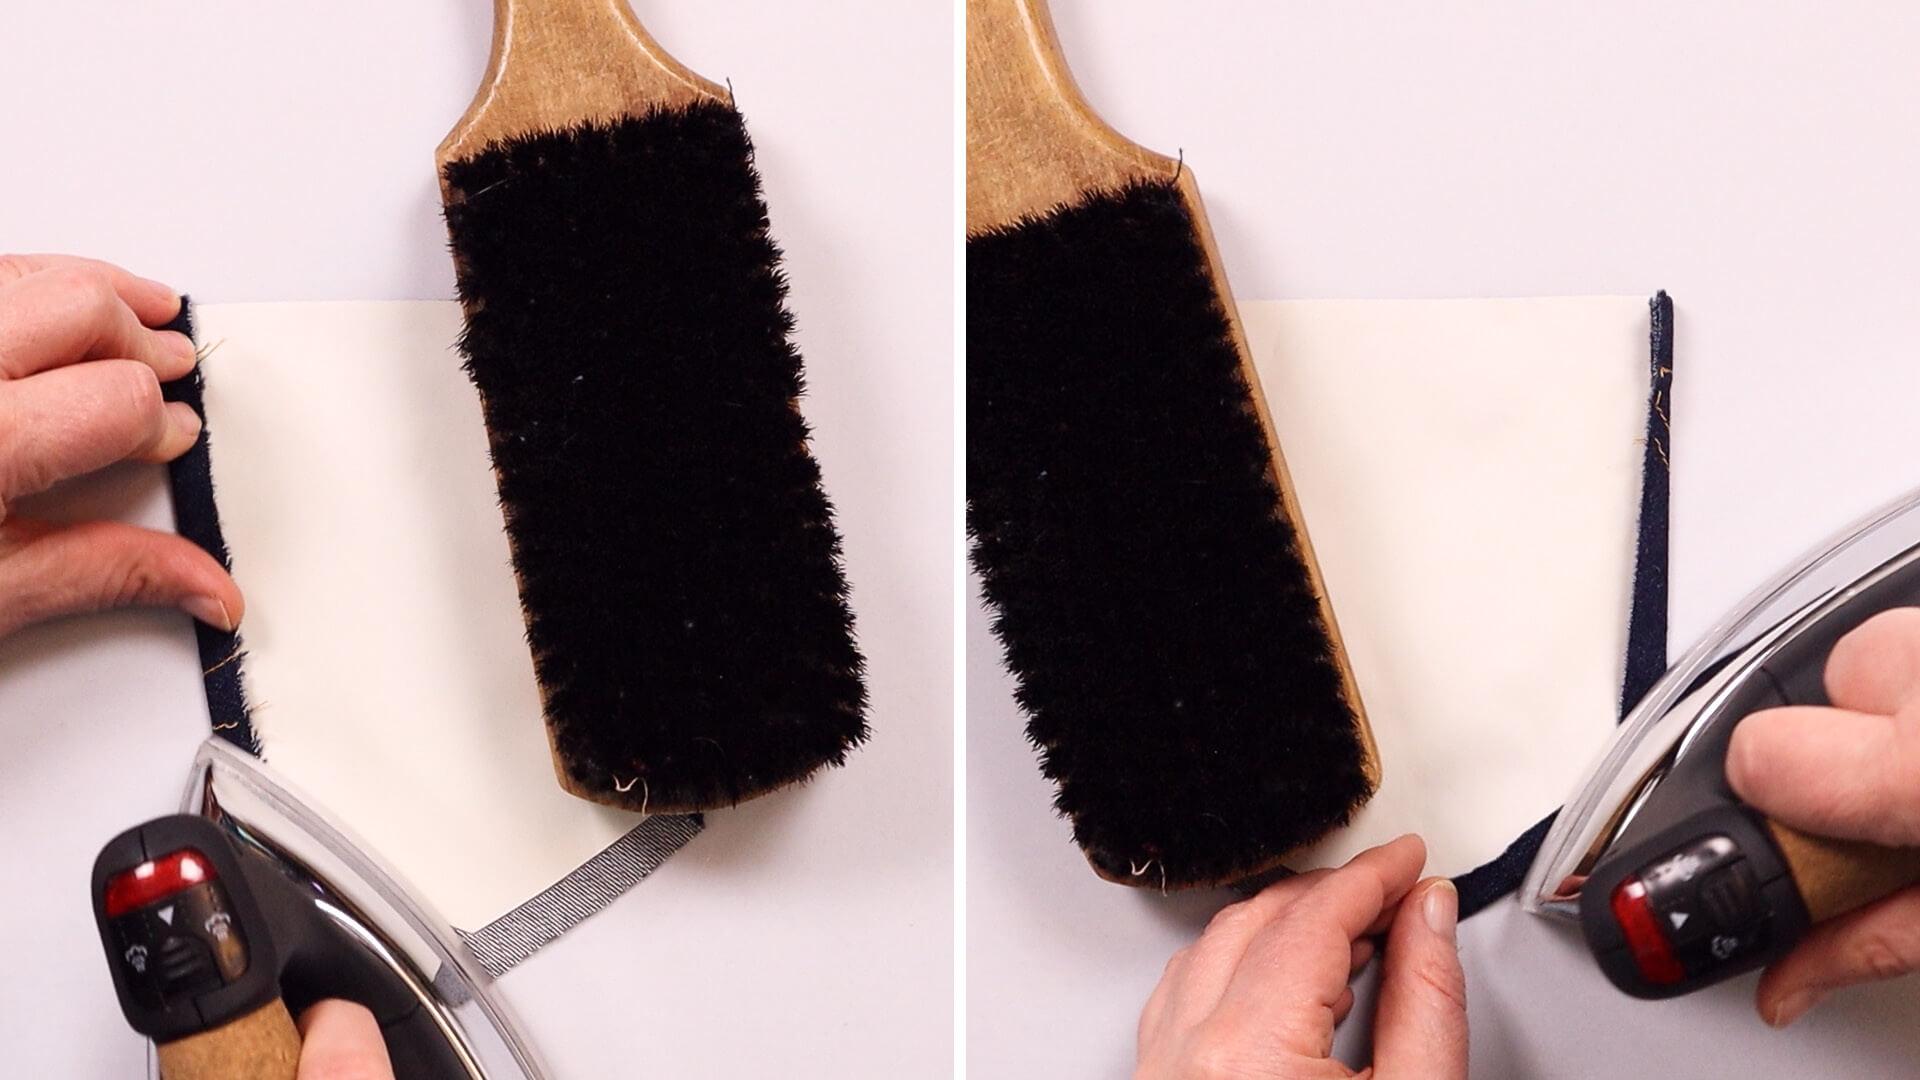
I use an (unpainted) wooden brush or a clapper as an aid and place it on the pressed seam allowance. The wood draws heat and moisture out of the fabric and helps the seam allowance to lie flatter.
5. Iron over pocket edges for round pocket shape
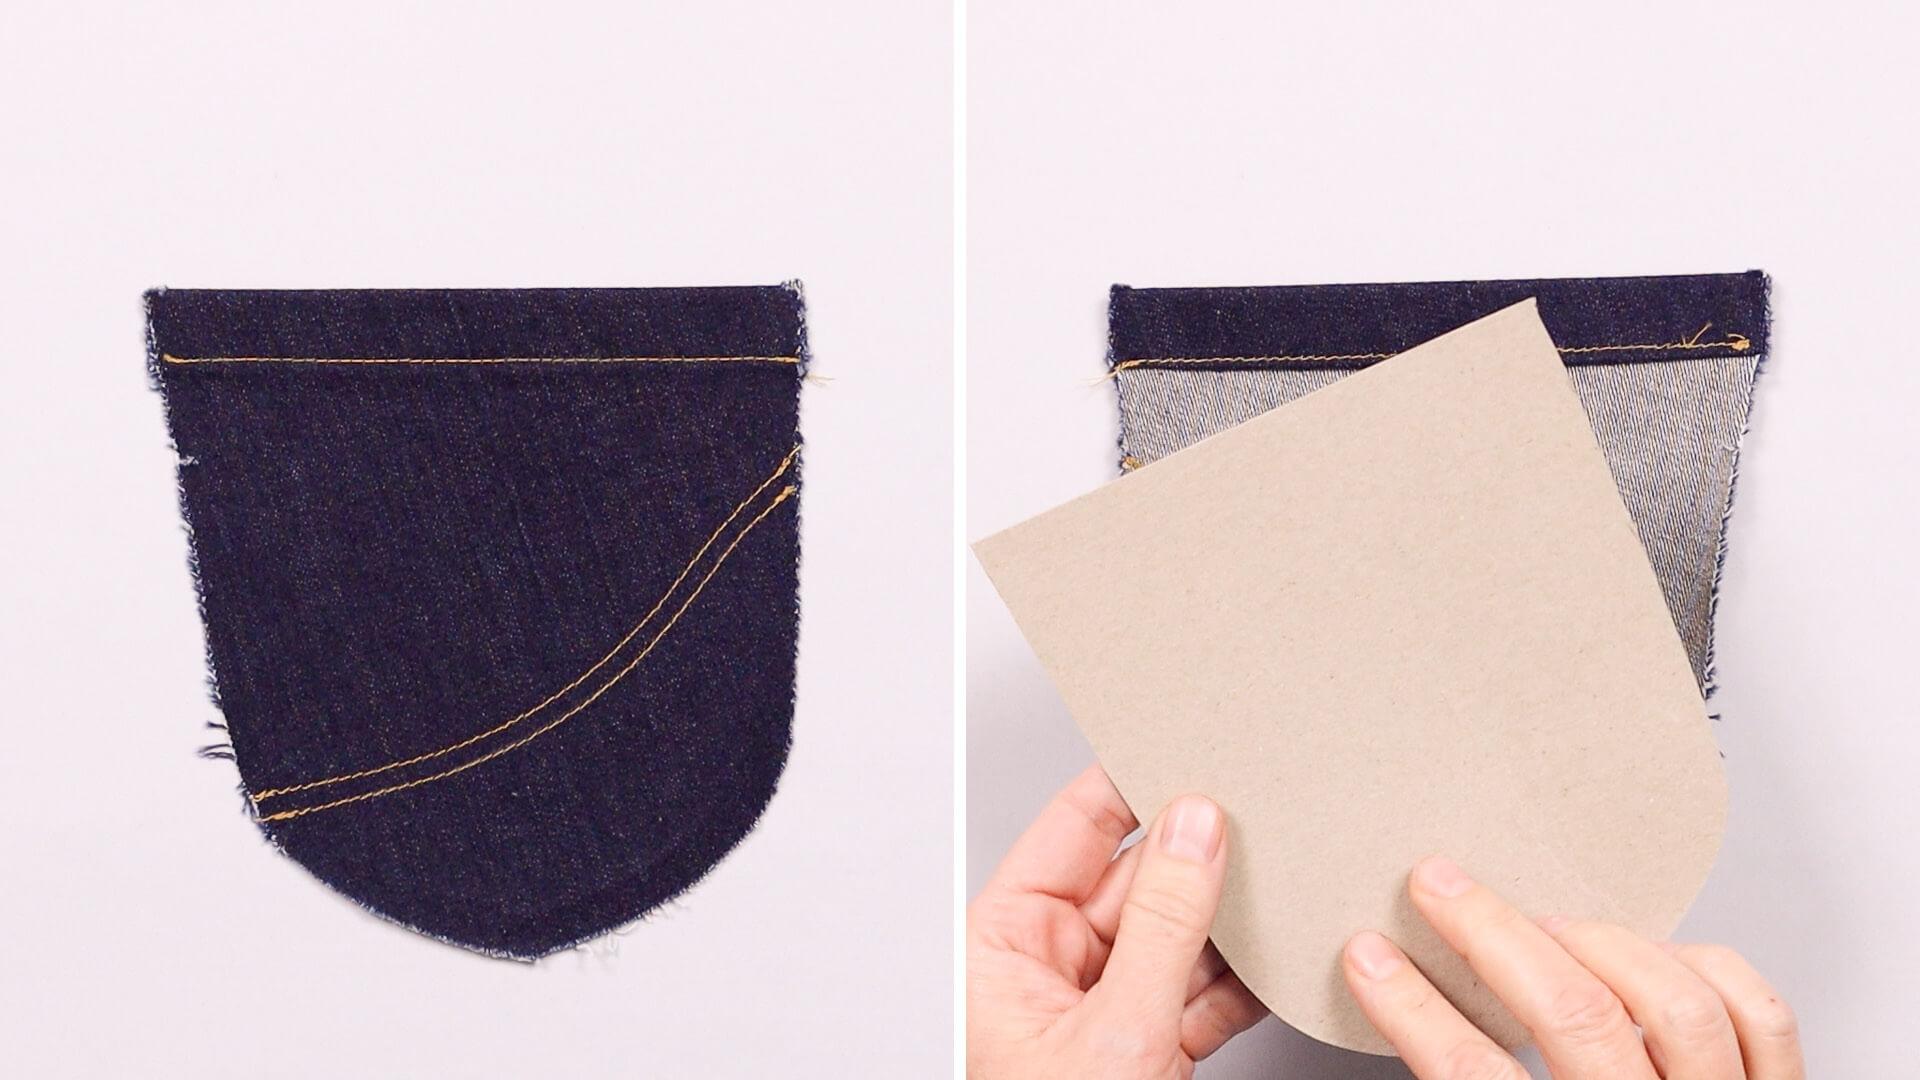
If you have decided on a rounded bag shape, I recommend sticking the finished bag template onto cardboard to reinforce it.
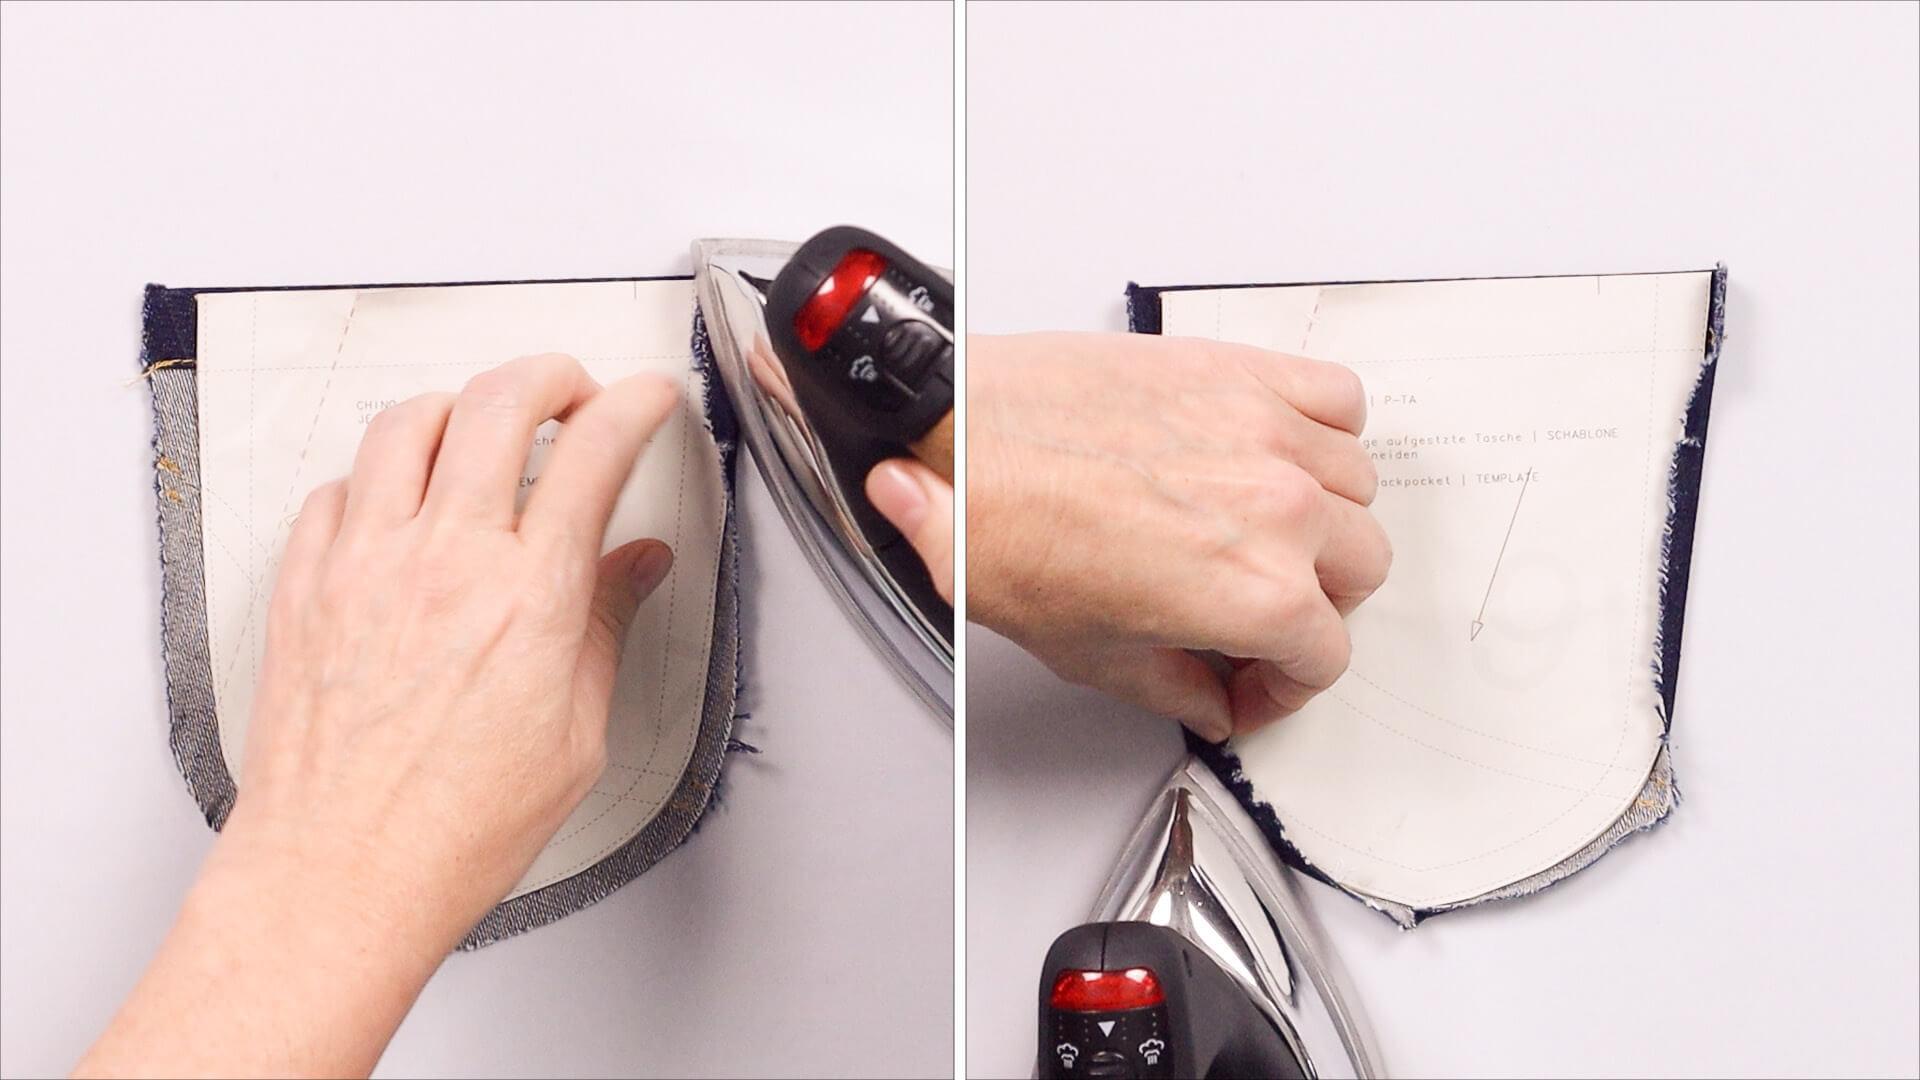
This makes it easier to press the seam allowance along the edge. You will need a little patience and skill.
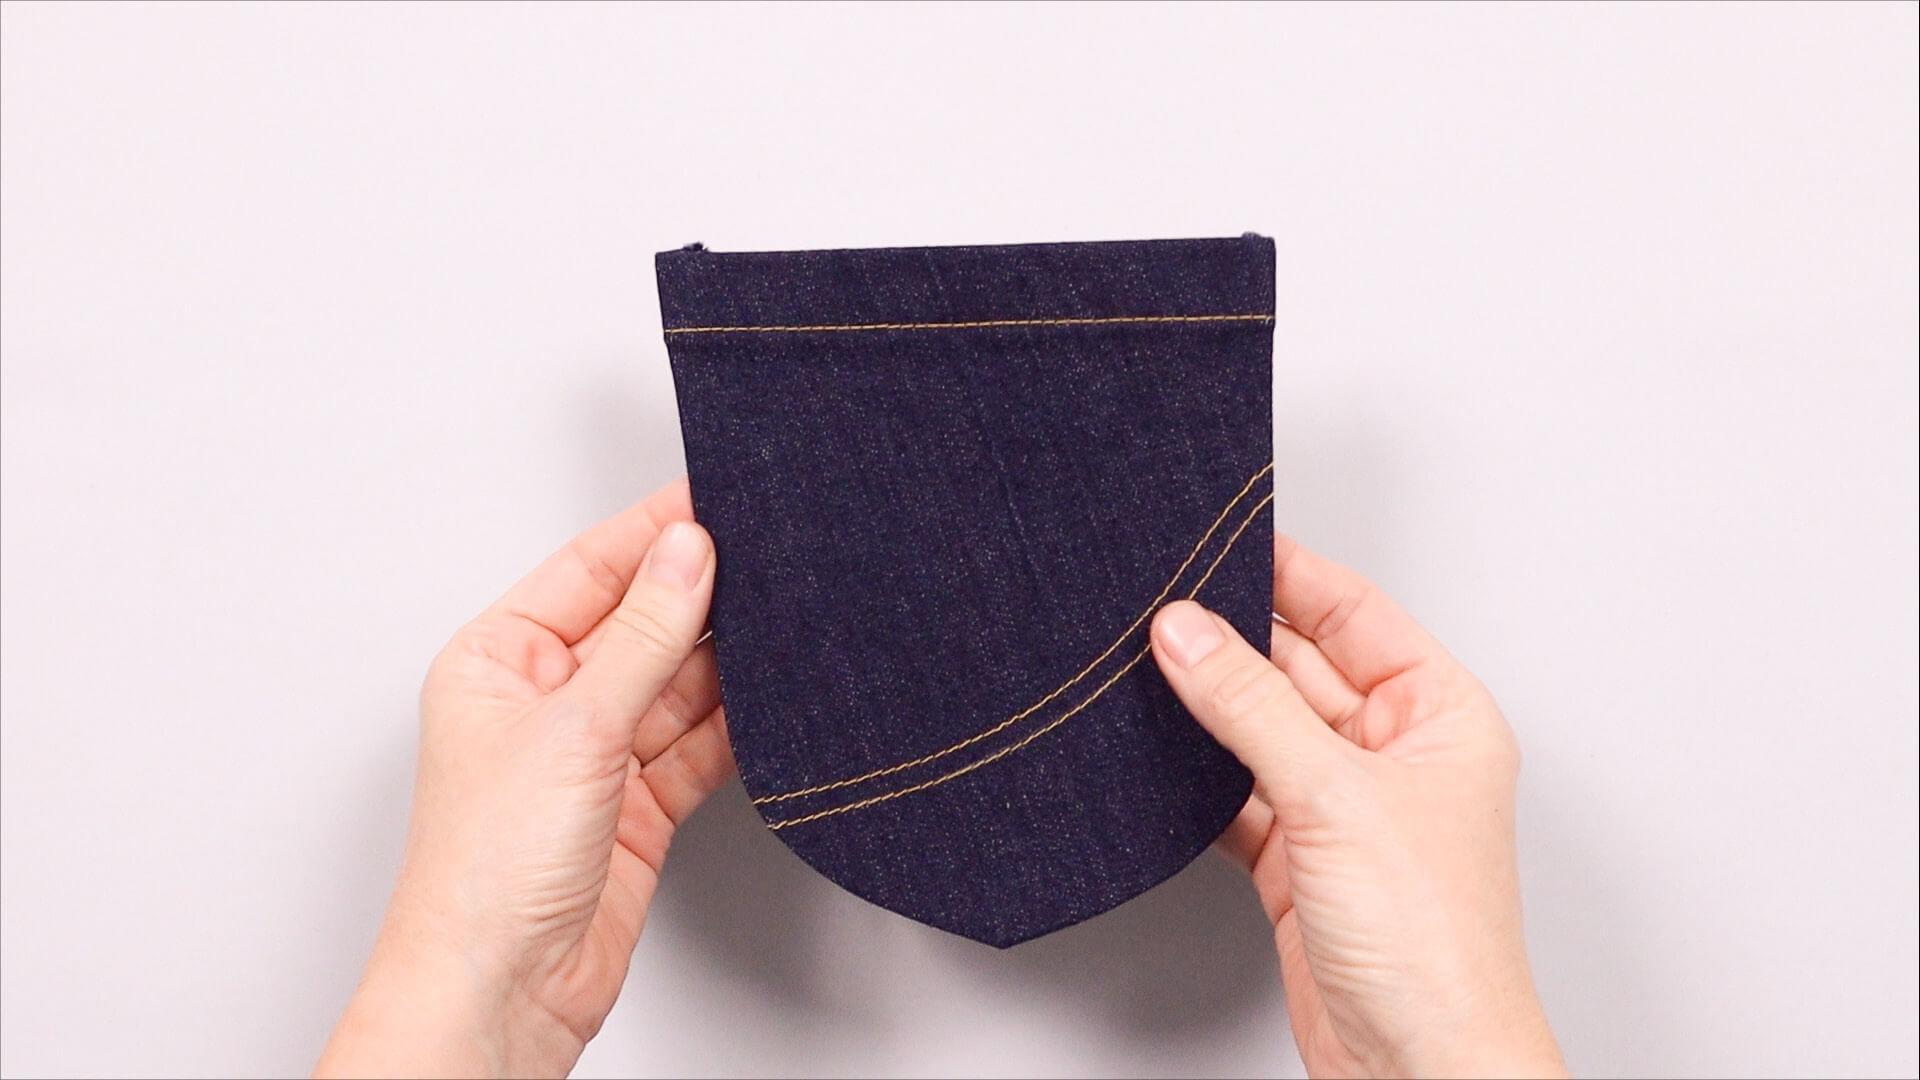
6. Alternative method for round pocket shape
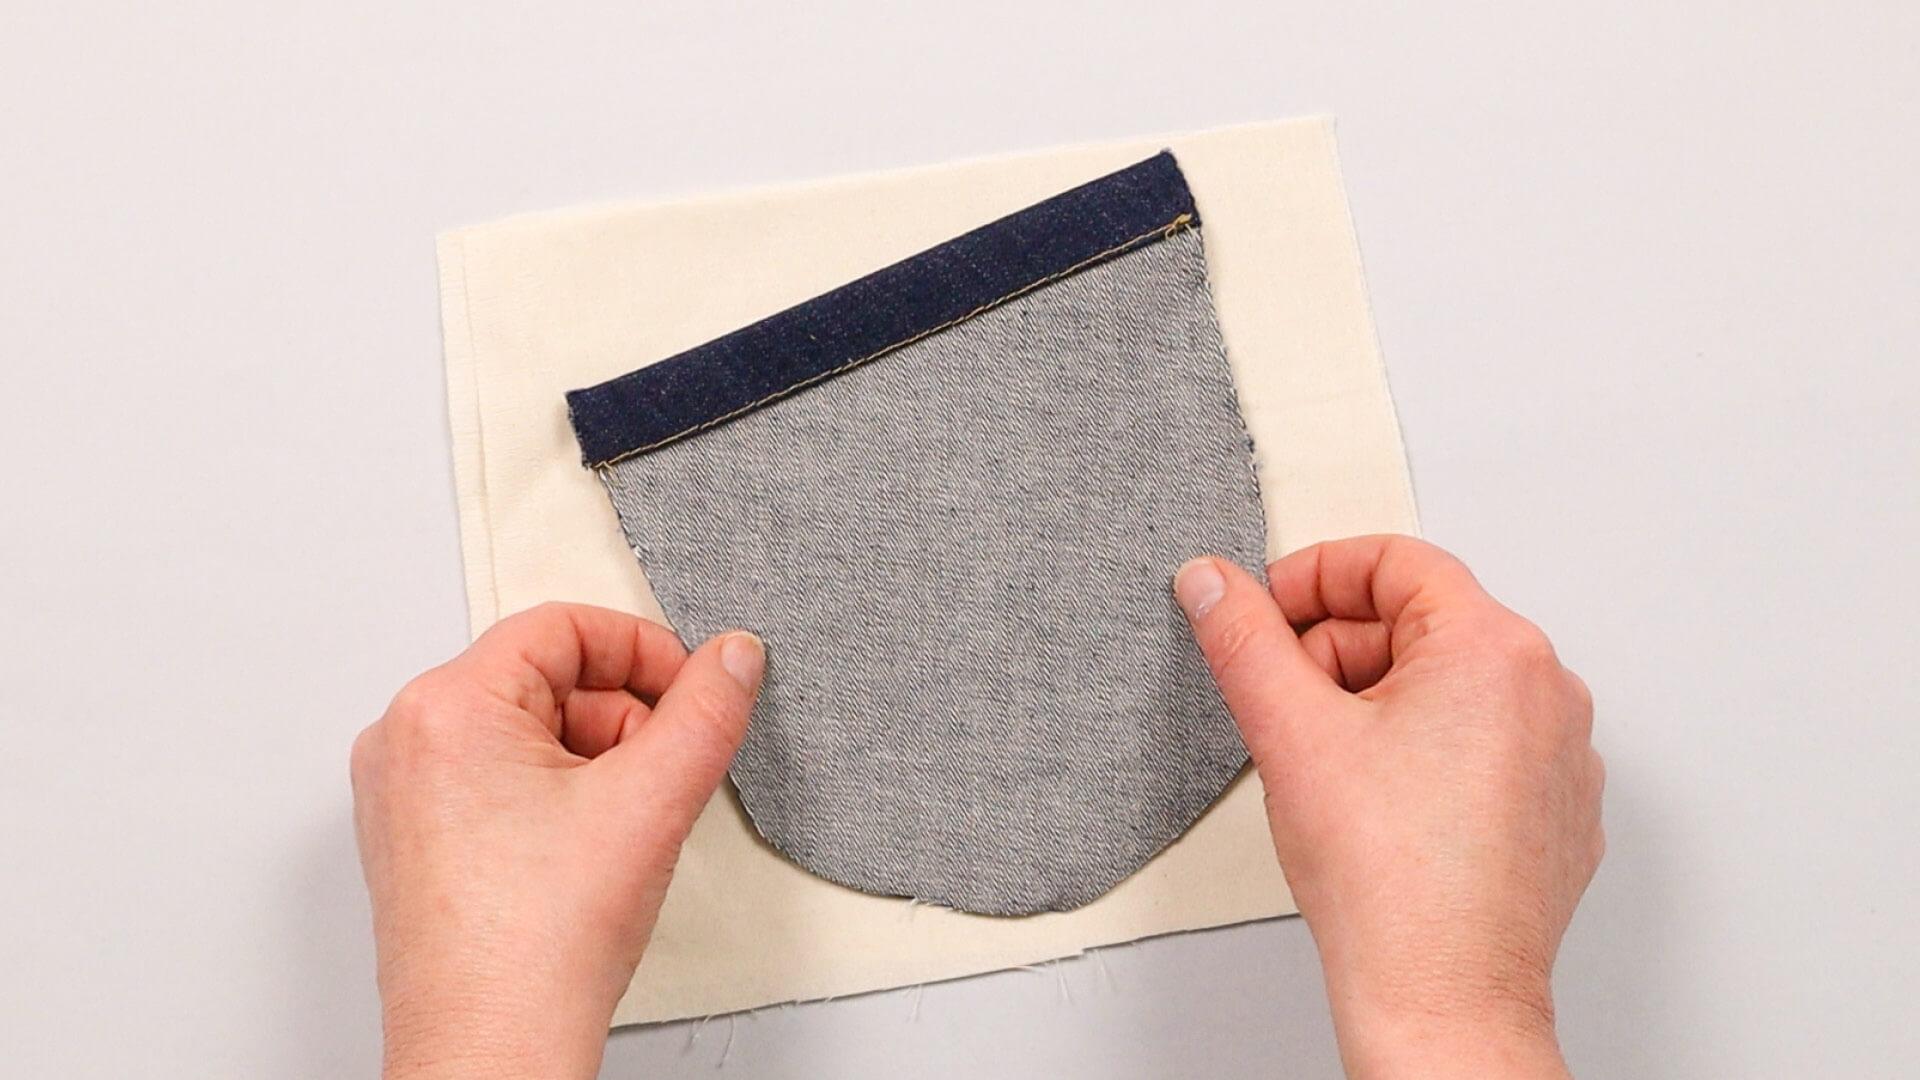
Alternatively, the pocket edges can be sewn onto lining fabric and turned. I need a piece of thin fabric, e.g. calico or lining fabric, and place it under my pocket with the grain of both fabrics running in the same direction.
Marking
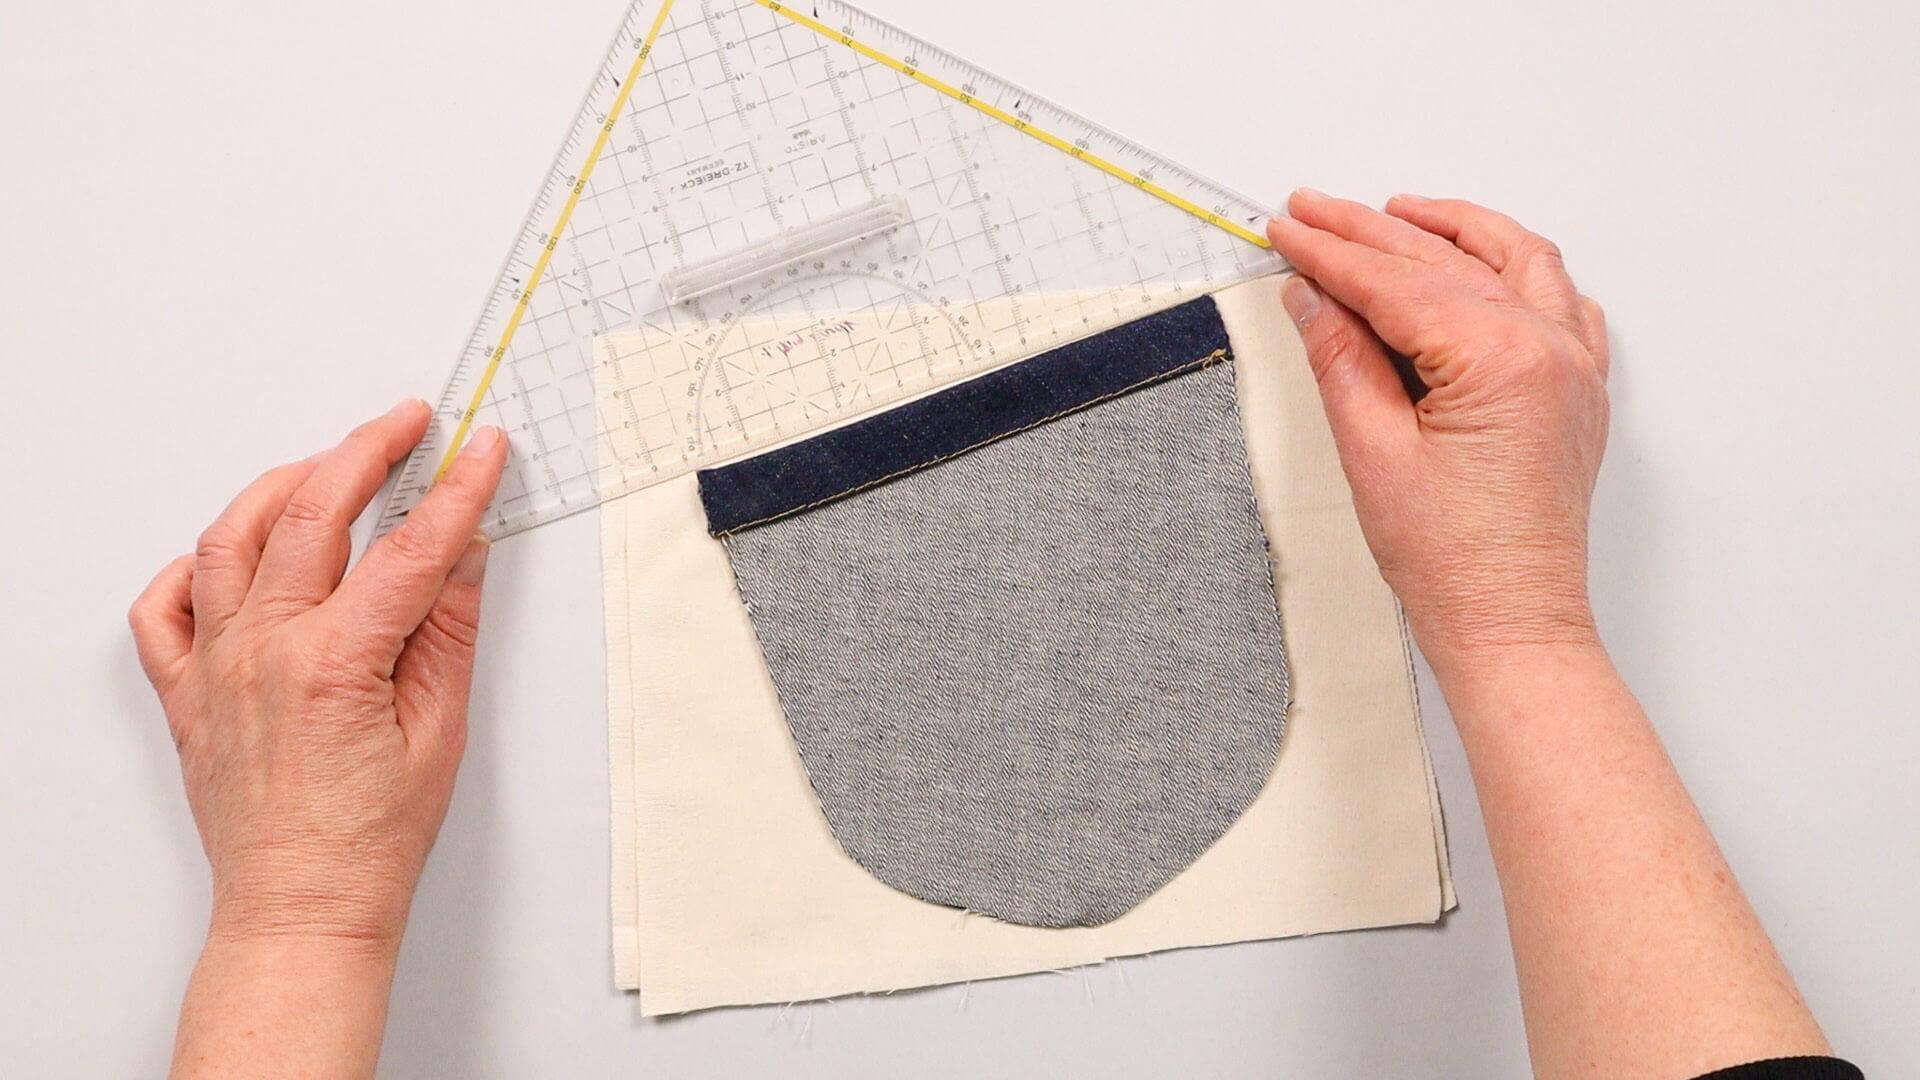
Then I draw the line of the pocket opening.
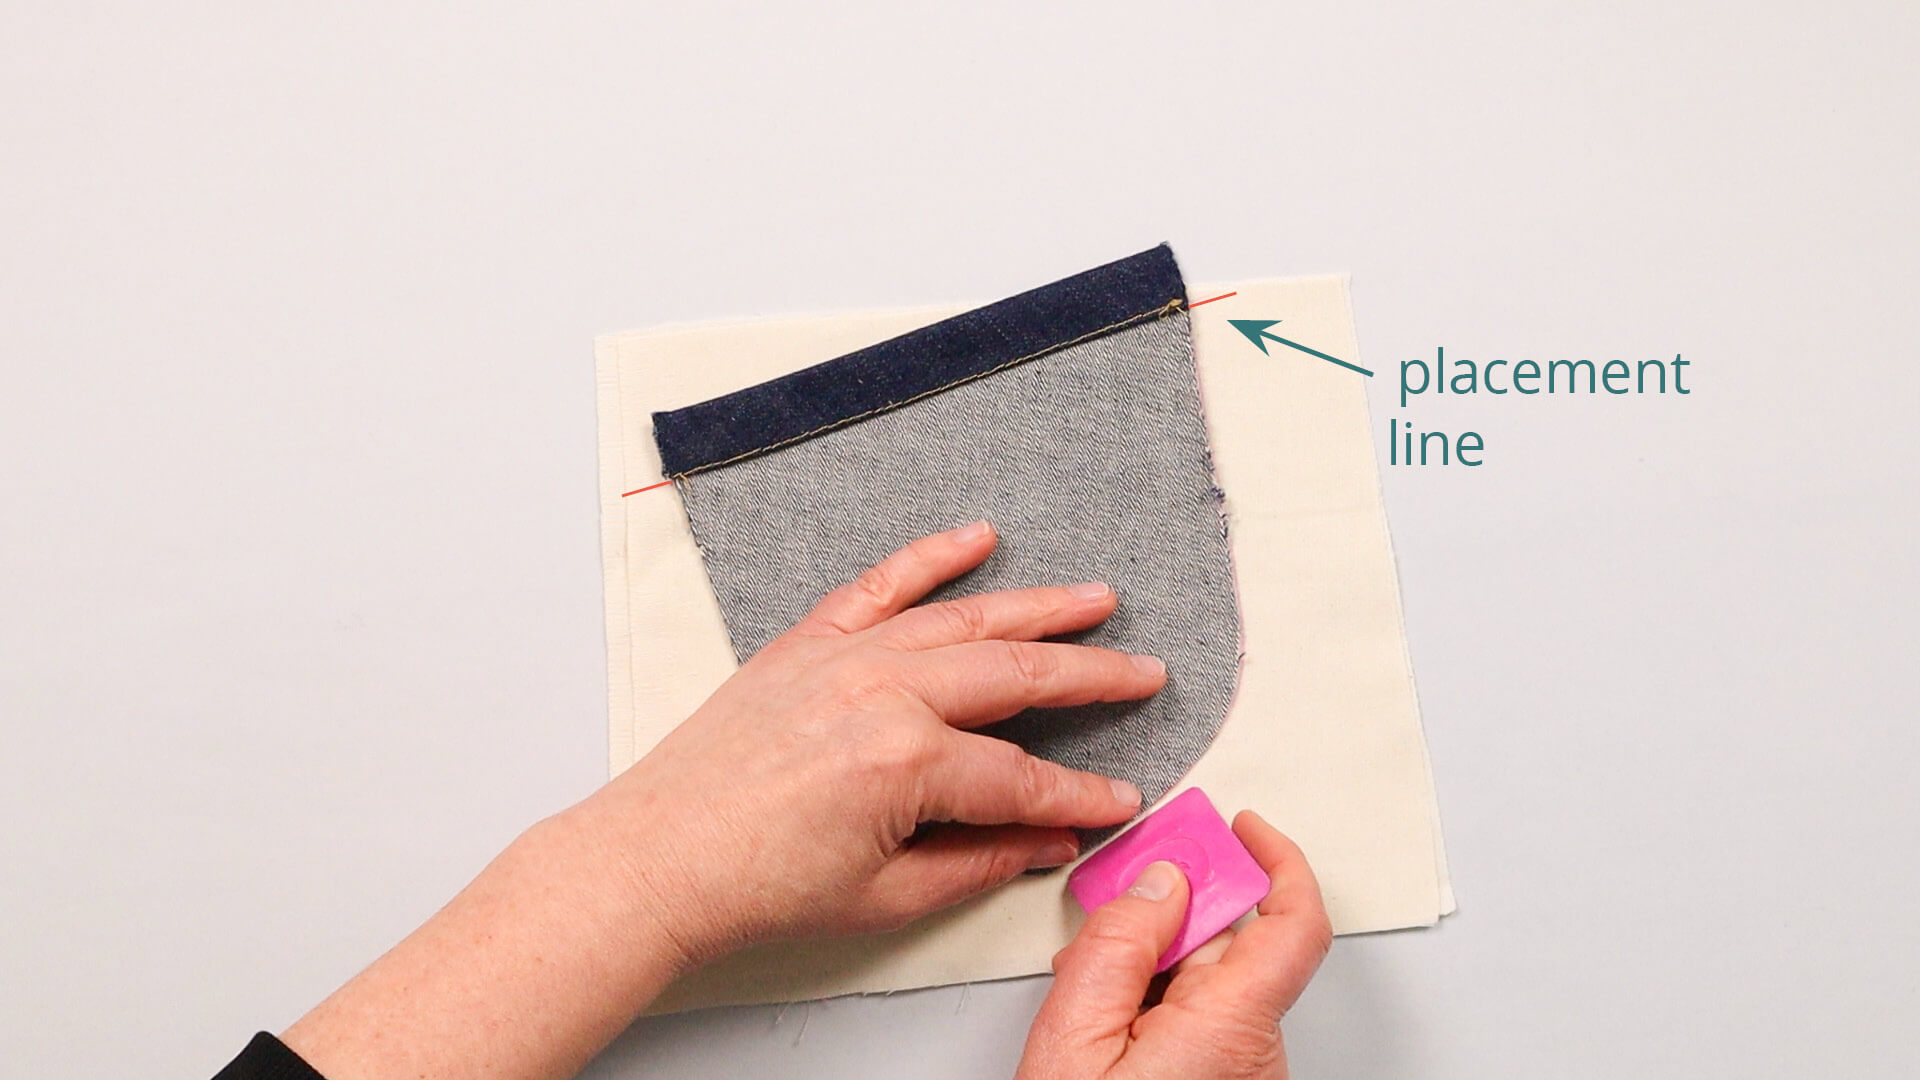
I push the folded edge of my bag up to this mark and transfer the pocket shape to the fabric.
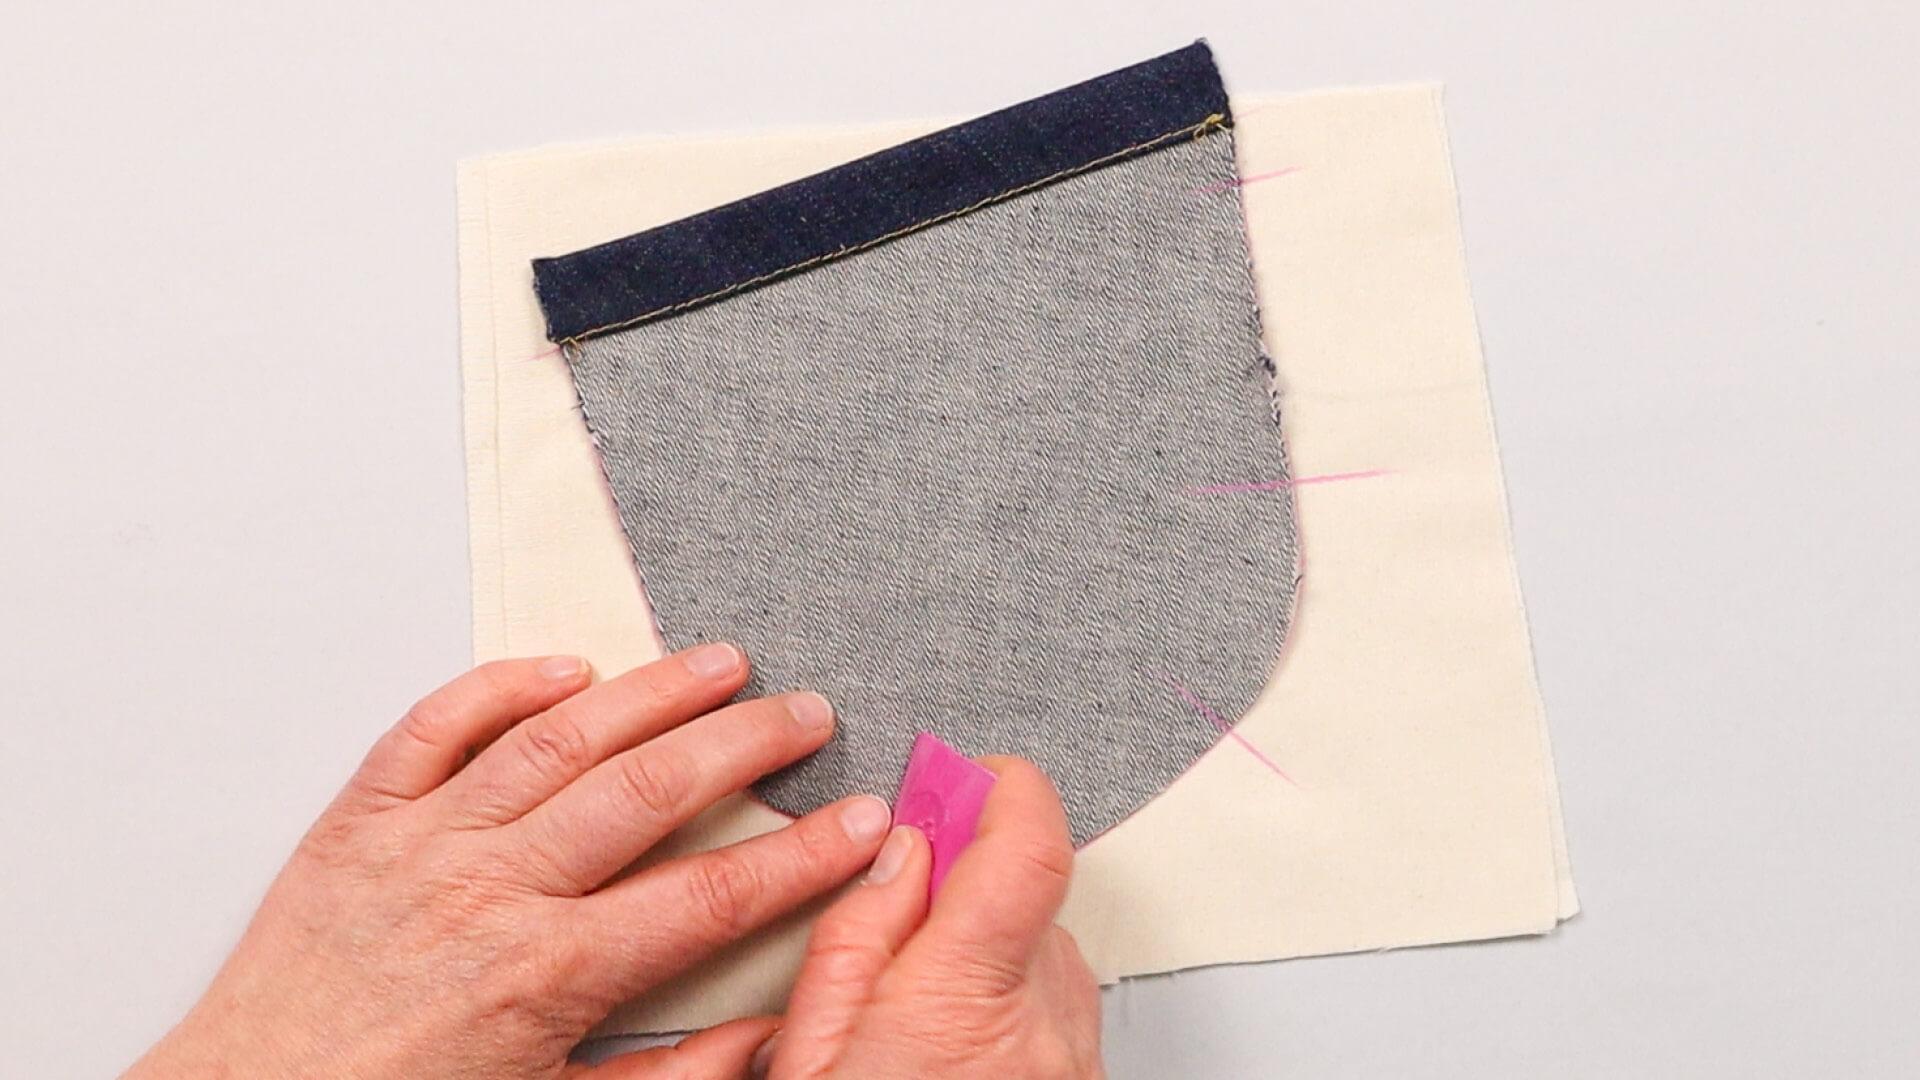
Then I draw assembly markings at the side notches and before and after the curves on the pocket and fabric.
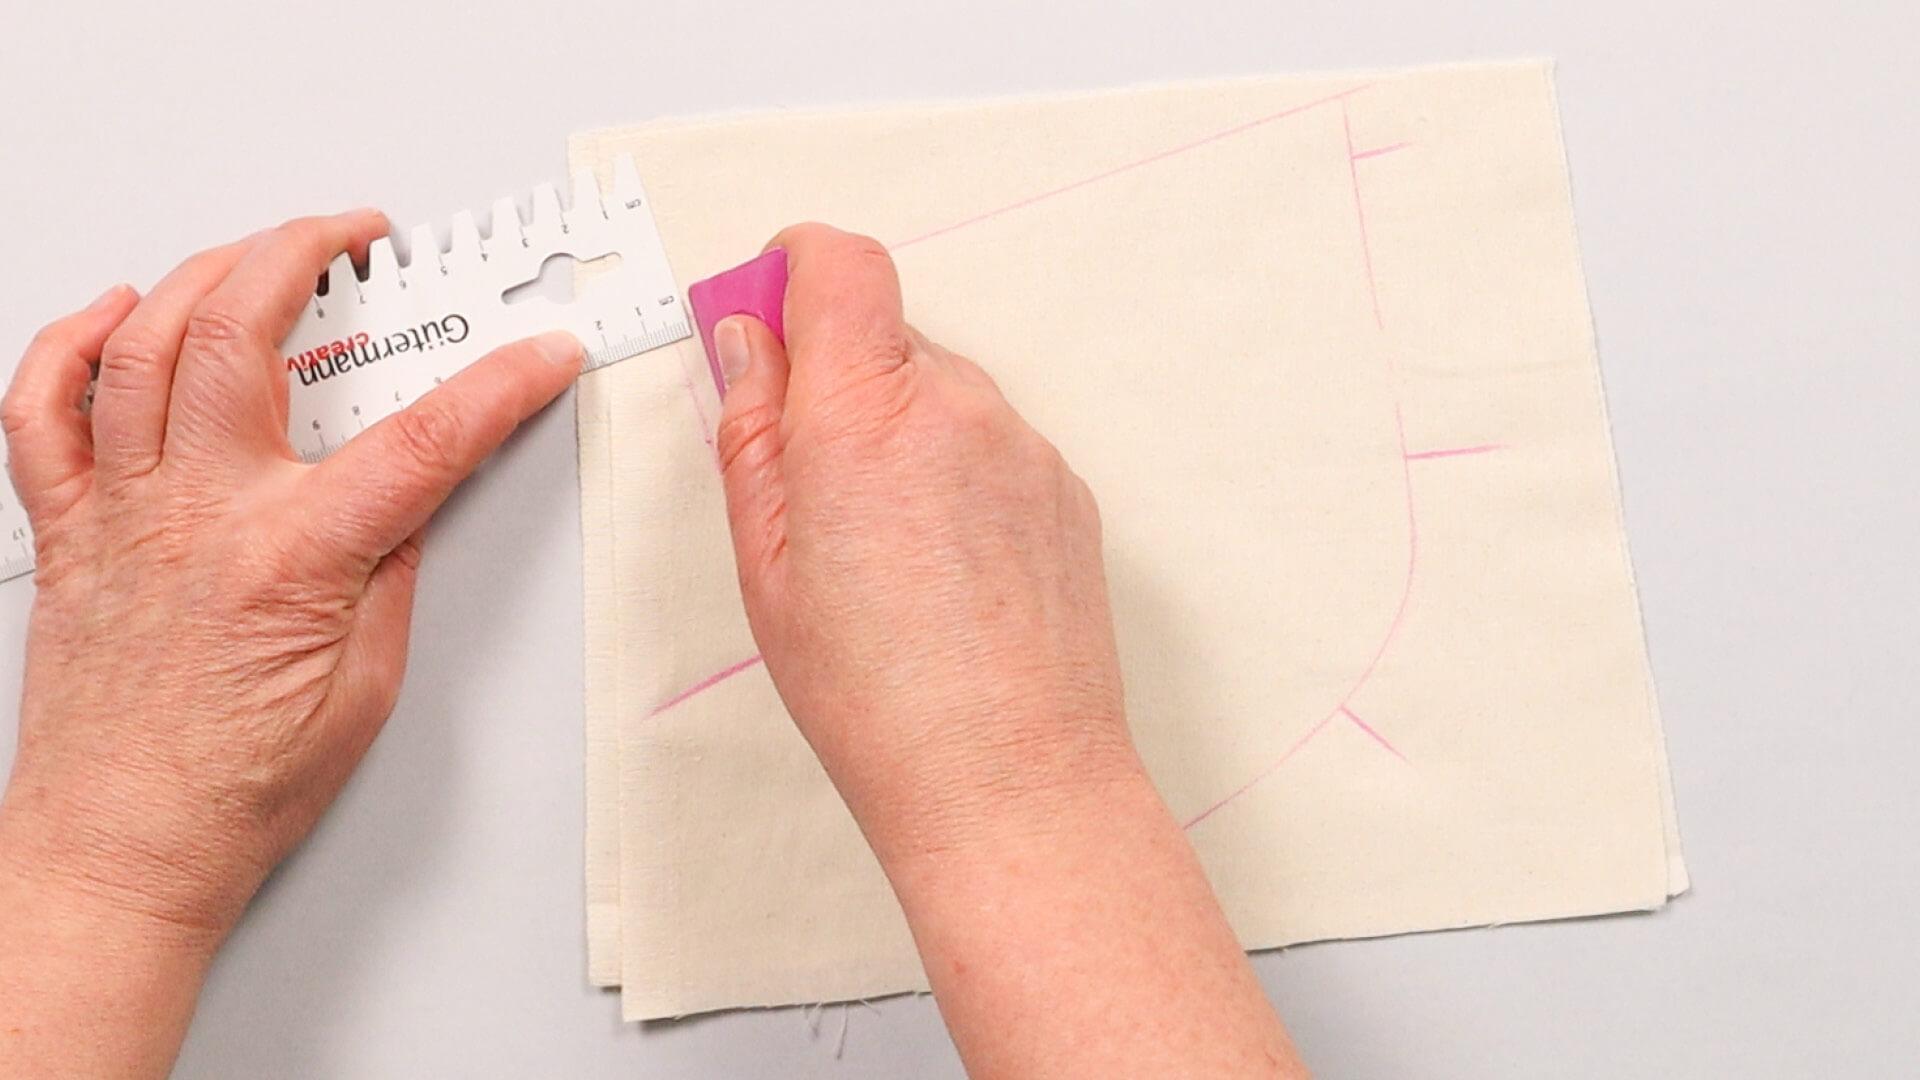
I put the trouser pockets to one side and mark a 4 mm edge distance inside the pocket shape.
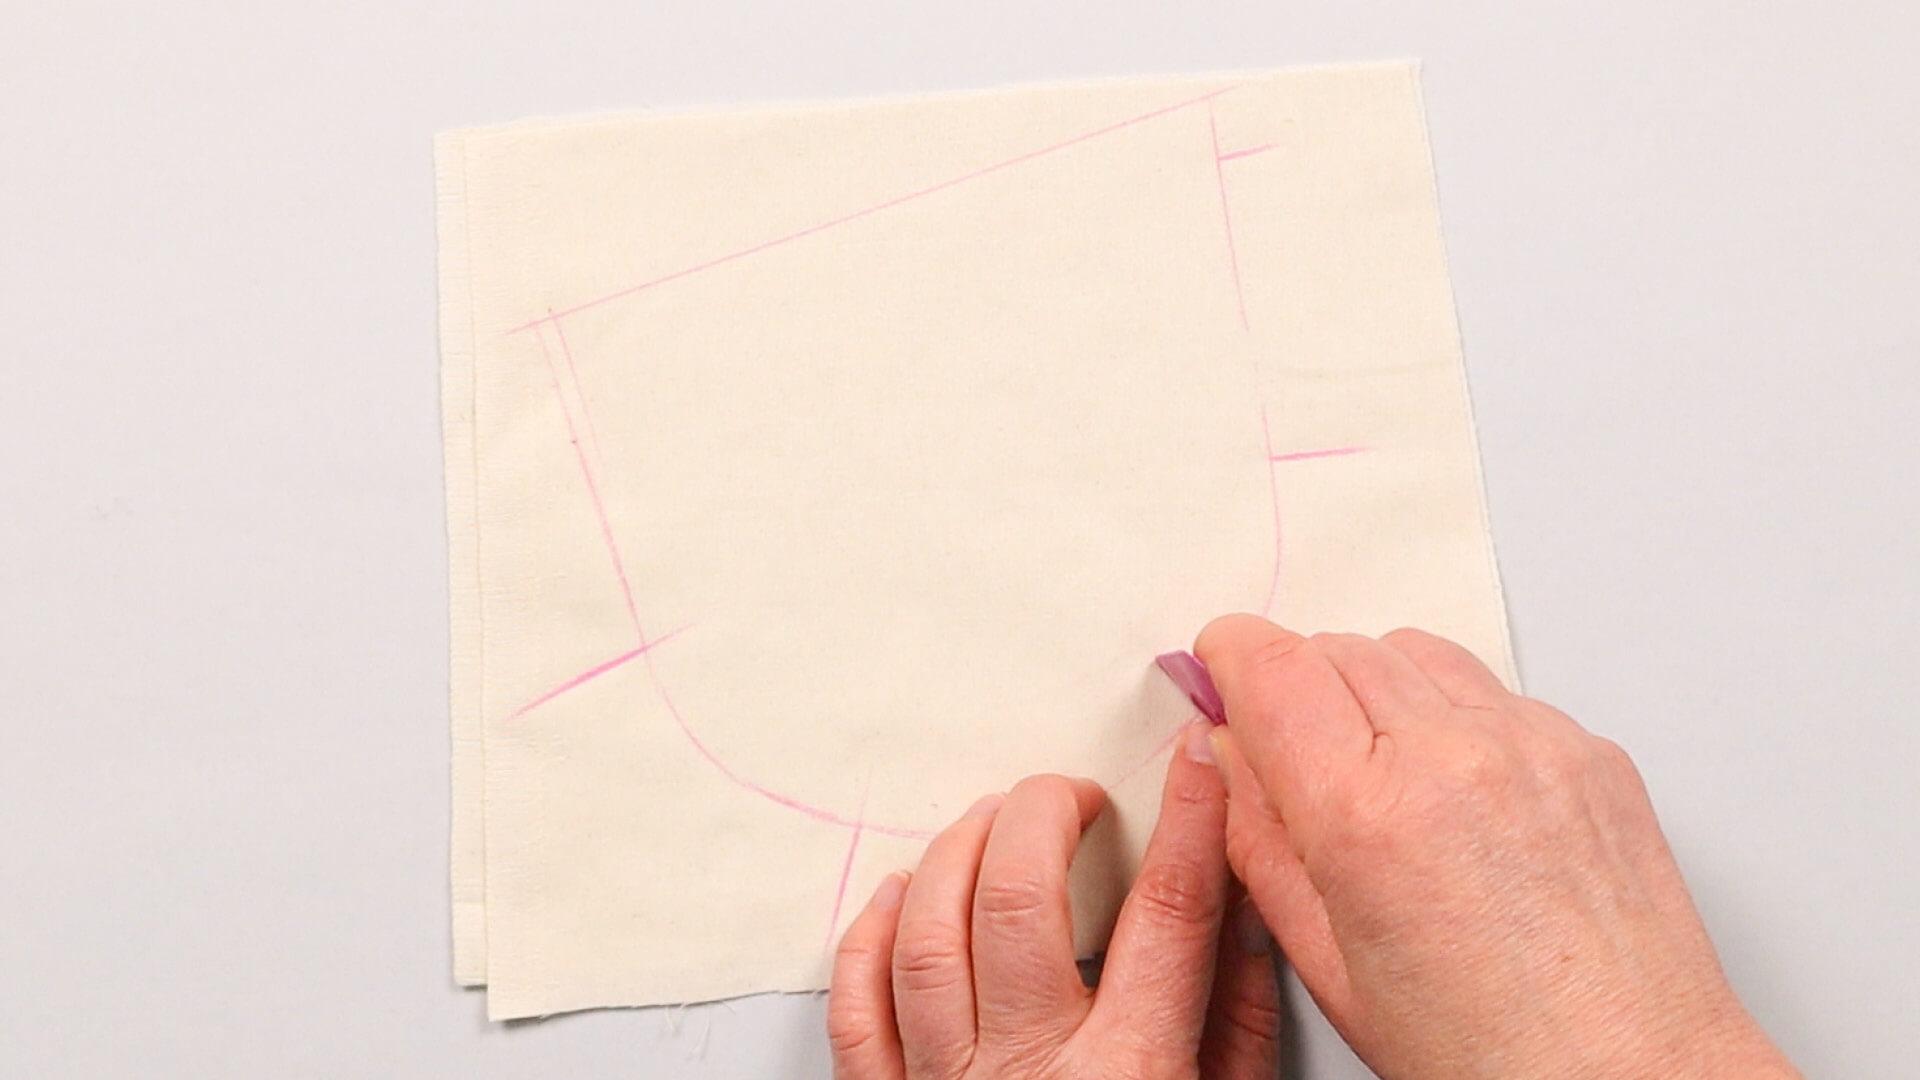
Then I extend the composition markings inwards …
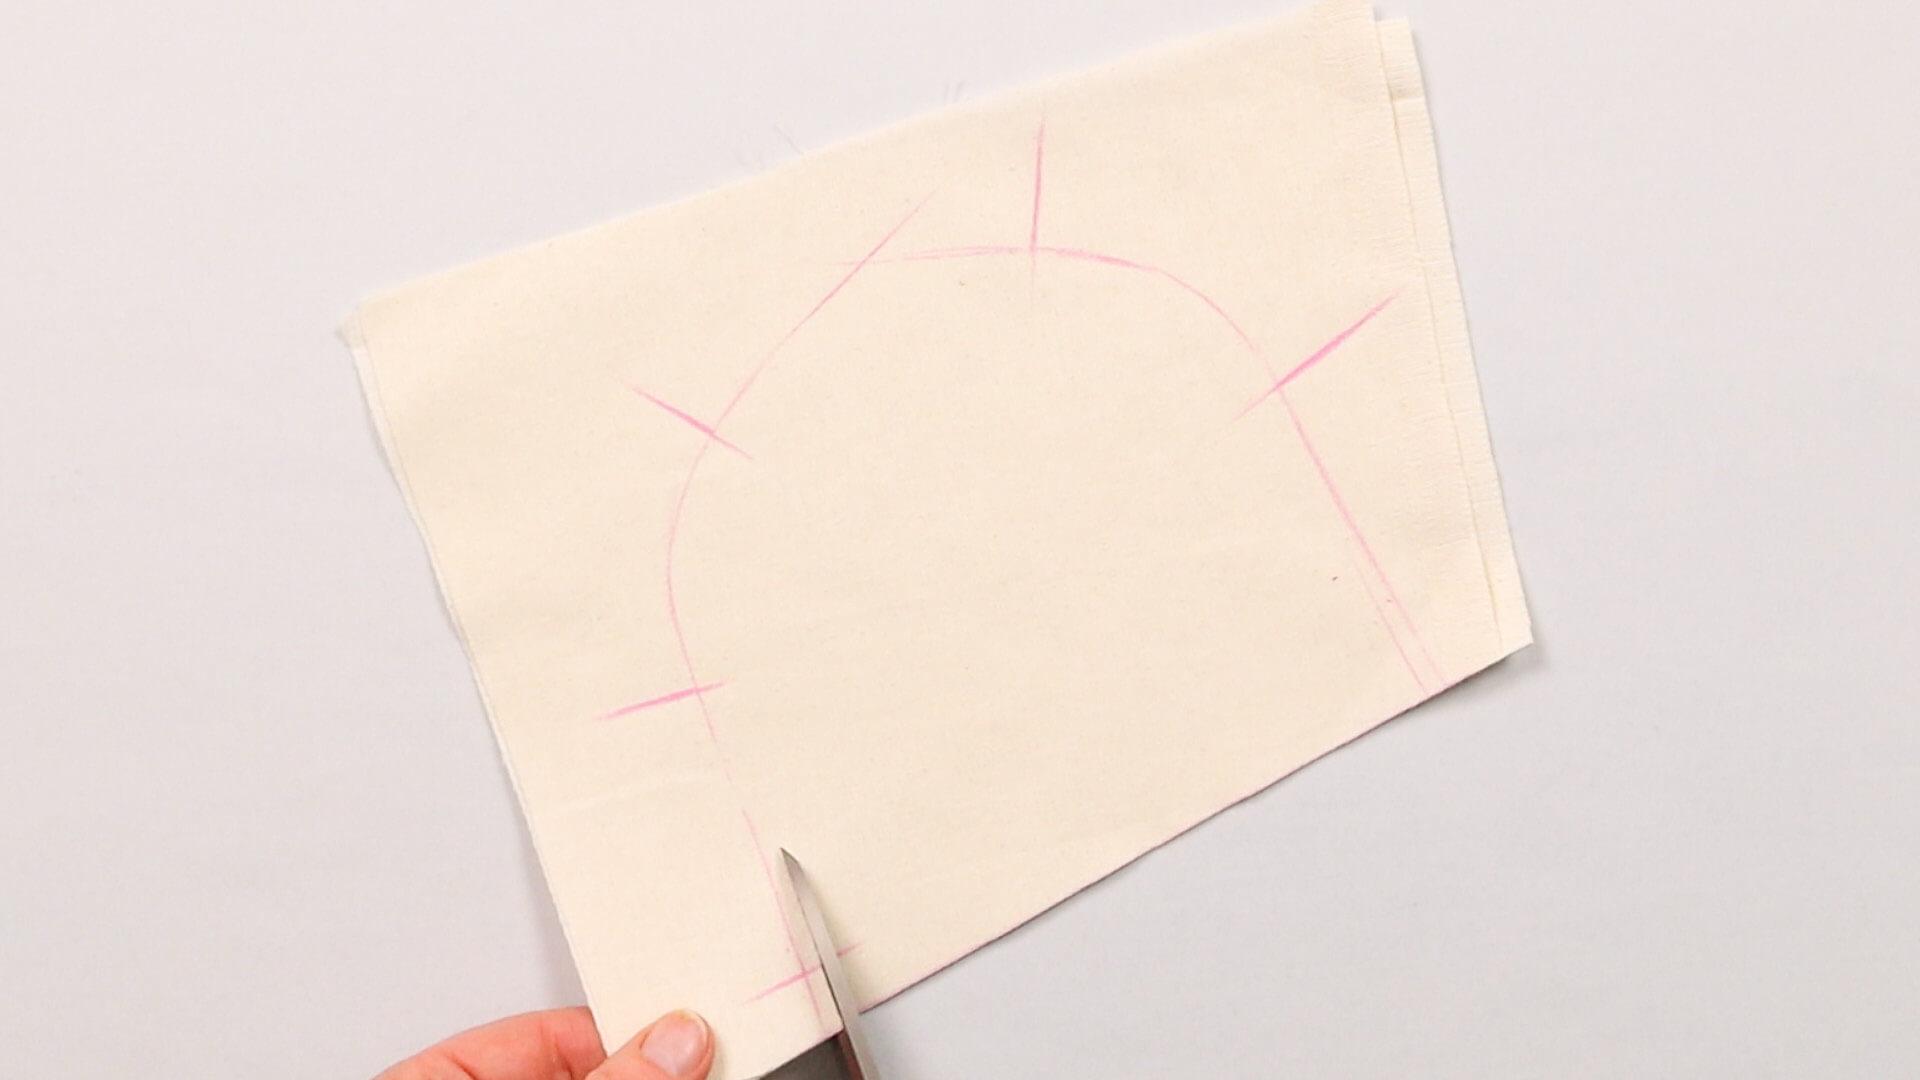
… and cut the fabric along the inner marking maintaining the 4mm distance from the edge.
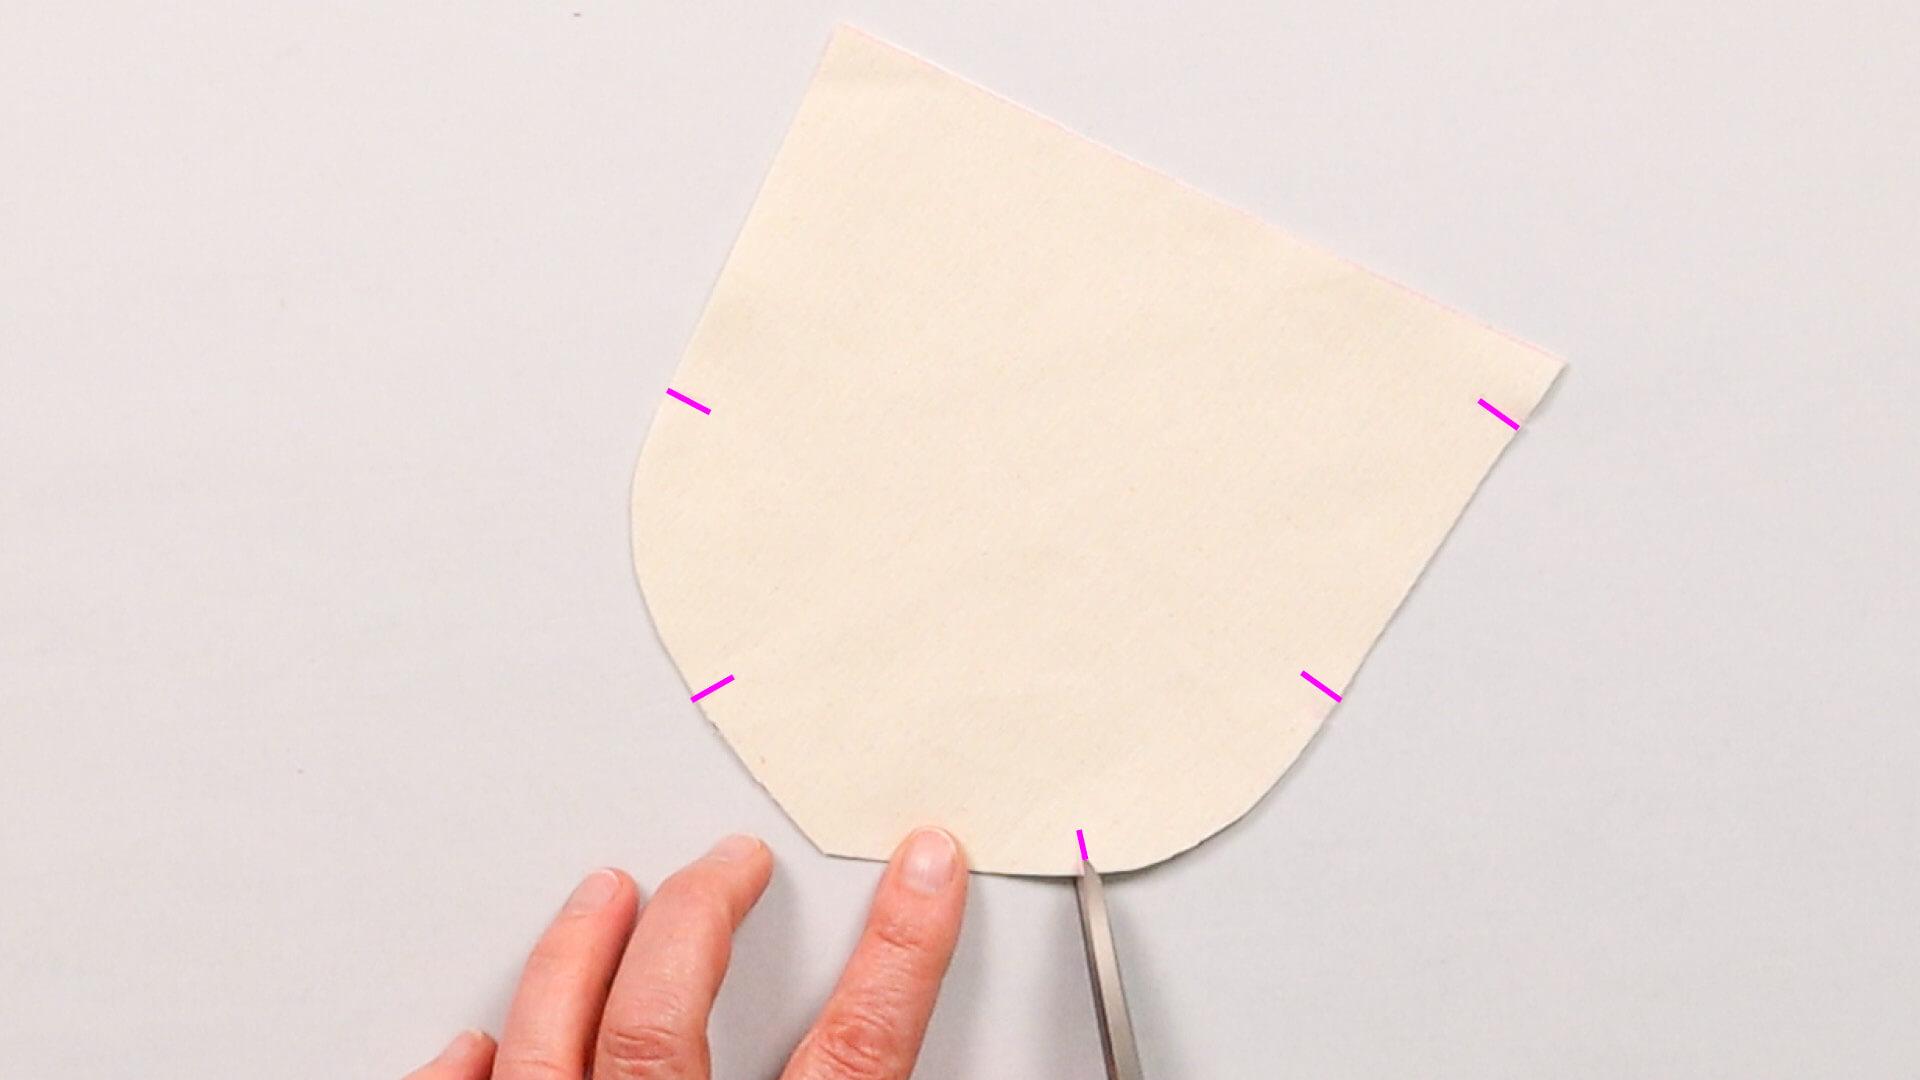
I tcut 5mm notches into the lining pieces at the markings.
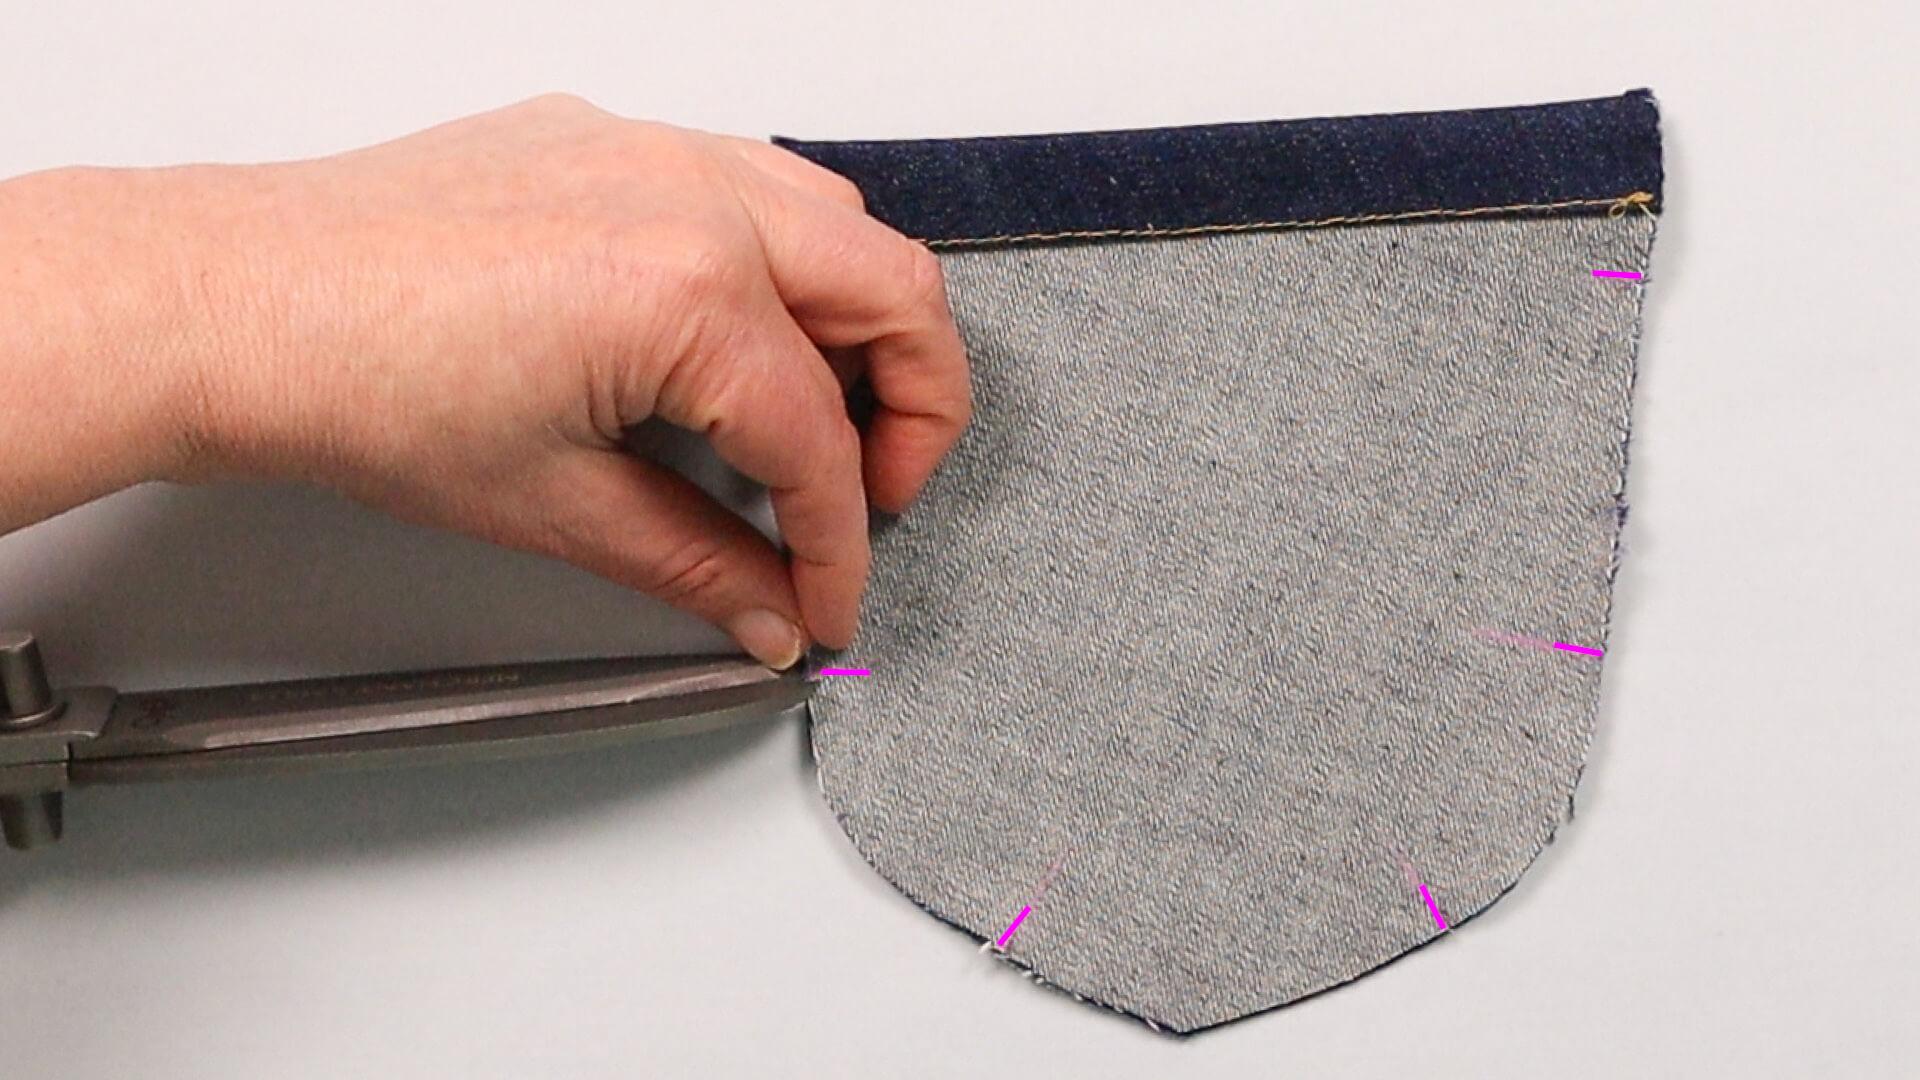
I place the trouser pockets on top of each other matching the edges and clip in the markings here too.
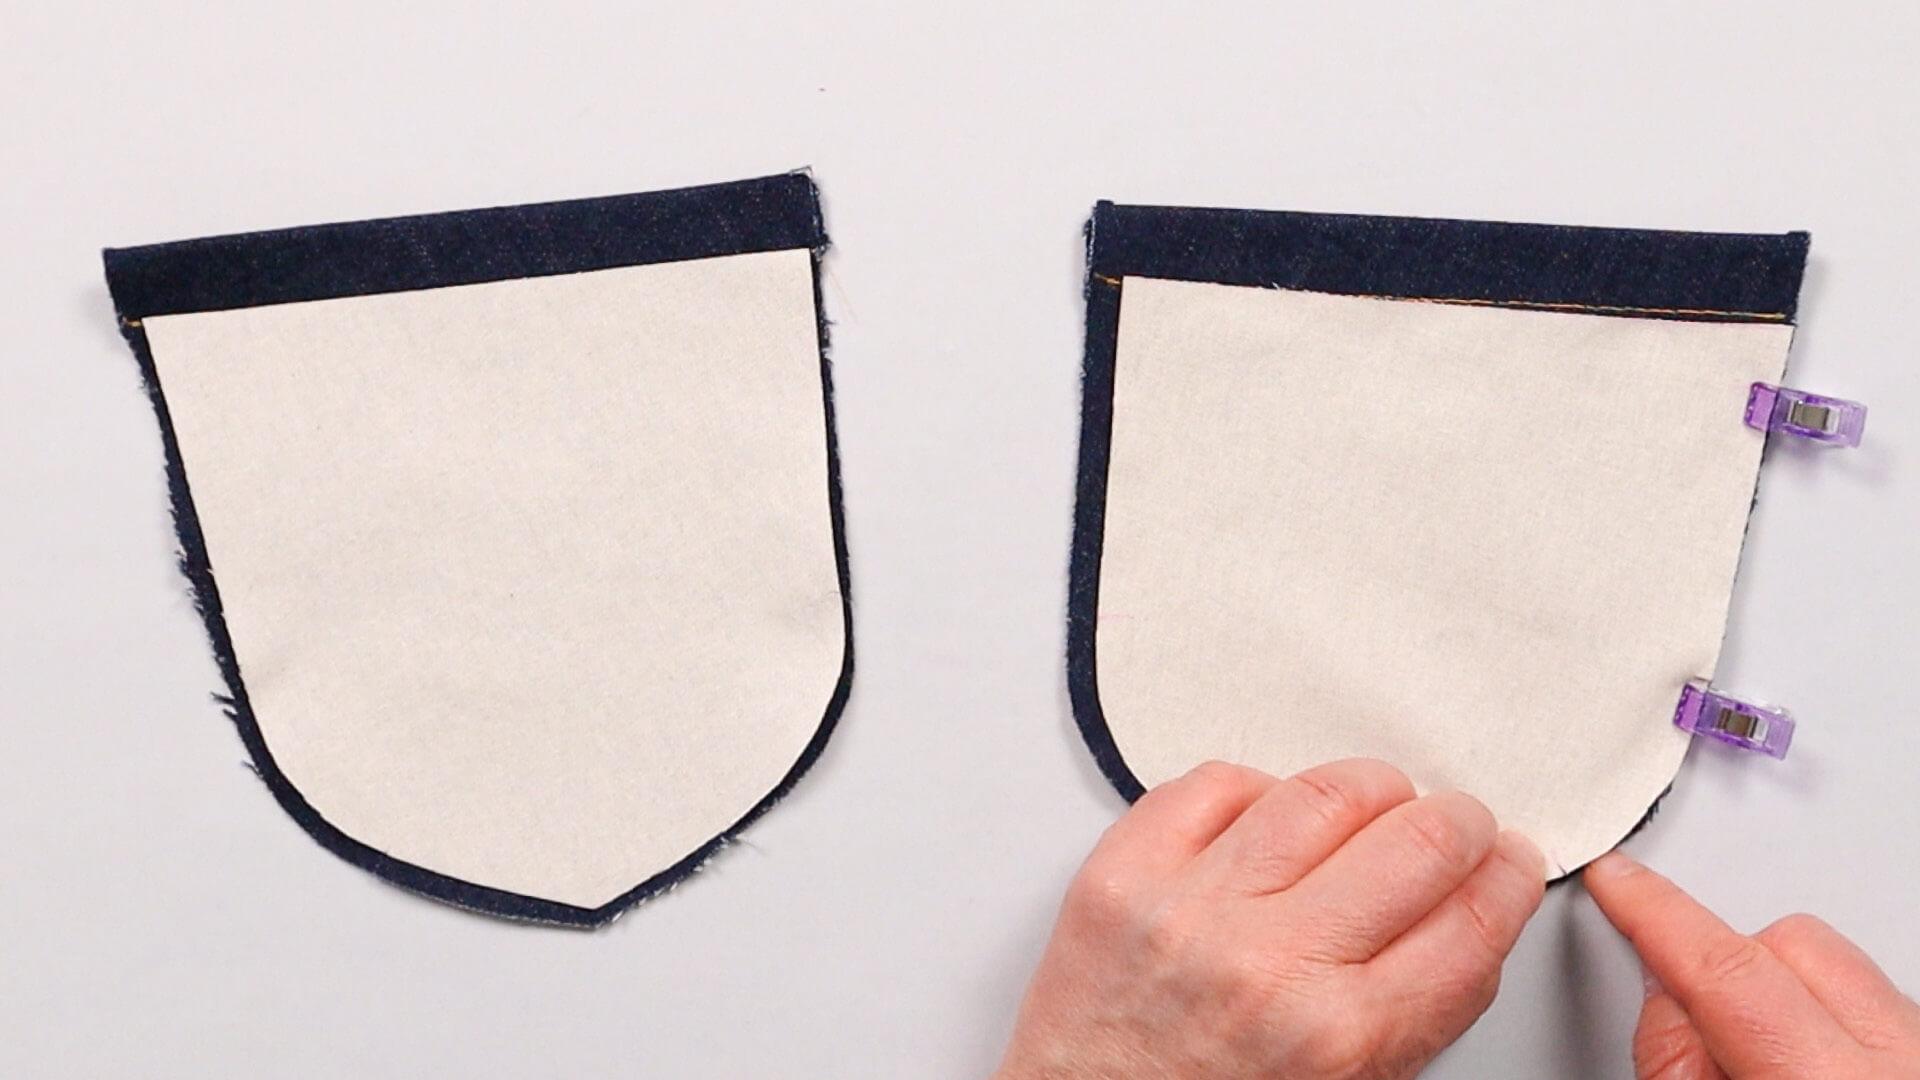
Then I lay the trouser pockets so that the right side of the fabric is facing me. I lay the prepared fabric pieces on top and pin both pieces together exactly at the notches.
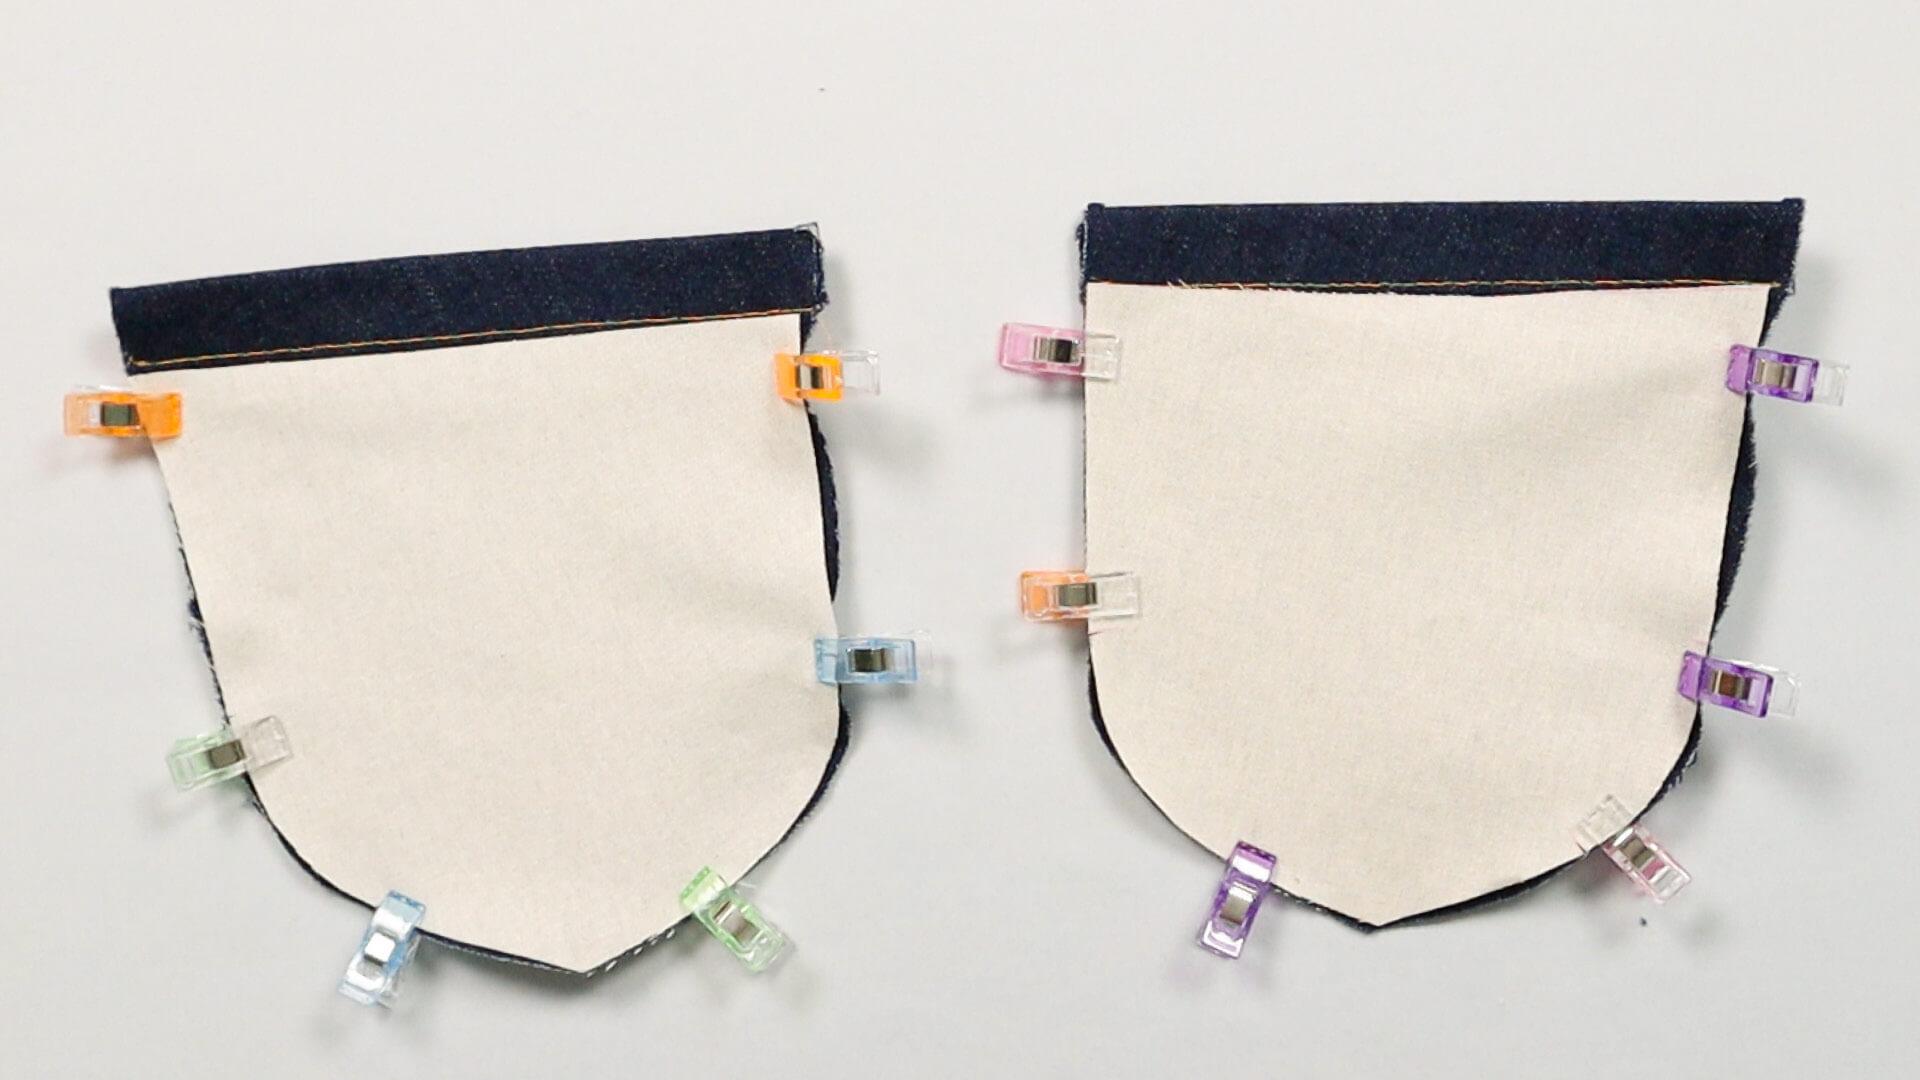
Sew trouser pocket
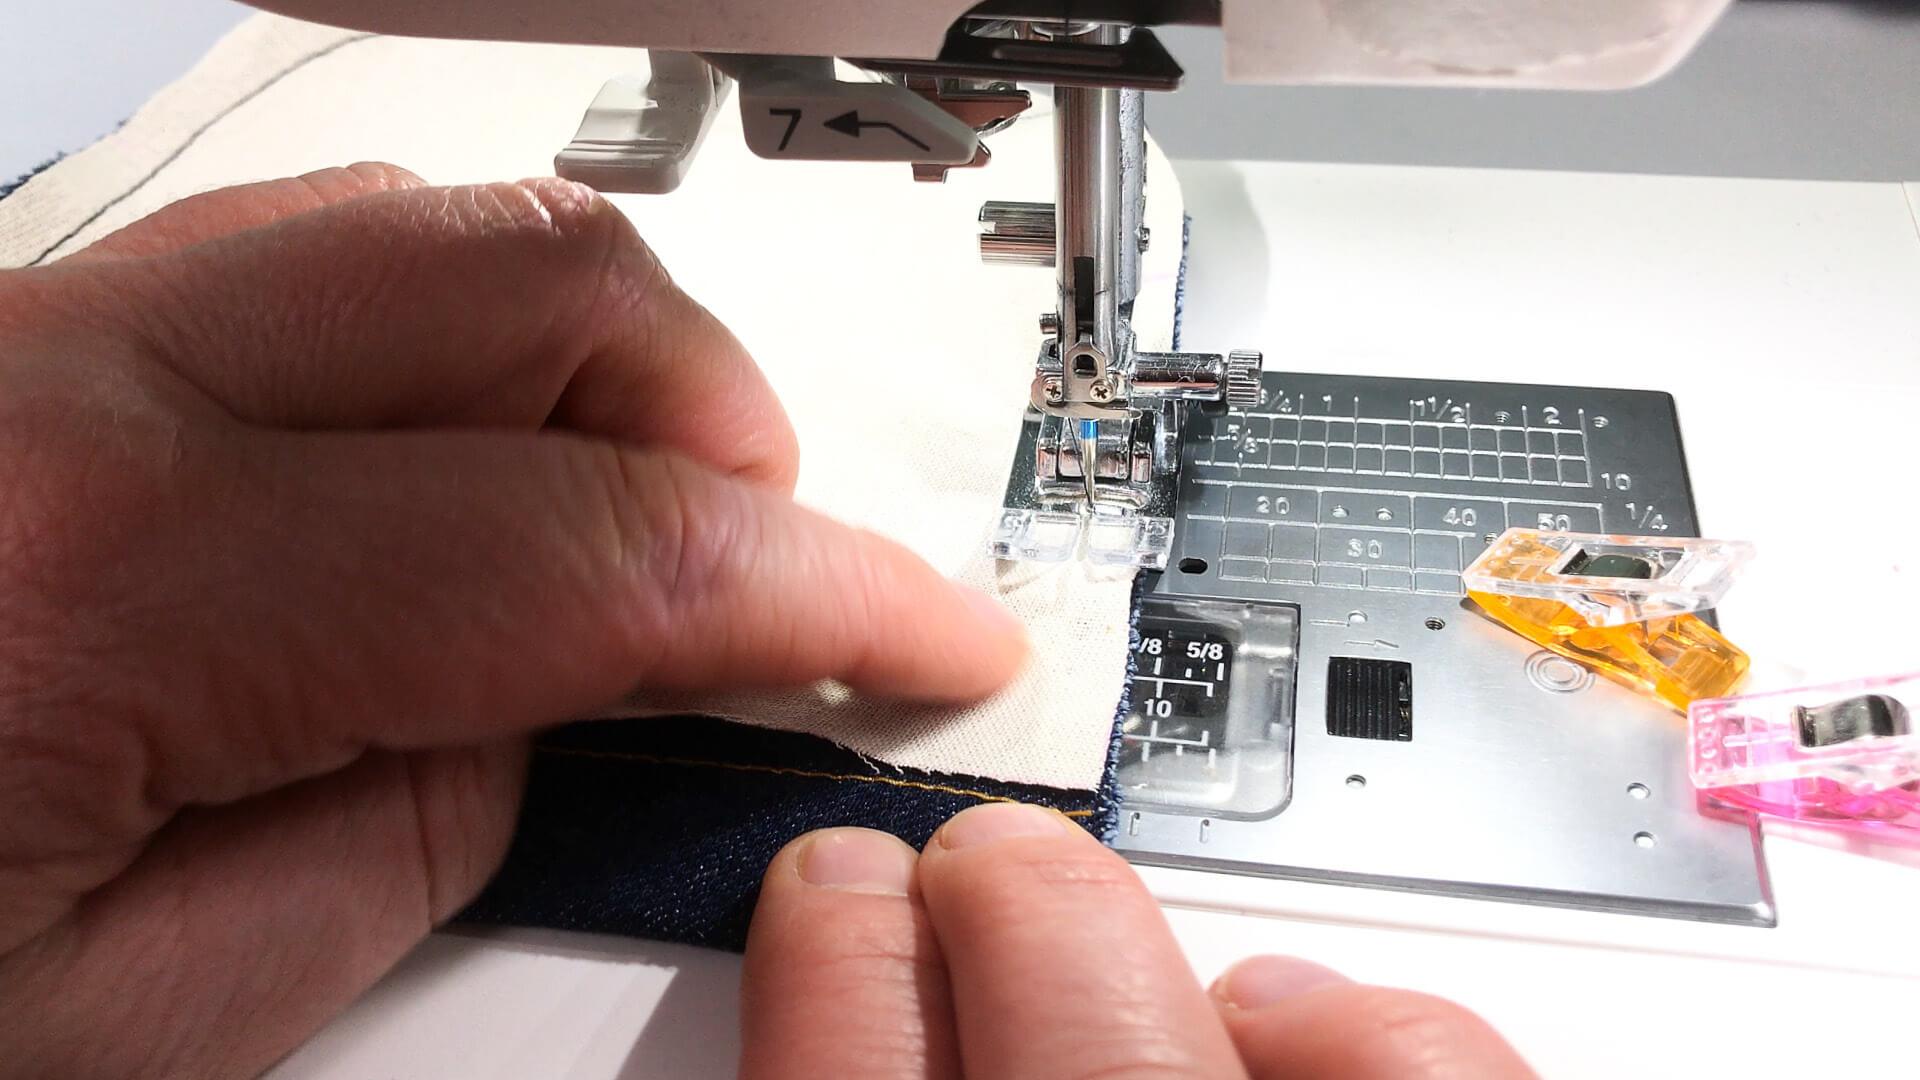
The fabric is now sewn along the edge of the pocket with an 8 mm seam allowance. As the lining fabric is smaller than the outer pocket, I pull the fabric up to the notch and make sure that the cut edges are on top of each other.
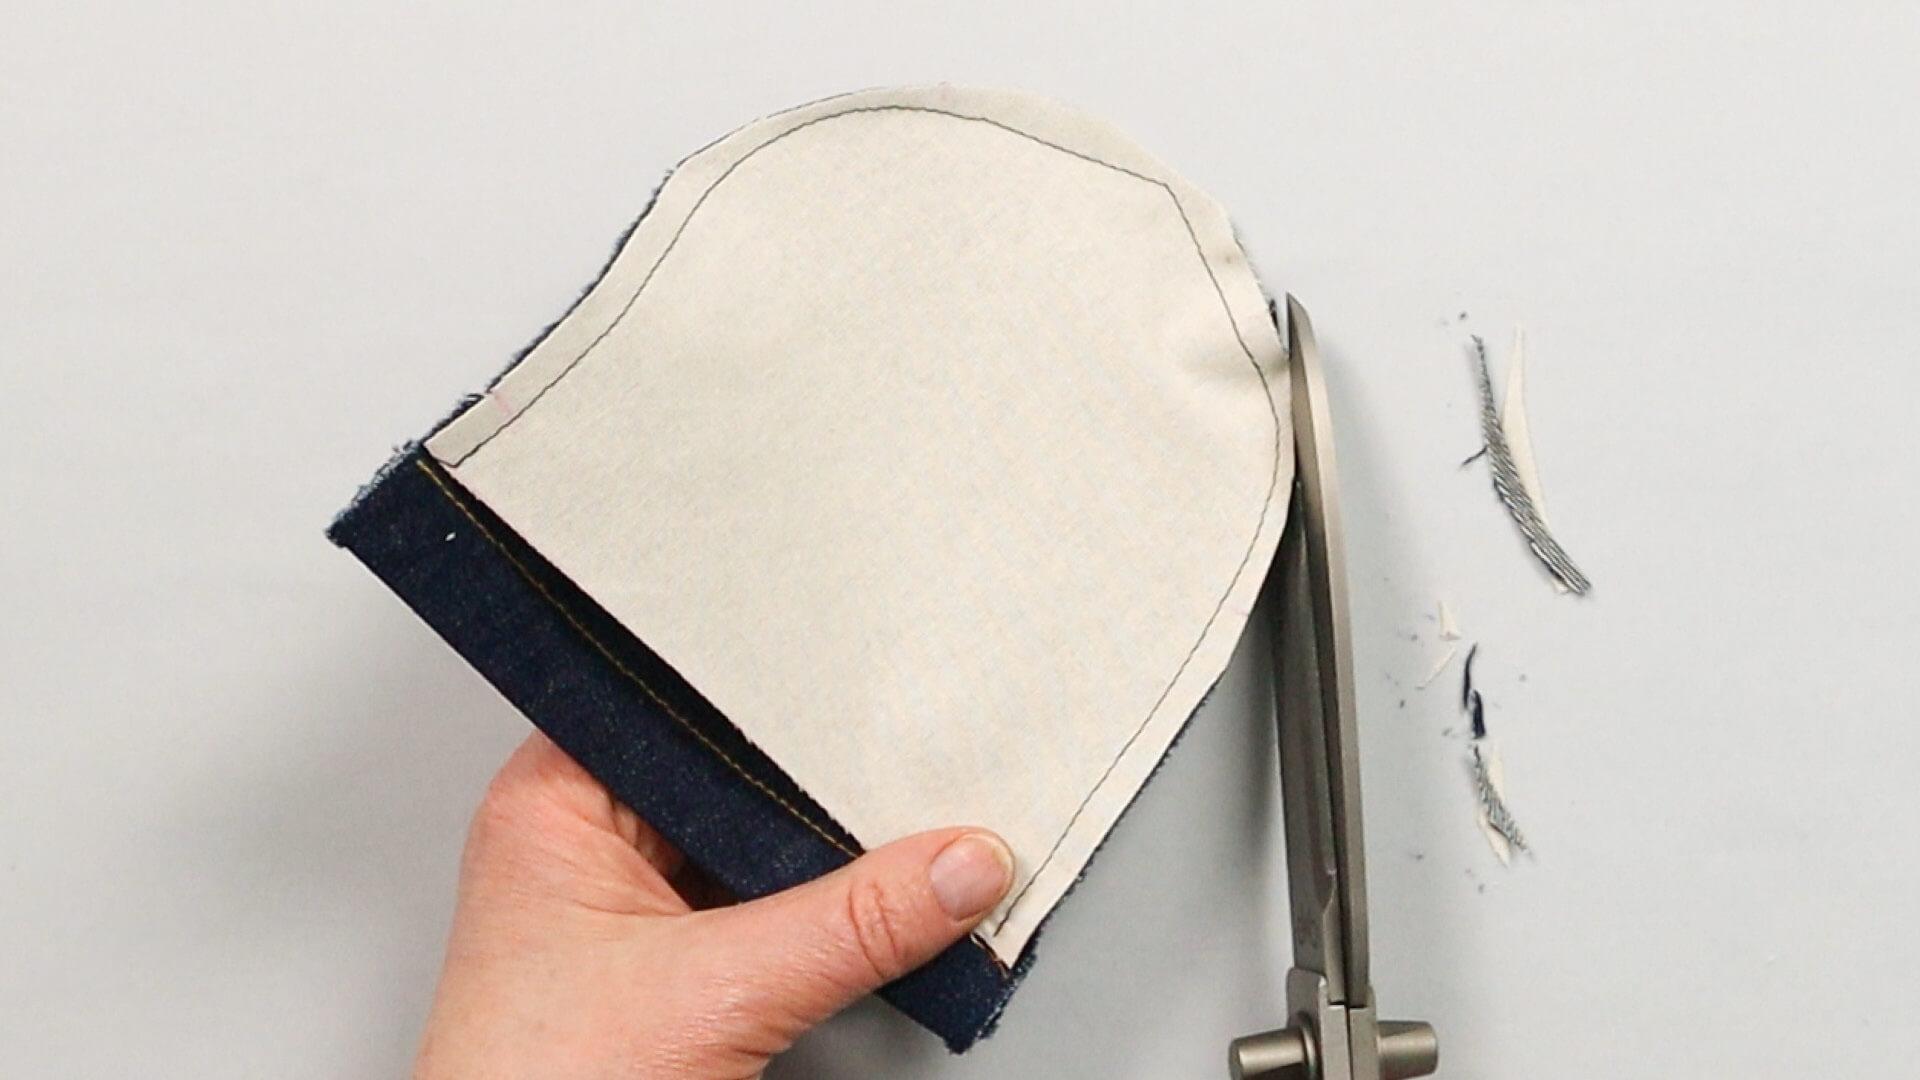
I cut back the shortened seam allowance along the curve and at the corner to a width of approx. 3 mm.
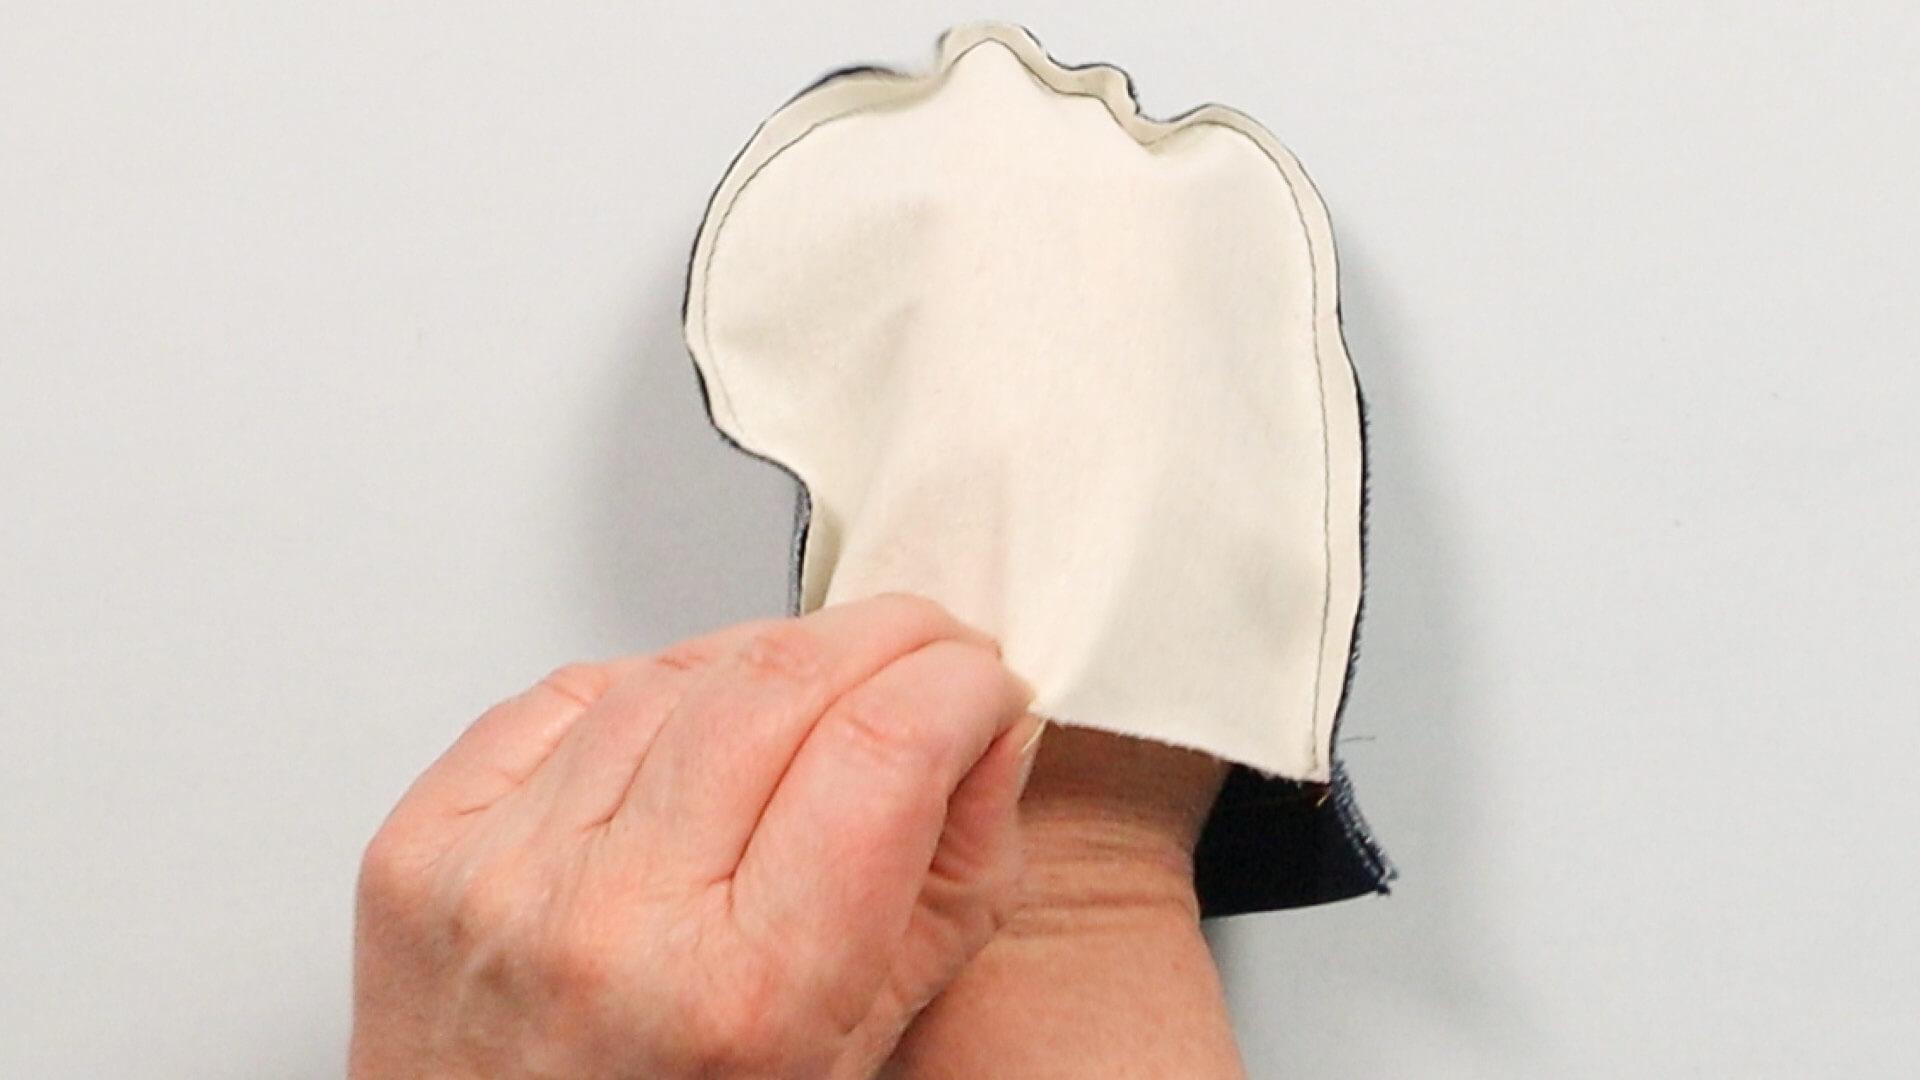
Now turn the pocket right sides out at the opening edge.
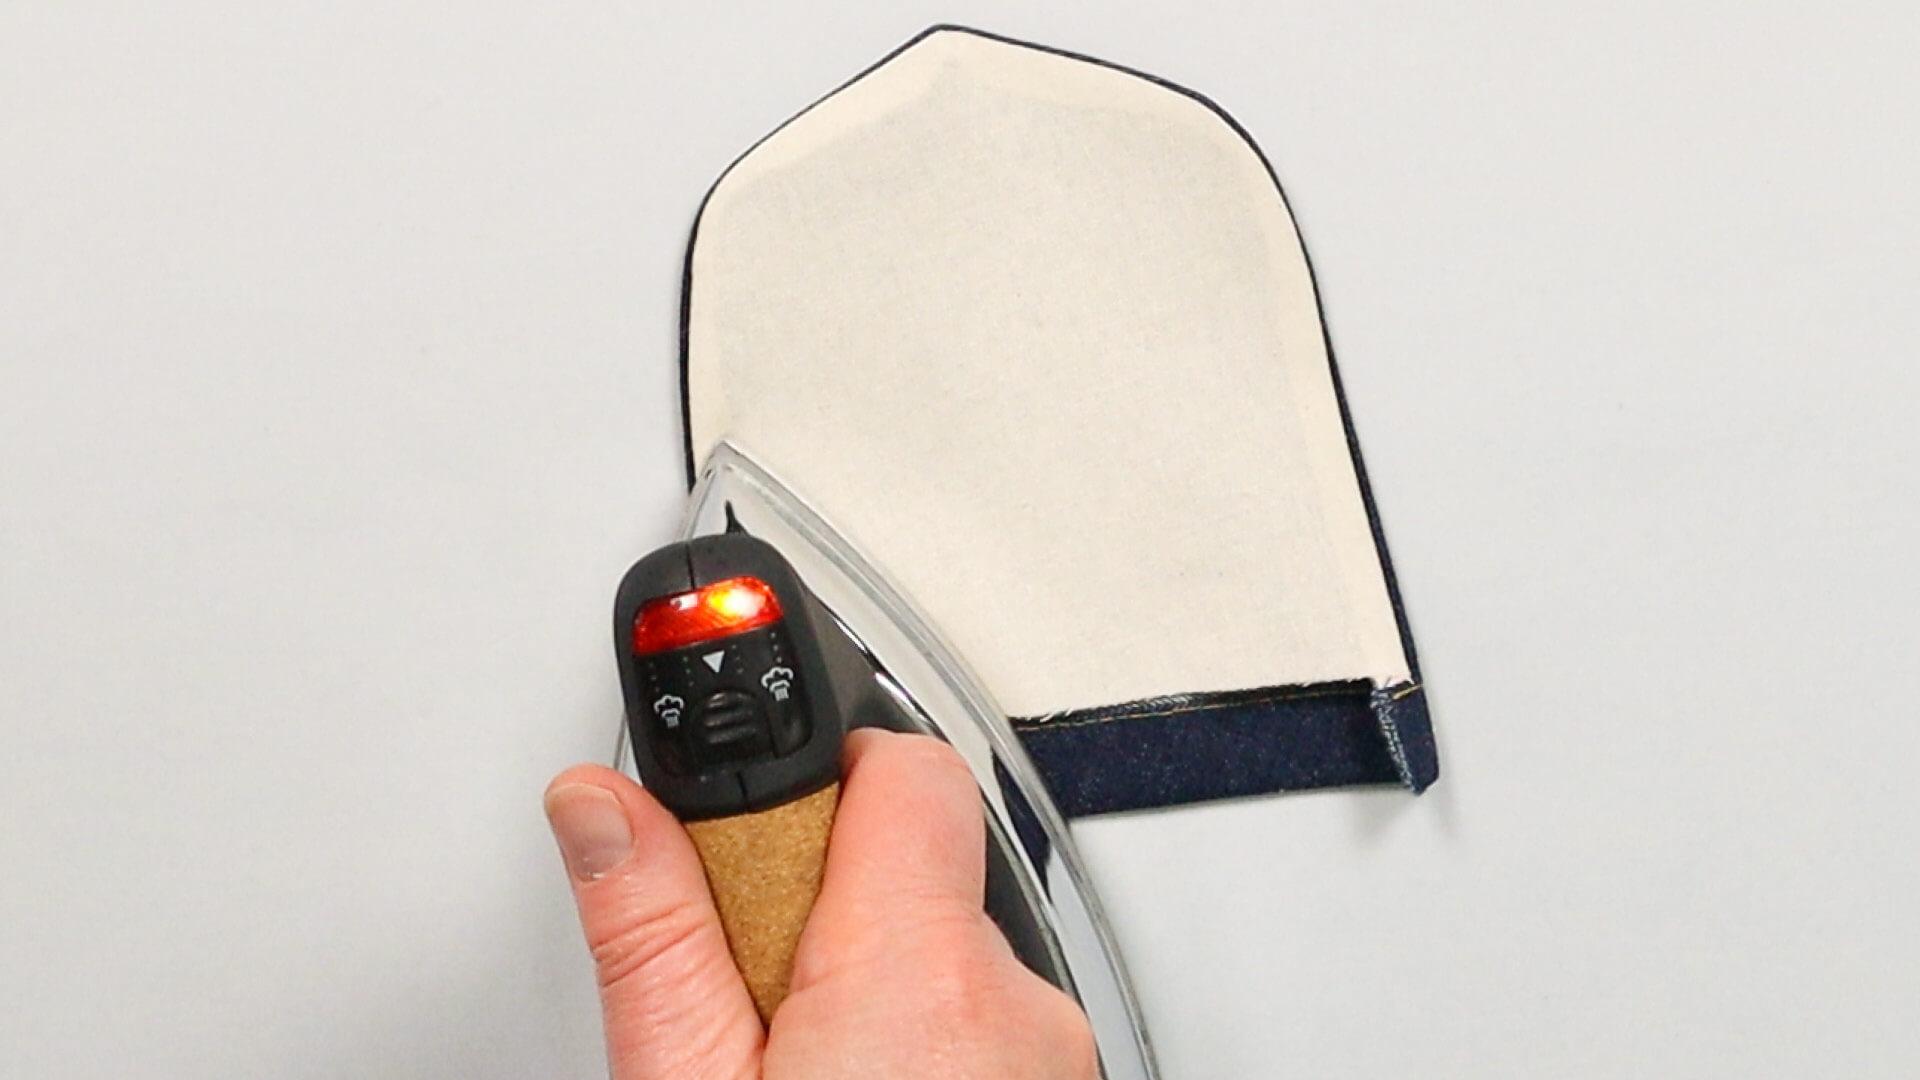
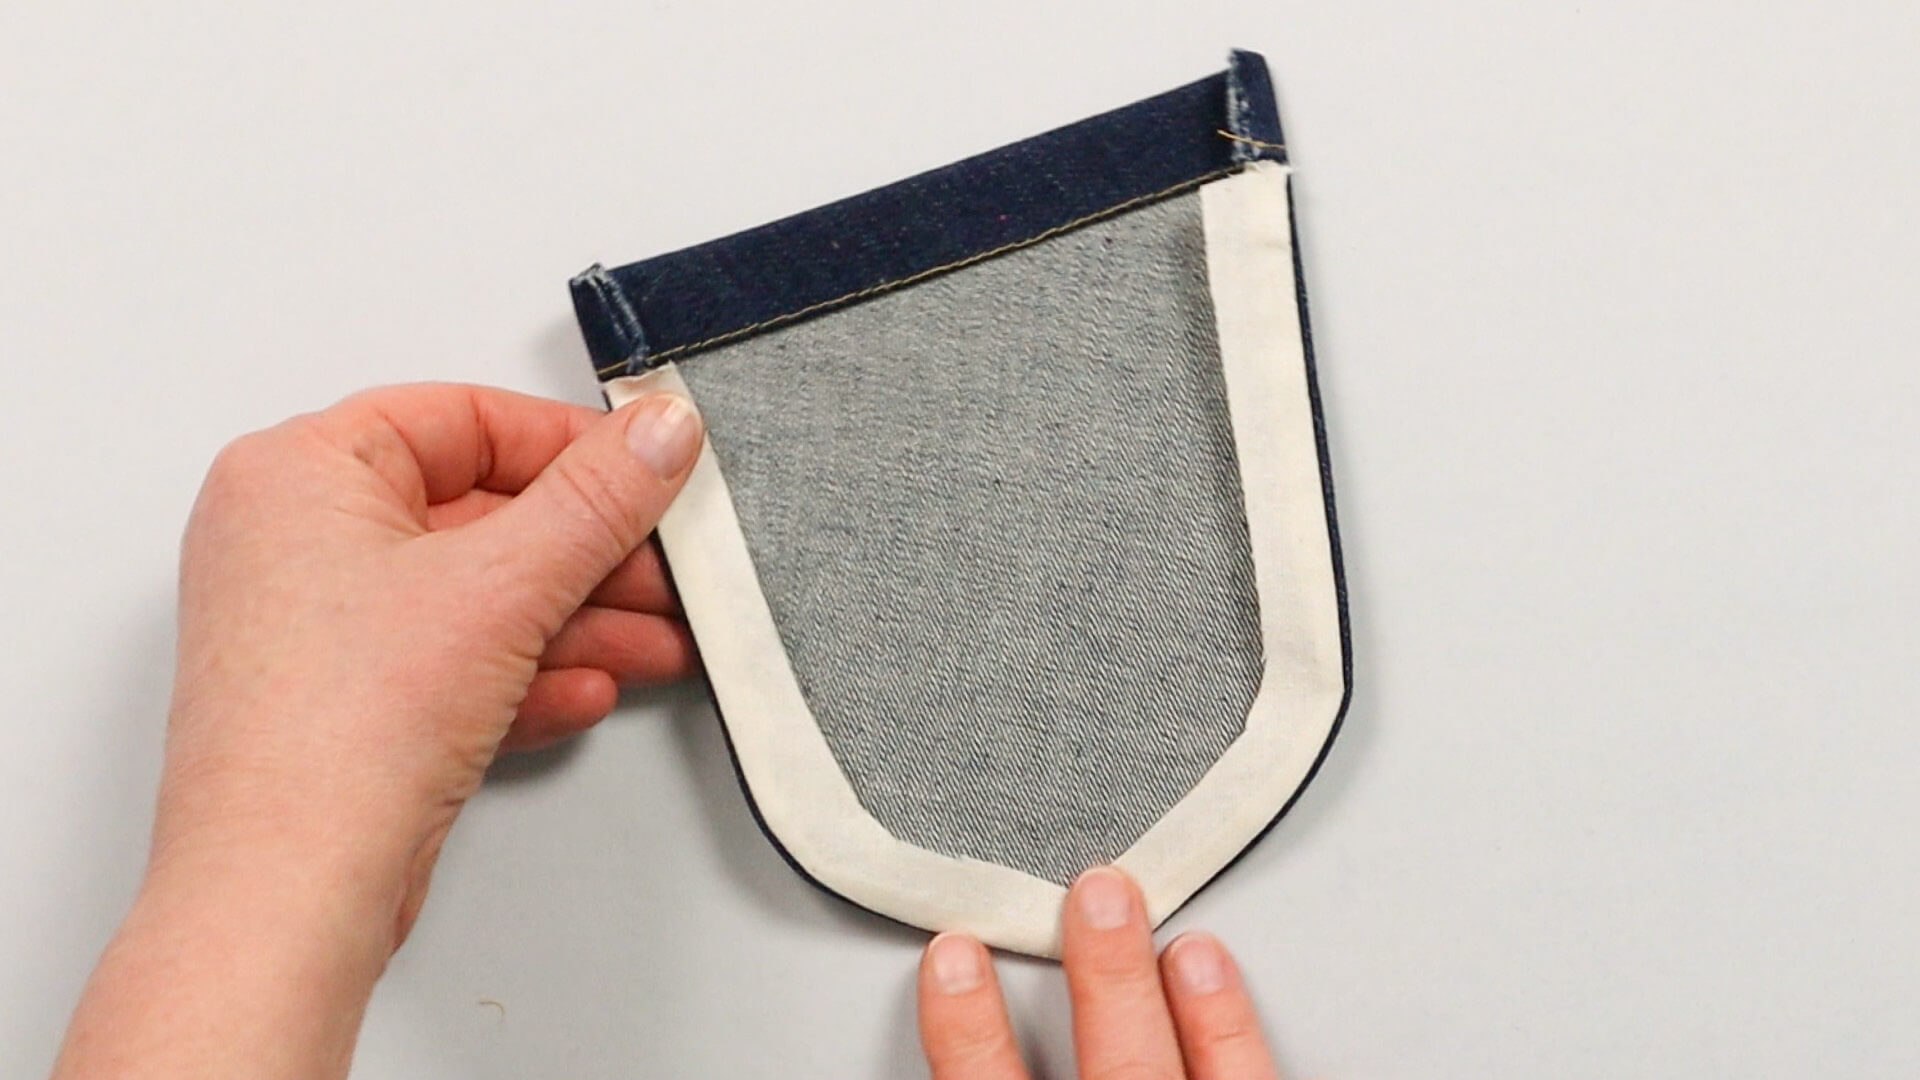
The edge is ironed in place, leaving approx. 2 mm of the main fabric visible all around the seam.
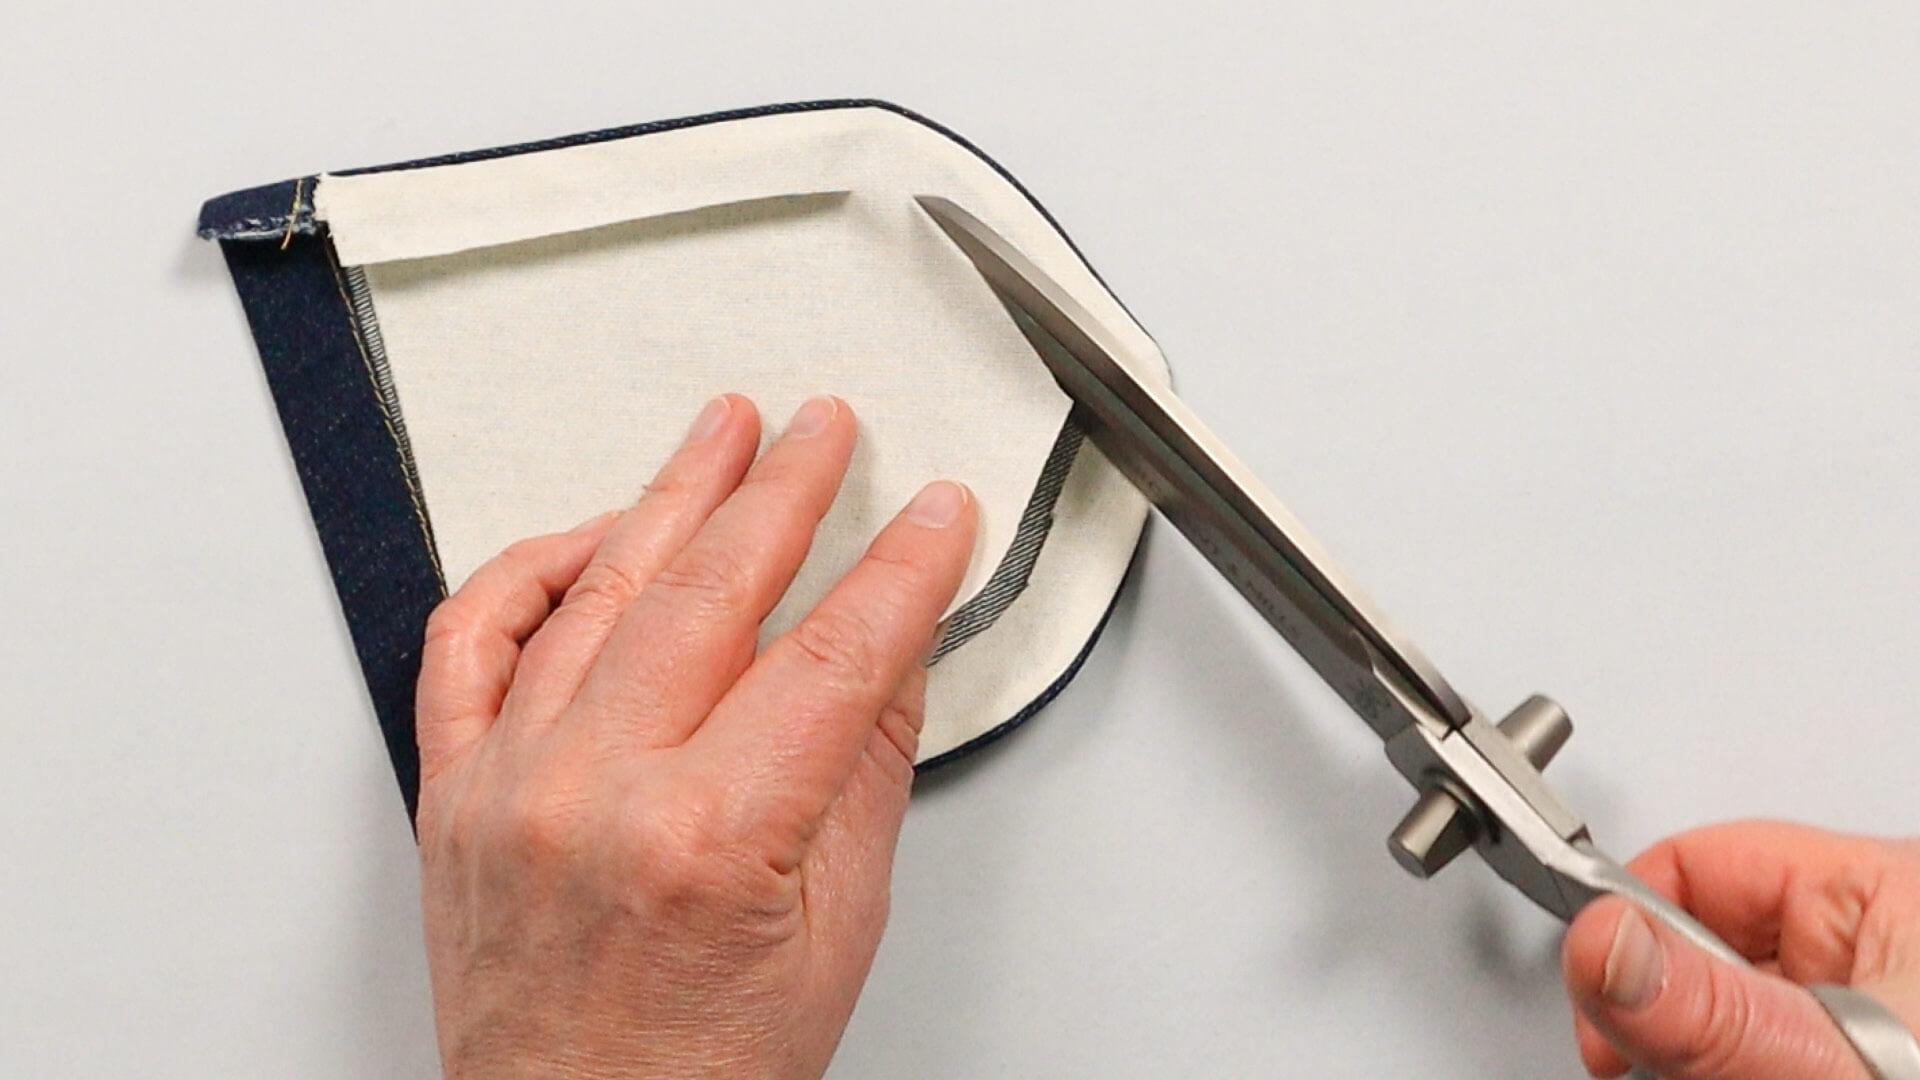
I mark 15 mm from the edge and cut out the lining fabric at this distance. This ensures that it stays in place when the trouser pocket is subsequently topstitched (e.g. with 2 and 8mm stitching distance).
7. Place trouser pocket on back leg pieces
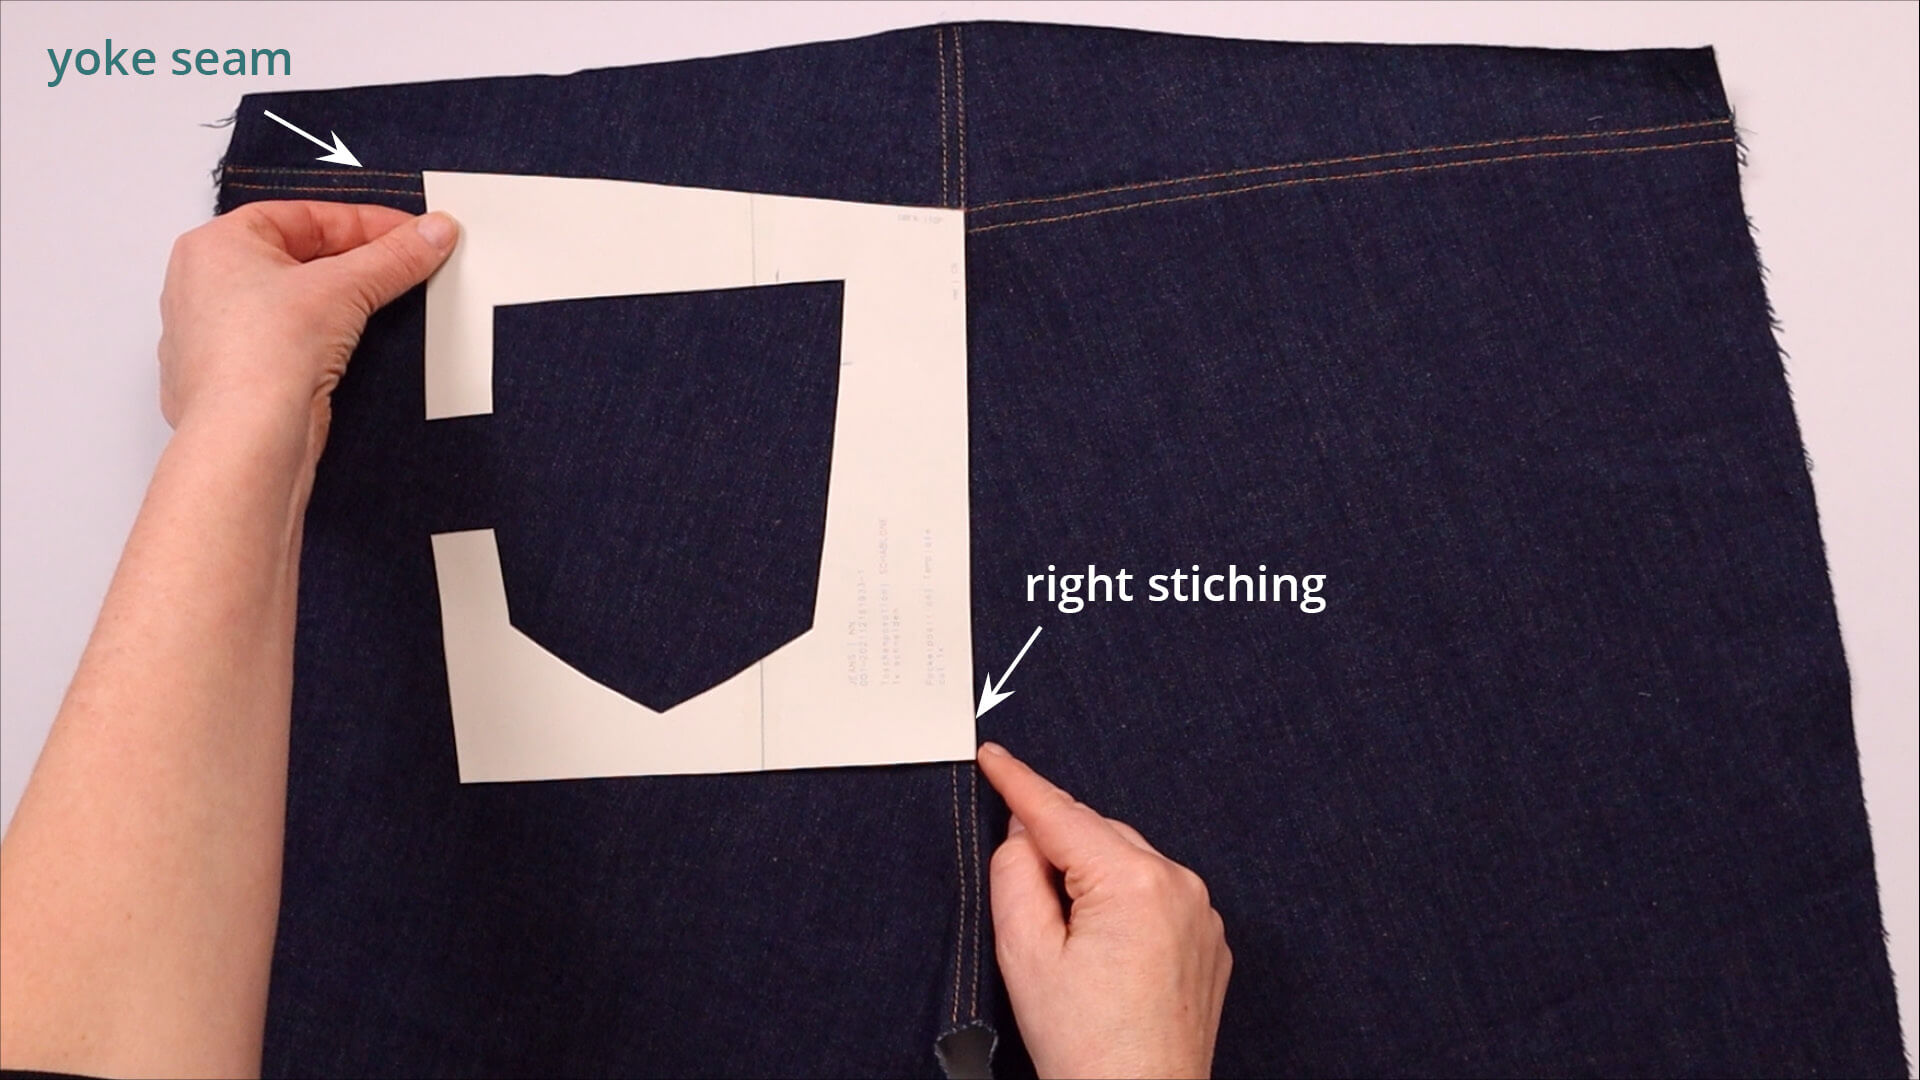
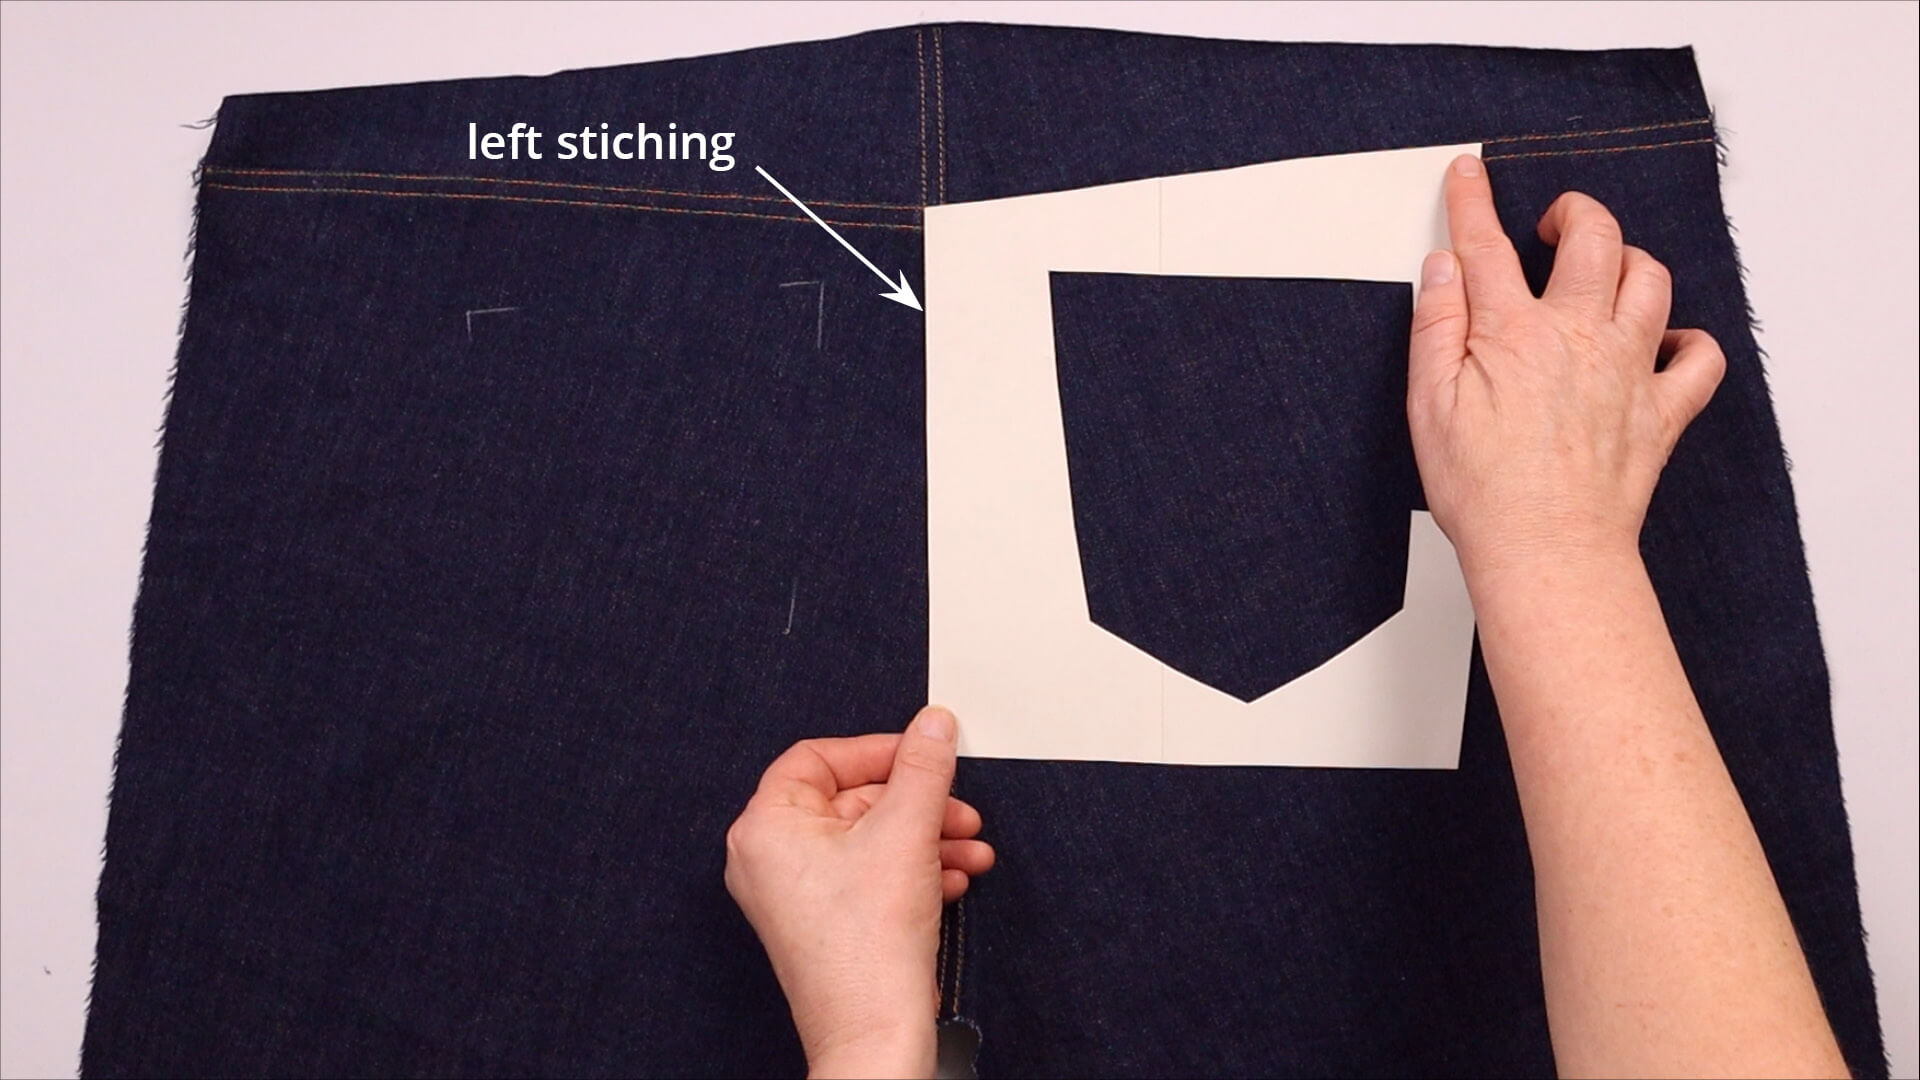
Now I put my back trousers in front of me so that the right side is facing me. I place the template for the pocket position on the left trouser piece so that it lies against the right topstitching seam of the seat seam and with the top edge against the yoke seam. Then I transfer a few points of the pocket position onto the fabric at the top and sides with chalk.
For the right pocket position, I mirror the pocket position template and then proceed in the same way. This time, the template must be placed against the left stitching of the seat seam so that the pockets have the same visual distance from the seat seam stitching.
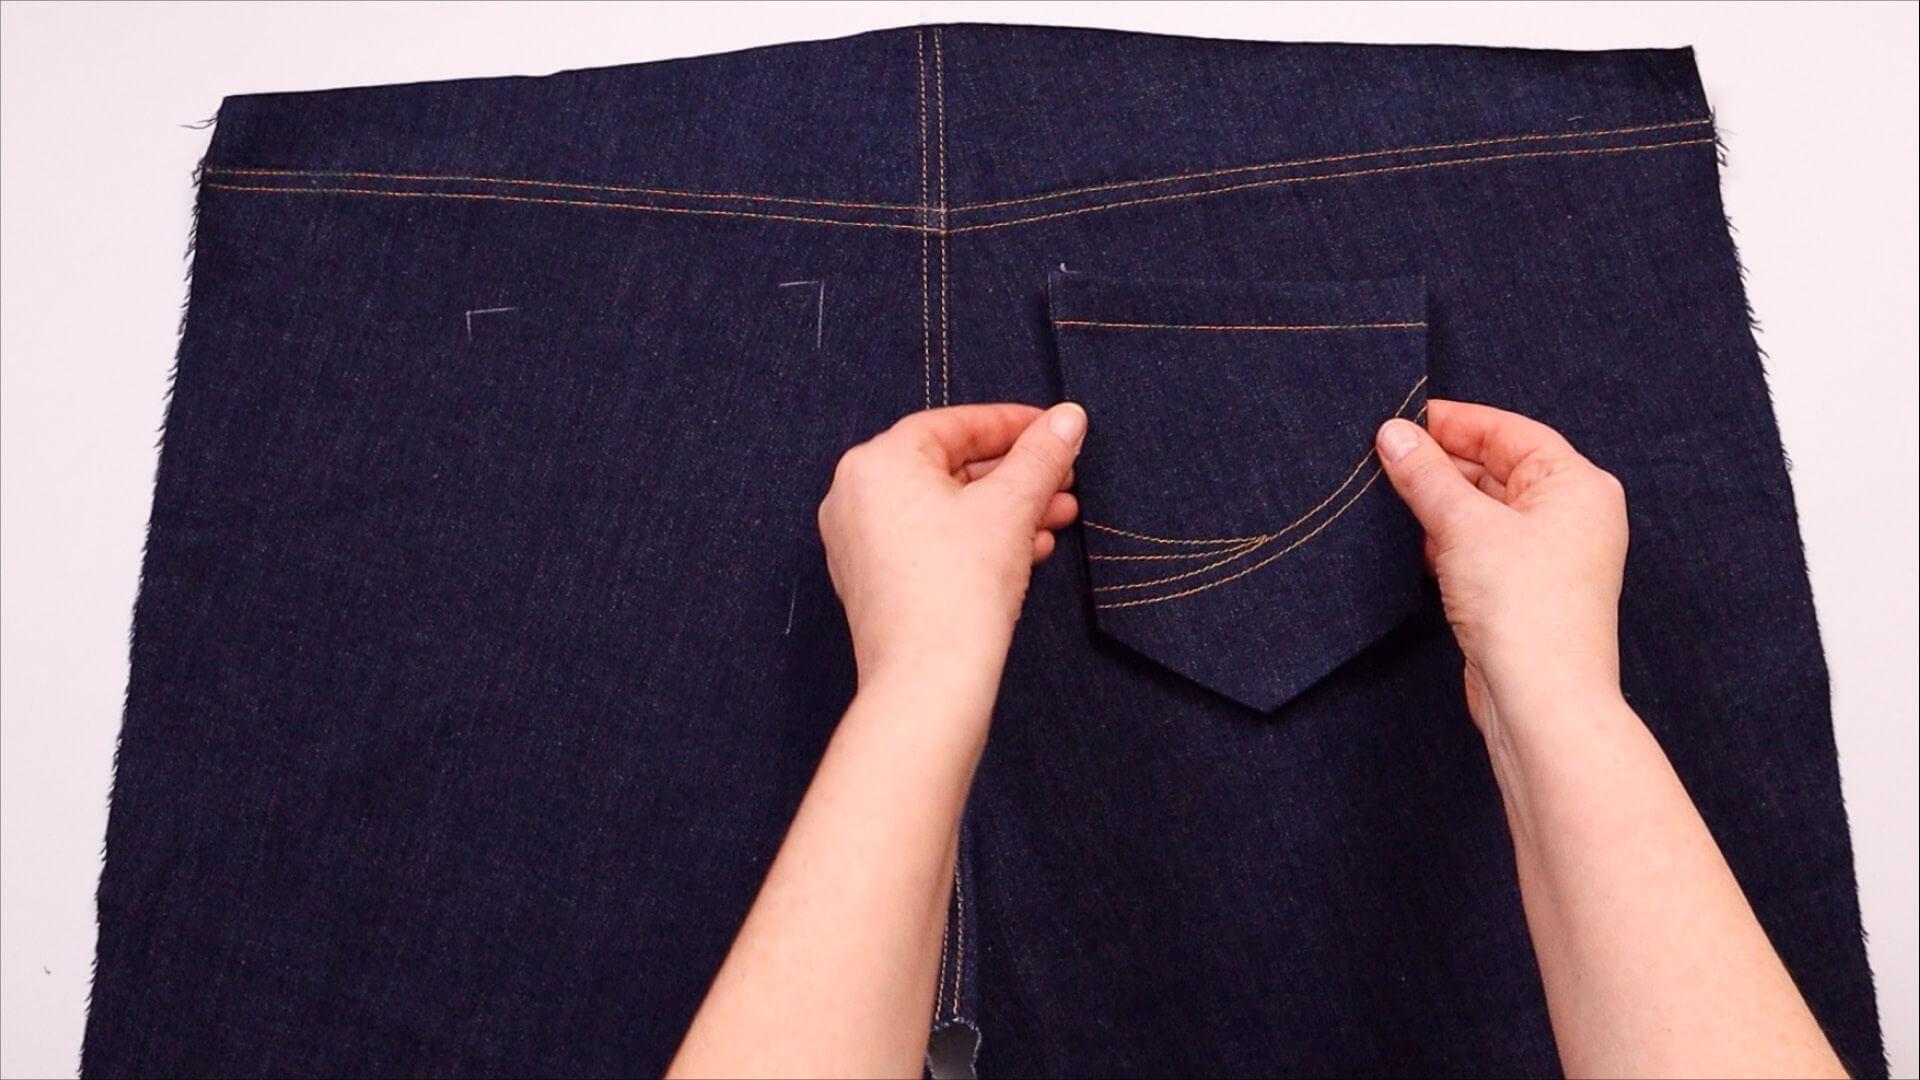
I now place the pockets on this marking and pin them at the side edges.
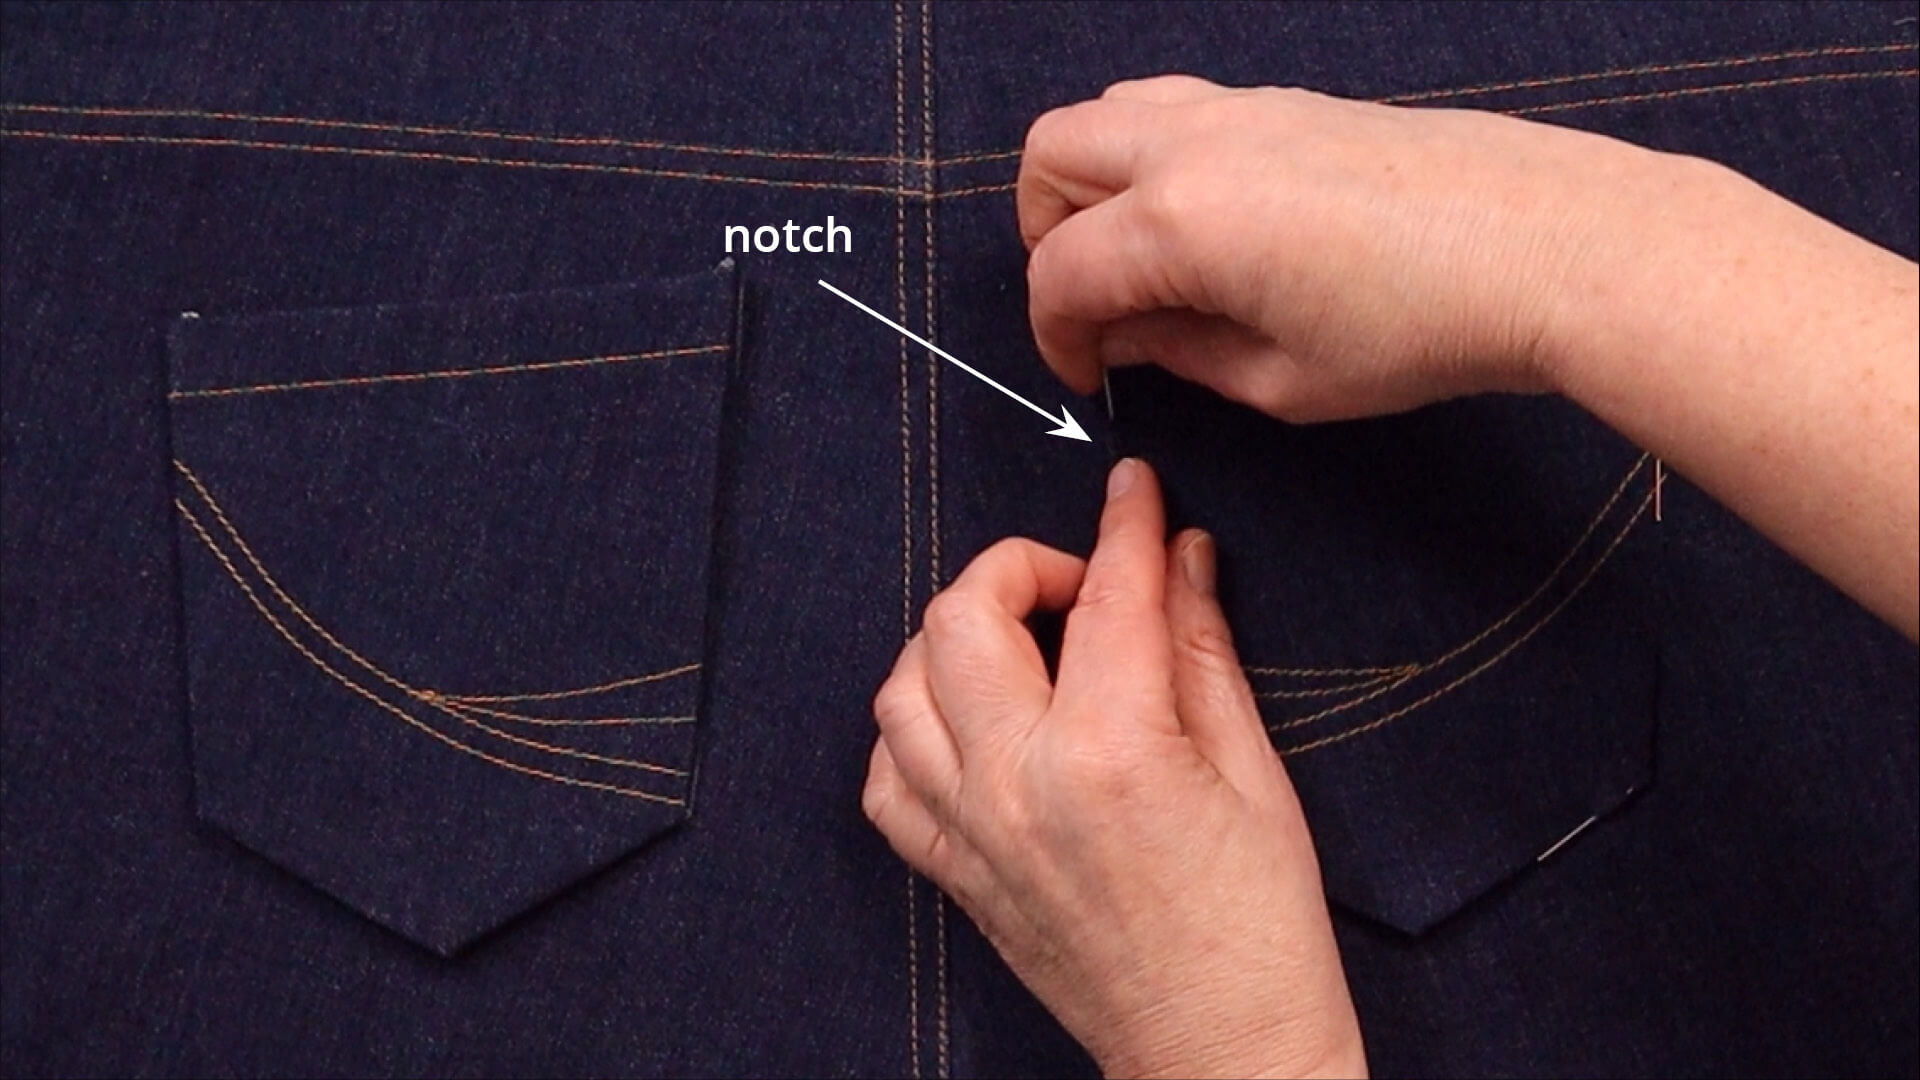
To align the pockets to the correct trouser leg, I place them so that the notch markings on the sides of the pocket point towards the seat seam.
8. Stitch on trouser pocket
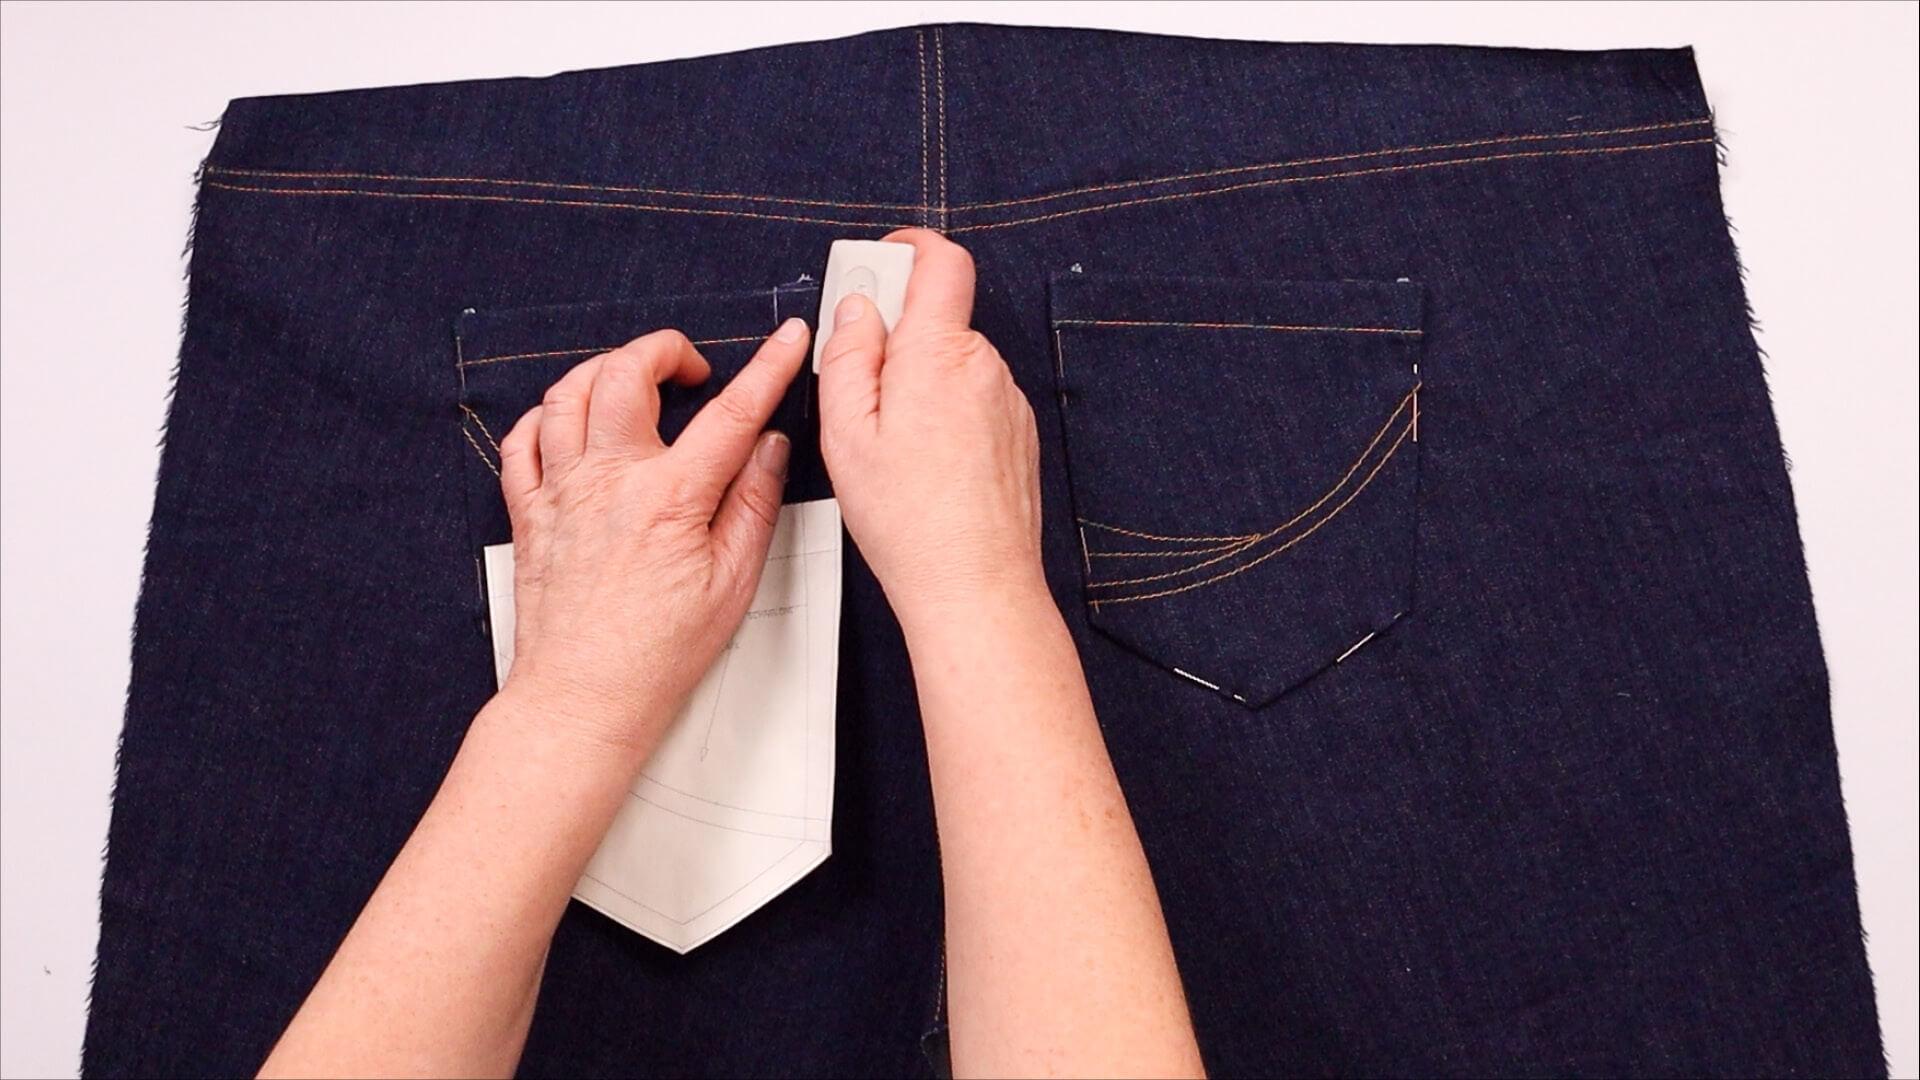
Now I stitch the trouser pockets on. I use the topstitching guide of the template for the finished trouser pocket as a guide. In my example, the inner, second stitching is wider towards the top. I transfer this measurement from the template to the pockets beforehand. Of course you can design the topstitching according to your personal preferences.
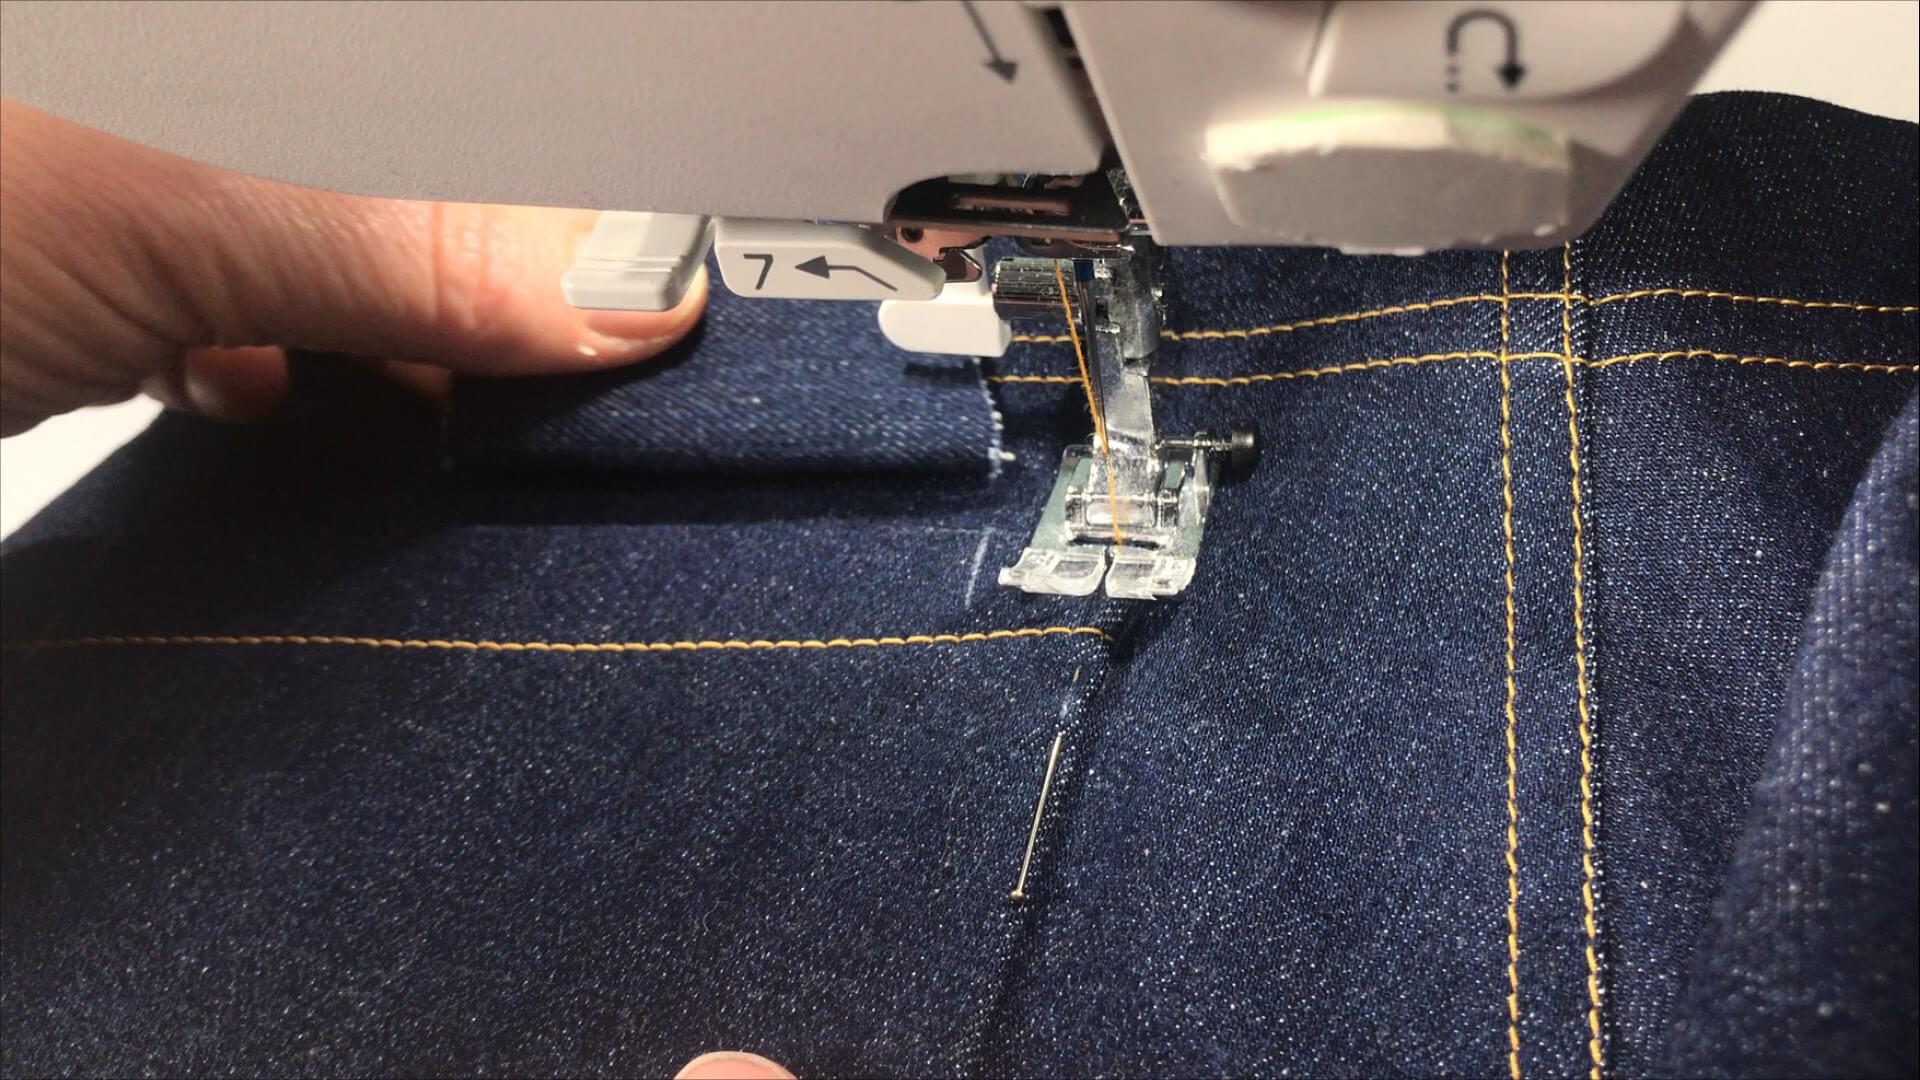
If there is a difference in height in the material, I make sure to set my presser foot straight to get a nice, even stitch pattern. To do this, I place a piece of fabric under the presser foot.
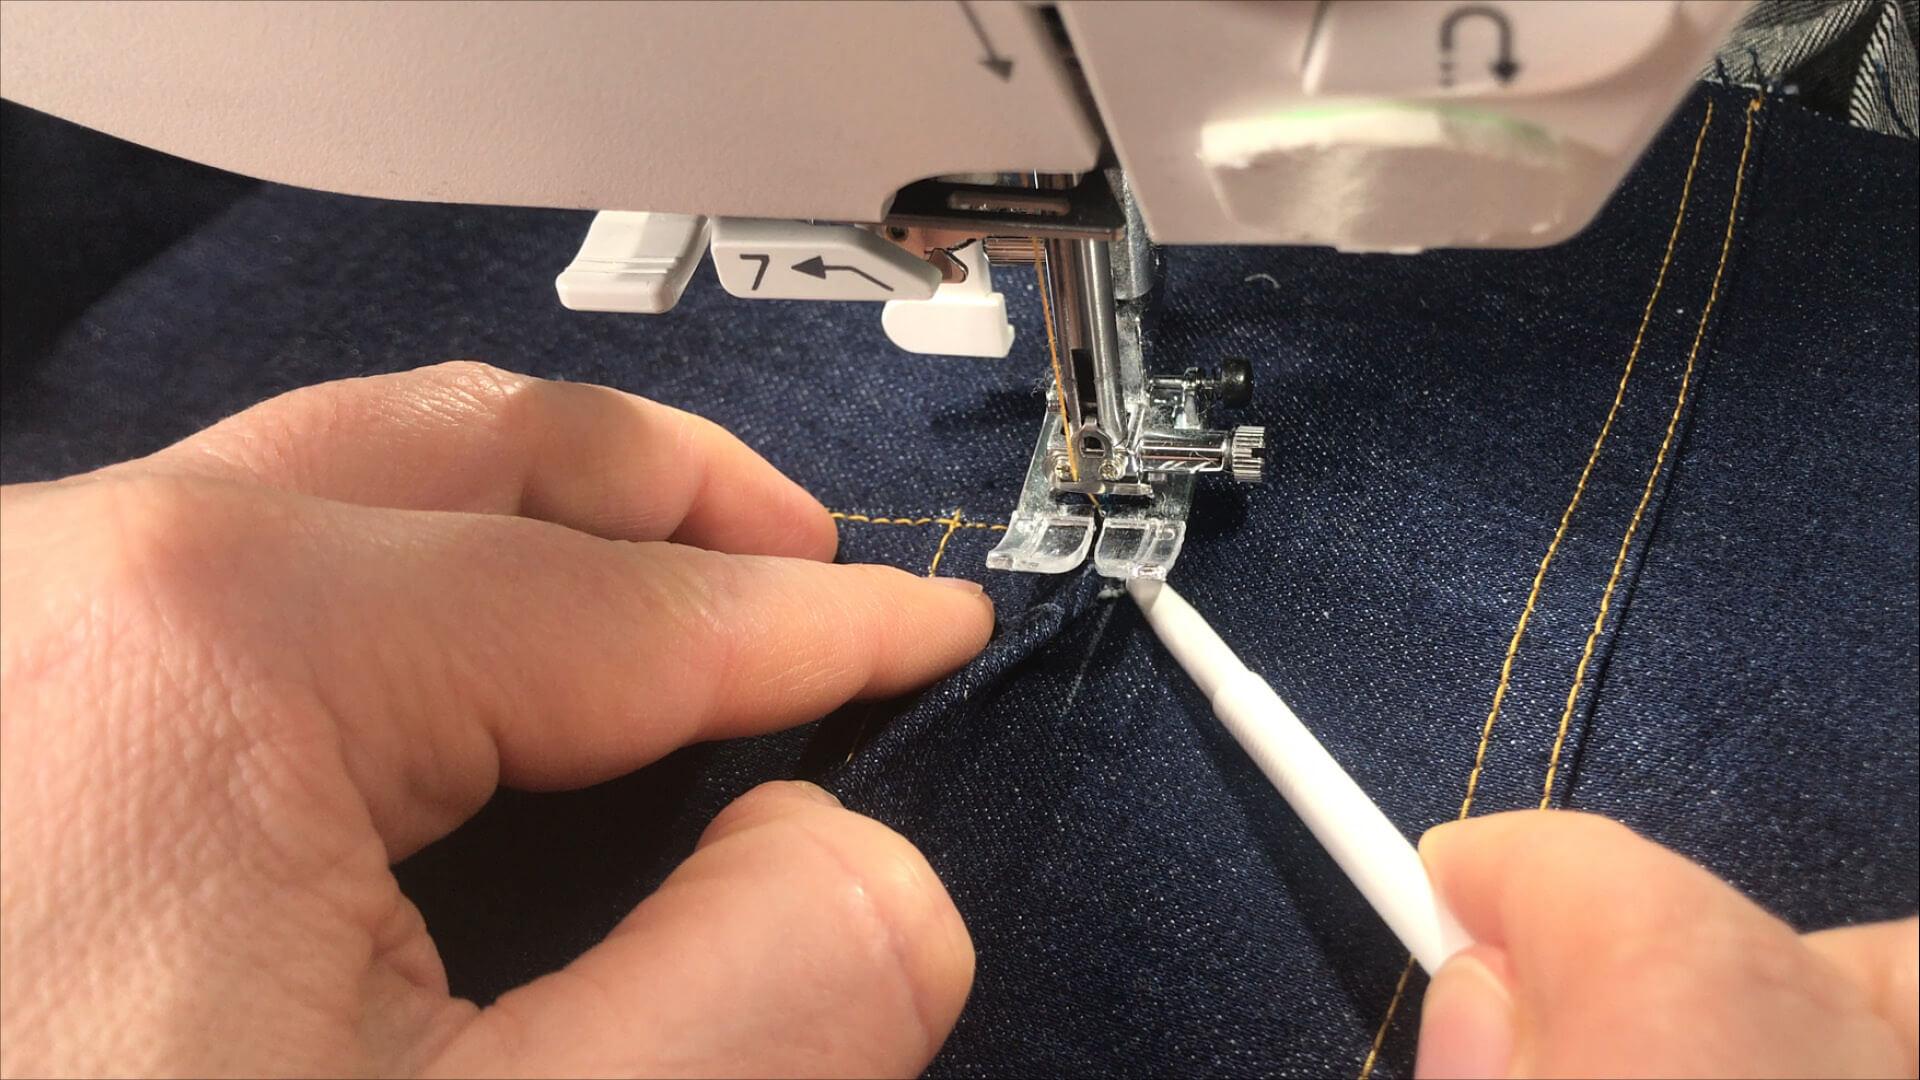
I use scissors or an awl to push down the seam allowance at the opening edge so that the fold does not show.
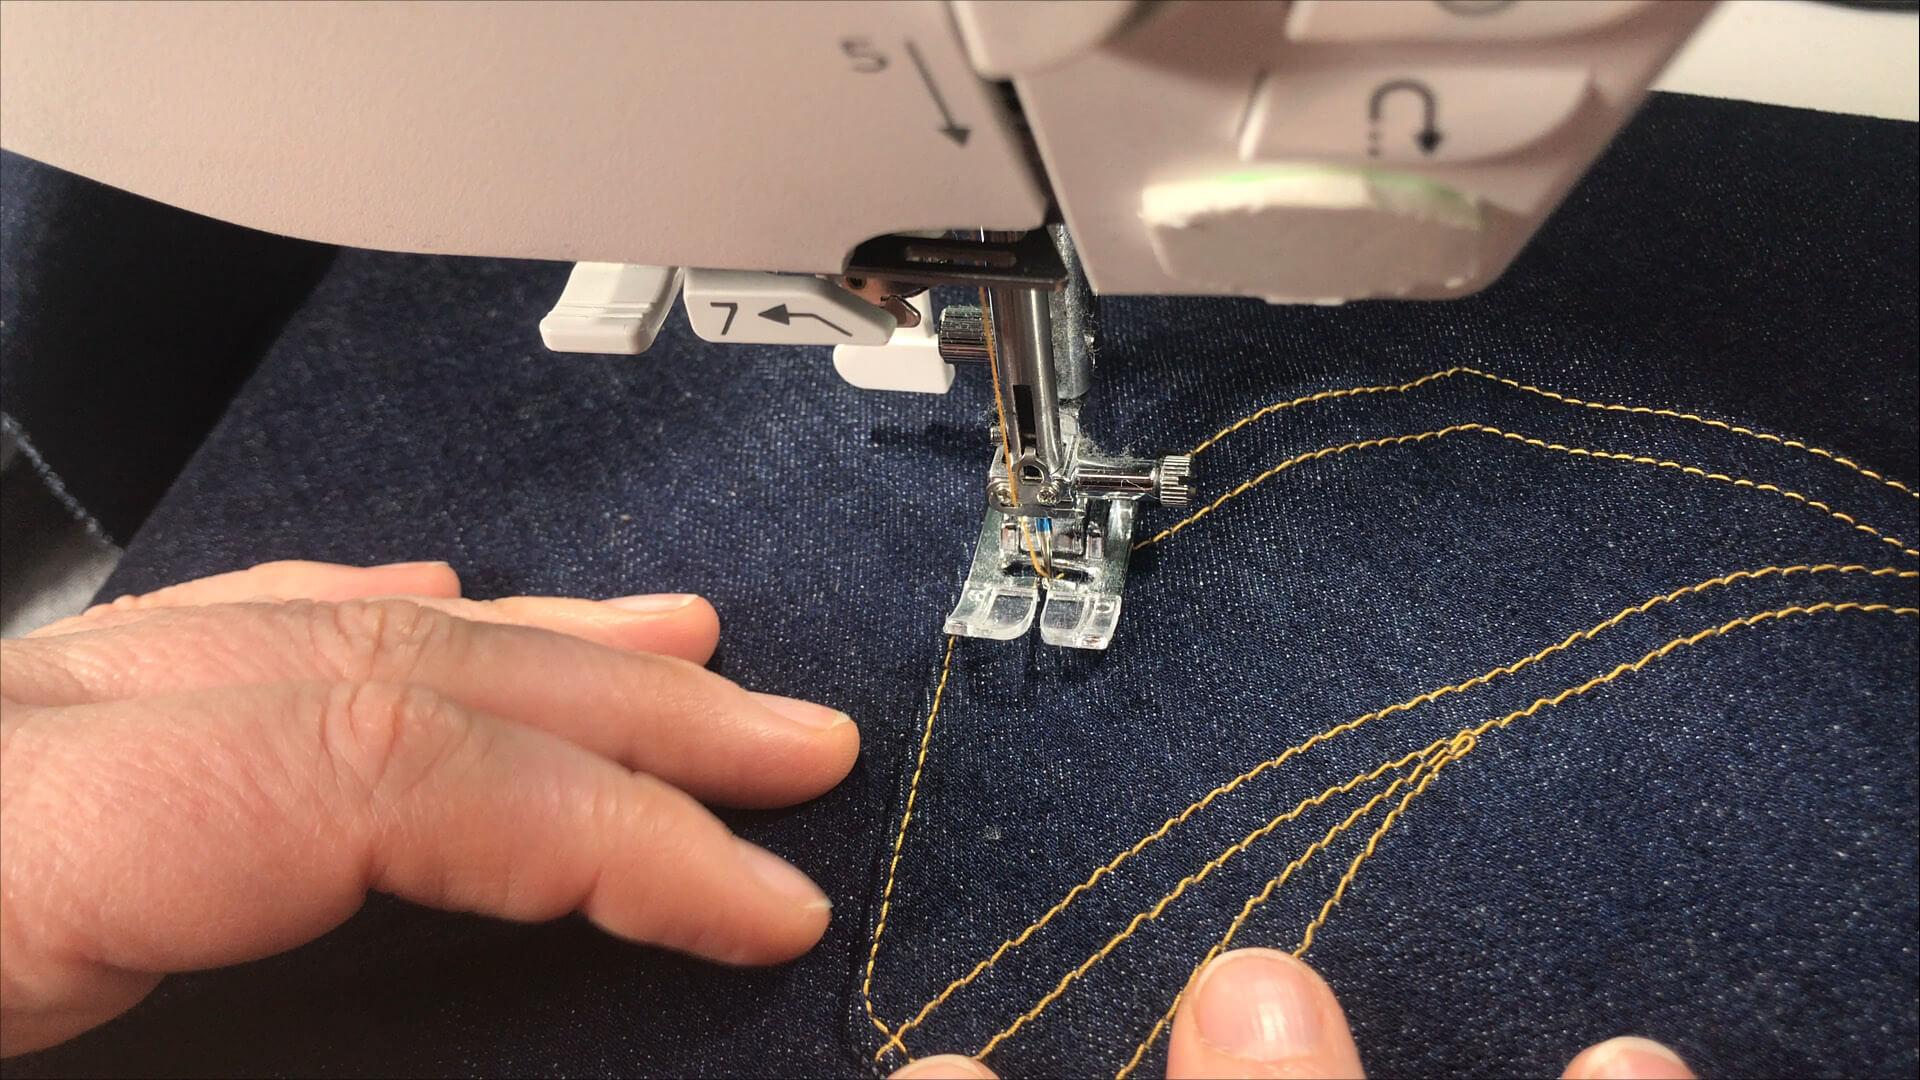
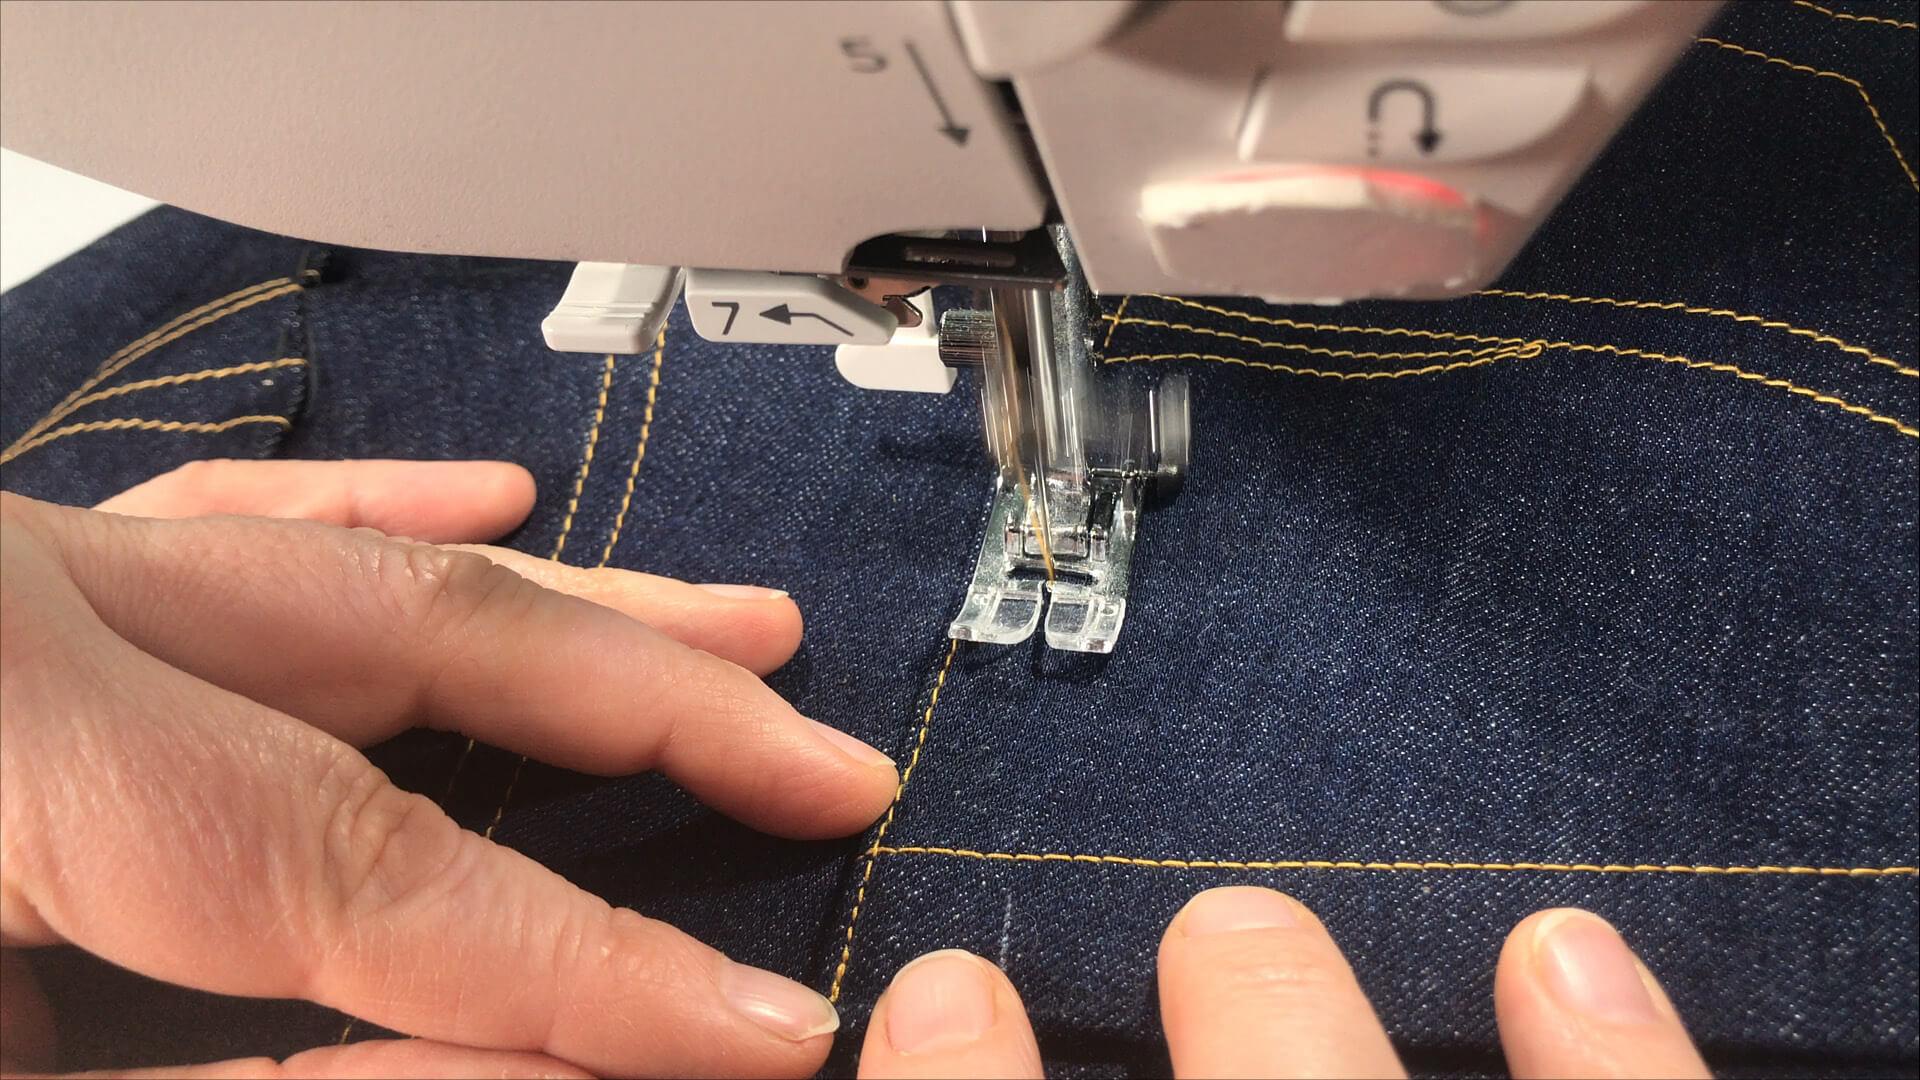
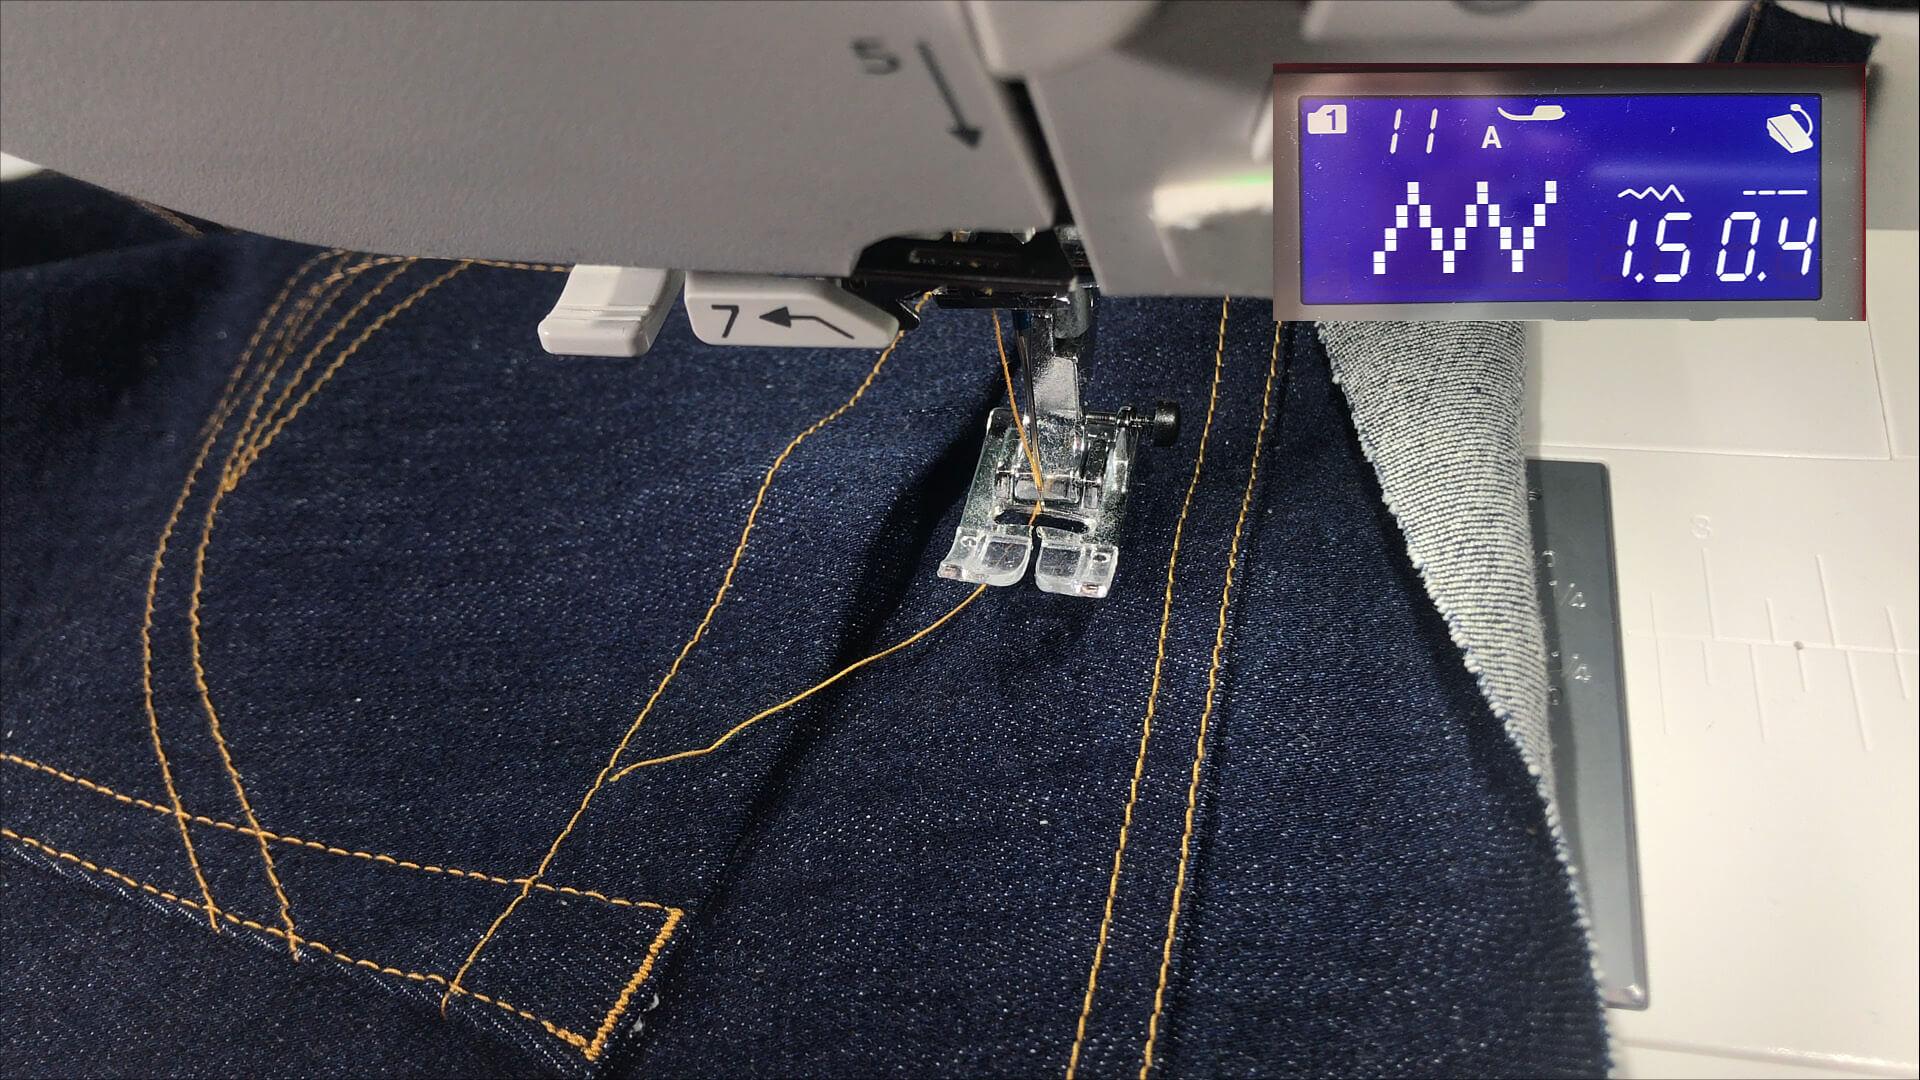
The pocket opening can be secured at the top with a bartack or with forward and backward stitches. In the example, I am using a narrow zigzag stitch with a stitch width of 1.5 mm and a stitch length of 0.4 mm.
9. Tip against stretching when topstitching the trouser pocket
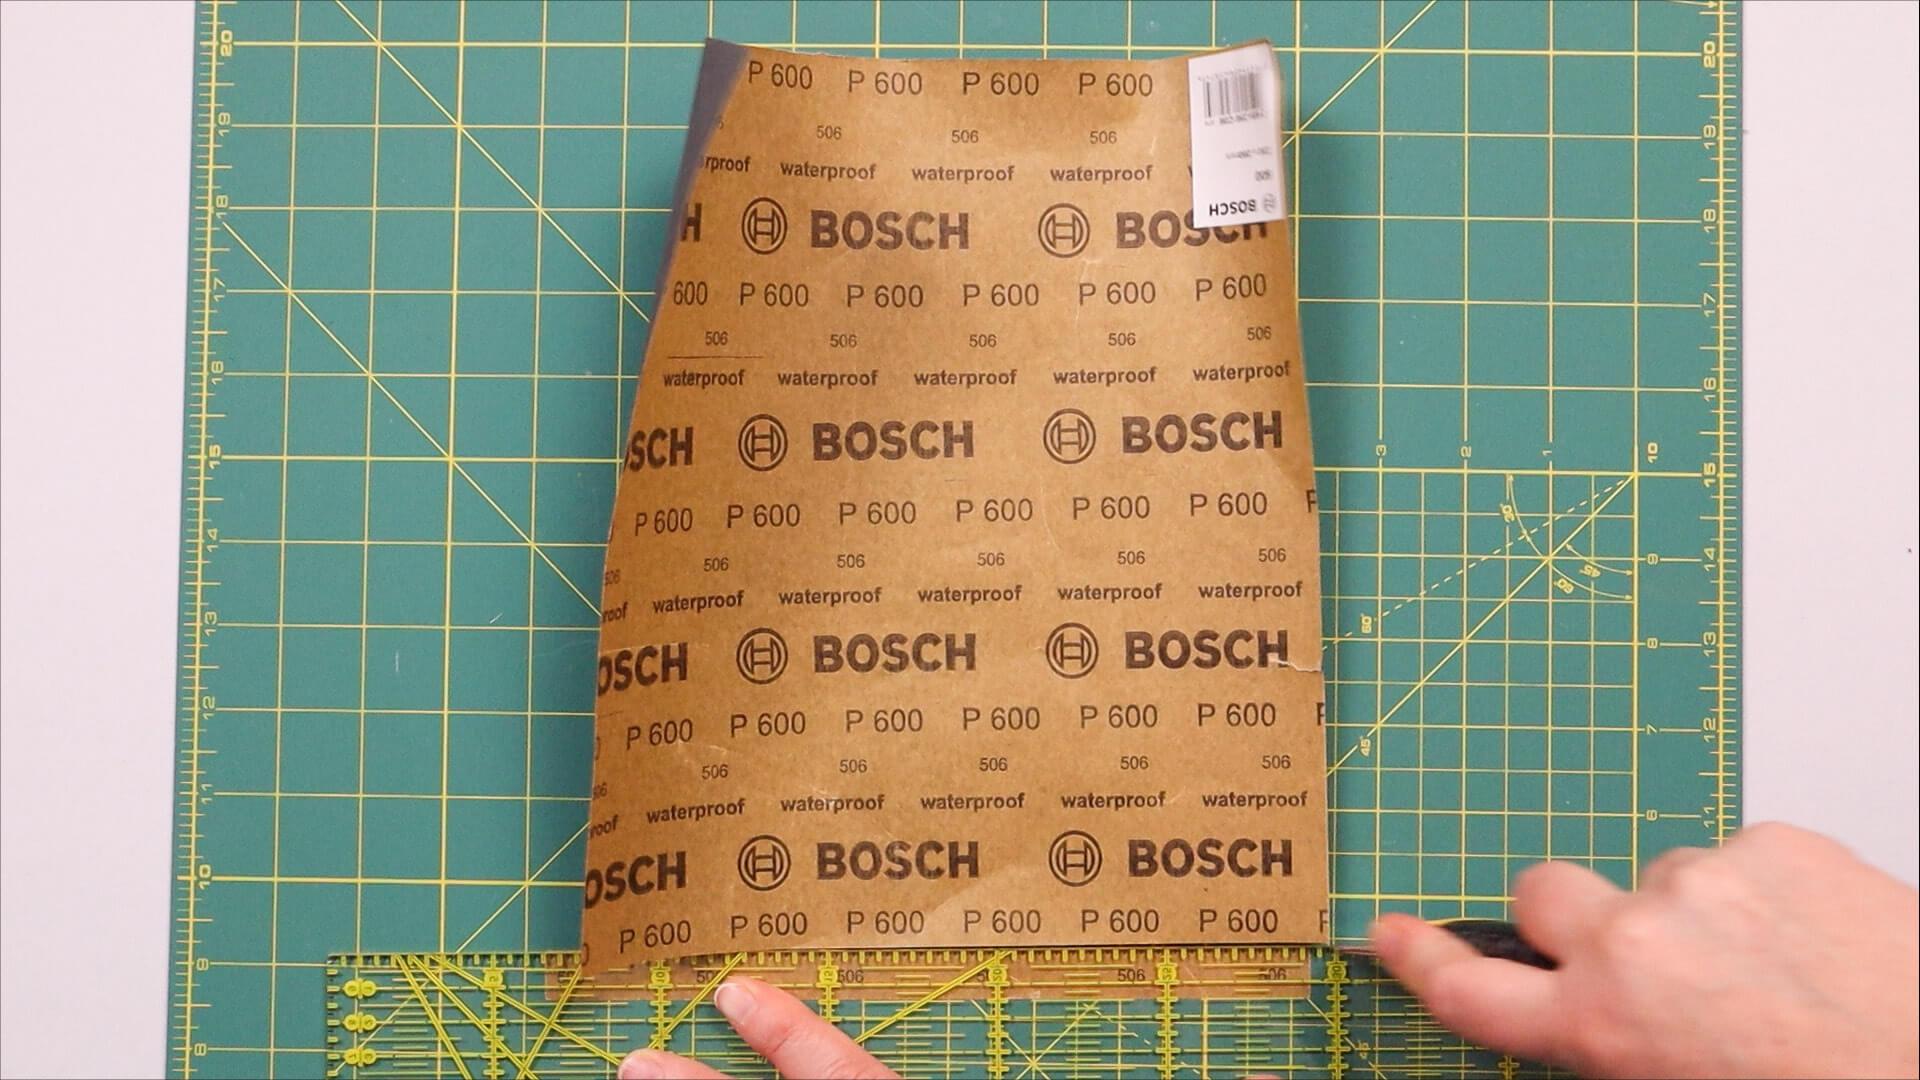
If the fabric is cut on the bias, it tends to stretch when sewn together. To avoid this, I use an approx. 2 cm wide strip of fine sandpaper (you can find this in any DIY store) as an aid.
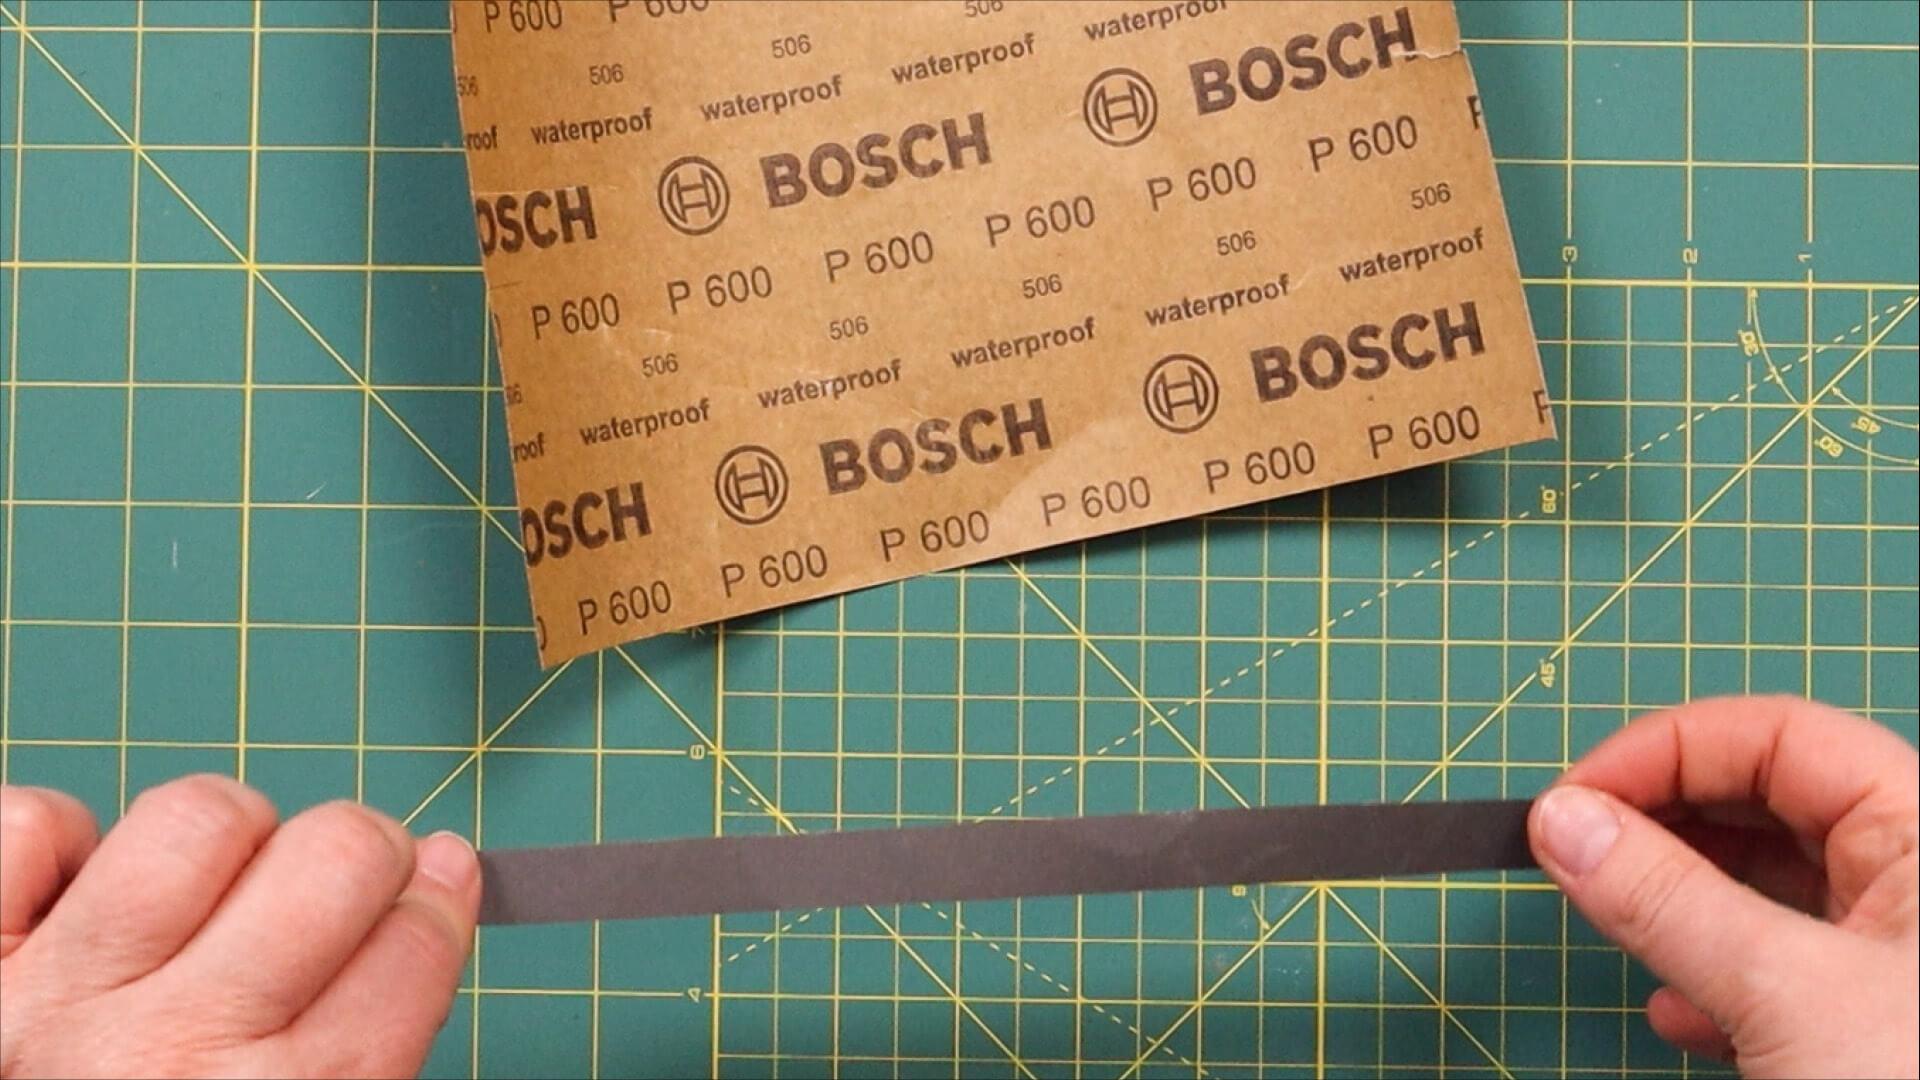
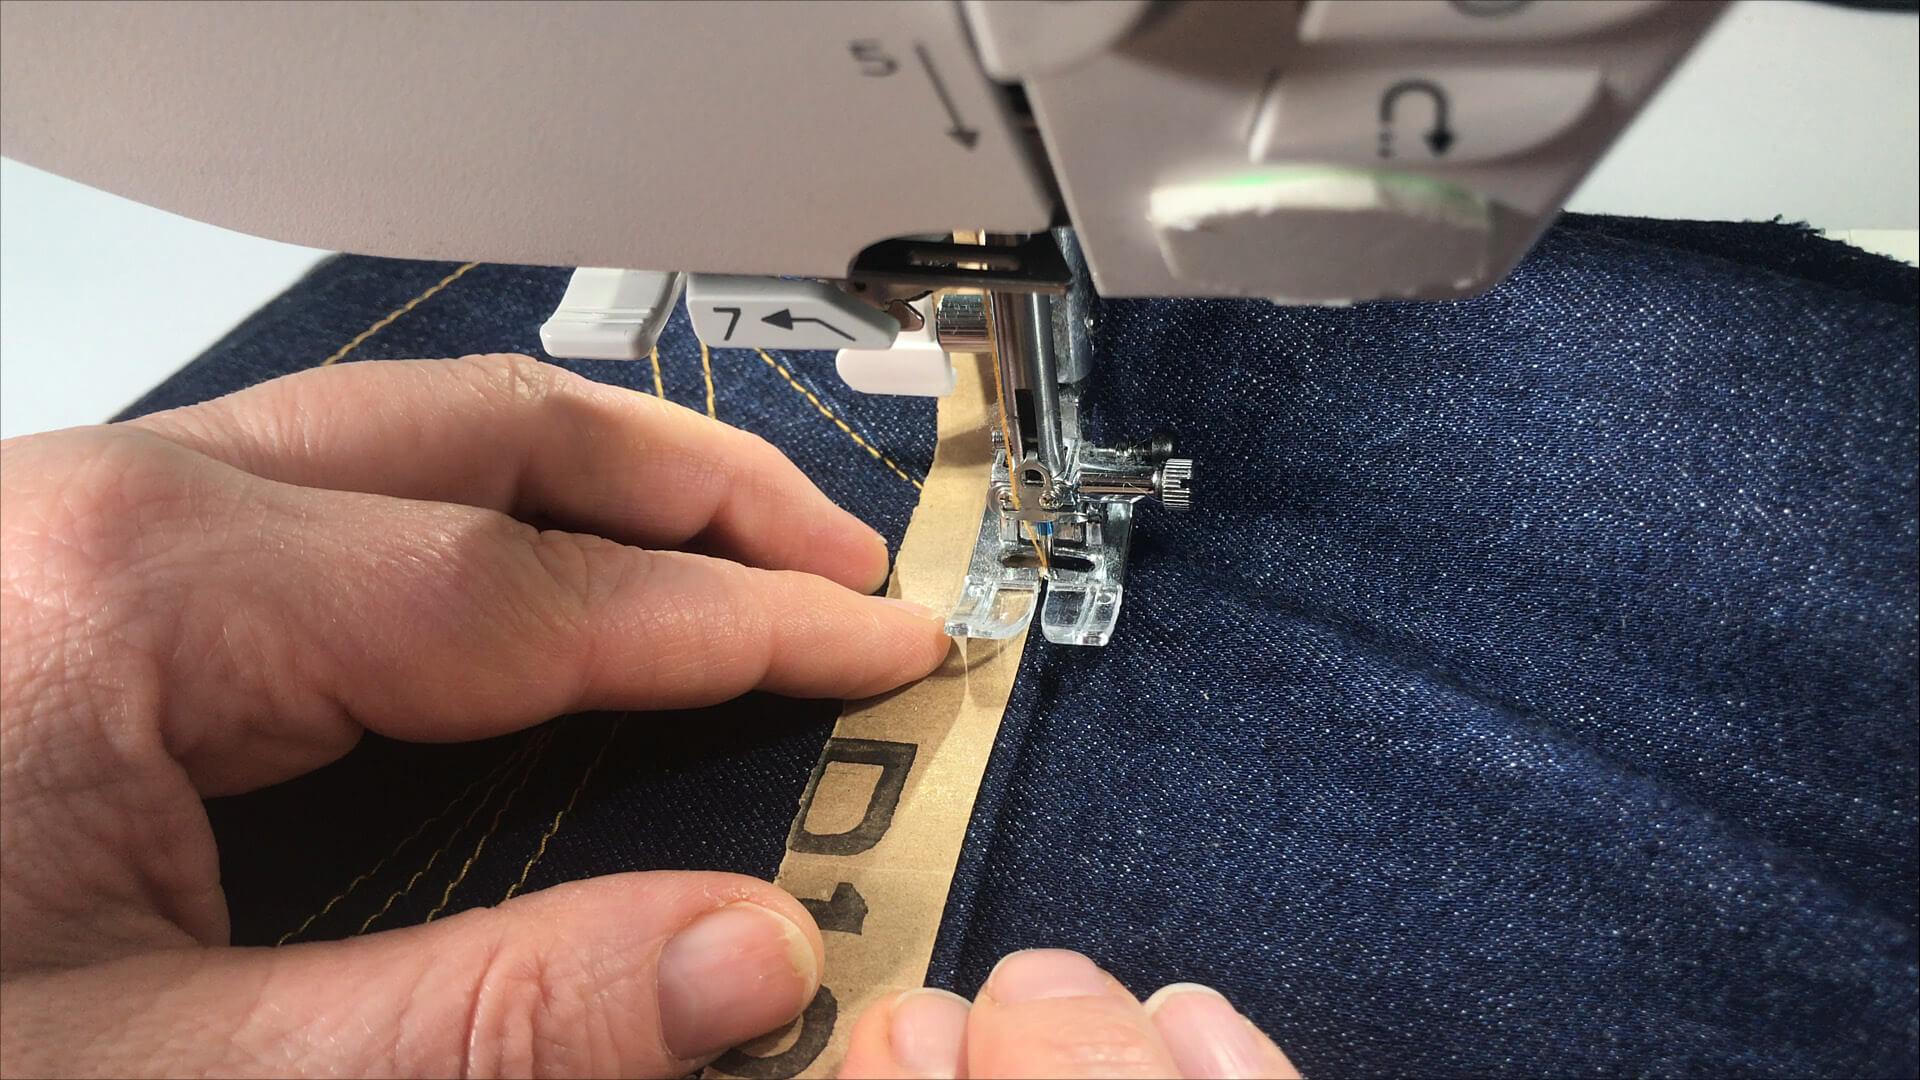
When sewing, I place this strip next to my desired stitching line under the presser foot and guide it along while sewing. The rough side lies on the fabric. This prevents the fabric from stretching.
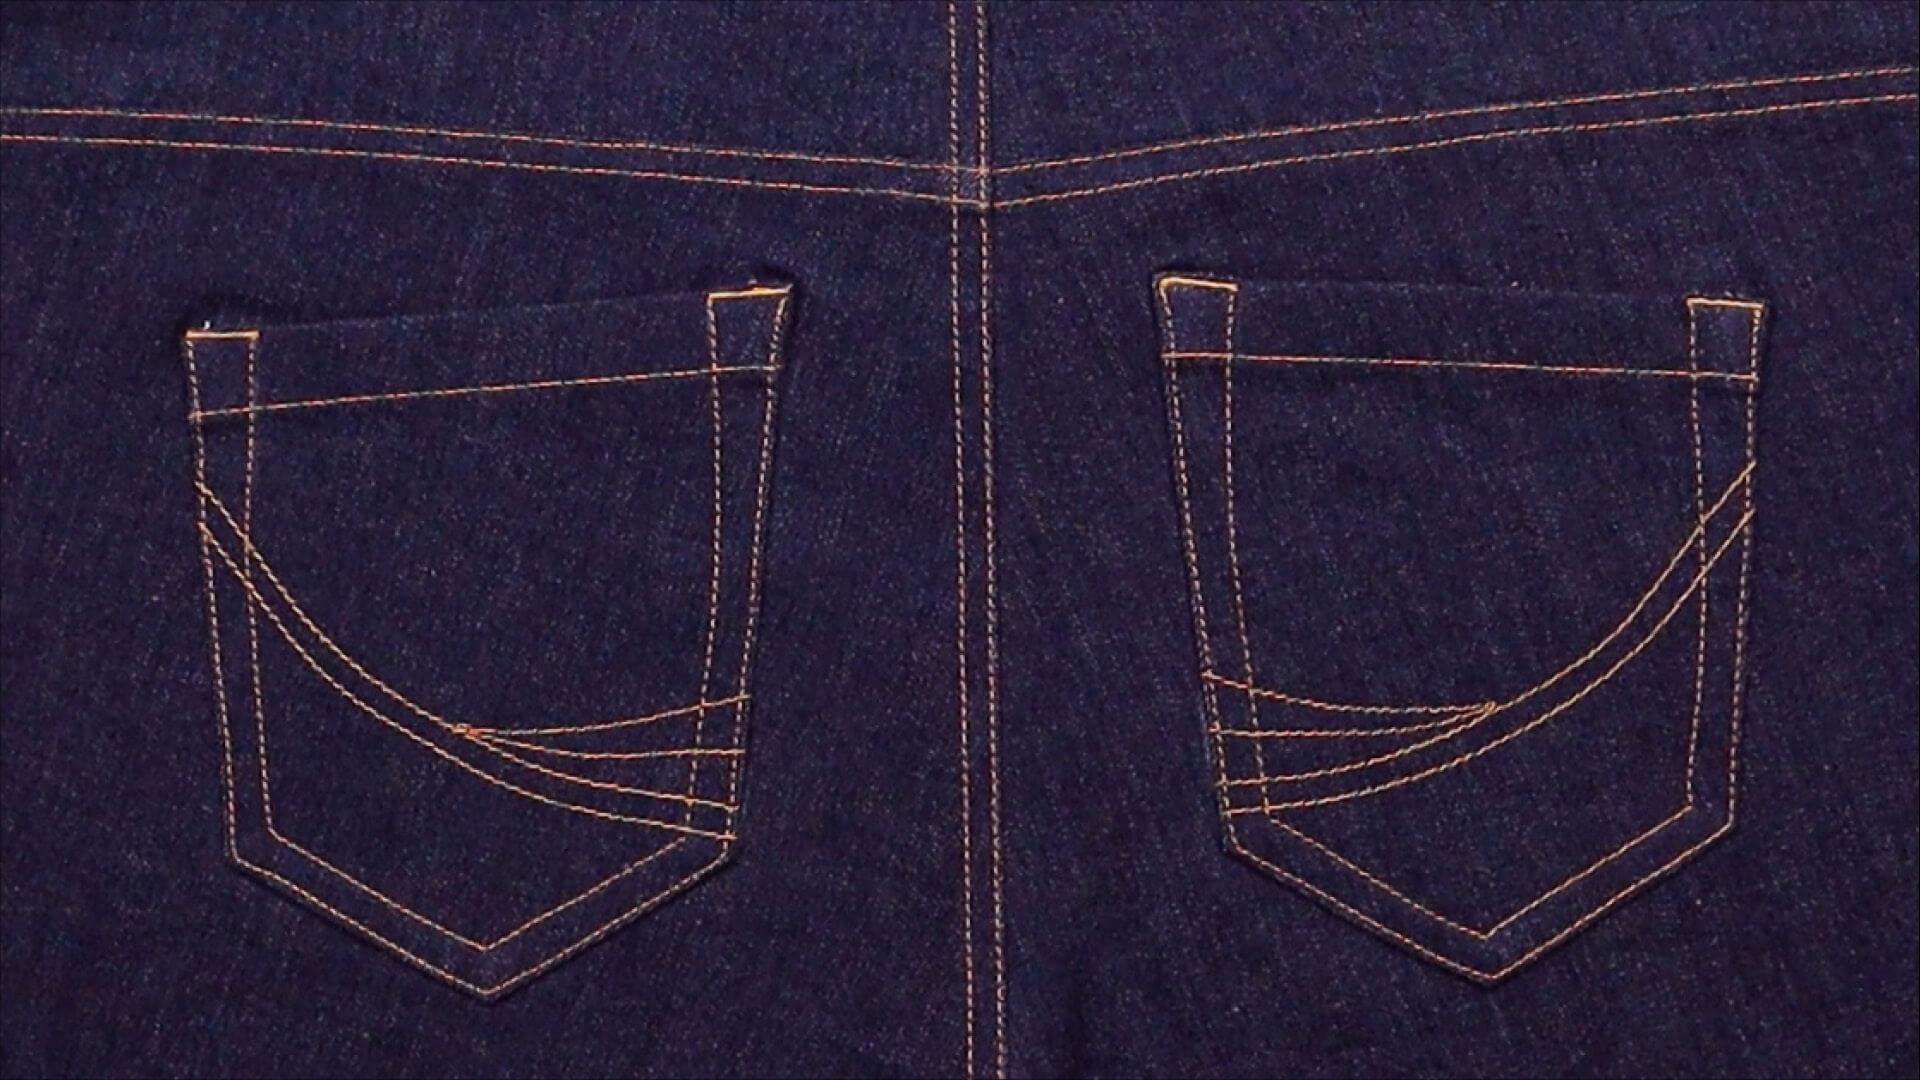
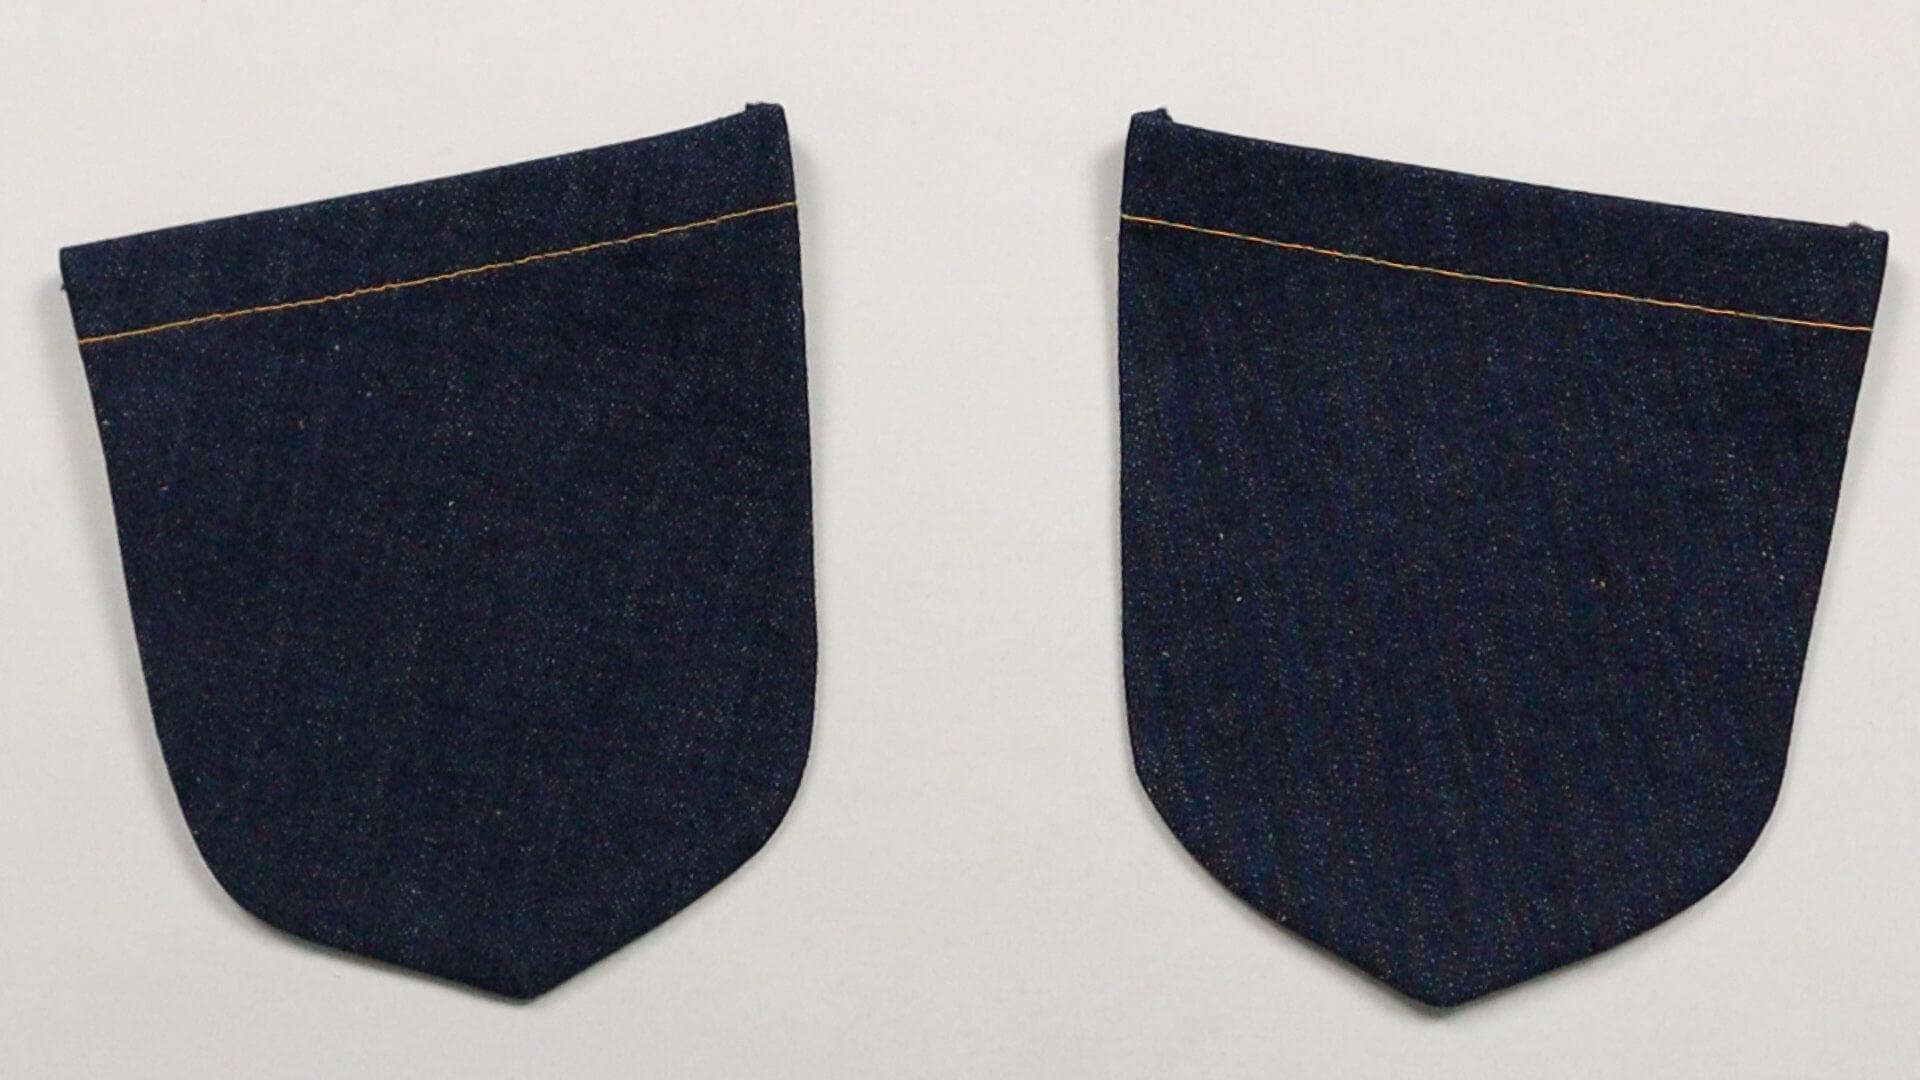
And this is what the finished trouser pockets look like.
Below you will find the link to the next step:
If you’re not quite ready yet and perhaps want to start at the beginning, you’ll find some links here:


