Sewing leg seams for jeans trousers #BE02
In the following video and illustrated text instructions, I explain step by step how I sew the outer and inner leg seams of a pair of jeans together and what you need to bear in mind.
Video instructions:
The video instructions are currently only available in German. Via settings you can have YouTube display the subtitles in your language of choice.
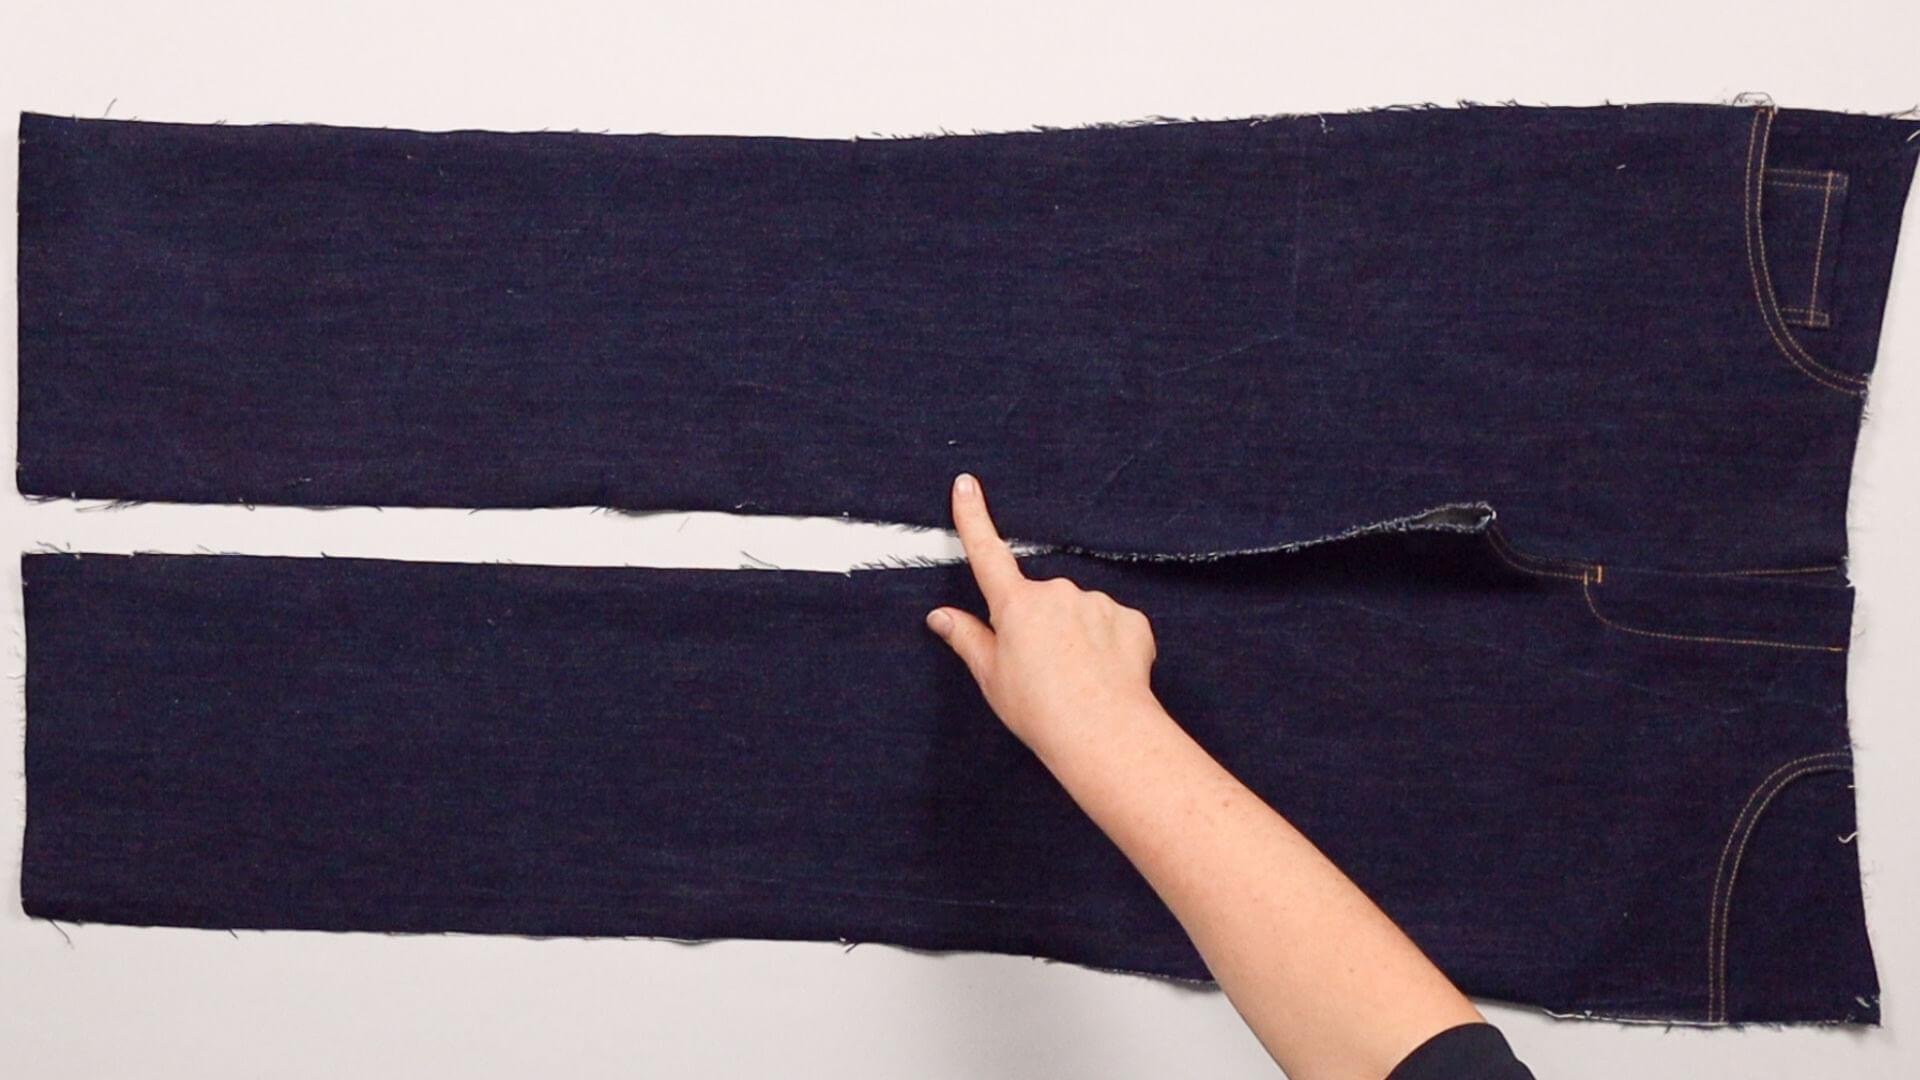
First I decide whether I want to topstitch the outer or inner leg seam. This seam is closed first. If you want to sew a pocket over the outer seam, for example, you must close it first. In this example, I will topstitch the inner leg seam and start by closing this seam.
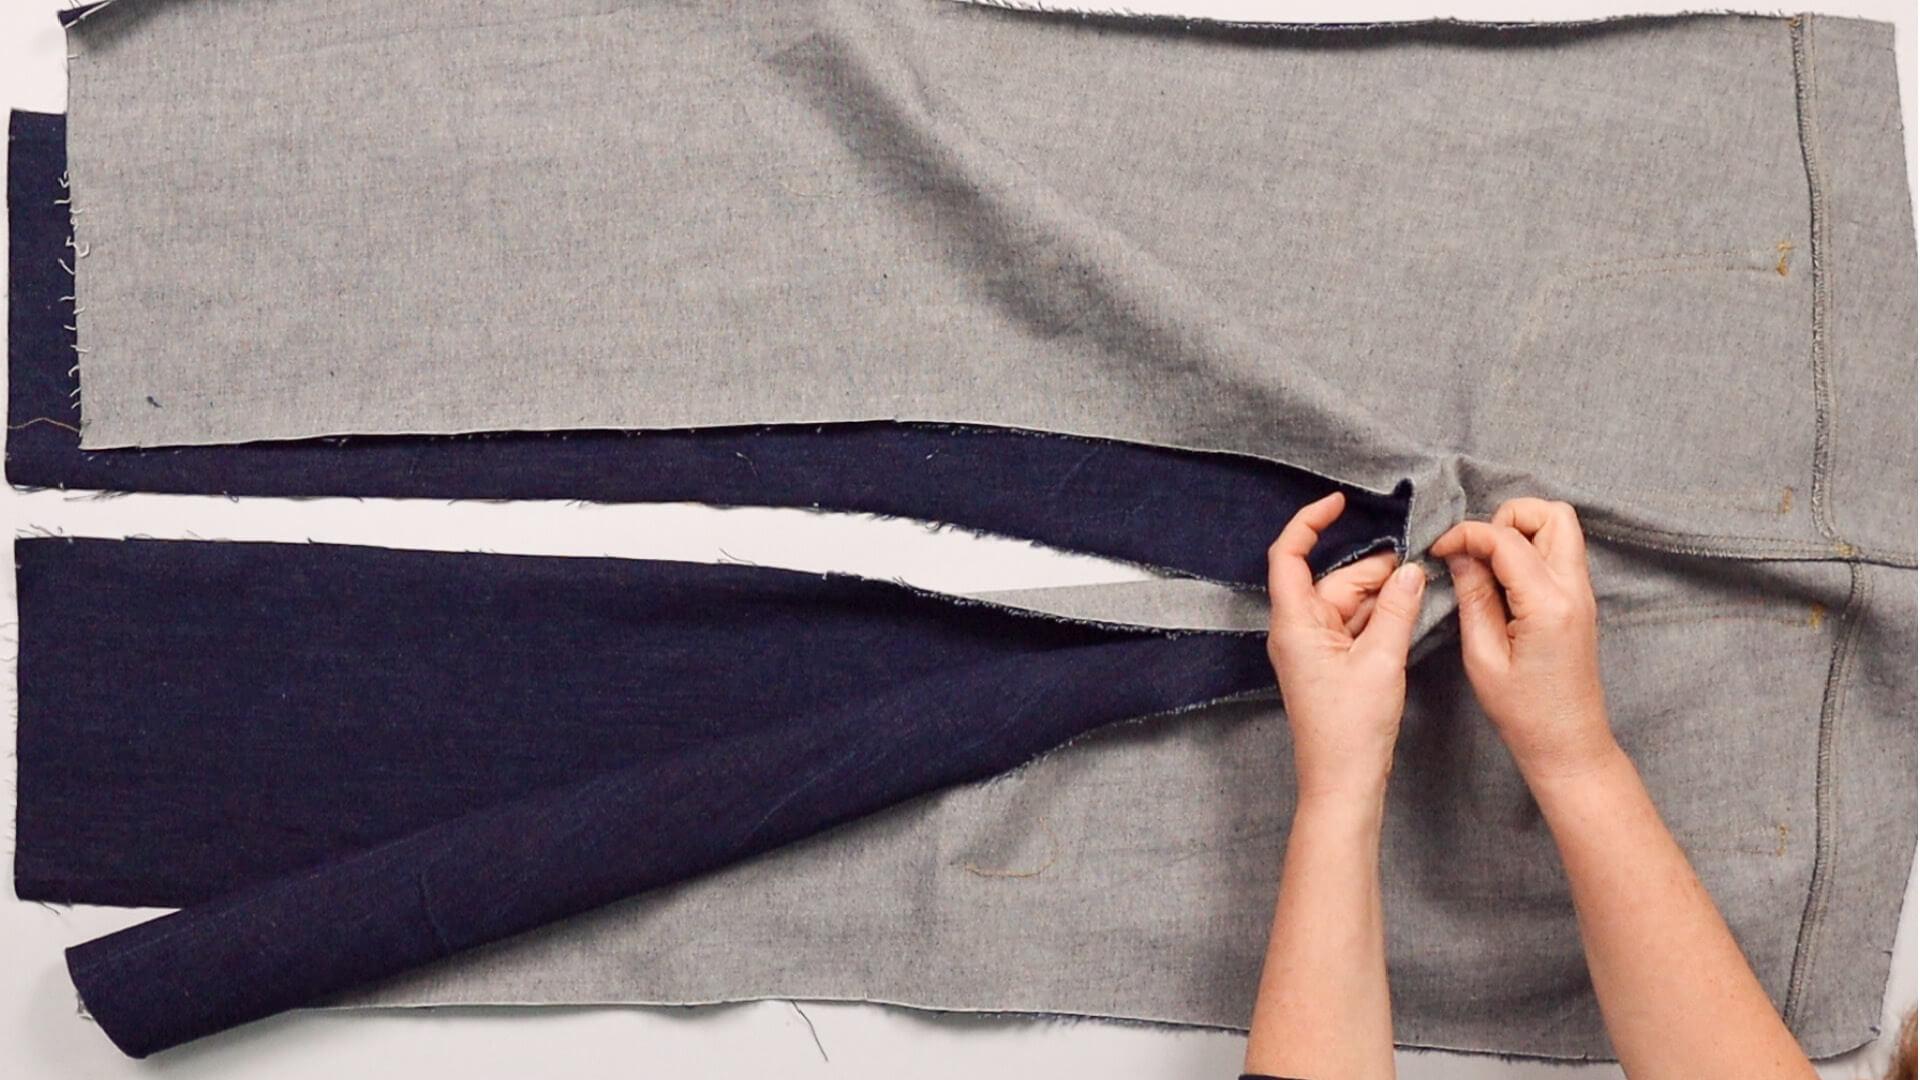
I place the back trousers right sides together on the front trousers. Then I pin them together at the crotch seam. This is the point where the seat seam of the back trousers and the short inseam of the front trousers meet.
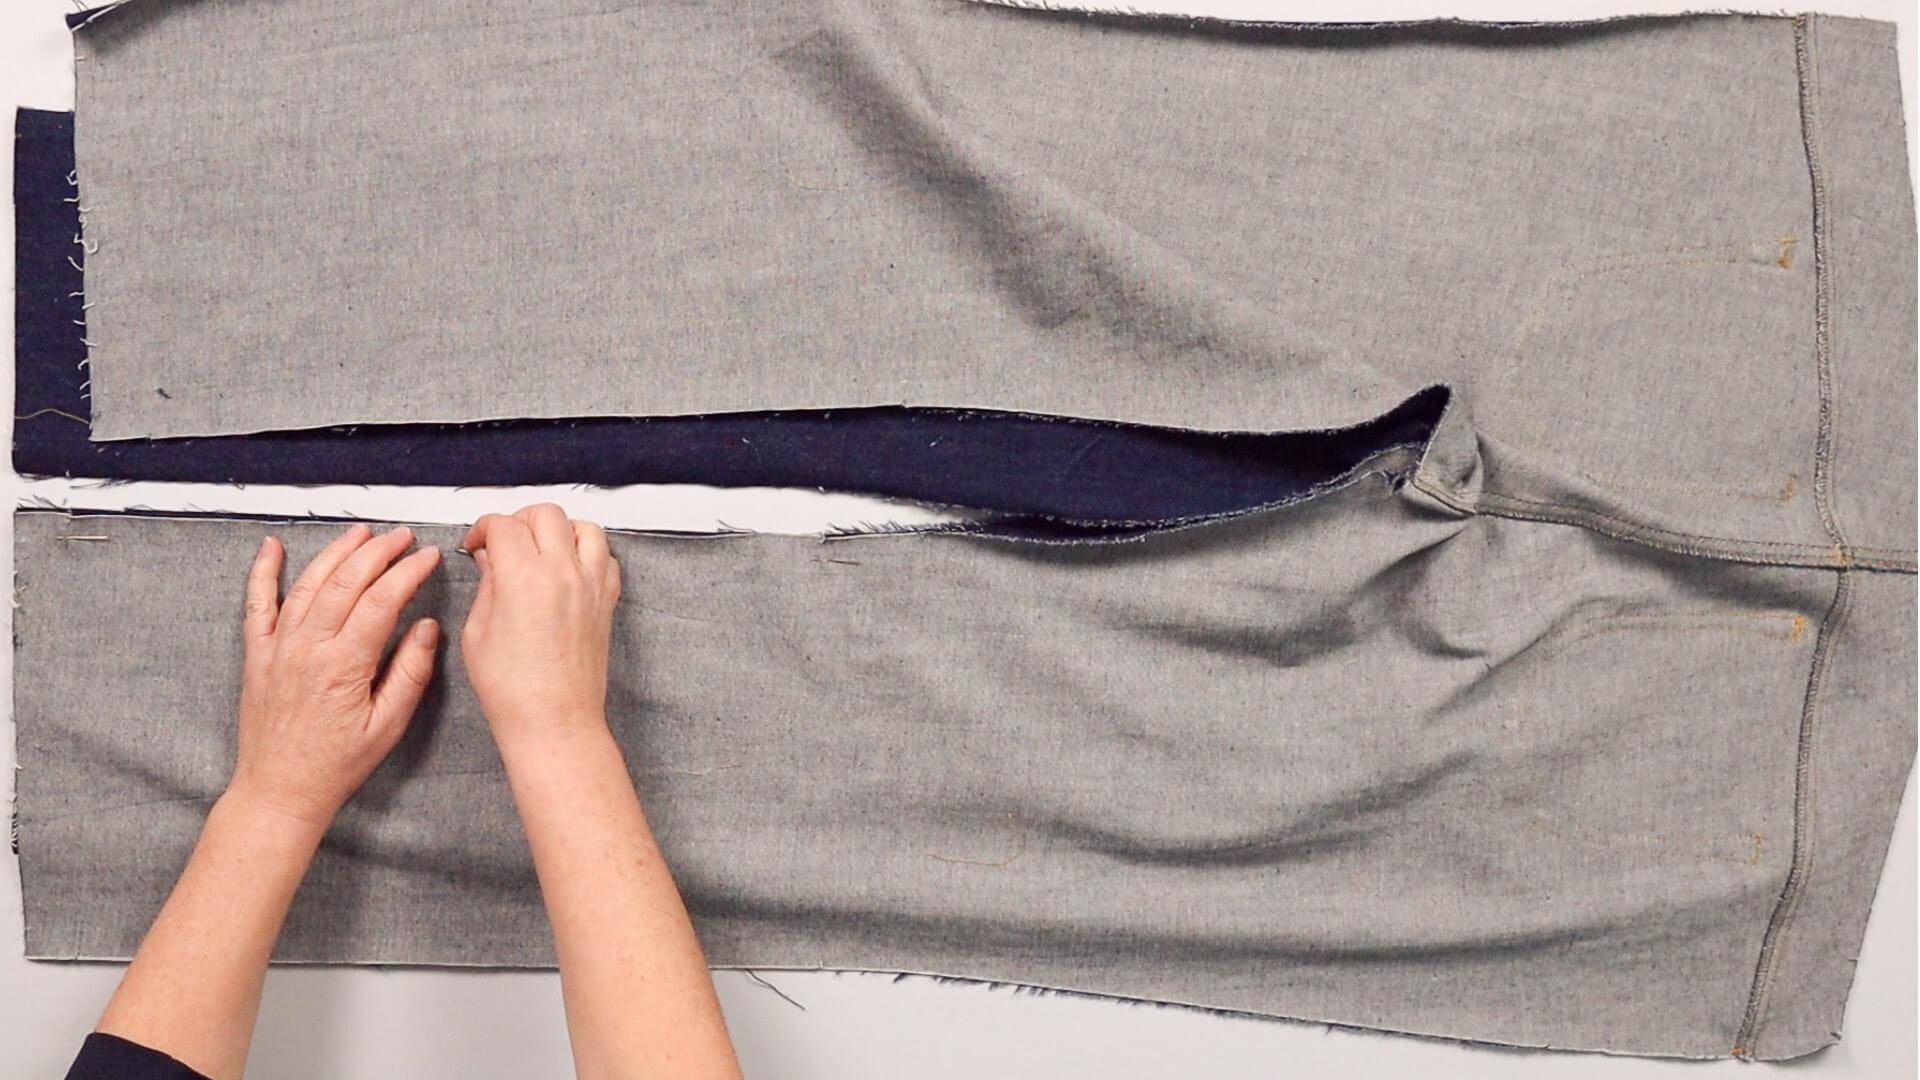
If I sew trousers that are longer than knee-length, I first pin the area from the hem to the knee.
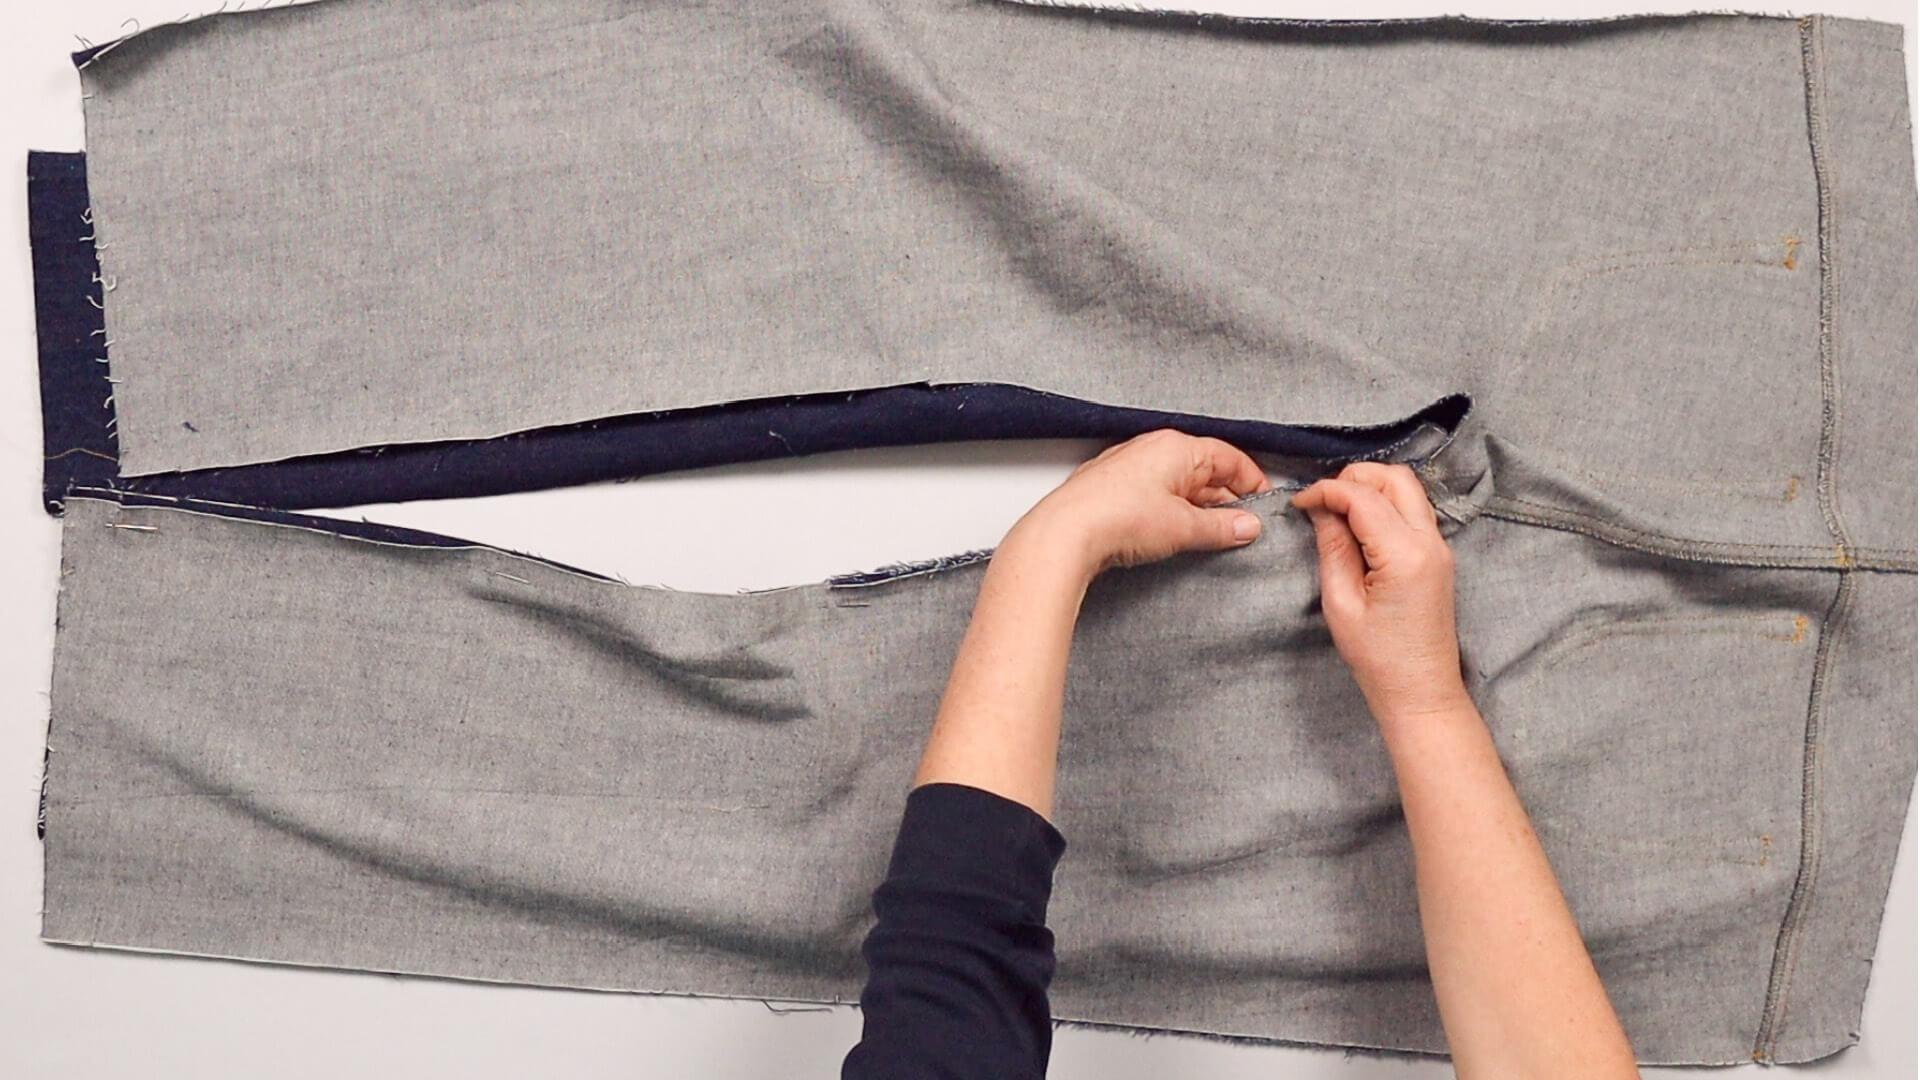
In the upper area from the knee to the crotch seam, I stretch the back trousers slightly to the length of the front trousers. This stretch is incorporated into the pattern for a better fit.
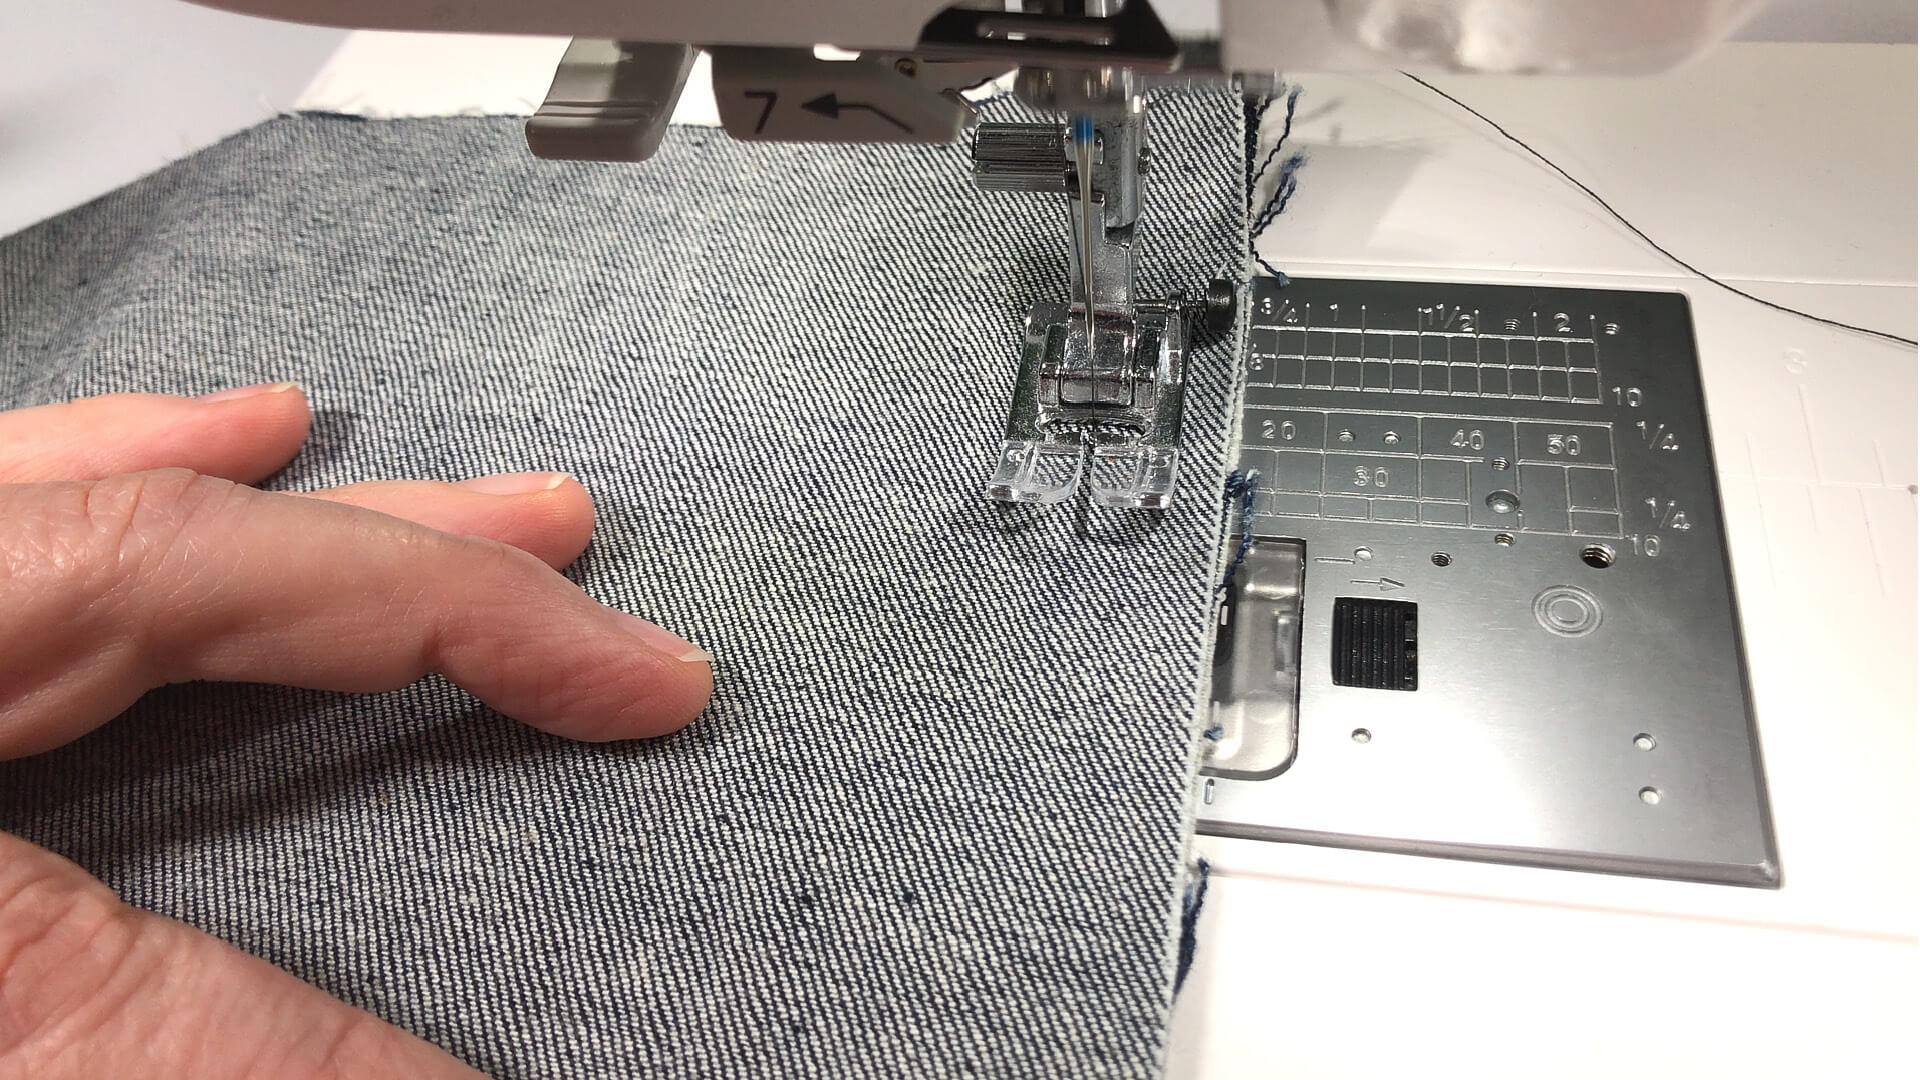
Now I sew the seam together with a straight stitch. You can find the width of the seam allowance in the pattern by measuring the distance between the seam line and the outer edge. The pattern also includes corresponding notches at the beginning and end of the seam. In this example, this is 15 mm. If there are no notch markings, the standard seam allowance of 10 mm applies.
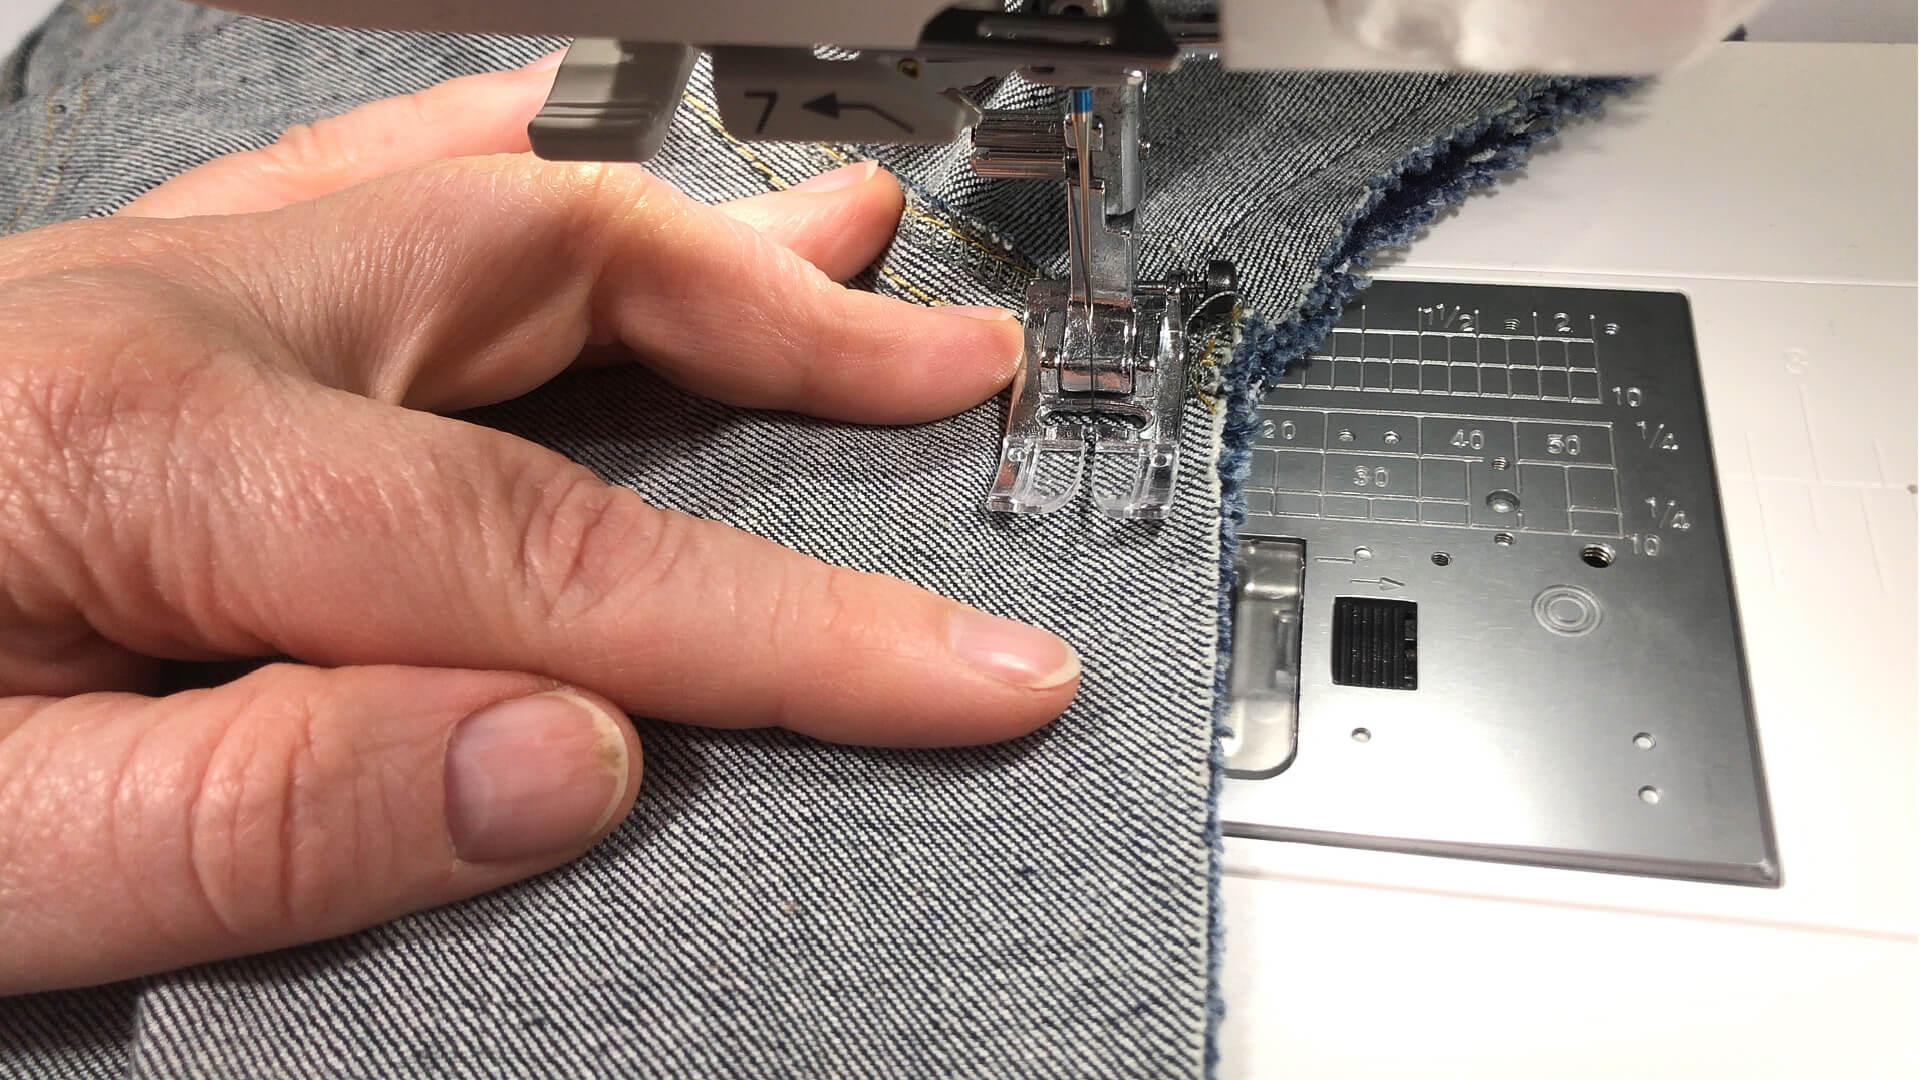
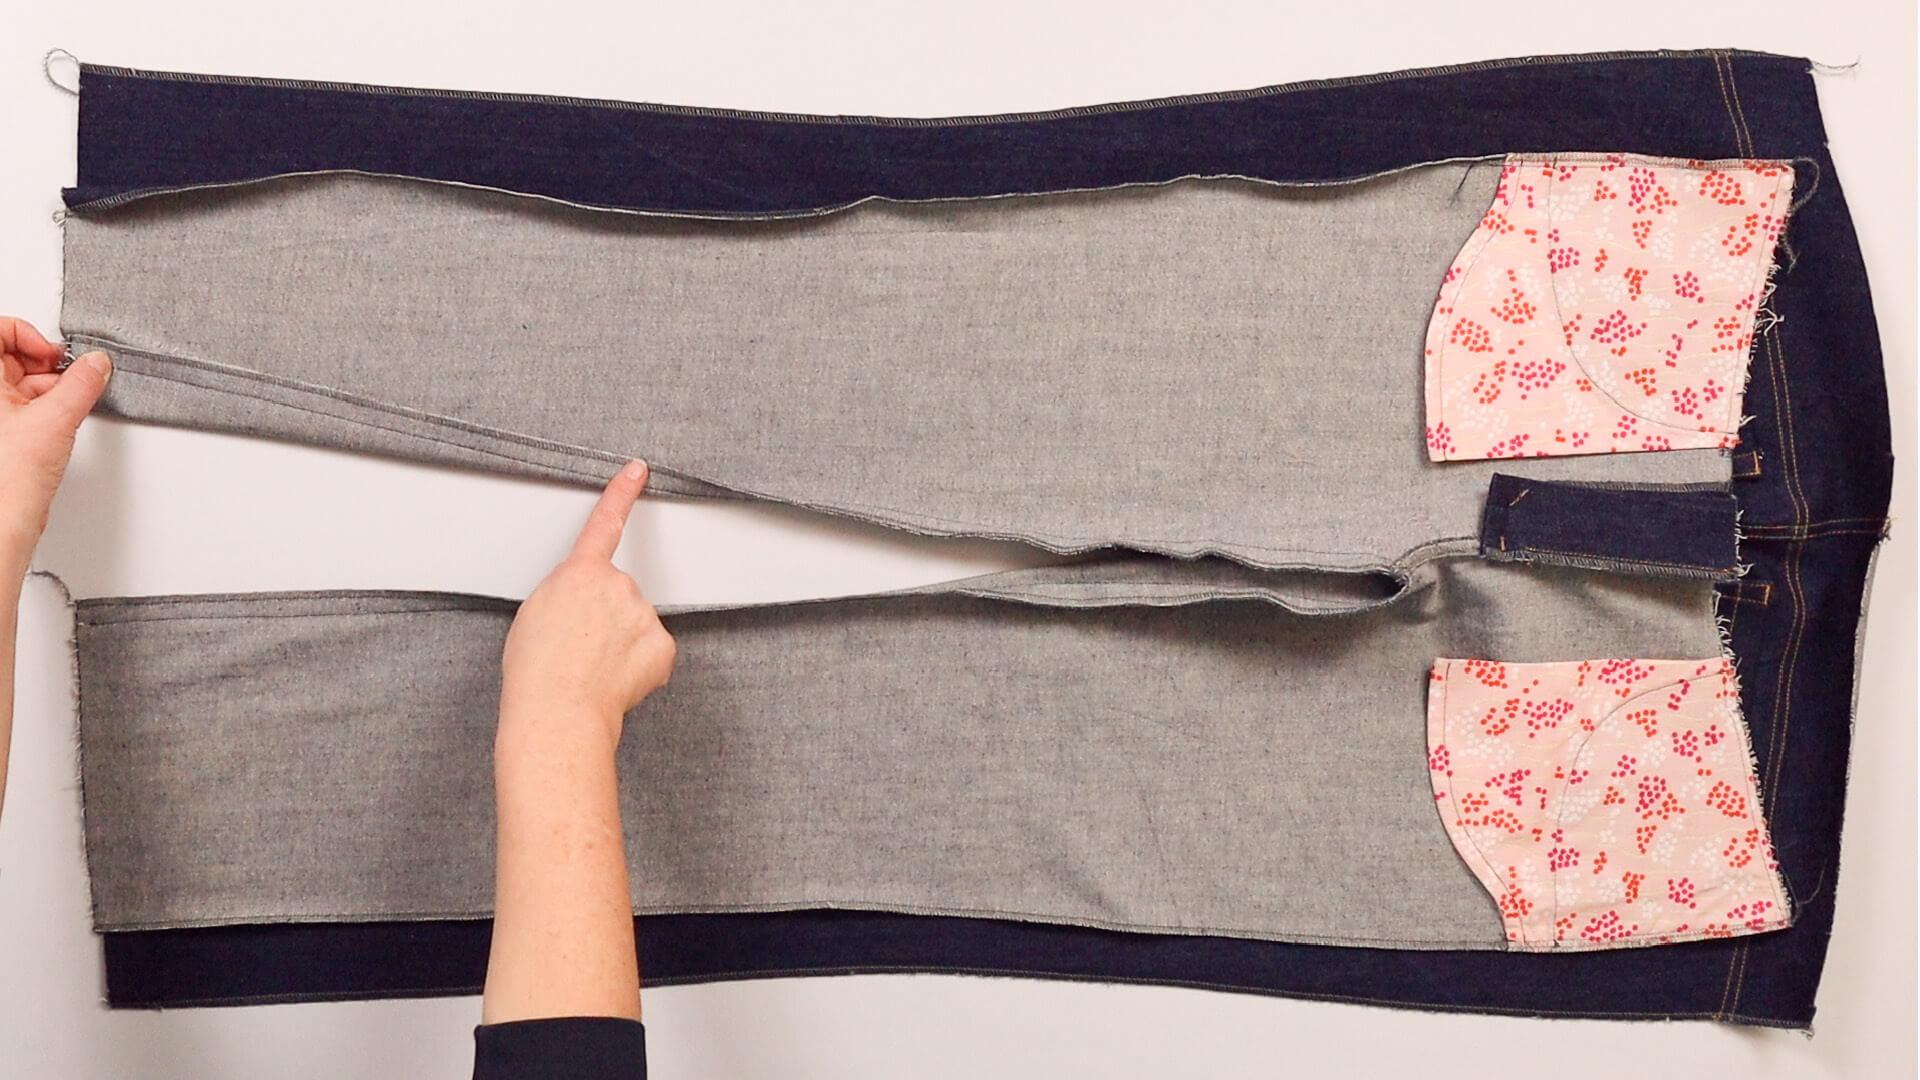
Overlock the inner leg seams together. Finish the raw edges of the outer legs with overlocker or zig zag stitch before joining the seams.
Tip
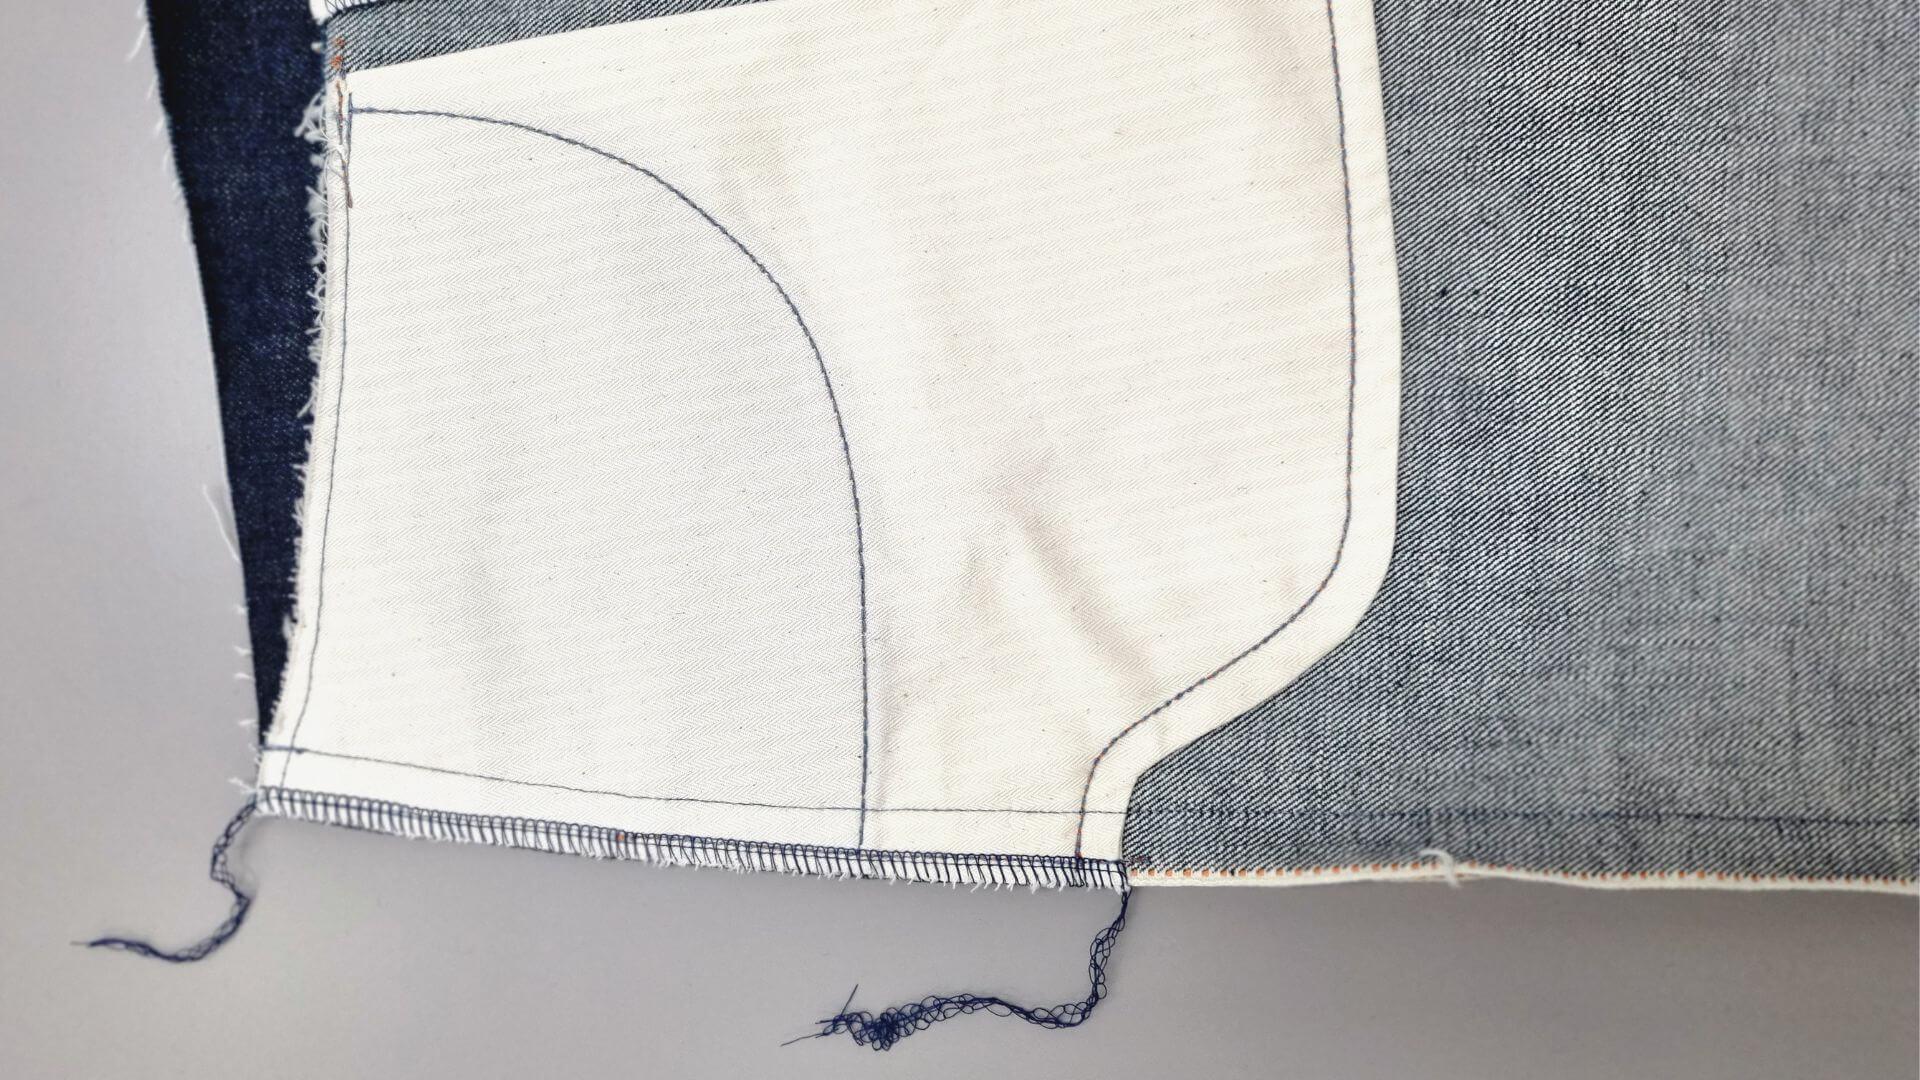
If you are using a pattern for selvedge jeans and selvedge denim, you only need to finish the outer leg seams in the upper area where the selvedge is no longer present.
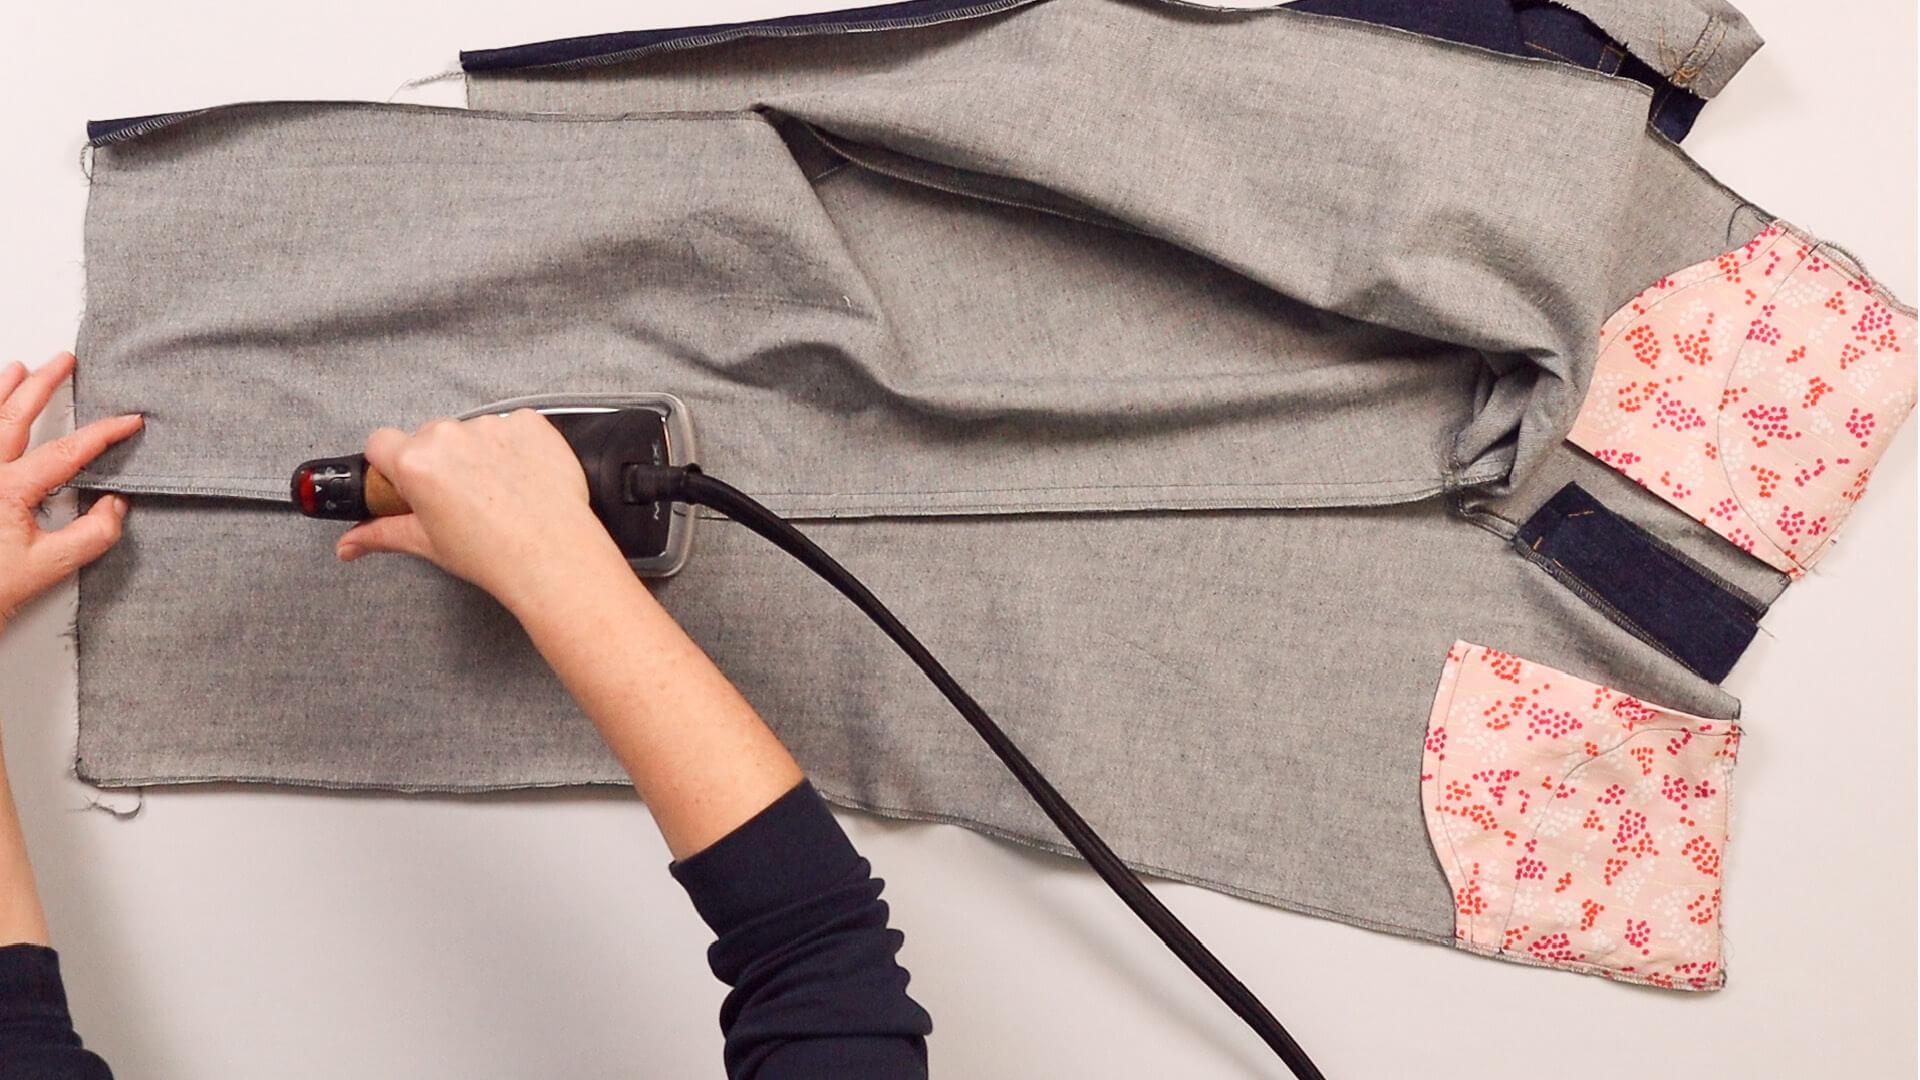
I press the seam allowance of the inner leg seam over towards the front trousers, as I want to topstitch the seam on this side afterwards. When serging, the back trousers were on top, so that the beautiful side of the overlock seam is now visible.
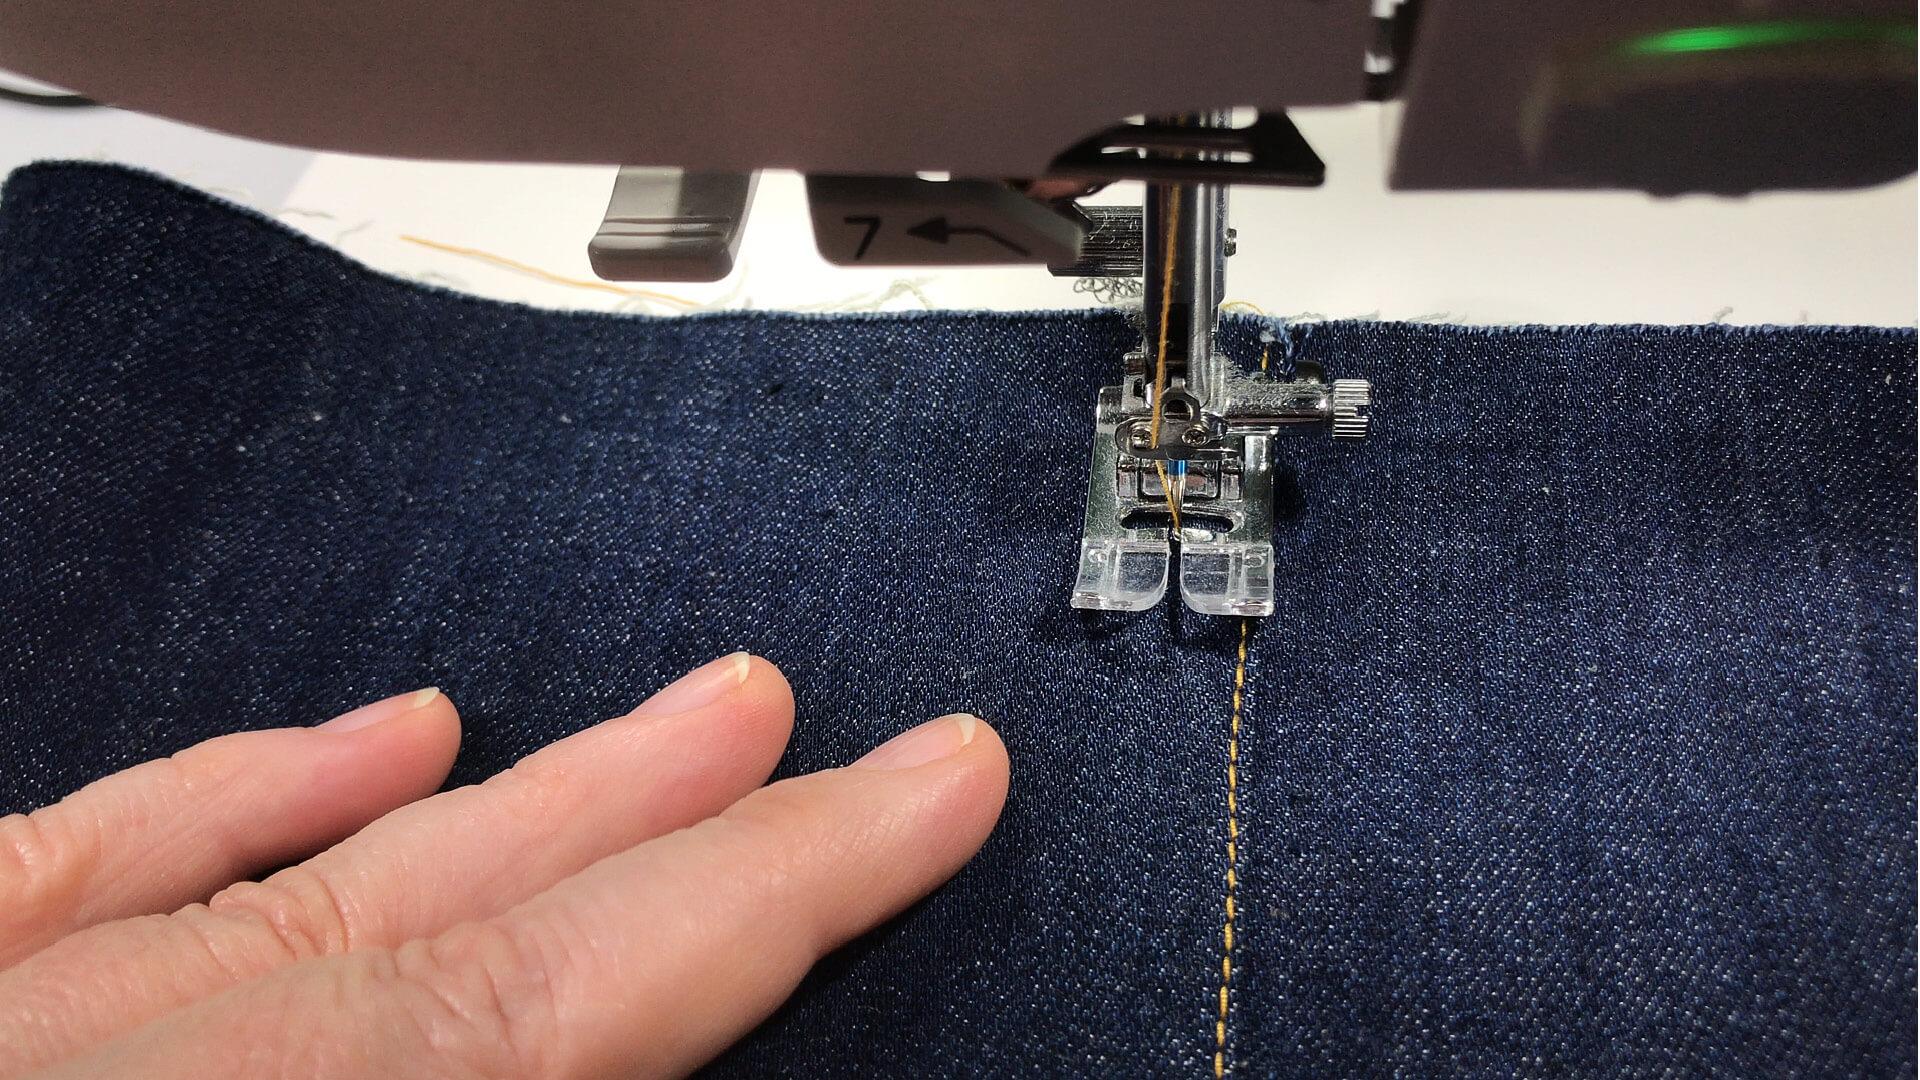
Now I topstitch the inner leg seam to the front trousers, first 2 mm and then 8 mm away from the seam. As the outer leg seams have not yet been sewn together, I can carry out this step easily.
2. Prepare the hem
If you like, you can prepare the hem now – this is even easier with the outer leg seam open.
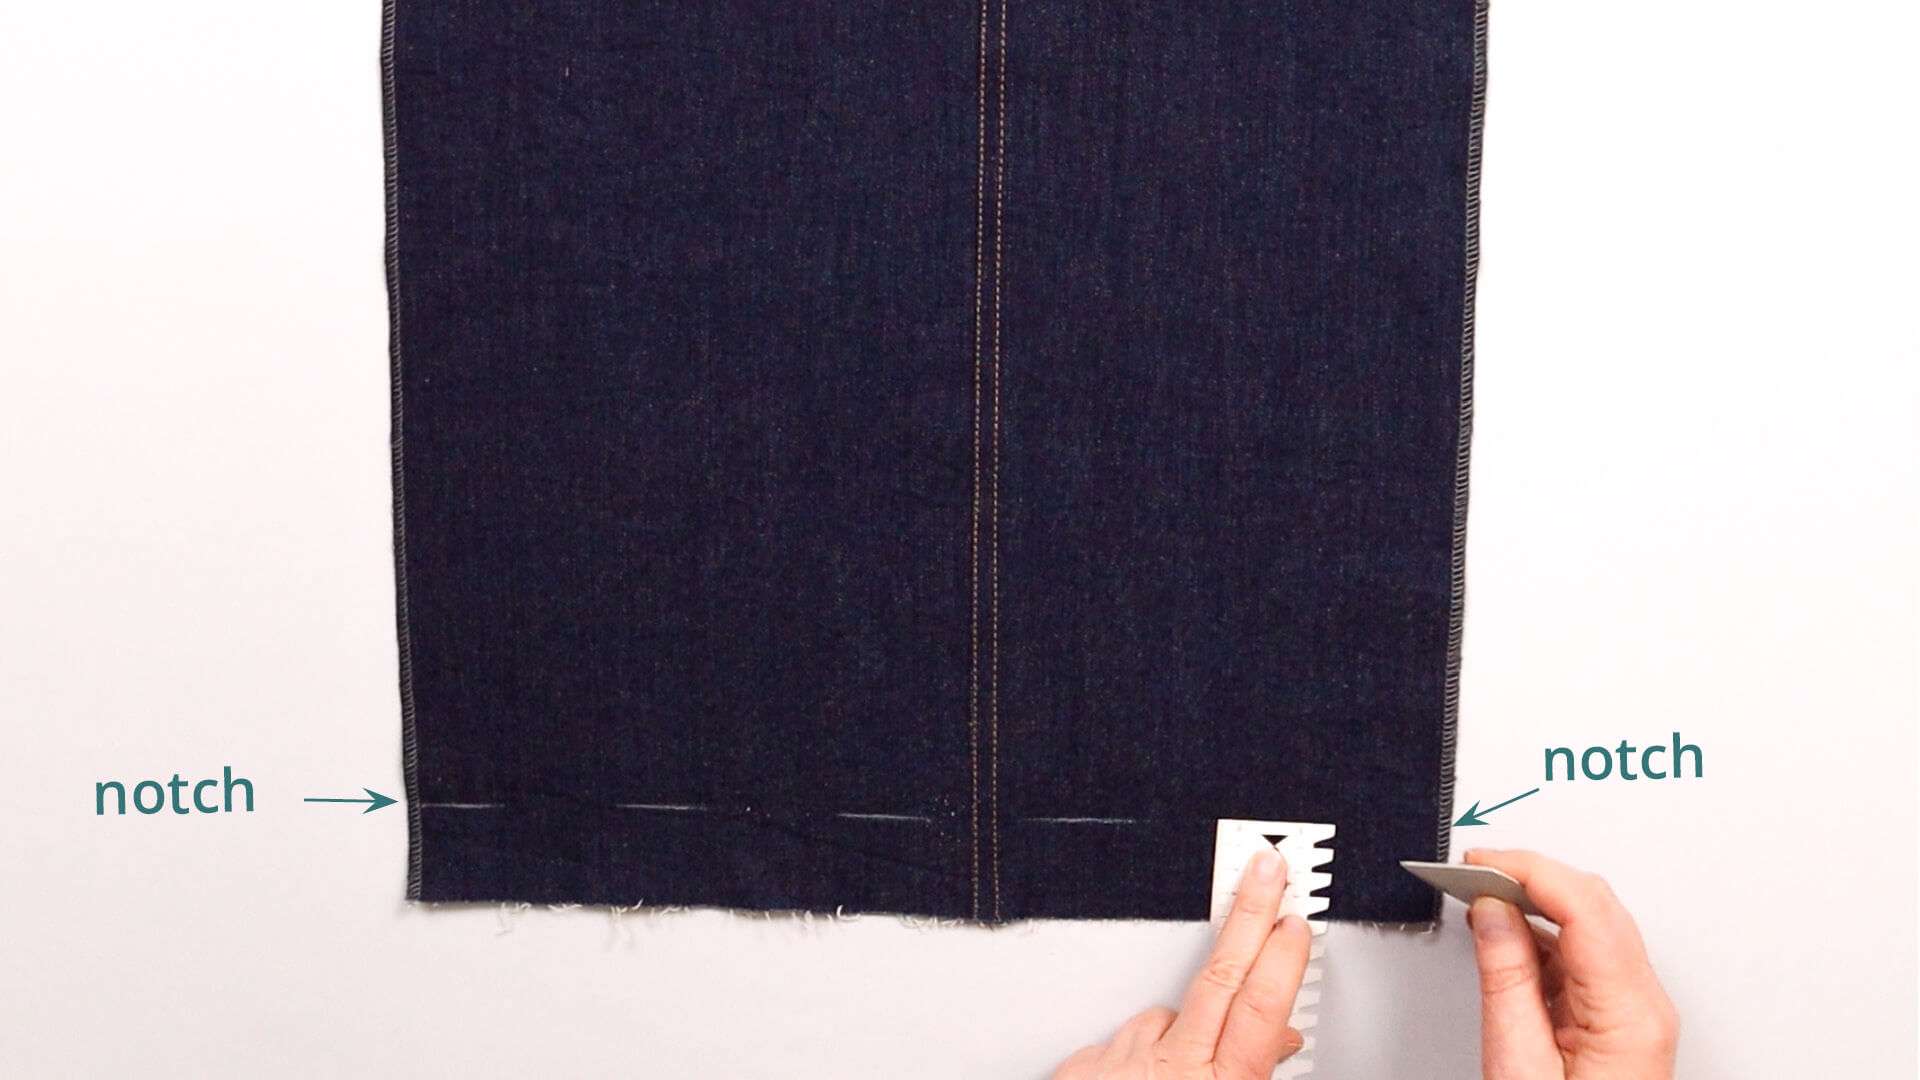
First, I mark the finished hem length on the right side. The width of the hem fold can be found in your pattern.
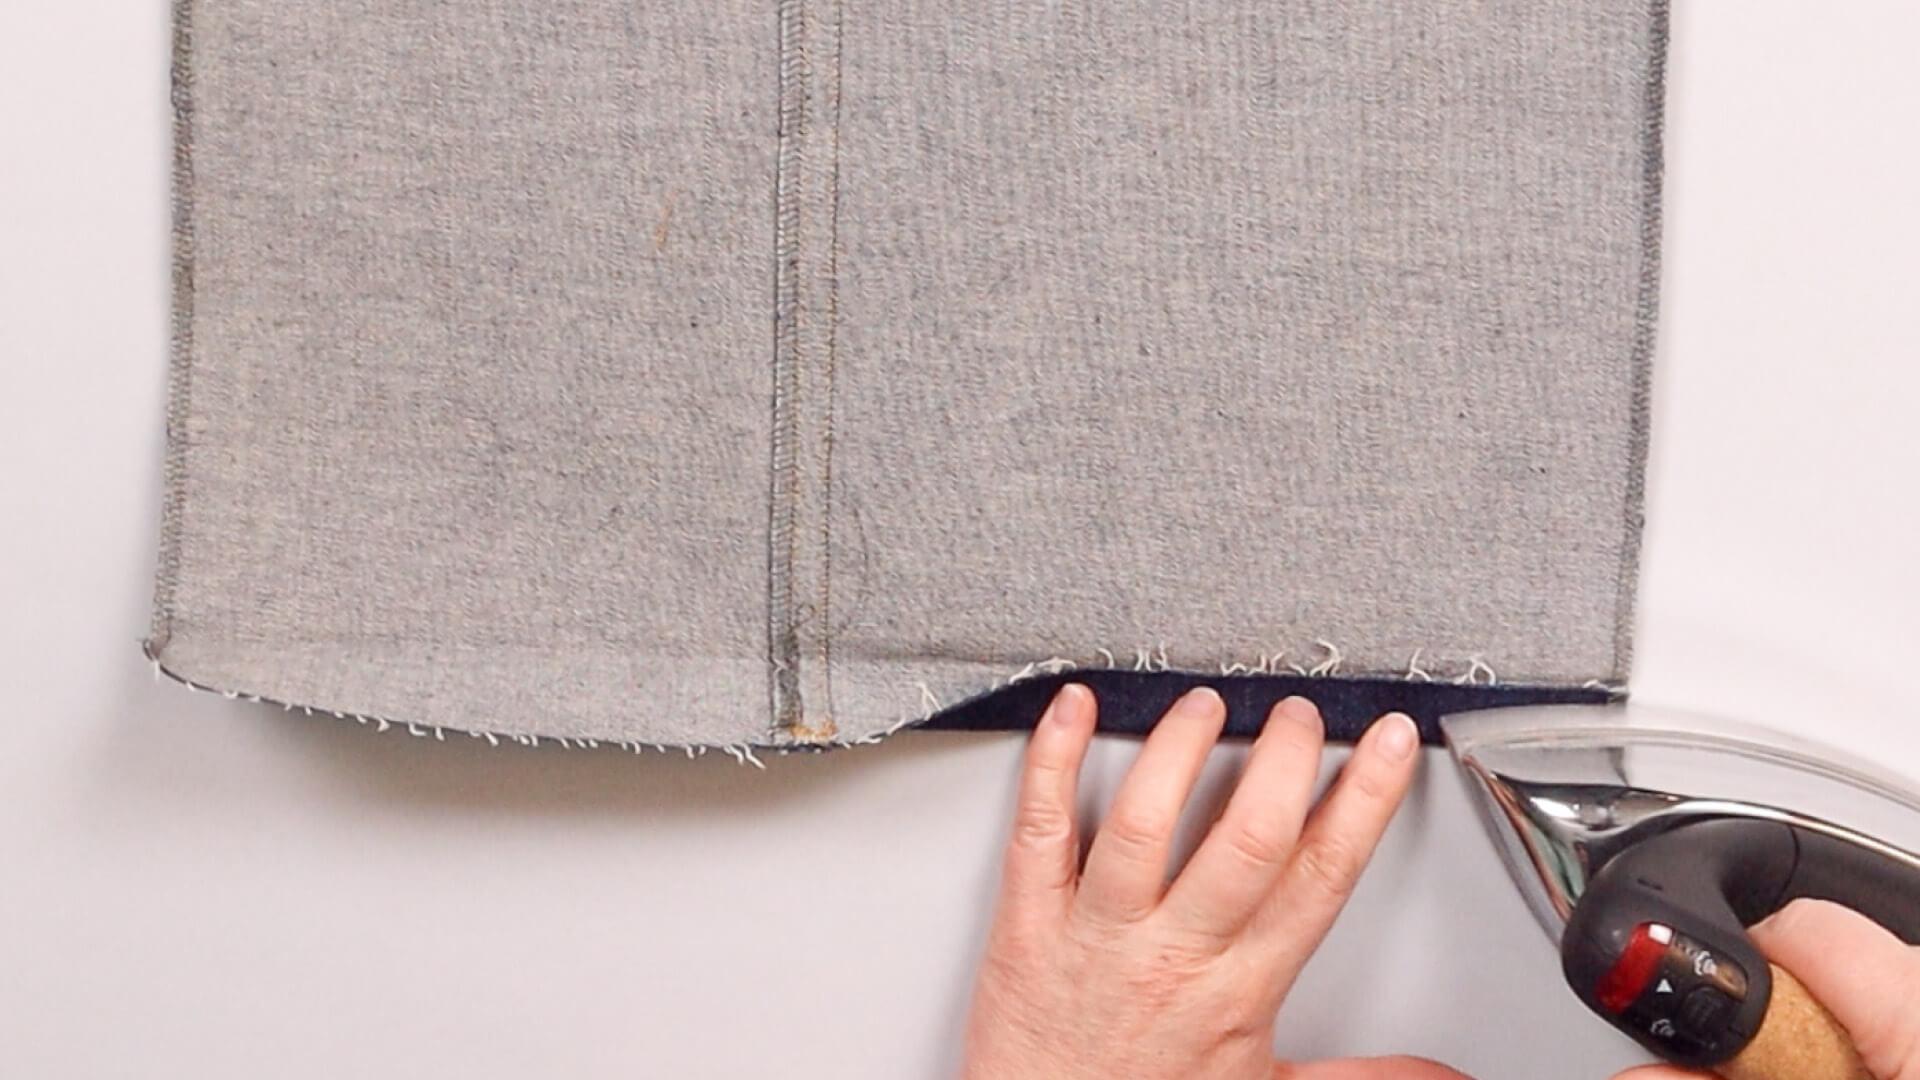
Then I press the hem fold over first at the marked line and then again halfway.
The outer leg seams can then be closed.
3. Close the outer leg seams
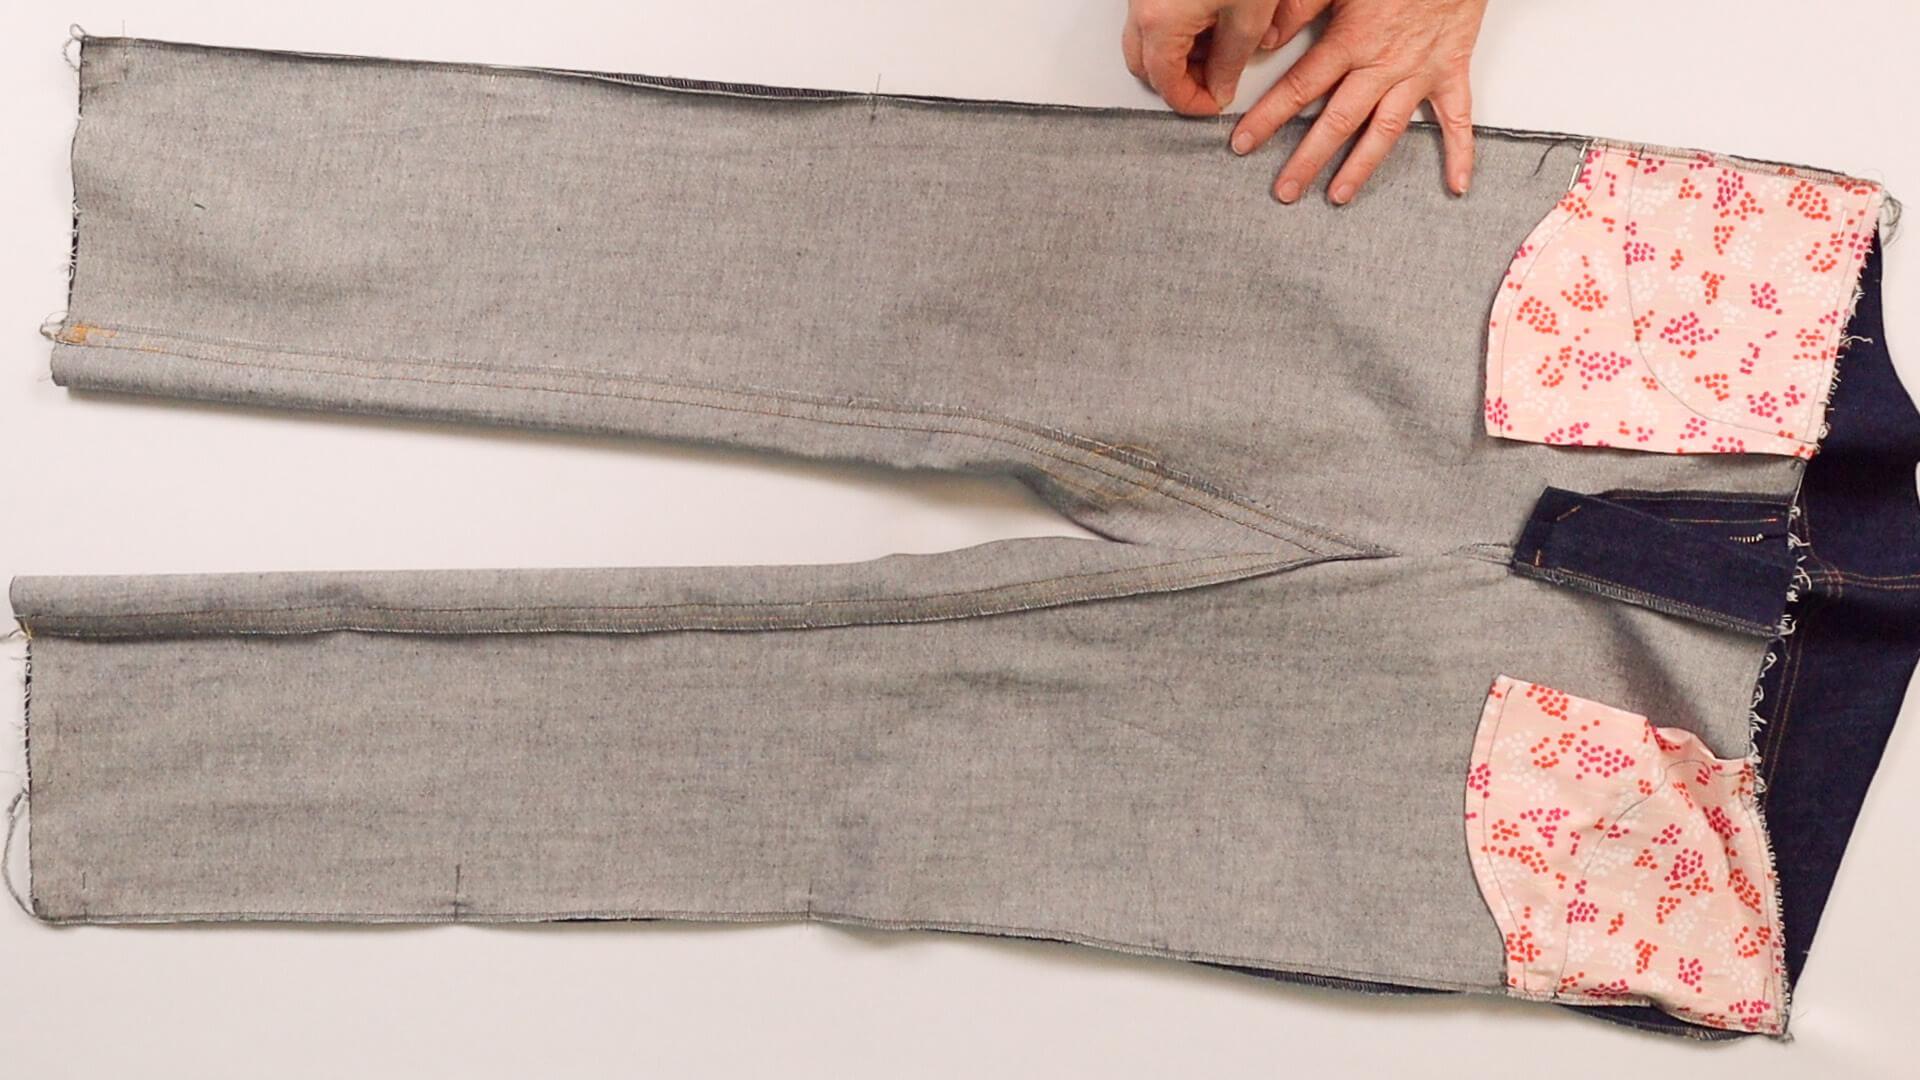
Now I pin the front and back side seams together, right sides facing.
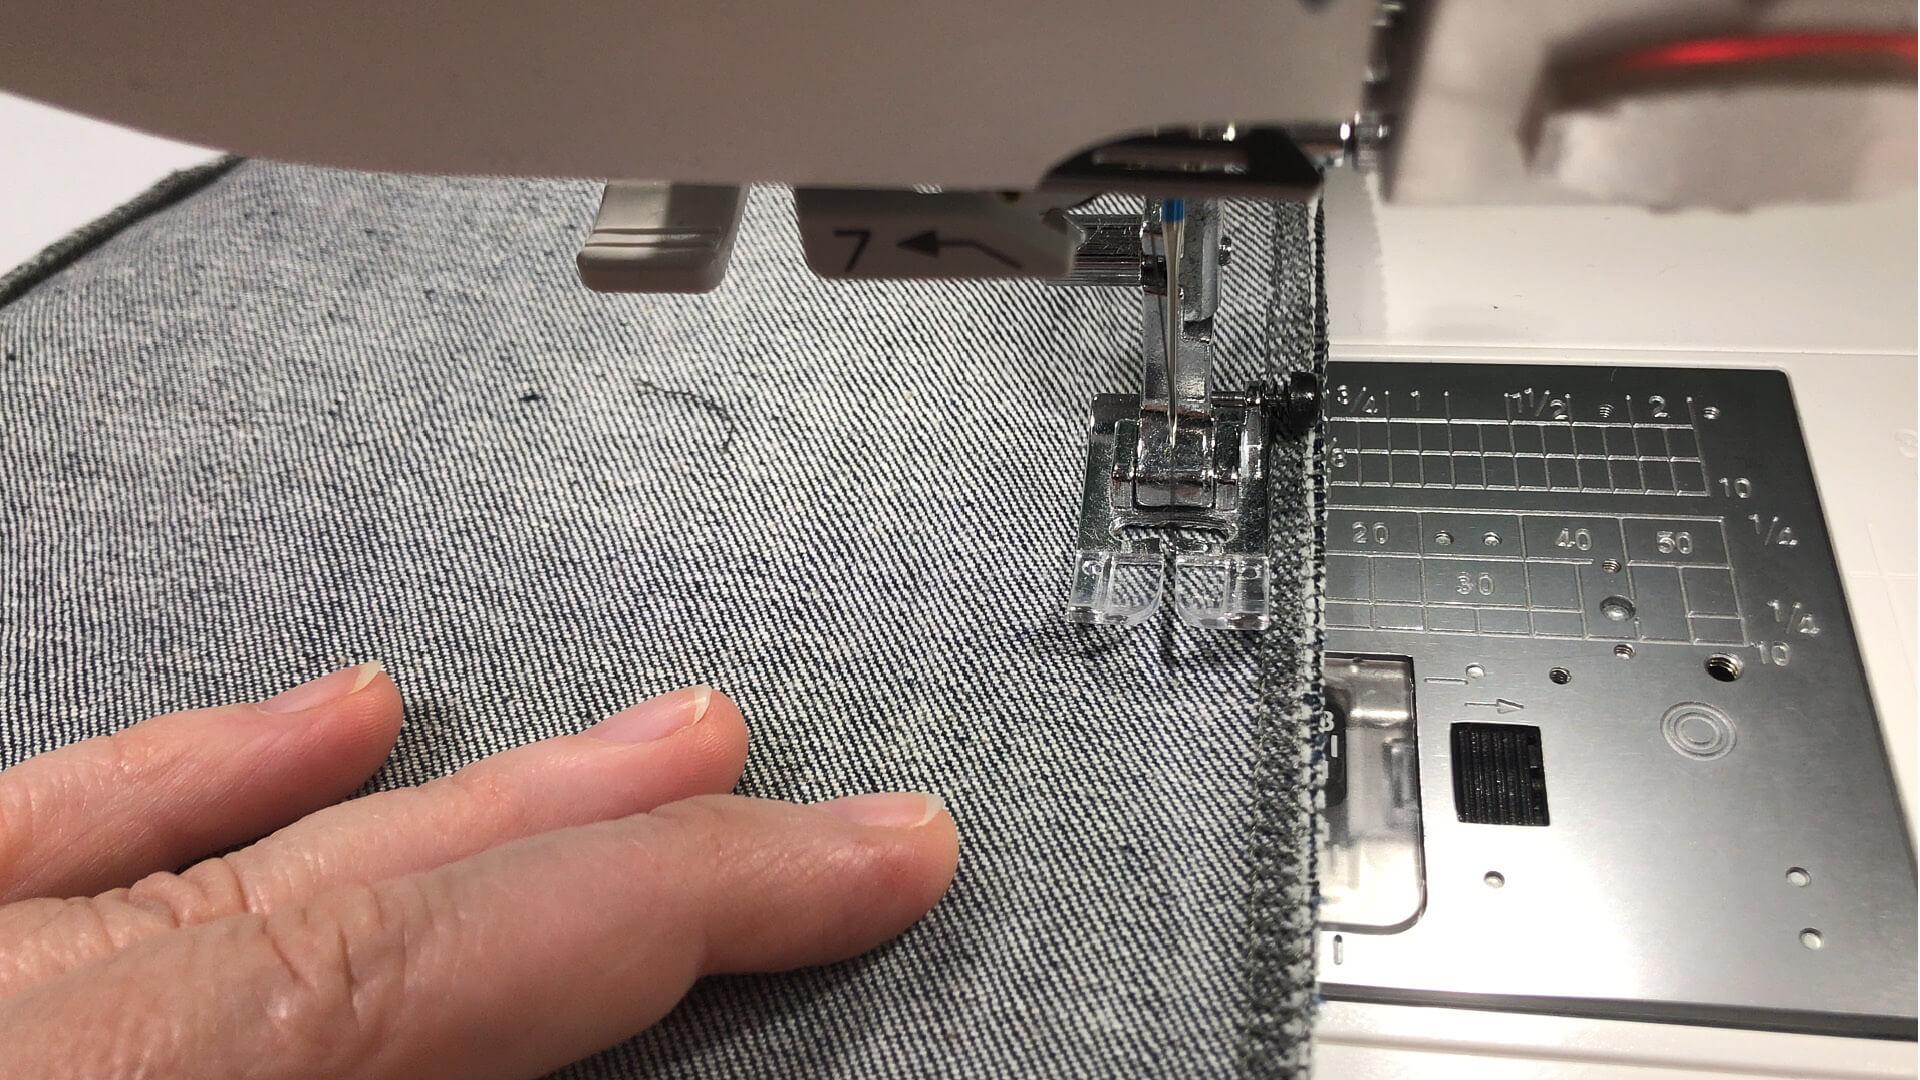
I sew the seam with a straight stitch. The width of the seam allowance is also determined by the pattern. In this example, this is 15 mm.
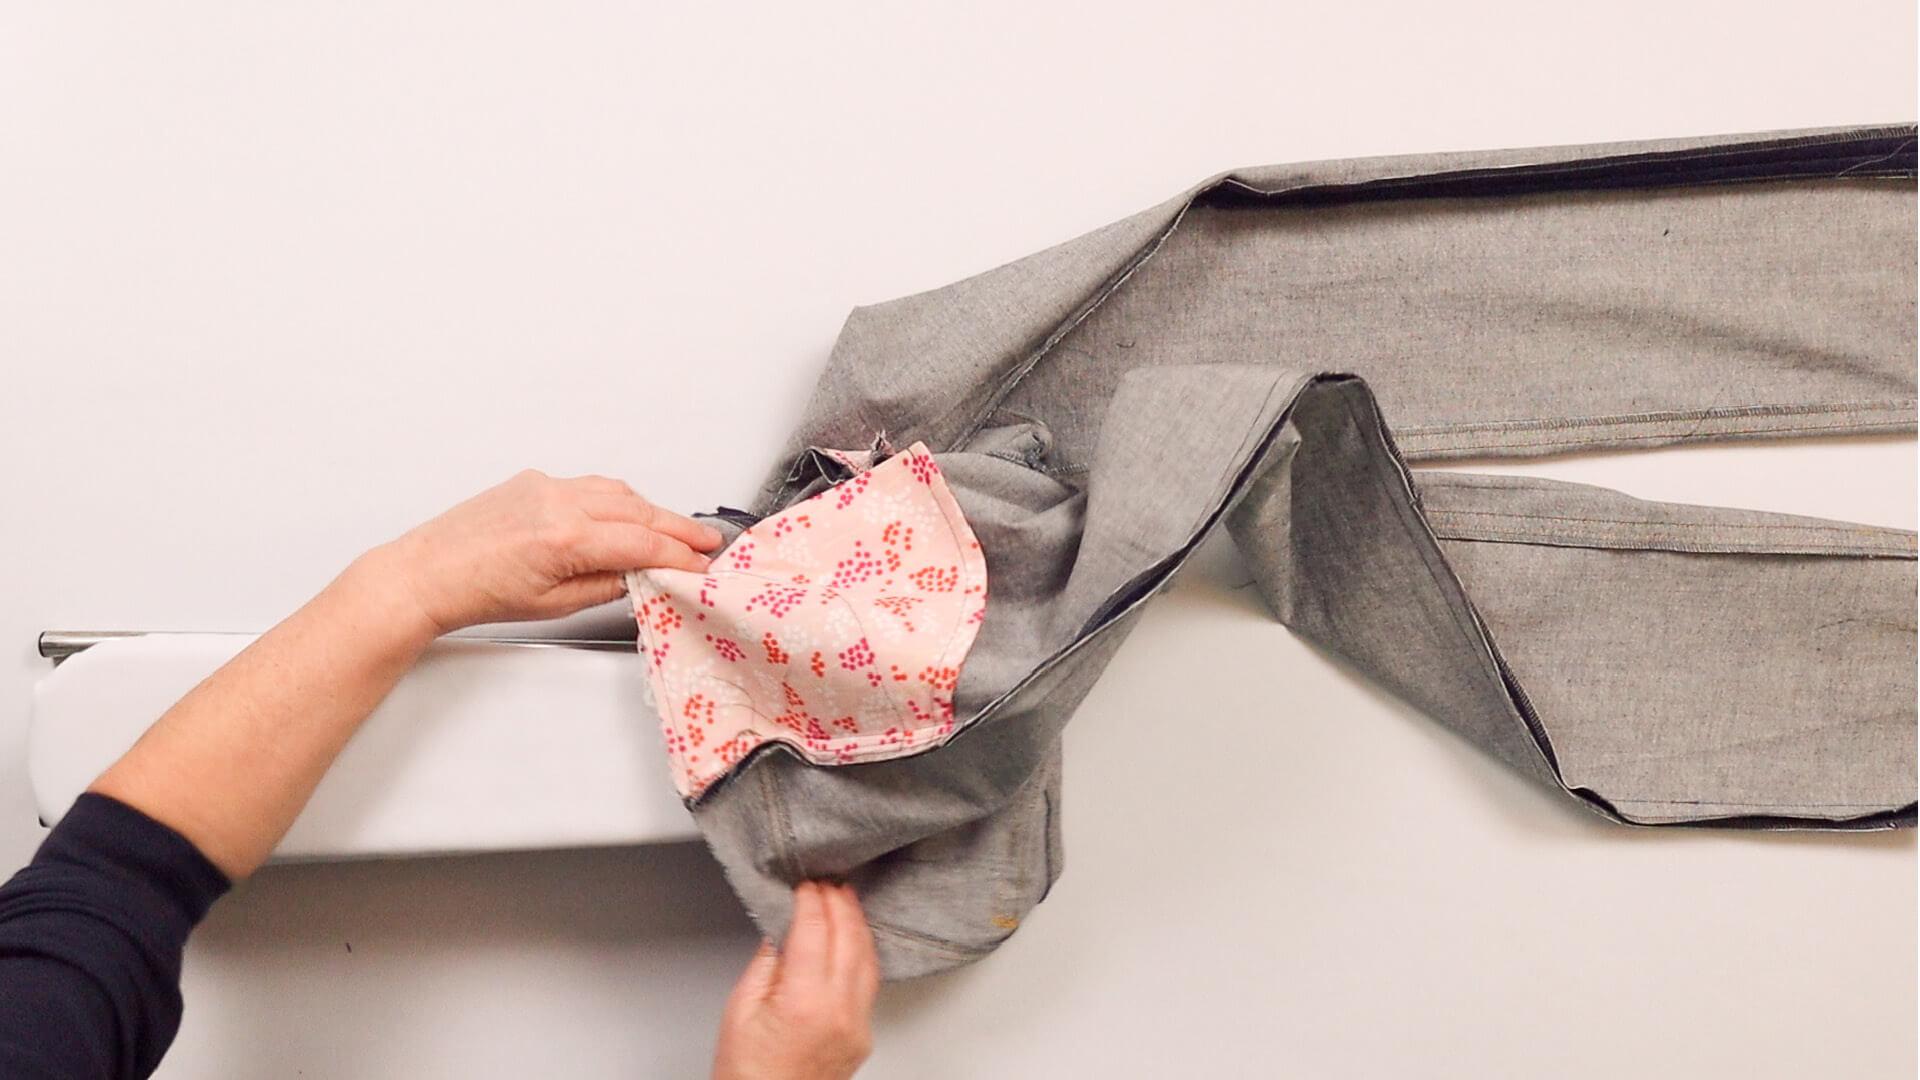
To press the seam, I slide the leg over a sleeve board. If you don’t have a sleeve board, you can push a cushion into your leg, for example.
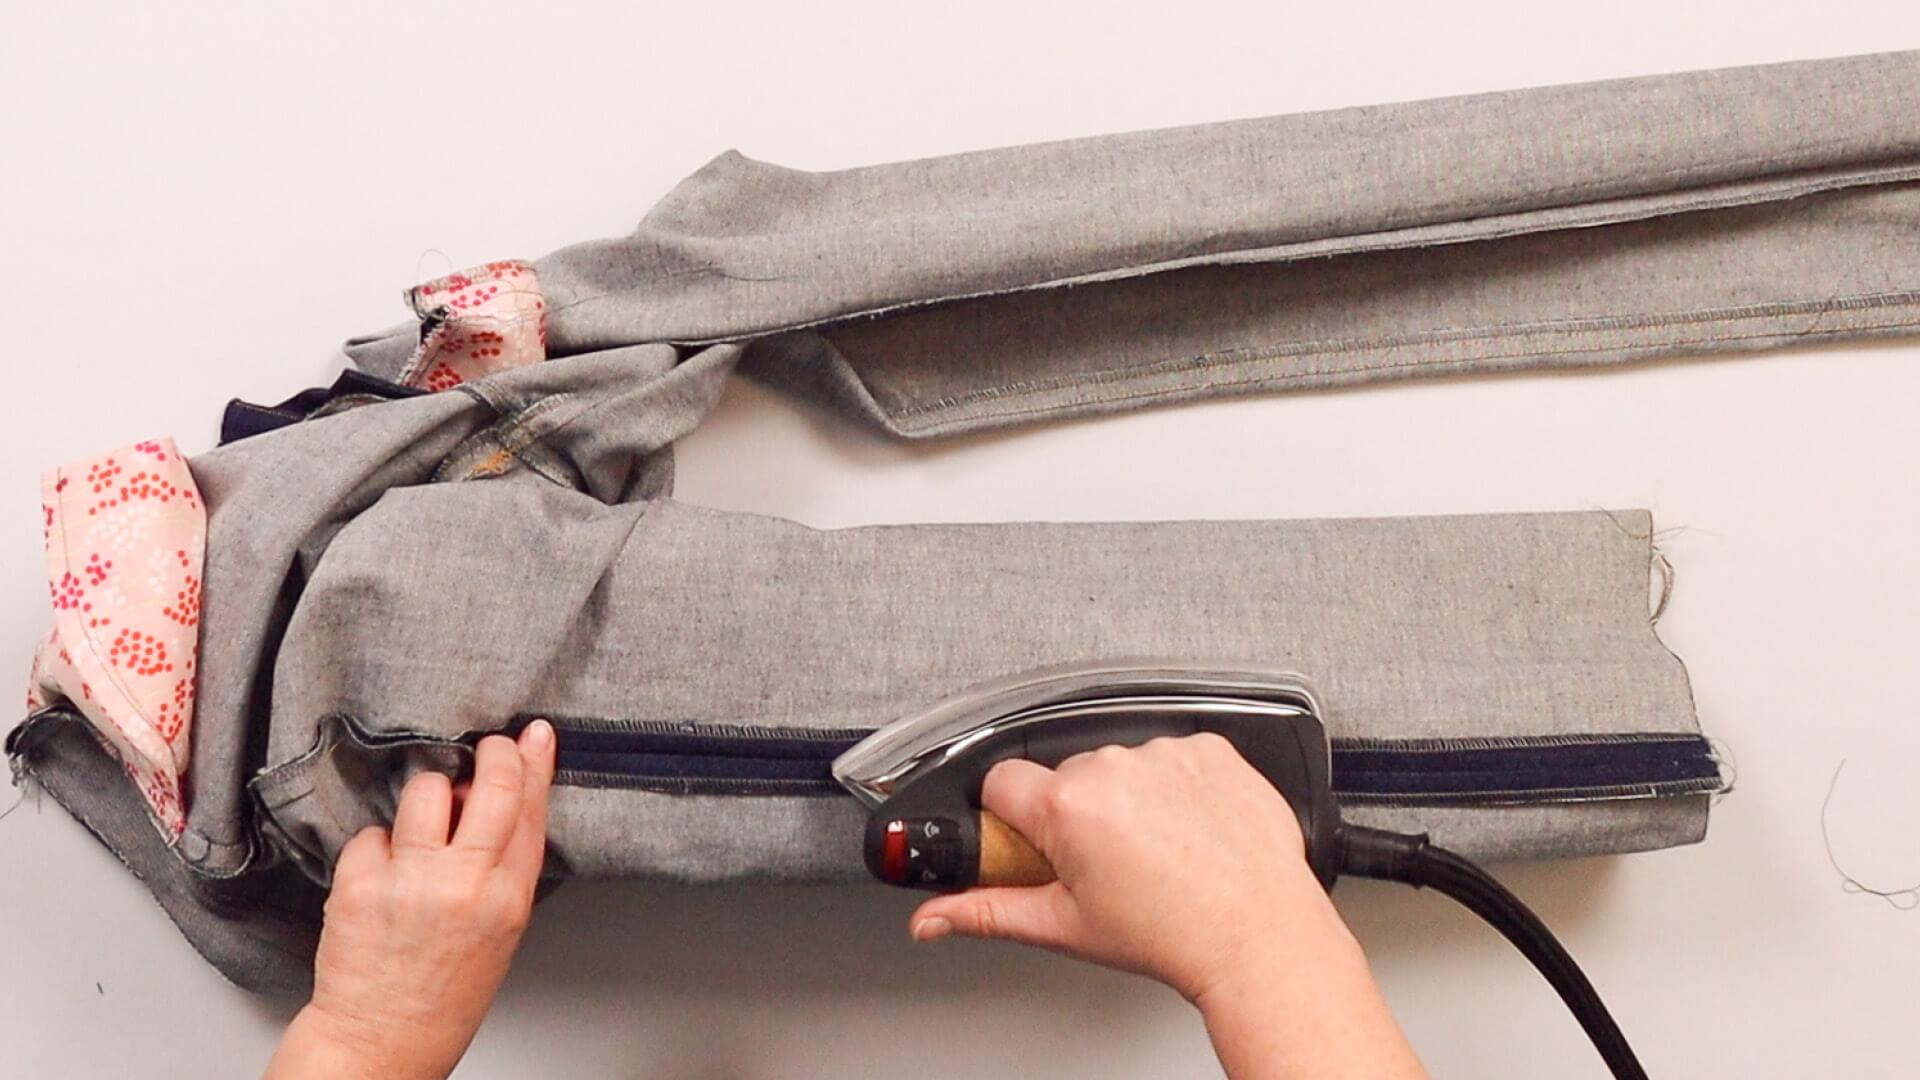
Now press the seam apart.
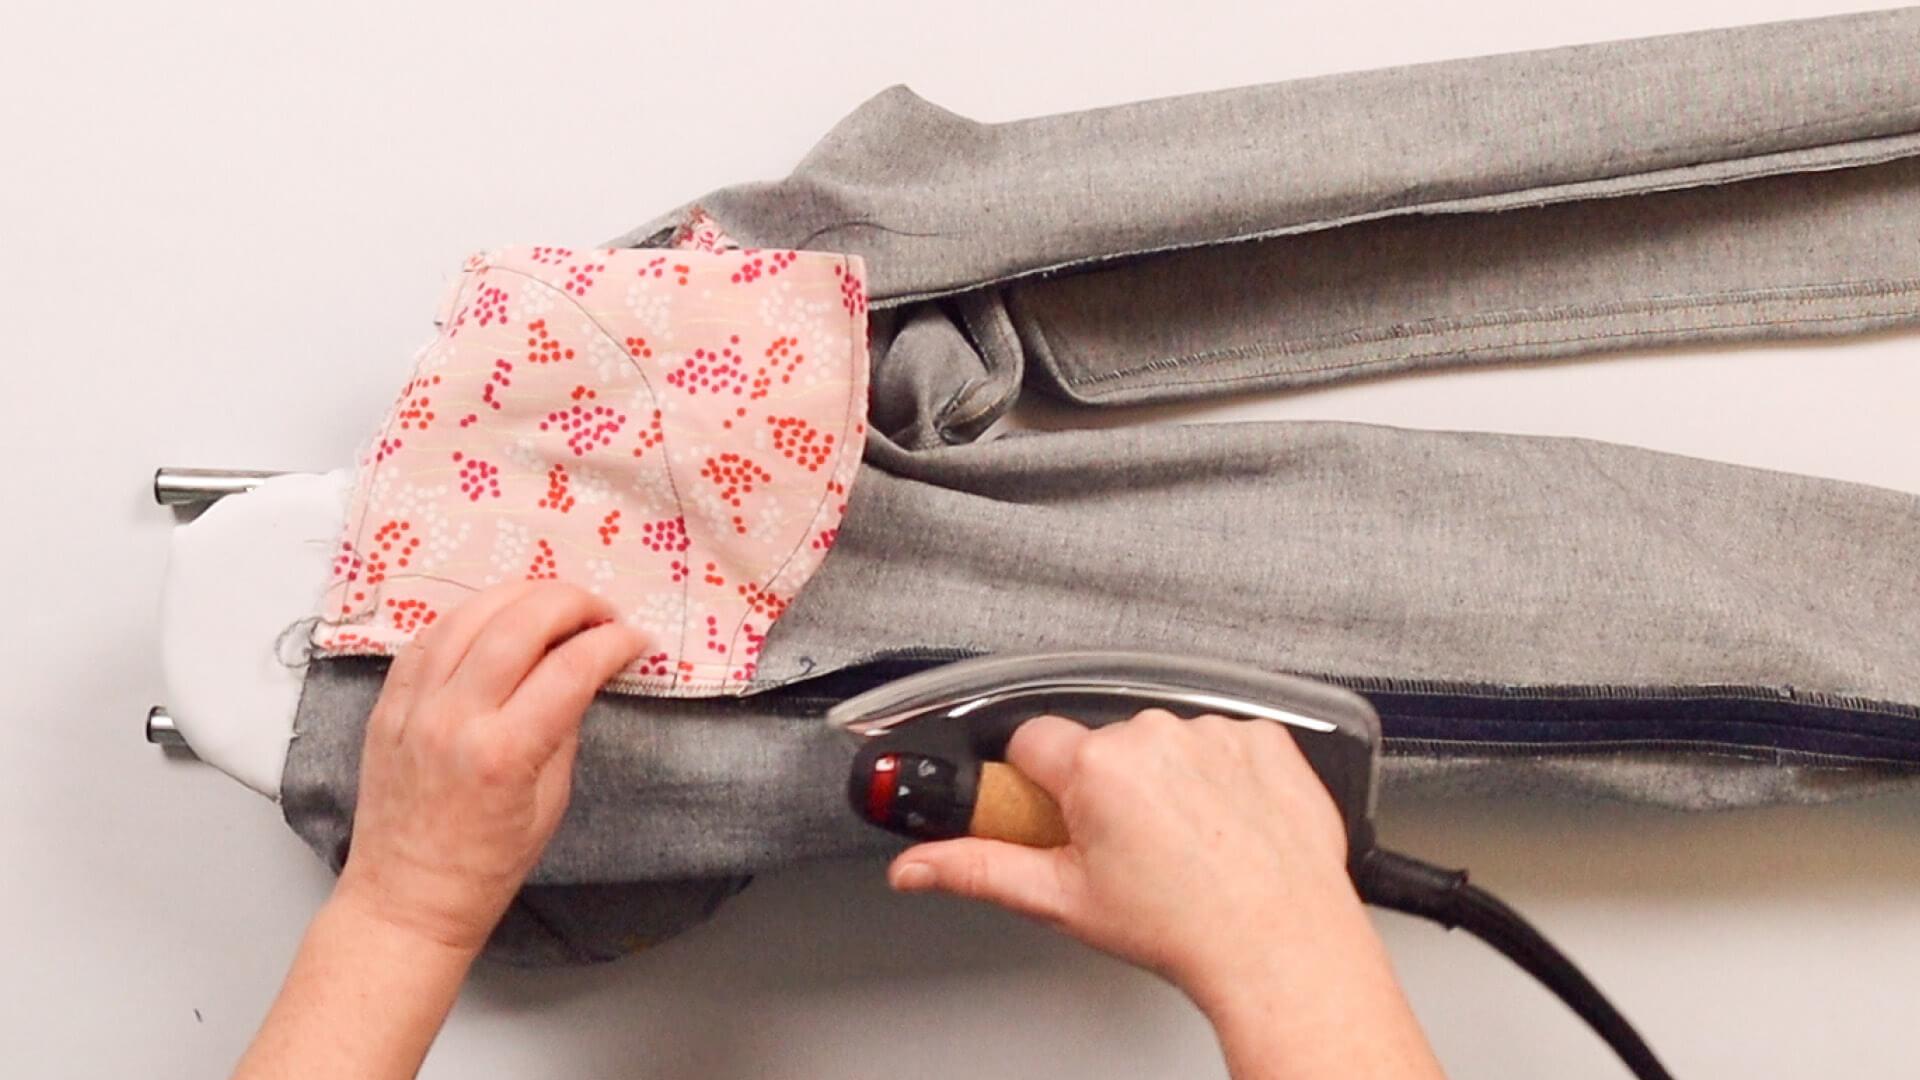
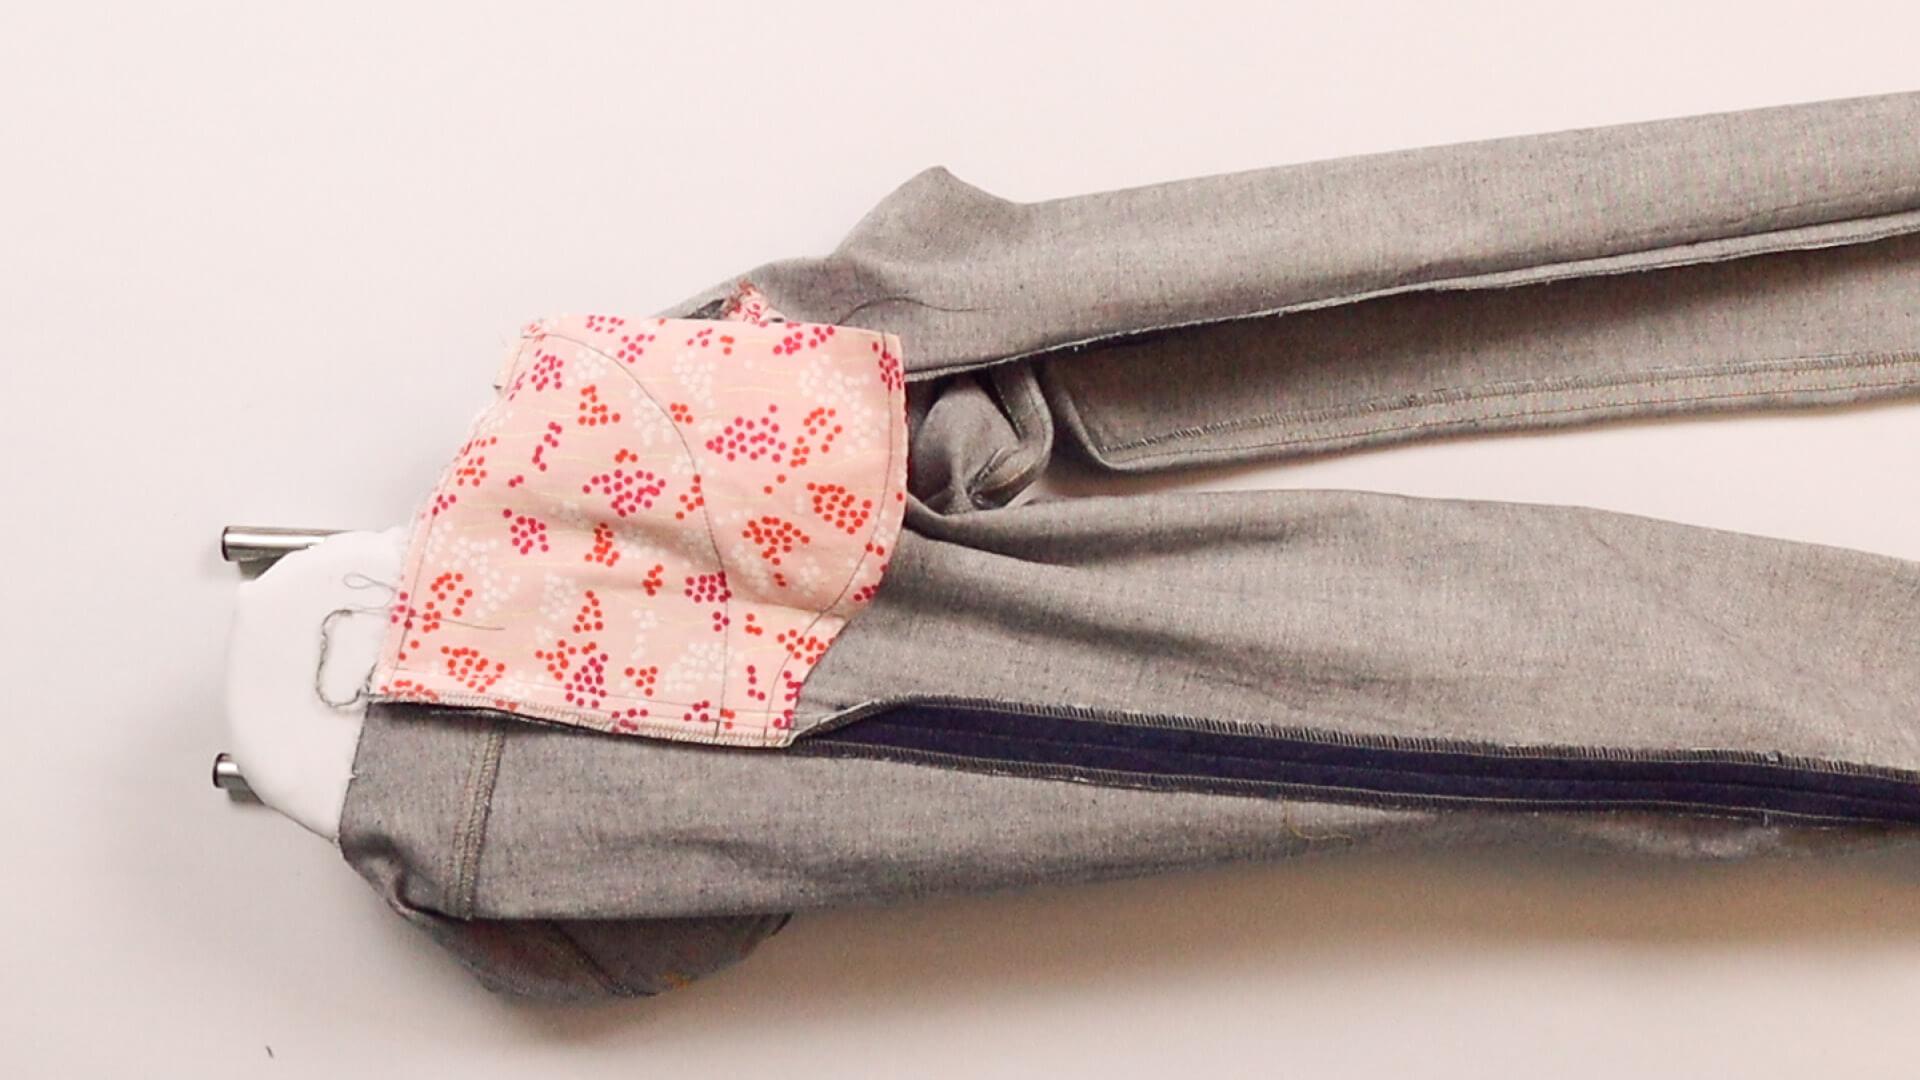
At the top of the pocket bags, I press the seam towards the back of the trousers.
4. Stitching on the outer seam
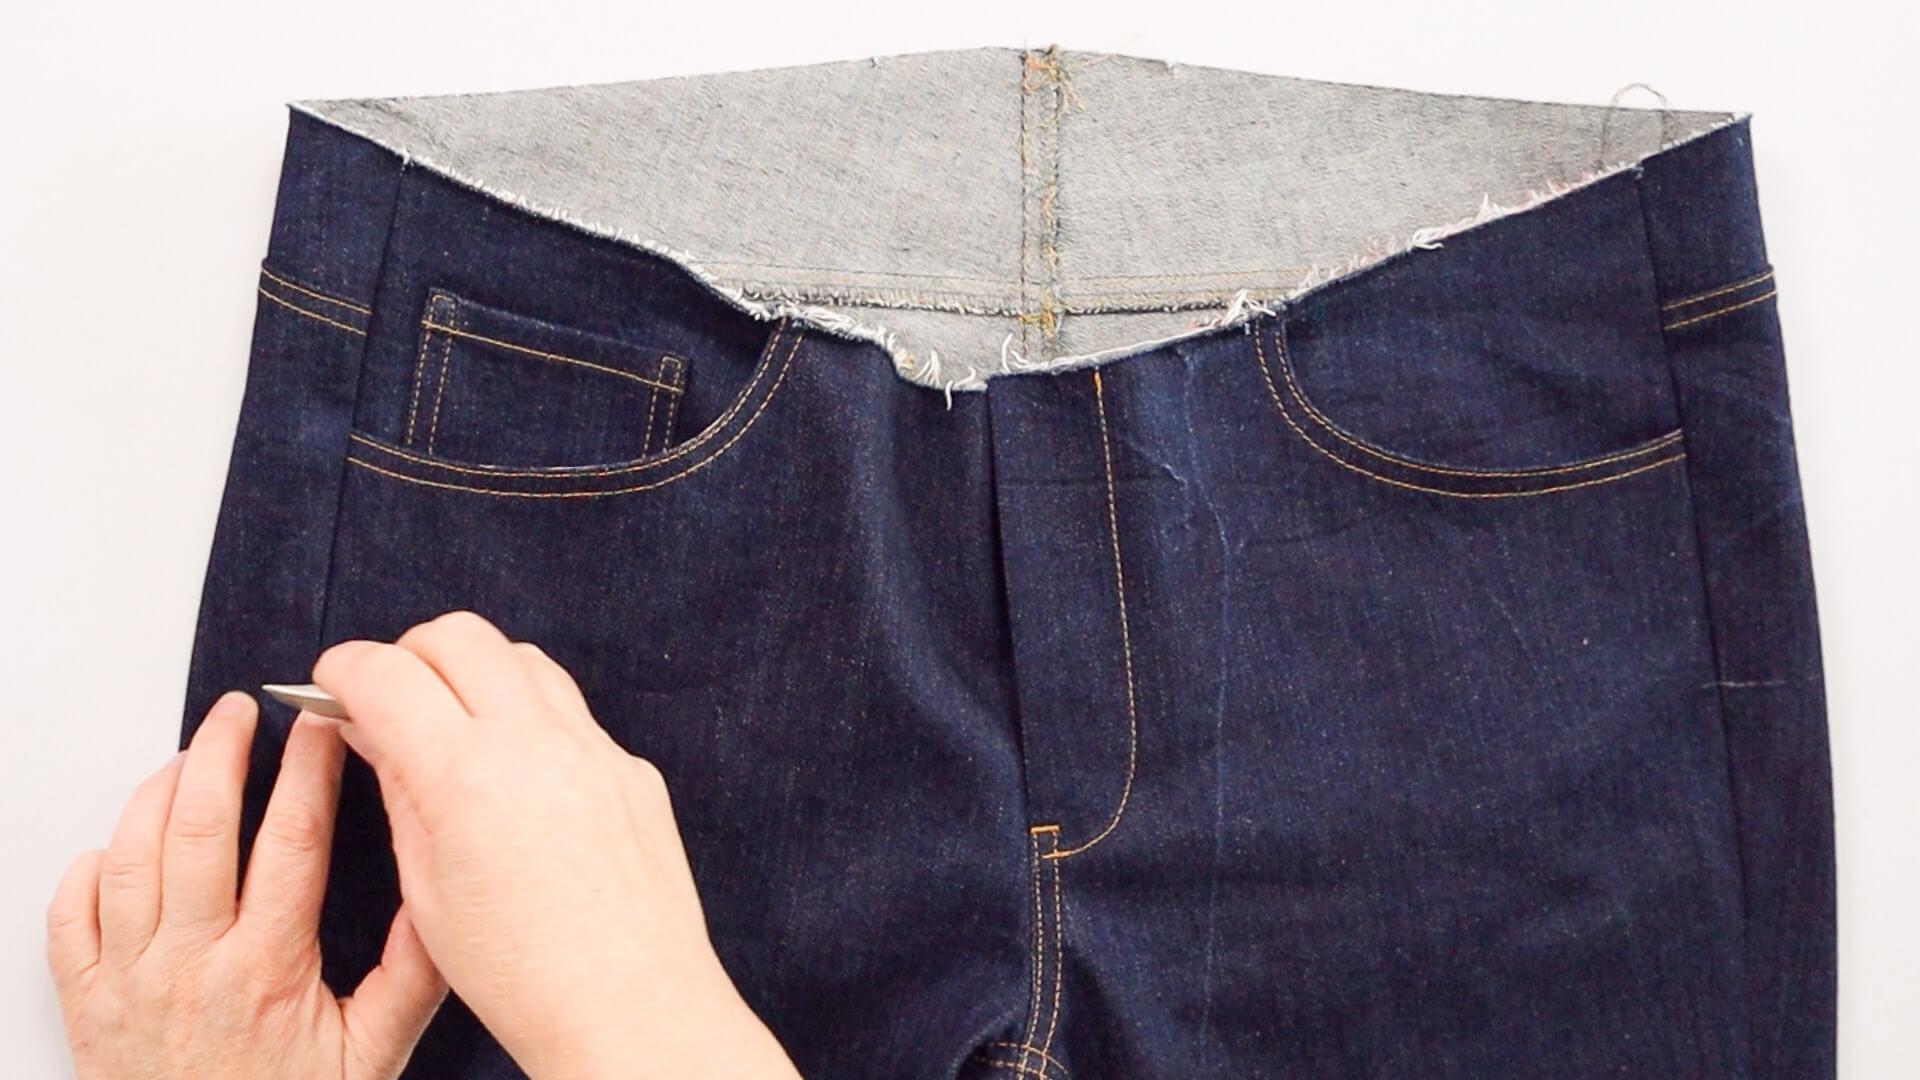
Now I can turn the trousers right side out. I topstitch the side seam from the top to the end of the front pocket bag. Feel for the end of the pocket bag and mark it with chalk
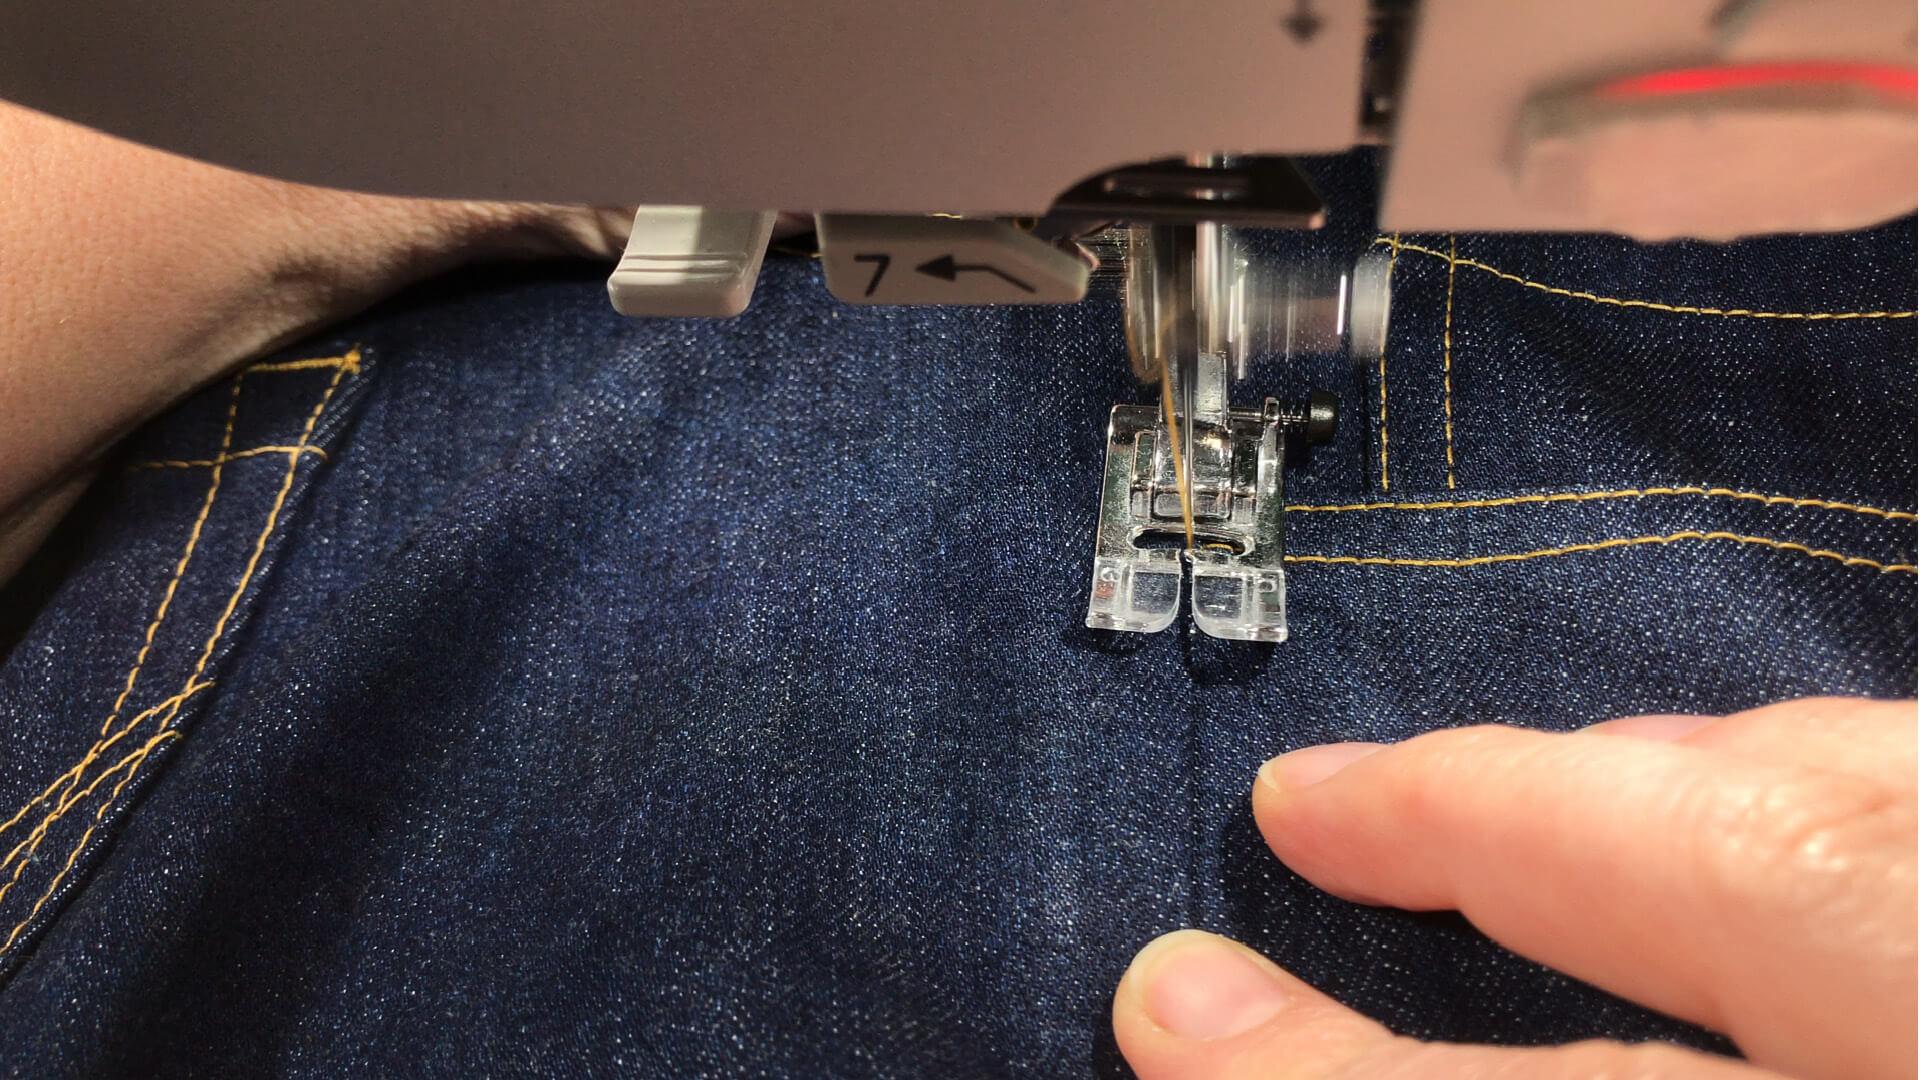
Then I topstitch the seam allowance onto the back trousers 2 mm from the seam.
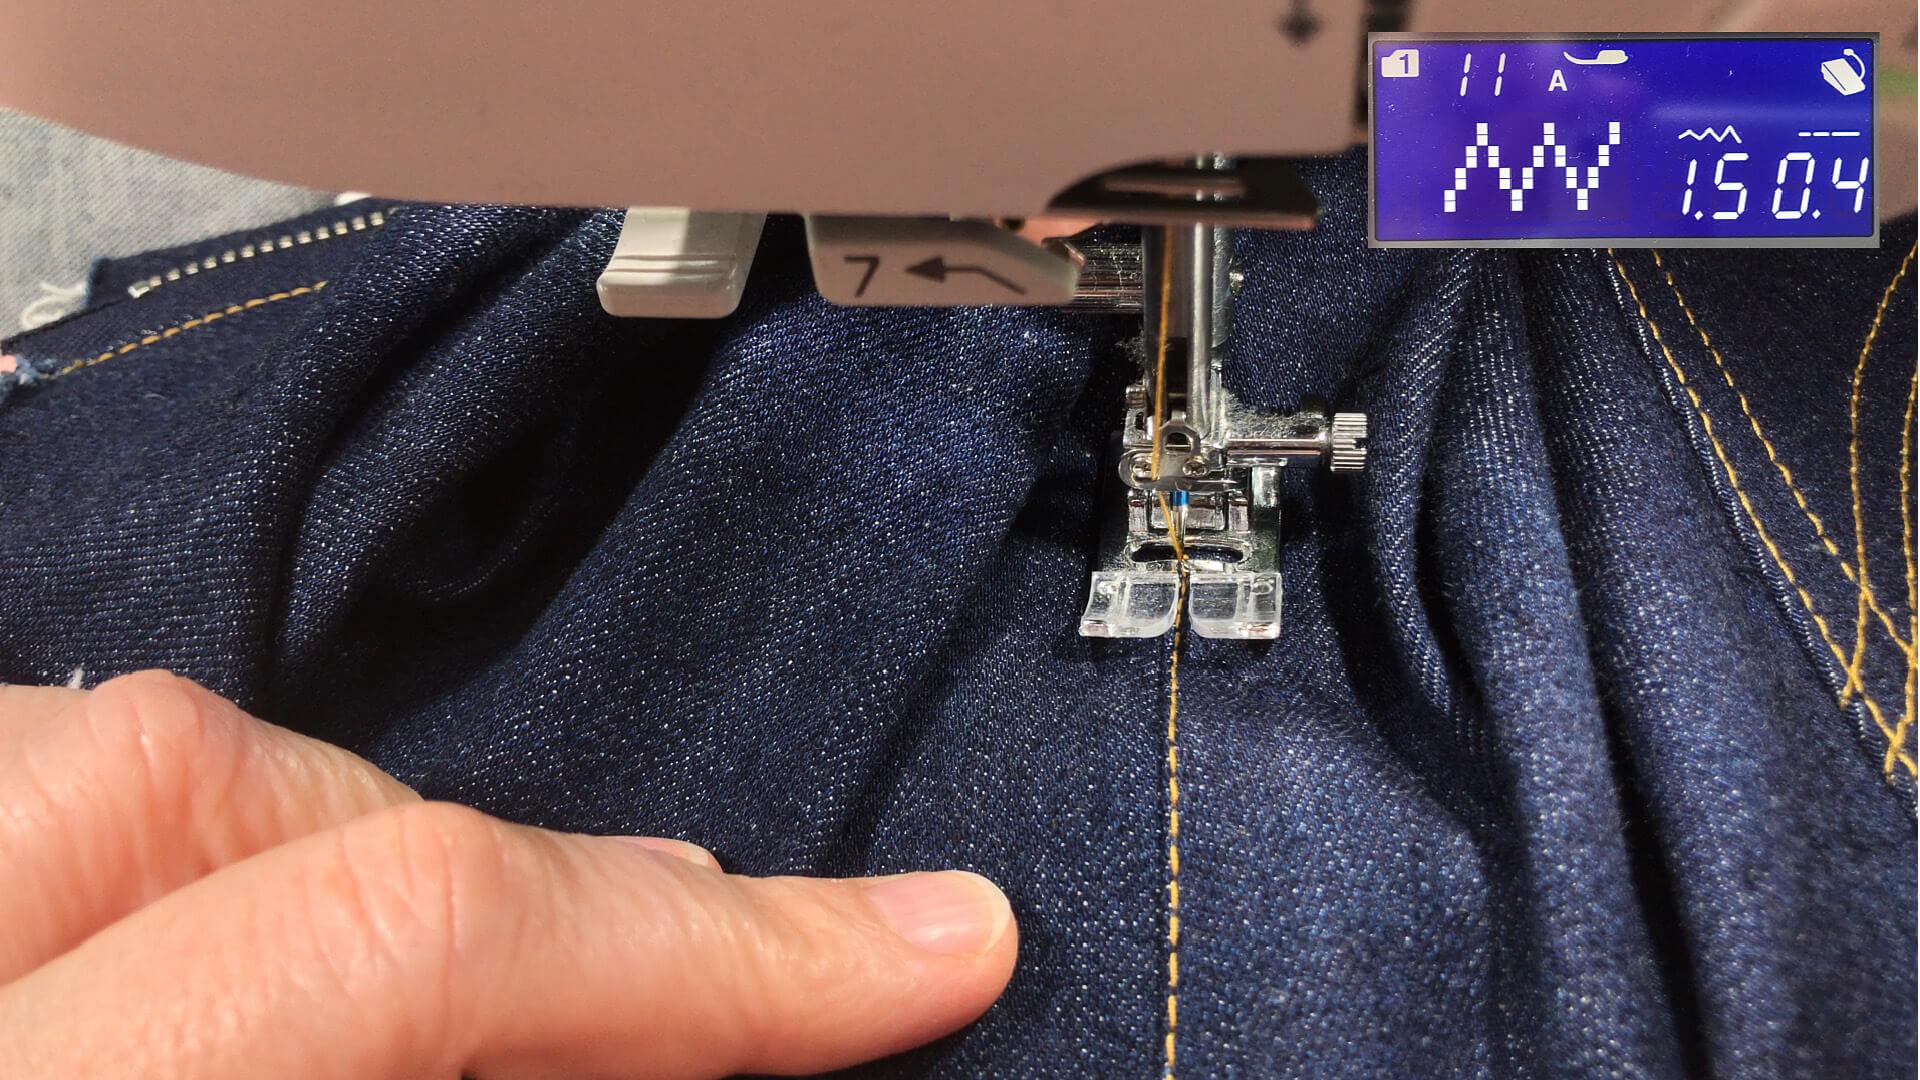
To secure the seam end, I am working with an approx. 8 mm long bar tack in this example. I turn the trousers round 180 degrees at the seam end and sew the bartack with a narrow zig-zag stitch 1.5 mm wide and 0.4 mm long. You can also secure the seam end with forward and back stitches or skip this step altogether.
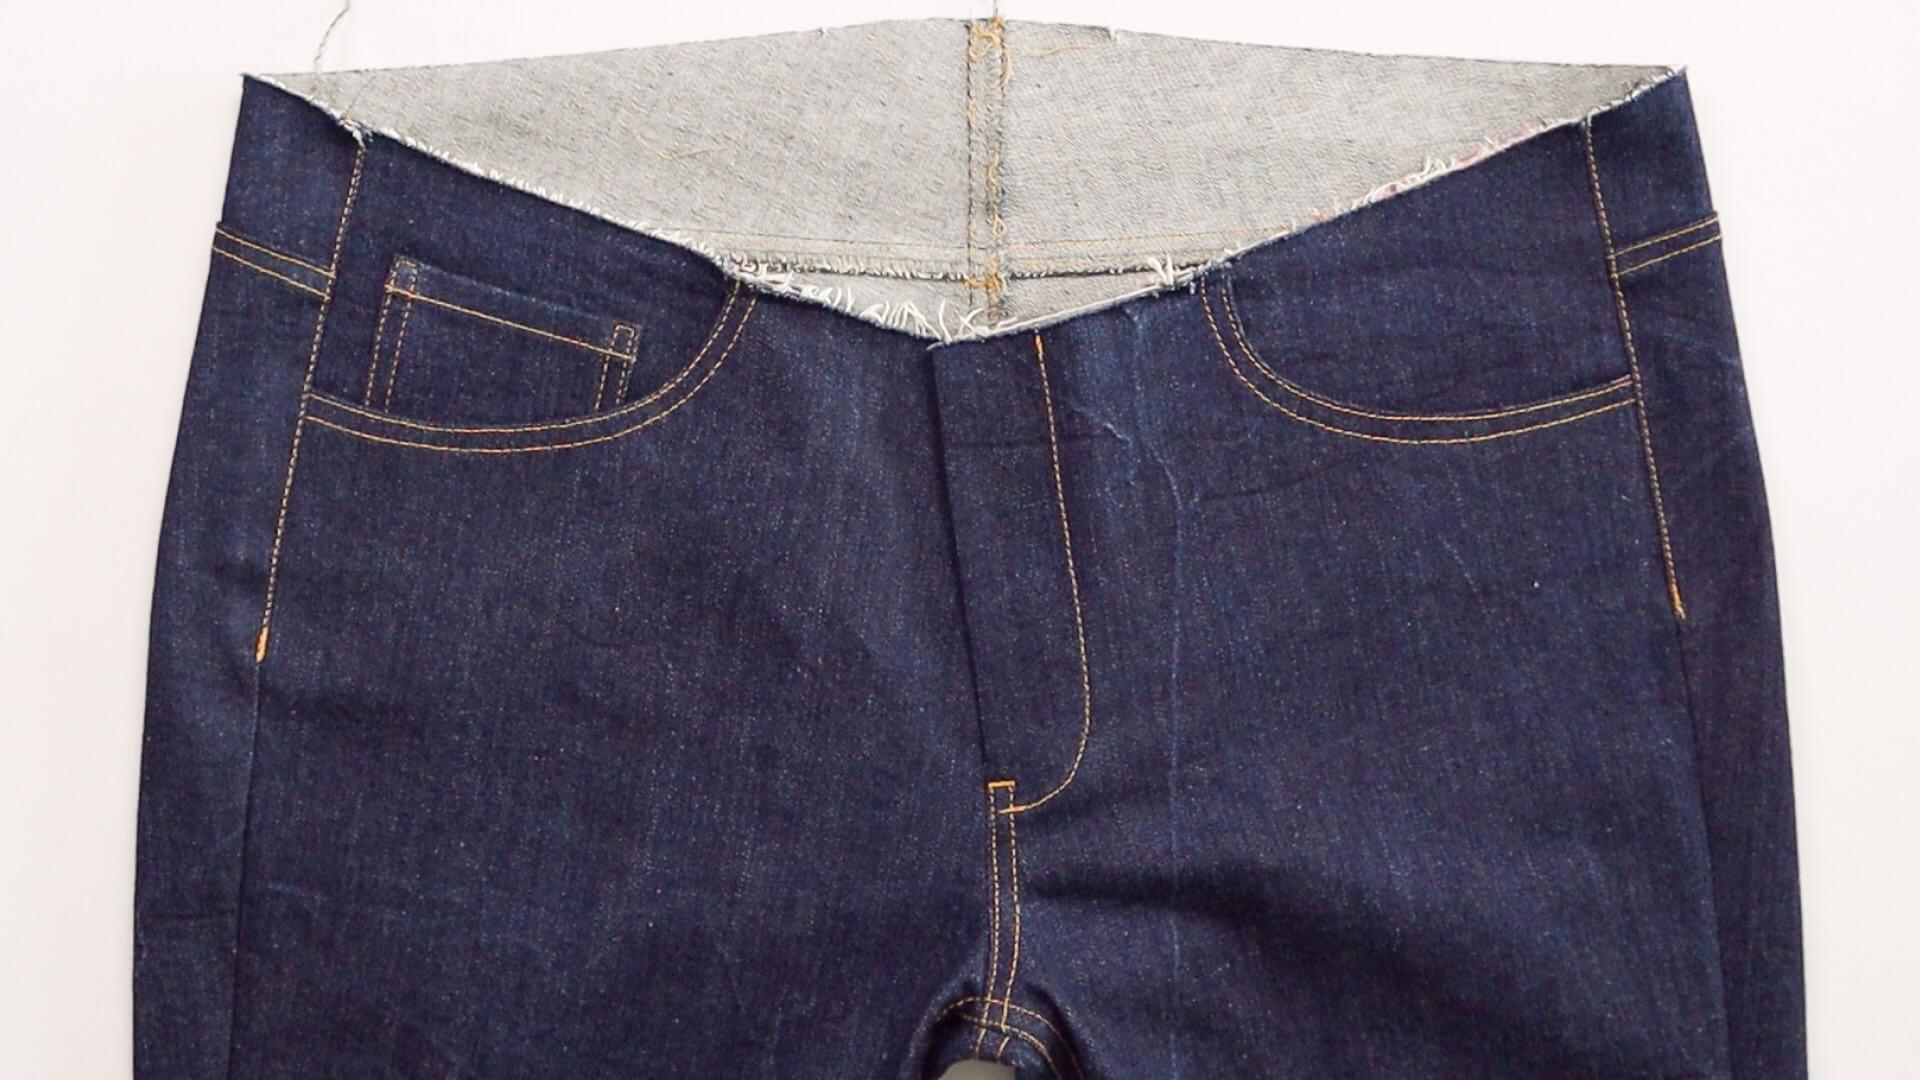
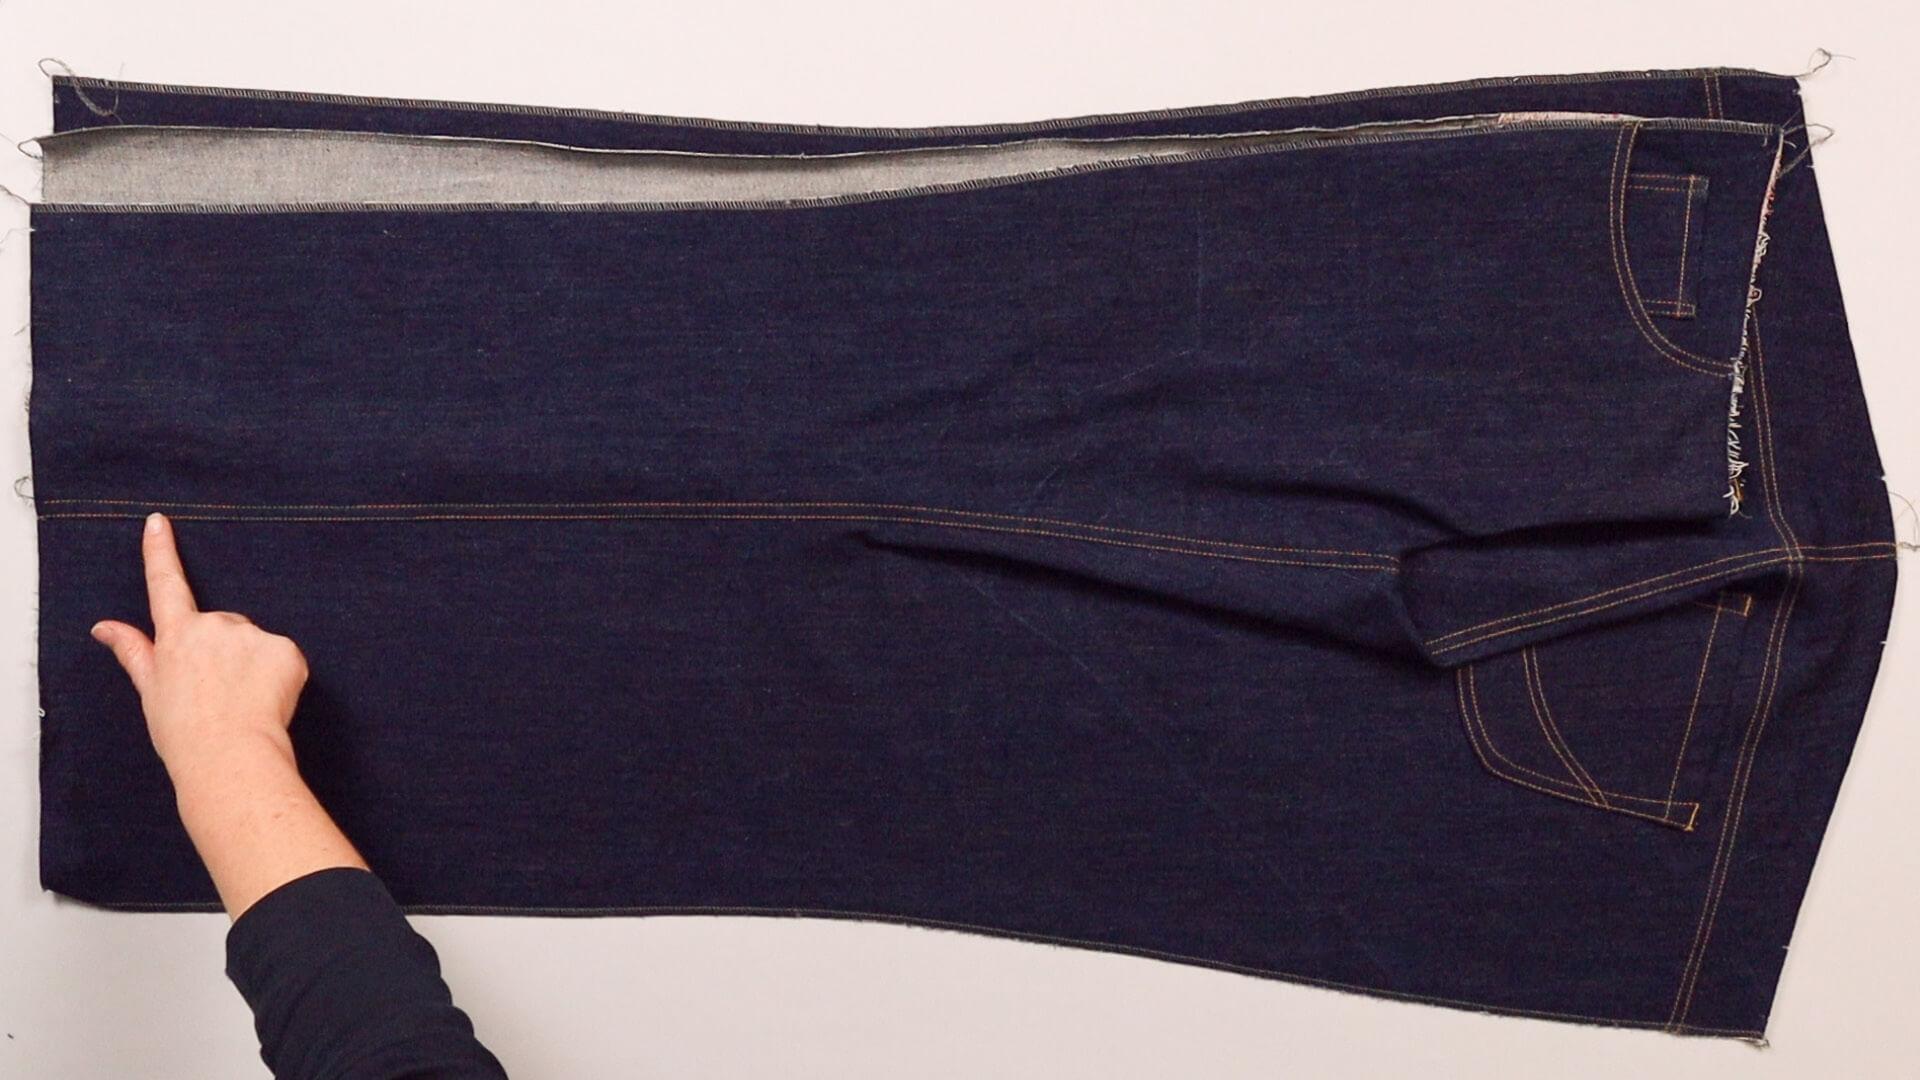
This is what the trousers look like with the leg seams closed.
Below you will find the link to the next step:
If you’re not quite ready yet and perhaps want to start at the beginning, you’ll find some links here:


