Sewing jeans trousers – tips and tricks to get started #E03
In the following article you will learn lots of tips and tricks for sewing jeans trousers. If you have any other ideas that should be included here, please send us an e-mail.
I recommend that you read through the individual parts of the instructions step by step or watch the videos before sewing your first pair of jeans trousers. If you get stuck, it often helps to read or watch the next steps – maybe your questions will already be answered.
The smartPATTERN instructions are a modular system. I put together the individual instructions for each pattern from the various parts. You will receive the links to the parts you need together with your pattern and the corresponding information. The parts of the instructions are already sorted in the order in which you can sew the jeans trousers.
All instructions are based on the made-to-measure patterns. You can of course also use them if you have ordered a pattern in standard sizes.
Fabrics
You can use not only denim, but also corduroy or other matching fabrics for your trousers.
Of course, the fabric should match the chosen pattern. If you have opted for a pattern for stretchy fabrics, the fabric must also have the necessary stretch so that the trousers fit well in the end.
It is particularly worth using selvedge denim for our selvedge patterns. You can find more information about the fabric and what you need to consider when sewing it here.
I recommend thinner fabrics for the pocket lining. You can create great highlights and use up leftovers that you may still have from other projects.
You can create a nice detail by choosing a different fabric for the inner waistband, for example the same as for the pocket lining. Make sure that if the outer fabric is stretchy, the fabric for the inner waistband facing has similar stretch properties.
I definitely recommend pre-washing all fabrics. Many fabrics still shrink a little and it would be a shame if your new favourite trousers were suddenly too small after the first wash.
You will find out how much fabric you need when you receive your pattern. As this is a made-to-measure pattern, I cannot say in advance exactly how much fabric is needed.
The pattern is automatically arranged so that as little paper as possible is required when printing the pattern. The same applies to the fabric consumption – the instructions you receive include a layout plan for cutting the fabric and also state exactly how much fabric you need for your trousers. This information refers to the pre-washed – possibly already slightly shrunk – fabric.
In standard patterns, the pattern pieces are also arranged to save as much paper as possible. As several sizes are included, there is of course a little more paper left over, especially for the smaller sizes.
Interfacing and bias tape
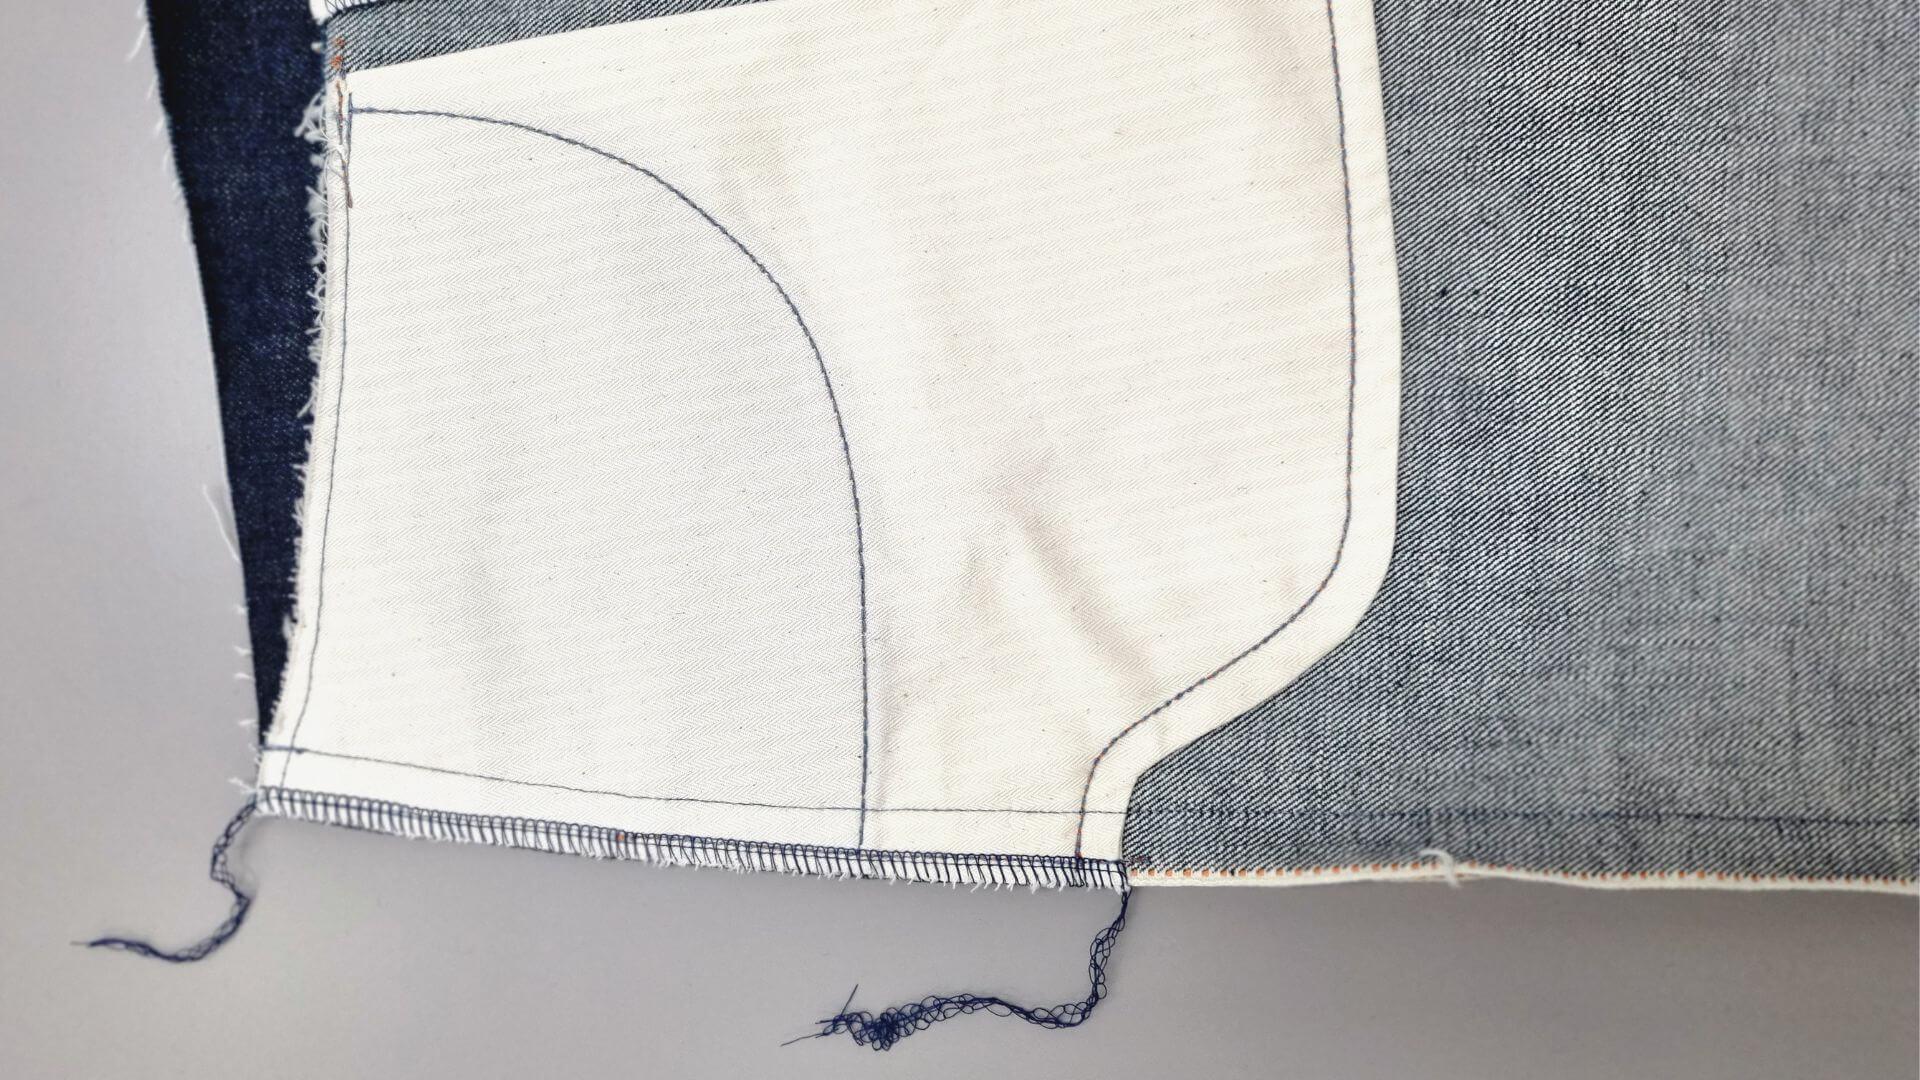
You will need bias tape for your trousers (e.g. T 12 from Vlieseline) to prevent the pocket openings from stretching.
The waistband and possibly parts of the fly must also be reinforced. It is important that your interfacing matches the fabric. So if you have a stretchy fabric, the interfacing must also be stretchy – otherwise the trousers won’t fit afterwards. It’s best to ask for advice on which interfacing to use when buying fabric. For example, G 405 is suitable for stretchy fabrics, for non-stretchy fabrics you can also use an H 180 or H 200, depending on the weight of the fabric.
In the instructions for sewing denim trousers, ironing on the interfacing is described in the respective sewing steps. Of course, you can also do this right at the start.
The pattern contains separate pieces for the interfacing so that you can easily see which pattern pieces have an interfacing. These are slightly smaller than the pattern pieces for the main fabric. This is intentional to prevent the interfacing from sticking to the iron or ironing board.
The inner and outer waistbands of denim trousers are reinforced with fusible interfacing, especially for lightweight fabrics. If you are using a sturdy fabric, it is not absolutely necessary to reinforce the inner waistband as well. However, this is a matter of personal preference and depends on whether you prefer the waistband to be firmer or softer.
By the way, if you have an ironing press because you also like to plot or screen print, for example, you can also use it to iron on the interfacing. The temperature is usually more evenly distributed than with an iron and the interfacing adheres better to the fabric.
Needle and thread
For a good sewing result, the needle and thread must match each other and the fabric. The needles can be thinner for light fabrics; for thicker/stronger fabrics a slightly thicker needle is required. If you are using a denim fabric, I recommend using special denim needles in a suitable thickness.
If you are unsure whether the fabric and needle match, I recommend testing this on a scrap piece. You can also try out what different stitch lengths or zigzag stitches look like.
I usually sew normal seams with a stitch length of 2.6 to 2.8.
If you want to sew a decorative topstitching, you can use contrasting coloured thread, denim thread or similar. Here too, I recommend a test on a leftover piece. If you want to use denim thread for topstitching, this is only used for the upper thread. Use a normal sewing thread in a matching color as the bobbin thread.
I use a stitch length of 3.5 for decorative seams. Just try out what you like best here.
Buttons, zipper and rivets
Your instructions indicate how many buttons you need for your chosen version and – if you are sewing the fly with a zipper – also the length of the zipper. If you cannot find a zipper of the specified length, you can either use one that is one centimeter shorter and attach it at the top as described in the instructions, or you can shorten the zipper to the correct length yourself.
Zippers with teeth are shortened at the upper end. Spiral zippers are shortened at the lower end.
There are many instructions on how to shorten a zipper on the internet – just choose the one that suits you best.
The button sizes given are a recommendation. If you prefer a different size, you can of course use it. Just make sure that the size of the buttonholes matches the buttons.
Rivets on the front pockets are a great detail for a real jeans look. Of course, you can also use them on the back pockets of your trousers- but bear in mind that they may scratch sensitive surfaces, depending on where you lean or sit. Rivets and the corresponding accessories can be found in various designs in stores. Follow the manufacturer’s instructions and take a look at these instructions.
Seam allowances
All necessary seam allowances are included and marked in the pattern. Note that the seam allowances are not the same width everywhere. So that adjustments can still be made if necessary, the outer leg seams usually have a wider seam allowance than the trouser pockets, for example.
We still have to revise some of the instructions regarding the seam allowances. If you find a different seam allowance in the text or video instructions than in the pattern, the seam allowance marked in the pattern always applies.
Fitting
The instructions recommend preparing the jeans for fitting.
Please make sure you do this and also sew on the waistband, as this is the only way to get a realistic impression of how the trousers will fit!!!
At this point, changes and adjustments can still be made without much effort. Of course, you have bought a made-to-measure pattern and it should fit very well, but even with the same measurements, the fit can be slightly different and it is always subjective whether you prefer to wear the trousers a little tighter or a little looser. Three or five millimeters can make all the difference.
The fly – right or left?
At smartPATTERN, all patterns for chinos and jeans, whether for men or women, have the fly so that you can close the zipper with your right hand. The zipper on classic women’s trousers is closed with the left hand.
If you would rather have it the other way round, you will need to mirror the corresponding pattern pieces and then of course take this into account when following the instructions.
Selvedge or selvage denim
Whether selvedge, selvage or self-edge, this always refers to a robust denim with a special selvedge.
Selvedge denims are produced on shuttle looms, which have their origins in the USA. As demand for denim increased, they were replaced by industrial looms. The Japanese market has bought up many of the discarded looms and is now the market leader in the production of selvedge denims.
A special feature of selvedge denims is the smooth selvedge without fringes, which is created by the weft thread always being passed back and forth. The selvedge is white and is secured with a colored – usually red – thread. Selvedge denim jeans are often rolled up so that the selvedge is visible.
Shuttle looms are narrower than industrial looms, which is why selvedge denims are usually no wider than 90 cm. The warp threads are often still threaded manually, which takes almost a day with 3,000 threads for one fabric width. So there is still a lot of manual work involved in the production of high-quality selvedge denims.
You can find a great selection of these special fabrics in Johann Ruttloff’s store at www.selvage.de.
Selvedge pattern

To really showcase the special selvedge edge of selvedge denims, you need specially adapted patterns that have a completely straight outer leg seam from the hip to the hem. The seam allowances of the side seams are then only serged in the upper area where the selvedge is cut away.

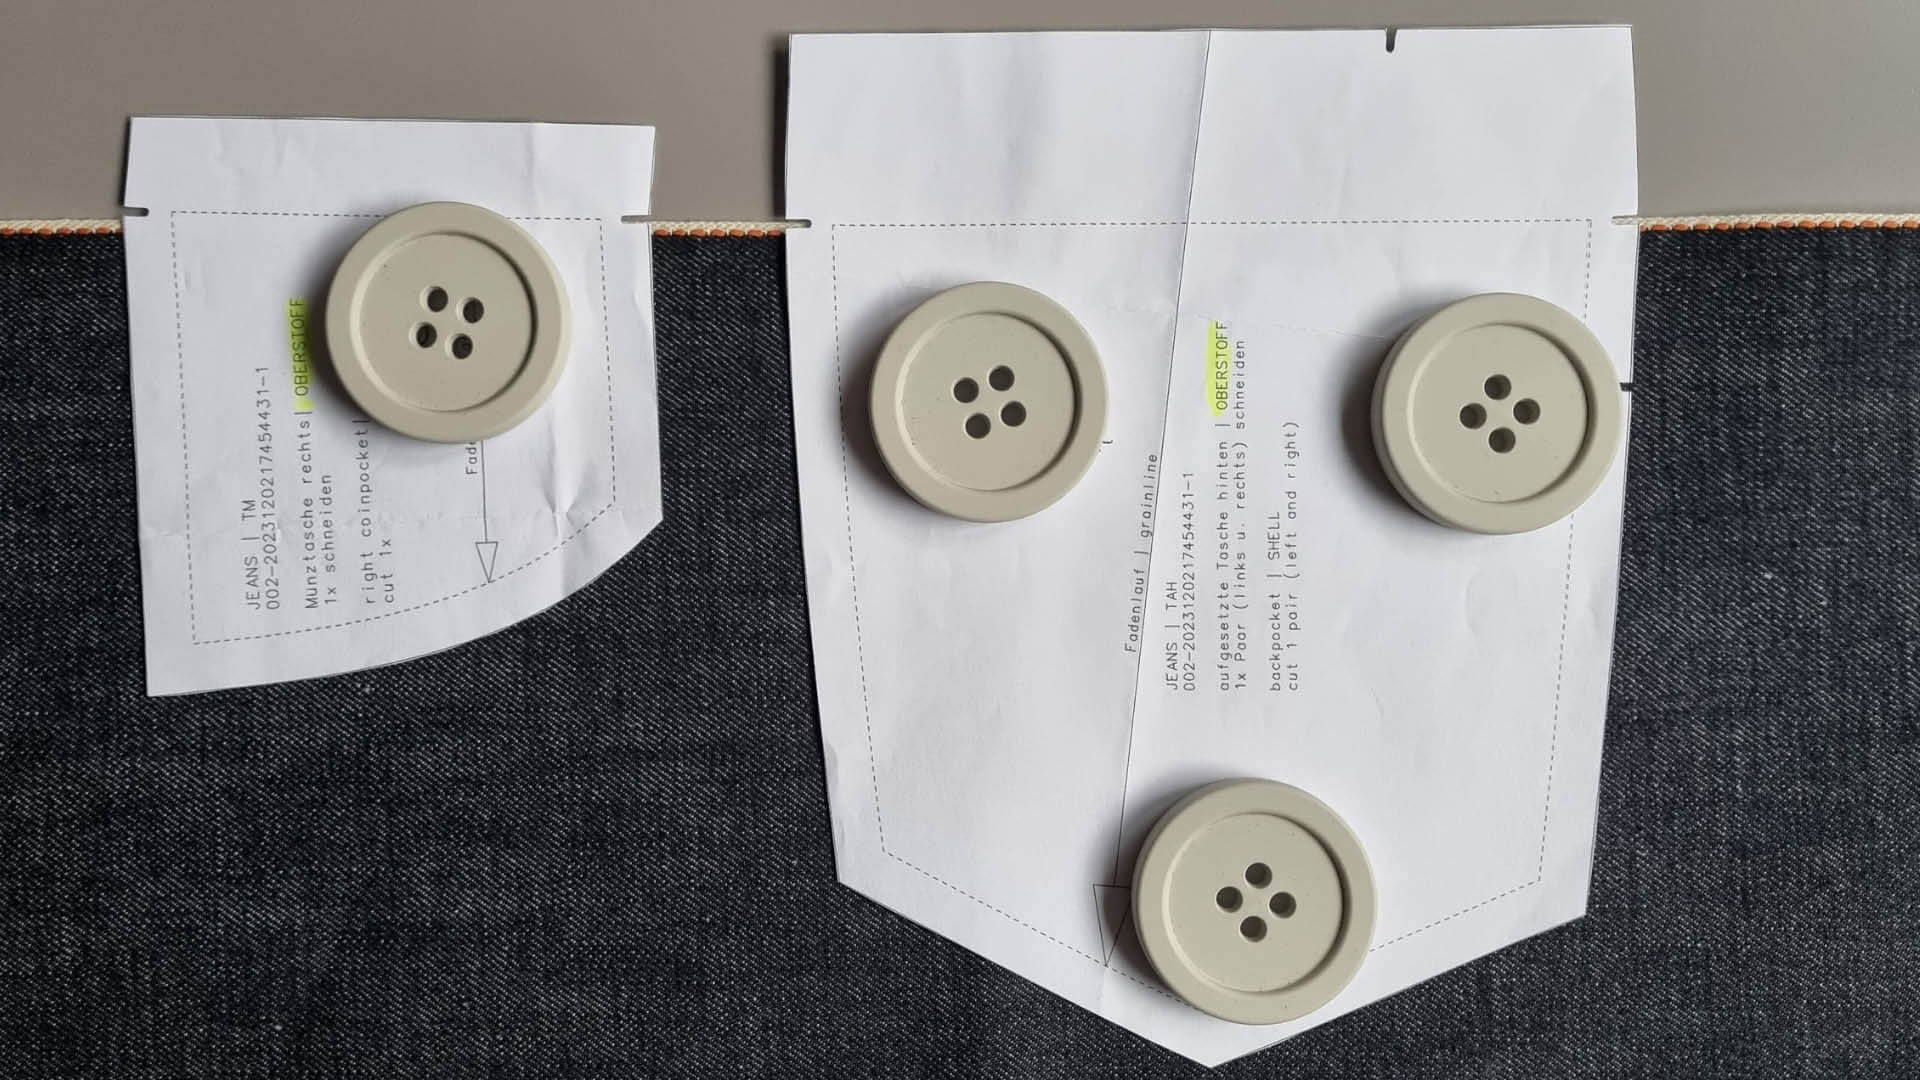
You can also use the selvedge of the fabric as an eye-catcher for the top edge of the coin pocket and back trouser pockets or for the belt loops. Let your creativity run wild!
Below you will find some links to the first steps:


