Loading cart contents...


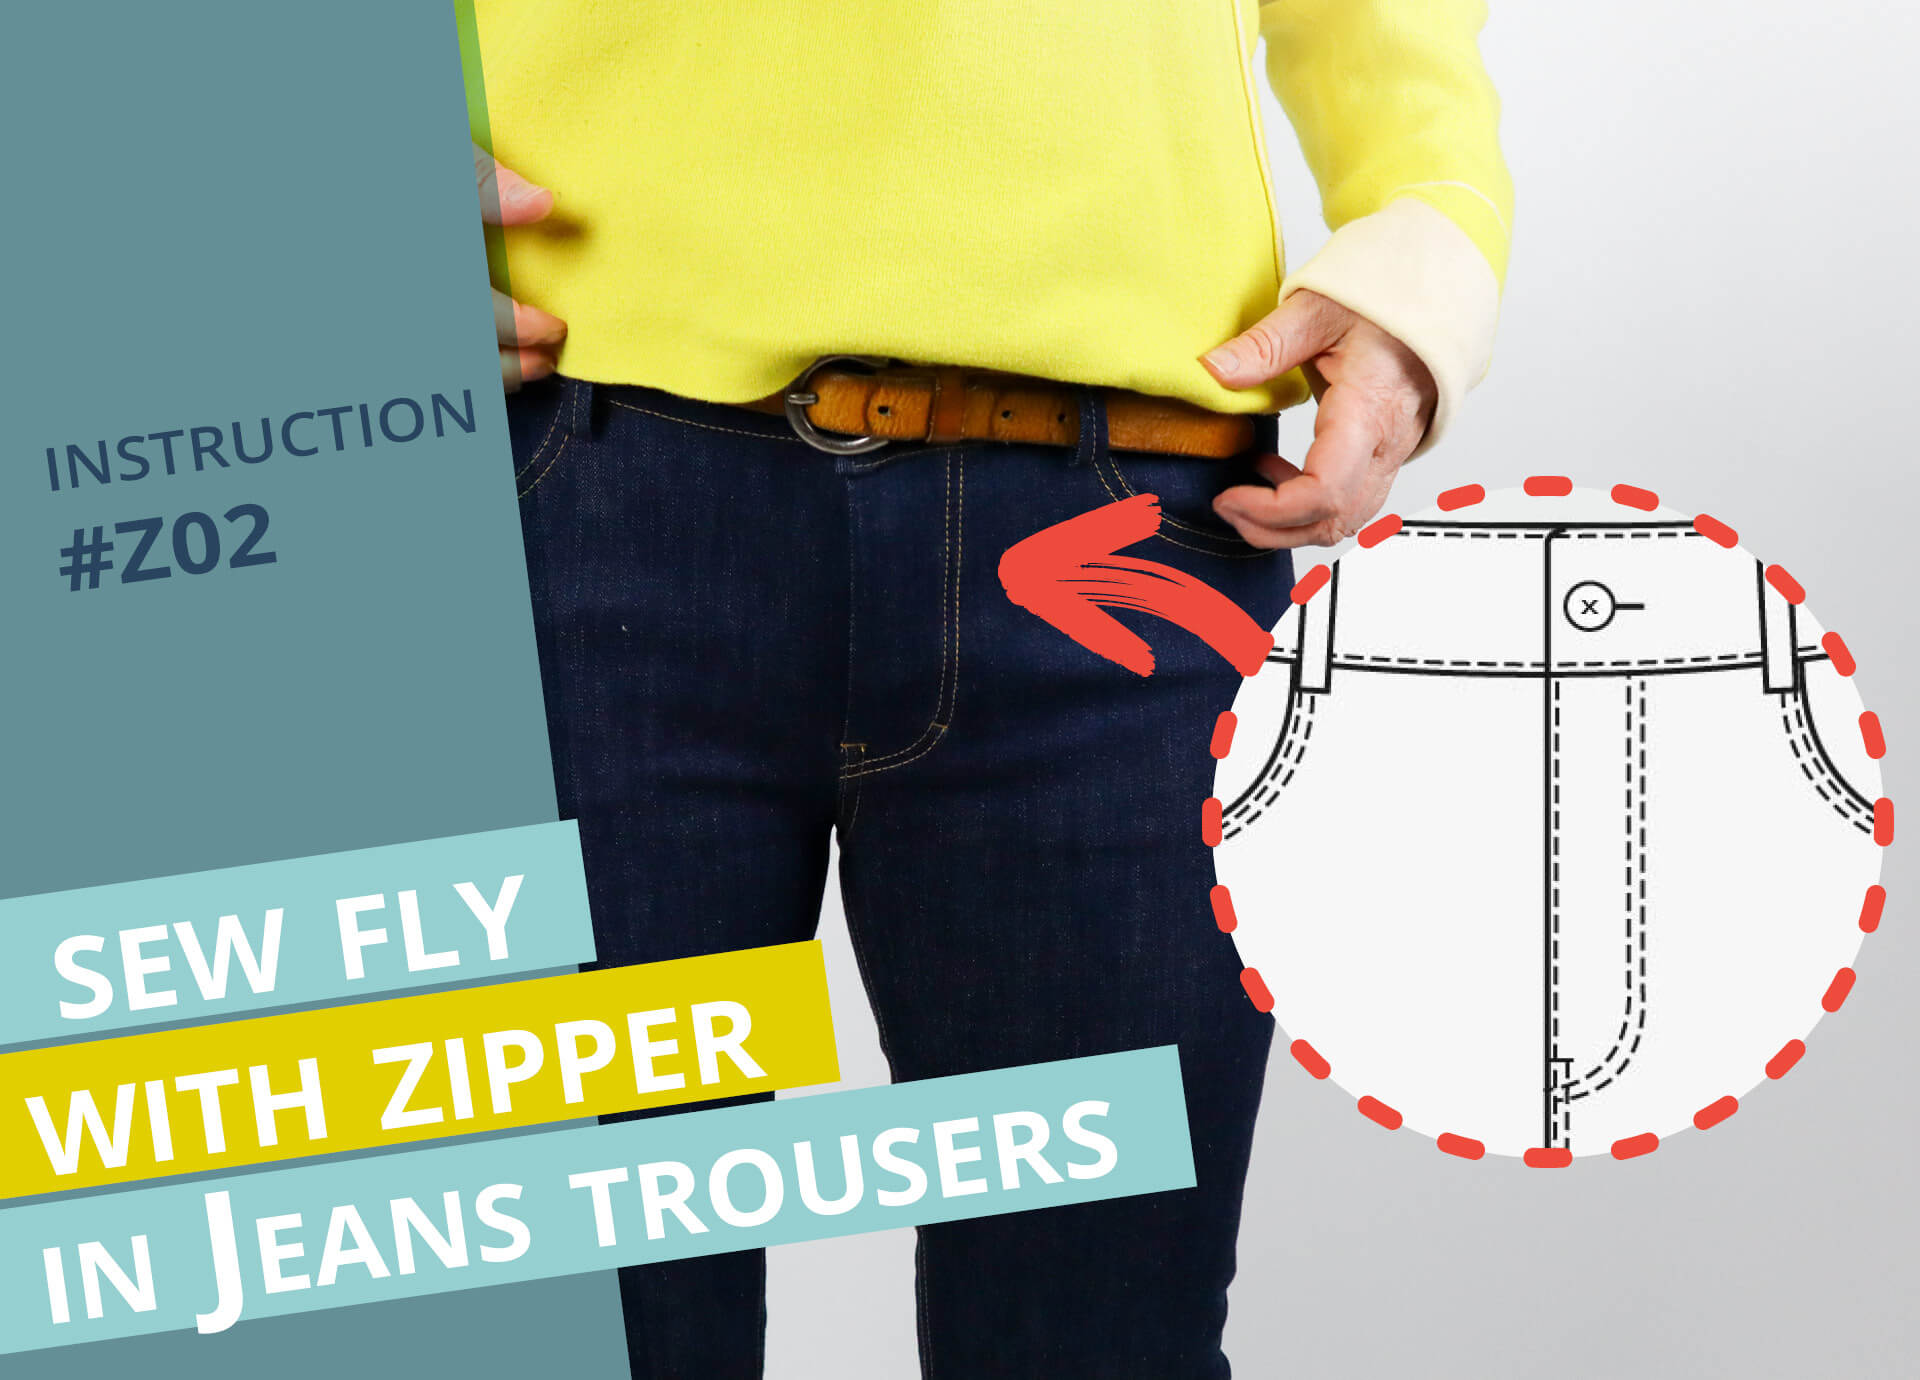
Sew fly with zipper in jeans trousers #Z02
In the following article, I explain step by step via video and illustrated text instructions how you can sew a fly with zipper on a pair of jeans. The fly is worked into the left center front and has an underlap on the right side. I wish you lots of fun with sewing.
Video instructions:
The video instructions are currently only available in German. Via settings you can have YouTube display the subtitles in your language of choice.

Pattern pieces made from main fabric:
- front pieces (VH) – 1 pair
- fly facing (ZB) – 1 x
- fly shield (ZU) – 1 x
Paper pattern pieces
- trouser front pieces (VH)
Tools and materials:
- paper template for topstitching the fly (P-SZ)
- 1 zipper (see instructions or pattern for required length)
- pins and/or clips
- scissors
- tailor’s chalk or marking pen
- ruler
2. Sew zipper fly shield

I fold the bottom of the fly shield in half lengthwise, right sides together, and sew the slanted bottom edge (below the notch) with a seam allowance of 10 mm.

Then I turn the fly shield over and iron it from the outside.
3. Sew and turn fly facing

I trim the front edge on the left center front piece by 7 mm.

After this I place the fly facing on this edge, flush at the top, right sides facing, pin it in place and mark the end of the fly at the notch mark. I stitch the pieces together with a straight stitch at a seam allowance of 10 mm. I secure the fly end with forward and backward stitches.

I cut the seam allowance to just before the last stitch.

Before I turn the facing, I press the seam allowance towards the fly. You can now topstitch the seam allowance down on the facing side with a 2 mm gap or topstitch them in the next step using contrasting thread.

I then fold the fly facing inwards, wrong sides facing, and iron it in place. The lower, loose edge of the facing is folded towards the cut edge of the front piece. Depending on the design, the front edge of the fly can now be stitched with contrasting yarn.
4. Neaten the cut edges

The curved raw edge of the fly facing, the crotch seams of both front pieces, the front edge of the left front piece and the open edges of the pressed fly shield are now finished. I use my overlocker for this.
5. Sew on zipper on the right front piece

The required zipper length is noted in the instructions and on the pattern for the front piece. You can also determine it by measuring. It corresponds to the length or the front center from the notch to the upper edge minus 15 mm.
On the right front piece, I mark 8 mm from the front cutting edge and 15 mm from the top edge. I place the zipper tape right sides together at this marking (with the slider facing the right side of the fabric) and stitch it on close to the edge of the zipper band.

Then I fold the zipper over so that the right side is visible. I topstitch the front piece close to the seam.
6. Connect the front pieces

Now I sew the two front pieces together. To do this, I lay the front pieces right sides together and sew the crotch seam together right up to the end of the fly with the seam allowance marked in the pattern.


I then stretch the seam allowance in the curve when ironing. The seam itself should not be stretched too much.
7. Sew on zipper on the left front piece

On the right front piece, I now draw the center front 7 mm parallel to the zipper line.

I line up the left front edge with this line and pin it in place.

Then I turn the front pieces to the wrong side and pin the zipper to the facing. It is helpful to place a ruler under the fly facing to avoid pinning to the front piece.

I then sew on the zipper with a narrow edge distance. You can secure the band with a second additional stitchline paralles to the first one.
8. Fly topstiching

Now I place the fly template on the left front piece and draw the shape for topstitching.

I pin the fly facing and front piece together.

There are many options for topstitching the fly and the short inseam. The fly can be single or double-stitched, as can the short crotch seam below the fly. You can work with a horizontal or vertical bartack at the end of the fly. Note the latter is only done after the fly shield has been attached.
9. Connect the fly underlay

From the inside, place the fly shield over the fly facing and pin it to the seam allowance of the right front piece along the overlocked long edge.

Sew the fly shield in place from the top of the waistband edge down.

The bottom of the fly is connected to the fly facing with a short seam or bartack on the inside side.
10. Fly bartack

As described above, you can secure the end of the fly with a bartack. In this example, I have worked with a narrow zig-zag stitch with a stitch width of 1.5 mm and a stitch length of 0.4 mm. I tried out the stitch on a test piece before sewing it onto the trousers.
11. Finished fly with zipper

And this is what the finished fly with zipper looks like.

Below you will find the link to the next step:
If you’re not quite ready yet and perhaps want to start at the beginning, you’ll find some links here: