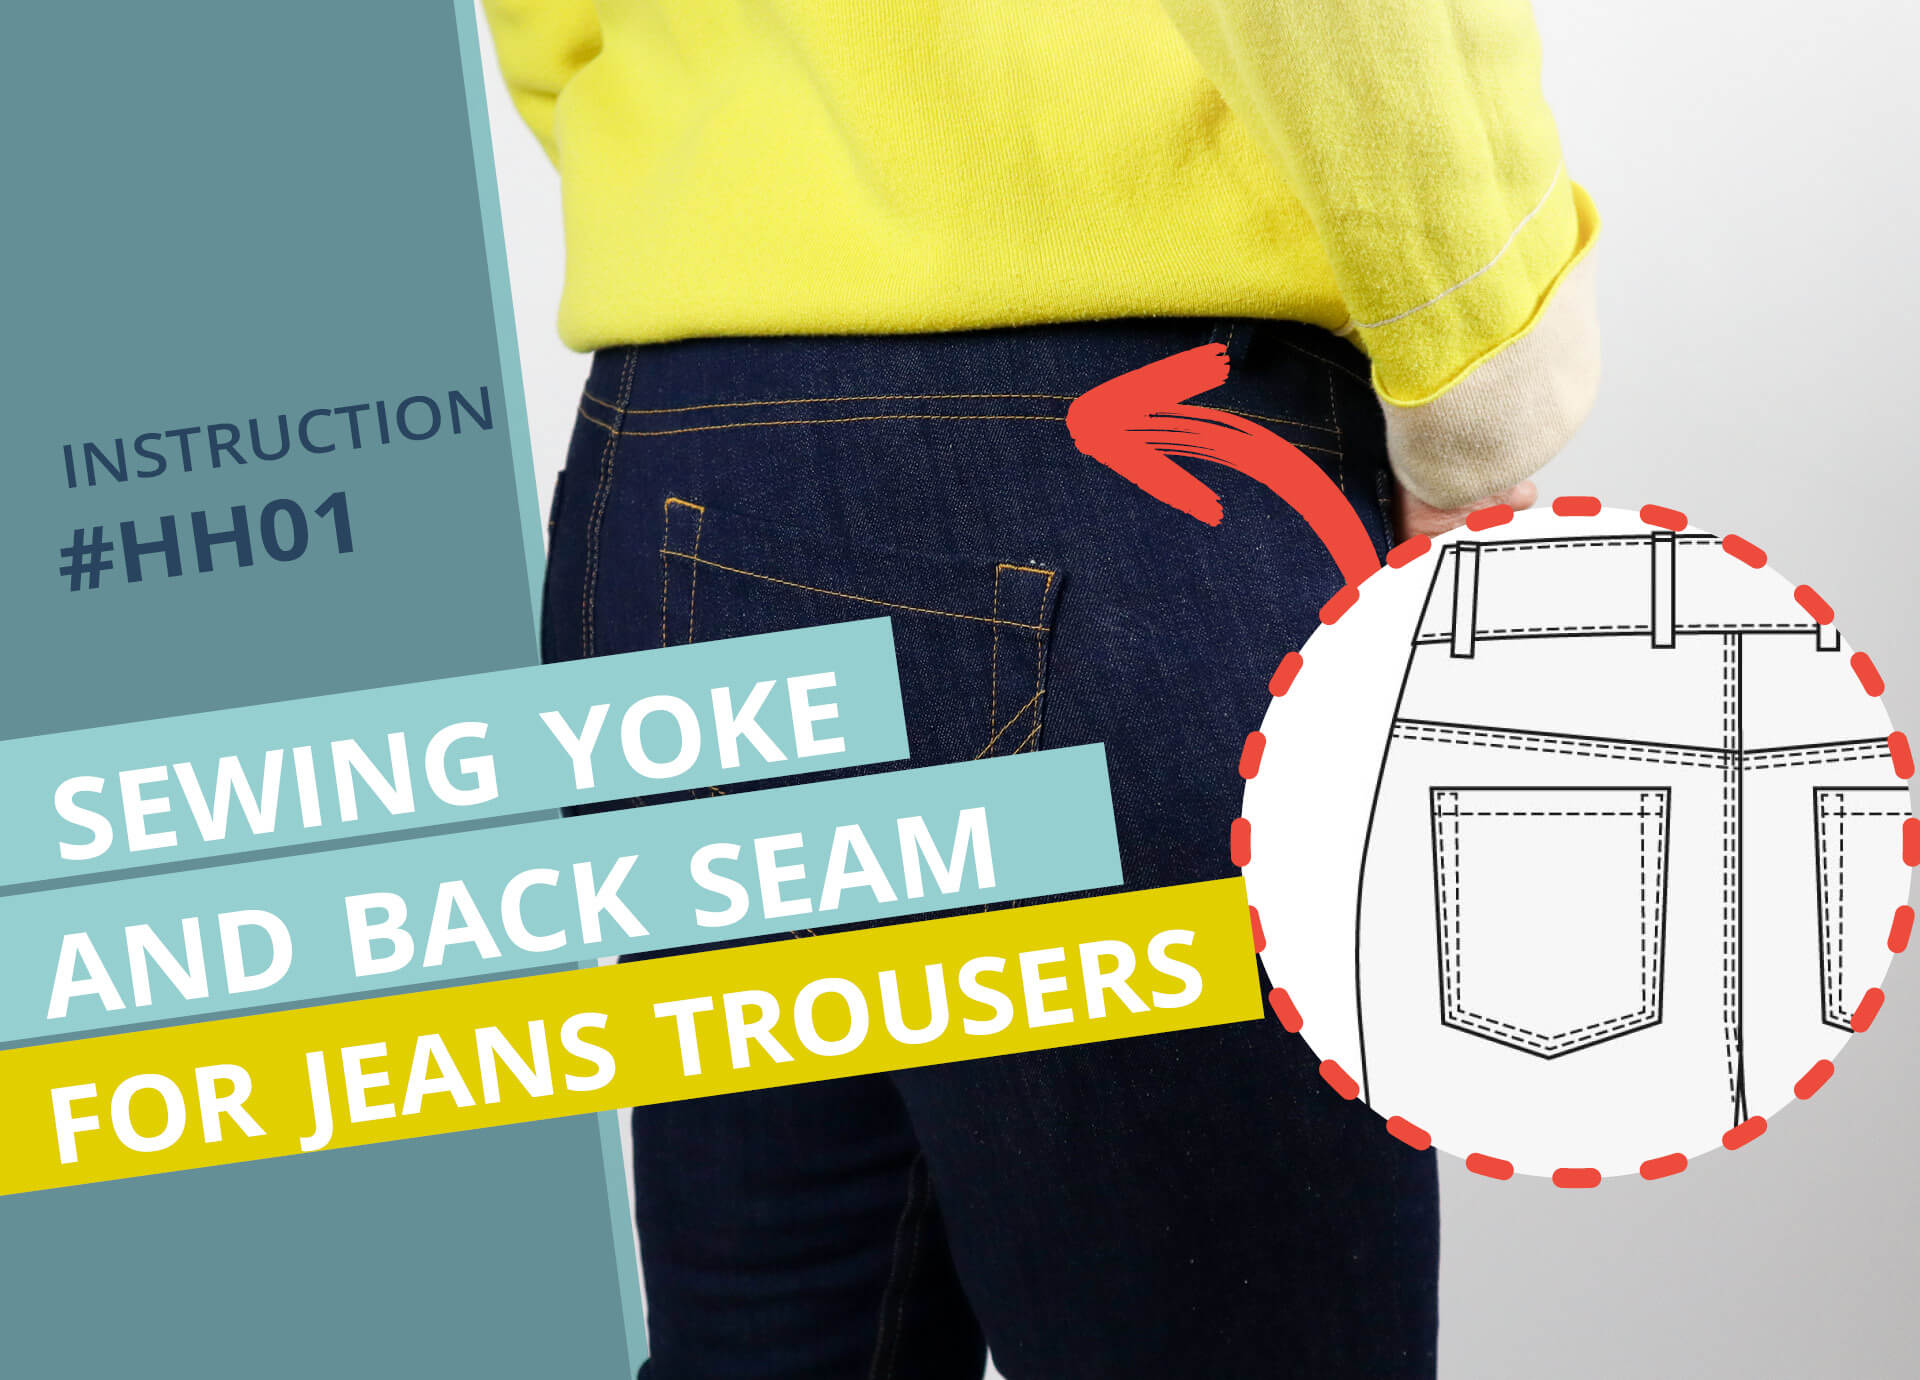
Sew yoke and back seam on jeans trousers #HH01
In the following video and illustrated text instructions, I explain step by step how I sew the back yoke to the jeans trosers and close the back seam.
Video instructions:
The video instructions are currently only available in German. Via settings you can have YouTube display the subtitles in your language of choice.
Pattern pieces made from main fabric:
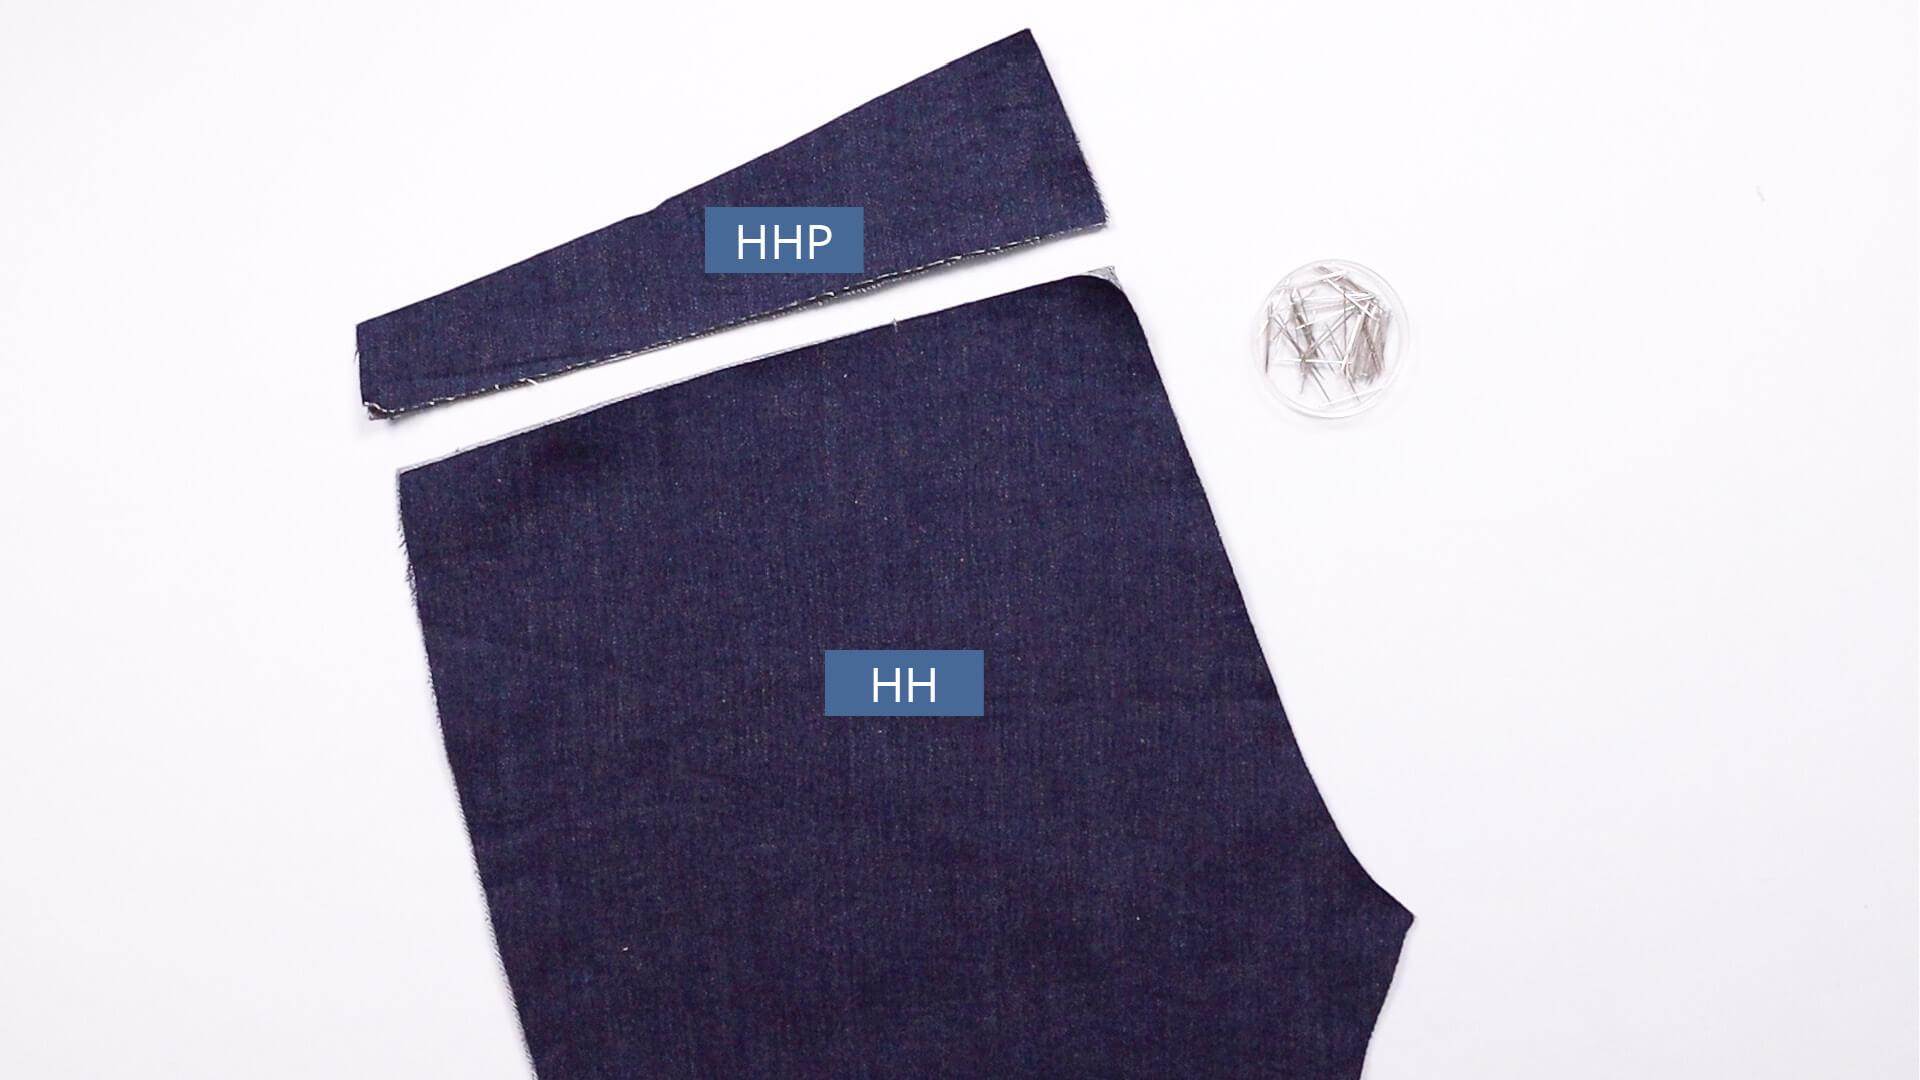
- back pieces (HH) – 1 pair
- back yoke (HHP) – 1 pair
Tools and aids:
- pins and/or clips
- hammer and pad if necessary
2. Sew on the back yoke
First I connect the yoke and back. To do this, I pin the yokeand back piece together as shown in the photo.
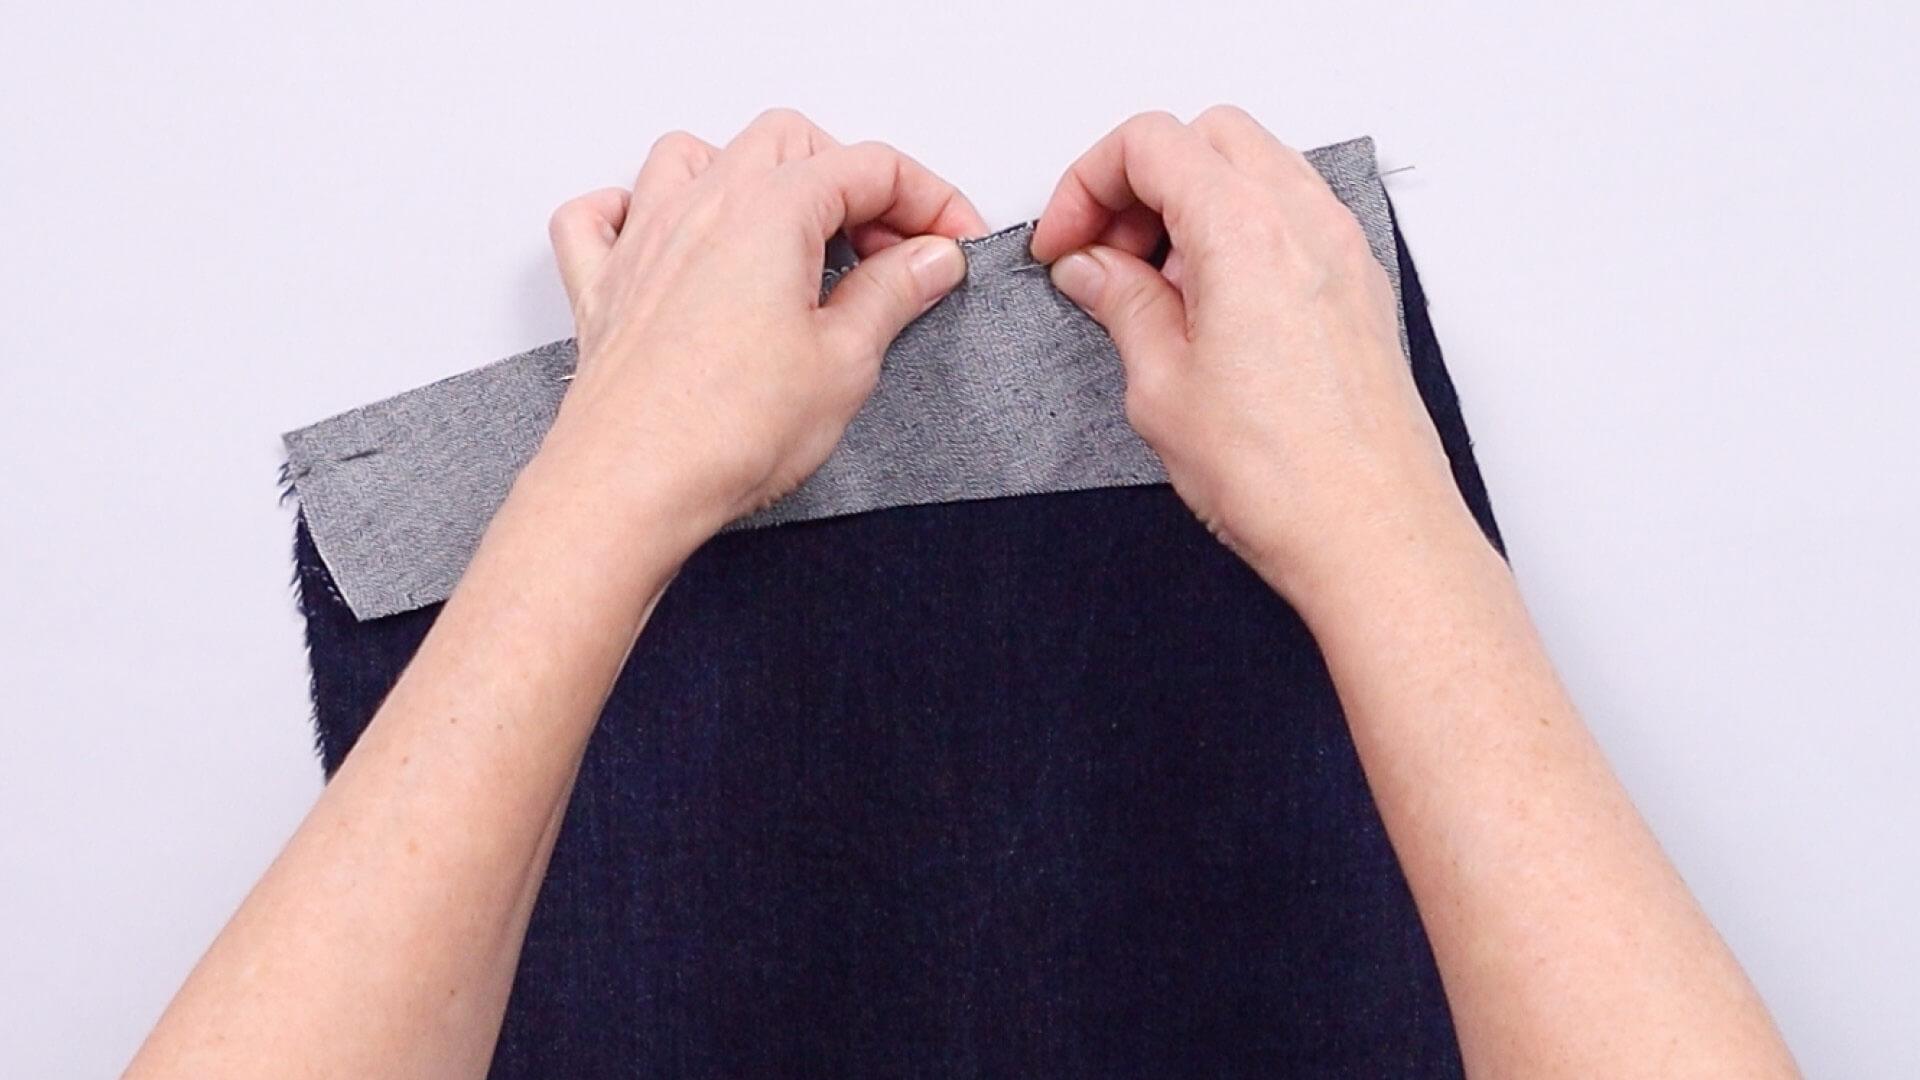
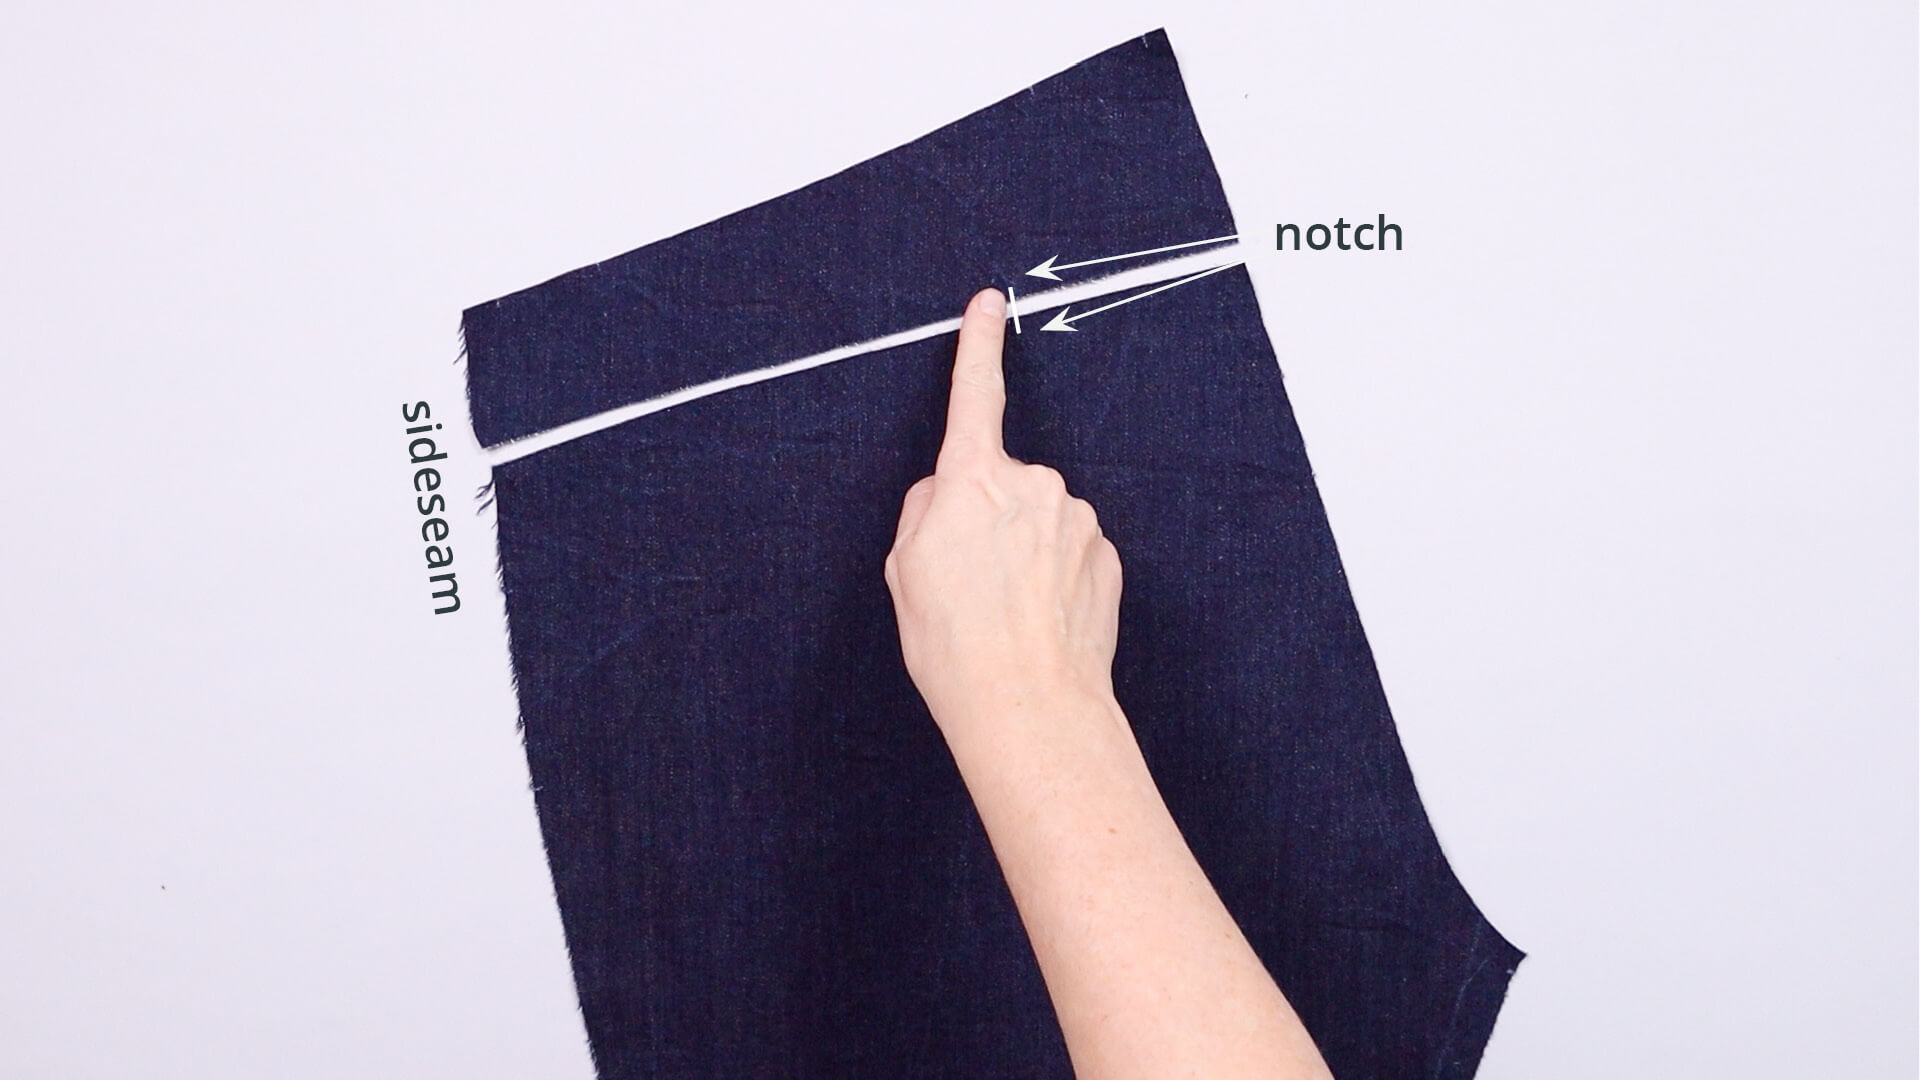
To do this, I pin the yoke on the back piece, right sides together, matching notches.
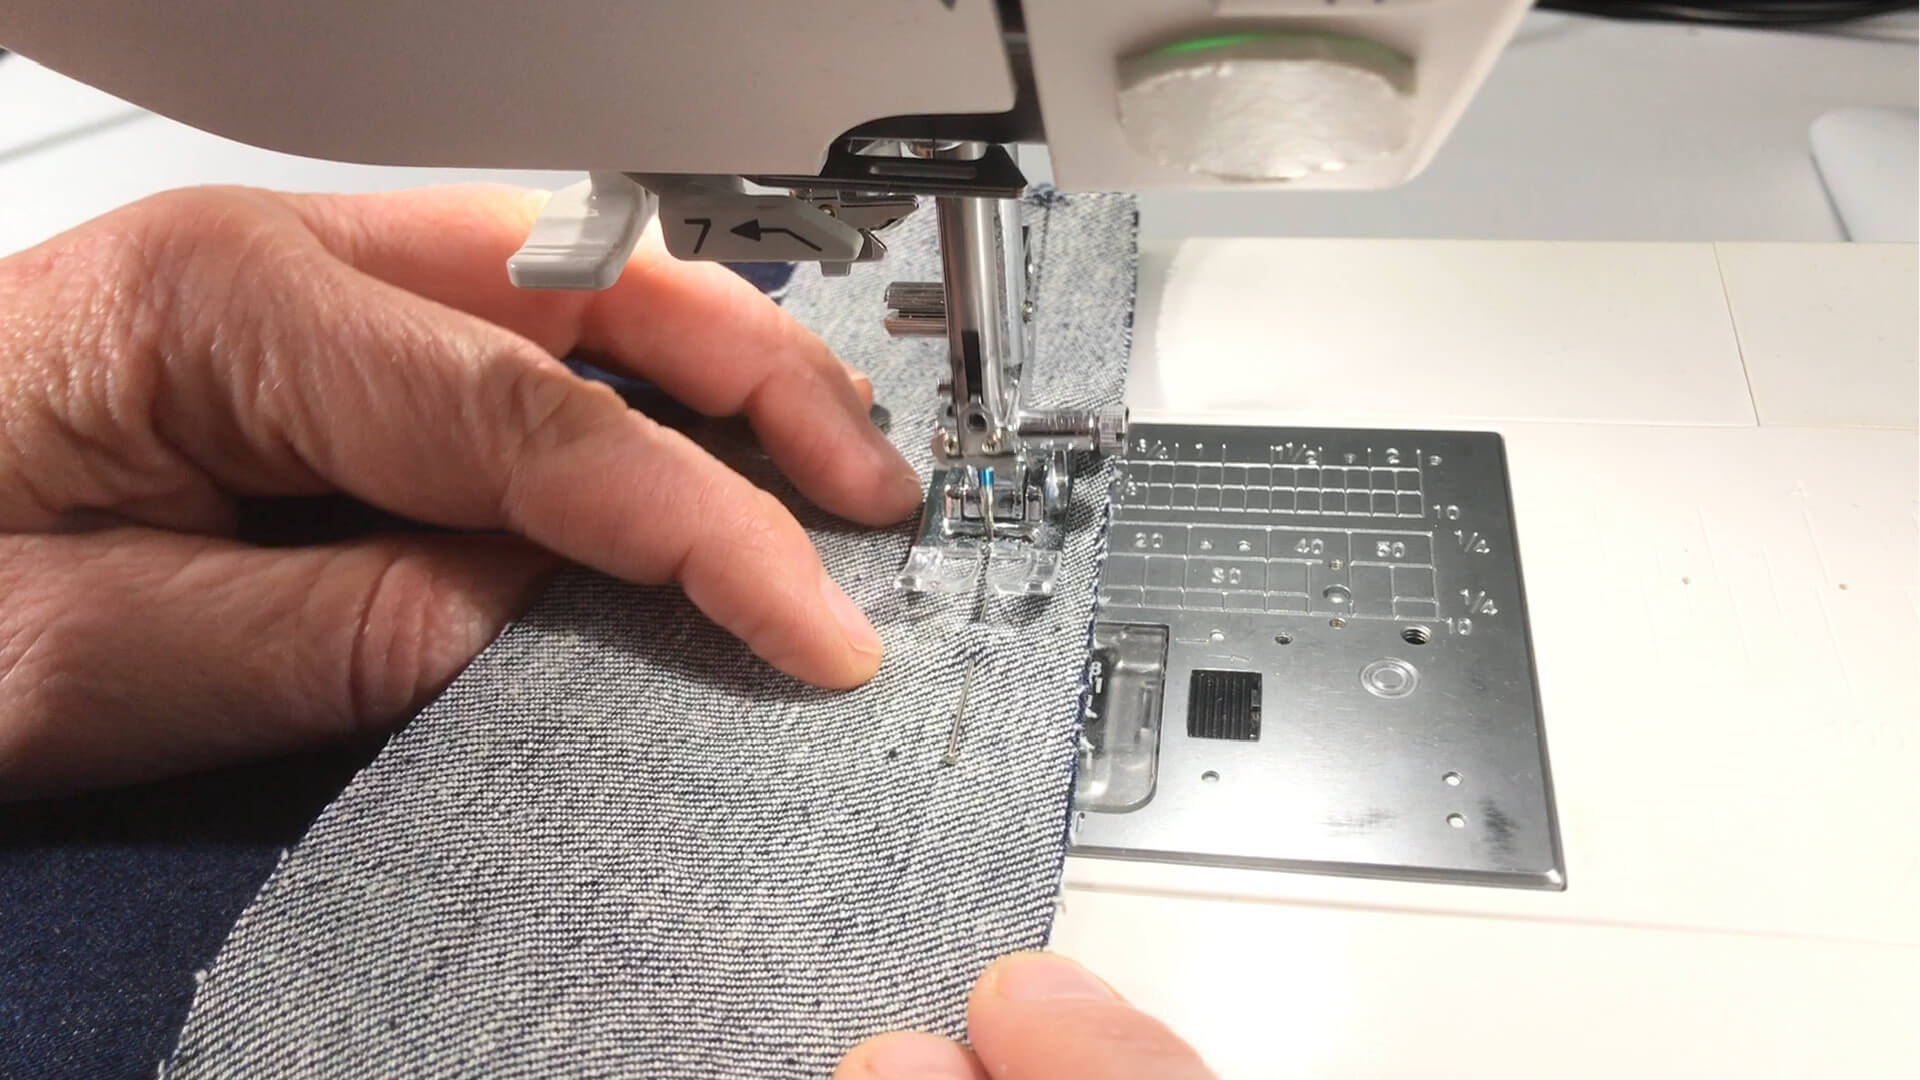
I sew the seam together using a straight stitch with the seam allowance marked on the pattern.
3. Trying on the trousers
Before we go any further, I recommend preparing your jeans for fitting in just a few steps. You can find the instructions here.
4. Finish the yoke
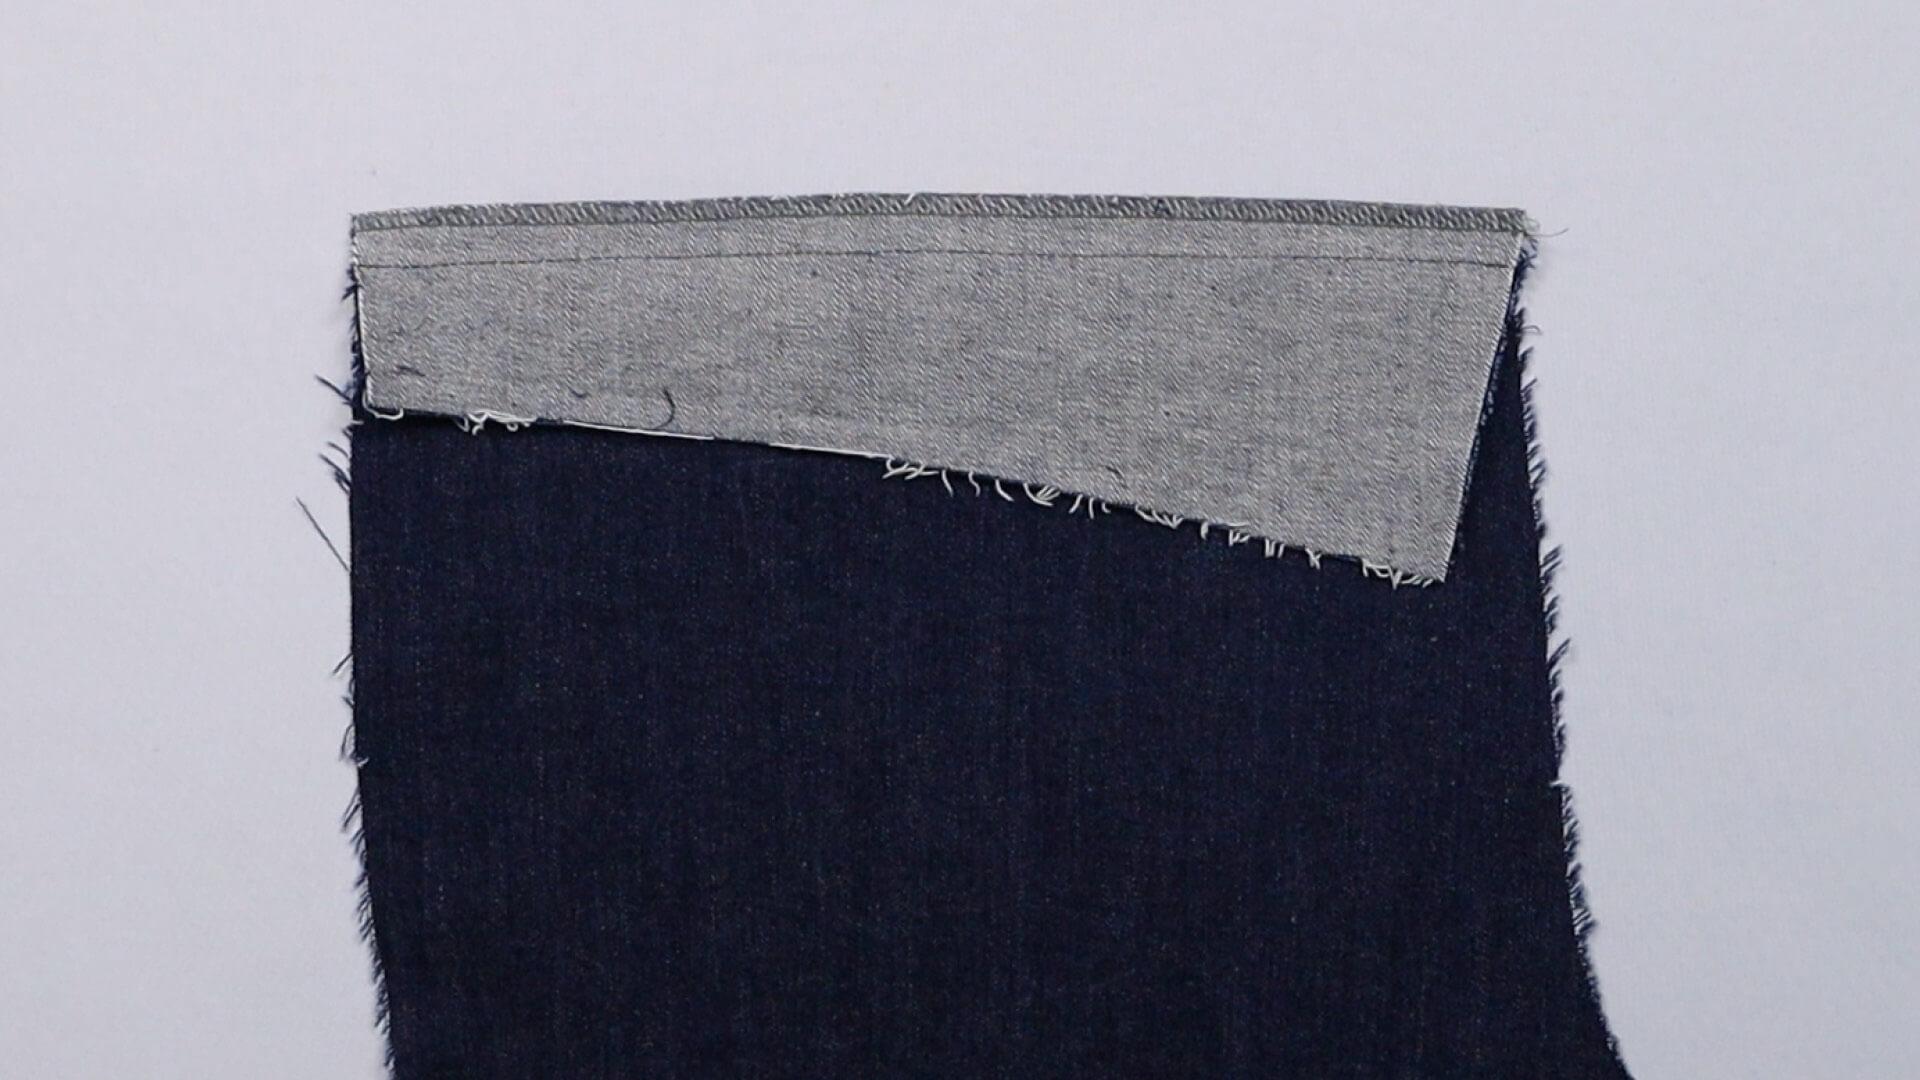
I finish the seam between the yoke and the back leg pieces with the overlocker. The yoke faces up when overlocking, so that the upper, more beautiful side of the overlocked seam is visible when I press the seam down. Whether you topstitch the seam up or down is a matter of how you like it. The yoke looks smaller when the seam allowance is pressed up and topstitched above the seam.
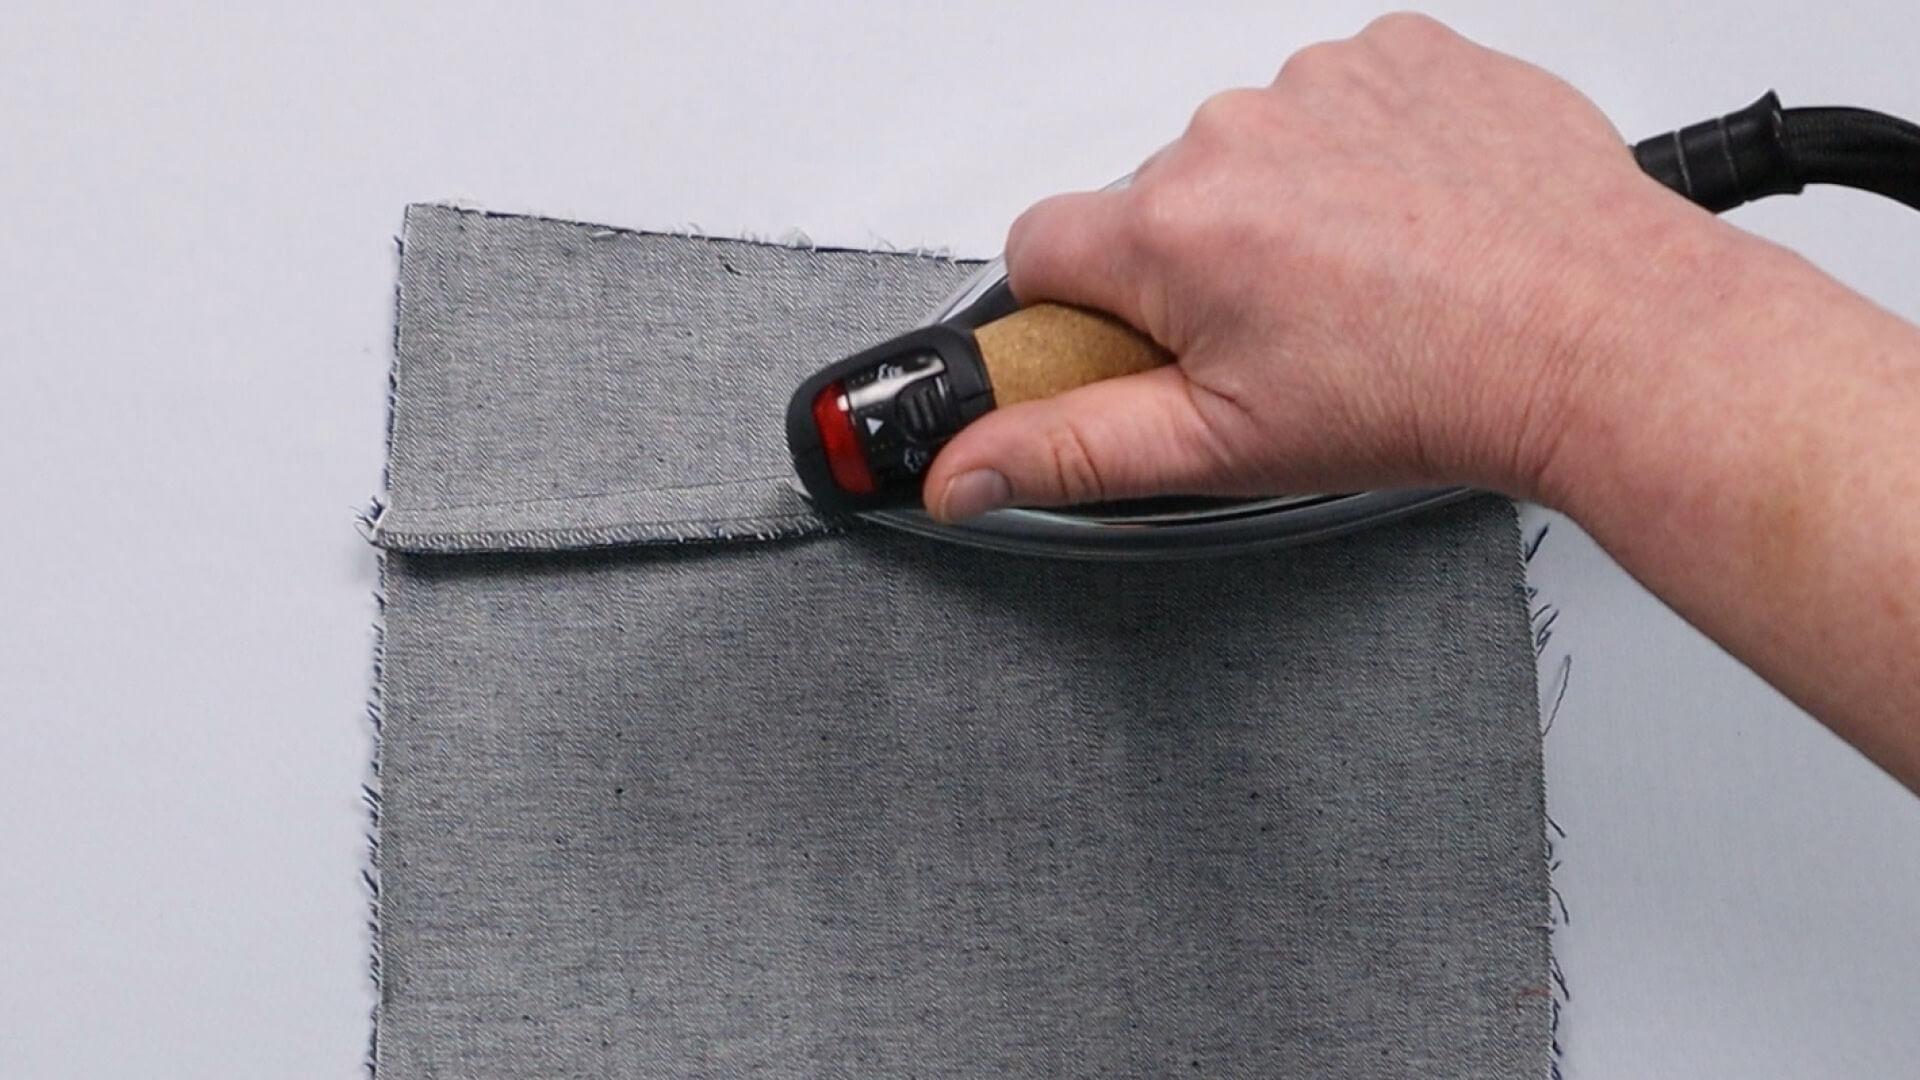
Here I press the seam allowances down, as previously explained.
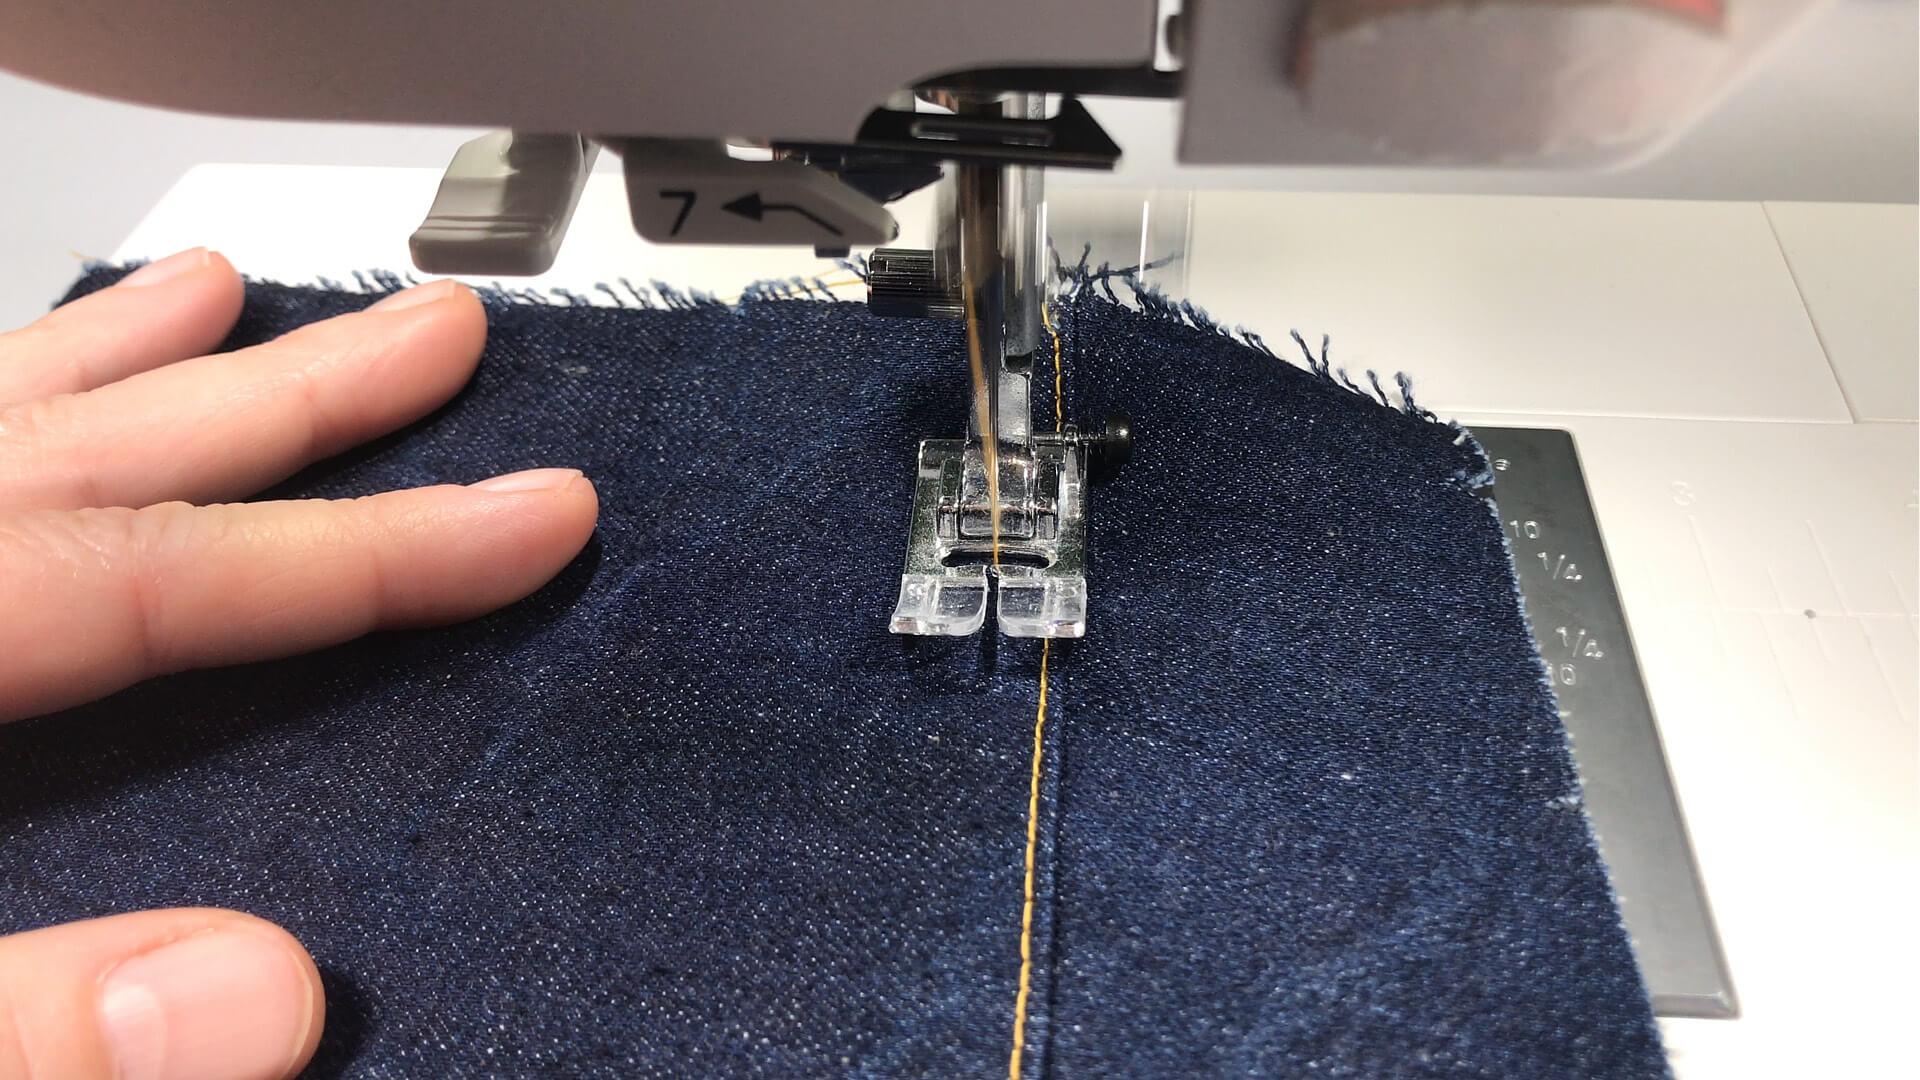
I then topstitch with 2 and 8 mm distances from the seam using contrasting coloured thread.
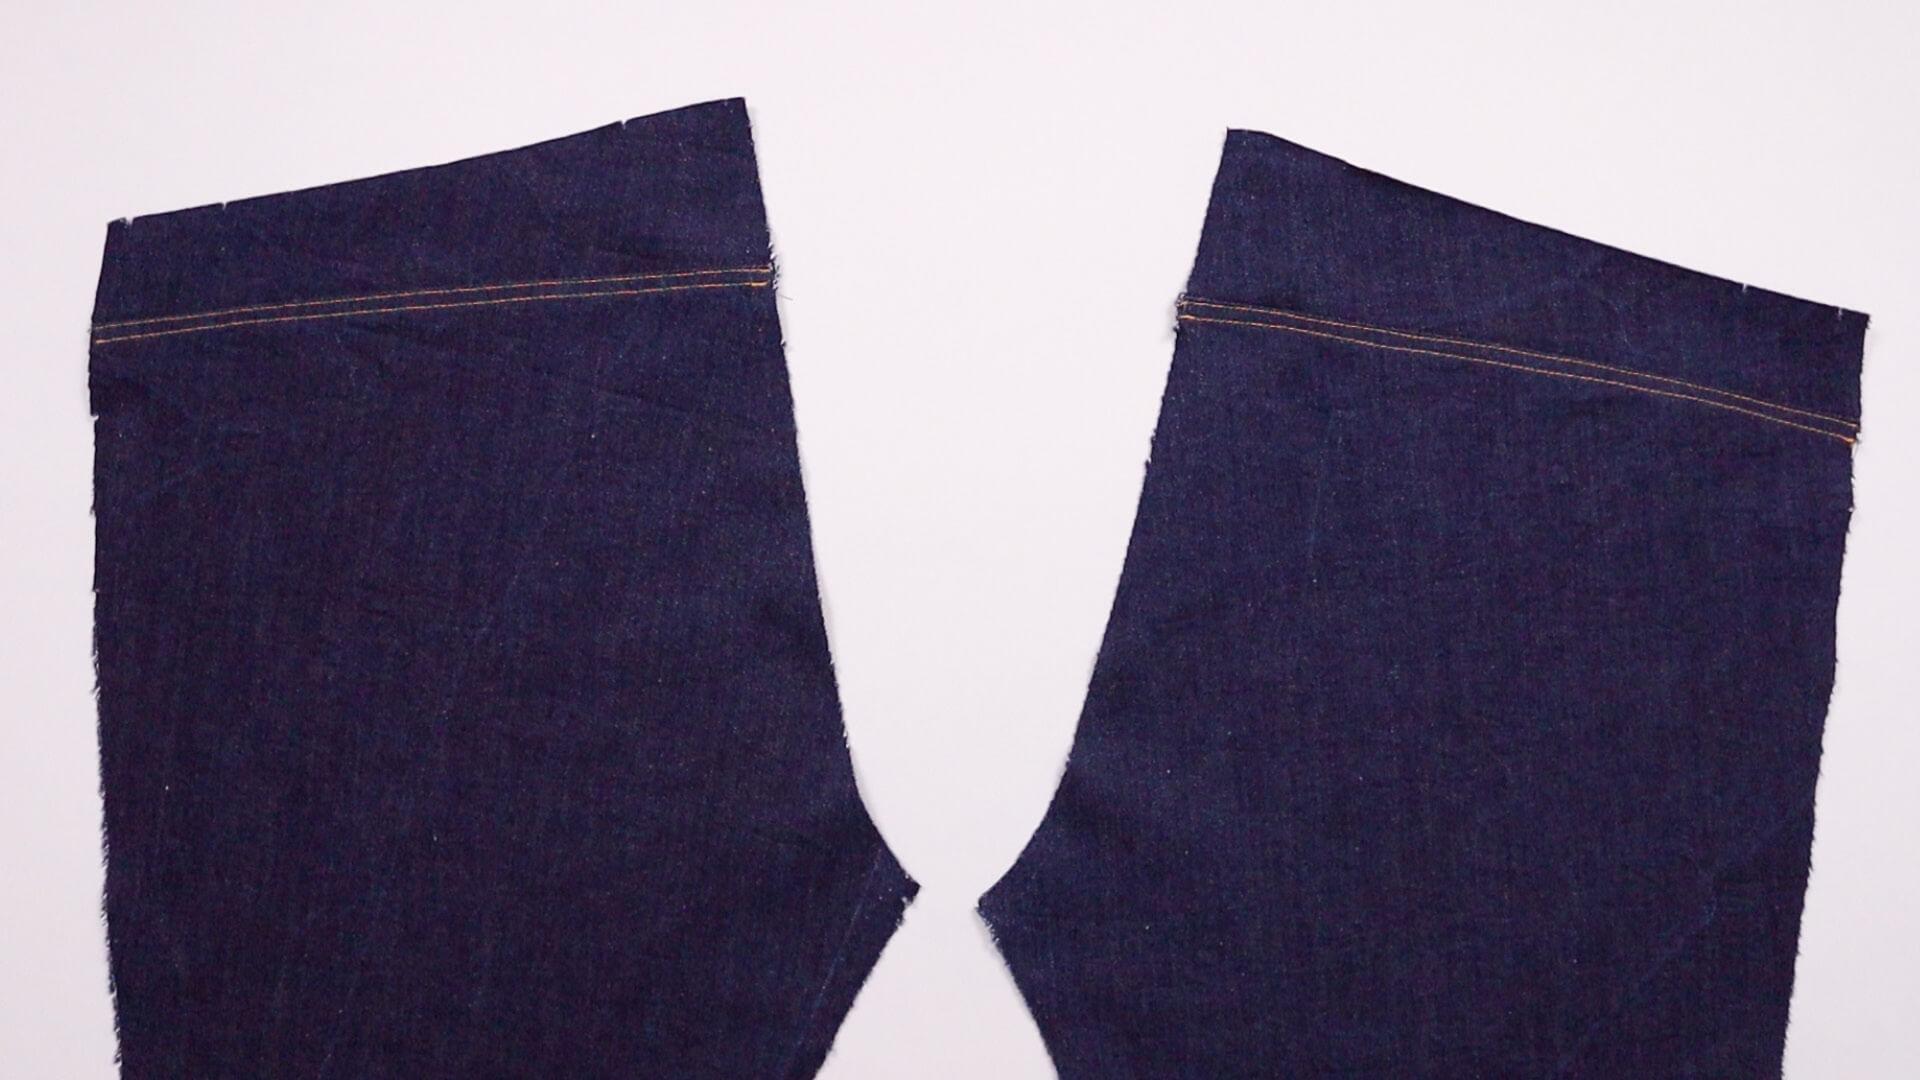
This is what the two back pieces with yoke look like.
5. Close the back seat seam
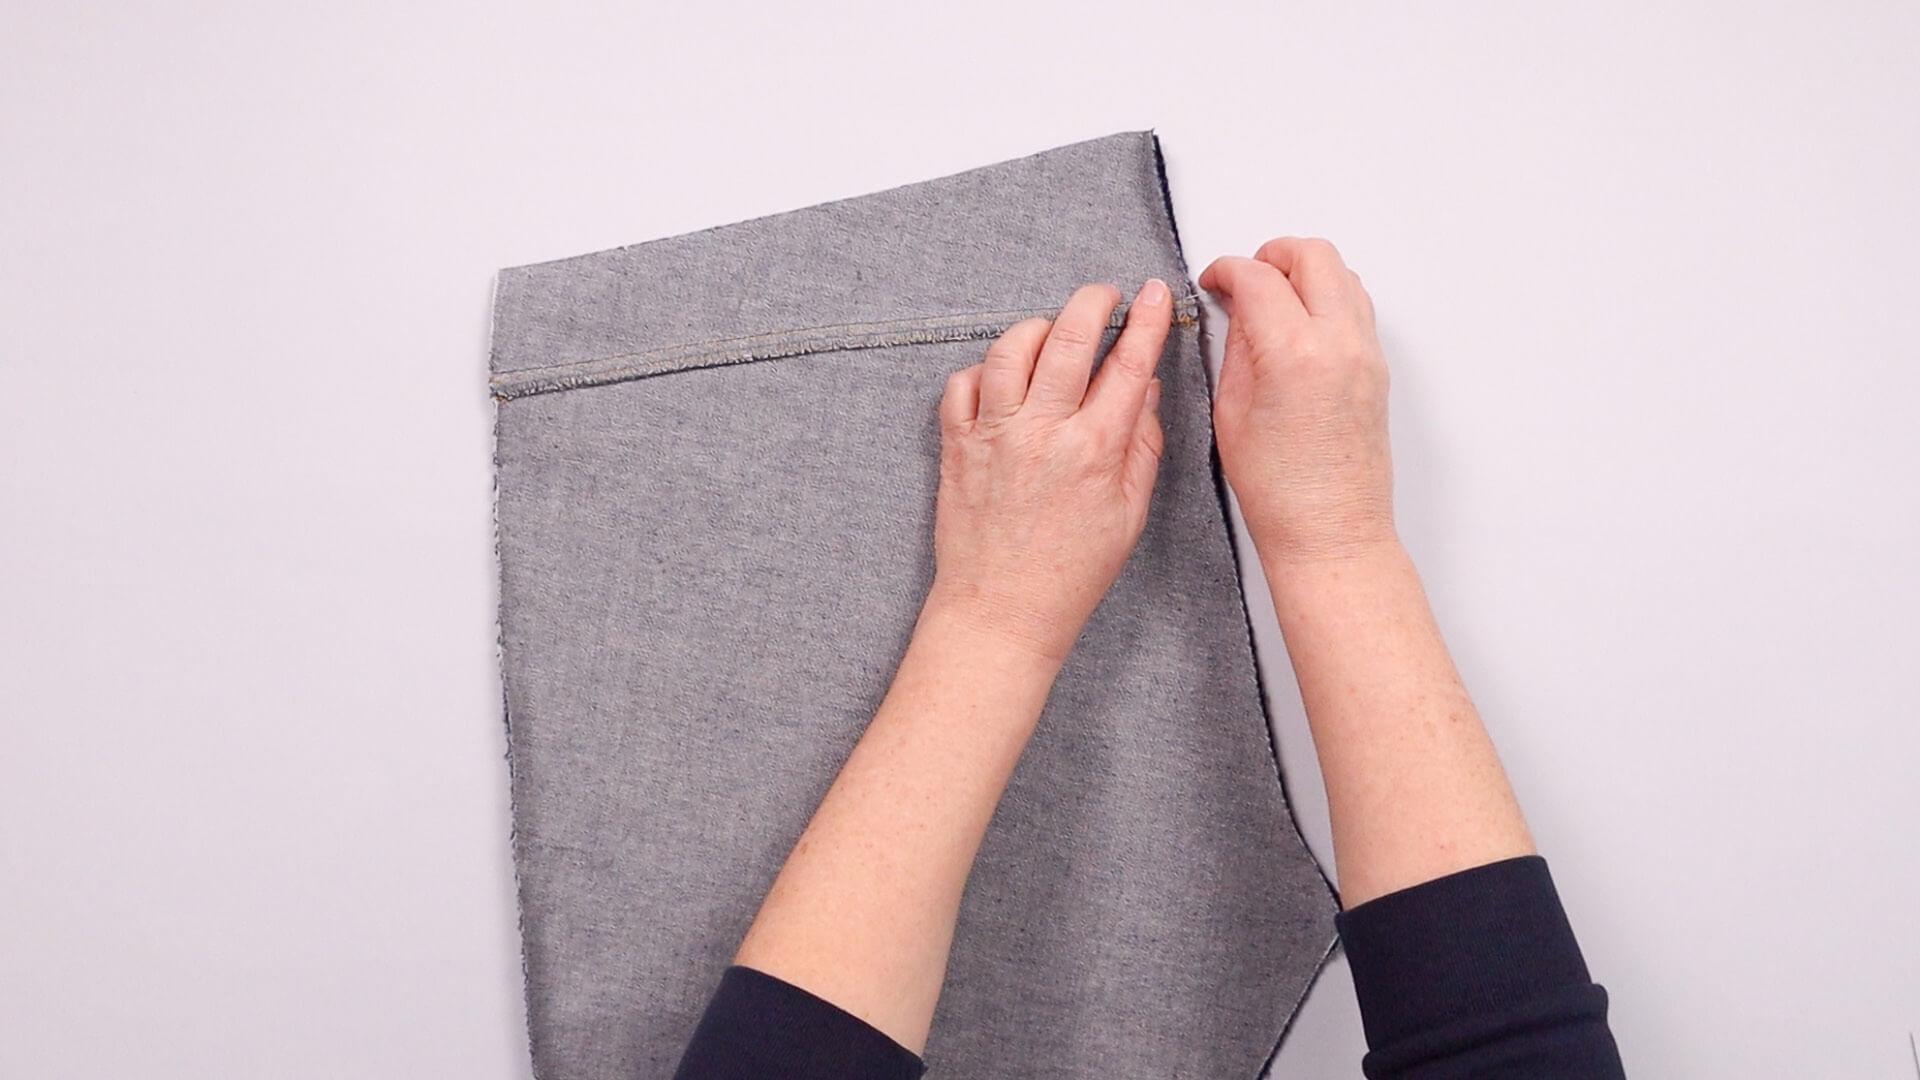
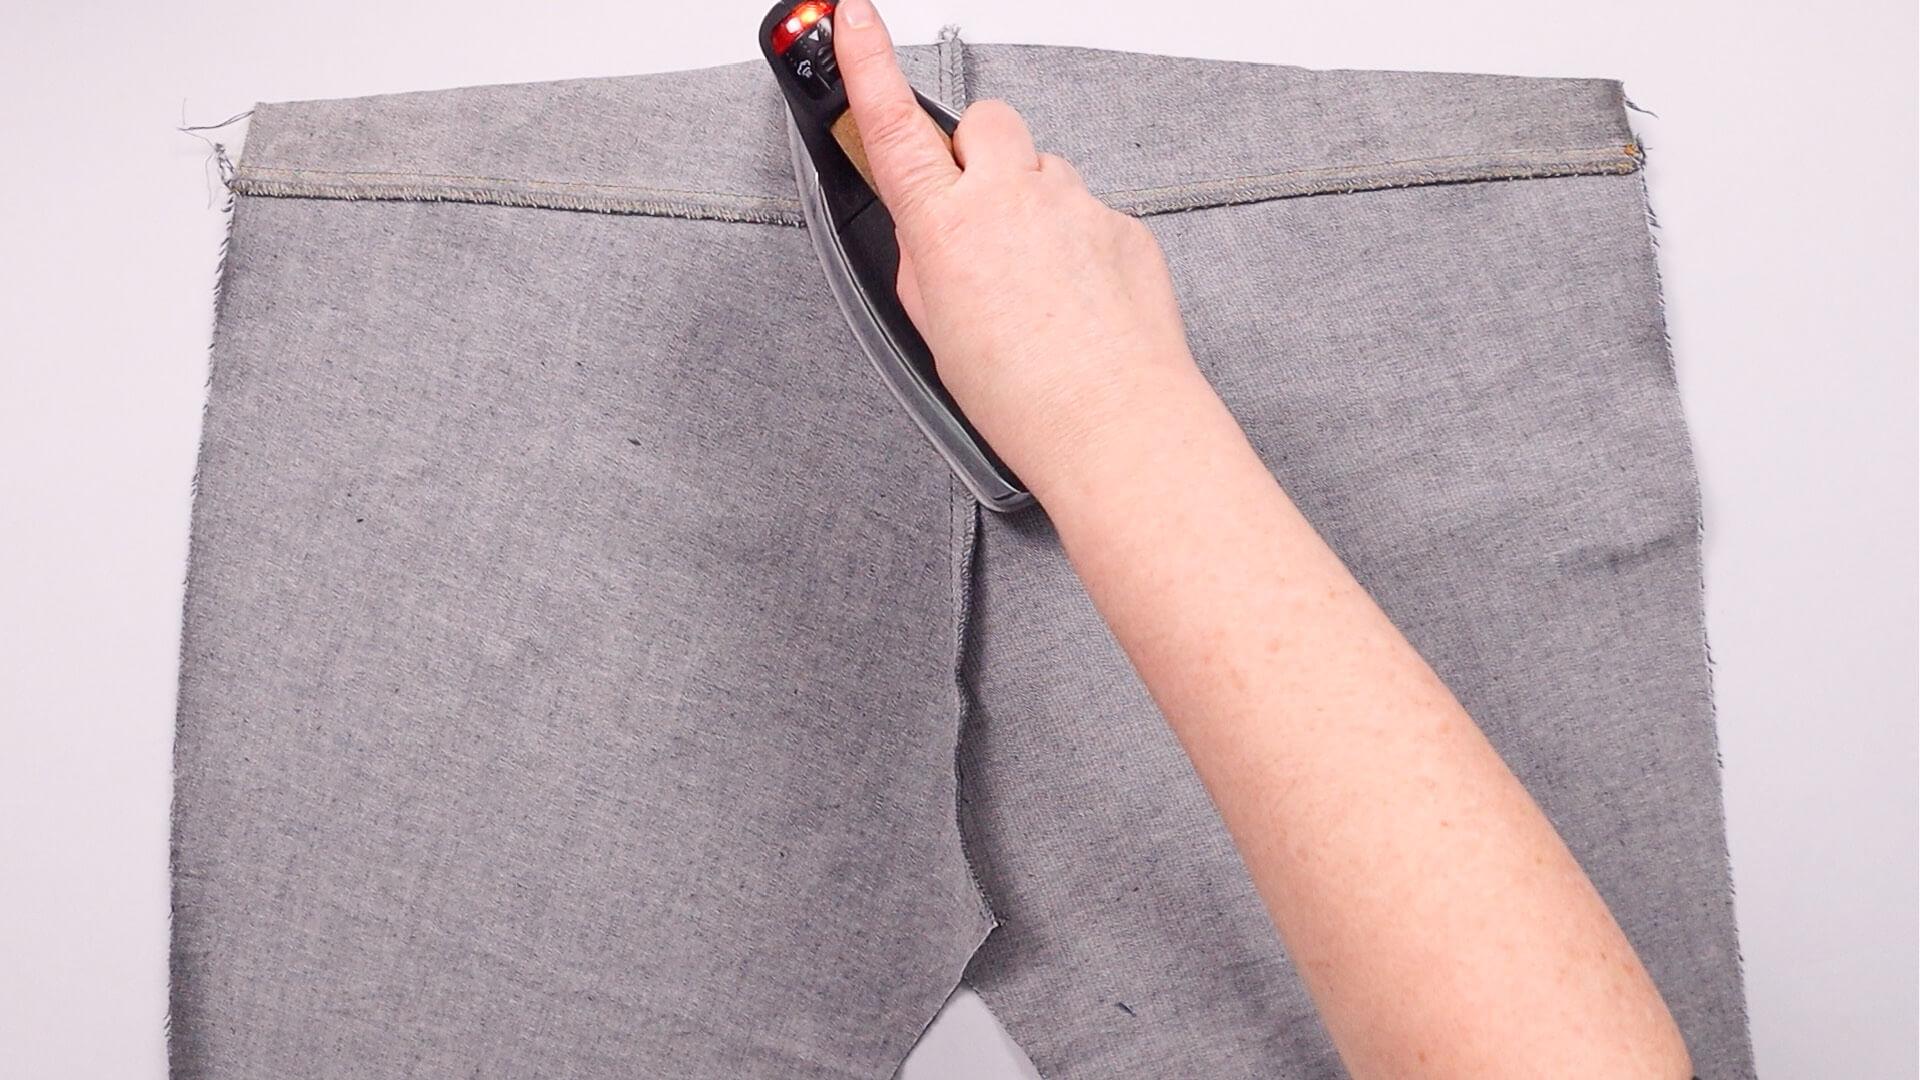
I now lay the back pieces right sides together to close the seat seam. To do this, I first pin the crossing point of the yoke seams so that they lie exactly on top of each other. Then I pin the remaining part of the seat seam together, stitch the seam and finish it with an overlock seam.
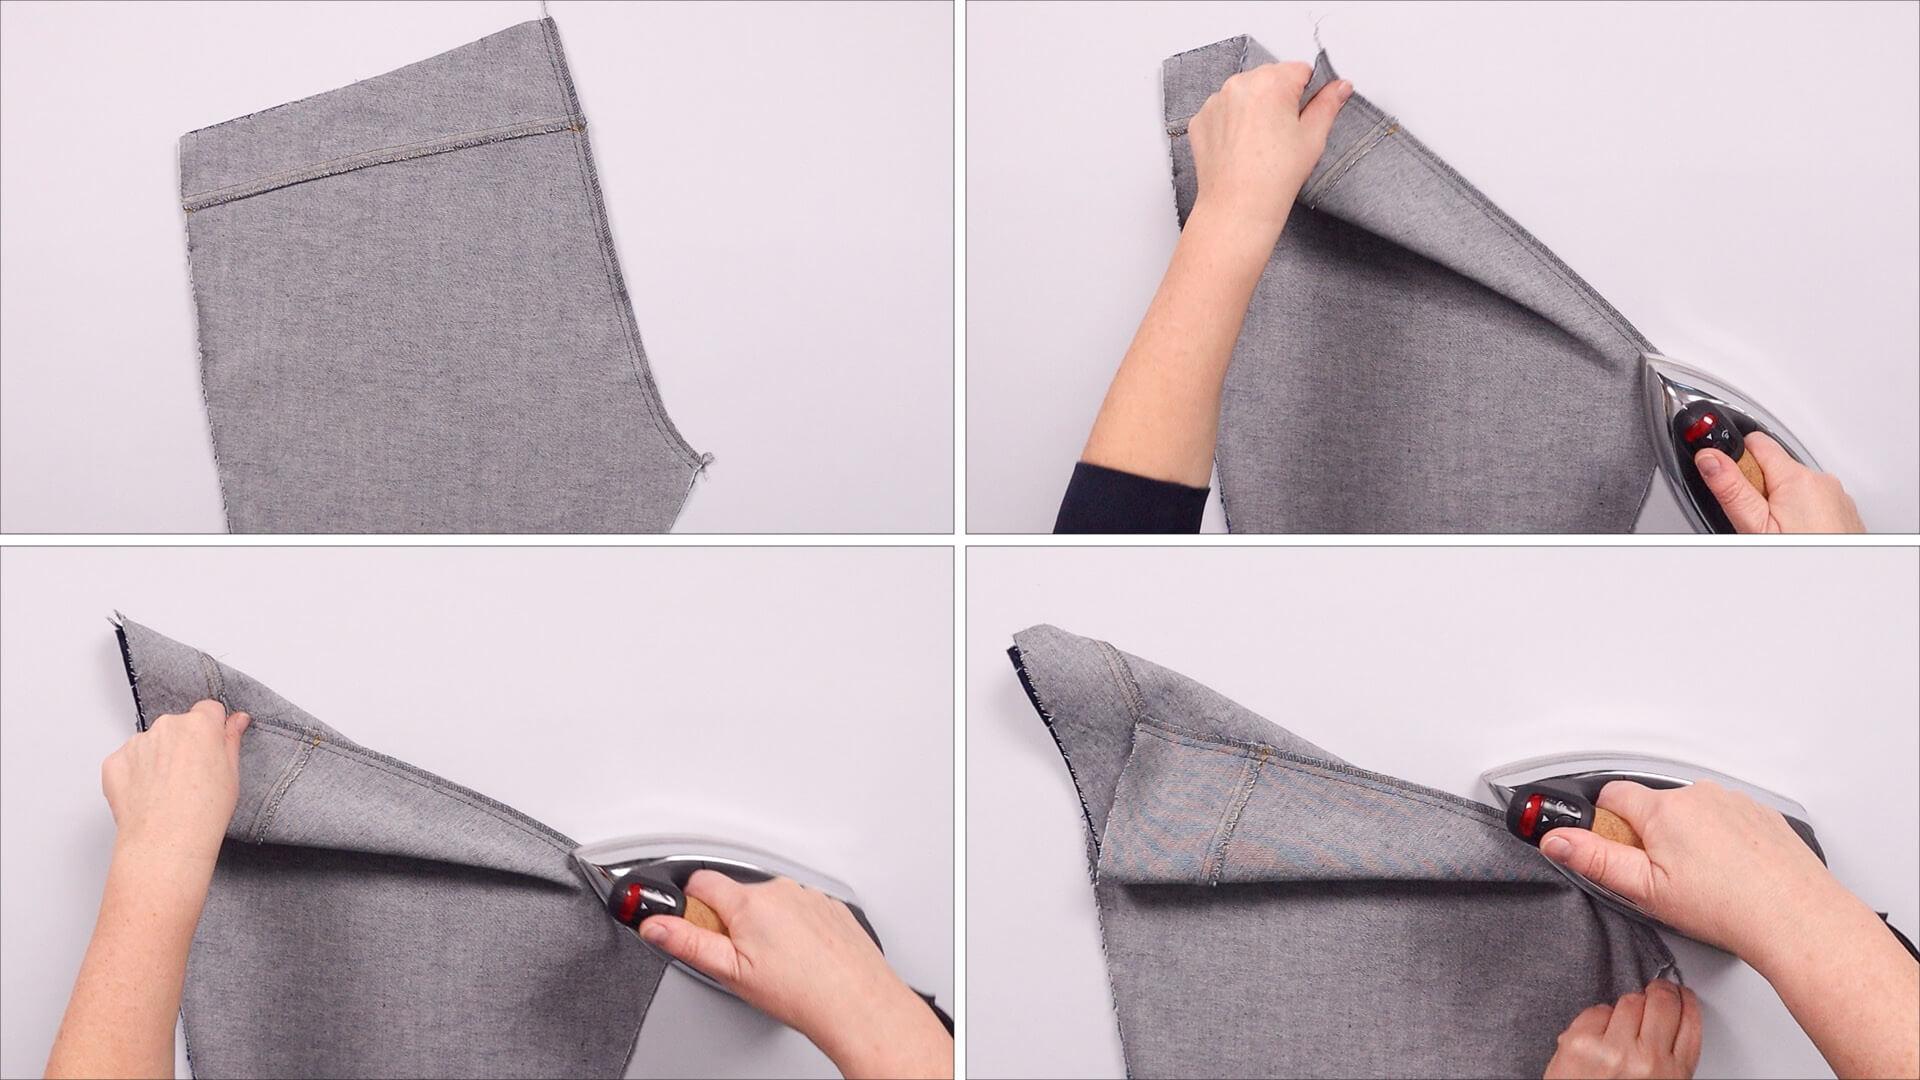
The seam allowance of the back seam is now stretched in the curve by pressing.
I press this seam allowance over to the left side of the trousers, as it will later be topstitched in this direction. Therefore, when sewing the overlock seam, I started at the top of the waistband edge with the right trouser leg facing me.
Tip
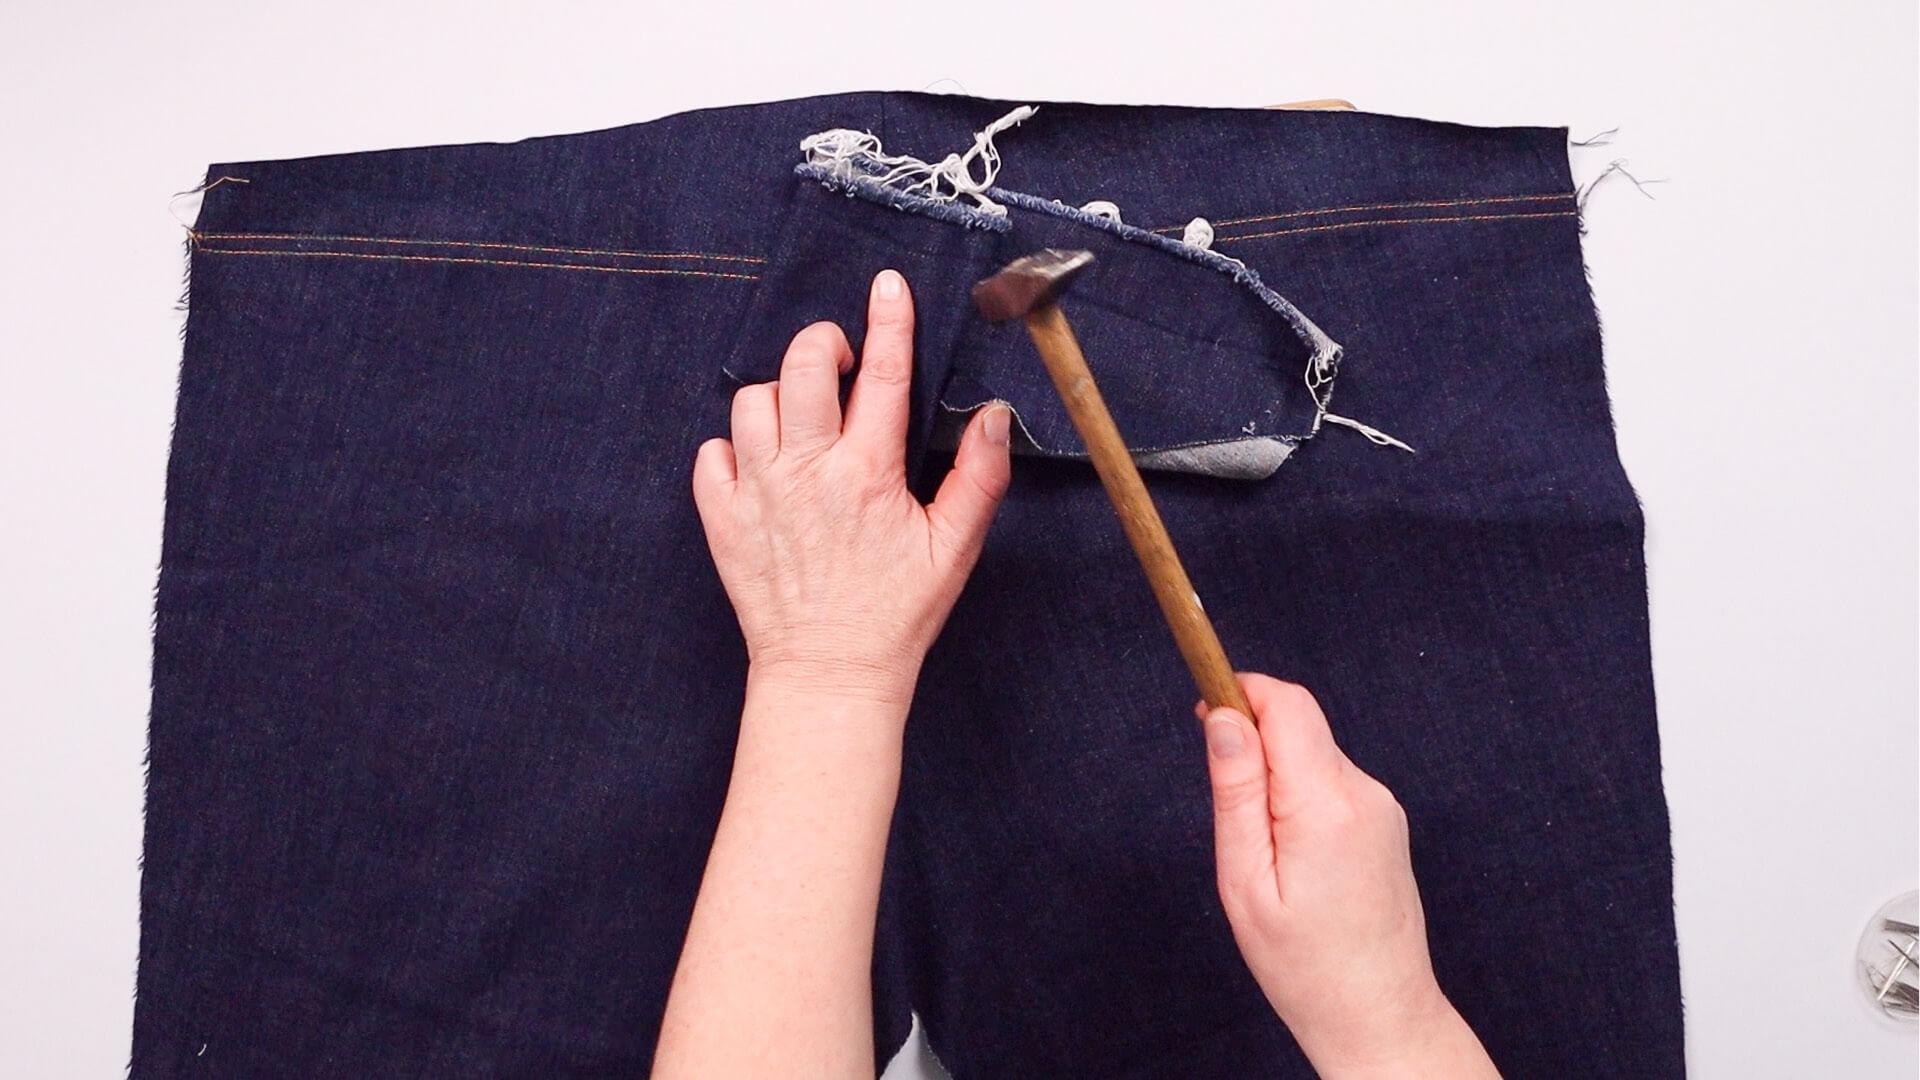
The point where the yoke and back seams cross is very thick, depending on the material. I therefore place a pad under the material, cover the area with a scrap piece of fabric so as not to damage the trousers, and tap it flat with a hammer.
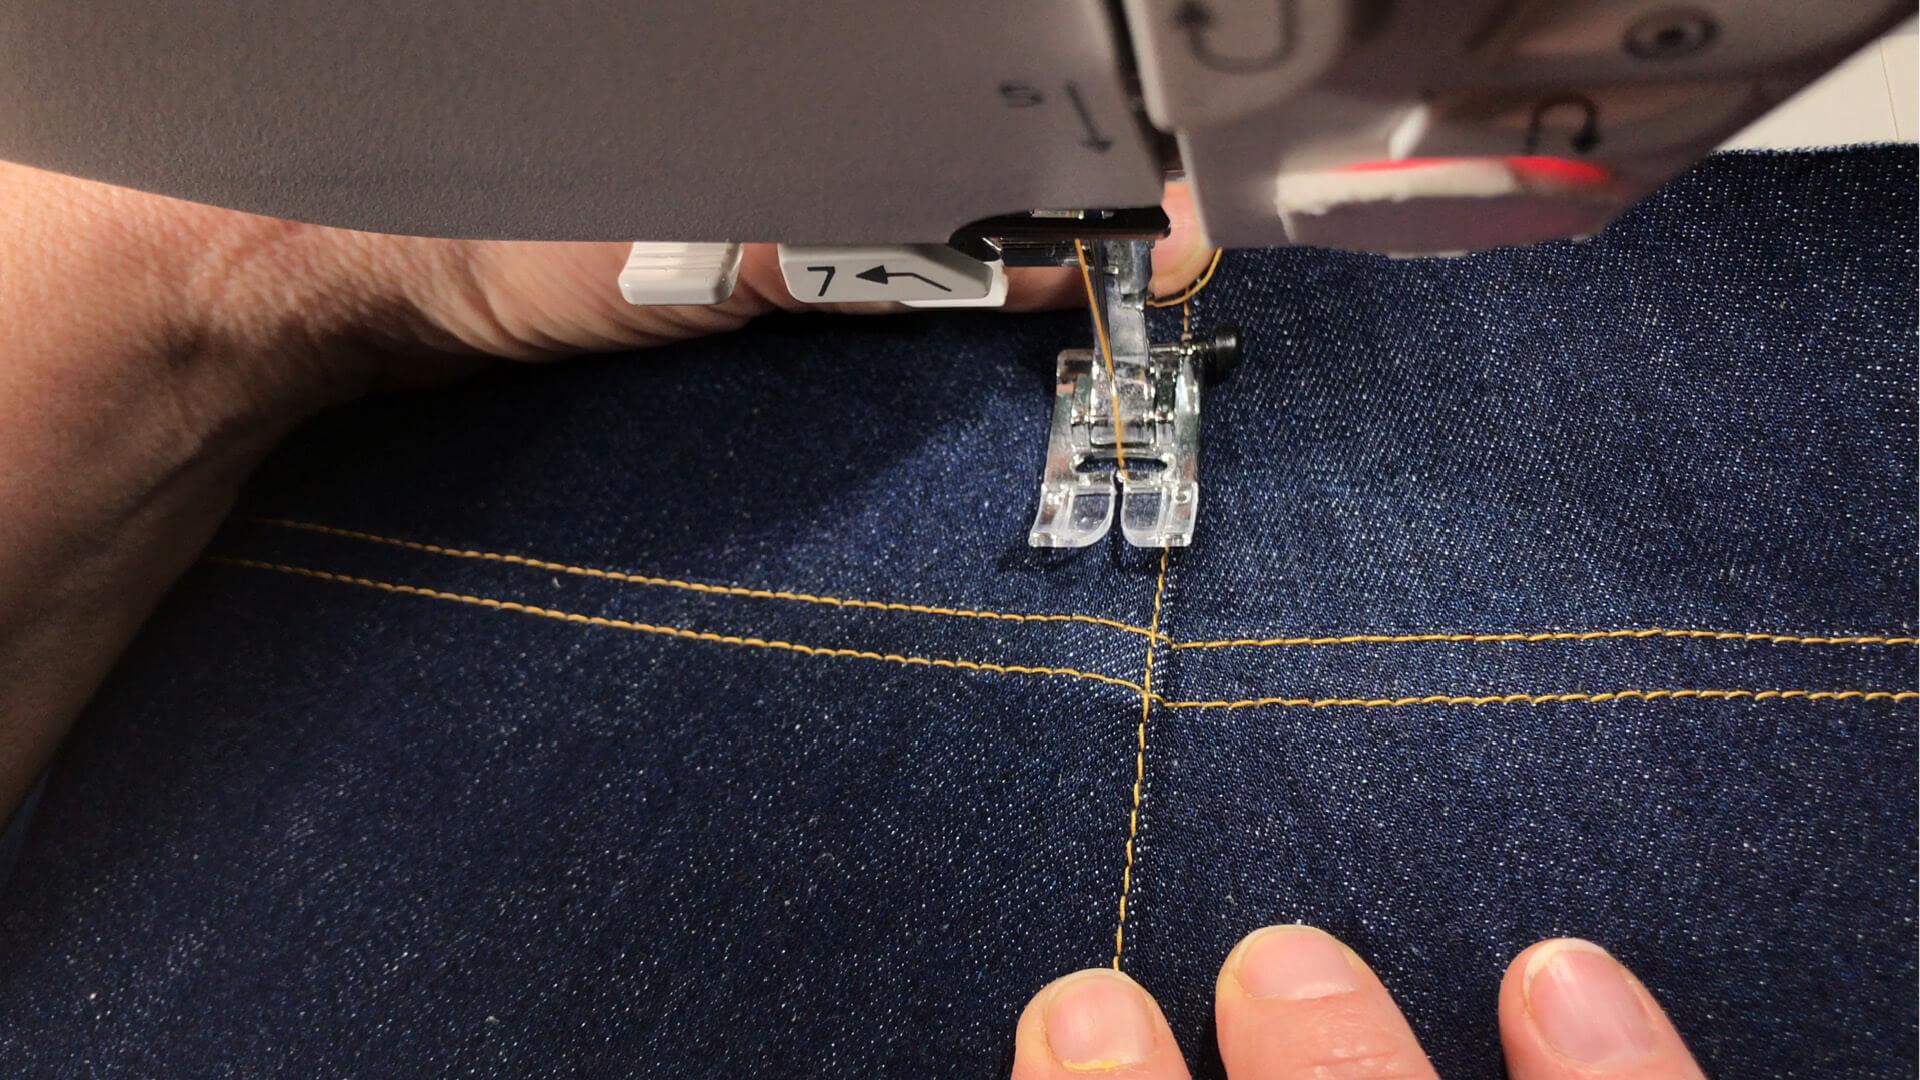
Finally, I topstitch the seam on the left side of the trousers at a 2 and 8 mm distance from the edge using contrasting coloured thread.
6. Finished back pieces
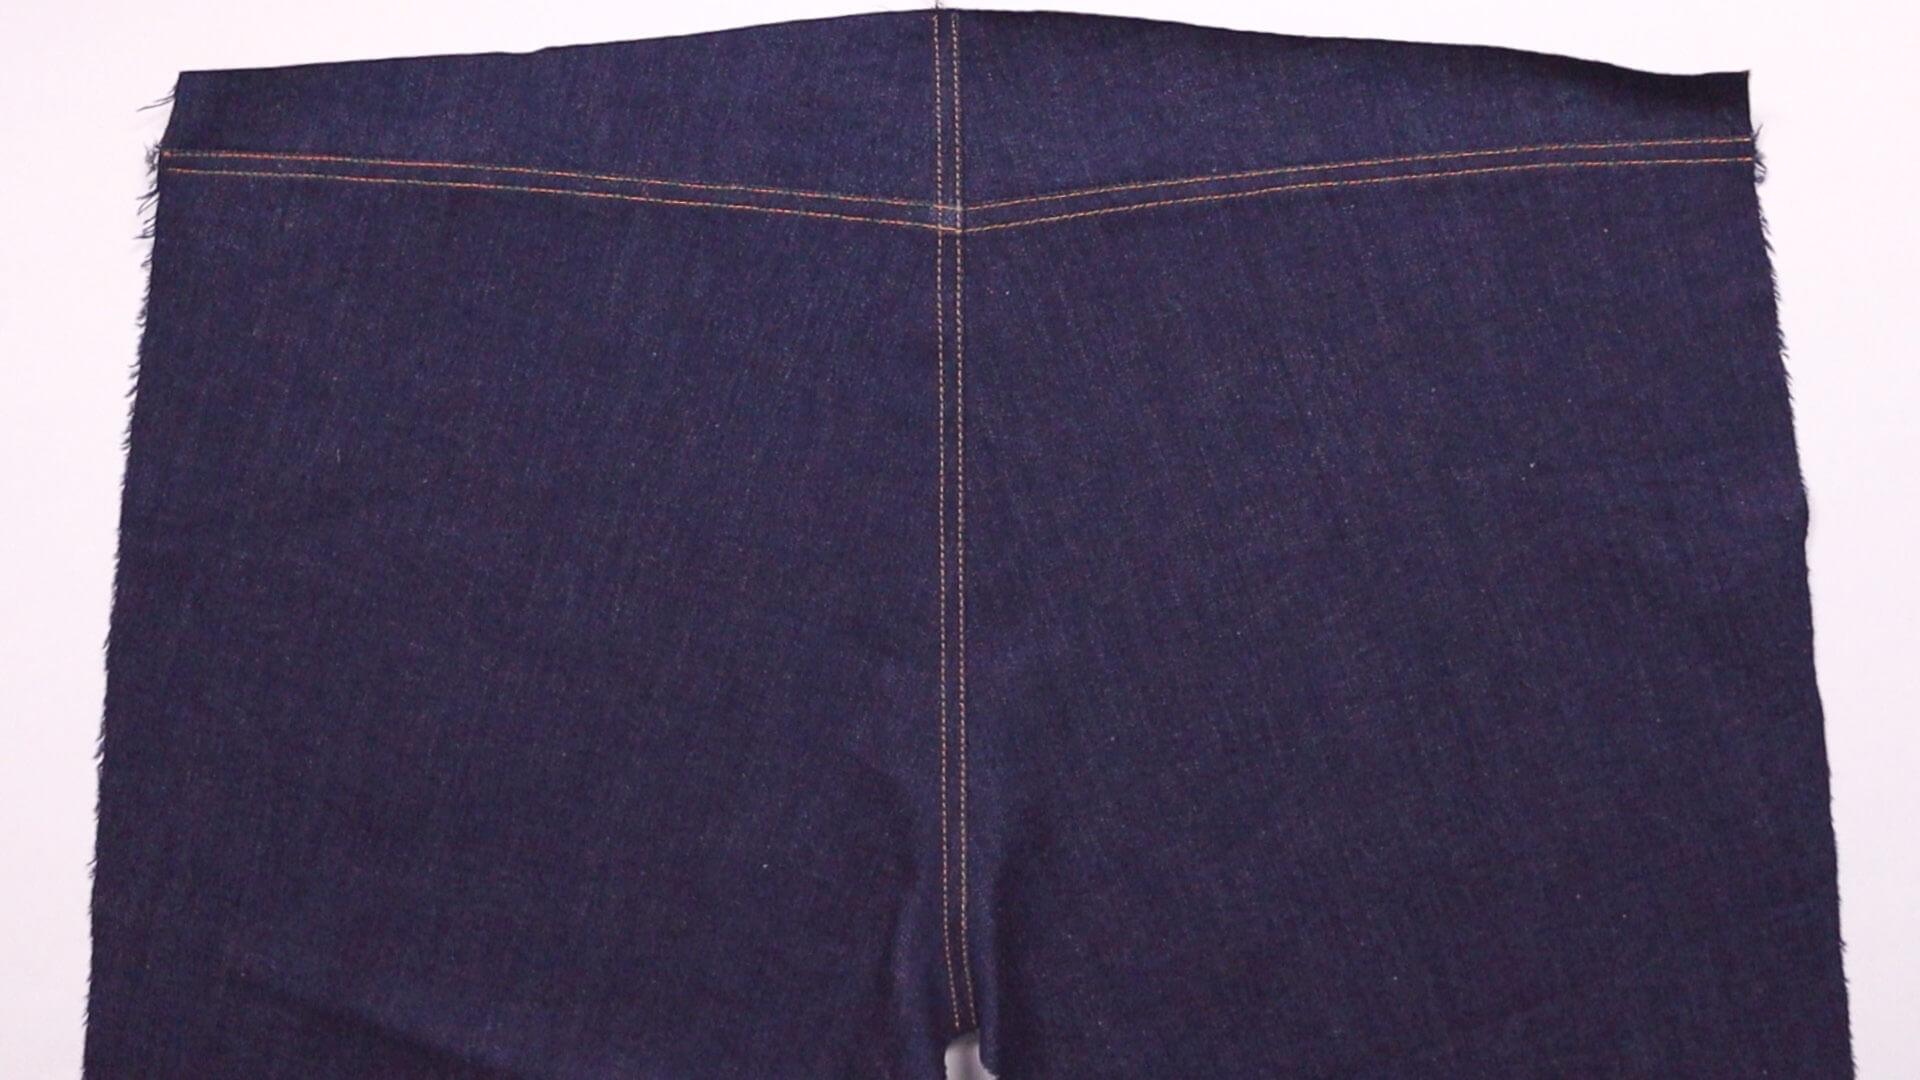
And this is what the back looks like with the topstiched yoke and seat seams.
Below you will find the link to the next step:
If you’re not quite ready yet and perhaps want to start at the beginning, you’ll find some links here:


