
Loading cart contents...


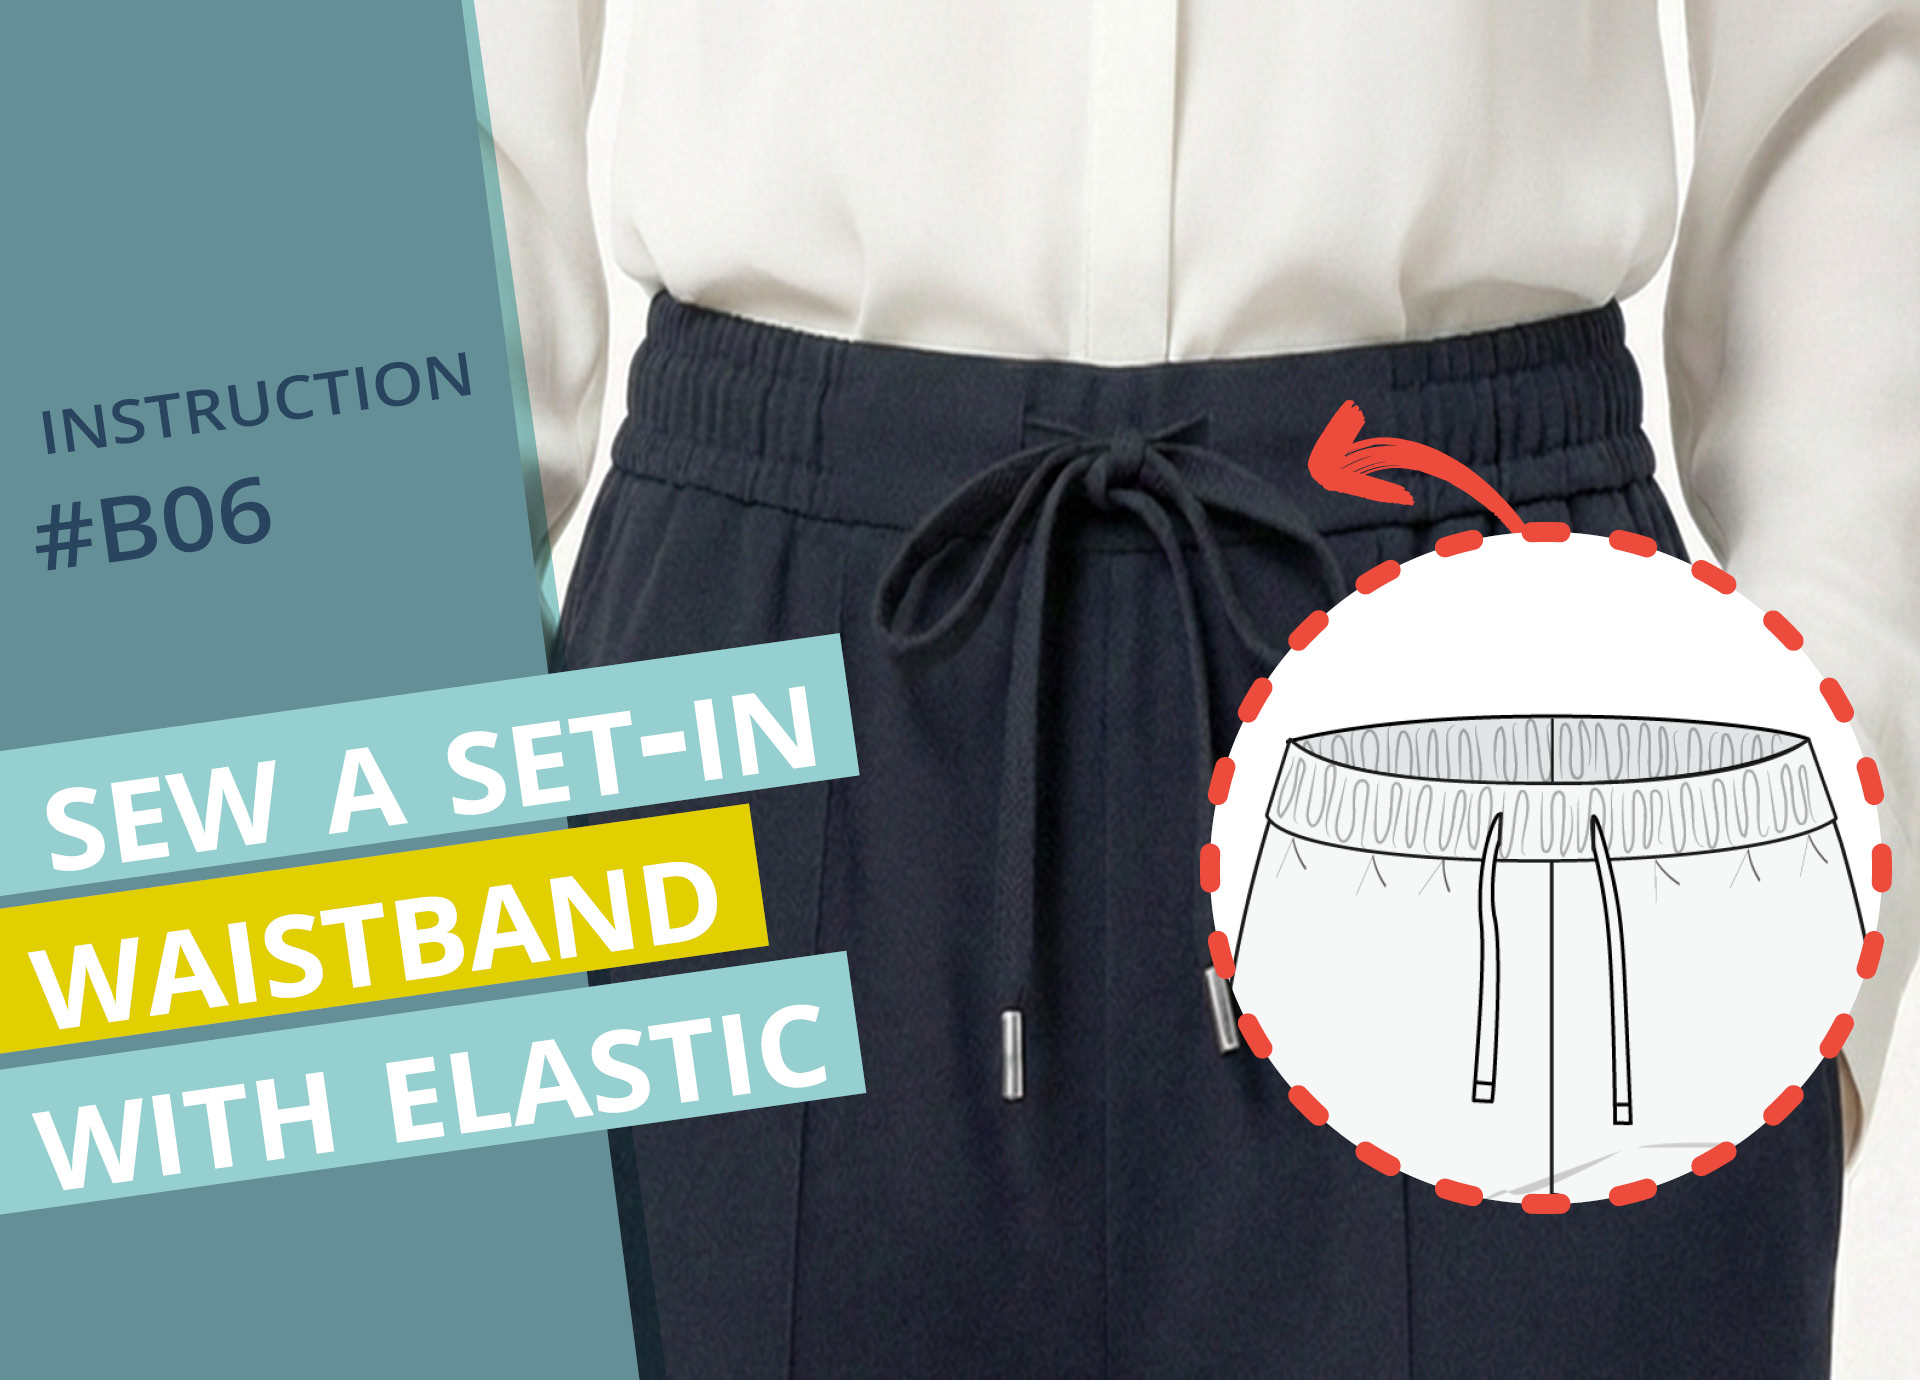
Sewing attached waistband with elastic and drawstring #B06
In the following step-by-step instructions, I’ll explain how to sew an attached waistband with elastic.
I’ll also explain how to sew a drawstring and topstitch the waistband over the elastic at the end. Both are optional and can, of course, be omitted if you prefer a simpler look.
I wish you lots of fun!
The video is currently only available in German. You can display the subtitle in the language of your choice via the YouTube settings.
1. This is required:

Don’t be surprised if your pattern pieces look a little different from the ones in my example – there may be differences depending on the pattern, variation, or whether you’re sewing trousers or a skirt. However, the basic construction process always remains the same.
I need the trousers or skirt piece, plus 1 piece of the main fabric:
- the waistband, located here at the fabric fold at the center front
- the drawstring, cut as a pair or as a single piece of double length; optionally, a ready-made cord
- two strips, each approximately 3 x 2 cm, for the eyelet interfacing
- the template for marking the eyelet positions
- Optional: 2 eyelets and/or 2 cord ends, matching the drawstring or pre-made cord
Elastic for the waistband—the length is specified in the instructions or was already determined during the fitting
Tools and aids:
- Pins or clips
- Scissors
- Chalk or marker pen
- Needle and thread
- Ruler

If your garment has pleats, they should already be sewn in.
2. Sew eyelets or buttonholes into the waistband
Next, I’ll prepare the waistband.
Since my waistband will have a drawstring, I’m sewing buttonholes lengthwise – alternatively, you can also attach ready-made eyelets. Follow the manufacturer’s instructions and make sure the eyelets are the right size for the thickness of the cord or drawstring and are spaced far enough from the edge so you can still sew around them easily.

I mark the center front on the wrong side of the fabric.

Place the template for the eyelet position on the marking to transfer the position to the fabric. In this example, the drawstring is supposed to come out of the waistband on the outside, so I’m marking it on the lower half—for a drawstring that runs on the inside, simply rotate the template 180 degrees.

I place the small interfacing strips over these markings and iron them on.
Then I turn the waistband over and mark the eyelet positions on the right side of the fabric in the same way.

Now you can sew the buttonholes. If you’re using a thin fabric, you can place a small piece of fabric underneath on the wrong side to make the buttonhole a little sturdier.
3. Iron the waistband

I fold the waistband strip in half lengthwise, right sides together, and iron the fold.

Next, I’ll close the centre back seam. To do this, I unfold the waistband again, place the short ends right sides together and align them at the centre back. Then I pin the edges together. The seam allowance is determined by the notches or the pattern.
To create the opening for inserting the elastic later, I mark a point approximately 1.5 cm below the top edge and on either side of the centre seam. I then sew the centre back seam, leaving the marked opening unstitched.
You already tried on your garment a few steps ago, so if your seam allowance is wider than 1 cm, you can trim it back now.

Next, press the seam allowances apart.

Here’s another look at the opening for the elastic.

I’ll press that fold once again.
4. Attach the waistband
There are several ways to attach a waistband.
Here, I’ll show you the method where I first sew on the outer layer, then attach the inner layer, and finally thread the elastic through.

The lower section, where I sewed the buttonholes, will become the outside of the waistband. The upper section will become the inside of the waistband.
On the inside of the waistband, you can press the raw edge to the wrong side by approximately 8 mm so that it will be enclosed inside the waistband and no longer be visible. However, I only recommend doing this when working with very lightweight fabrics.

Otherwise, the raw edge will remain visible on the inside of the waistband. In that case, I finish it with the serger, as shown here. Alternatively, you can bind the raw edge with bias binding, although I only recommend this for lightweight fabrics.
If there is a significant difference between the waist and hip measurements, I also recommend avoiding bias binding, as it would add unnecessary bulk inside the elastic waistband.
As a general rule, if you decide to bind the raw edge, choose a material that is as lightweight and supple as possible.

I place the waistband and the skirt or trousers with the right side of the fabric facing out and the center front facing me.
I’m going to mark the side notches on the waistband with chalk so you can see them better.

The waistband is now placed right sides together along the top edge of the trousers or skirt and pinned in place. I start at the centre front.

Next, I pin the waistband all the way around, making sure that the markings for the sides and the centre back line up exactly.

Then I sew it all around with a 1 cm seam allowance.

I press the seam allowance towards the waistband.

Next, I fold the waistband along the fold line and pin the inside to the outside along the waistband seam, making sure everything lies nice and flat.

If you chose to press the inner raw edge to the wrong side, make sure to stitch approximately 2 mm from the folded edge on the inside of the waistband.

Now I’ll stitch along the seam allowance to secure the inside of the waistband.
5. Thread the elastic

Now you can thread the elastic through the waistband. I attach a safety pin to one end of the elastic and pull it through the waistband tunnel.

When doing this, I make sure the back end doesn’t slip in as well.

On the other side, the elastic comes out of the tunnel again. I position it so that it overlaps by about 2 cm and secure it with a safety pin.

Next, I distribute the fabric evenly along the elastic, making sure it isn’t twisted.
Ideally, you already determined the length of the elastic during the fitting. If not, now is a good time to try on the garment again and shorten the elastic if necessary.
NOTE: If you plan to topstitch the waistband later, as described below, it may end up becoming wider. This happens because the waistband is stretched during sewing, and the elastic may not spring back as well afterward.
The finished waistband length may vary, especially when using soft elastic, stiff fabrics, or multiple parallel stitching lines. To avoid having to unpick the waistband later, it’s a good idea to make a short test piece first.
We’ve put together a guide for you here.

If everything fits, I’ll sew the elastic in place with a zigzag stitch, leaving an overlap of about 2 cm.

Then I pull the elastic all the way into the waistband.

Then I close the opening with an invisible hand stitch.
I’m demonstrating this here with contrasting thread so you can see it better, and I’m using what’s called a ladder stitch or mattress stitch:
To do this, I insert the needle into one fold line, guide it about 2–3 mm inside the fabric parallel to the edge, and bring it out again at that point. I then make the next stitch on the opposite fold line at the same height. This process is repeated alternately. As you pull the thread tight, the stitches close together to form a nearly invisible seam. Remember to weave in the end of the thread securely.

Now spread the fabric evenly over the elastic band.
If you don’t want to secure the elastic and aren’t using a drawstring or tie, you’re done at this point. Leaving the elastic unsecured has the advantage that you can adjust or replace it later with little effort.
6. Optional: Topstitch the elastic waistband

The advantage of securing the elastic is that it can’t twist, and you can always adjust the gathers evenly along the elastic.

Personally, for example, I like it when the fabric lies almost flat in the front. I’ll show you this example now.

At the front, I smooth the fabric over the elastic and distribute the extra fullness towards the back. I secure everything in place by inserting pins lengthwise through both the fabric and the elastic. As I do this, I make sure the fullness is distributed evenly and symmetrically on both sides.
Before securing the elastic permanently, I recommend trying on the trousers one more time to check whether you’re happy with the distribution of the fullness. If the smooth section at the front is too wide, too much fullness will be concentrated at the sides and back, which can affect the overall shape of the trousers.
Once you’re happy with the fit, you can secure the elastic permanently.

One option is to secure it with vertical topstitching, for example, hidden in the seam allowance at the back center or visible, such as along the side seams.

When you’re making a drawstring tunnel, be sure to leave enough space in the middle and skip that area when quilting.

Another option is to topstitch around the waistband parallel to the edge of the waistband. I’ll show you how here.

I leave out the front section and only stitch up to the pins I’ve placed. That, too, is a design choice.
I sew the elastic in place about 1.2 cm from the edges of the waistband. The distance is a matter of personal preference – but if you’re using a drawstring, there should be enough space in the middle for it.

When topstitching, I pull the elastic apart just enough so that the fabric lies flat over it.
When working with stretchy outer fabric, remember to use an elastic stitch.
7. Optional: Sew the drawstring and thread it through
Now I’ll make the drawstring. Since mine is cut as a pair, I’ll first join the two pieces together to form a long strip. If you’ve cut the ribbon in one piece, you can skip this step.
Note: I use the term “drawstring” to refer to the flat fabric strip I sew myself. “Drawstring tunnel” refers to the construction in the waistband – regardless of whether you use a drawstring or a ready-made cord.

I place the two pieces with the wrong side of the fabric facing up and the short ends side by side. Then I measure the width of the strip and mark this distance from the short cut edge on both pieces. On one piece, I draw a diagonal line from this mark to the opposite corner.

I now place this piece on top of the other, right sides together, exactly at the marked distance. I cut through both layers of fabric along the marked diagonal line.

This creates two matching slanted edges.

Now I place both strips right sides together. The diagonal cut edges are flush, but the tips extend slightly at the top and bottom.

I sew the strips together with a 5 mm seam allowance.

I then iron the seam allowances apart and trim off the excess corners. Because of the diagonal seam, the seam allowances won’t overlap when the drawstring is folded later, and it won’t become unnecessarily thick in one spot.

I now fold each of the long sides, right sides together, toward the center and press them flat.

Then I fold the drawstring in half lengthwise again and iron it once more.

Next, I’ll hem the ends of the drawstring. To do this, I’ll unfold each end again…

… and fold it at the center fold so that the layers are right sides together and the cut edges are flush.

Then I fold both cut edges toward the fold line and pin the layers together.

I trim the short end about 5 mm from the cut edge.

Then I’ll turn the drawstring over.

I carefully shape the corners with scissors or an edge shaper.

Then I iron the ends flat again.

Now you can stitch the open edges of the drawstring together lengthwise.

I attach a safety pin to one end of the drawstring…

… to thread the drawstring through the tunnel.

I pull it out so that both ends stick out about the same length.

You can also tie knots at the ends of the drawstring or attach cord ends to them.
In addition, the drawstring can be stitched in place at the center back, either hidden in the seam allowance or with a visible stitch, to prevent it from slipping out.
And there you have it—your waistband with an elastic and a drawstring!
Now all that’s left is to sew the hem of your trousers. To do this, choose the instructions that match your version, which are linked in your PDF document.
If you’re not quite ready yet and would like to start from the very beginning, here are a few links: