Sewing waistband on jeans trousers #B02
In the following article, I explain how to sew a waistband with belt loops onto a pair of jeans using video and illustrated text instructions. I used a shaped waistband in the instructions. If you have chosen a version with a straight cut waistband, this will make no difference to the finish. Have fun with sewing!
1. This is required
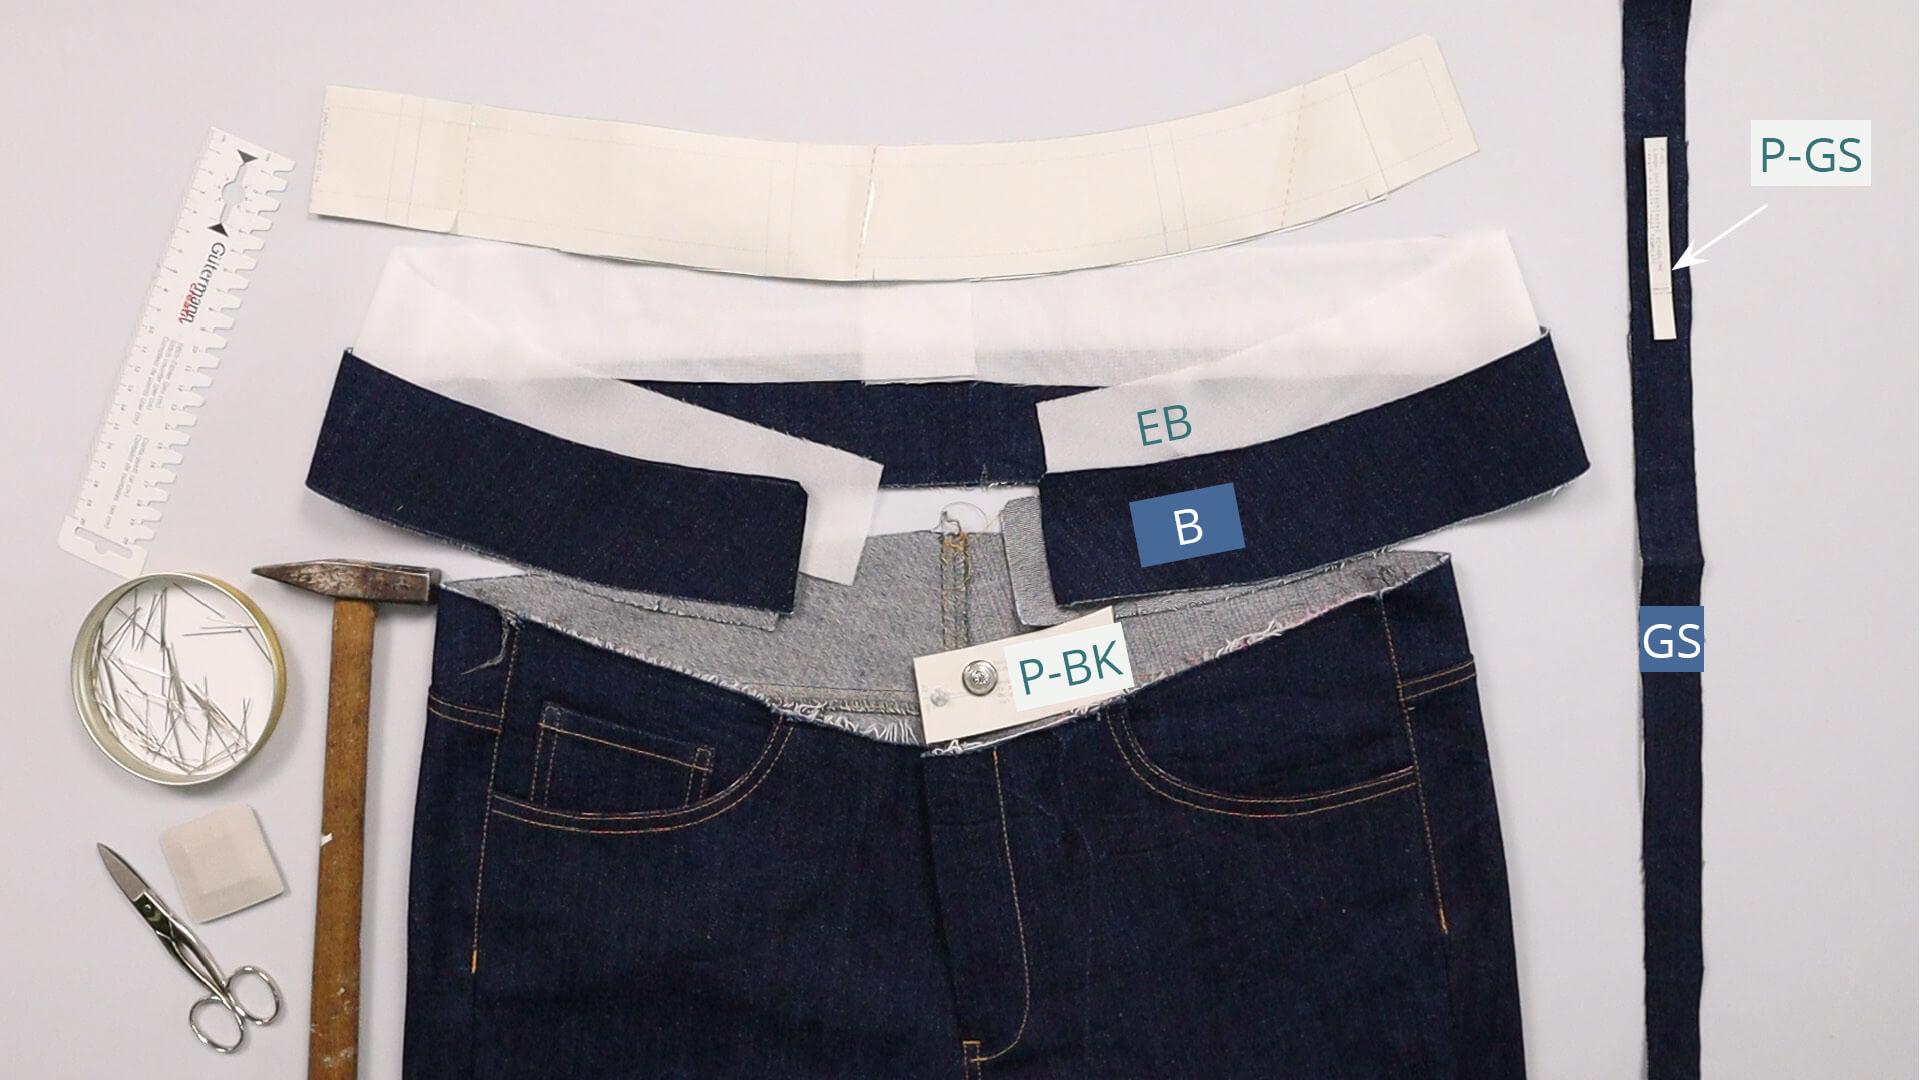
You need the trousers with fly and pockets completed and seat, side and inseams closed. If you have chosen a trouser version that has pleats or darts at the waistband edge, these must be placed or sewn down before attaching the waistband.
Pattern pieces made from main fabric:
- waistband (B) – 1 pair
- belt loop (GS) – 1x
Pattern pieces from interfacing:
- waistband (E-B) – 1 pair
Tools and aids:
- the waistband buttonhole template (P-BK) made from paper
- the belt loop template (P-GS) made from paper
- the pattern of the waistband for the position of the belt loops
- pins and/or clips
- scissors
- tailor’s chalk or marking pen
- ruler
- hammer and pad
- hole punch with a diameter of 2 mm for an eyelet buttonhole if necessary
2. Iron on the waistband interfacing
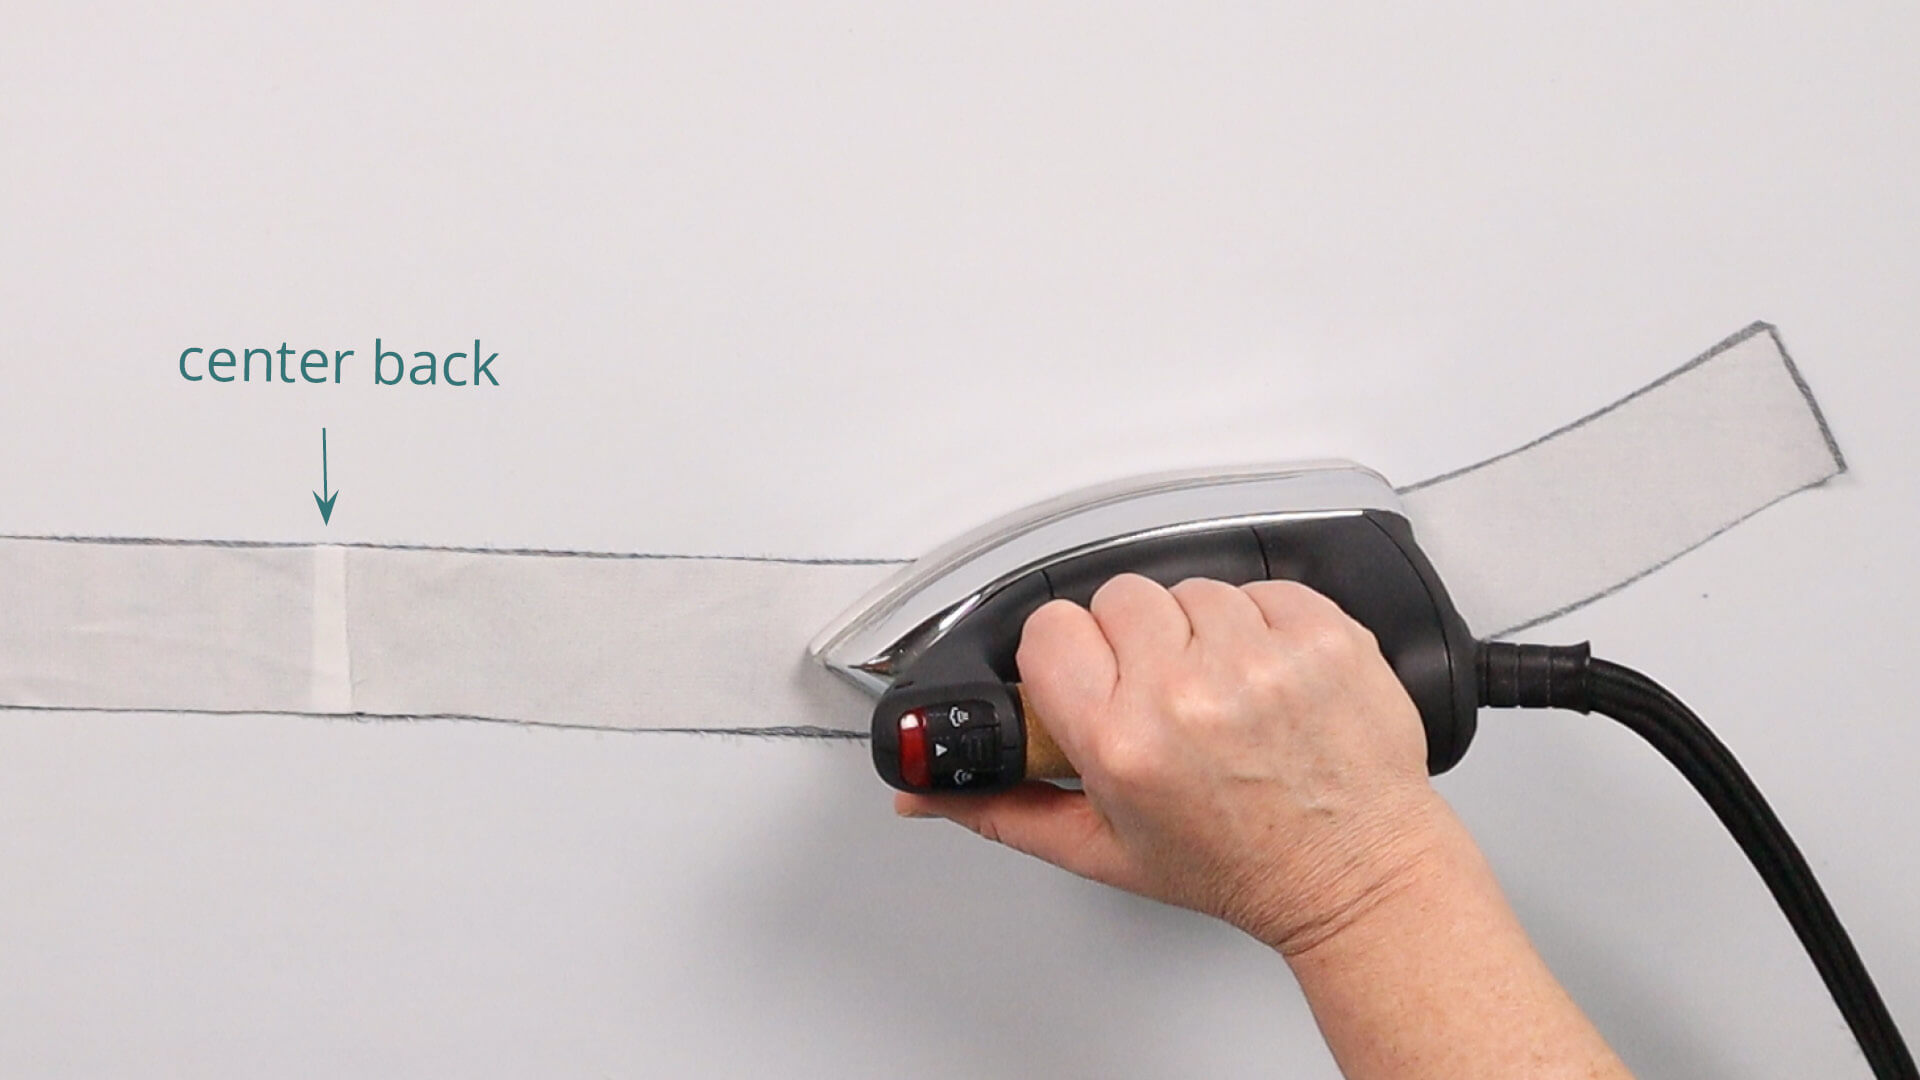
I start by ironing the interfacing onto one of the waistband strips. The interfacing is cut from two pieces and then overlapped by 1.4 cm at the center back, as the interfacing materials are often only available in narrow widths.
3. Prepare the waistband
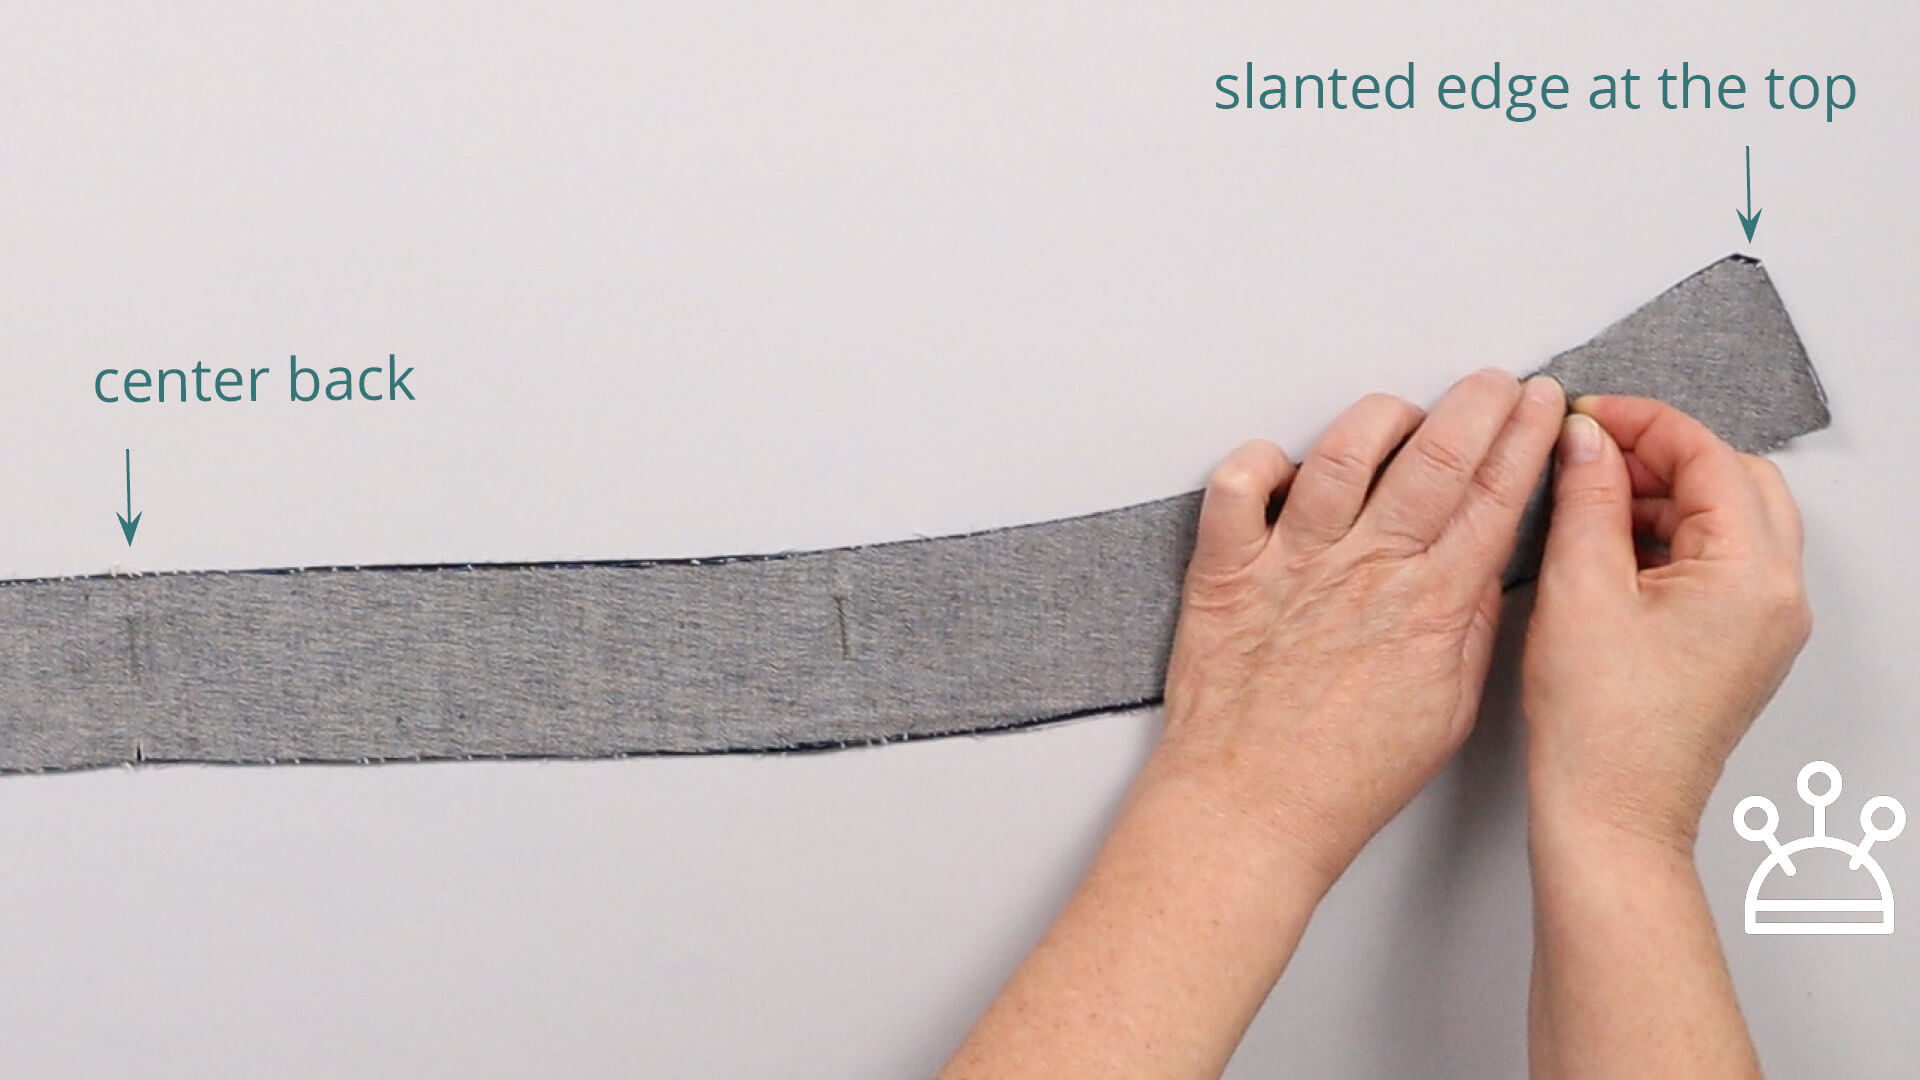
Then I turn the waistband over so that the right side of the fabric is facing me and lay the second waistband over it, right sides facing. Then I pin them together at the top edge. I can recognize the top edge by the chamfered corners at the narrow ends.
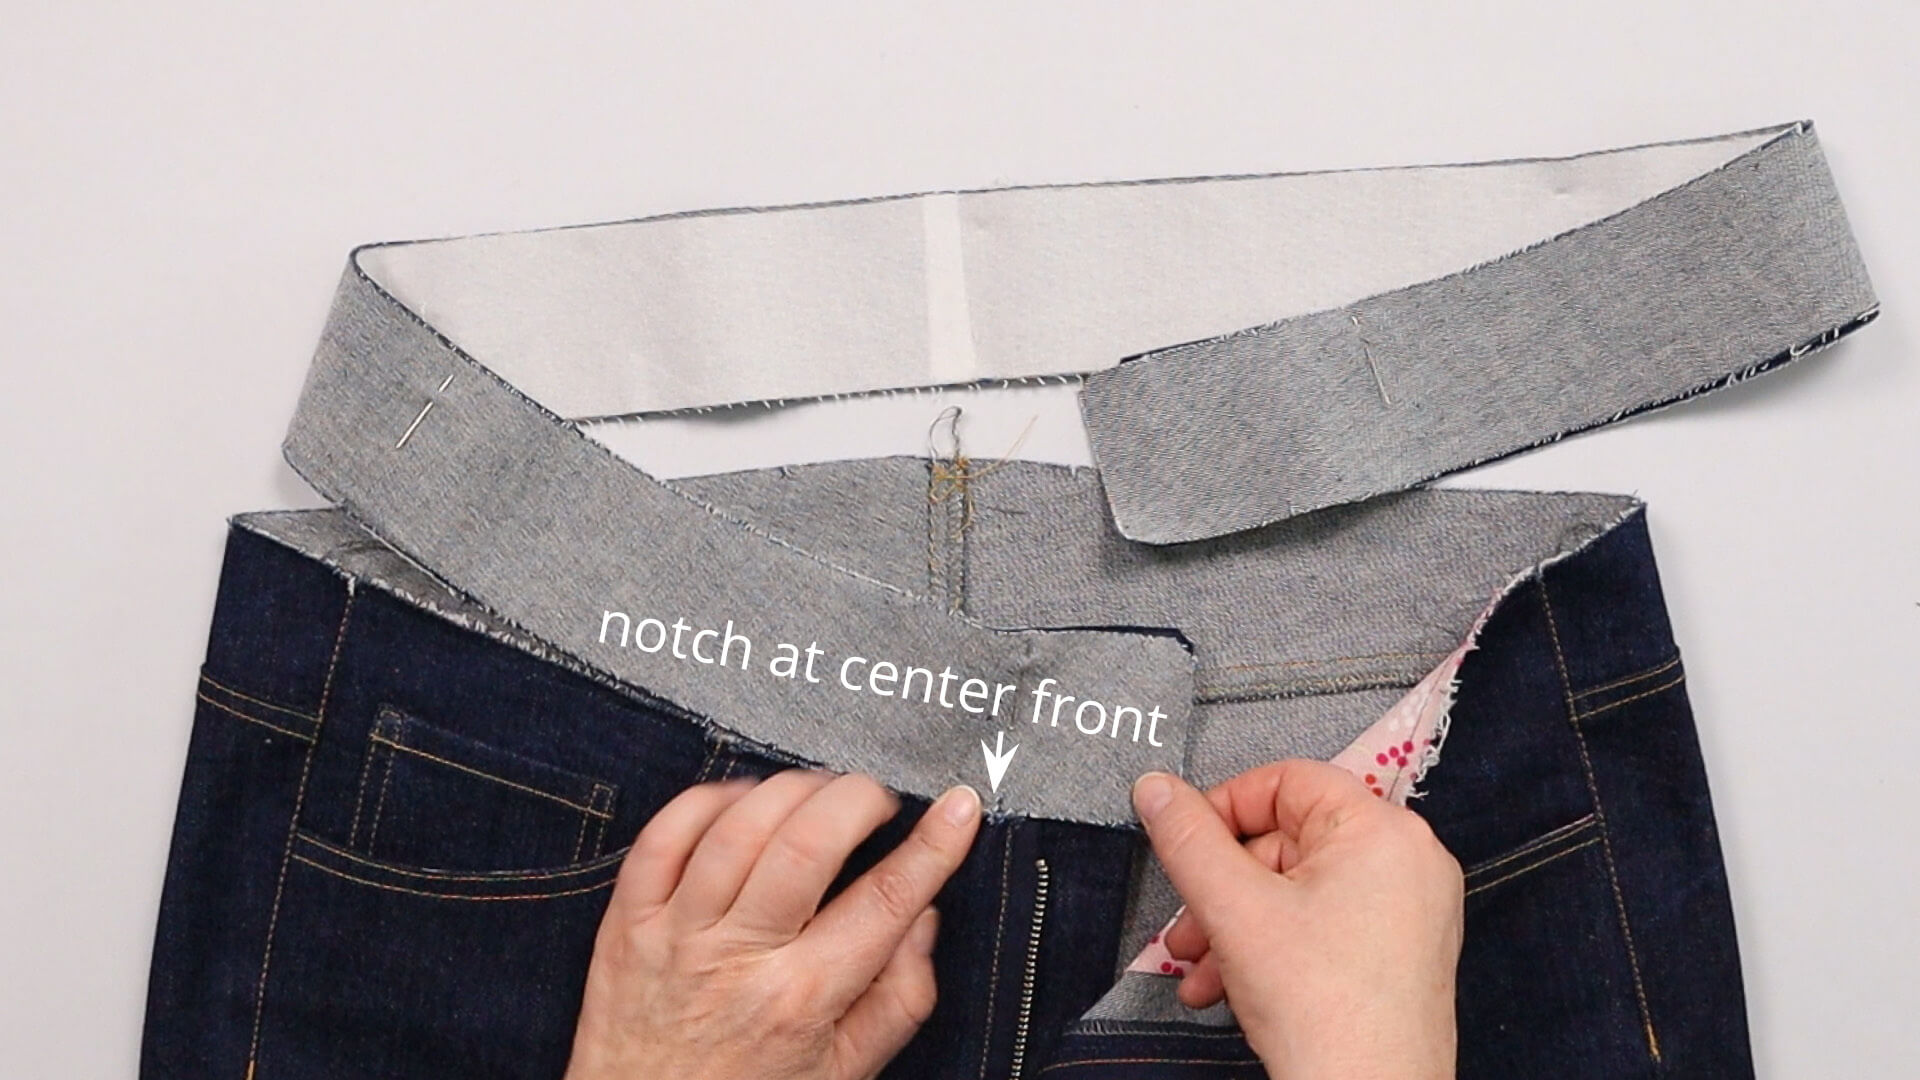
Now I place the waistband over my trousers and check which open side should go on the right trouser front with the fly and which on the left. The interfaced waistband strip should later become the outside of the fnished waistband, with the non-interfaced strip on the inside. The front notch on the lower edge of the waistband indicates the position of the center front on both sides. On the right front, the waistband fits exactly from the center front to 1 cm above the fly underlap.
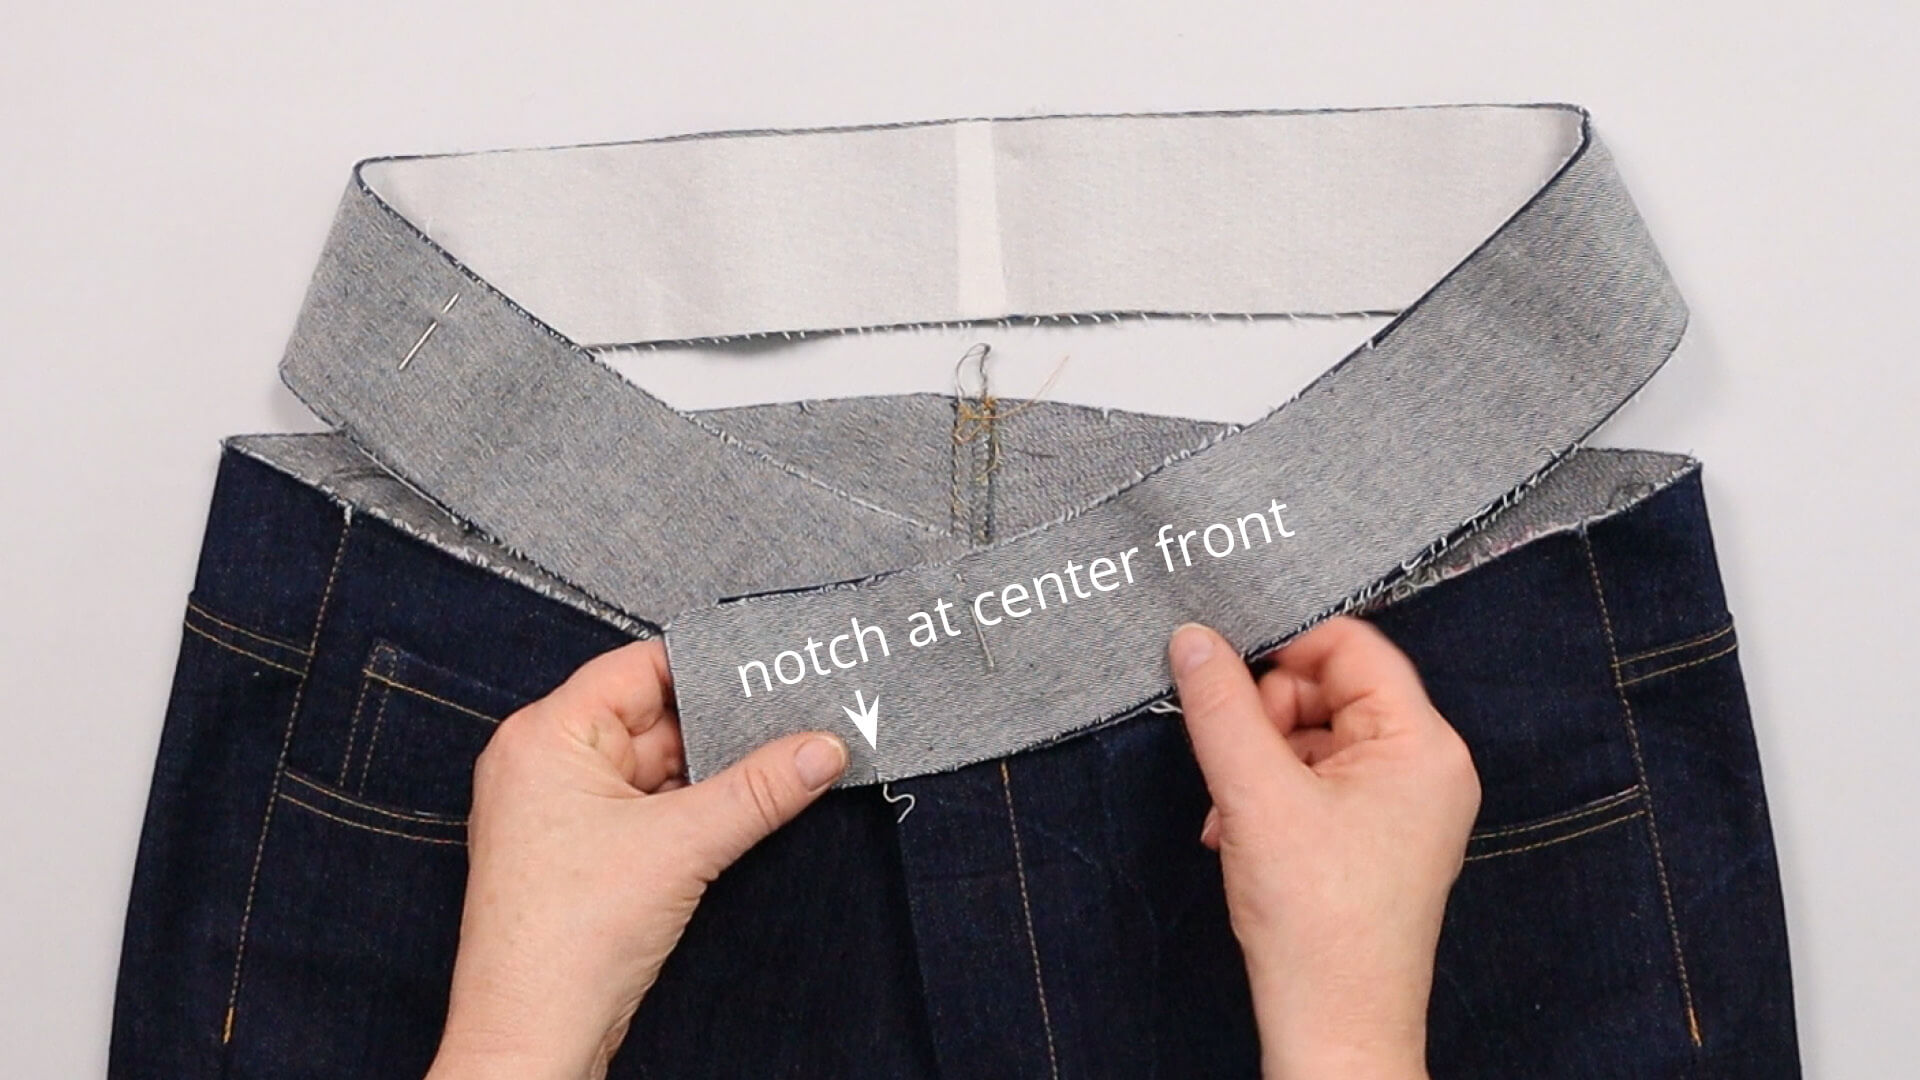
The waistband pieces must be shortened on the left side with the fly topstitching. If you place the waistband with the notch at the center front, there are still a few centimeters of fabric left over. However, only 1 cm of material is needed for the seam allowance from the notch. The fabric is therefore cut off there. But ATTENTION: If you find that the waistband is too tight when trying on the trousers, you have the option of not cutting away the allowance, but using the material to widen the waistband and simply moving the notches on the bottom edge accordingly.
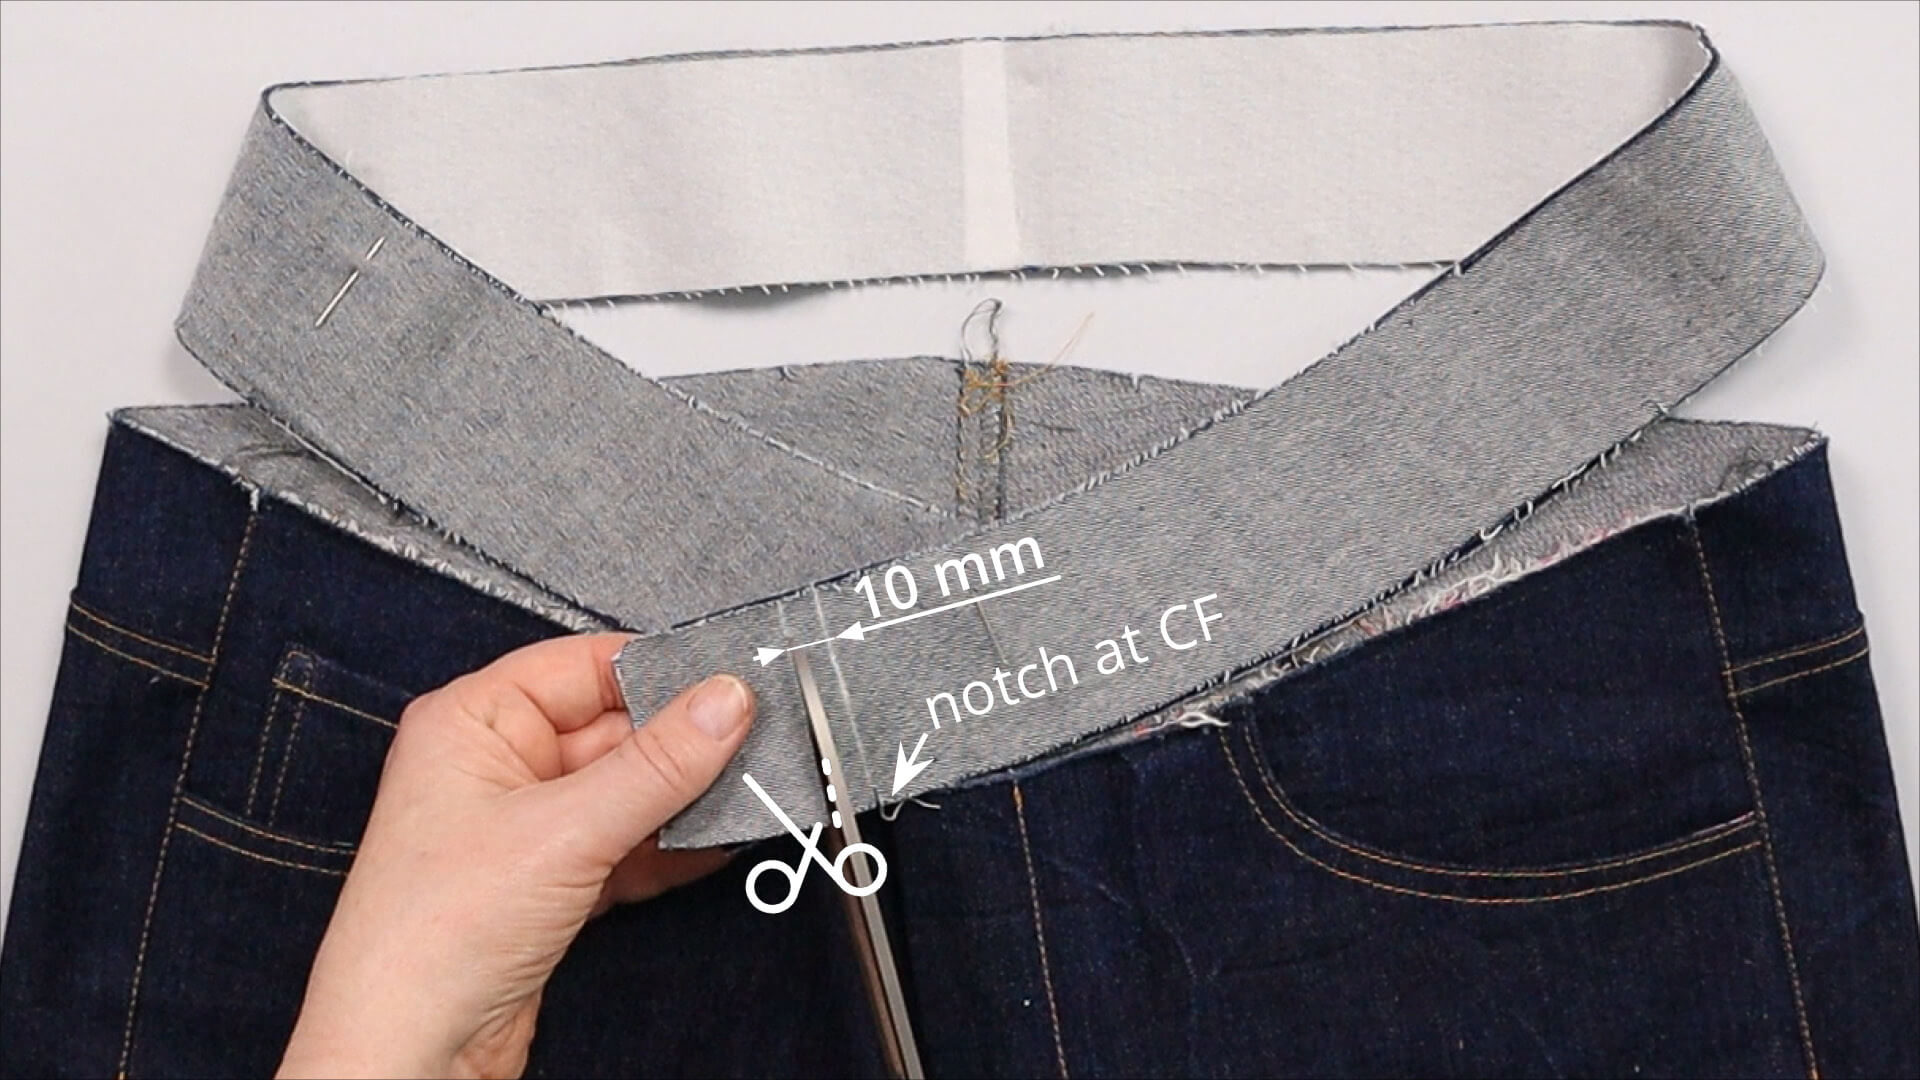
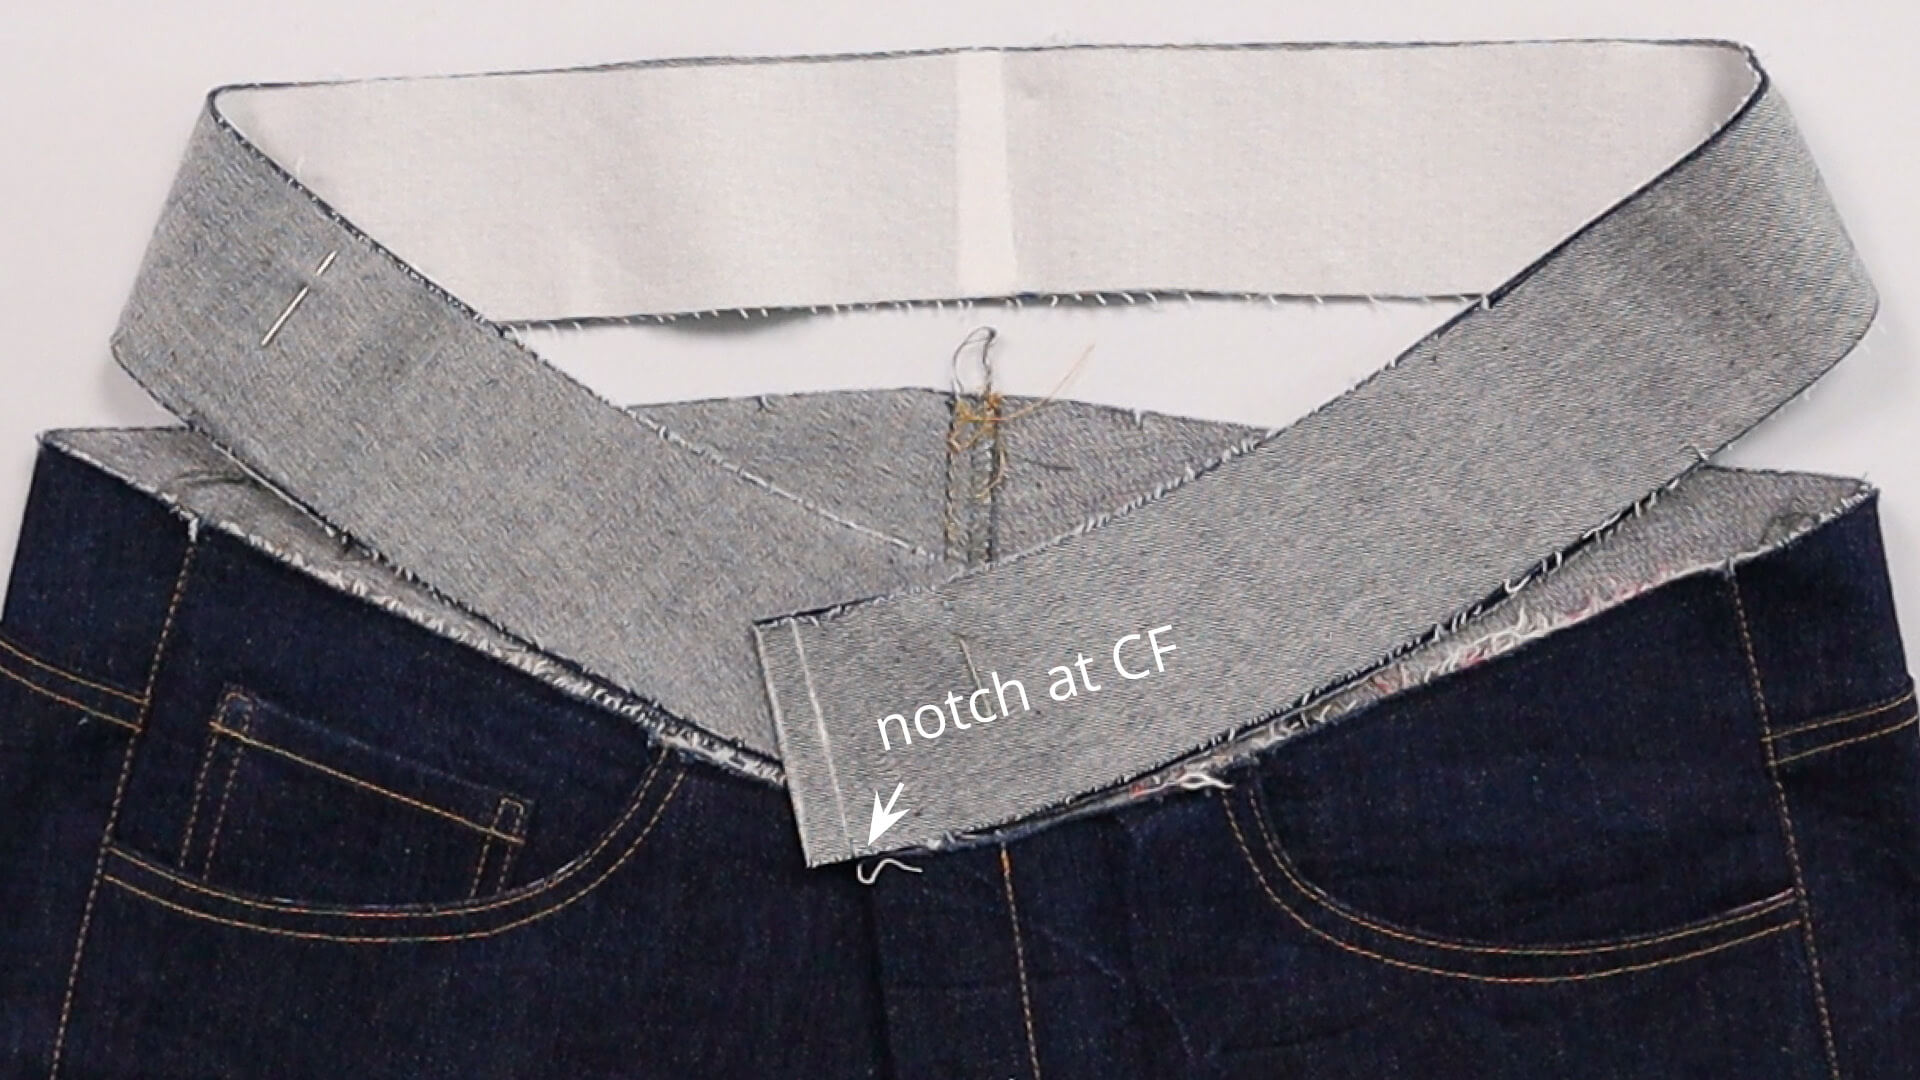
4. Shorten the outer edge of the waistband
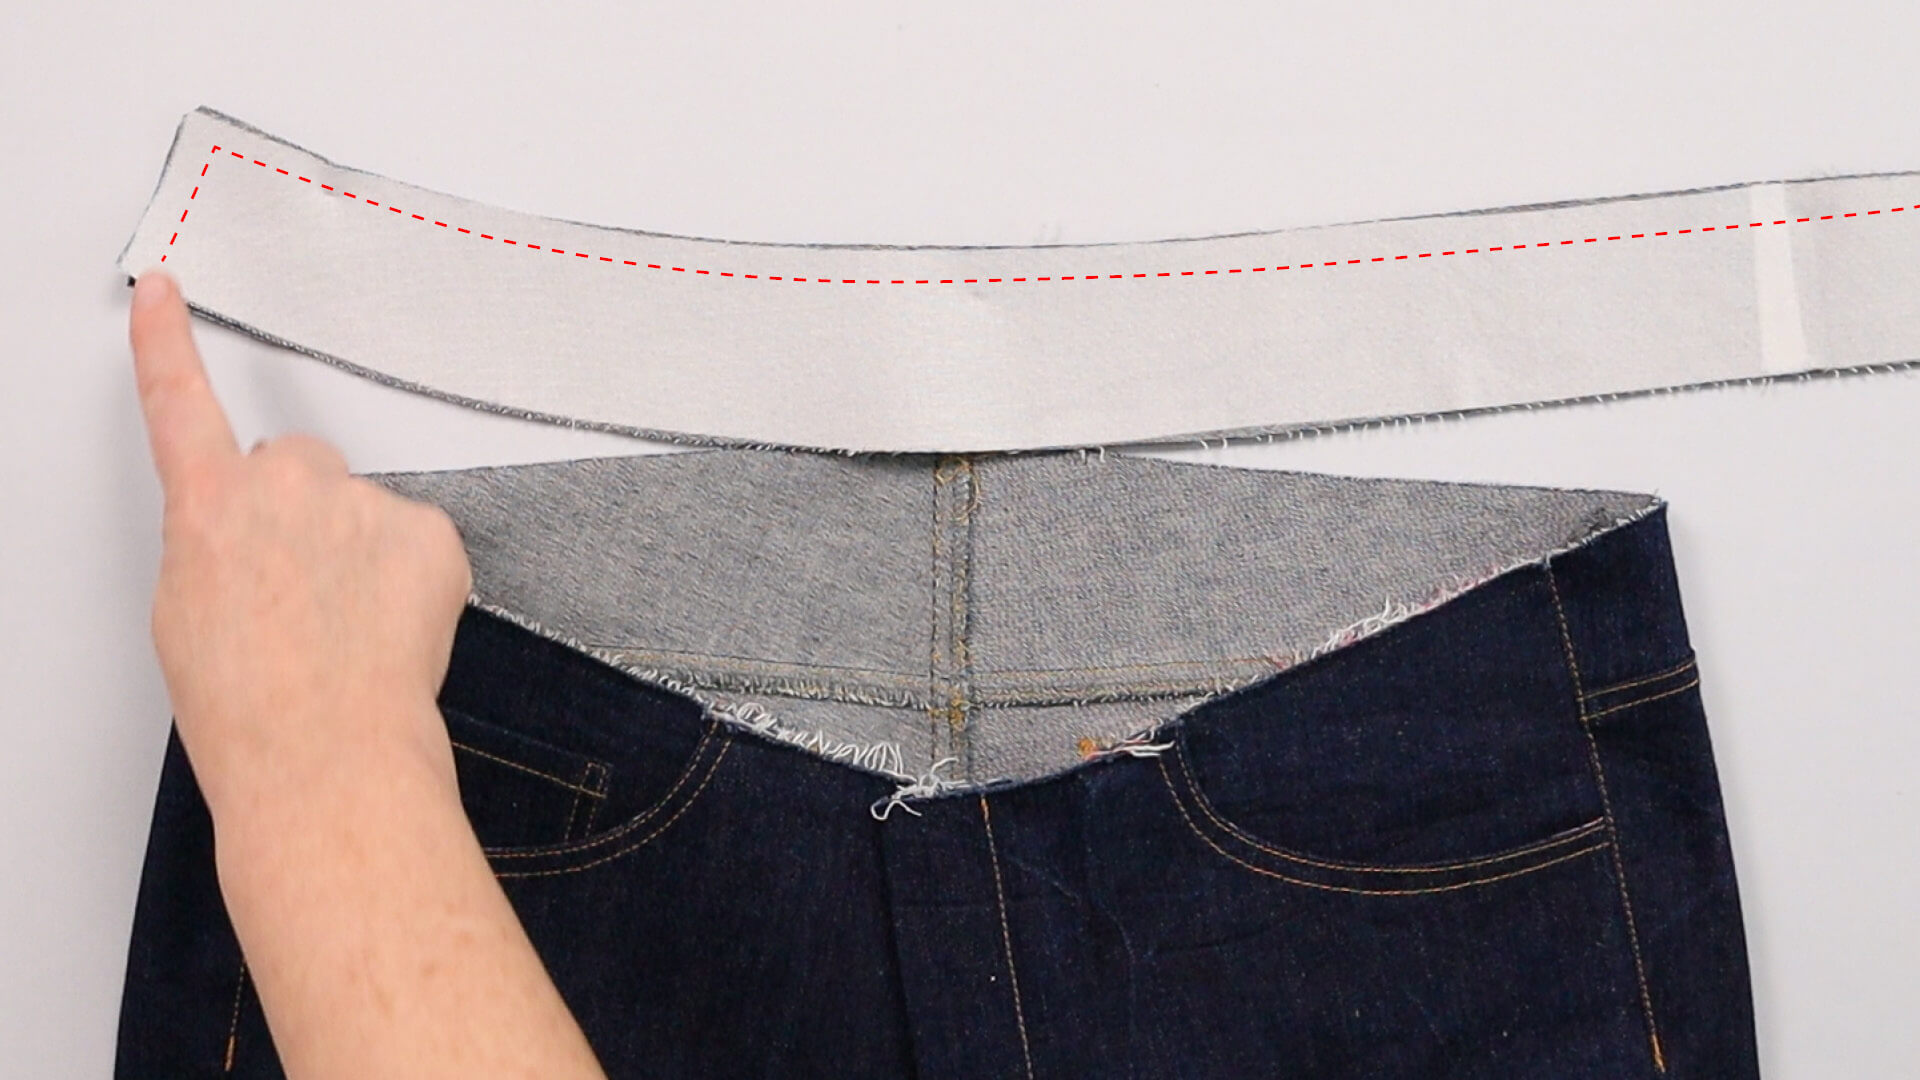
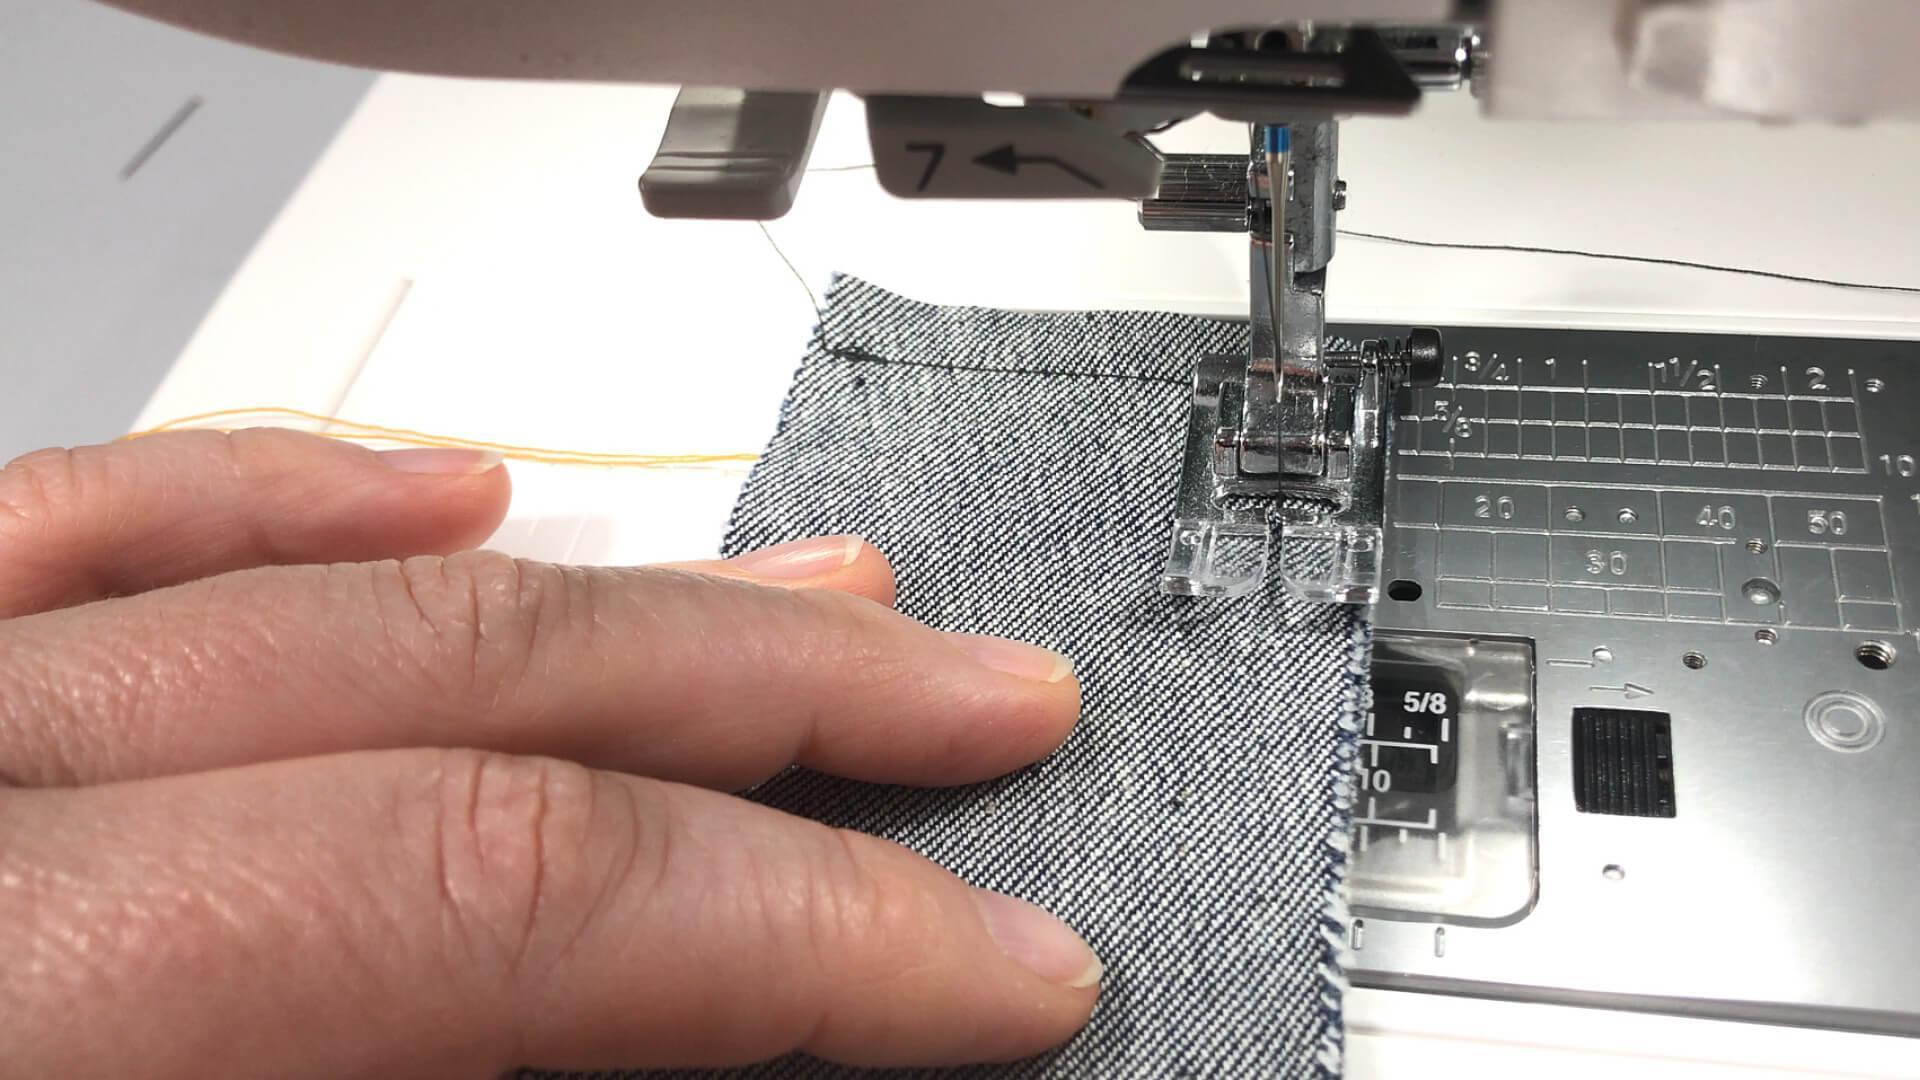
Now the waistbands can be sewn together at the front and top edge with a seam allowance of 1 cm.
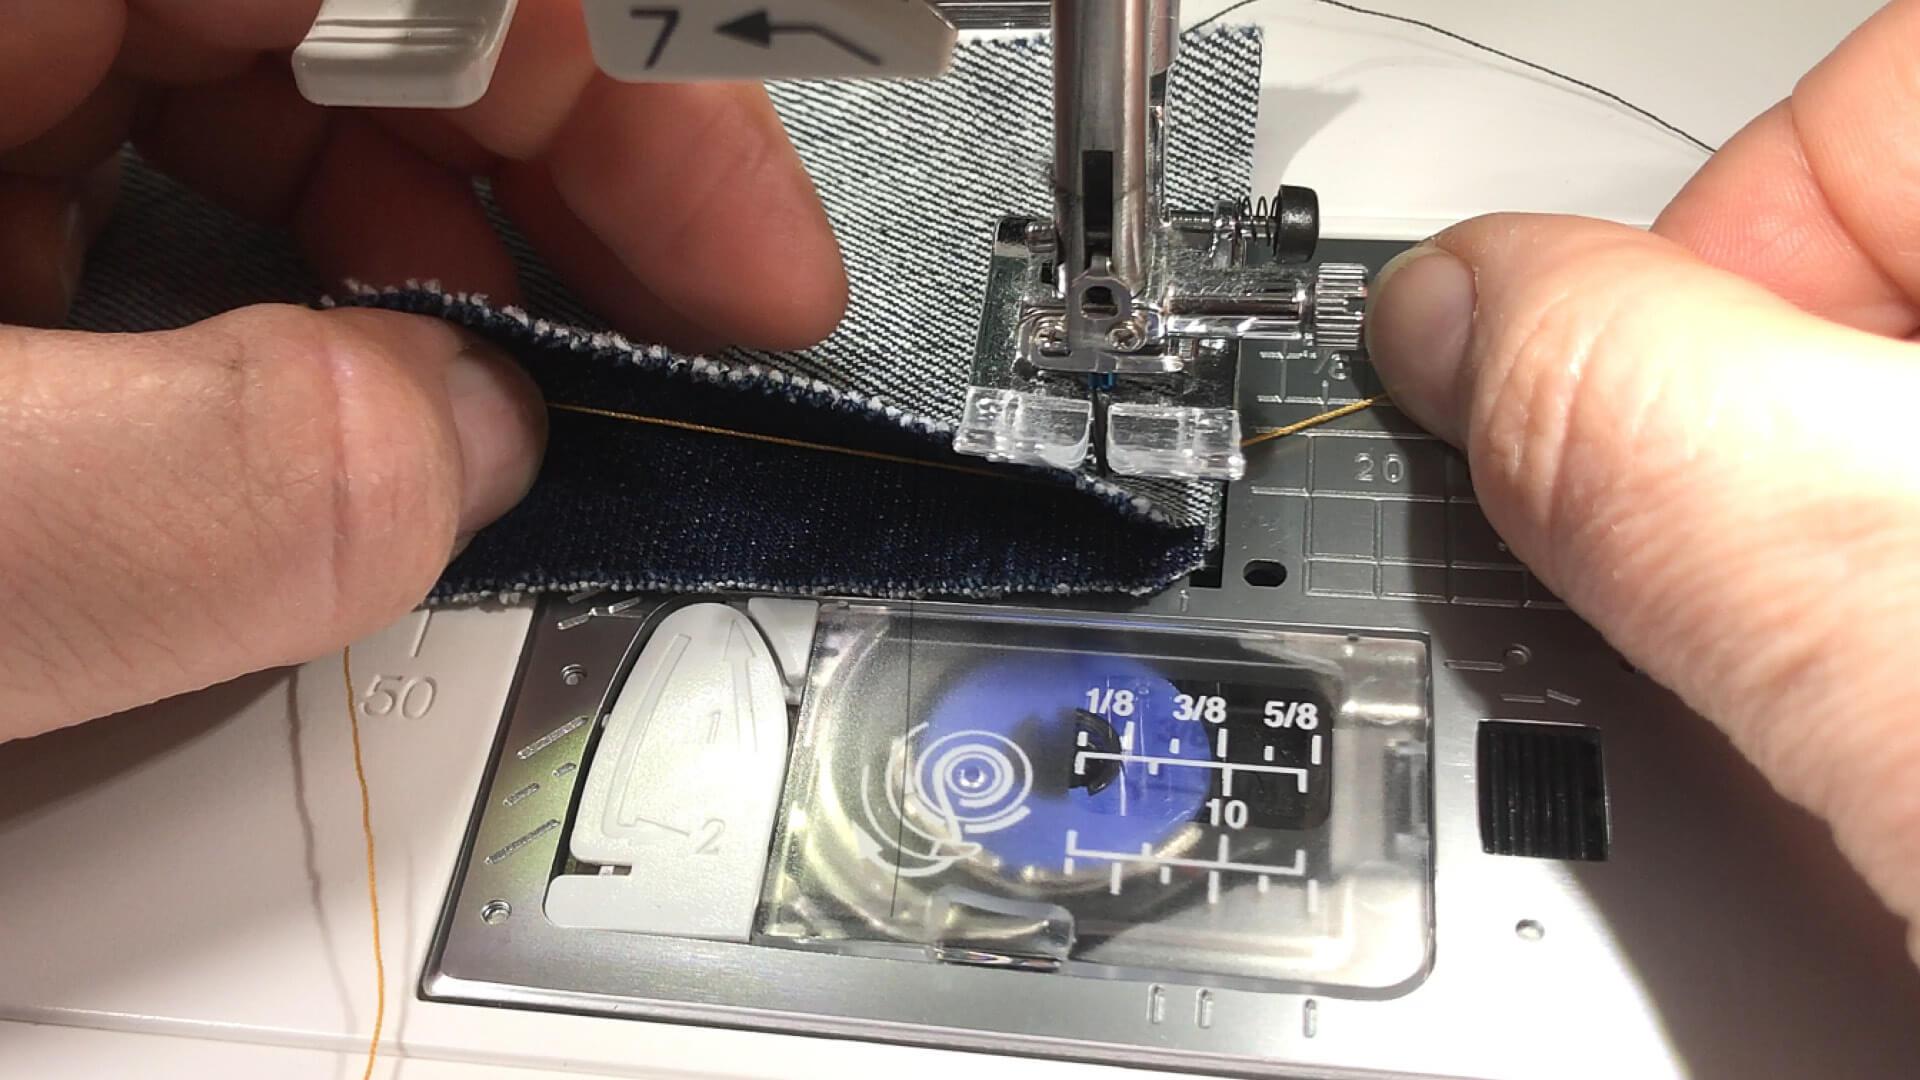
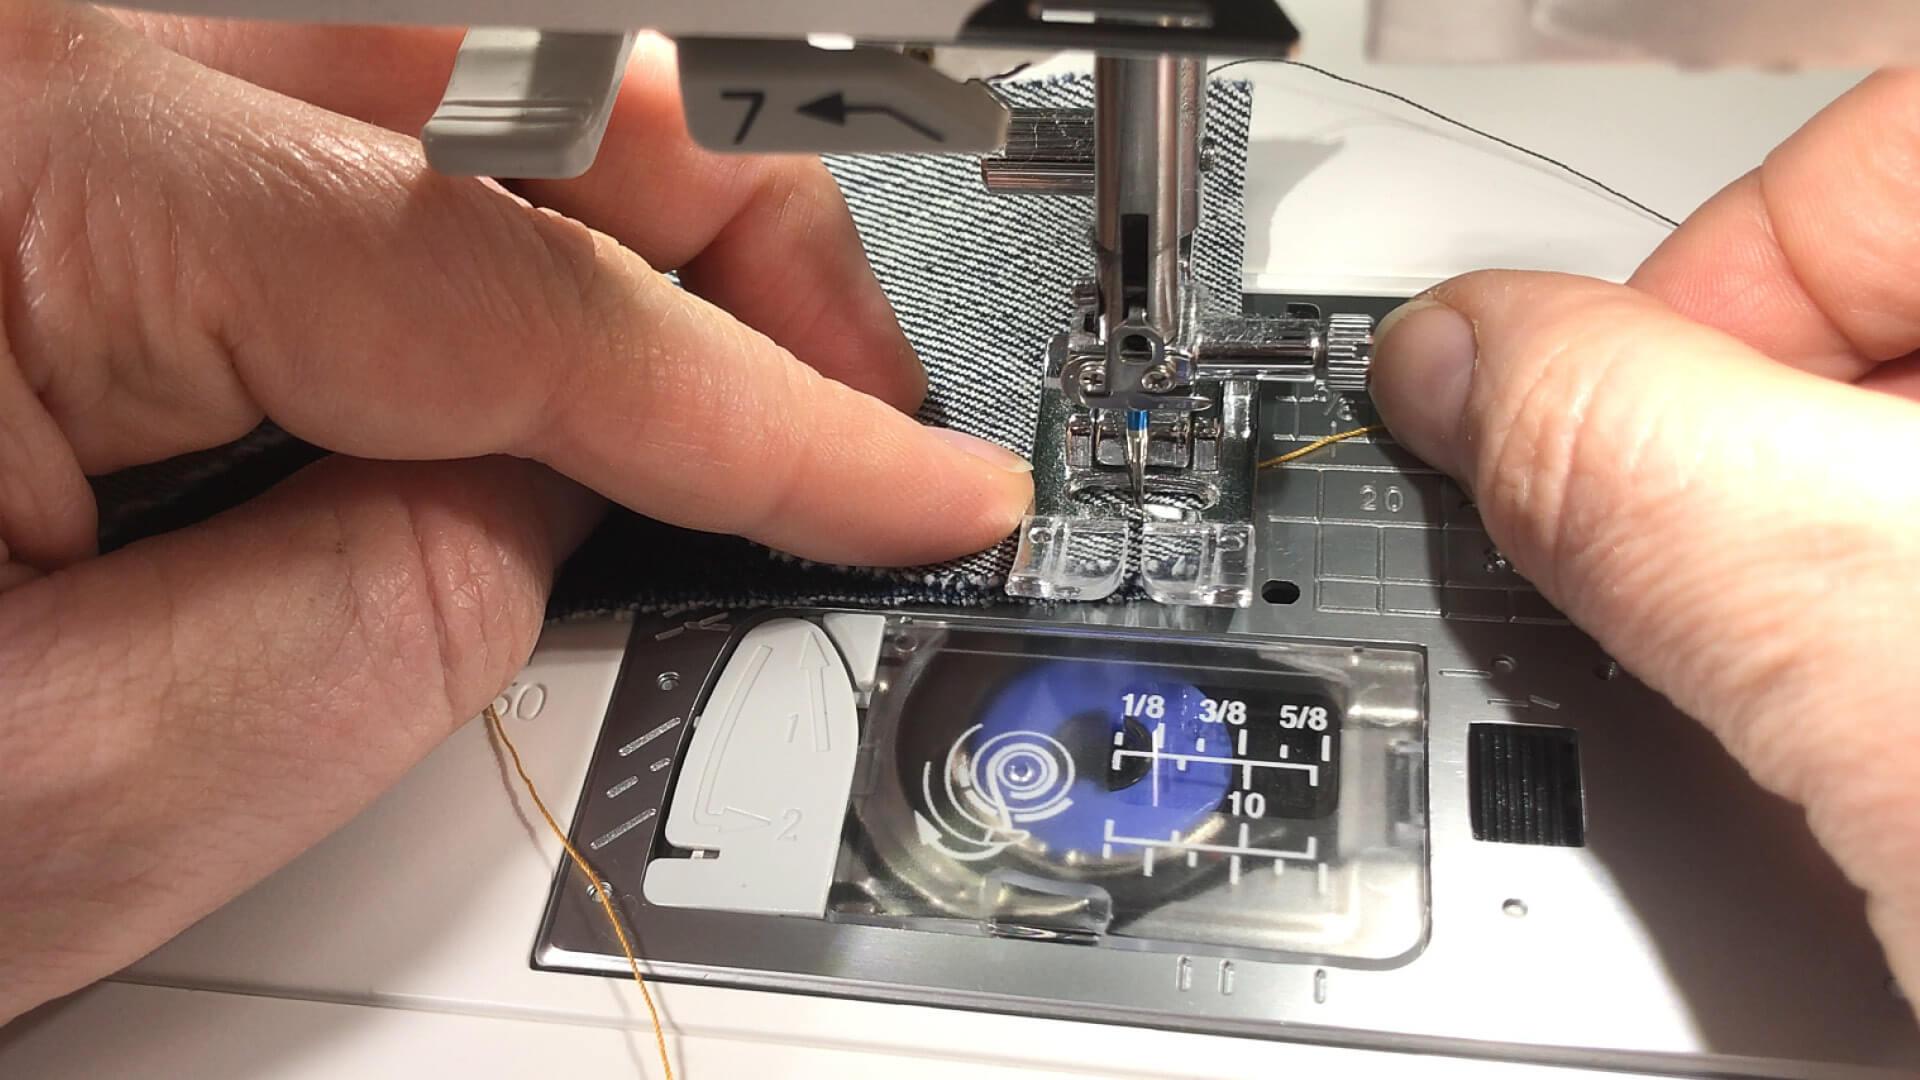
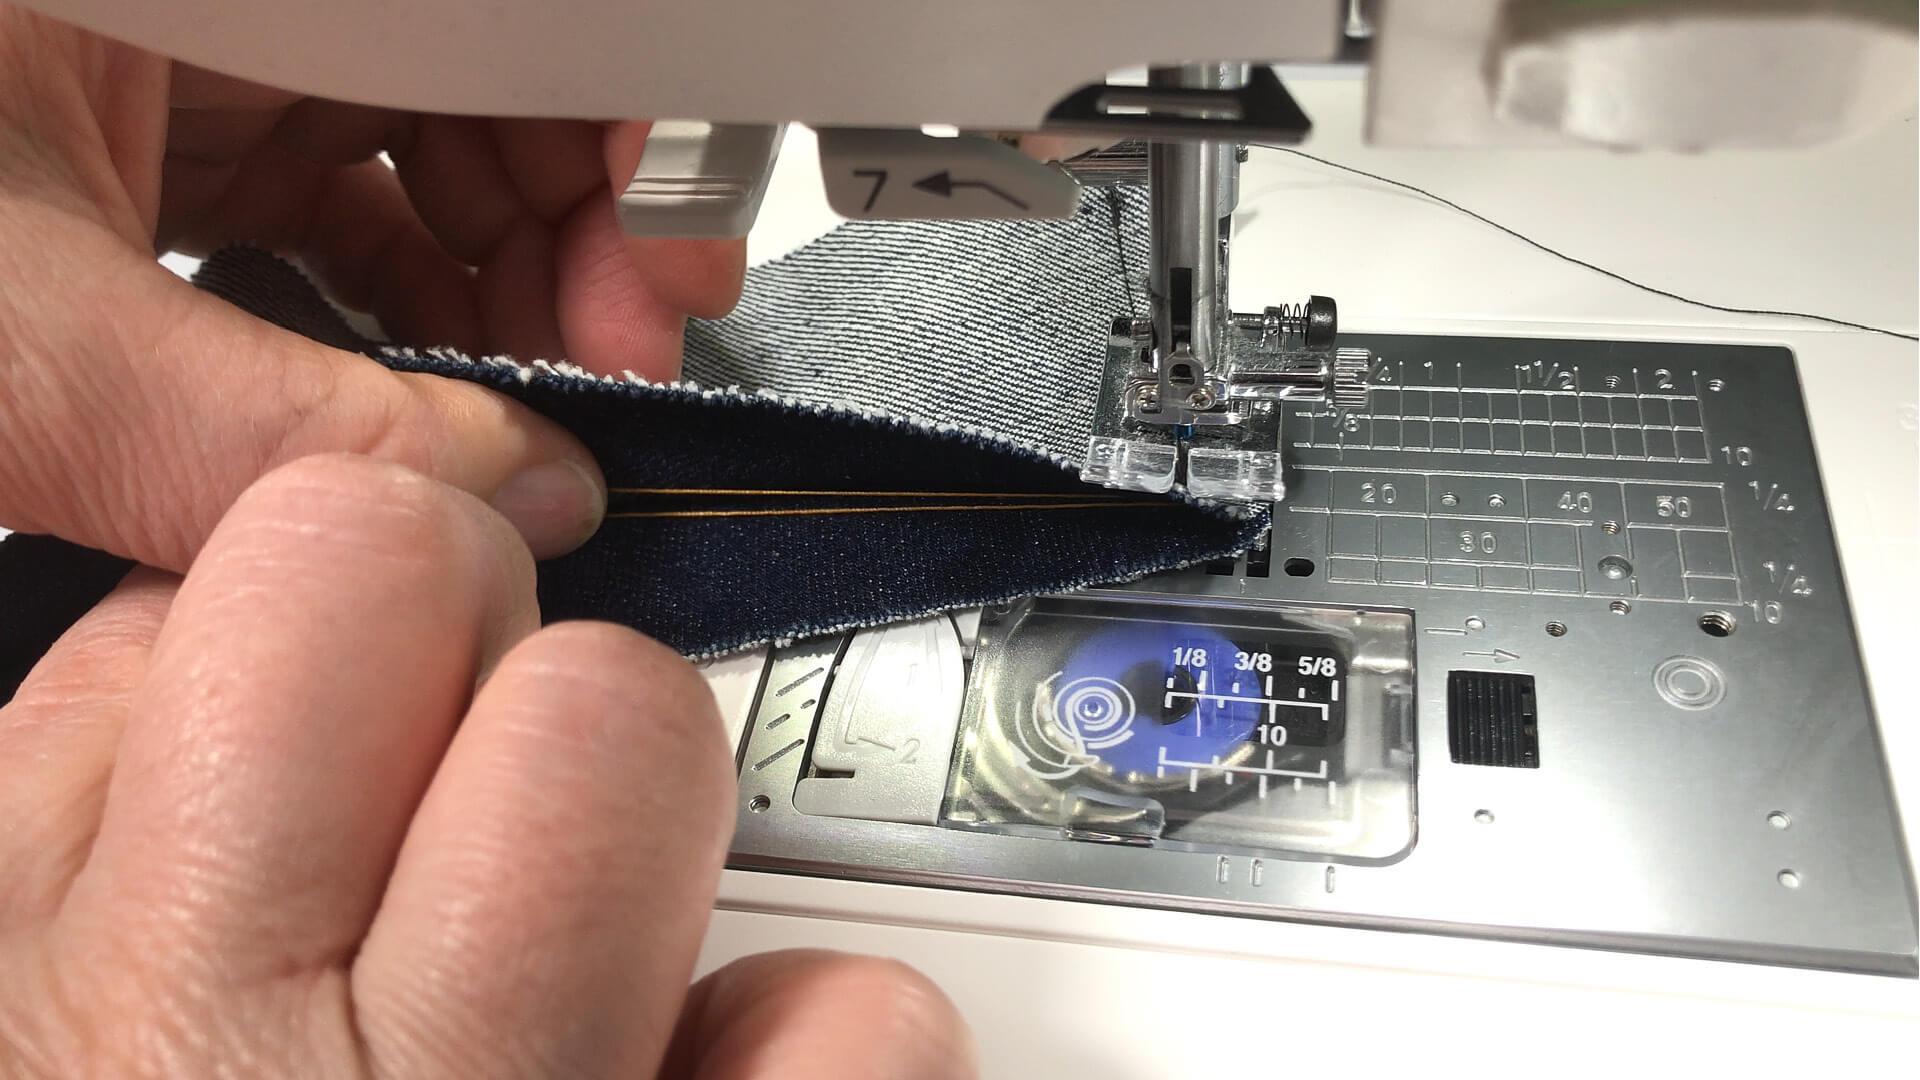
Before I sew the last stitch, which goes towards the top corner, I stop and place a 20 cm thread between the layers of fabric, right up to the lowered needle. Then I sew a stitch over this thread, lower the needle again and lift the presser foot. Now I place both thread ends on the inside of the waistband. With the help of this thread, I can turn the corners better later. This is how I proceed with both upper corners.
5. Turn the waistband edge
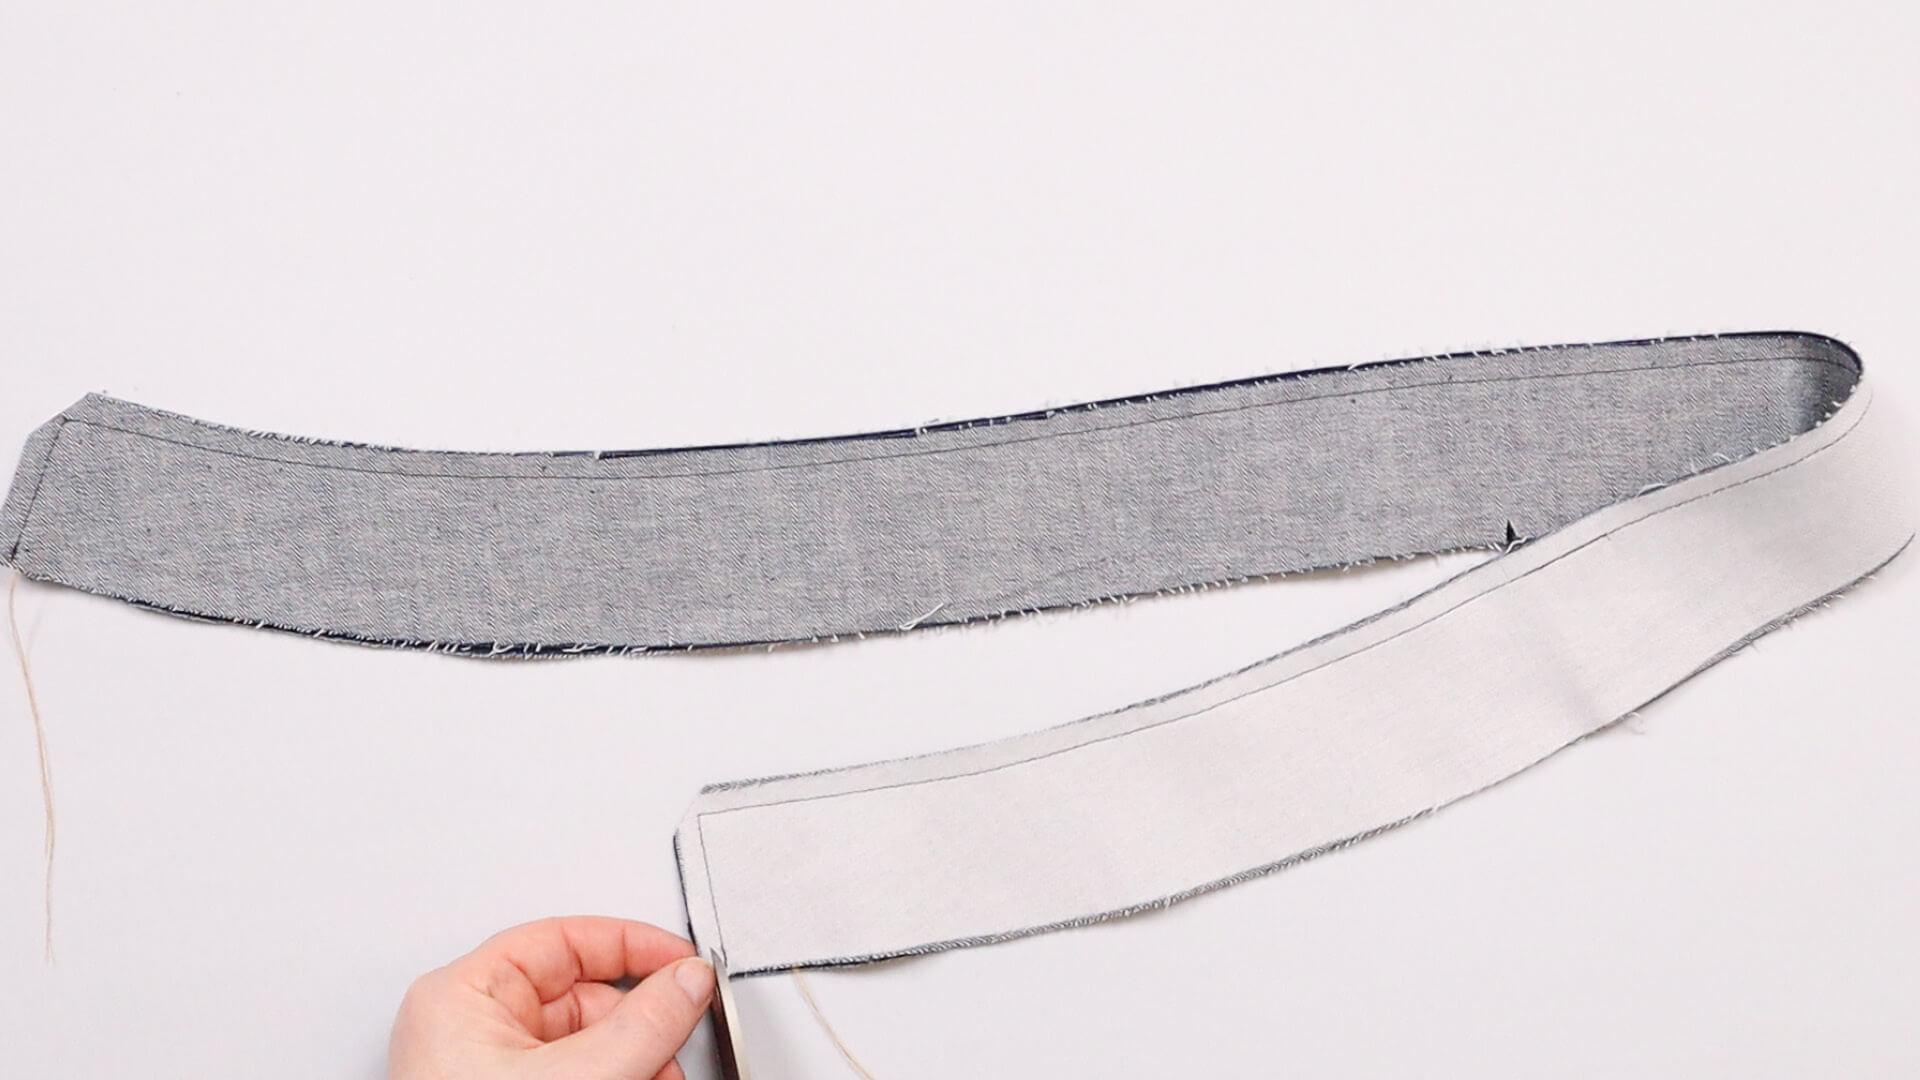
I now cut back the seam allowance at the two upper corners at an angle 3 mm from the seam. I also cut one of the seam allowances back to half its width on the short sides so that the edge is flatter after turning.
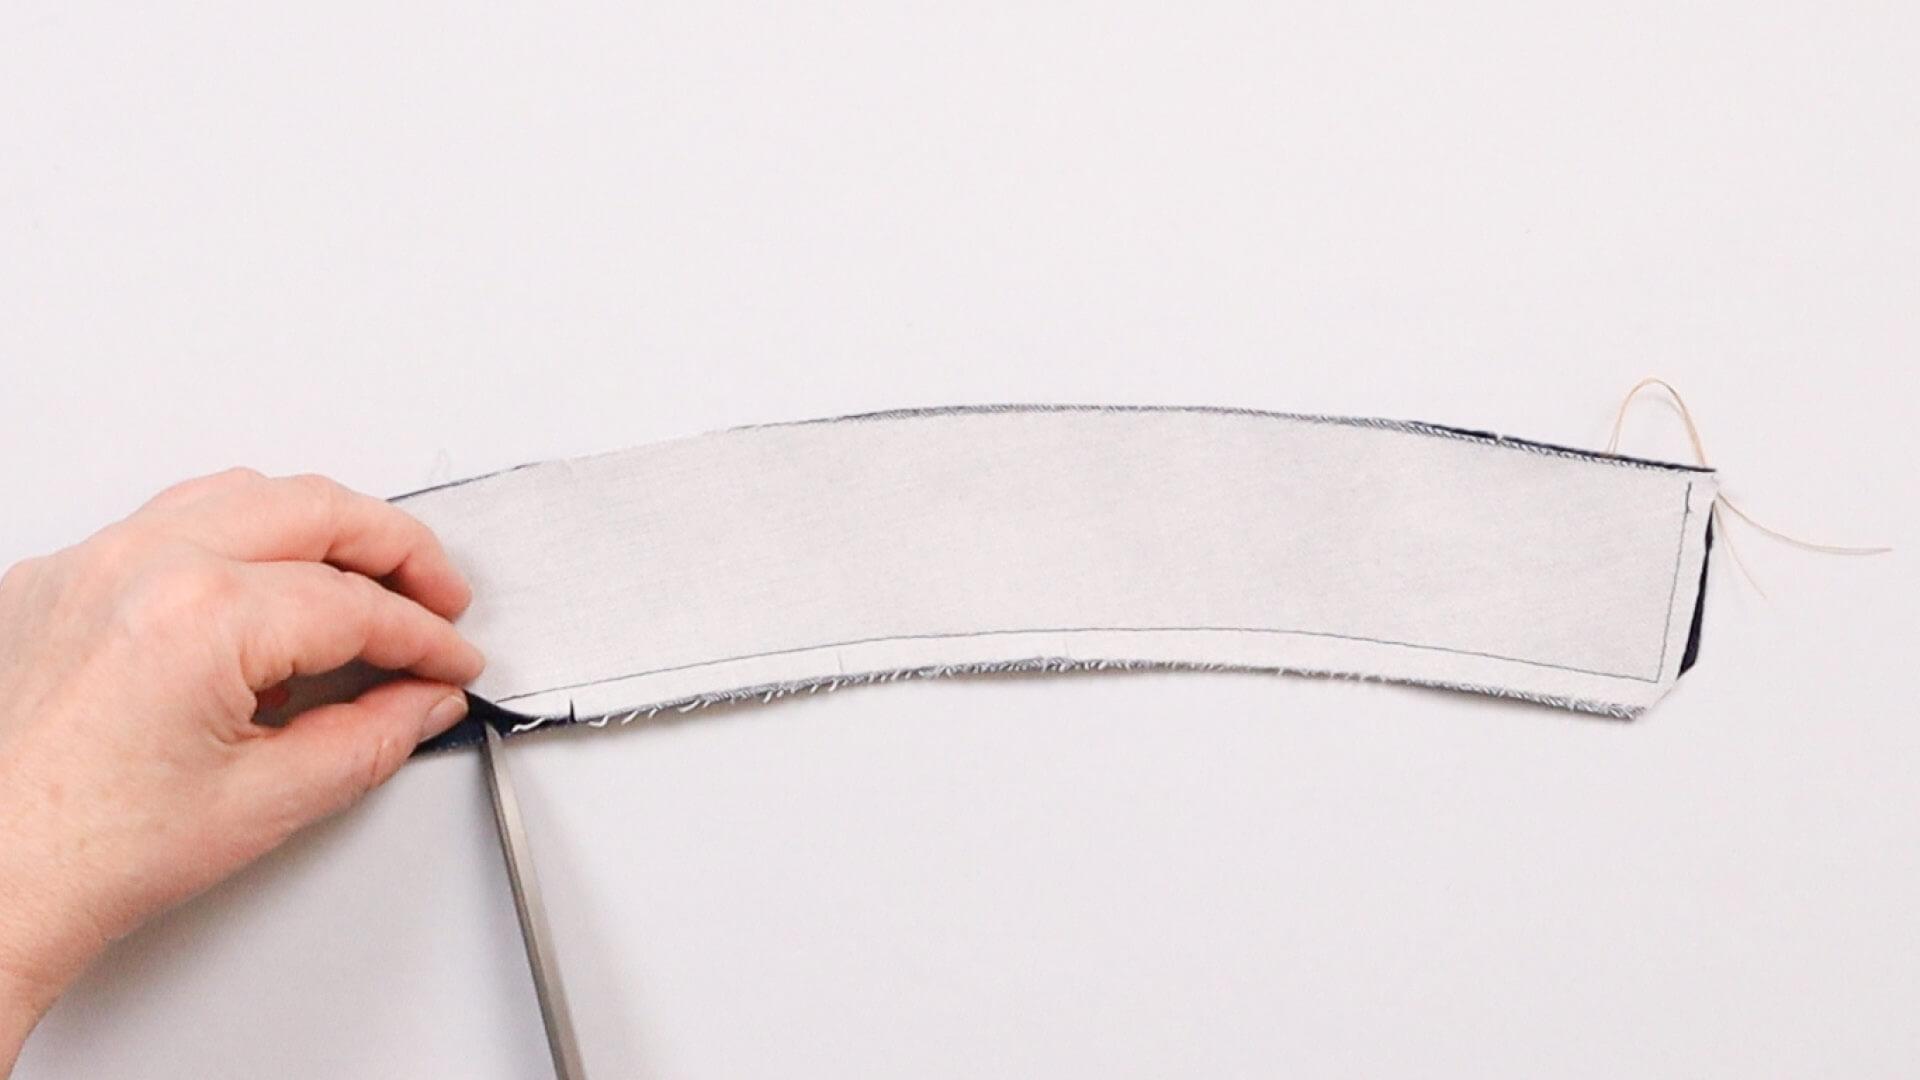
With a shaped waistband, I cut into the seam allowance at the top edge a few times up to 2 mm before the seam so that it does not tighten after turning.
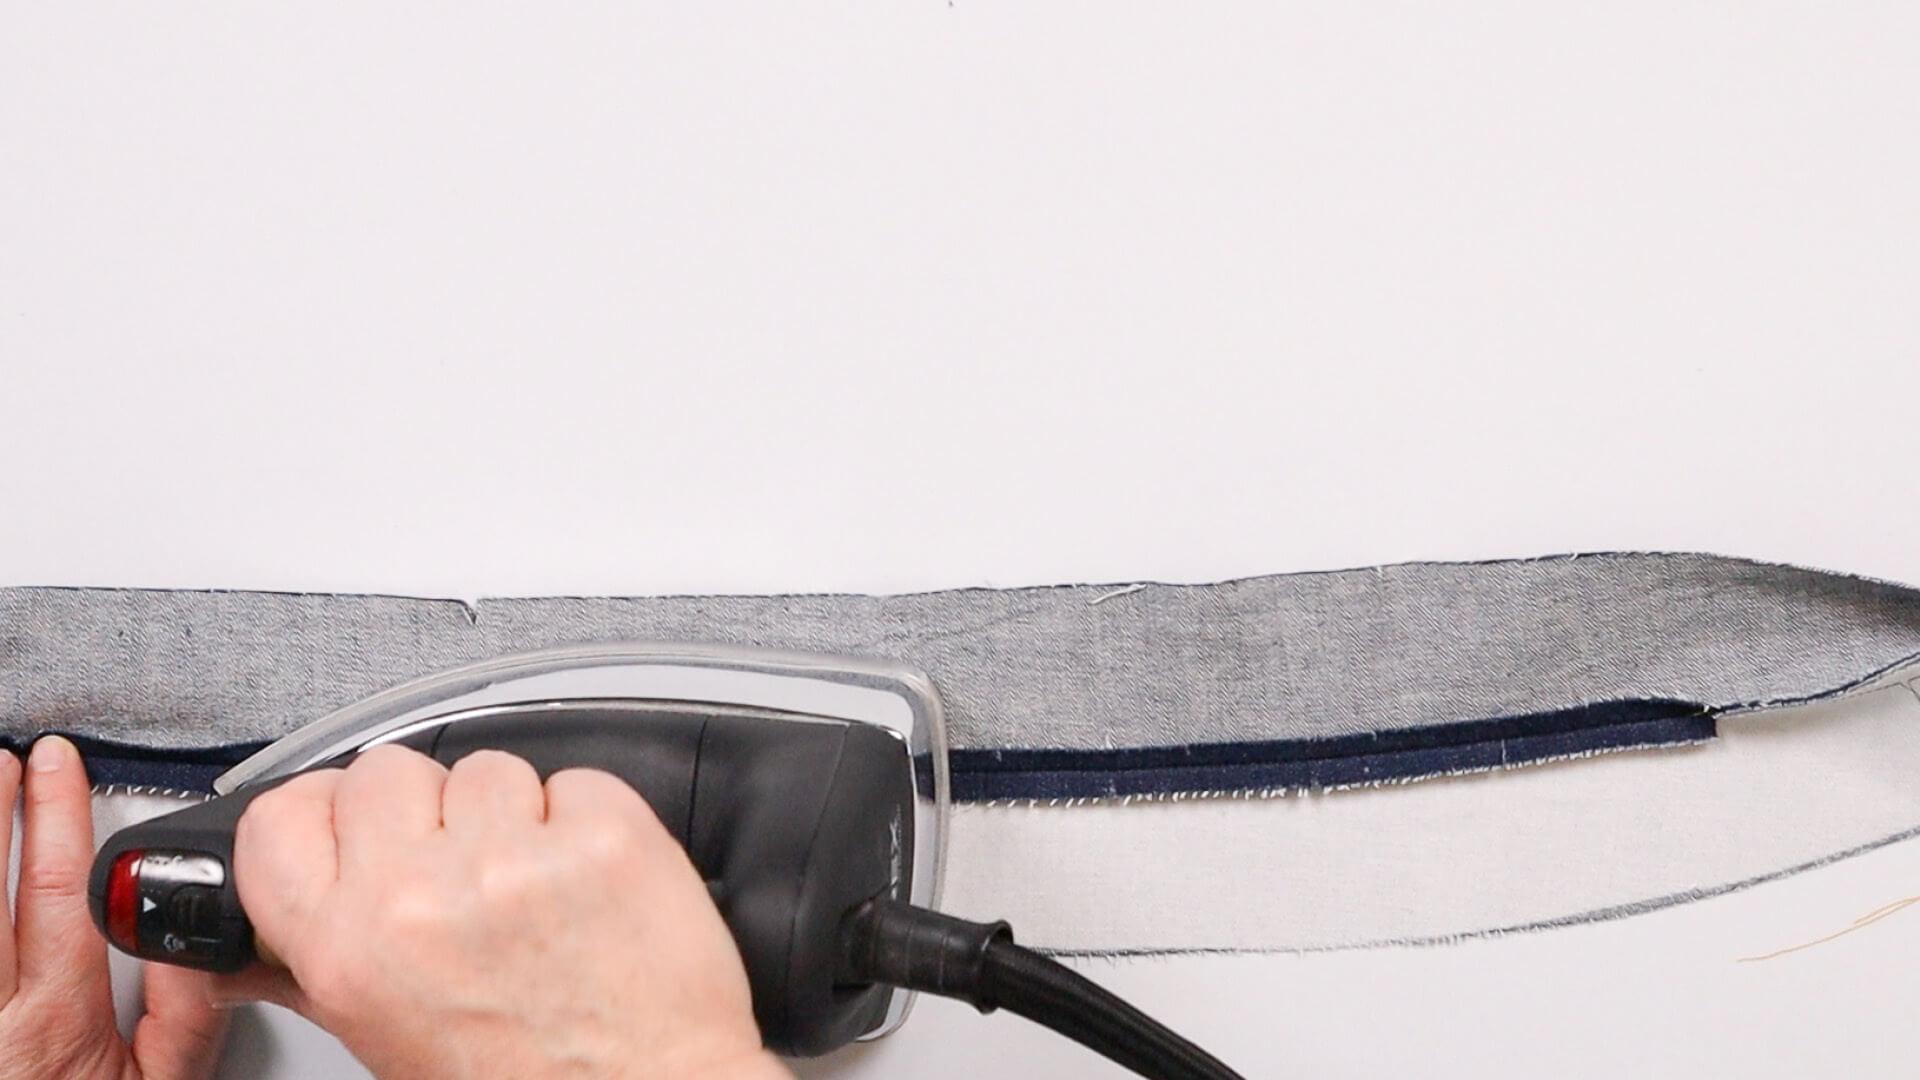
The seam allowance is now pressed apart as far as possible.
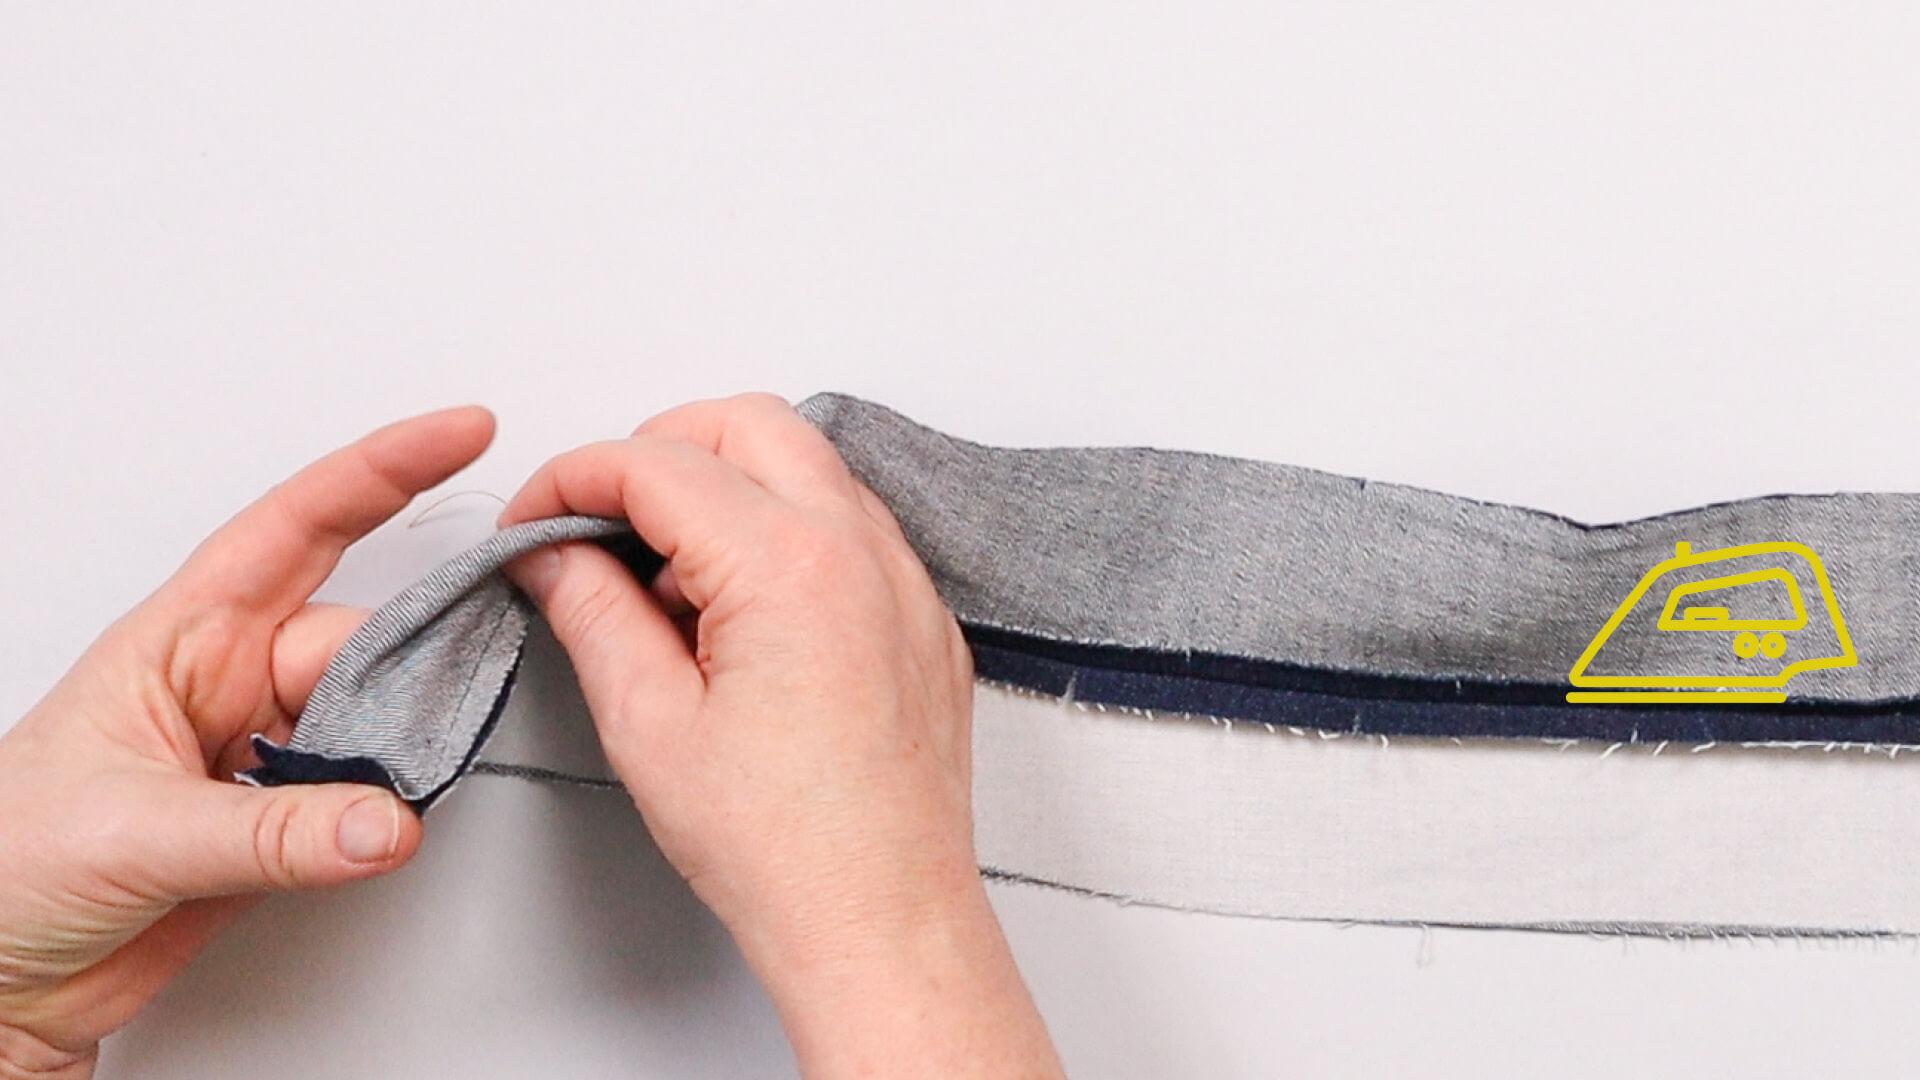
Then I turn the edge.
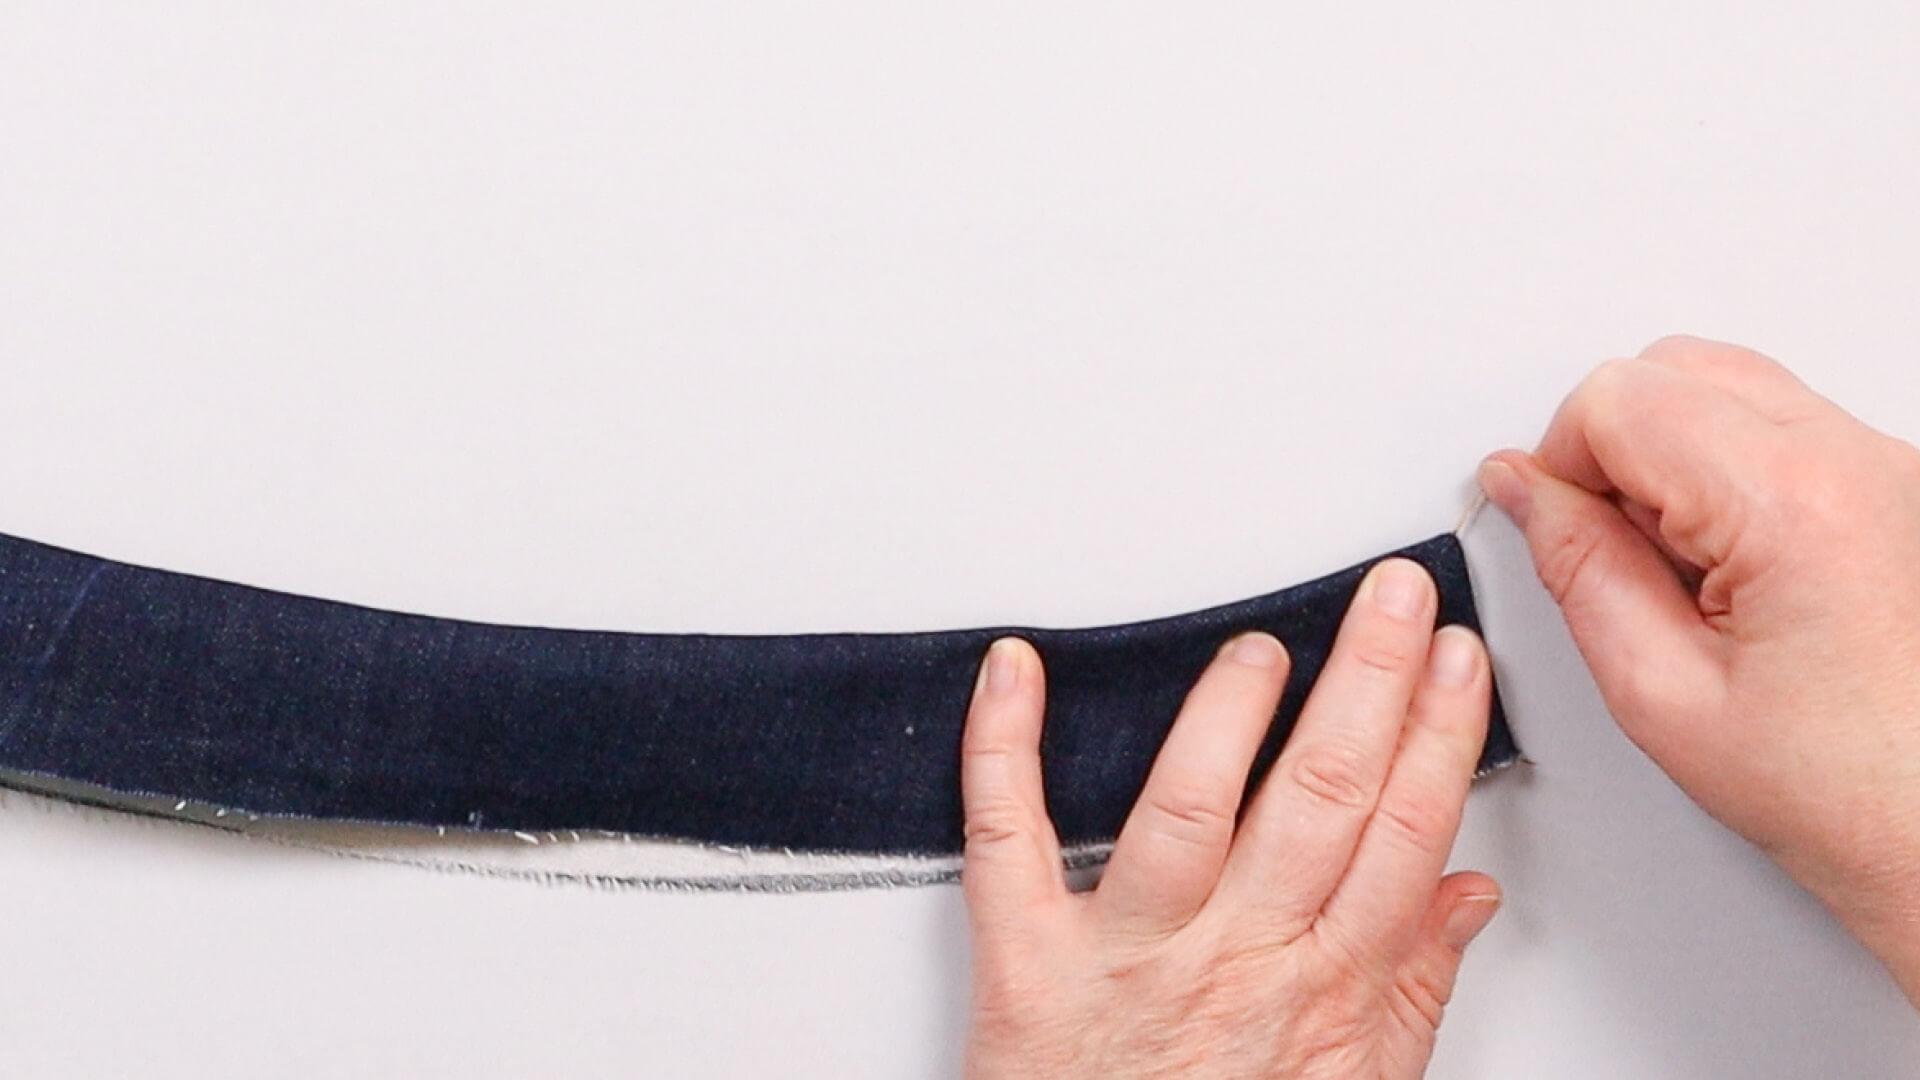
I can now use the sewn-in threads to shape the corners nicely.
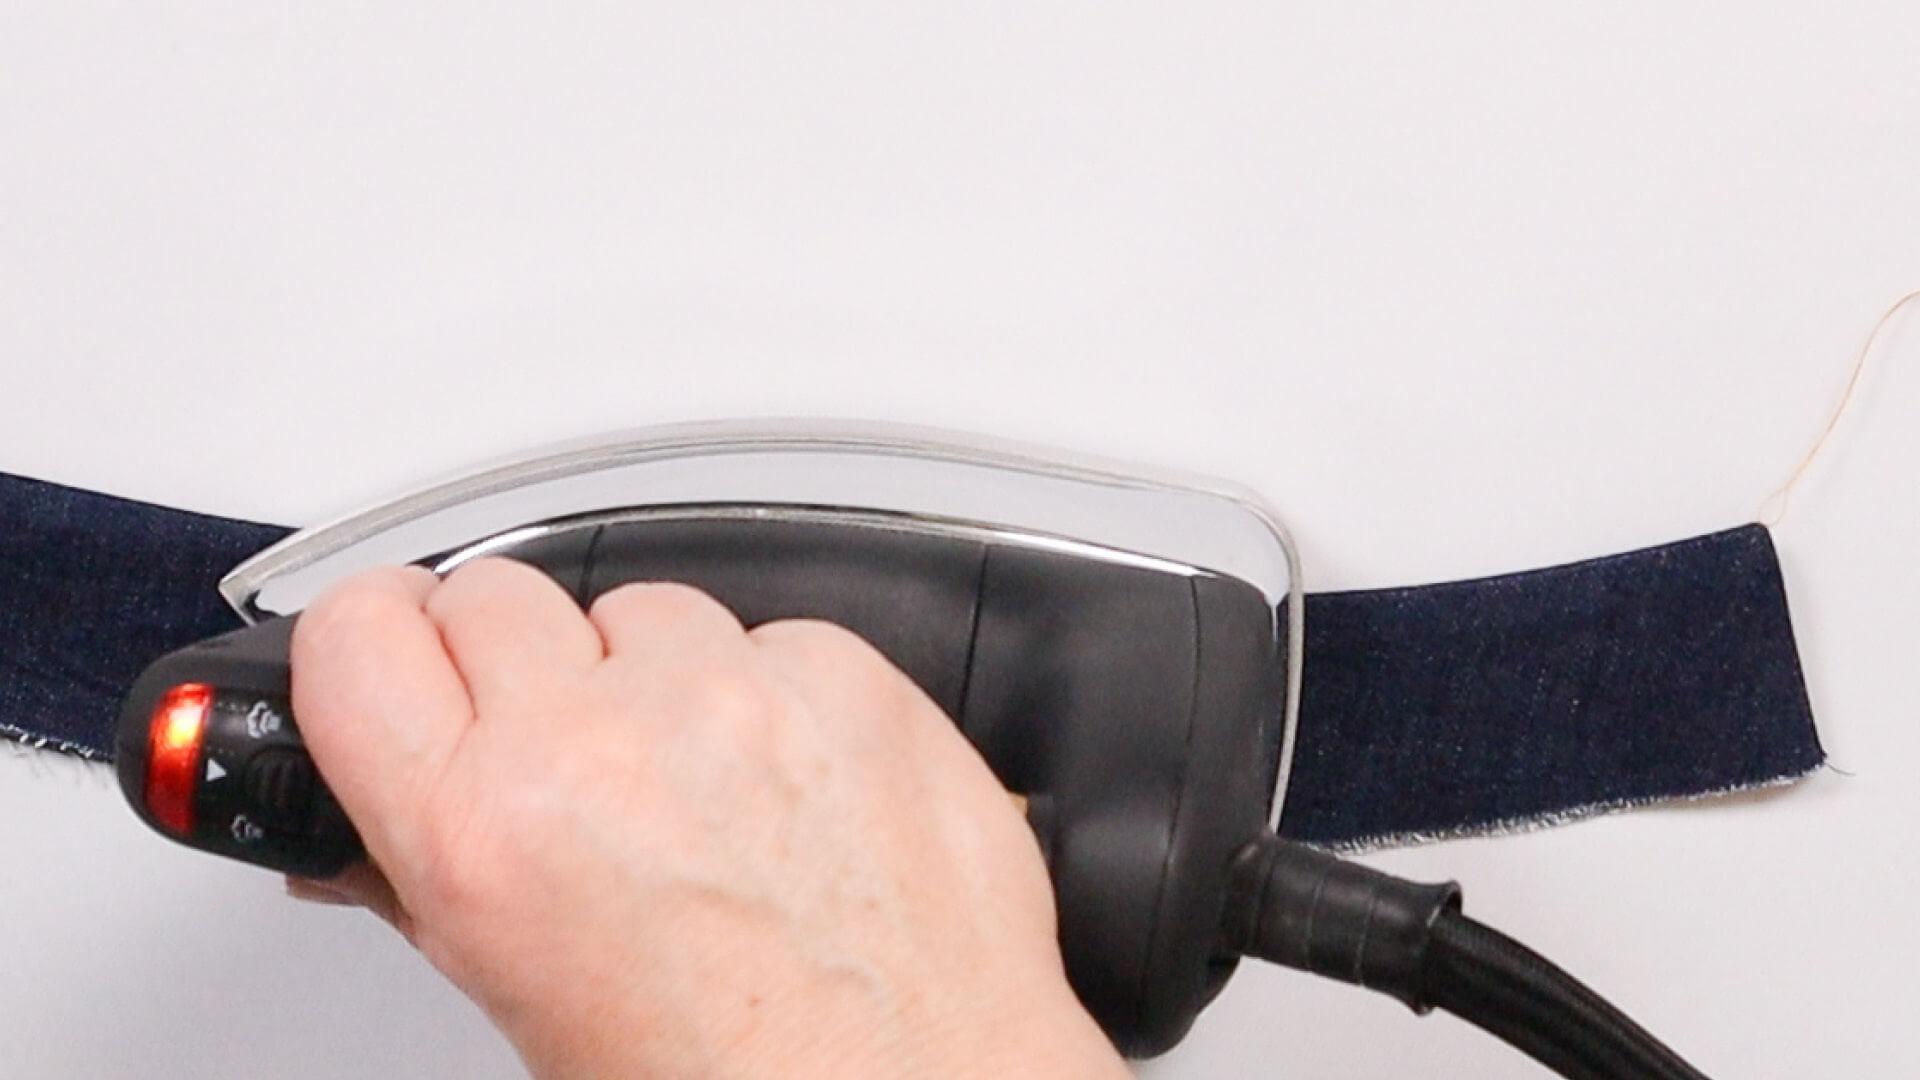
Now I iron the waistband flat from the right side.
6. Prepare the lower edge of the outer waistband
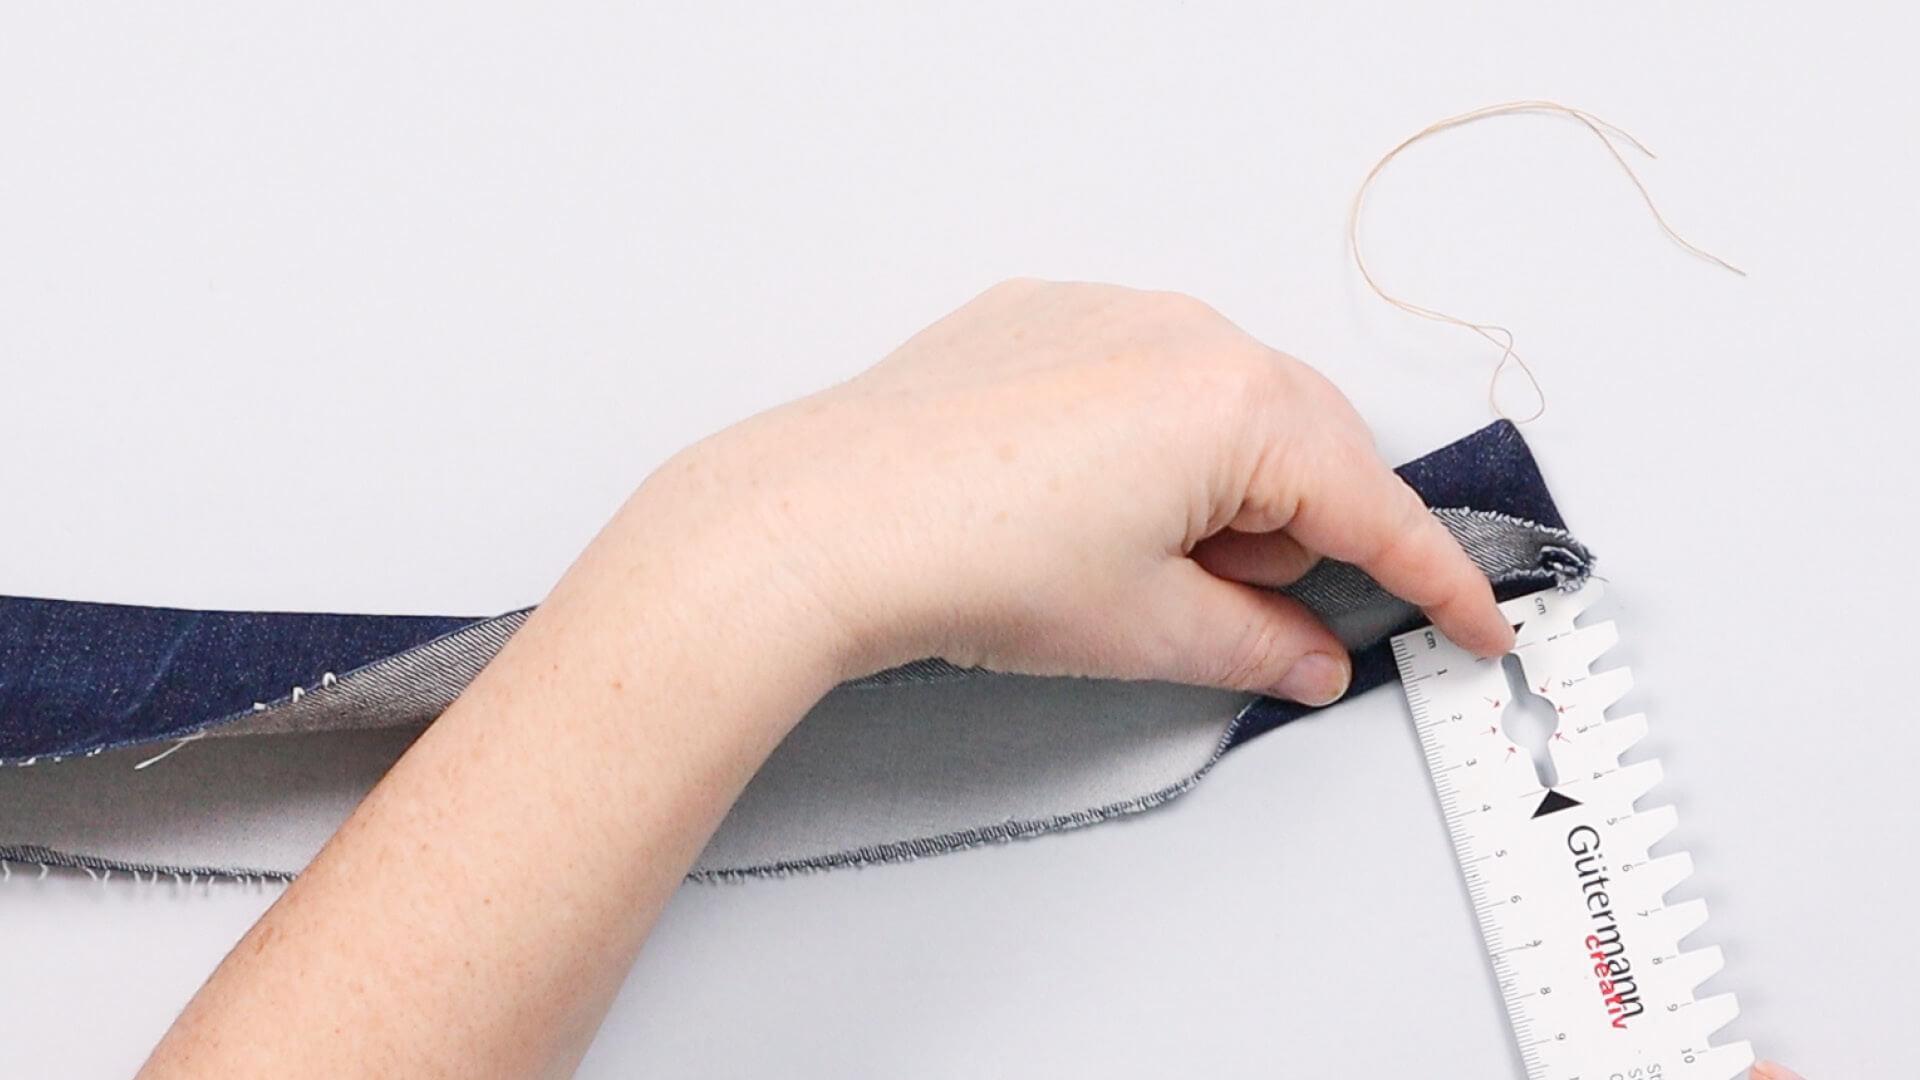
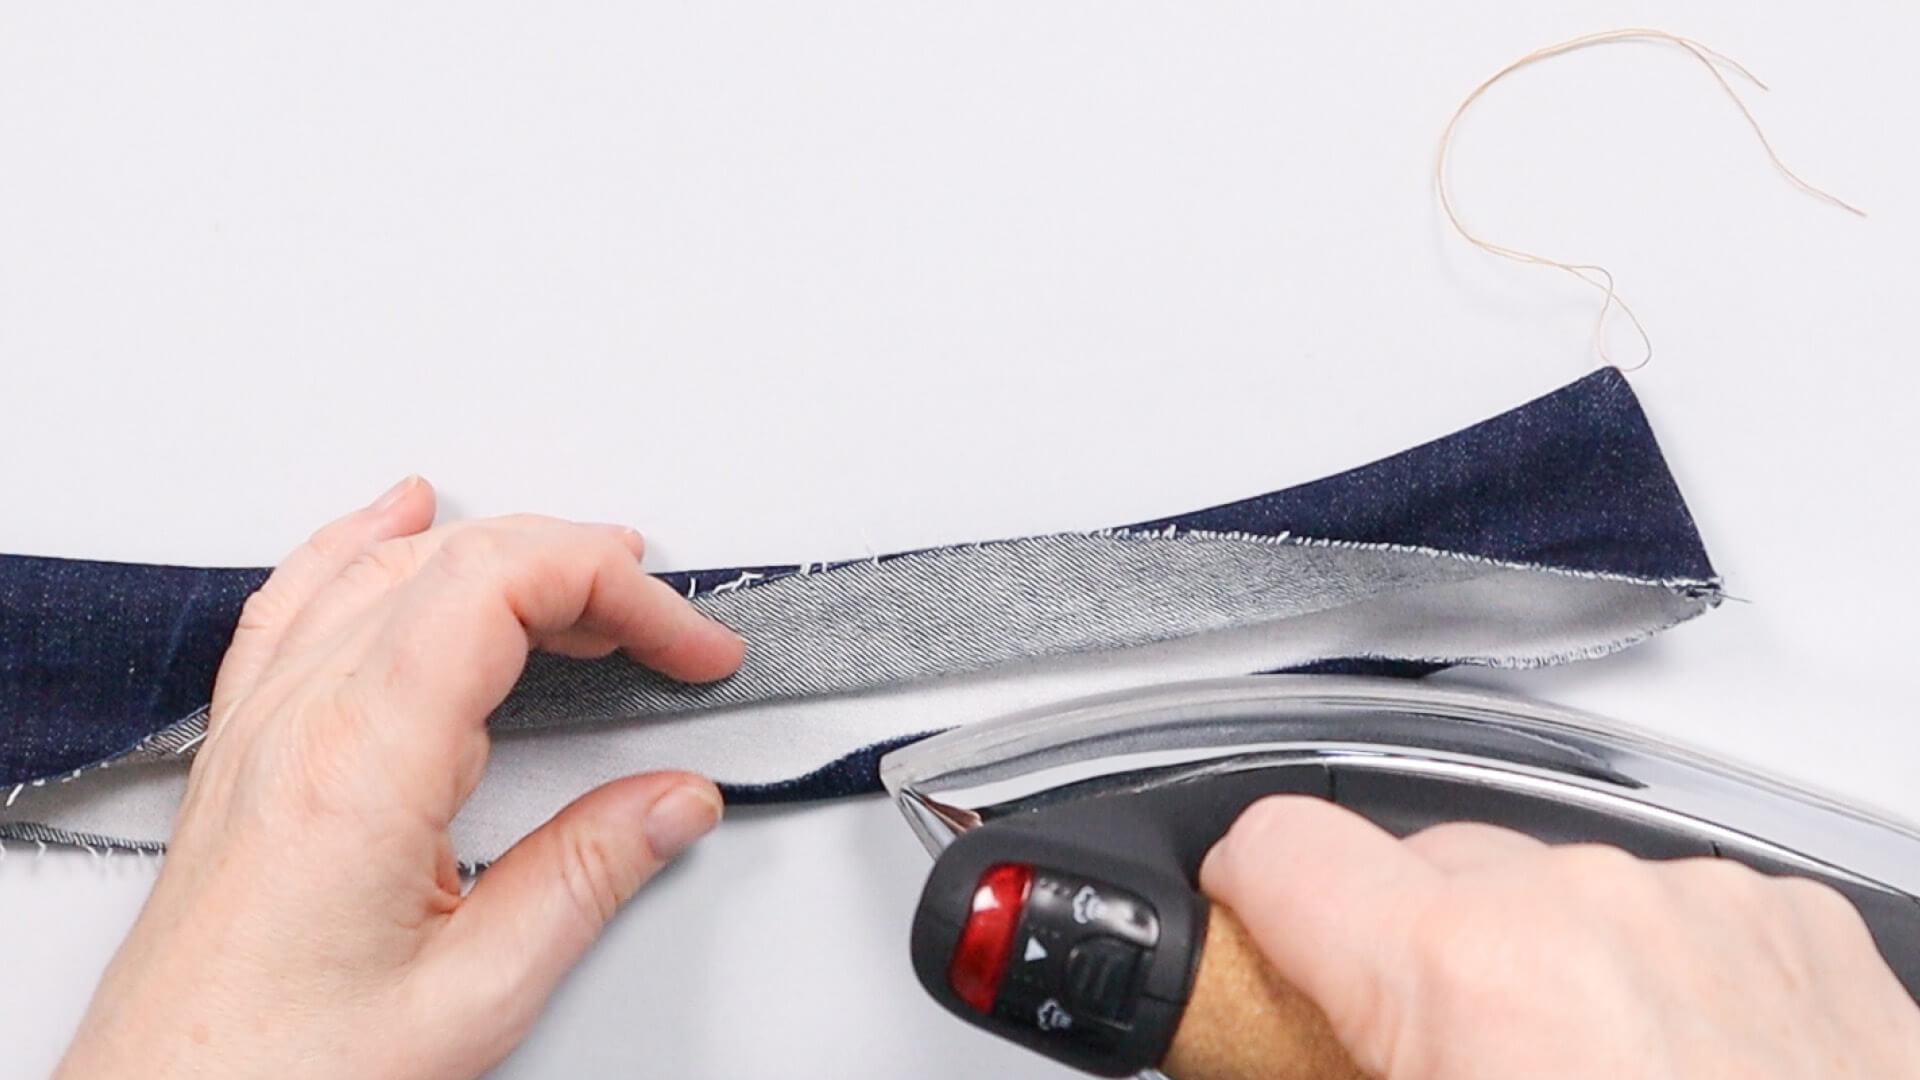
Now fold the raw edge on the fused waistband side inwards by 9 mm and iron it in place.
7. Make belt loops
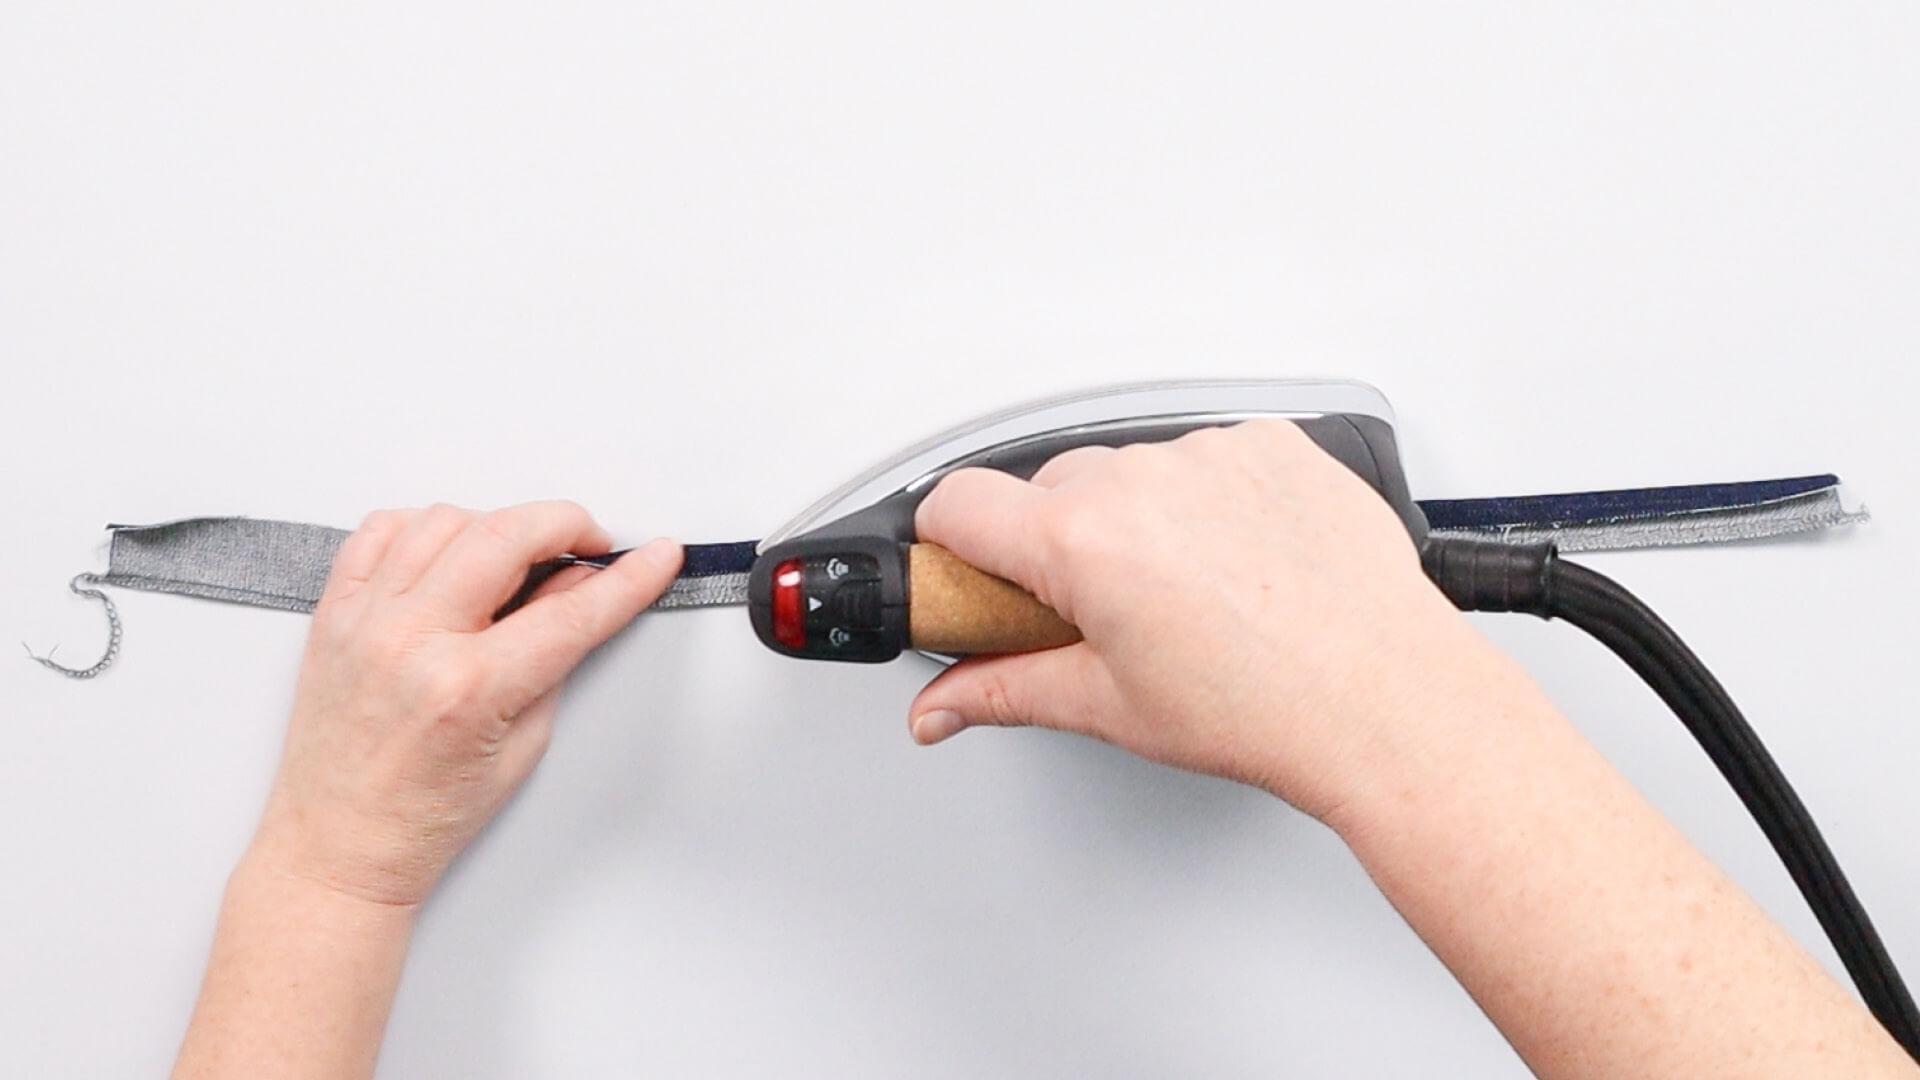
Before the waistband is sewn to the trousers, the belt loops are made. I have already finished the long strip on one of the long sides with the overlocker. I lay the strip in front of me with the wrong side of the fabric facing me and fold the long edges over by 1 cm.
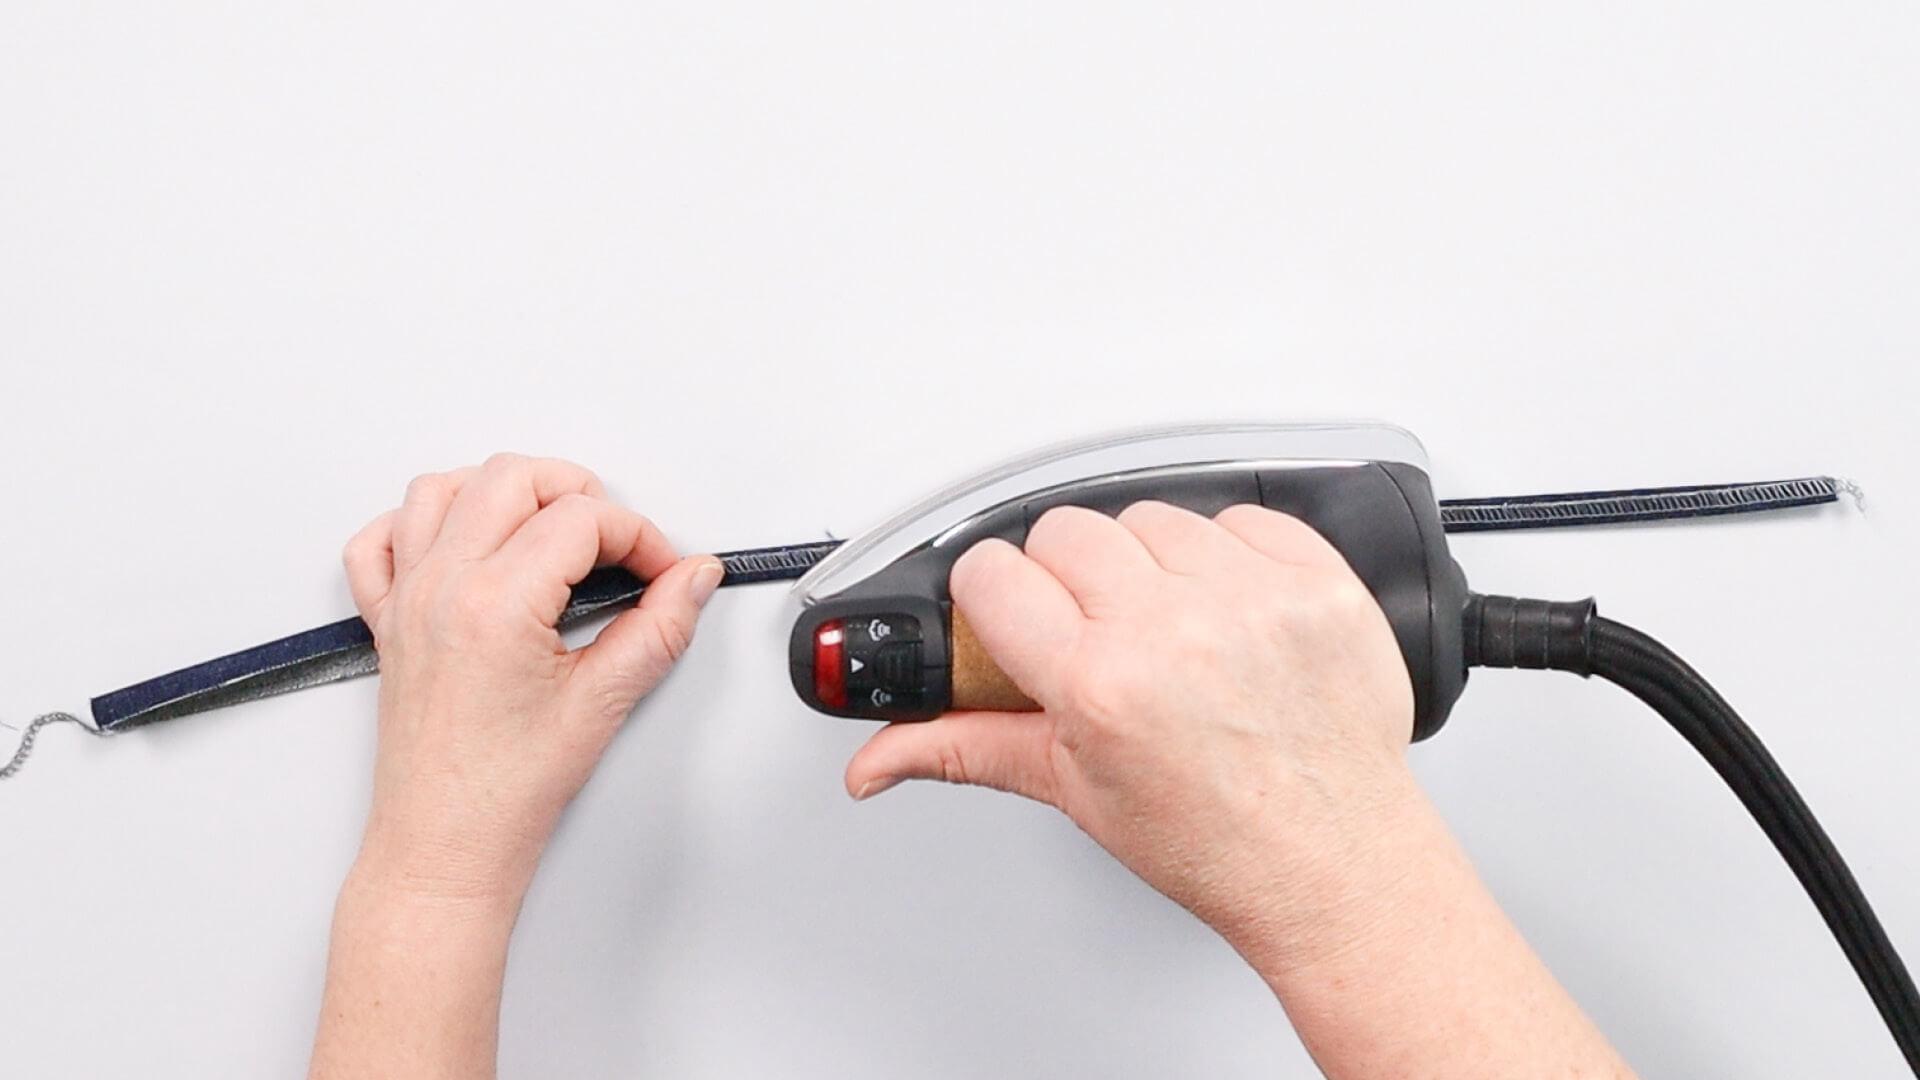
I fold the layers so that the cut edge is concealed. I then topstitch the strip once through the middle.
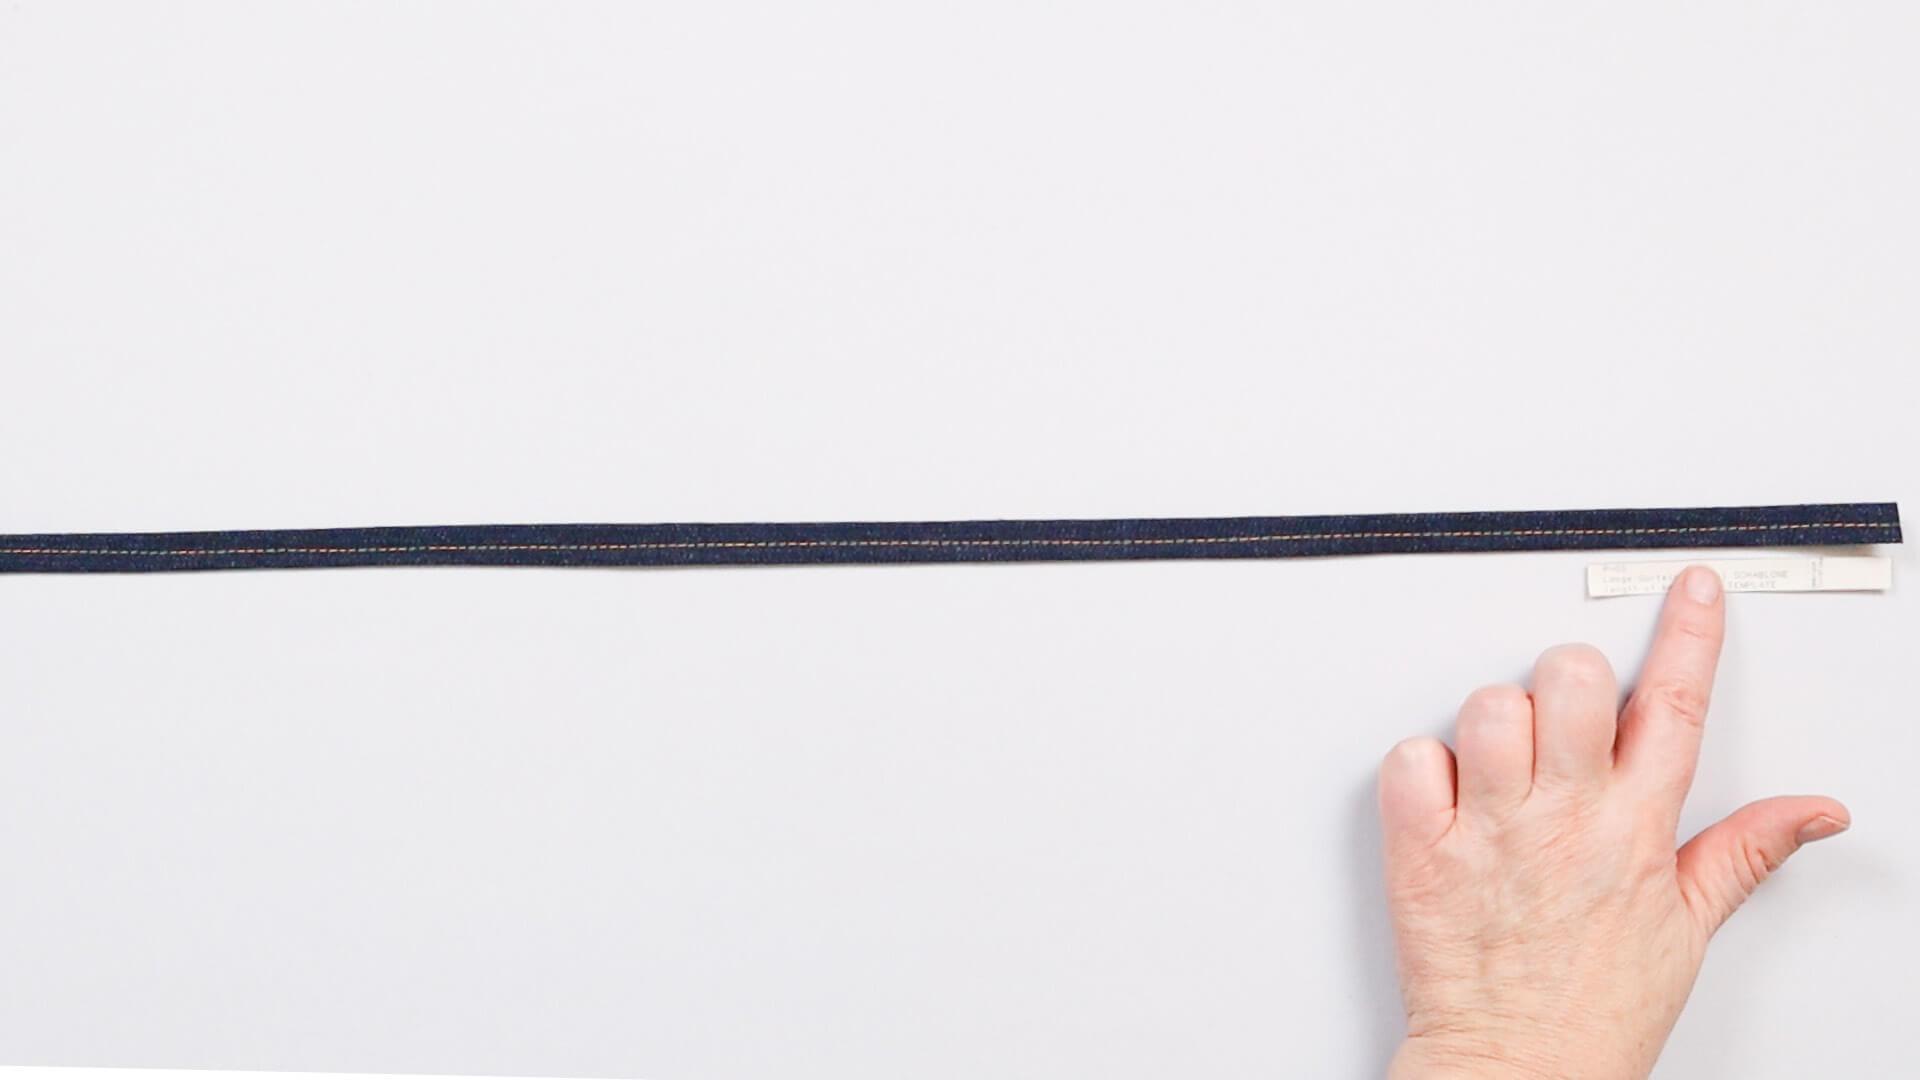
Now cut 6 small belt loops from the long strip. I use the small “belt loop template”, which has the appropriate cutting length.
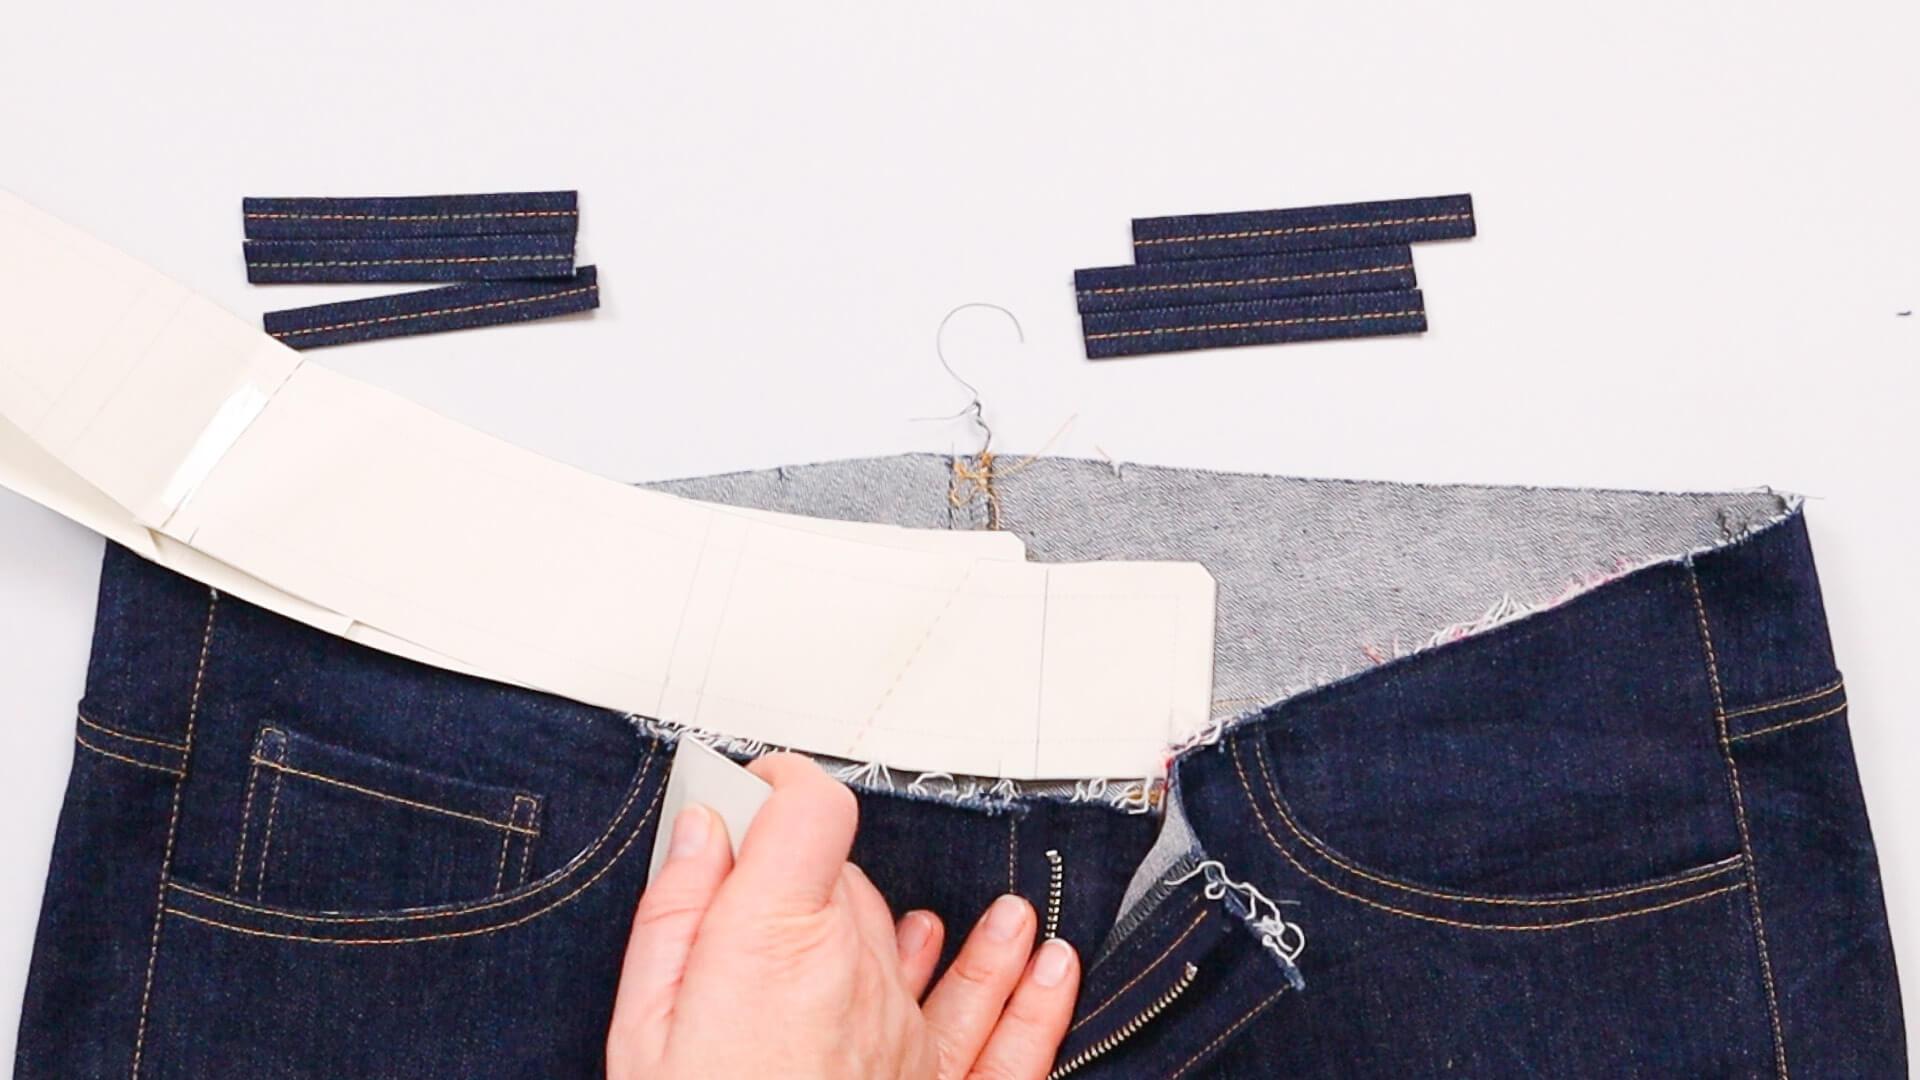
Now pin the strips to the trousers, right sides facing. For the positioning, I place the pattern of the waistband at the center front and transfer the positions of the belt loops to the trousers.
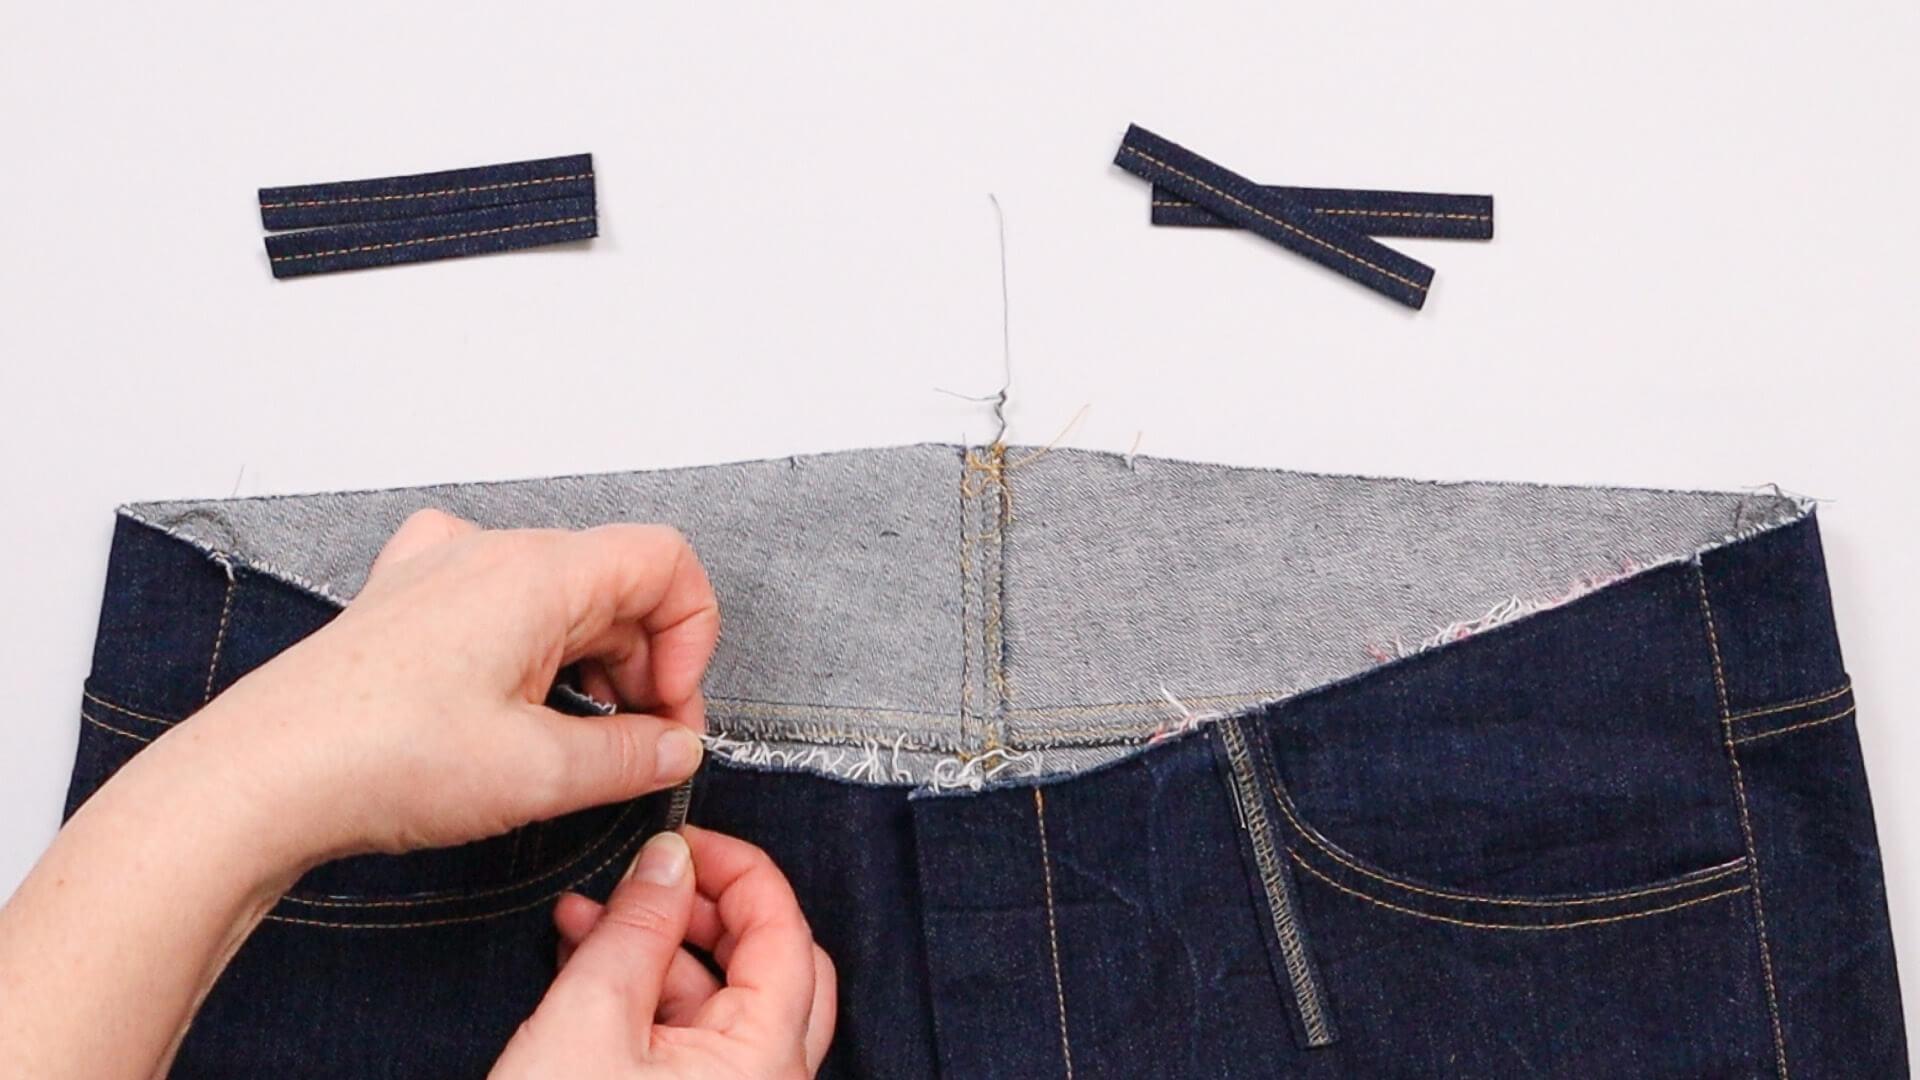
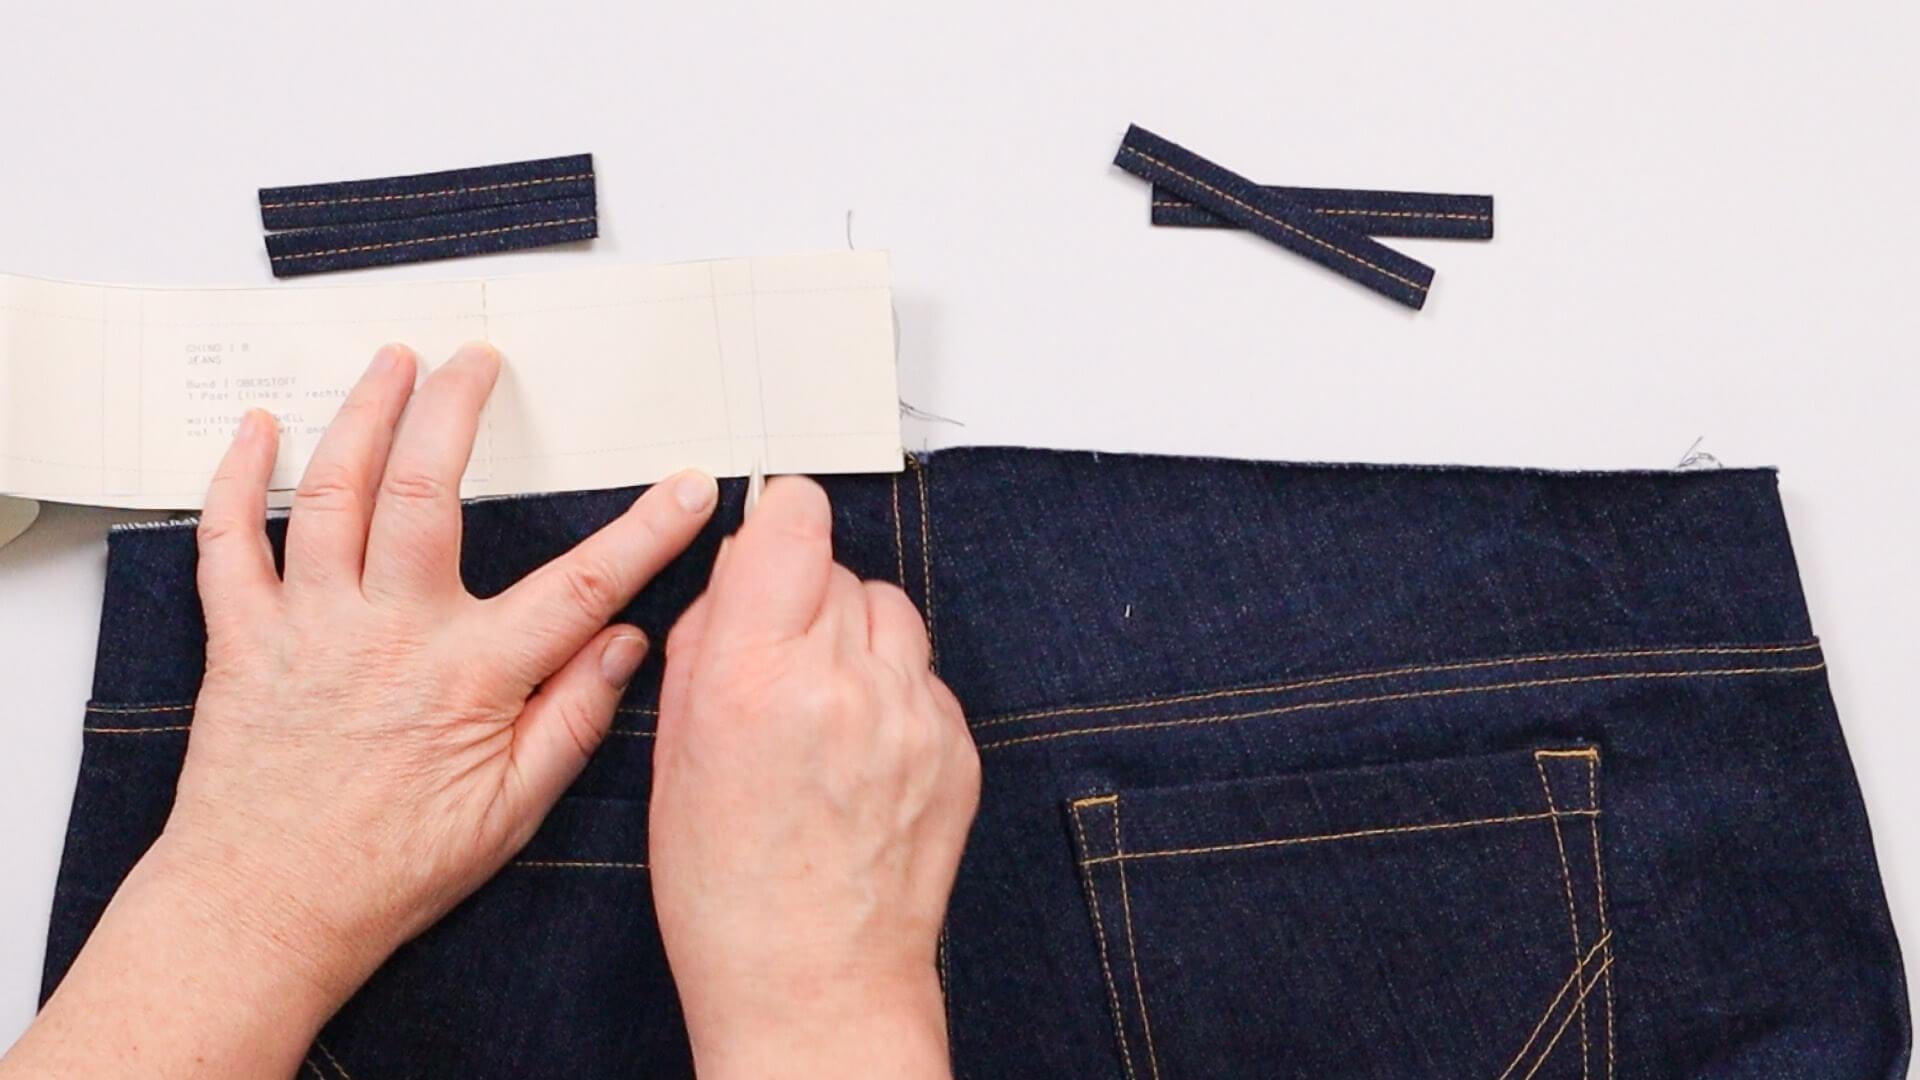
I proceed in the same way with the distances from the center back and side seam to the belt loop. But here you can be creative again. For example, you can also attach just one belt loop to the center back and sew it on at an angle.
8. Attach inner waistband
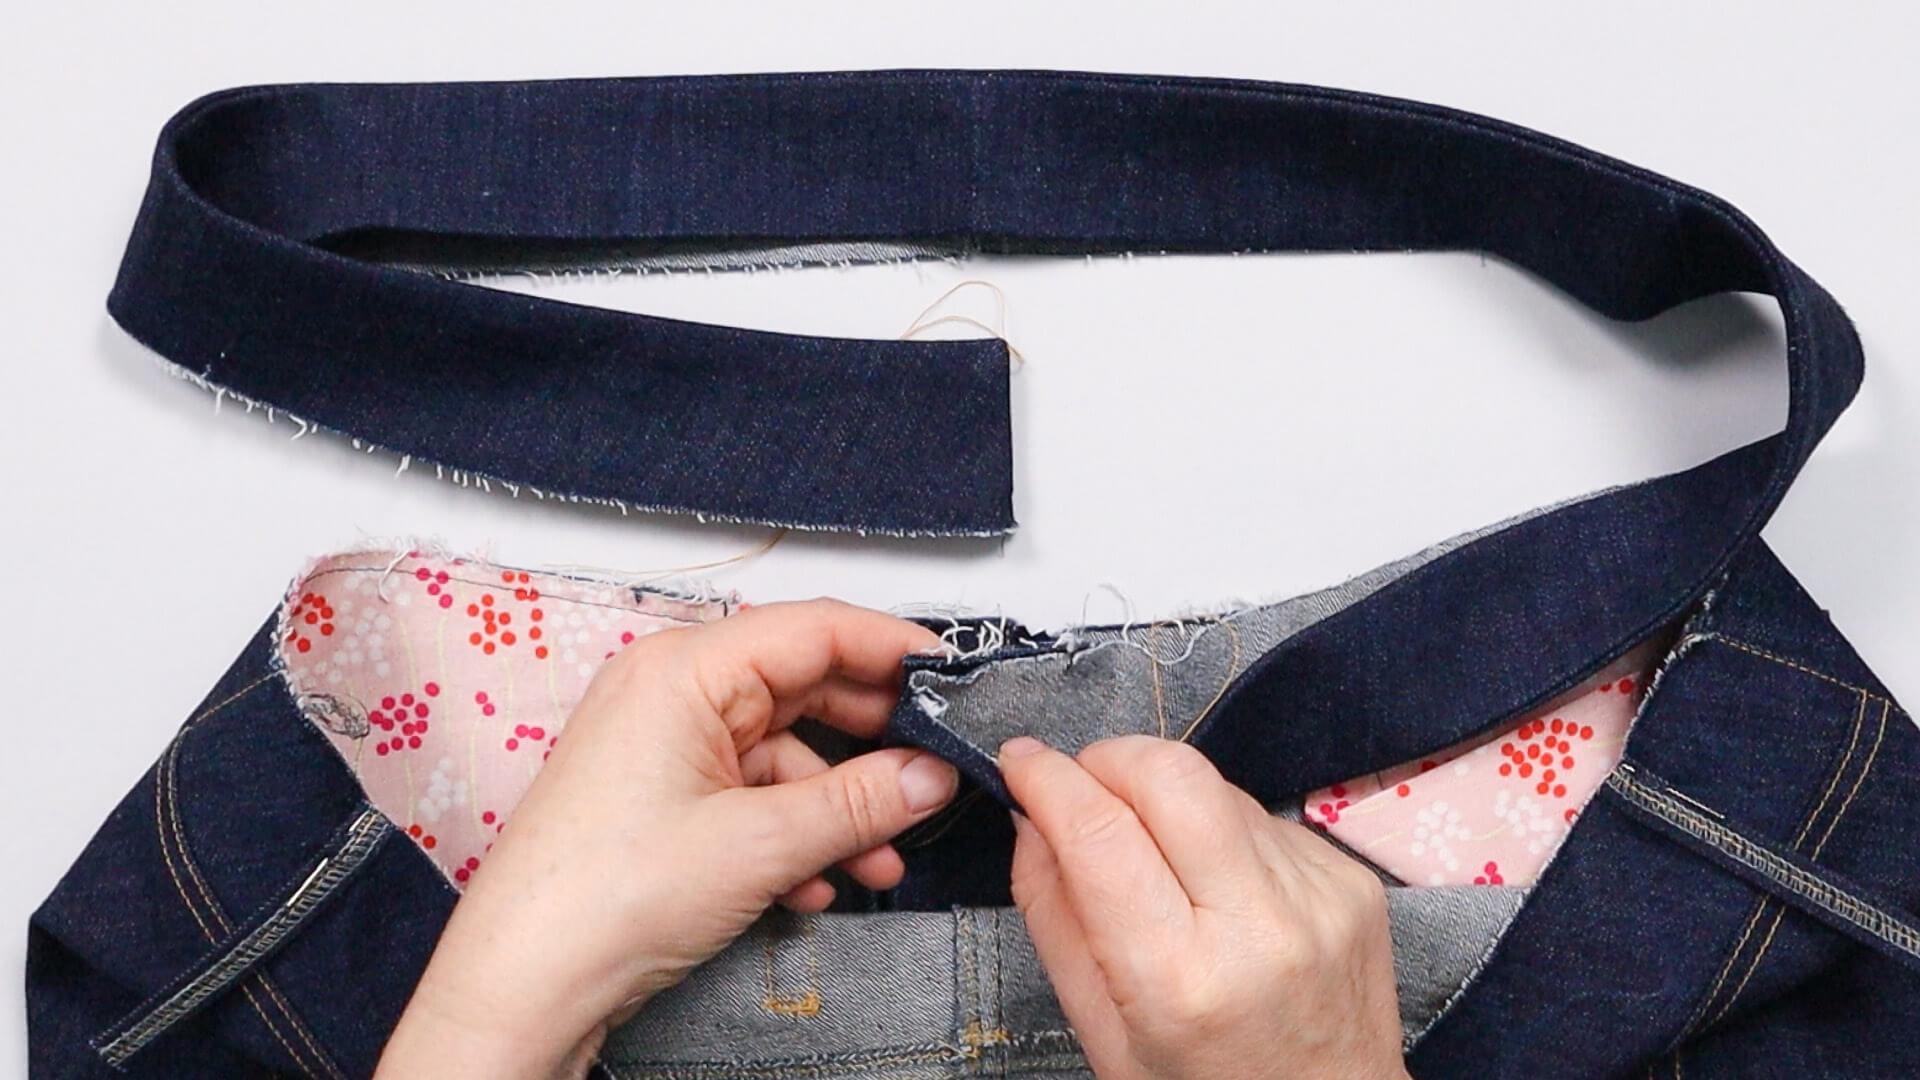
Now I pin the bottom edge of the inner waistband, which is the non-interfaced strip, with the right side on the inside of the trousers all the way around. When doing this, I make sure that the side notch marks of the waistband matches the side seam exactly. I distribute the width between the markings evenly, whereby the waistband is rather tight in relation to the trousers.
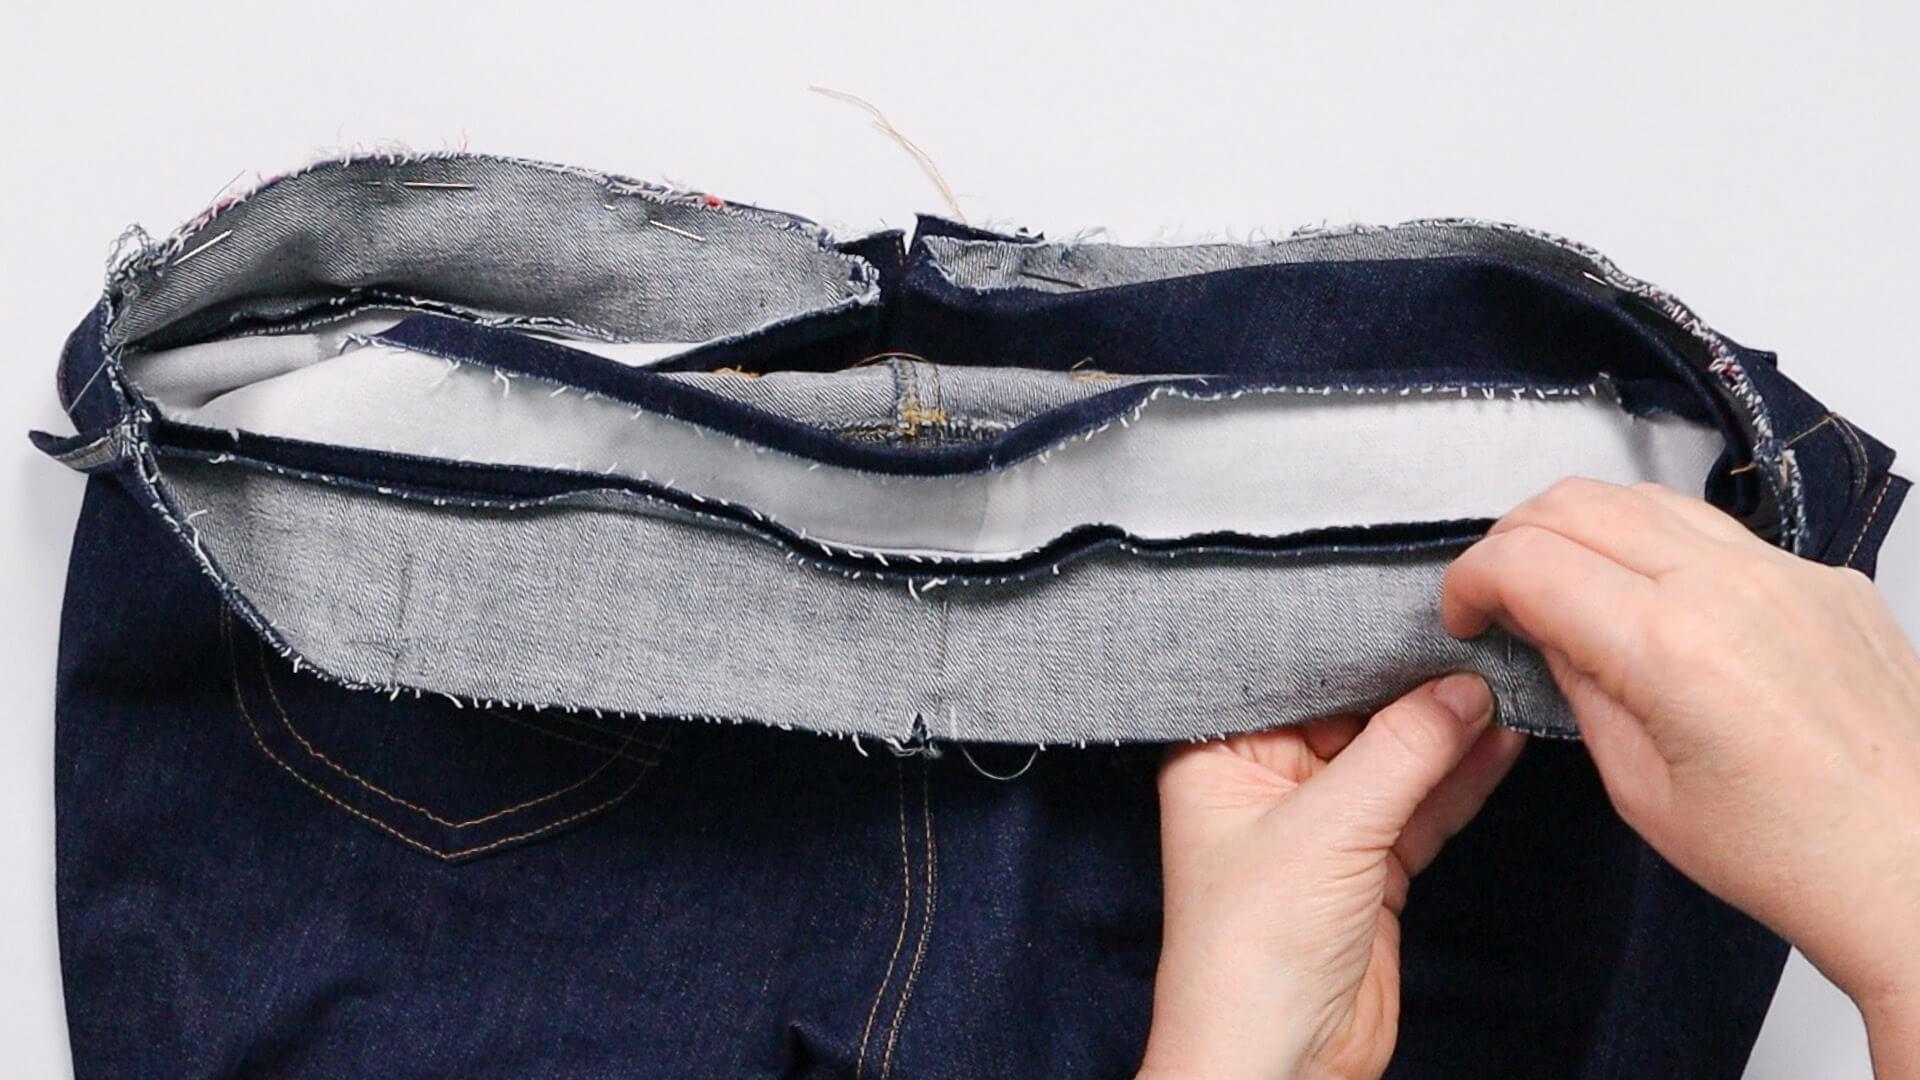
The notch at the center back should match the seat seam exactly.
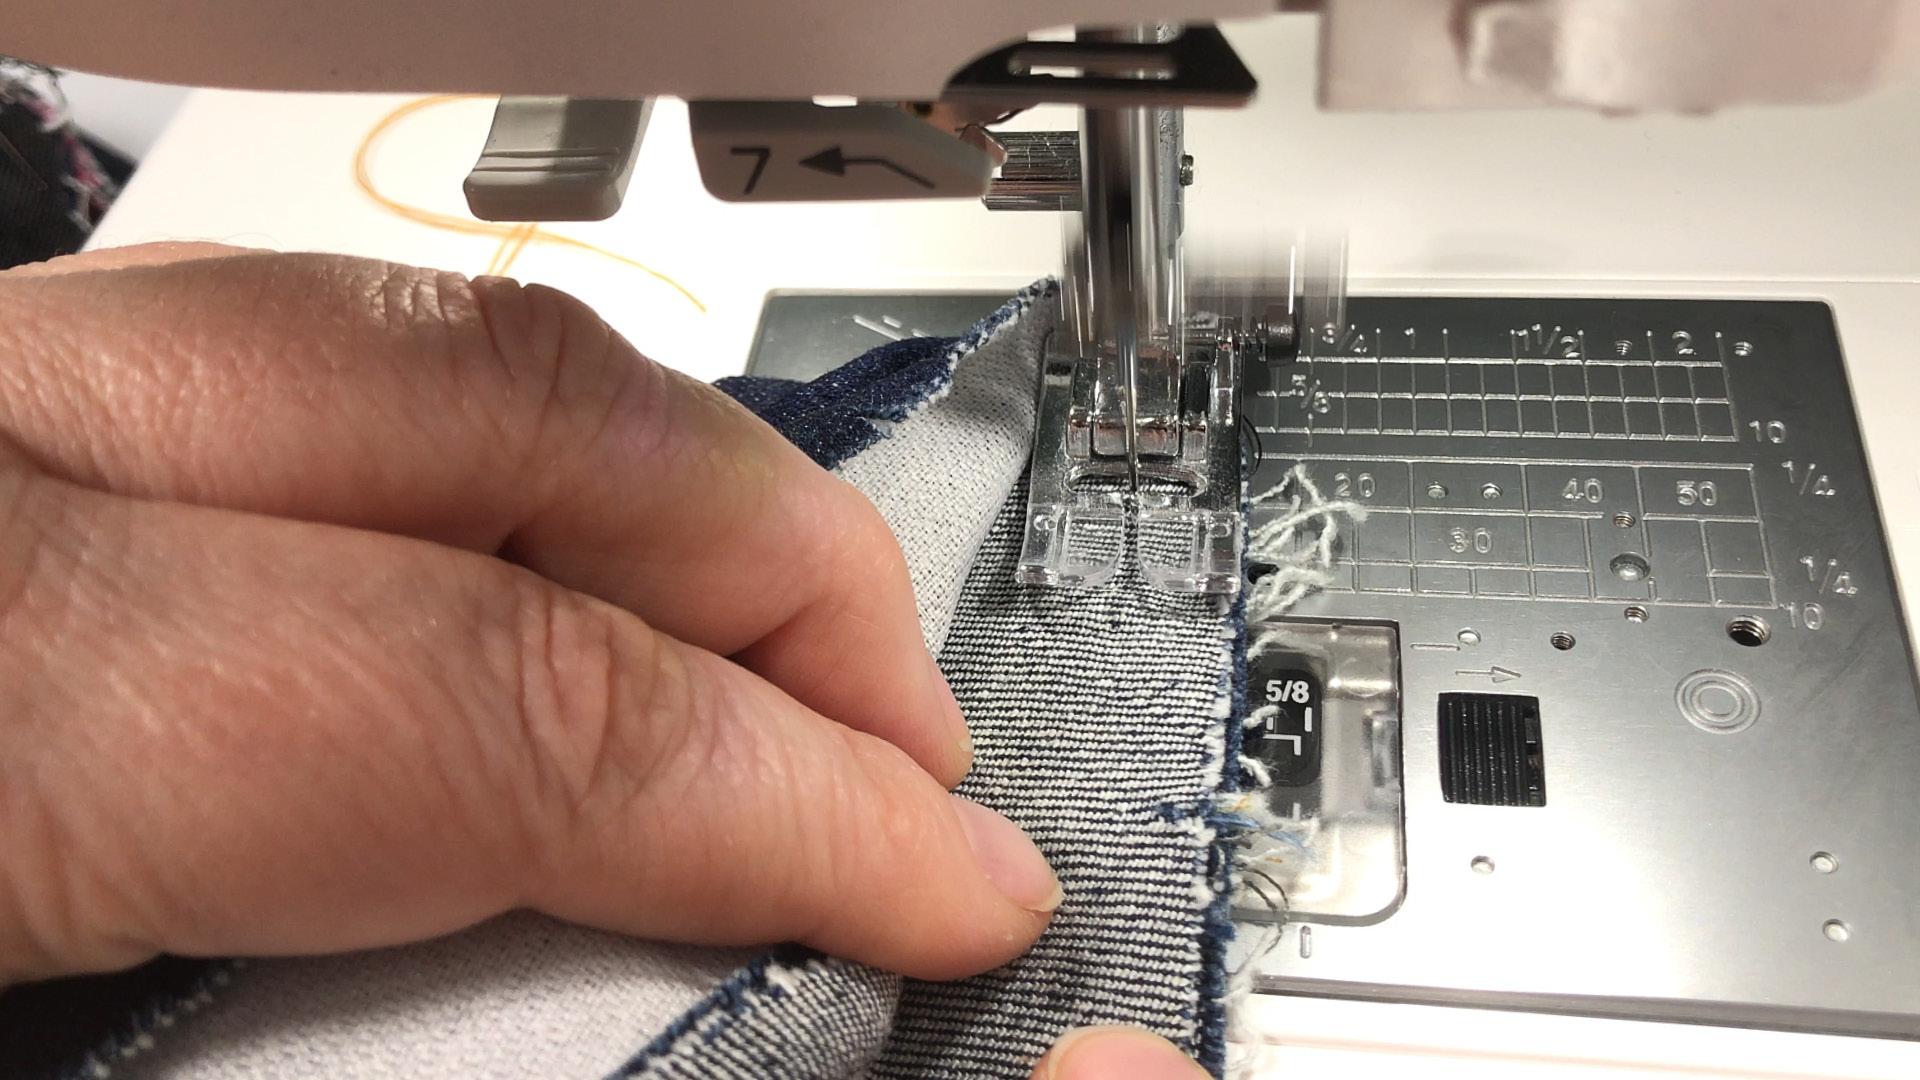
Then I stitch the waistband with a 10 mm seam allowance. I make sure that the belt loops point straight down. I carefully stitch over the pins inserted lengthwise. If this is too tricky for you, you can also baste the belt loops to the edge of the trousers beforehand inside the seam allowance.
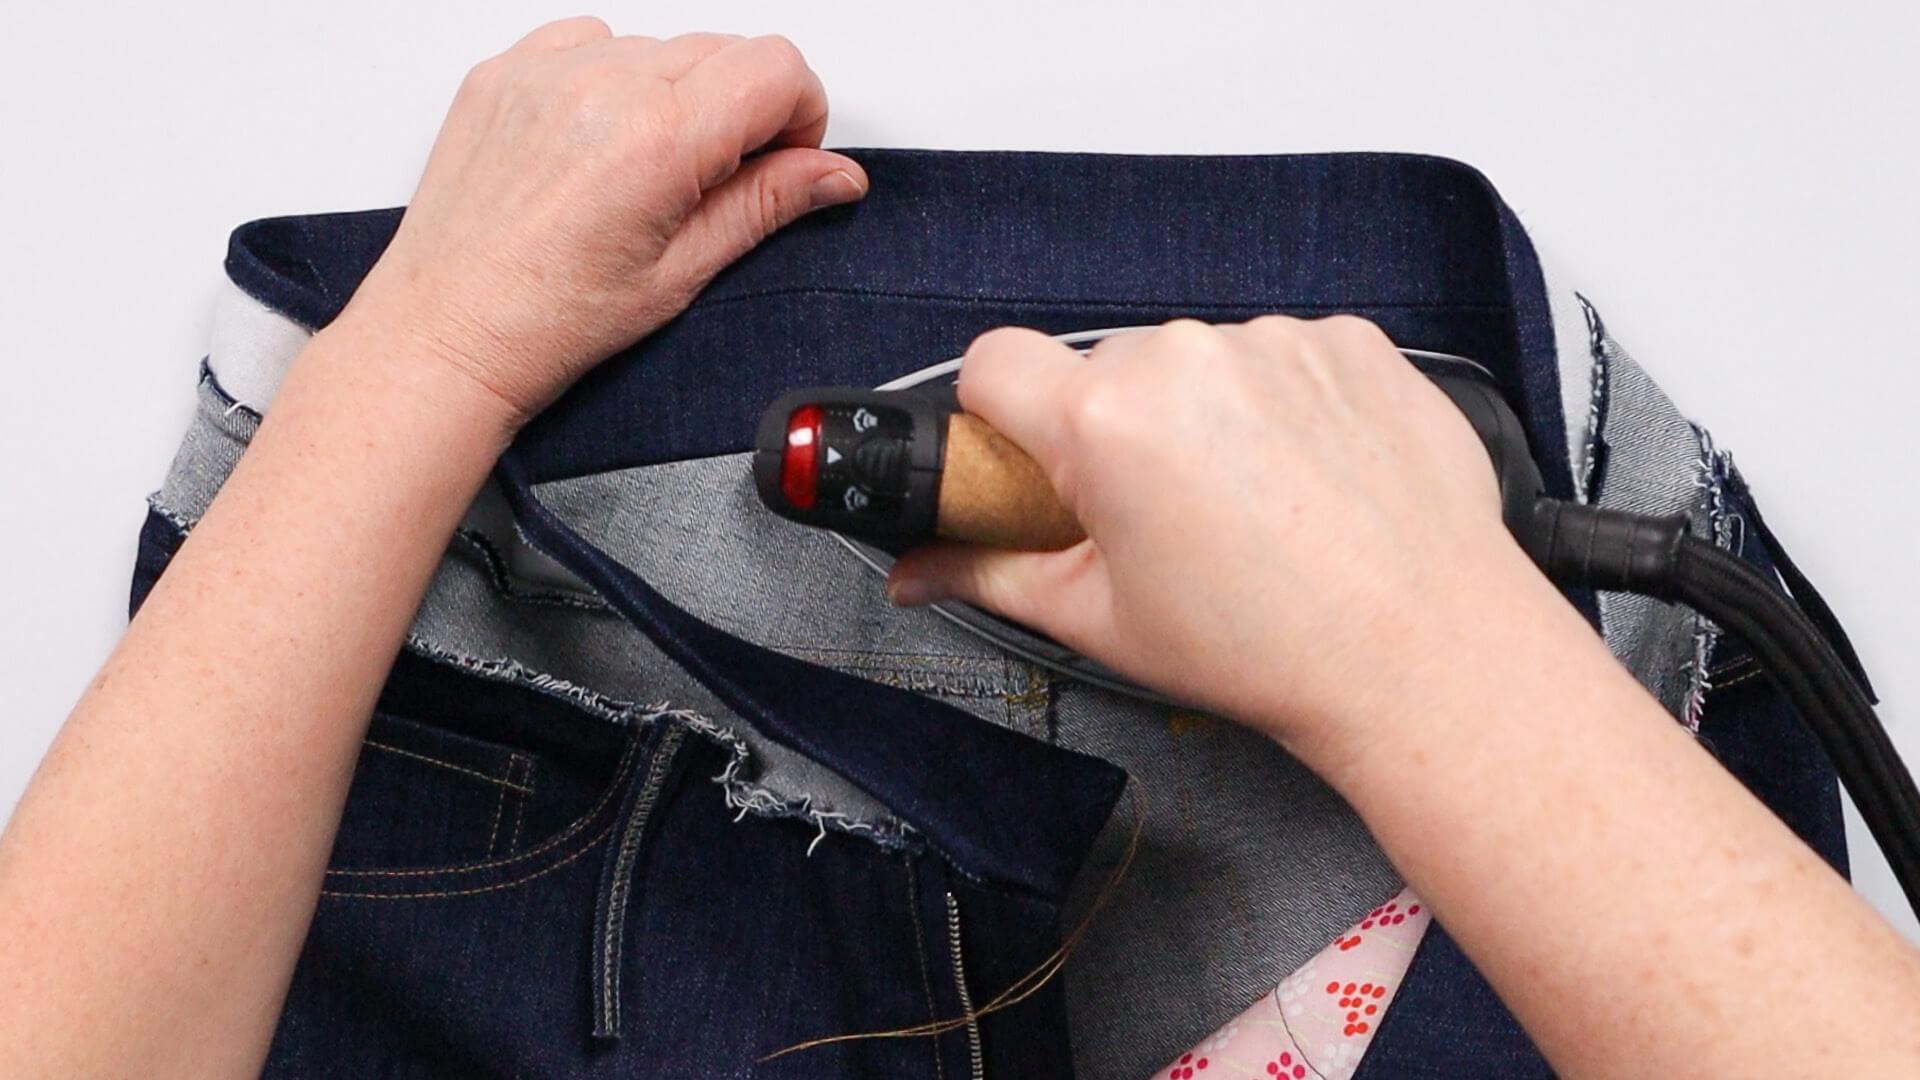
The waistband seam allowance is now ironed up into the waistband, I do this from the inside of the jeans.
9. Fasten the outer waistband
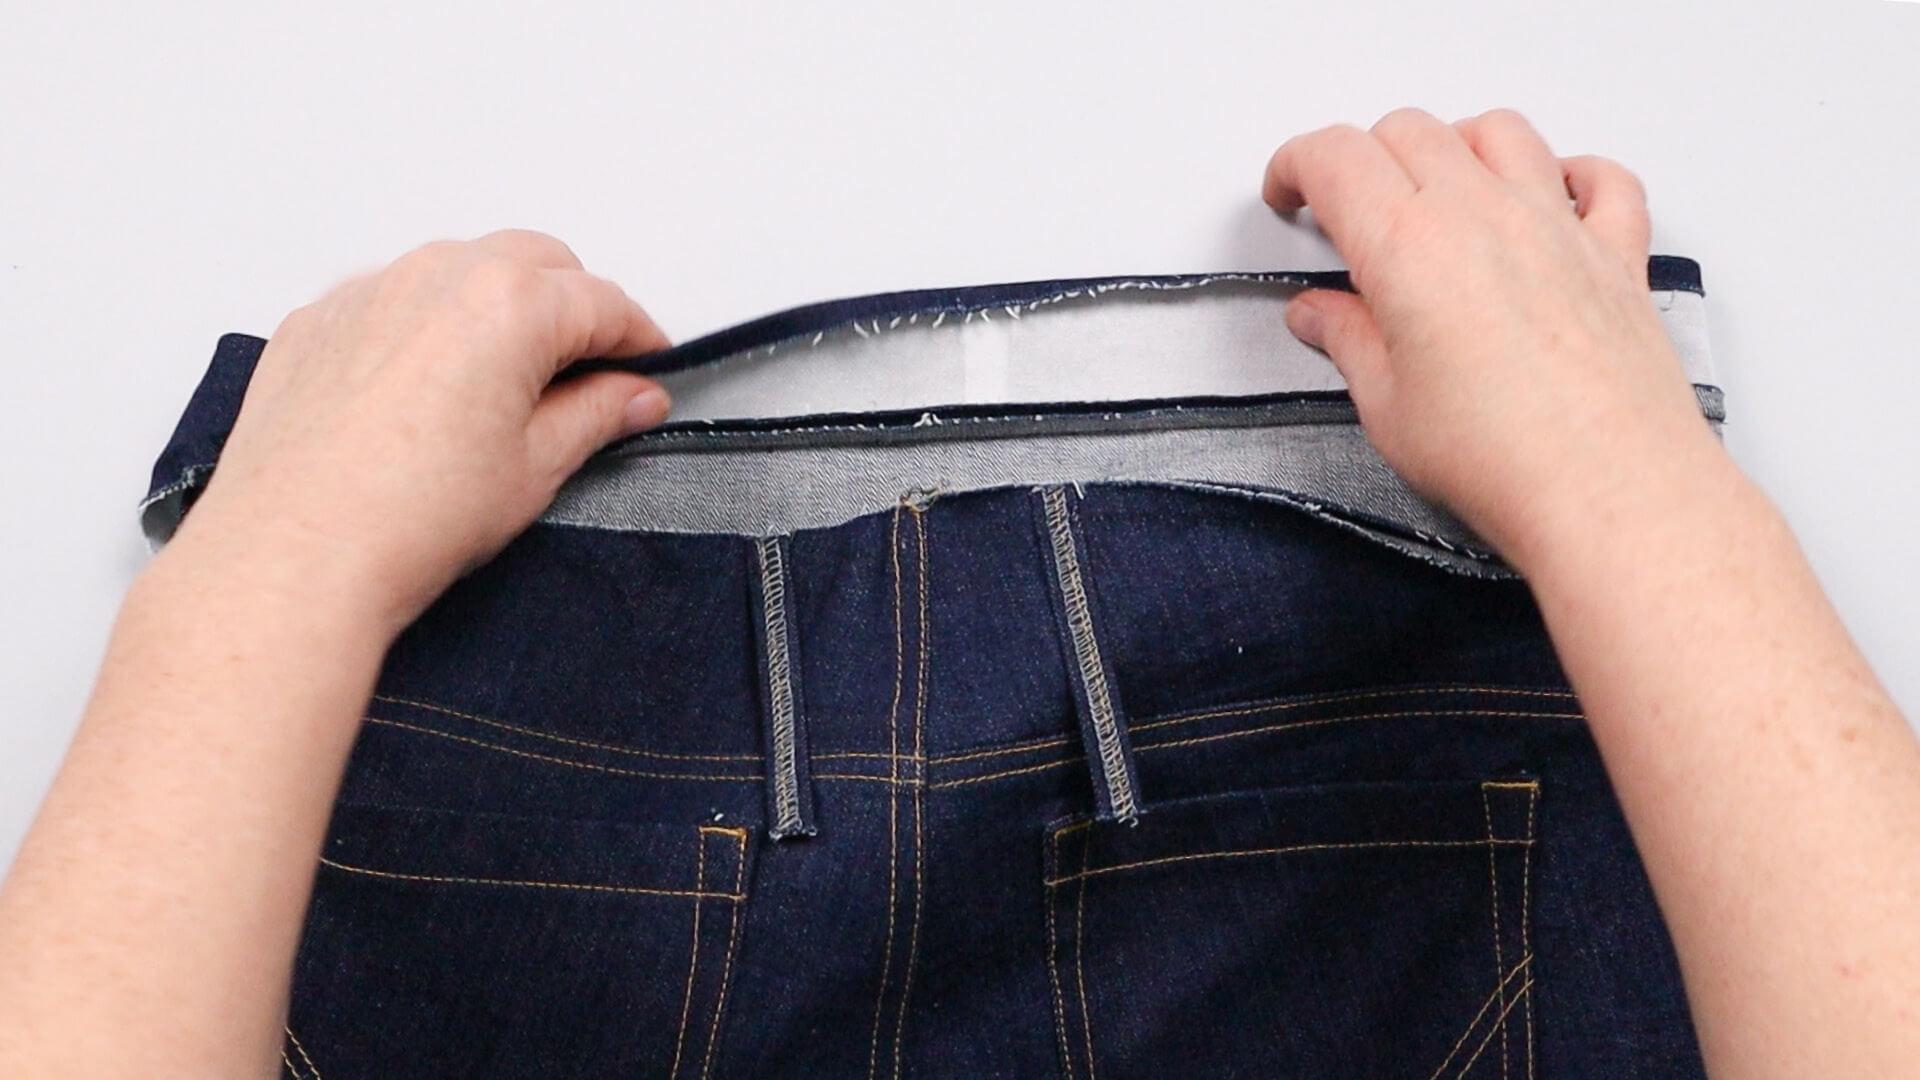
Now the outer waistband needs to be attached. To do this, I pin it all around the inner waistband seam onto the outside of the trousers. I have already pressed the seam allowance over beforehand.
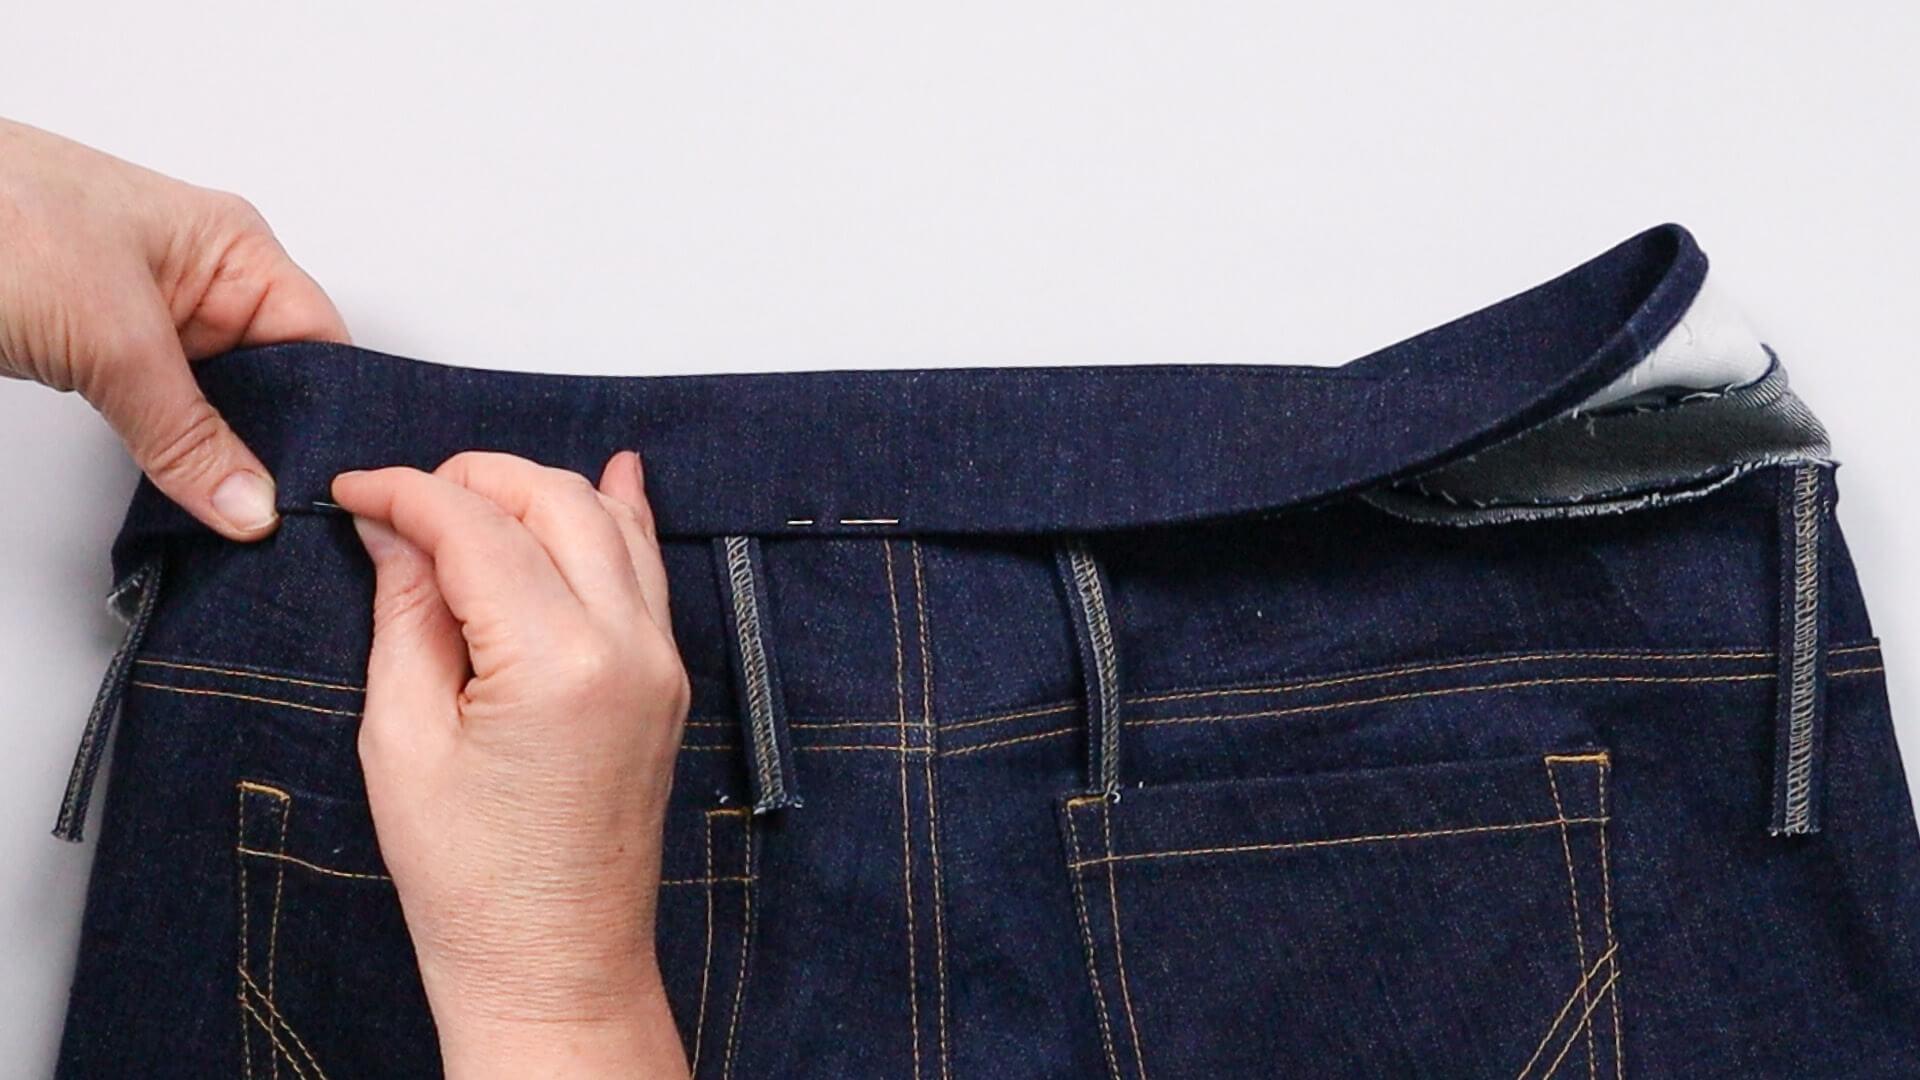
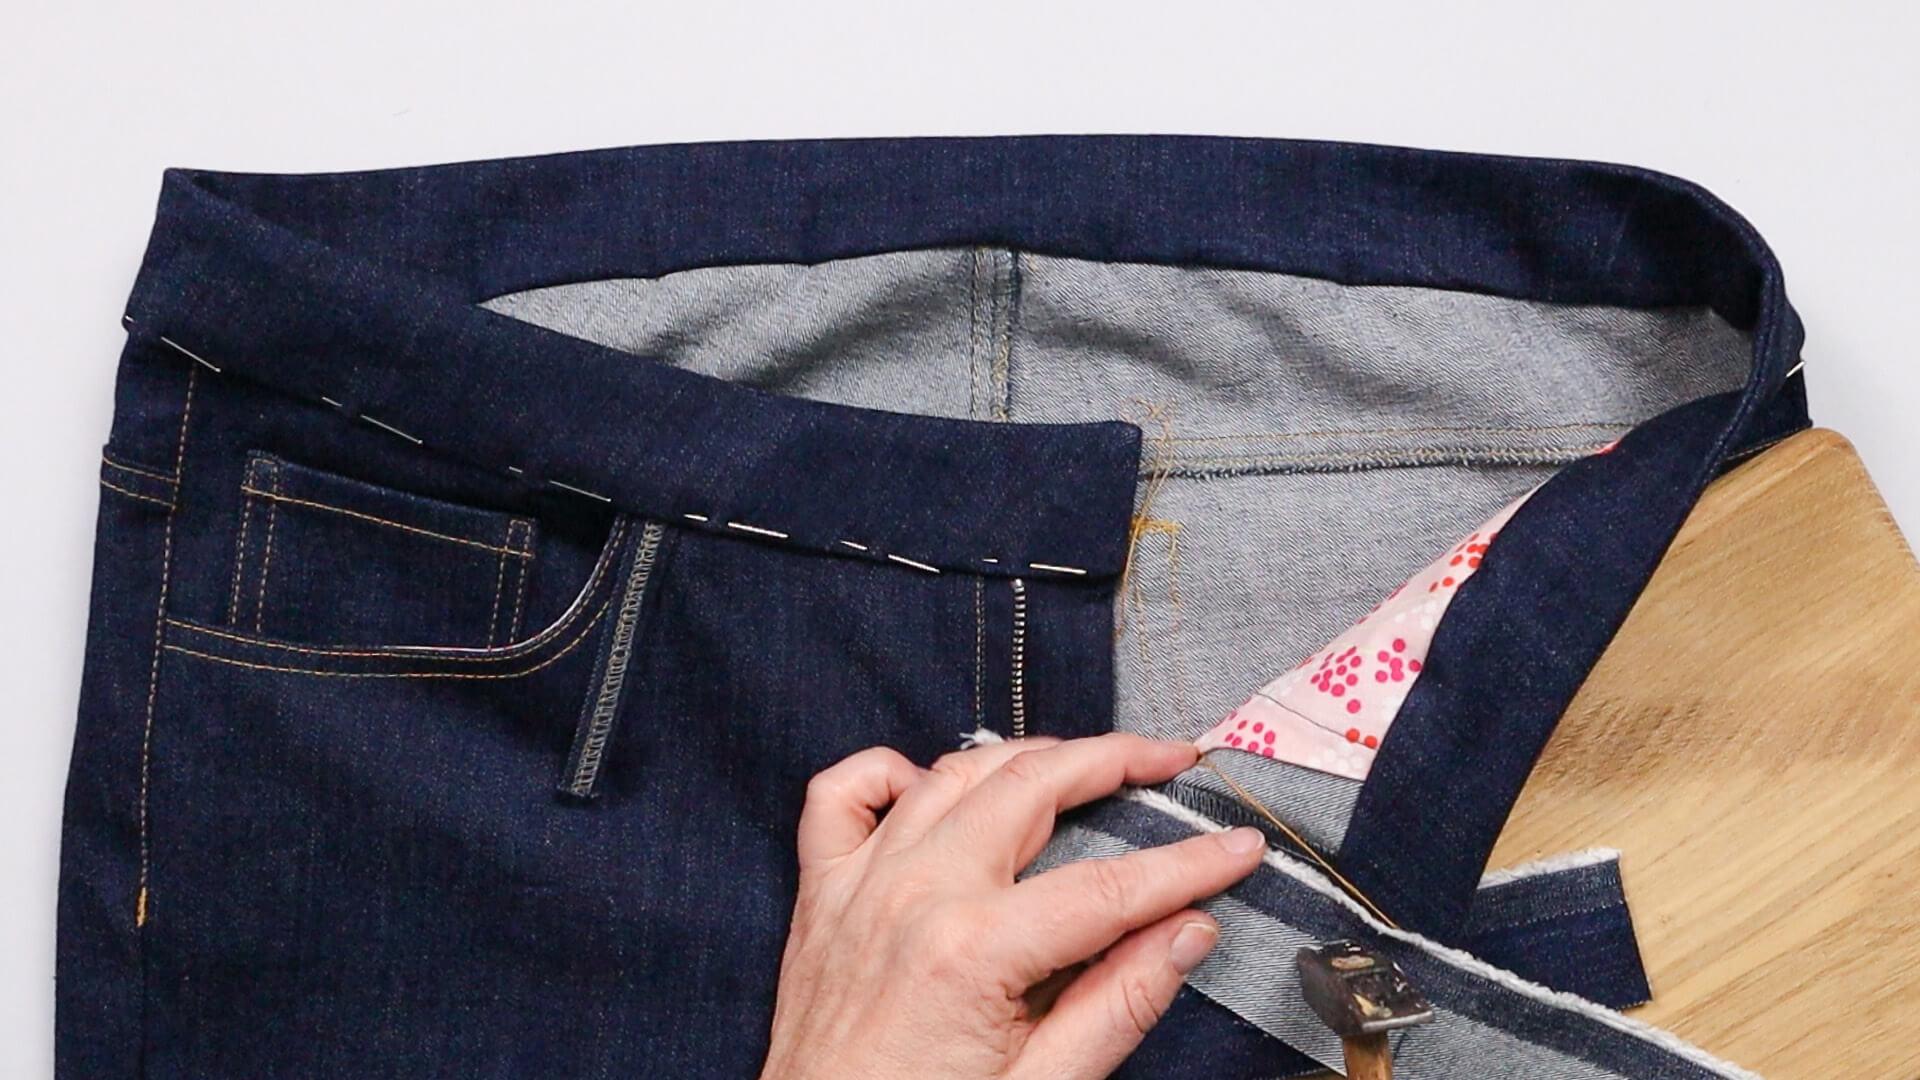
On the short front edges of the waistband, I use a hammer to flatten the thick areas at the seam. To do this, I place a firm base and a piece of fabric underneath and a piece of fabric on top to protect the material.
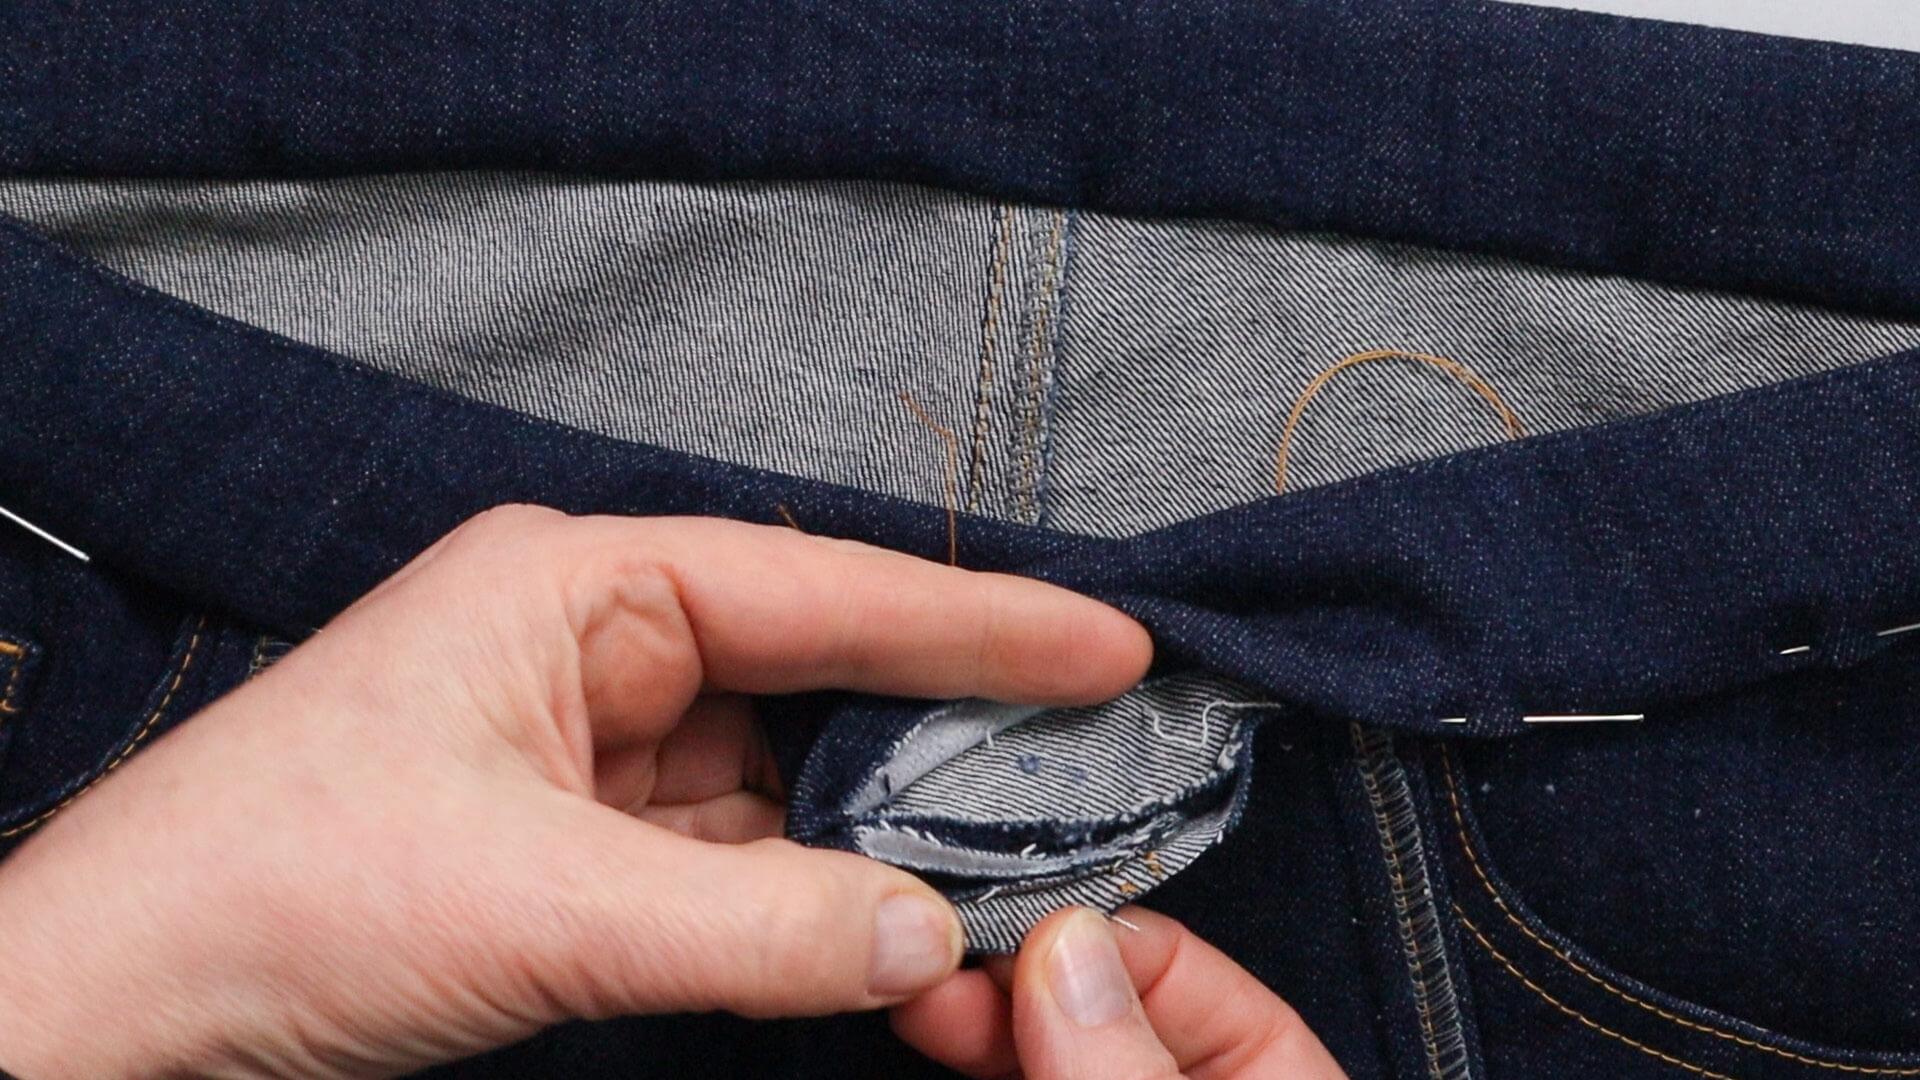
It also makes sense to cut the seam allowances back slightly offset so that the areas are not so thick and the transition is flatter.
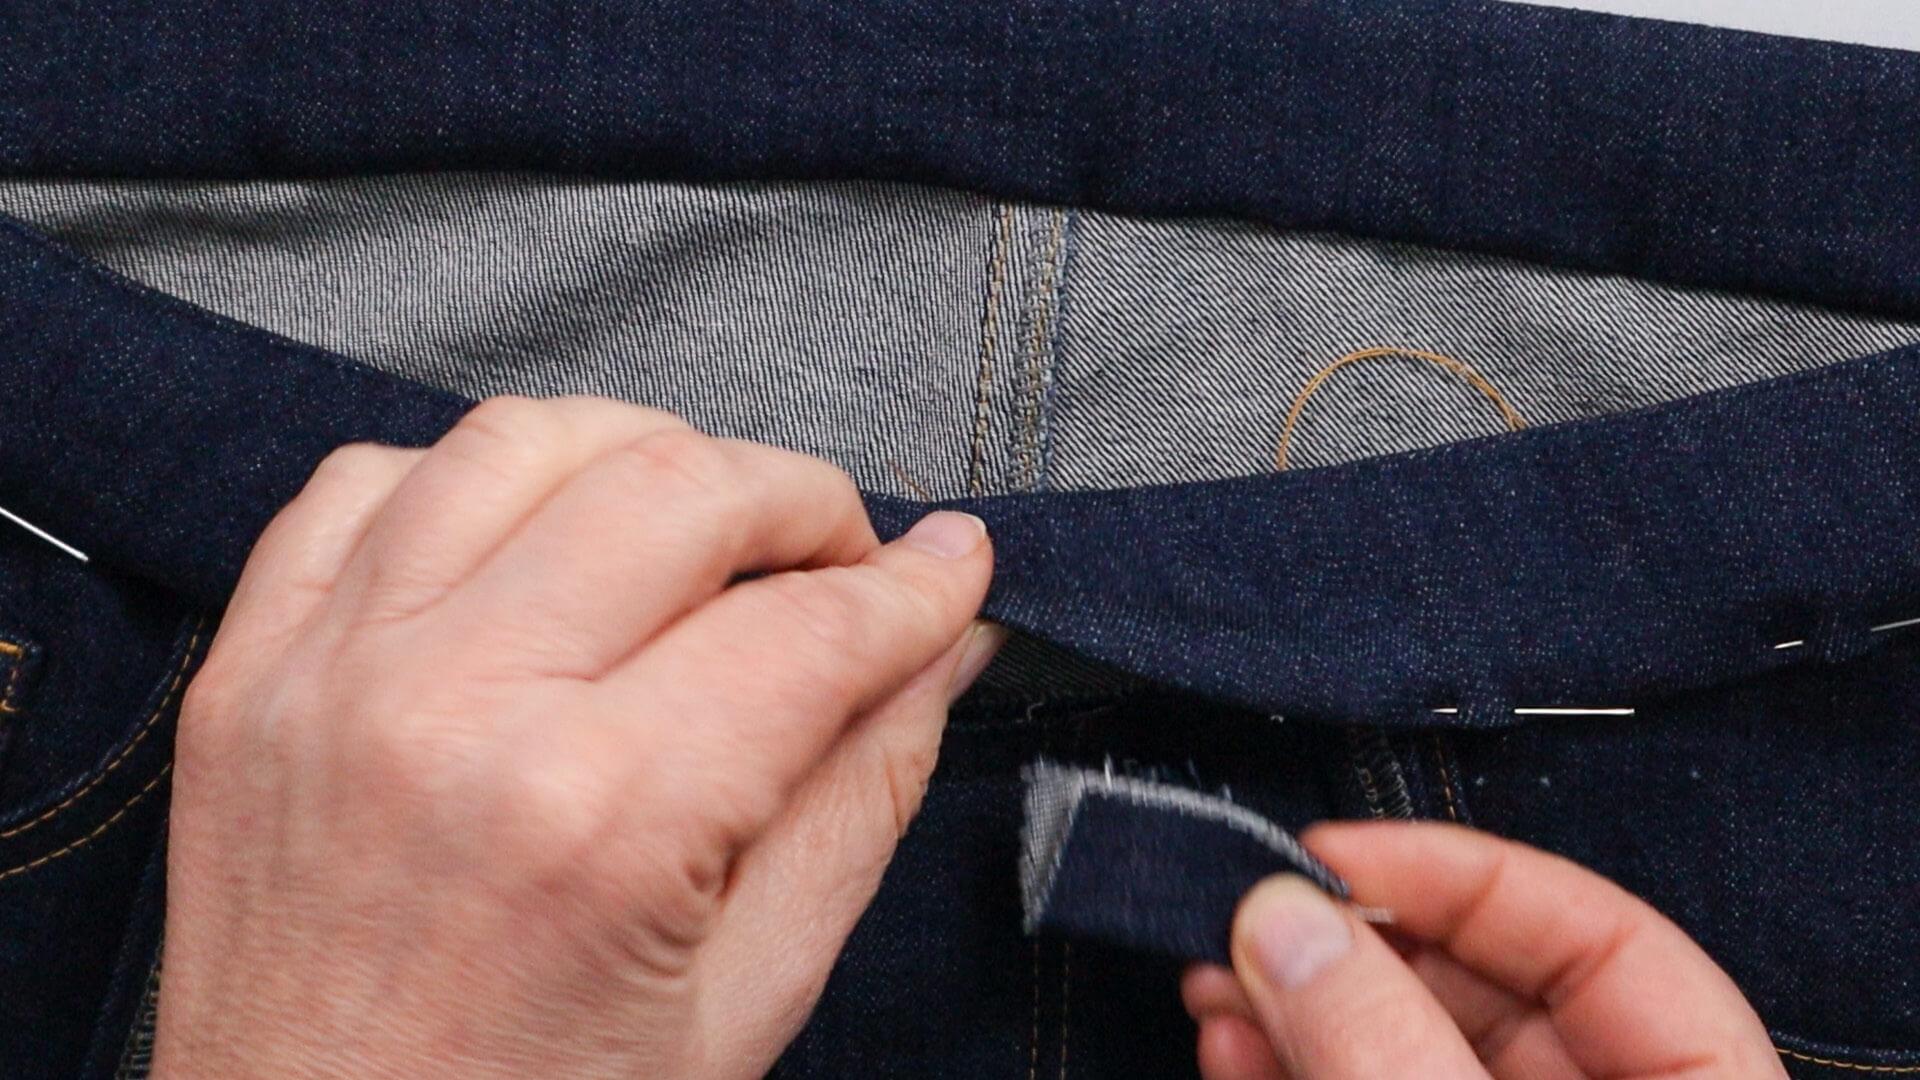
The buttonhole will later be worked in on the left side of the waistband. To create a better balance to the seam allowances, I place a piece of fabric between the layers of fabric and pin it in place from the outside. However, you can also work with an embroidery stabilizer and place it in between or directly underneath when sewing and then cut it back.
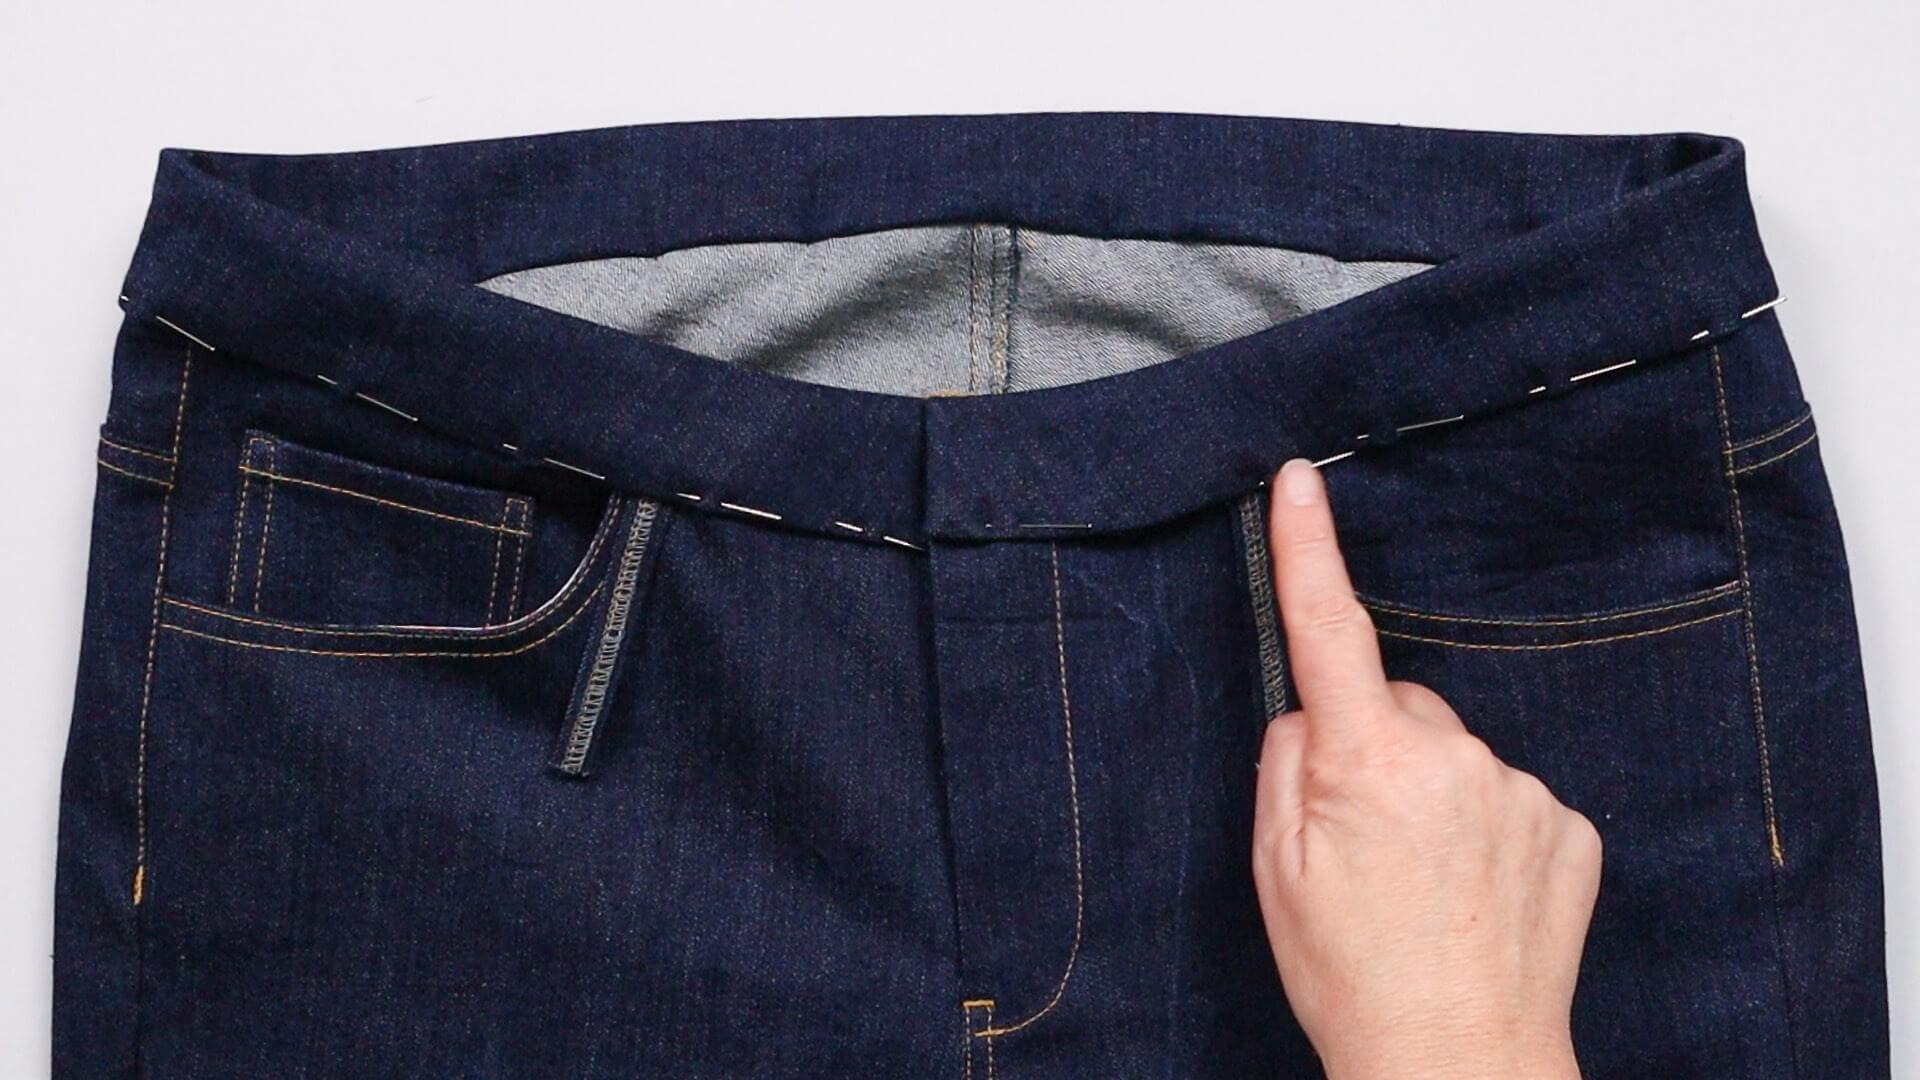
The waistband is now topstitched from the outside in 2 steps. I start at the lower edge of the waistband on the left front side at the front belt loop.
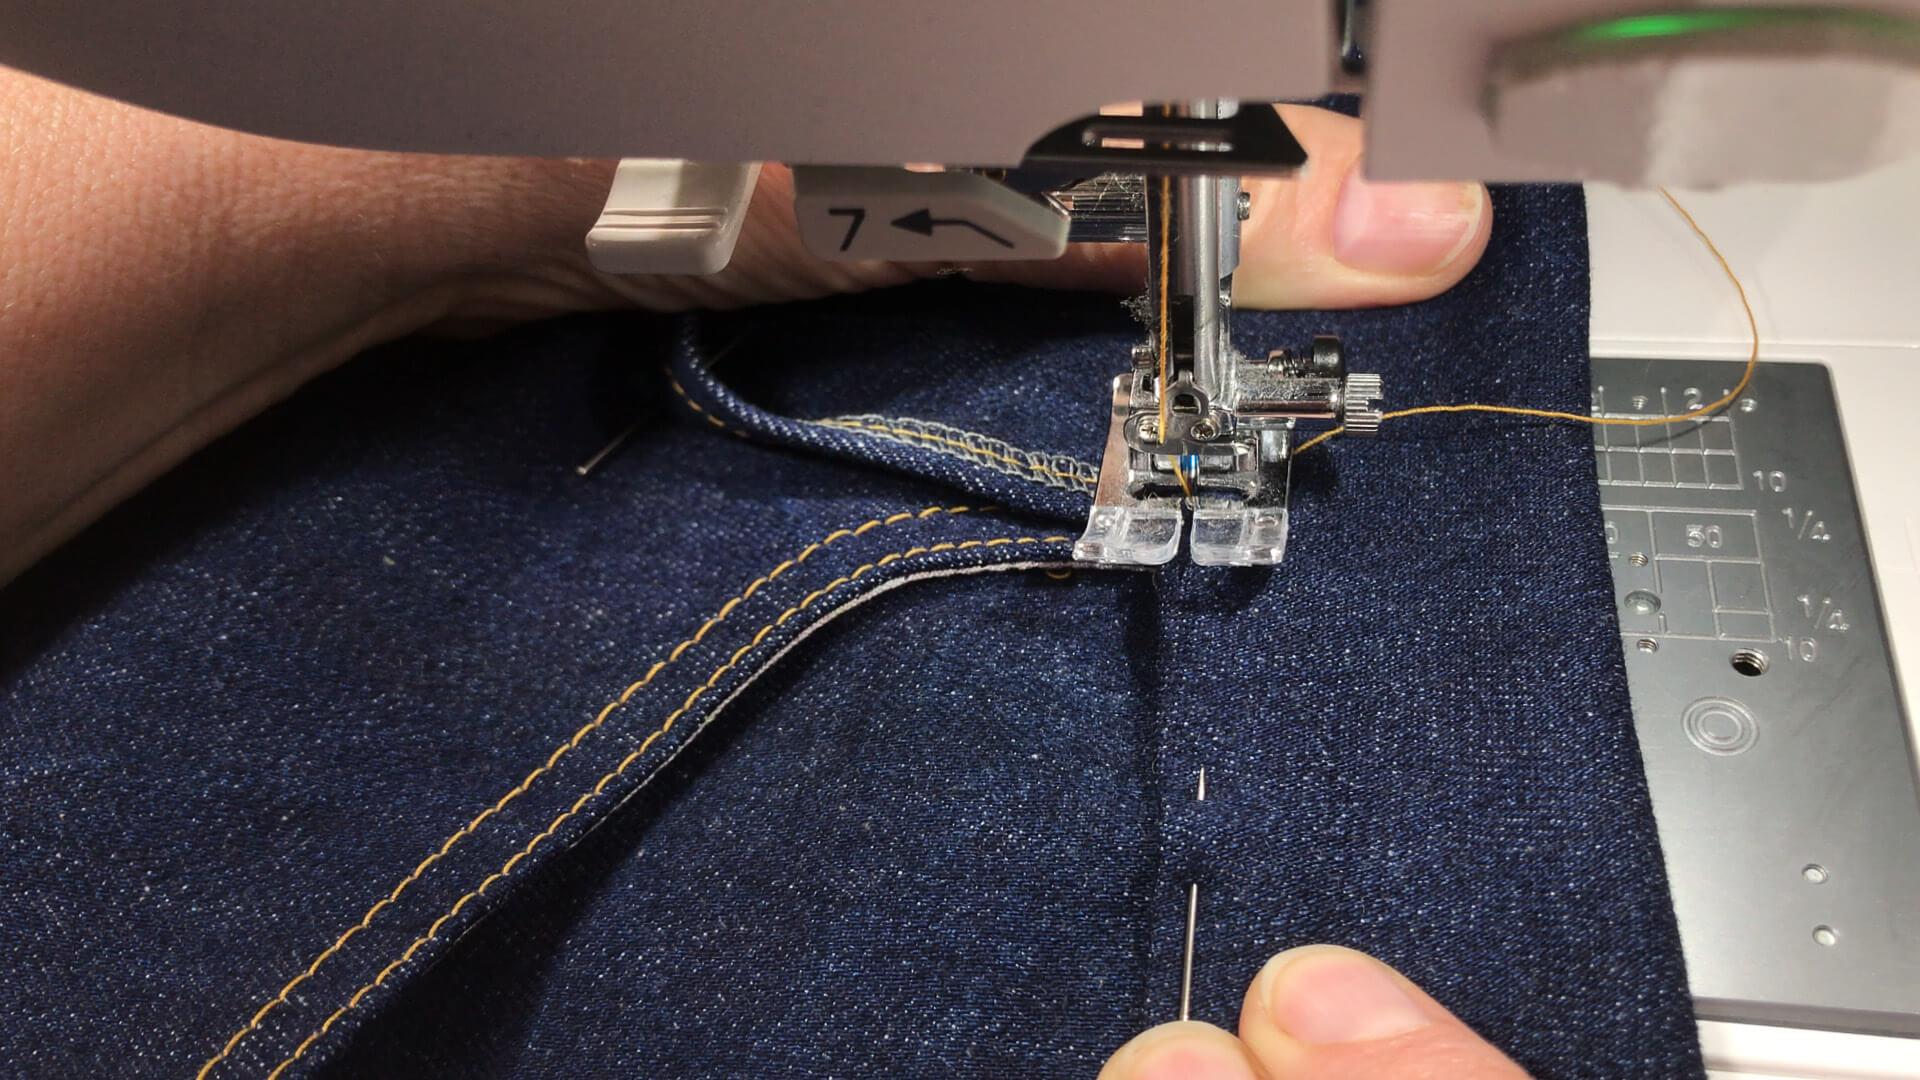
I topstitch up to the belt loop of the right front piece.
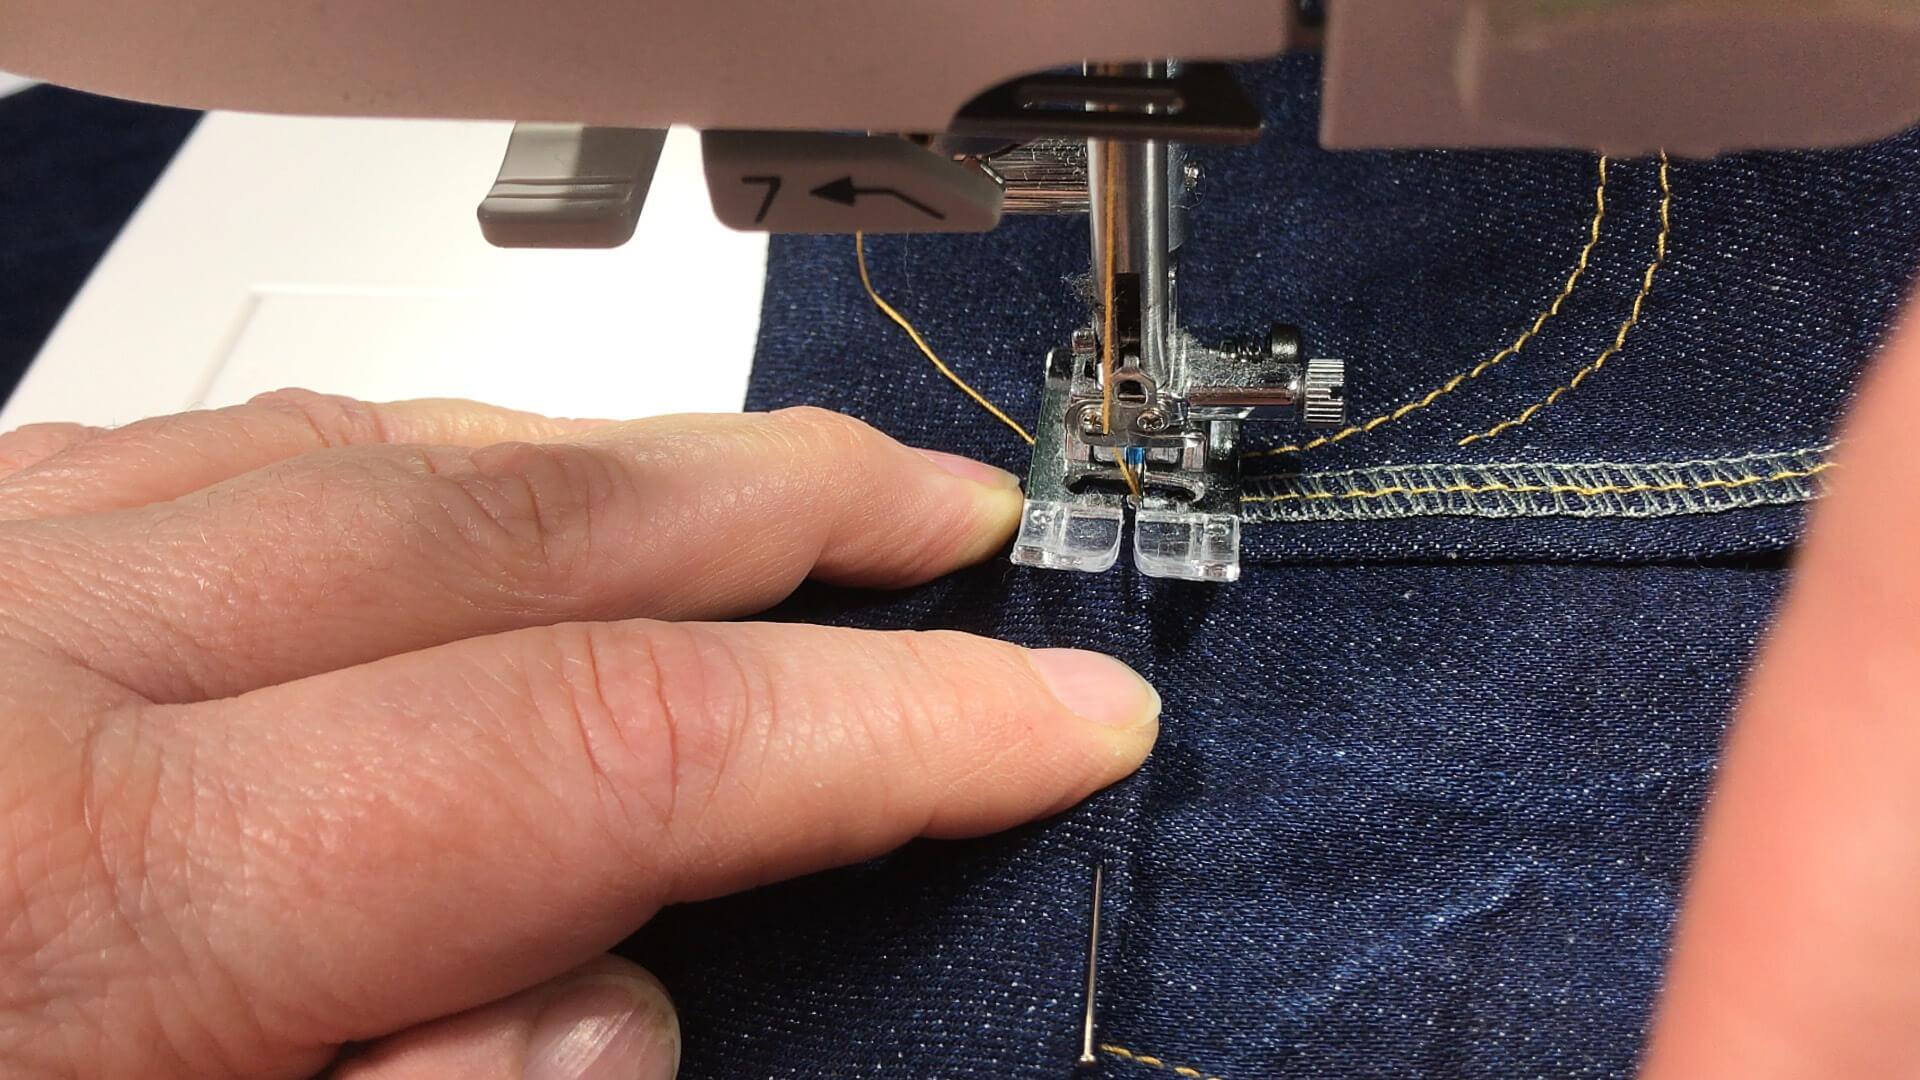
Then I start at the front left again and now stitch towards the center front, then to the top edge and then along the top edge and down the center front.
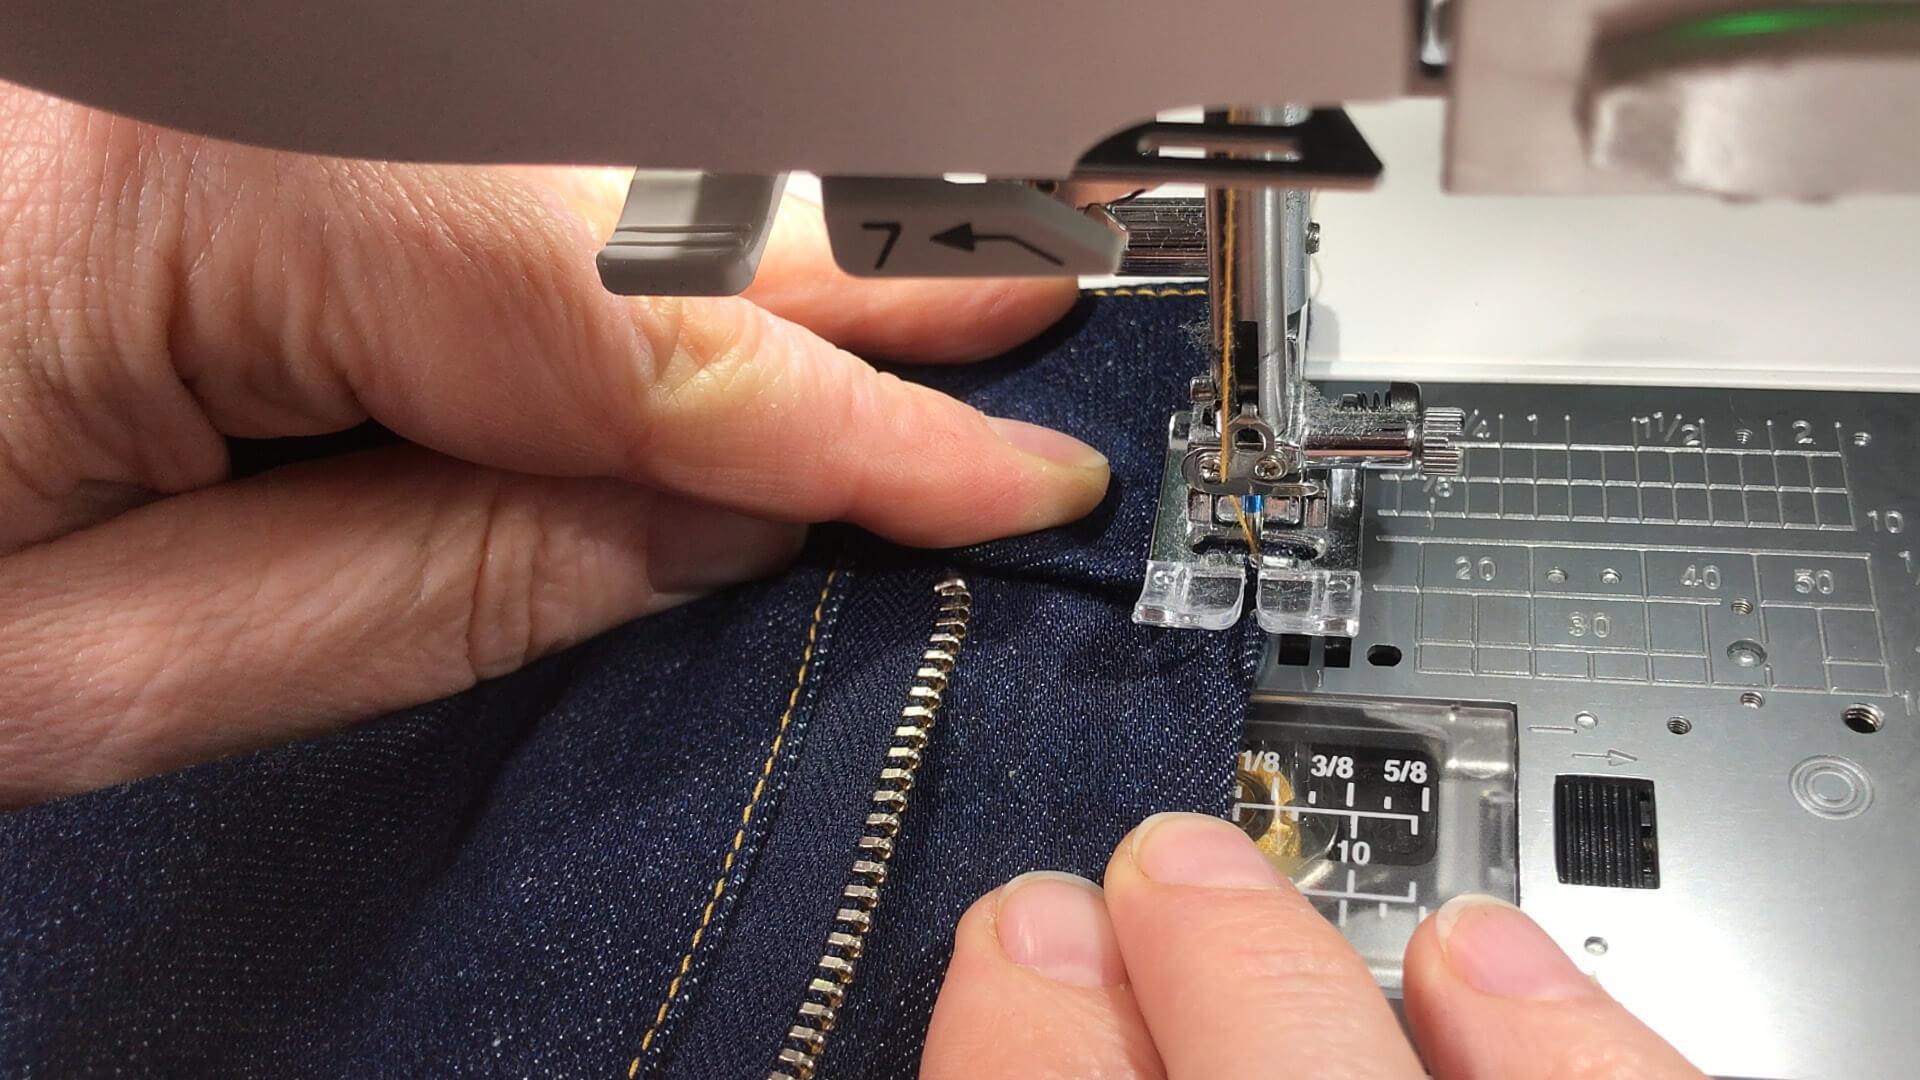
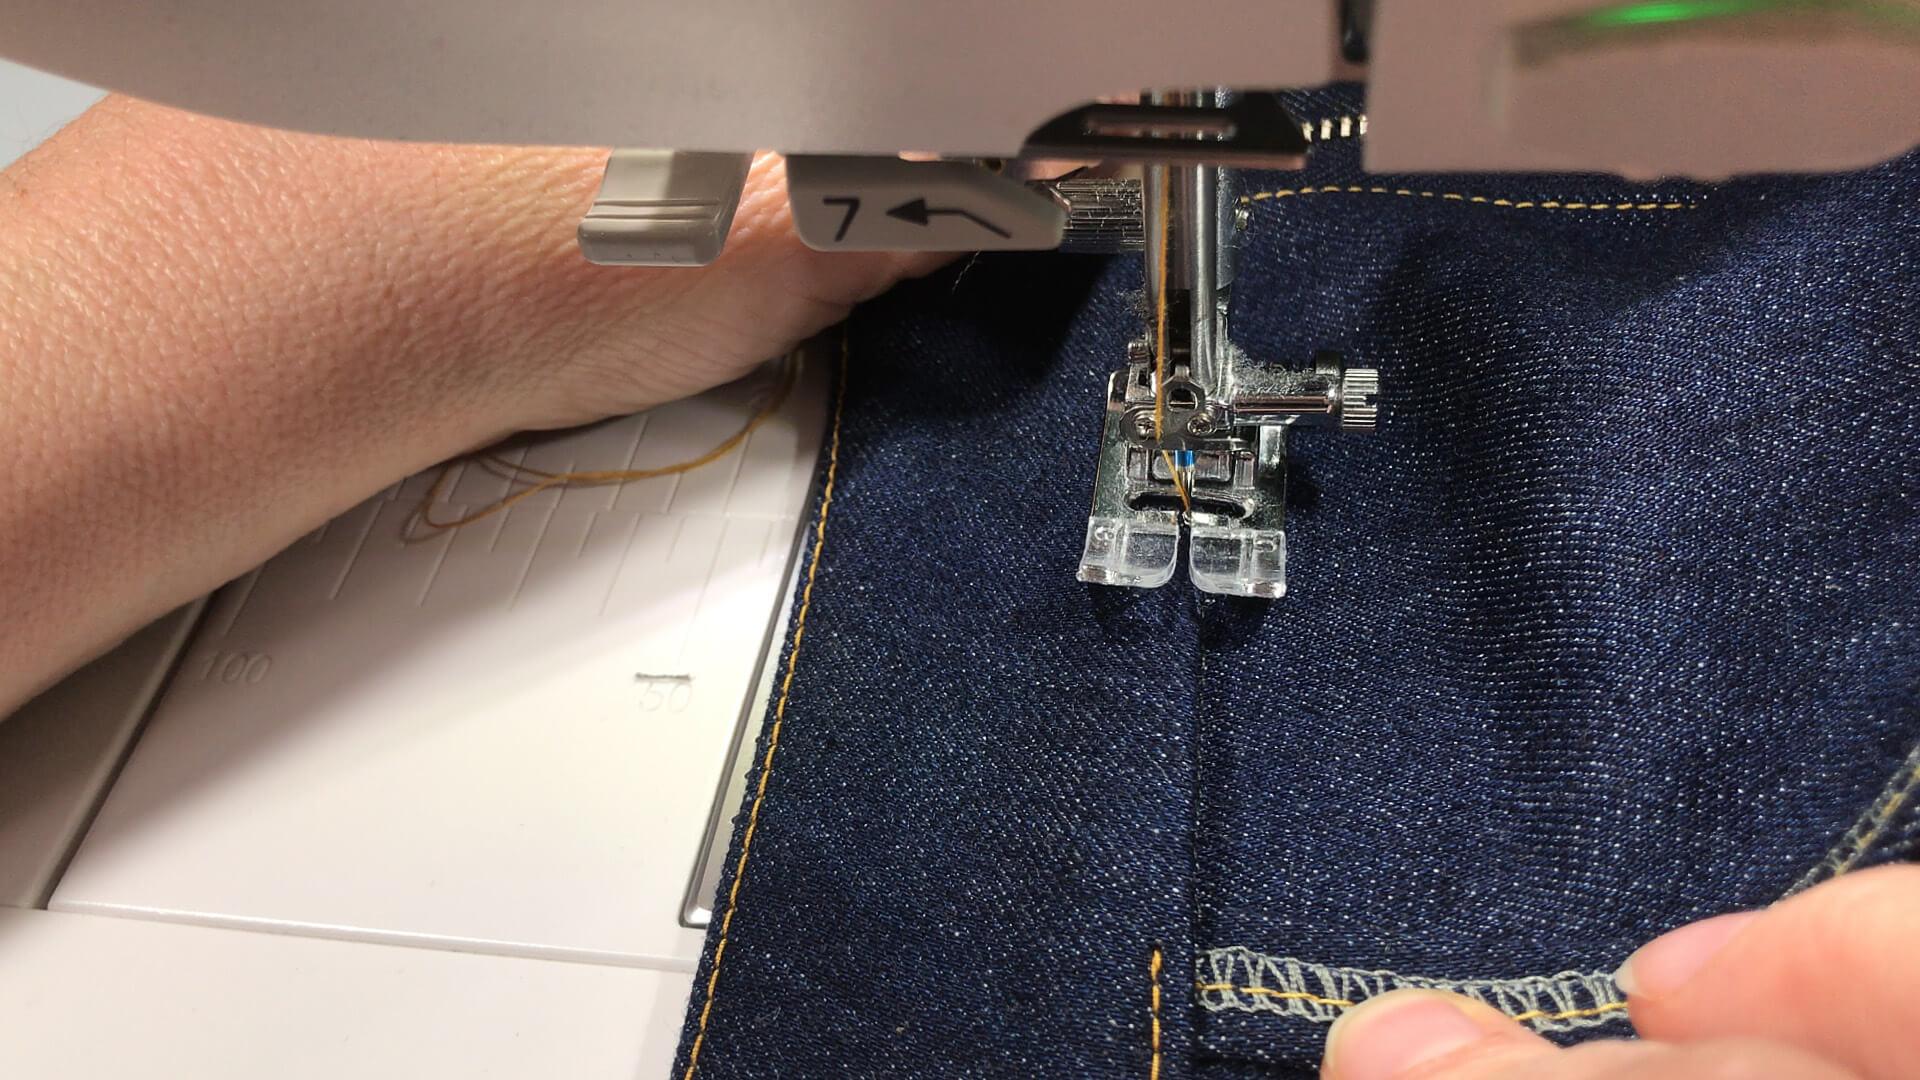
I end again above the belt loop on the front right.
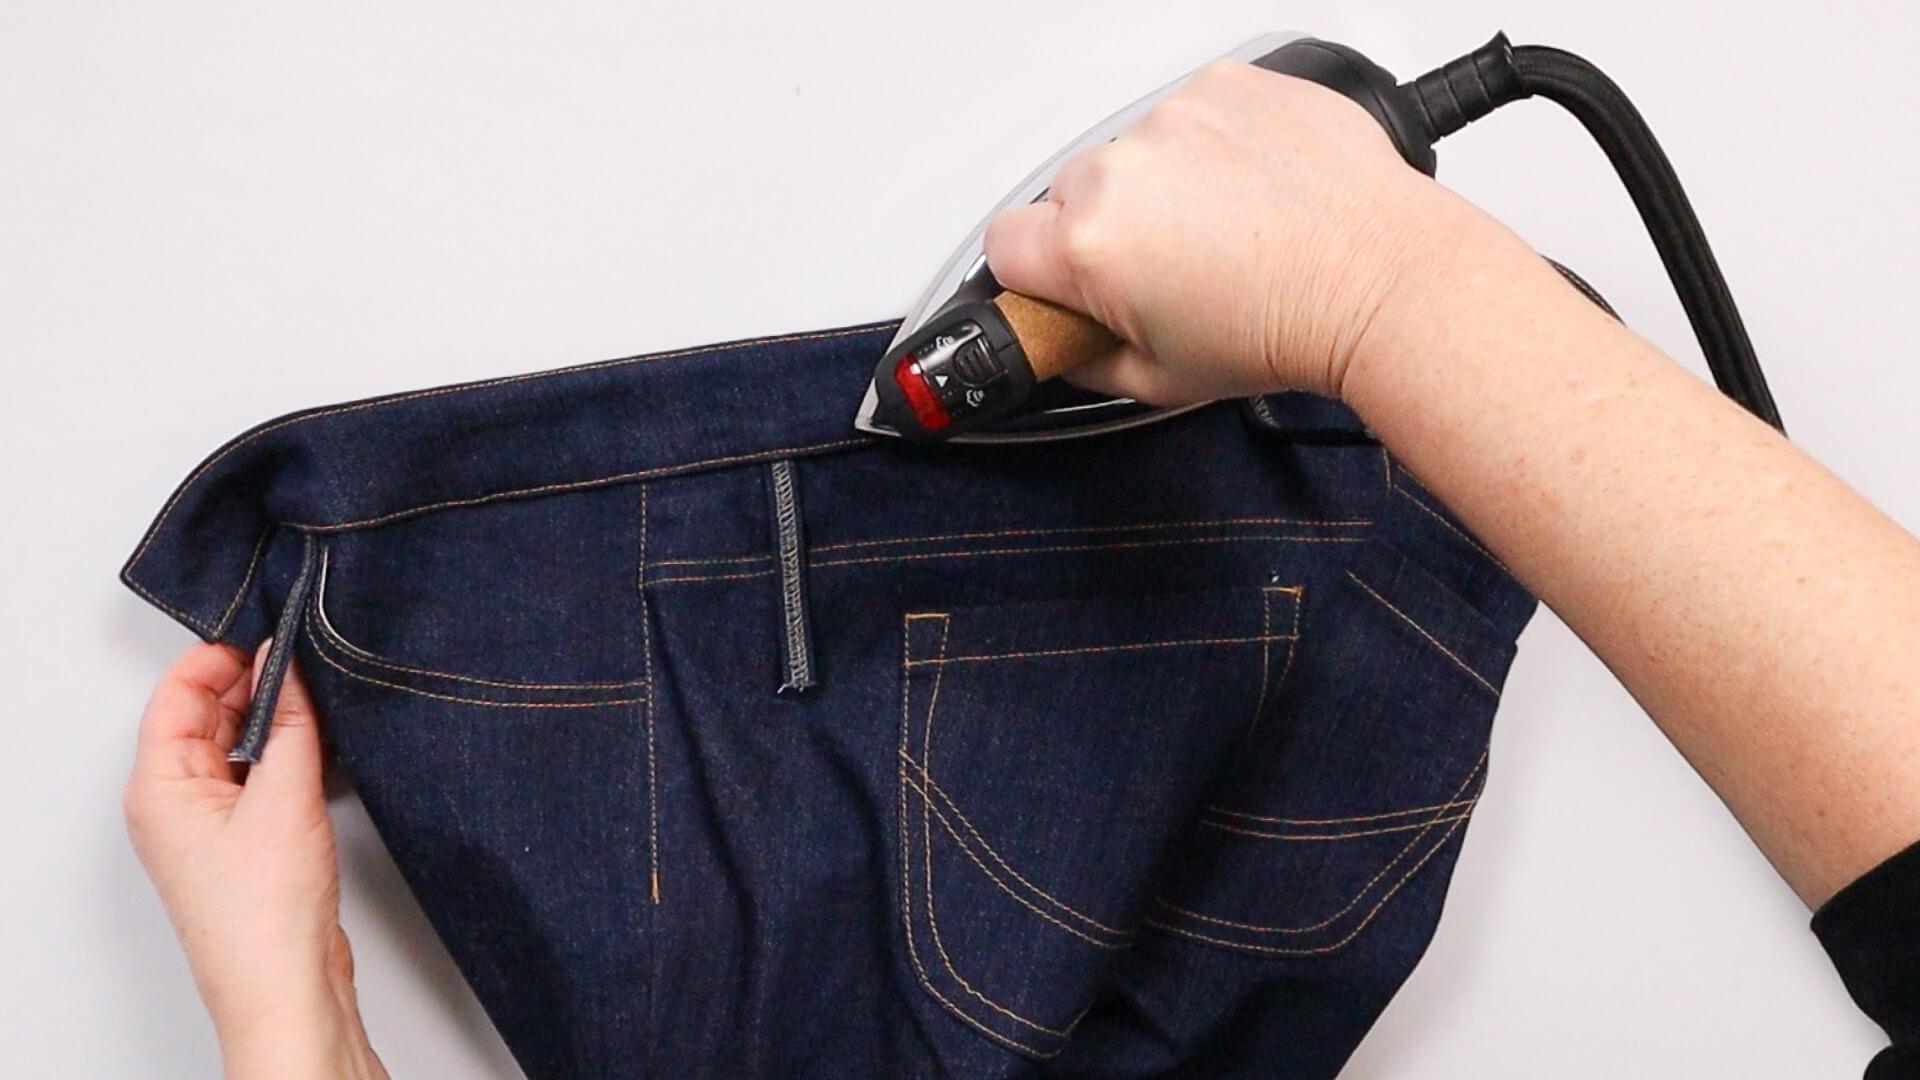
Now iron the waistband.
10. Sew buttonhole into the waistband
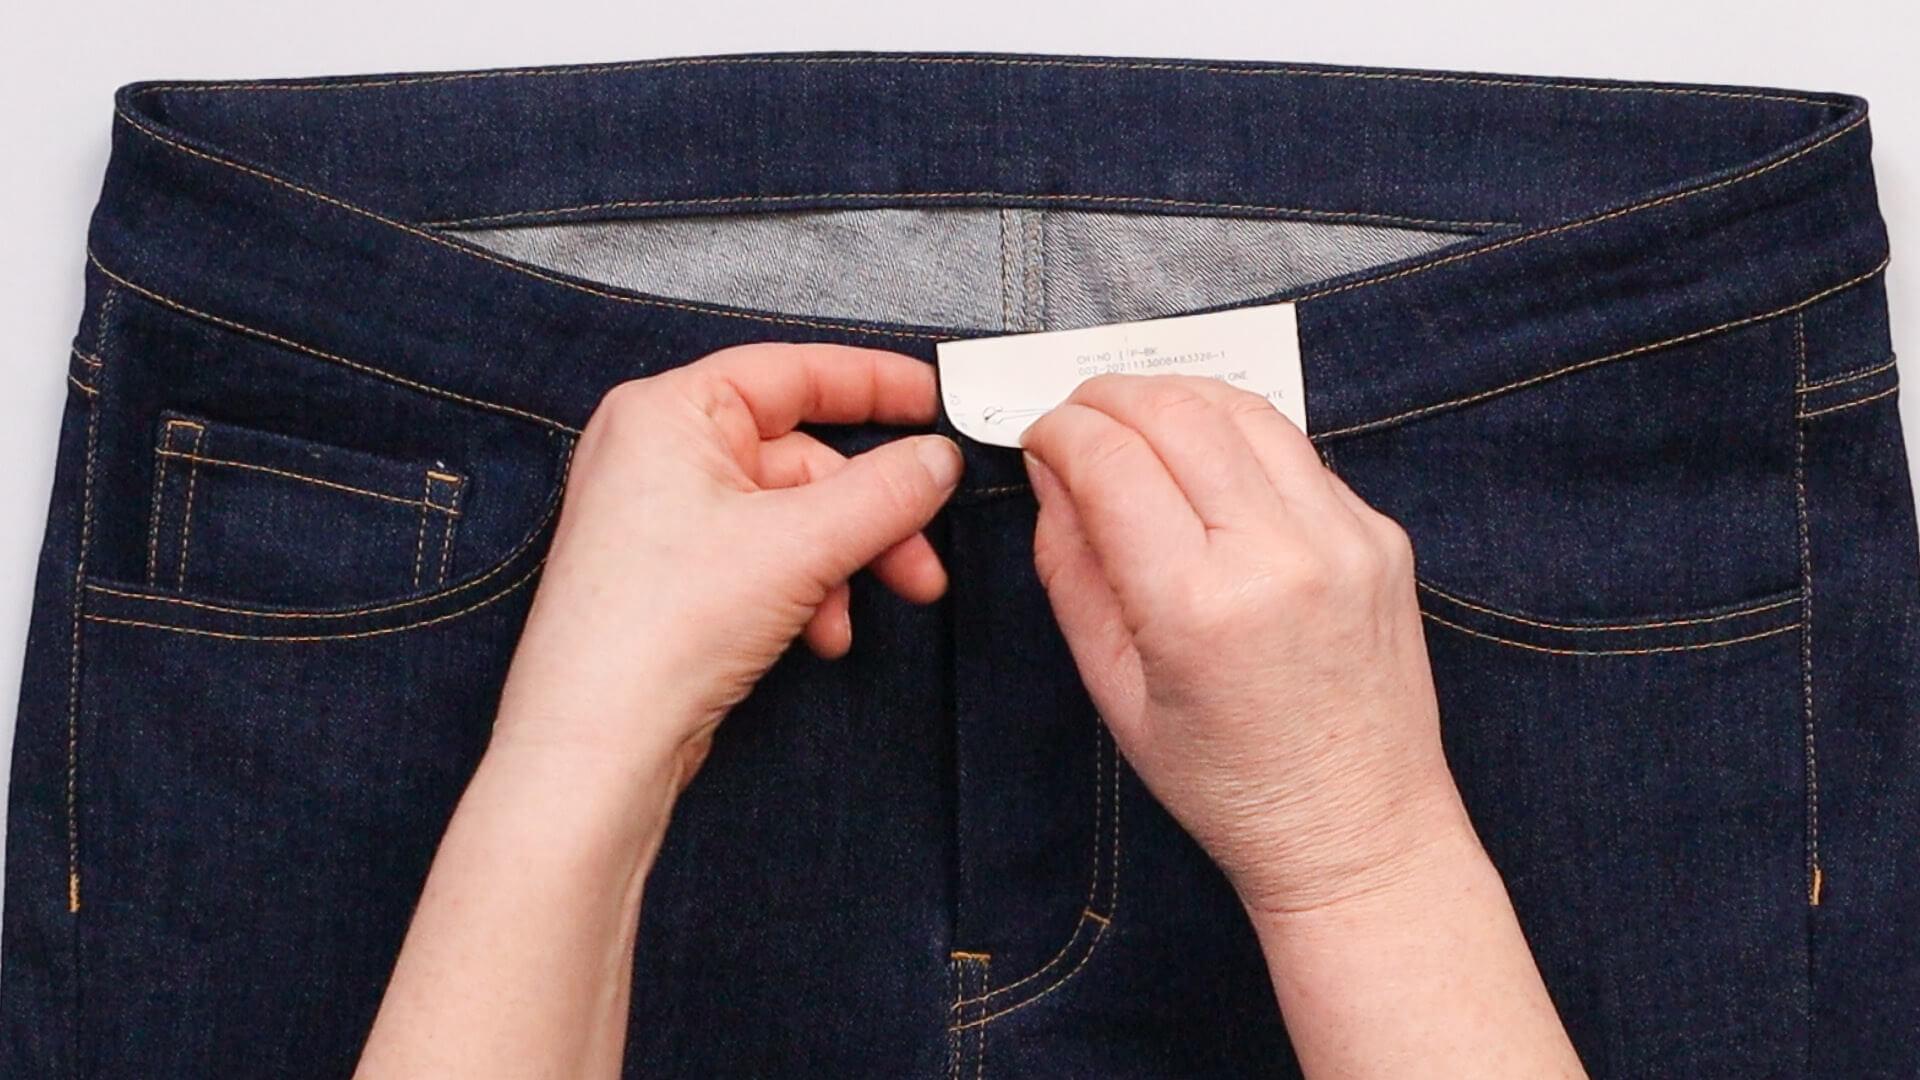
The buttonhole is now worked into the left side of the waistband. The wide waistband version has two buttonholes. I transfer the starting point from the template to the waistband. Then mark the direction of the buttonhole parallel to the edge of the waistband.
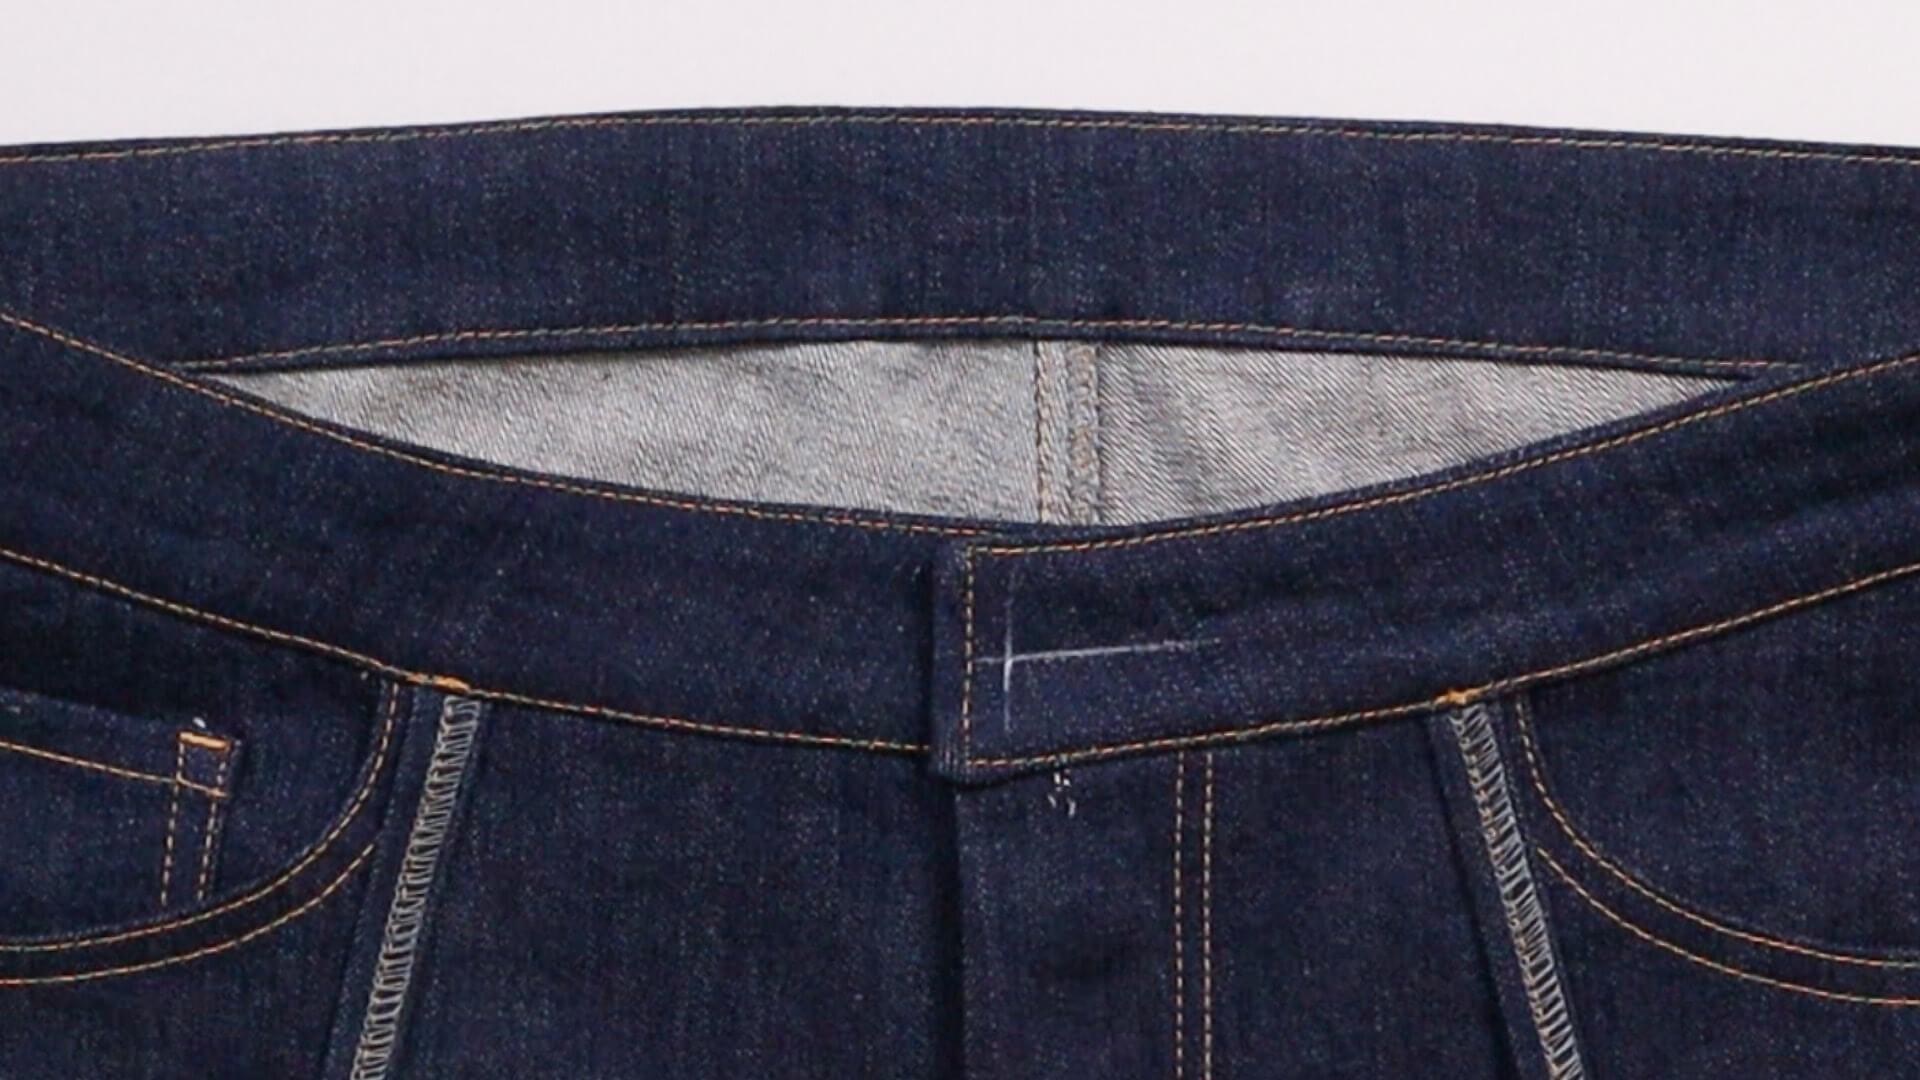
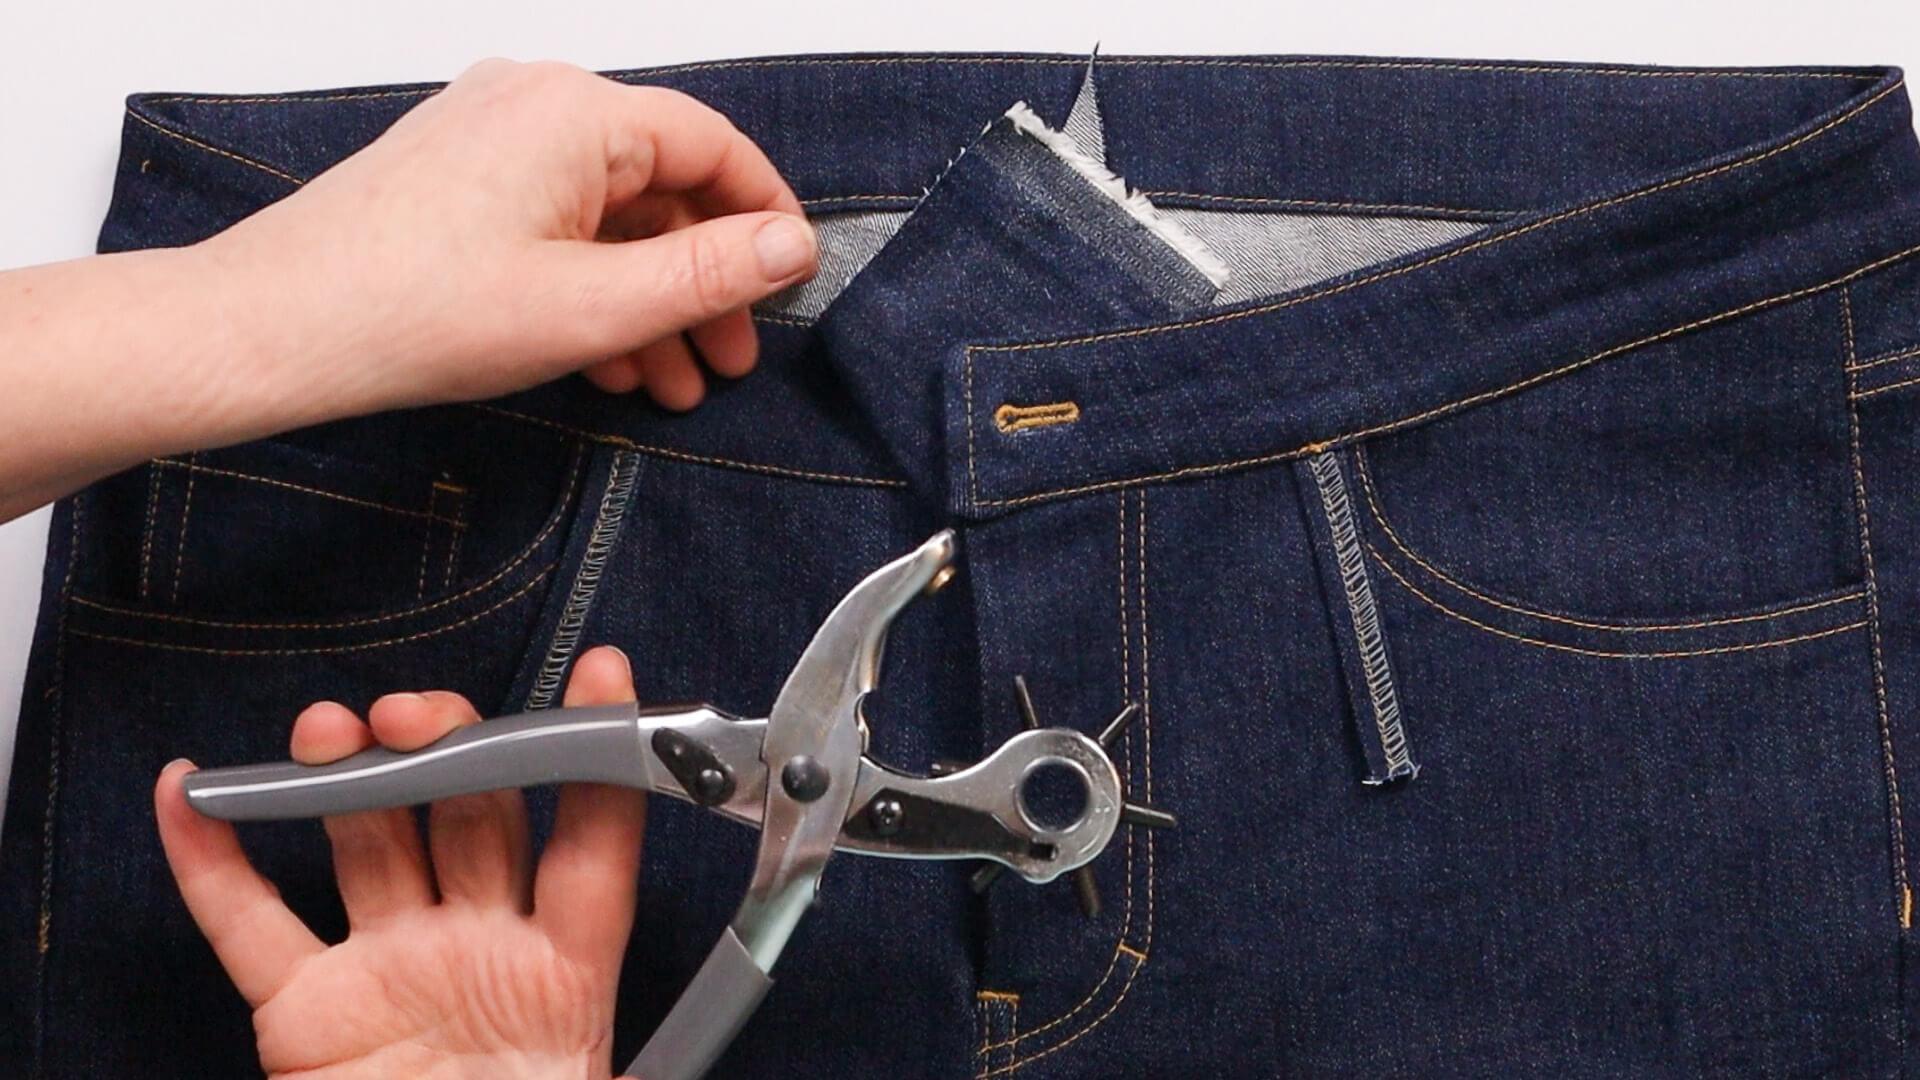
I sew the buttonhole with the appropriate presser foot and program on my sewing machine. I first make a sample on a test piece. If you do not have such a program on your machine, you can mark the length of the button and sew a manual buttonhole with a narrow zigzag stitch. I punch out the eye of my buttonhole with a 2 mm diameter punch. Once the buttonhole has been carefully cut open, the button position can be marked. First, I close the fly so that the left waistband edge lies over the right underlap.
11. Attach jeans button
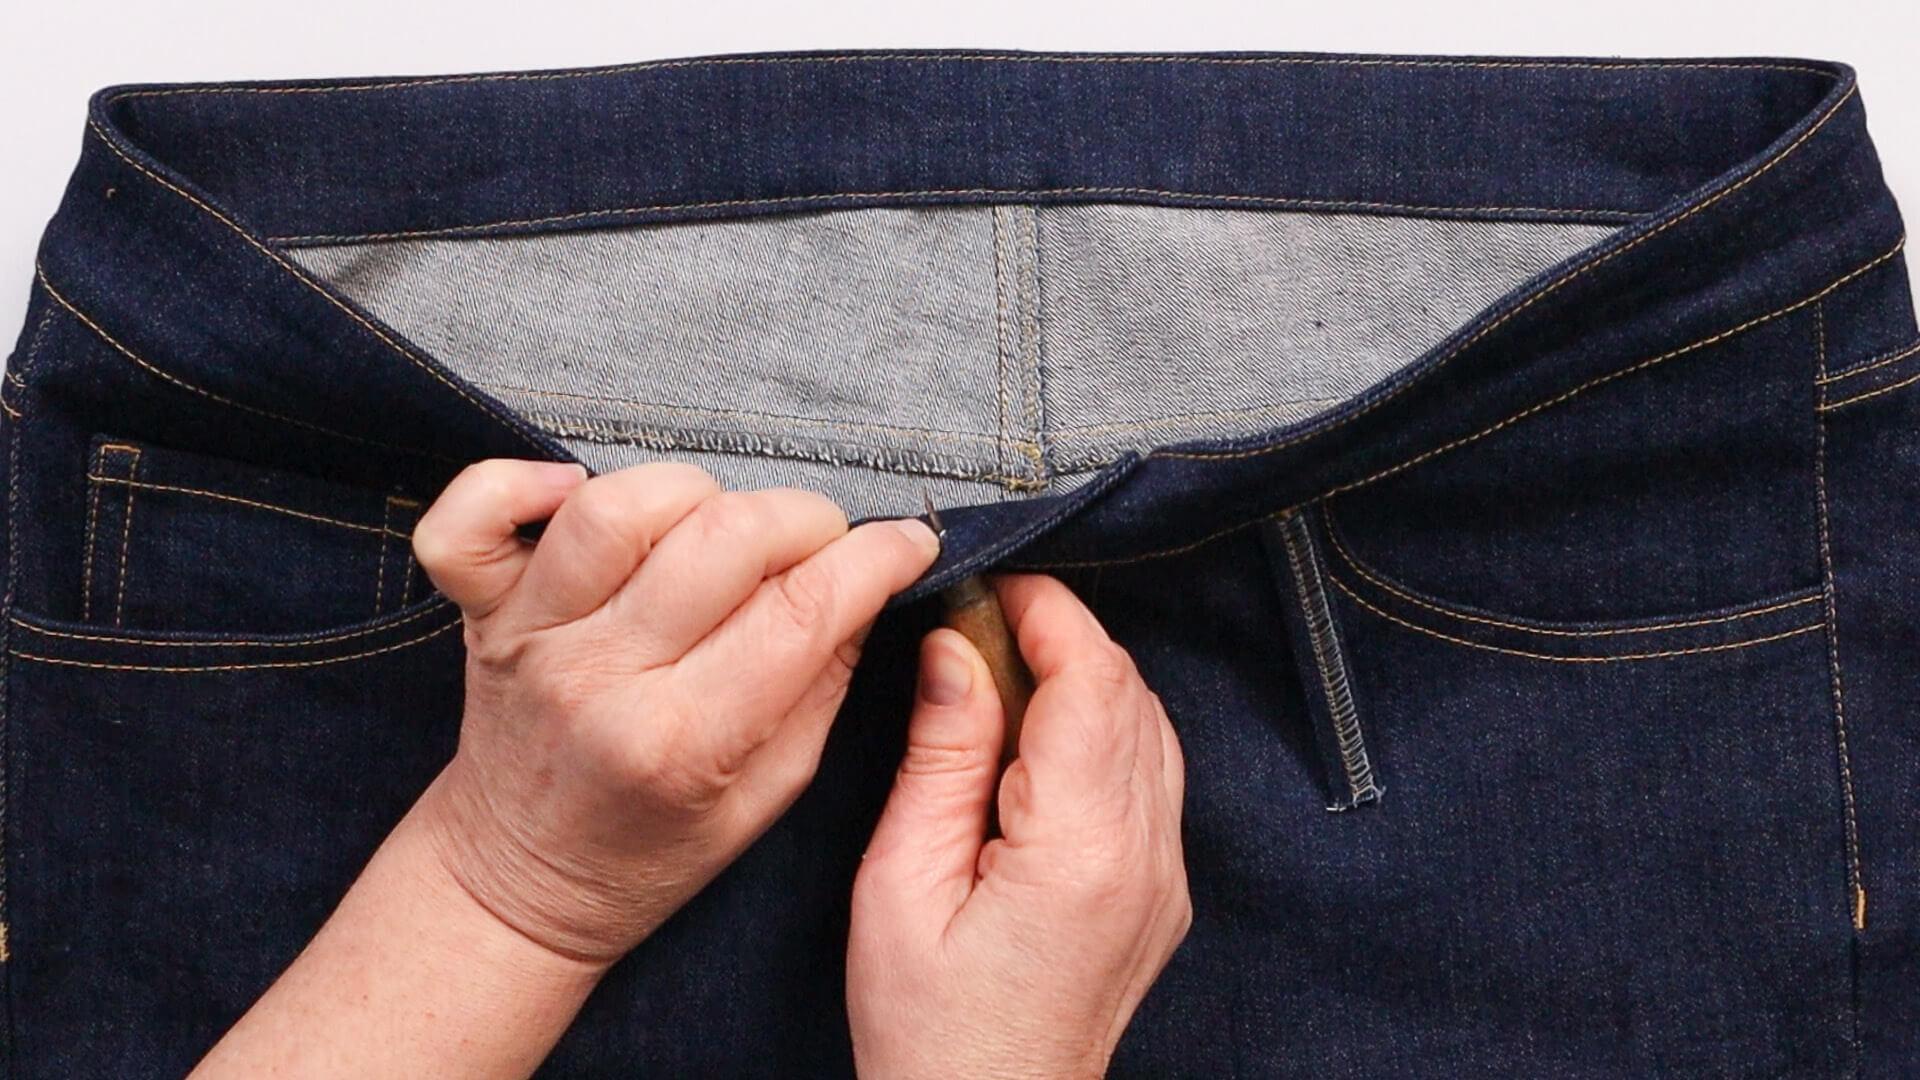
As I am attaching a jeans button here, I widen the fabric at the marked button position with an awl to make it easier to push the bottom of the button through. Then I push the bottom part of the button through the opening.
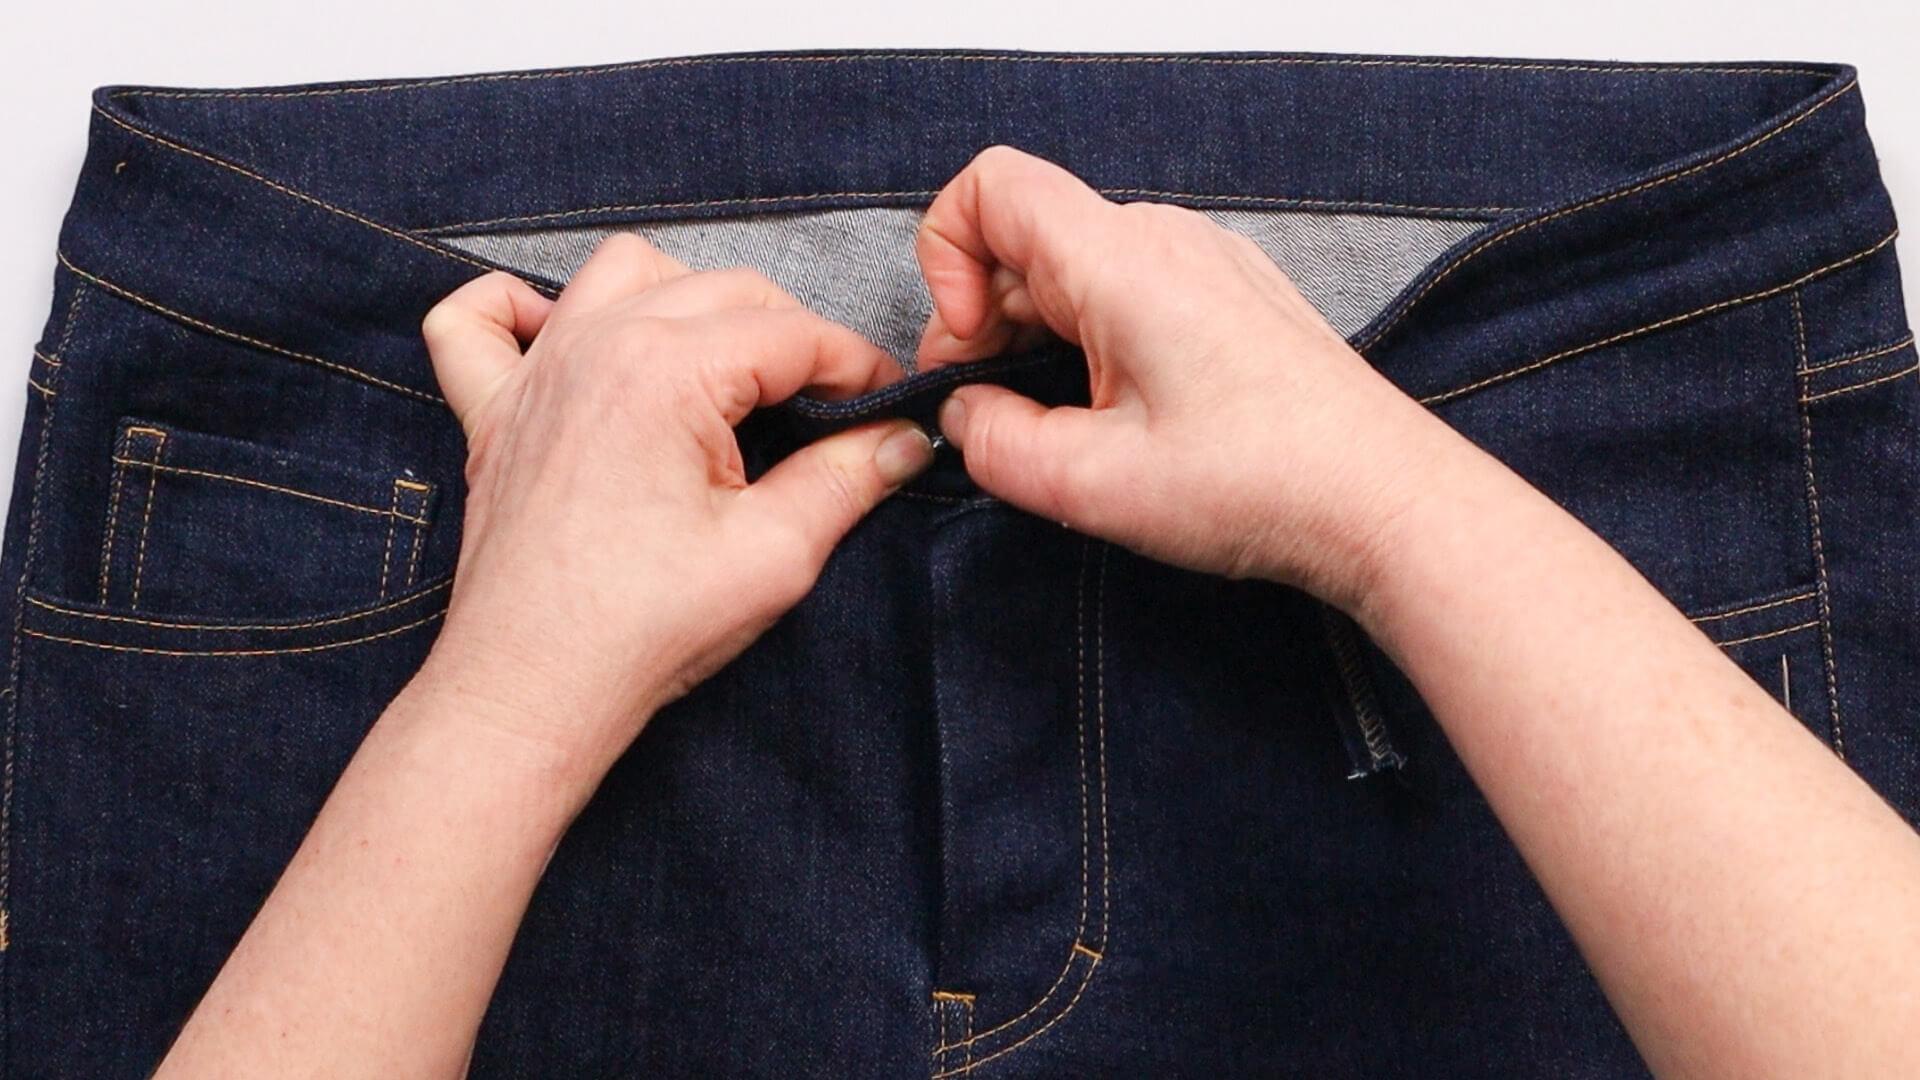
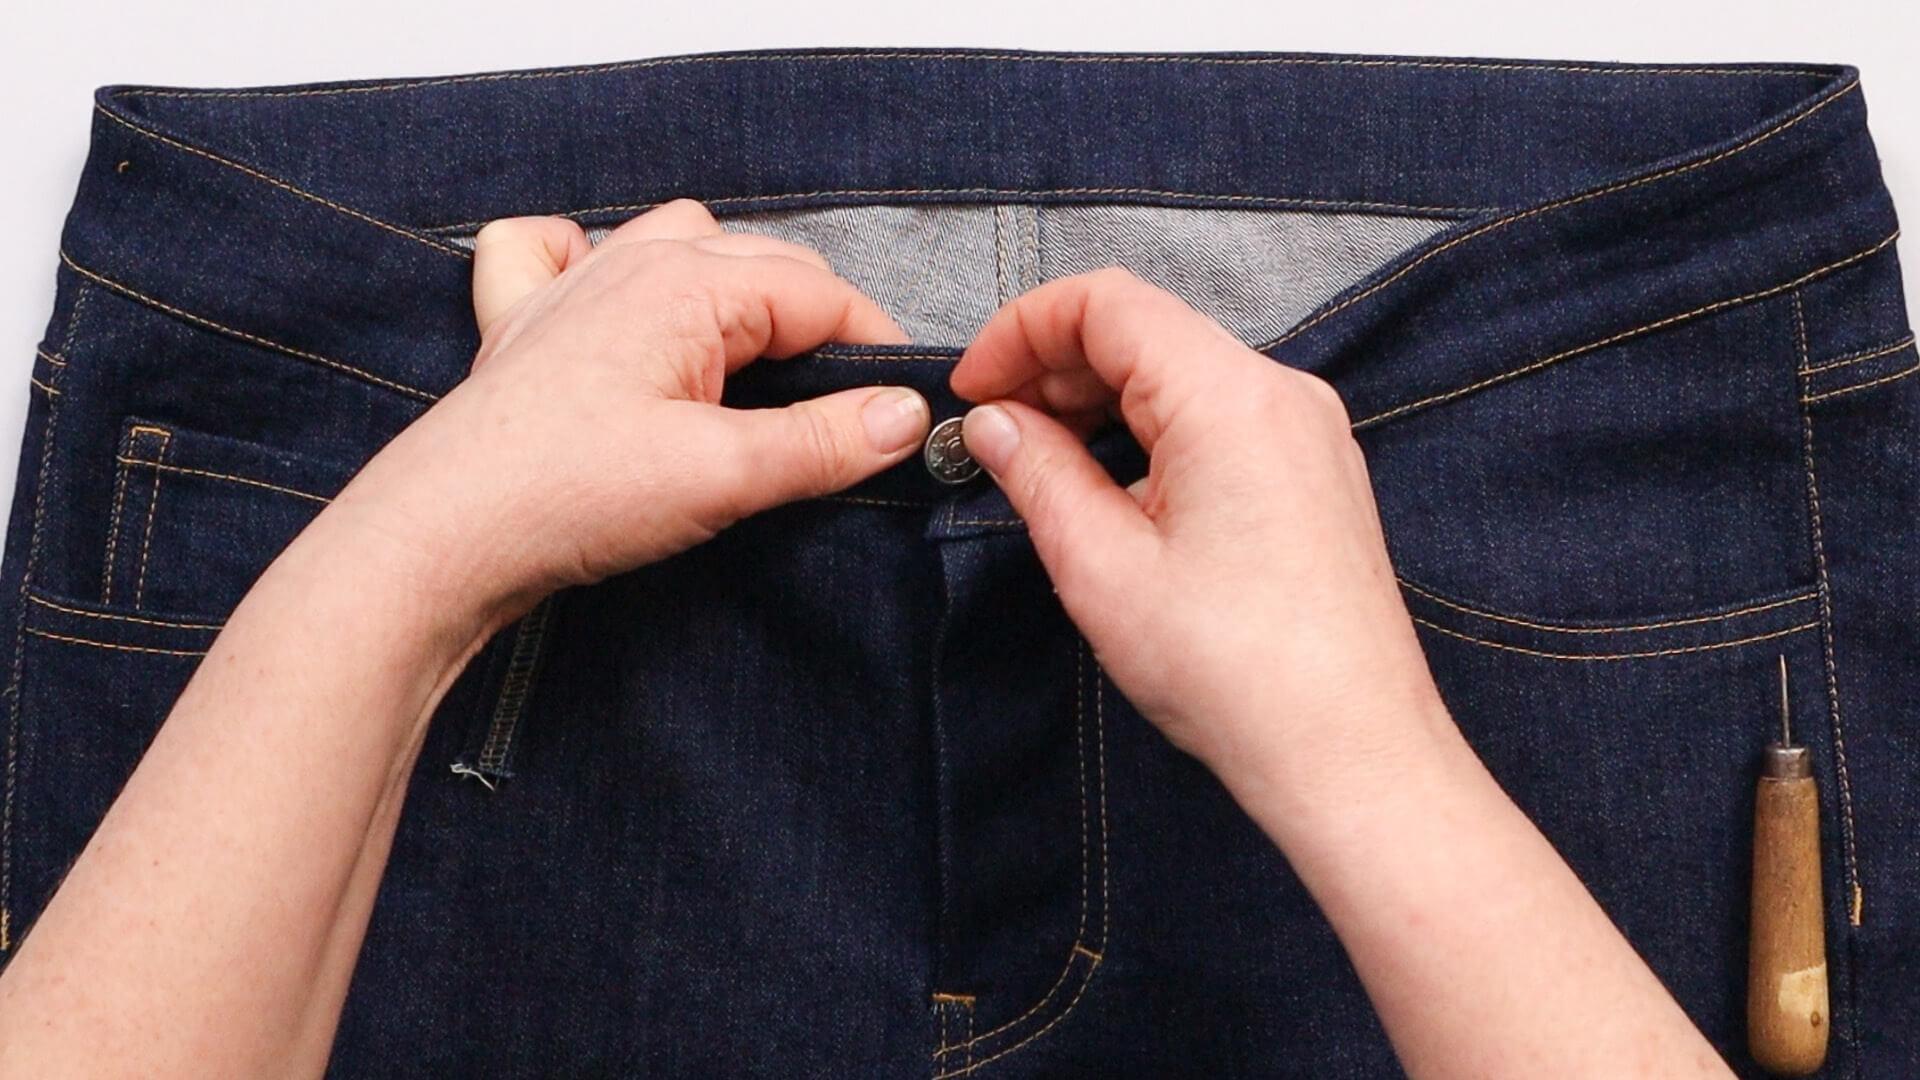
The upper part of the button is now pressed onto the lower part from the outside.
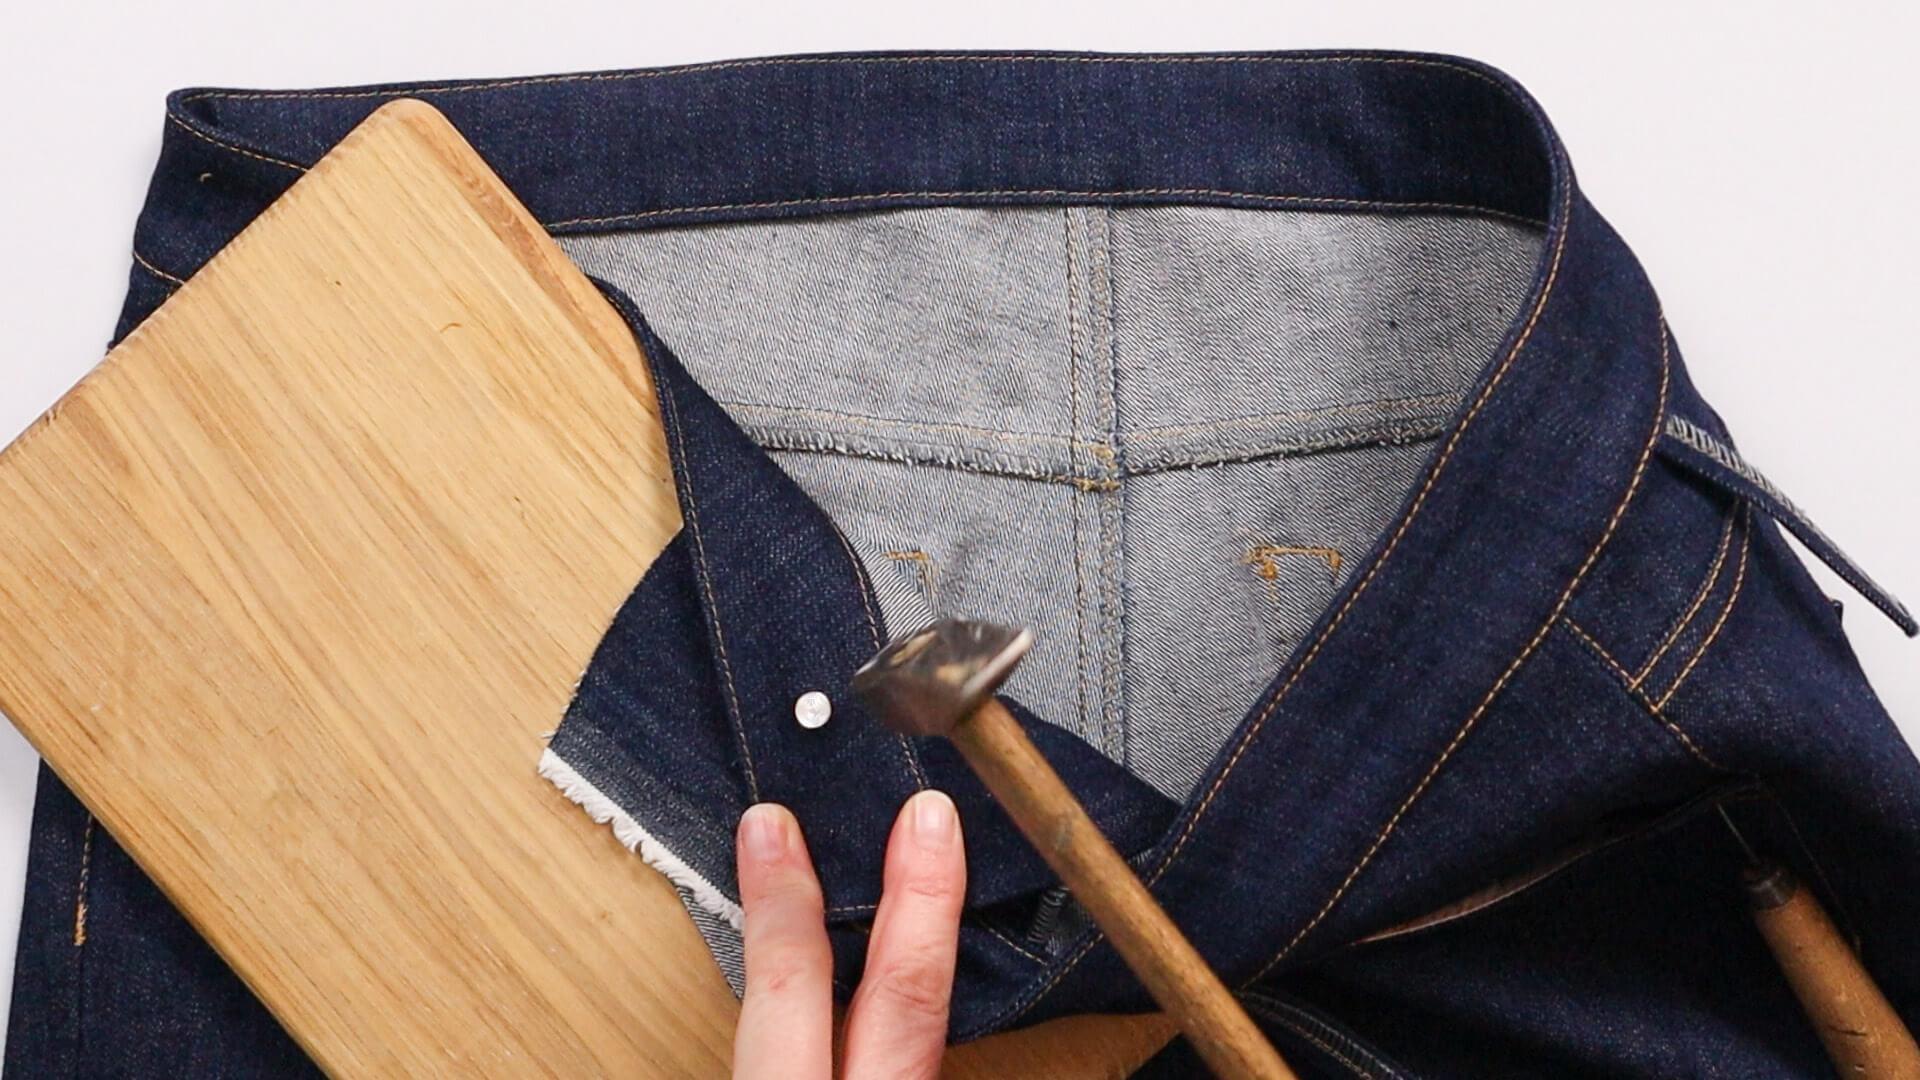
I put a piece of fabric as protectionon a firm base and place the waistband piece with the button over it. Now I hammer the upper and lower parts of the button together from the inside.
12. Sew belt loops onto the waistband
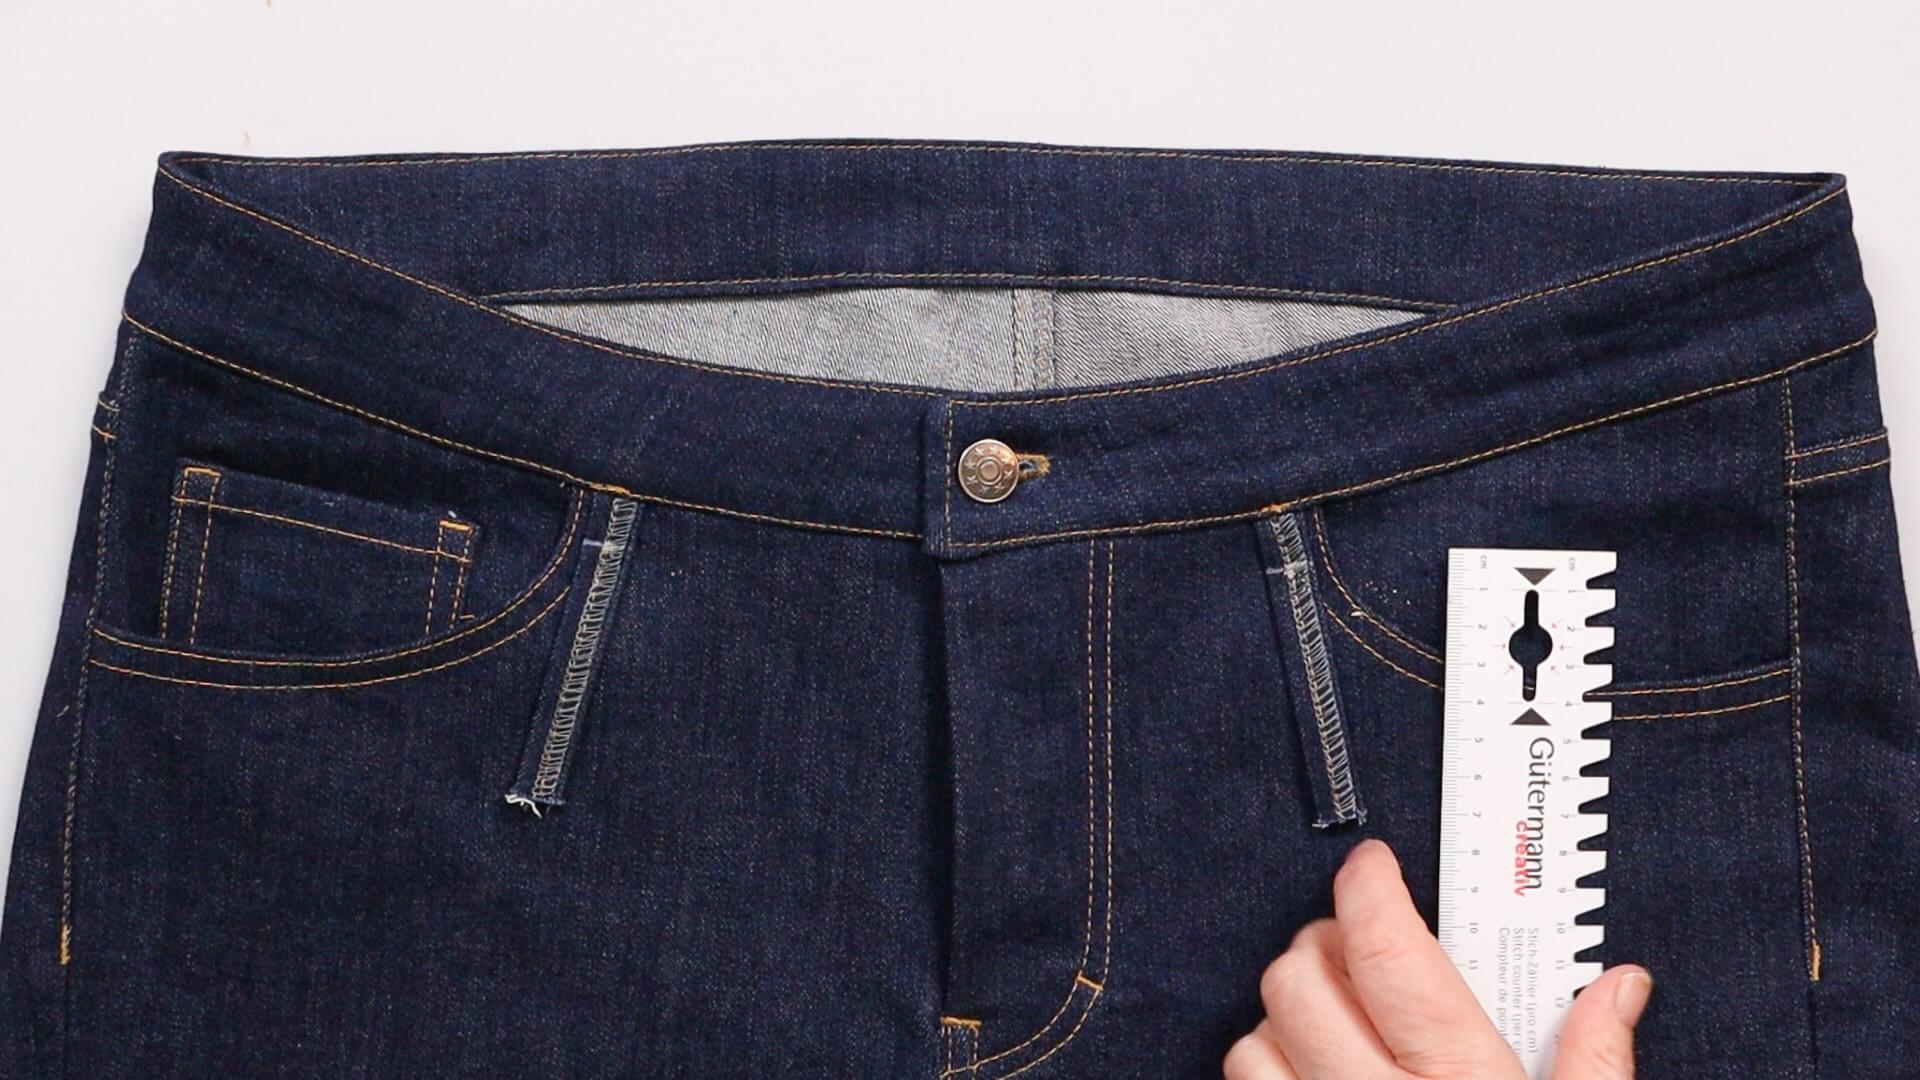
At the belt loops, I now mark a 15 mm distance from the seam. With this marked distance, they are now stitched parallel onto the legs below the waistband seam. I recommend placing a piece of fabric, such as a remnant from the belt loop pattern, behind the loop to straighten the presser foot.
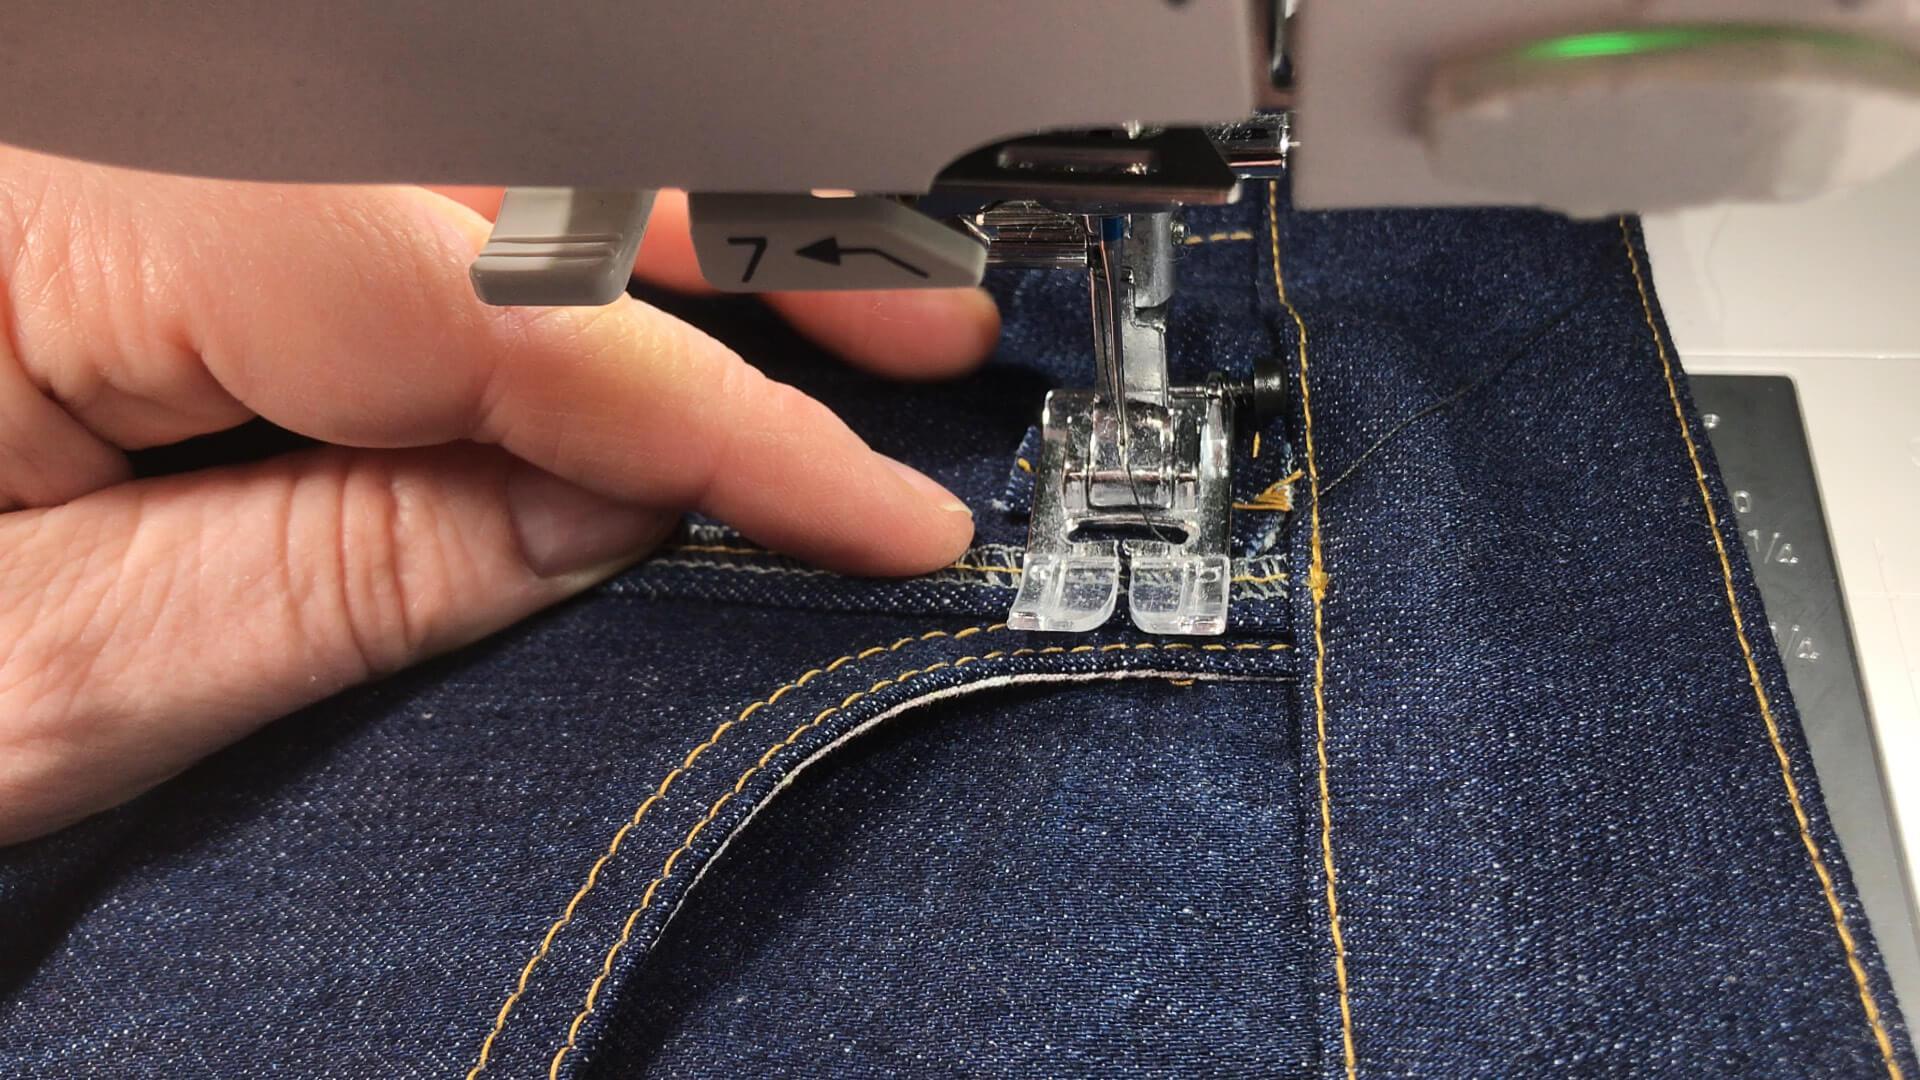
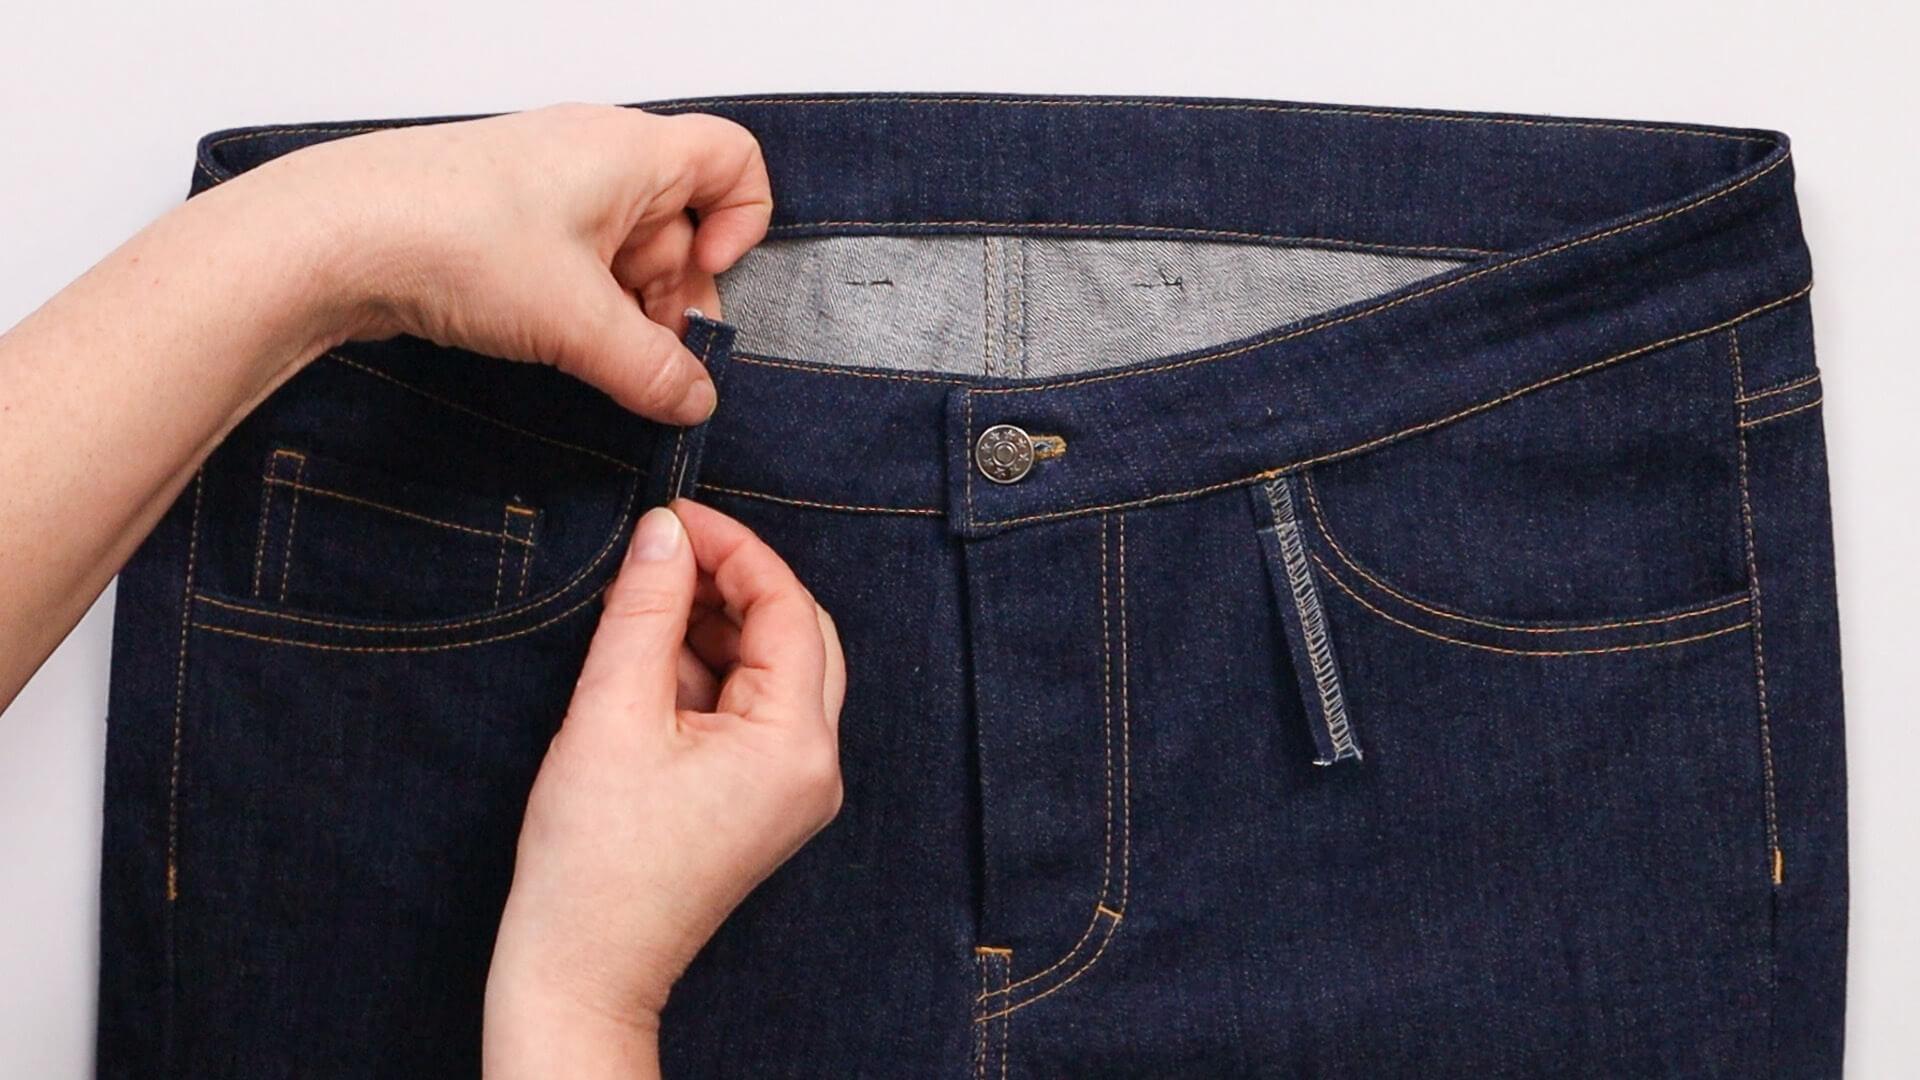
The belt loops are now pinned to the top of the waistband. The top edges are folded over flush with the waistband edge and sewn on top.
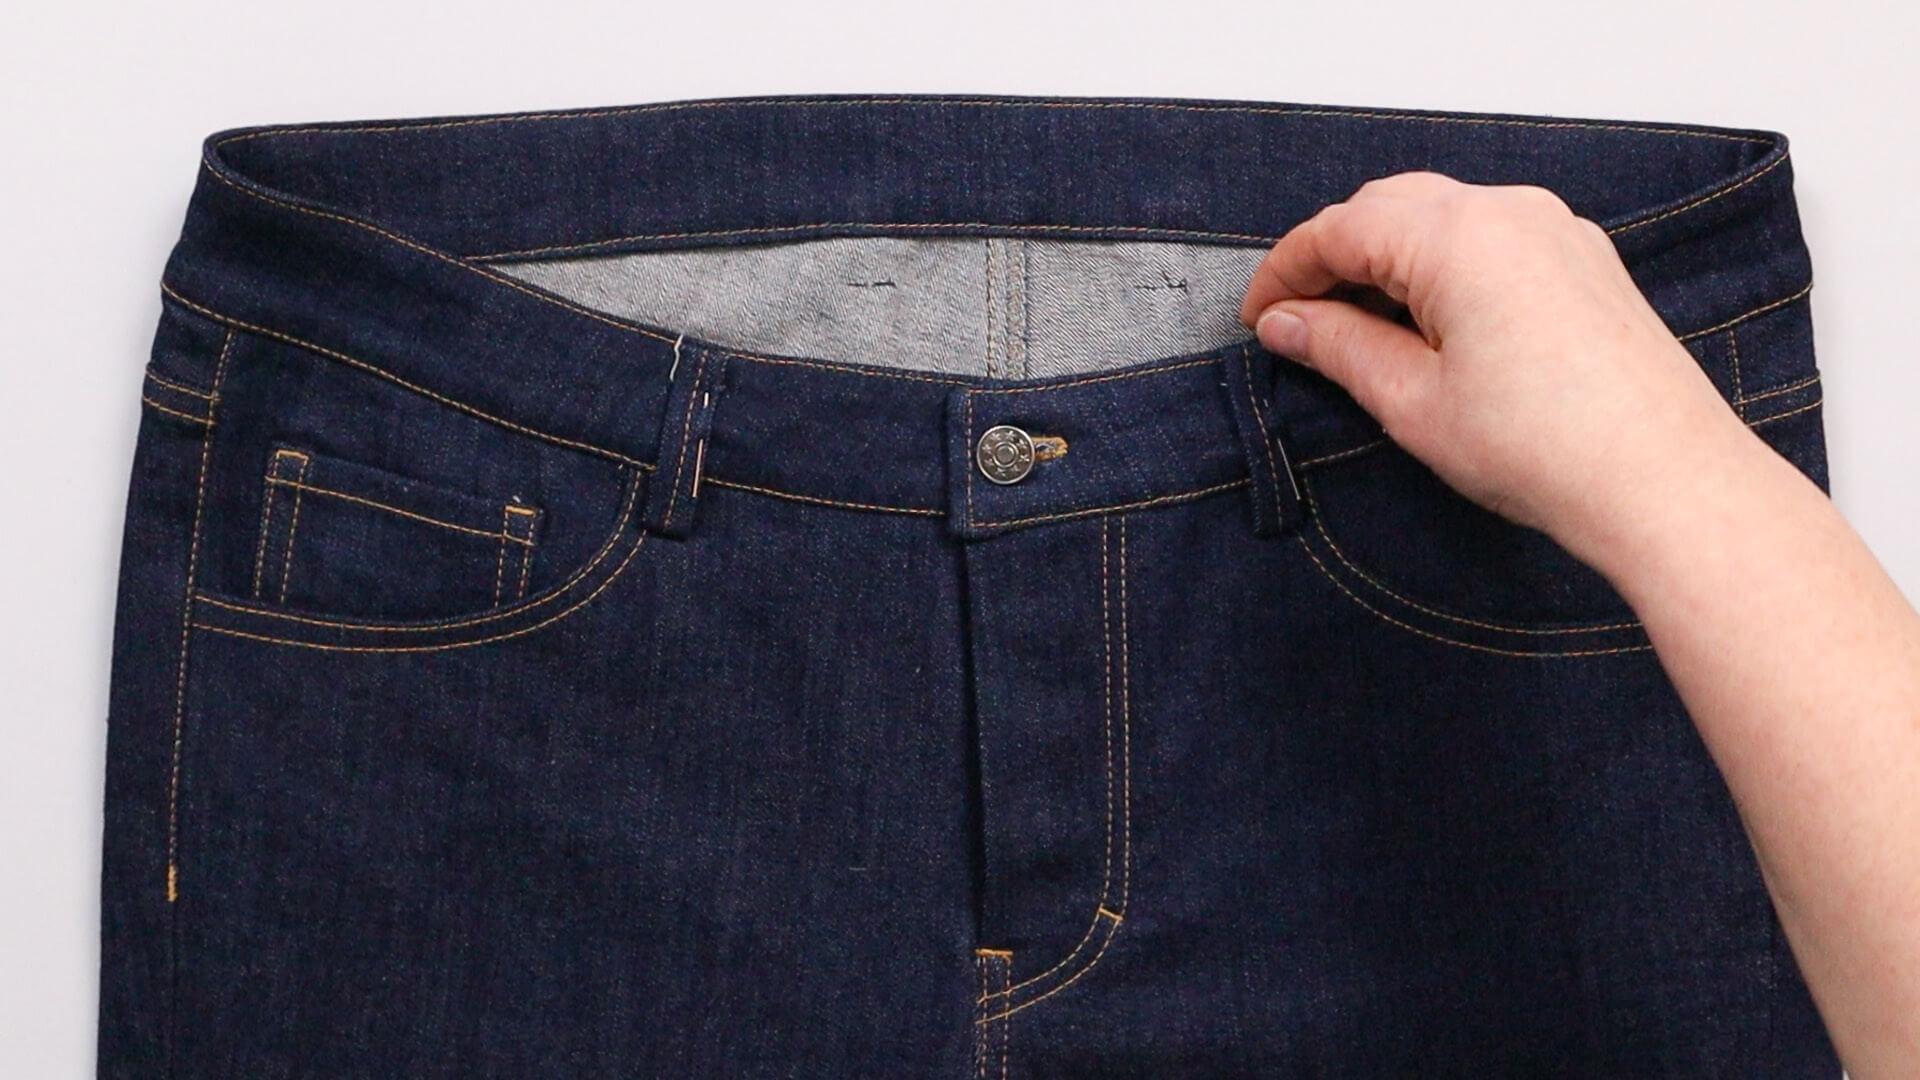
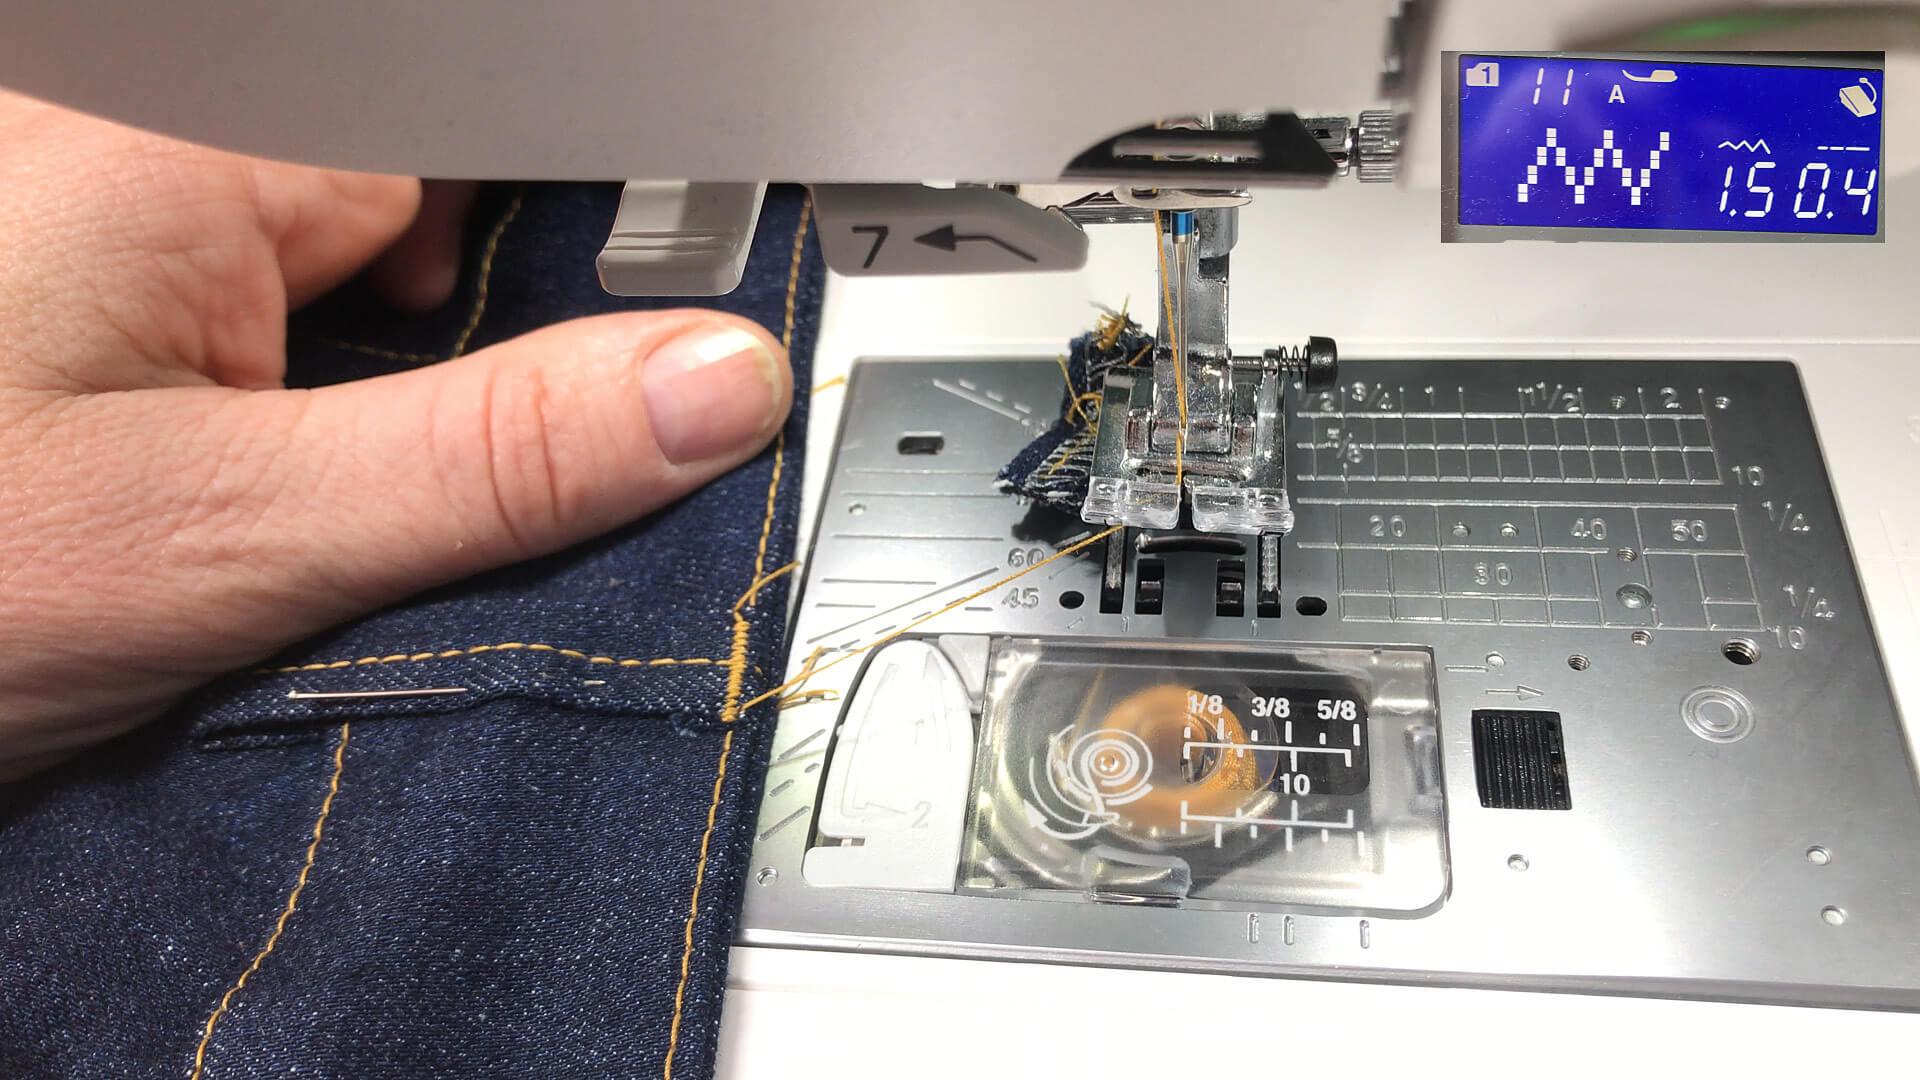
When bartacking, it is again helpful to use fabric remnant or a bulky seam aid to bring the presser foot into a straight position. In this example, I am working with a narrow zigzag stitch – with a stitch width of 1.5 and a stitch length of 0.4. It is best to try out the stitch on a test piece first.
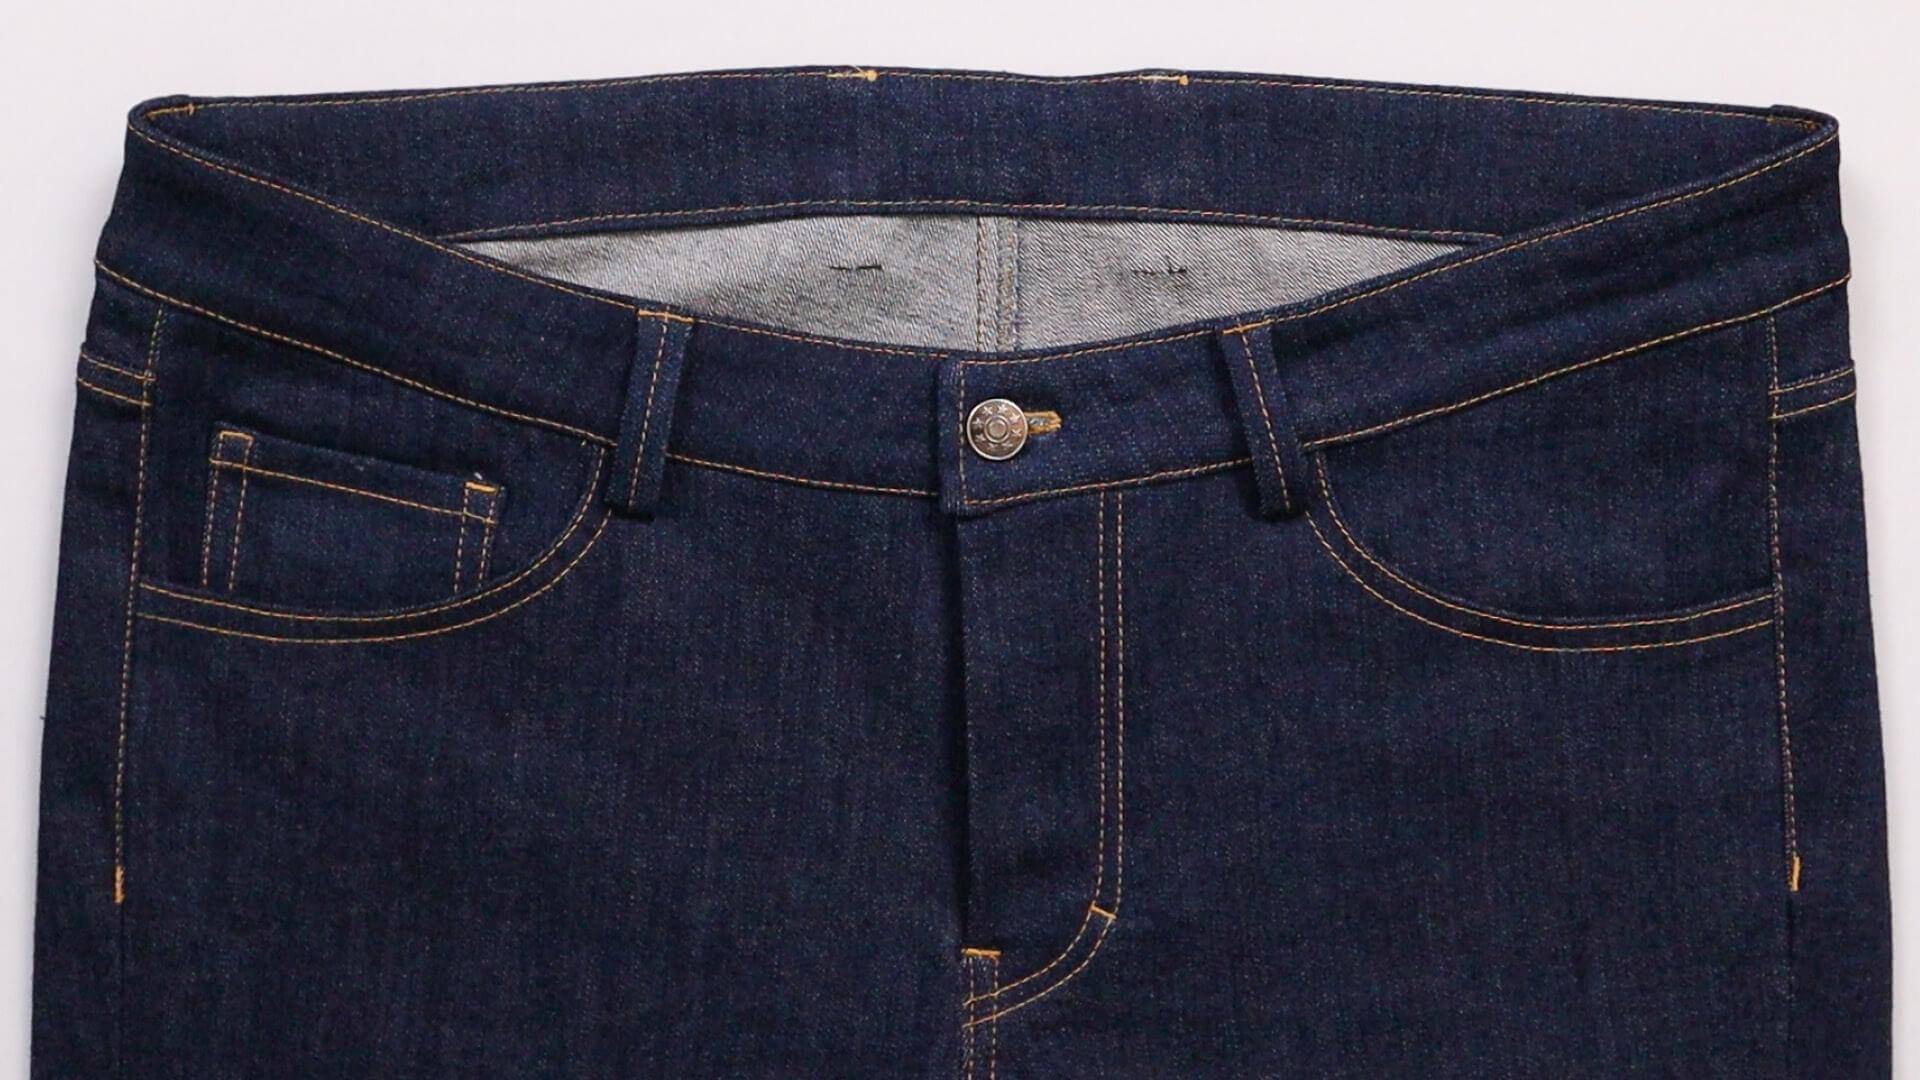
And the waistband is finished.
Below you will find the link to the next step:
If you’re not quite ready yet and perhaps want to start at the beginning, you’ll find some links here:


