
Loading cart contents...


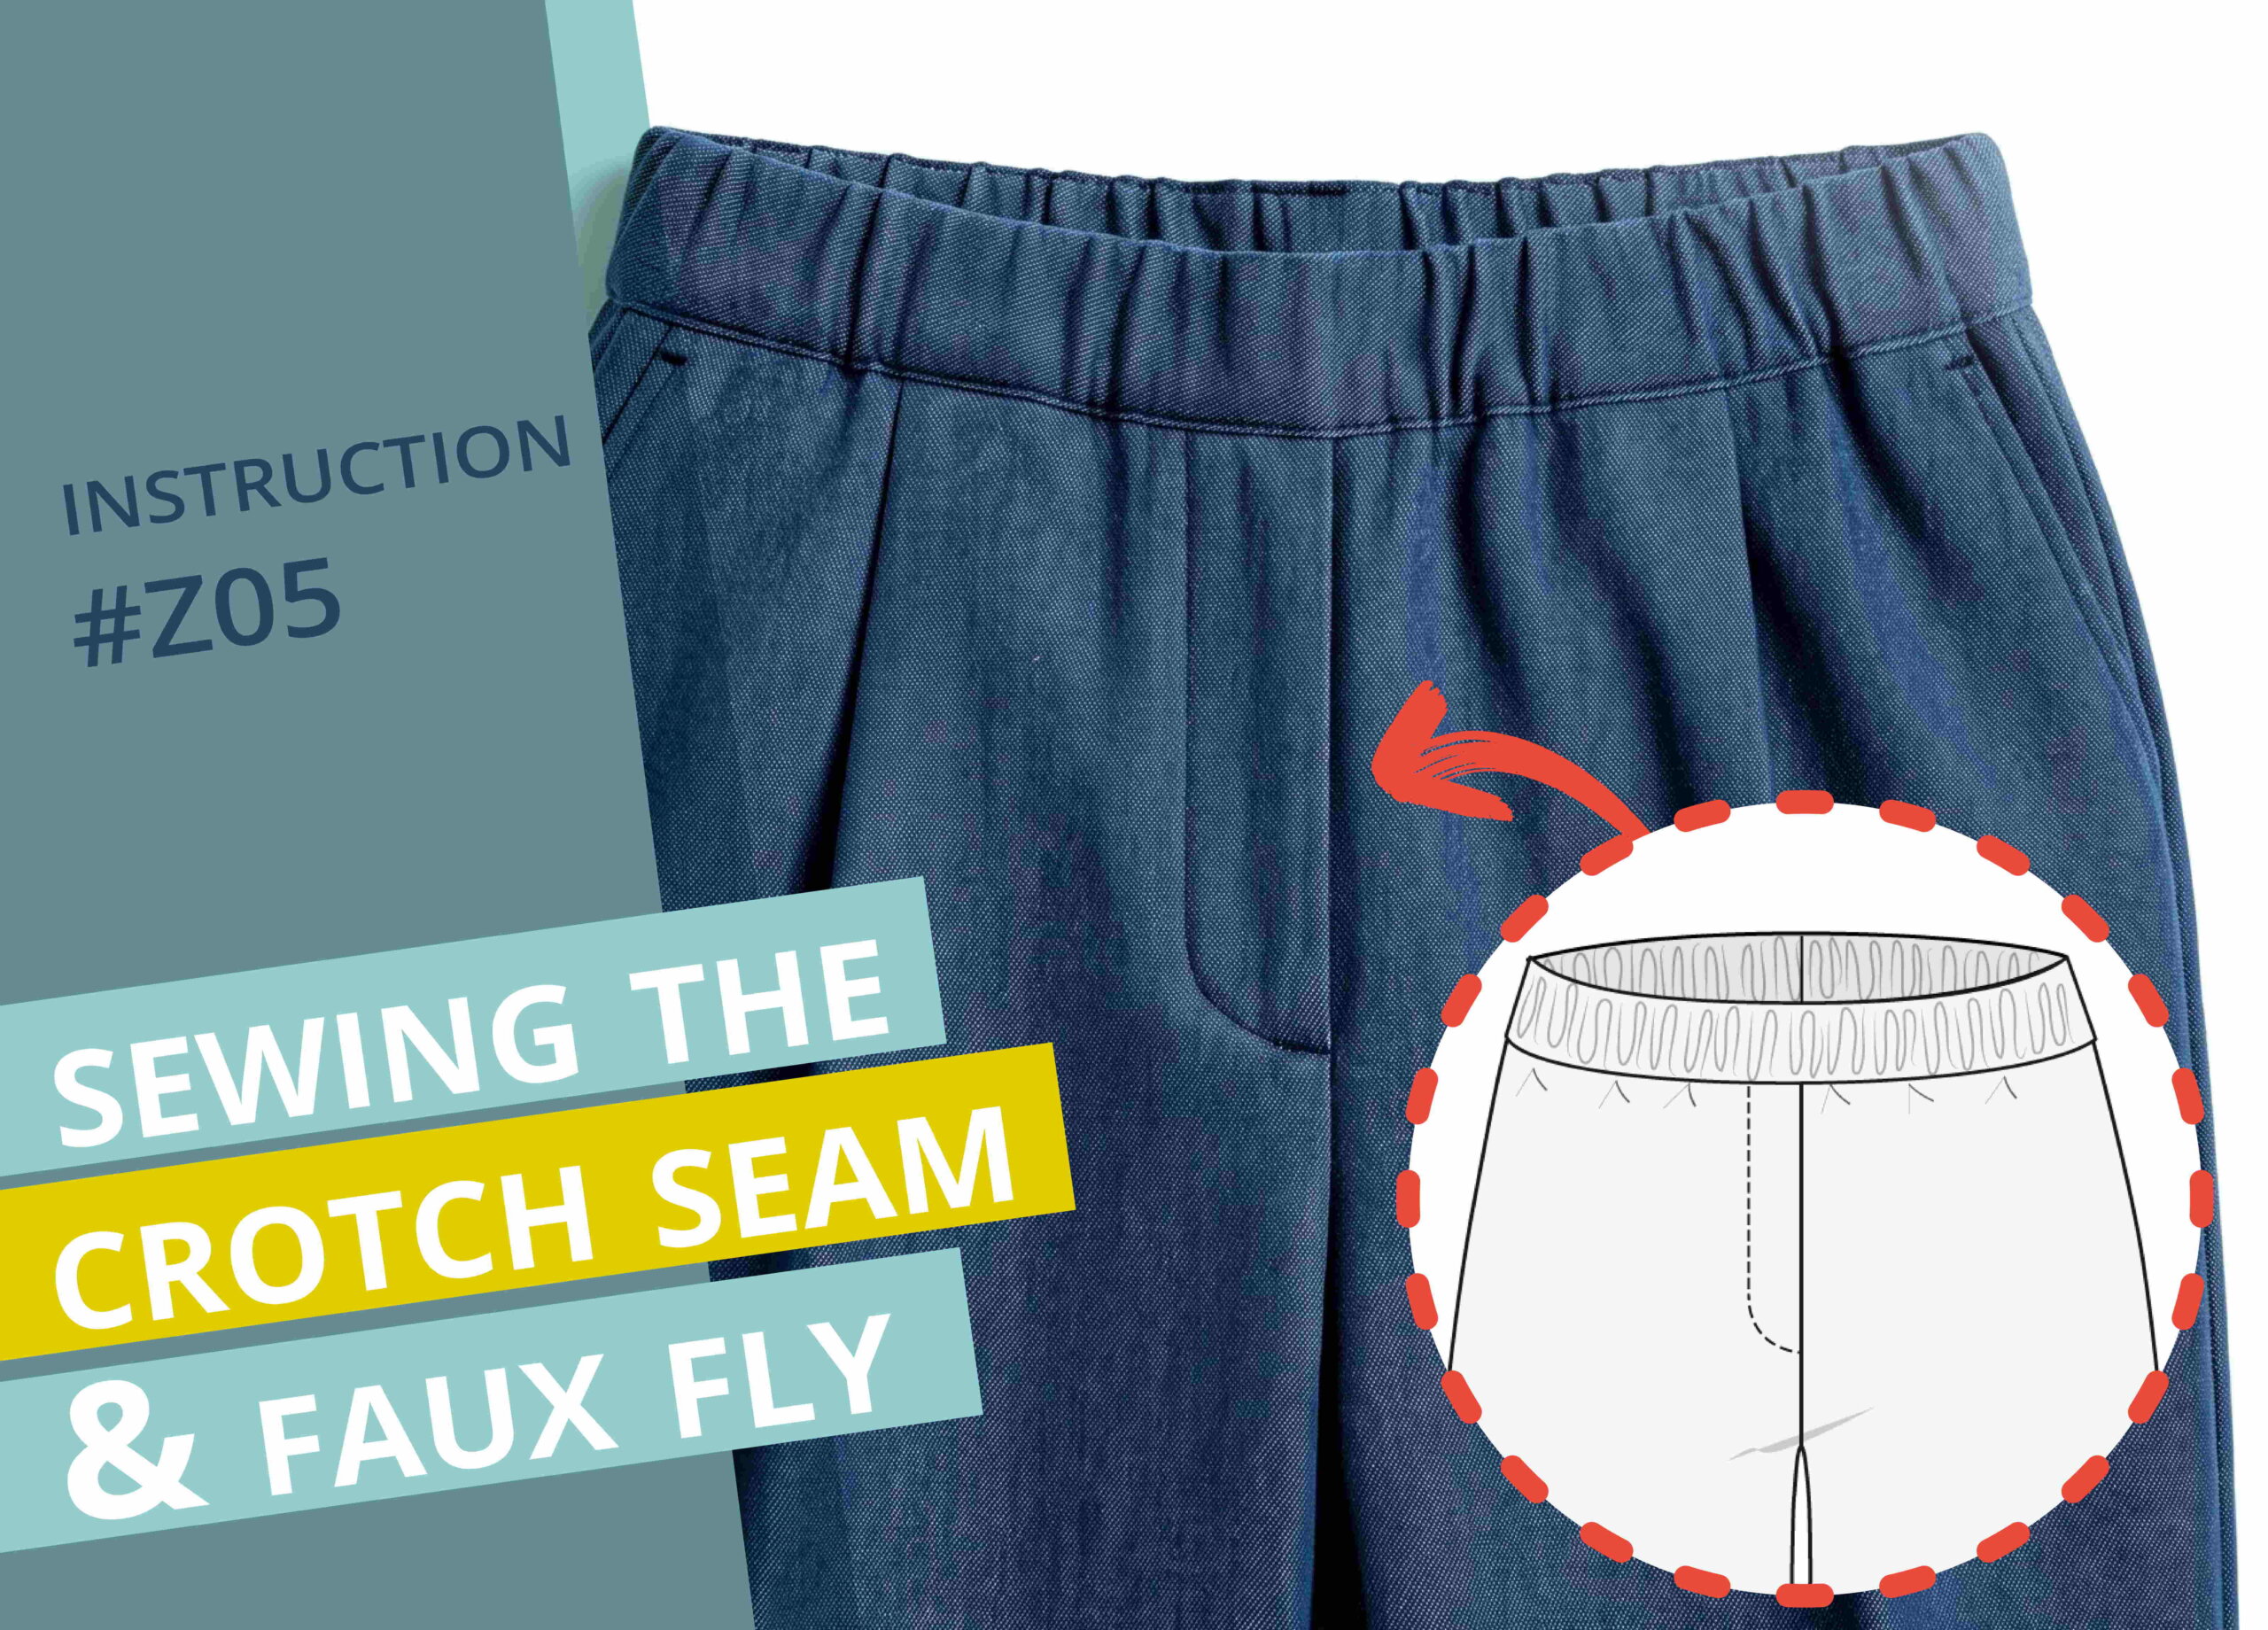
Sewing the crotch seam and faux fly on a pair of trousers #Z05
In the following step-by-step guide, I’ll explain how to sew a crotch seam with a faux fly on trousers that have an elastic waistband and already-sewn leg seams. The faux fly varies by style and isn’t included in all patterns.
I wish you lots of fun!
The video is currently only available in German. You can display the subtitle in the language of your choice via the YouTube settings.
1. This is required:

- both legs, with the leg seams already closed and pockets sewn in
- Template for stitching a faux fly
Tools and aids:
- Pins or clips
- Scissors
- Chalk or marker pen
- Ruler

Don’t be surprised if your pieces look a little different – this can vary depending on the style of trousers. For example, my front piece has a knee lining.

If your front piece doesn’t have an attached facing, it’s for a version without a faux fly.
If your pattern calls for a facing for the faux slit but you don’t want one, you can simply cut it away so that only a seam allowance remains. This should then be the same width as the rest of the crotch seam.
If you want to press the crotch seam open after sewing the pieces together, neaten the raw edges on both legs separately now.
If you want to press the seam allowances to one side and topstitch the seam, you can neaten the raw edges together after sewing the pieces together.
2. Prepare the crotch seam

I place the right trouser leg in front of me with the wrong side facing up. At the top edge of the centre back, I use a pin to mark the seam allowance from the raw edge.
For the version with a fake fly, I mark the centre front. The position can be taken from the upper notch or measured directly on the pattern. I then draw the centre front parallel to the edge of the facing.
3. Mark the fake fly

There are several ways to finish the faux fly:
Either sew directly along the center front line you just marked…

… …or you can topstitch it with offset stitching to create the look of a real fly. I’ll show you how I do it.

I place the fly template at the center front and mark the lower and upper notches.
If you’re sewing trousers with a sewn-in waistband, the upper notch is a little farther from the top edge. With a sewn-on waistband, it’s only about 1 cm away.
4. Place one leg into the other

Now I place the two trouser legs right sides together. To do this, I slide the left trouser leg, which has been turned right side out, inside the right trouser leg.

The inner leg seams meet exactly, right sides together, at the crotch curve—that’s where I pin them in place first. I also pin the pieces together flush at the back seam and along the front edge.

Here you can see the seam line marked for a faux fly that looks like a real fly – meaning it isn’t sewn exactly down the center front. In this example, the trousres have a sewn-on waistband.

If your trousers have a cut-on waistband, this is what the fake fly that looks like a real one looks like.
5. Sew the crotch seam and the faux fly
As you sew, make sure the seam is smooth and that the seam allowances at the inseam lie completely flat without folding over. If this step isn’t done carefully, unwanted wrinkles or tension can develop in the crotch area.

As mentioned above, I sew the faux fly slightly offset from the centre front. In this example, the distance from the centre front is 8 mm.

When I reach that point, I sew back toward the centre front…

… and then all the way to the top edge.

This is what the front seam looks like on a pair of trousers without a faux fly.
Press the crotch curve and stretch the seam allowances

I stretch the seam allowance along the lower crotch curve by ironing it so that there won’t be any tension later.

Make sure that only the seam allowances are stretched, not the seam itself.

Since I don’t want to stitch over my crotch seam, I press the centre back open from the top down to the start of the crotch curve. For trousers without a faux fly, I repeat this step at the centre front. In the area of the crotch curve, I press the seam allowances to one side.
If your trousers don’t have a fake fly, you can topstitch the crotch seam if you’d like, and then you’re done.
6. Finish the faux fly

When making a faux fly, I press the facing towards the side where the fly stitching will be – for me, that’s the right side.

Then I turn the trousers right side out.

To mark the stitching for the faux fly, I place the pants on my sleeve board with the centre front facing up.

I place the fly template on the side of the trousers where I want to topstitch, and where I have also ironed the fly facing. The template aligns flush with the top edge and the centre front.

I mark the path of the fly stitching on the front of the trousers.

For a cut-on waistband, I also transfer the top notch on the fly template to the fabric. The fly stitching begins at this notch; for a sewn-on waistband, I start at the top edge.

I tuck the interfacing through the front piece so that I catch all the layers of fabric when topstitching.

If you’d like, you can sew a horizontal or vertical bar tack at the end of the fly using a tight zigzag stitch, but that’s a matter of personal preference.

And this is what the finished crotch seam with a faux flylooks like.
Next up is the waistband. To do this, select the instructions that apply to your version—they’re linked in your PDF document.
If you’re not quite ready yet and would like to start from the very beginning, here are a few links:
e