Sewing seat and leg seams #BE01
In the following video and illustrated text instructions, I explain step by step how I sew the outer and inner leg seams as well as the seat seam of a pair of trousers.
1. This is required:
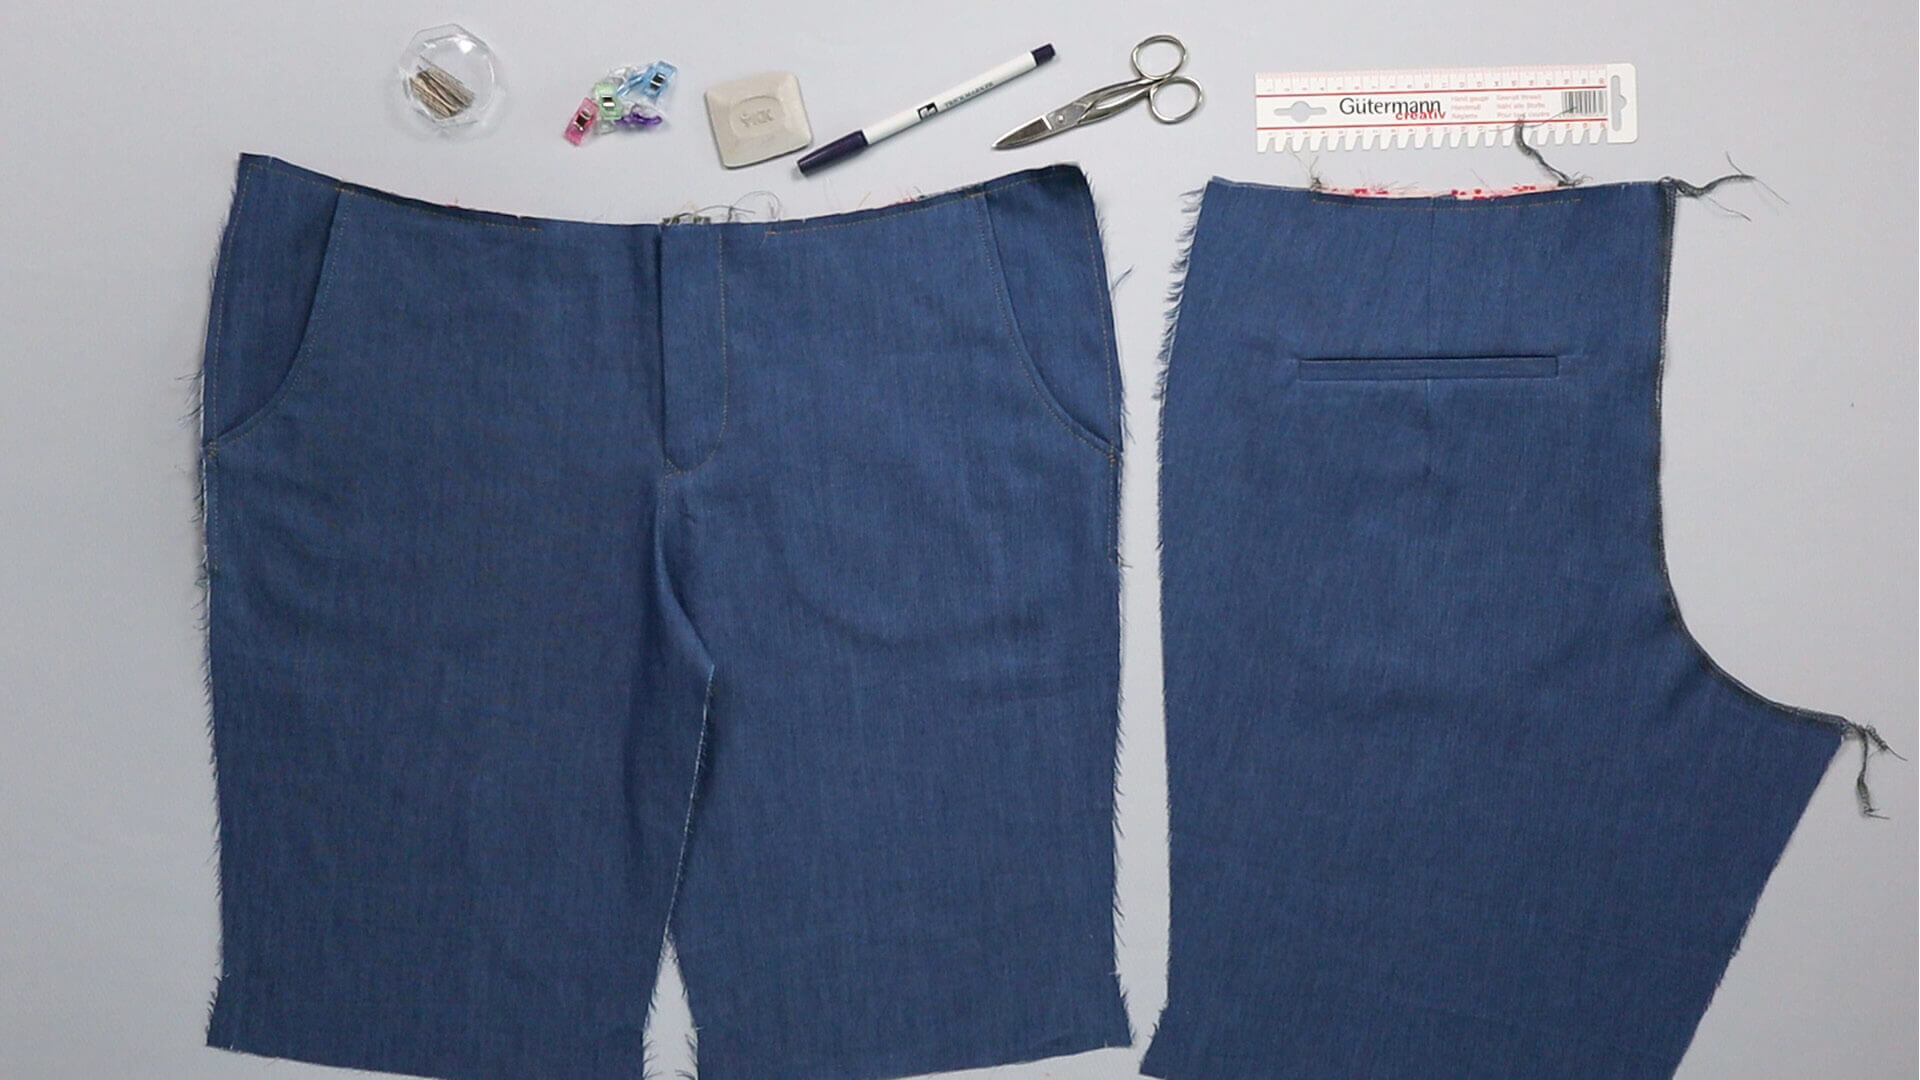
The basis are front and back trouser parts in which the fly and any pockets are already sewn in.
Tools and aids:
- back pattern piece out of paper
- pins or clips
- scissors
- tailor’s chalk or fabric marker
- ruler
2. Close the seat seam
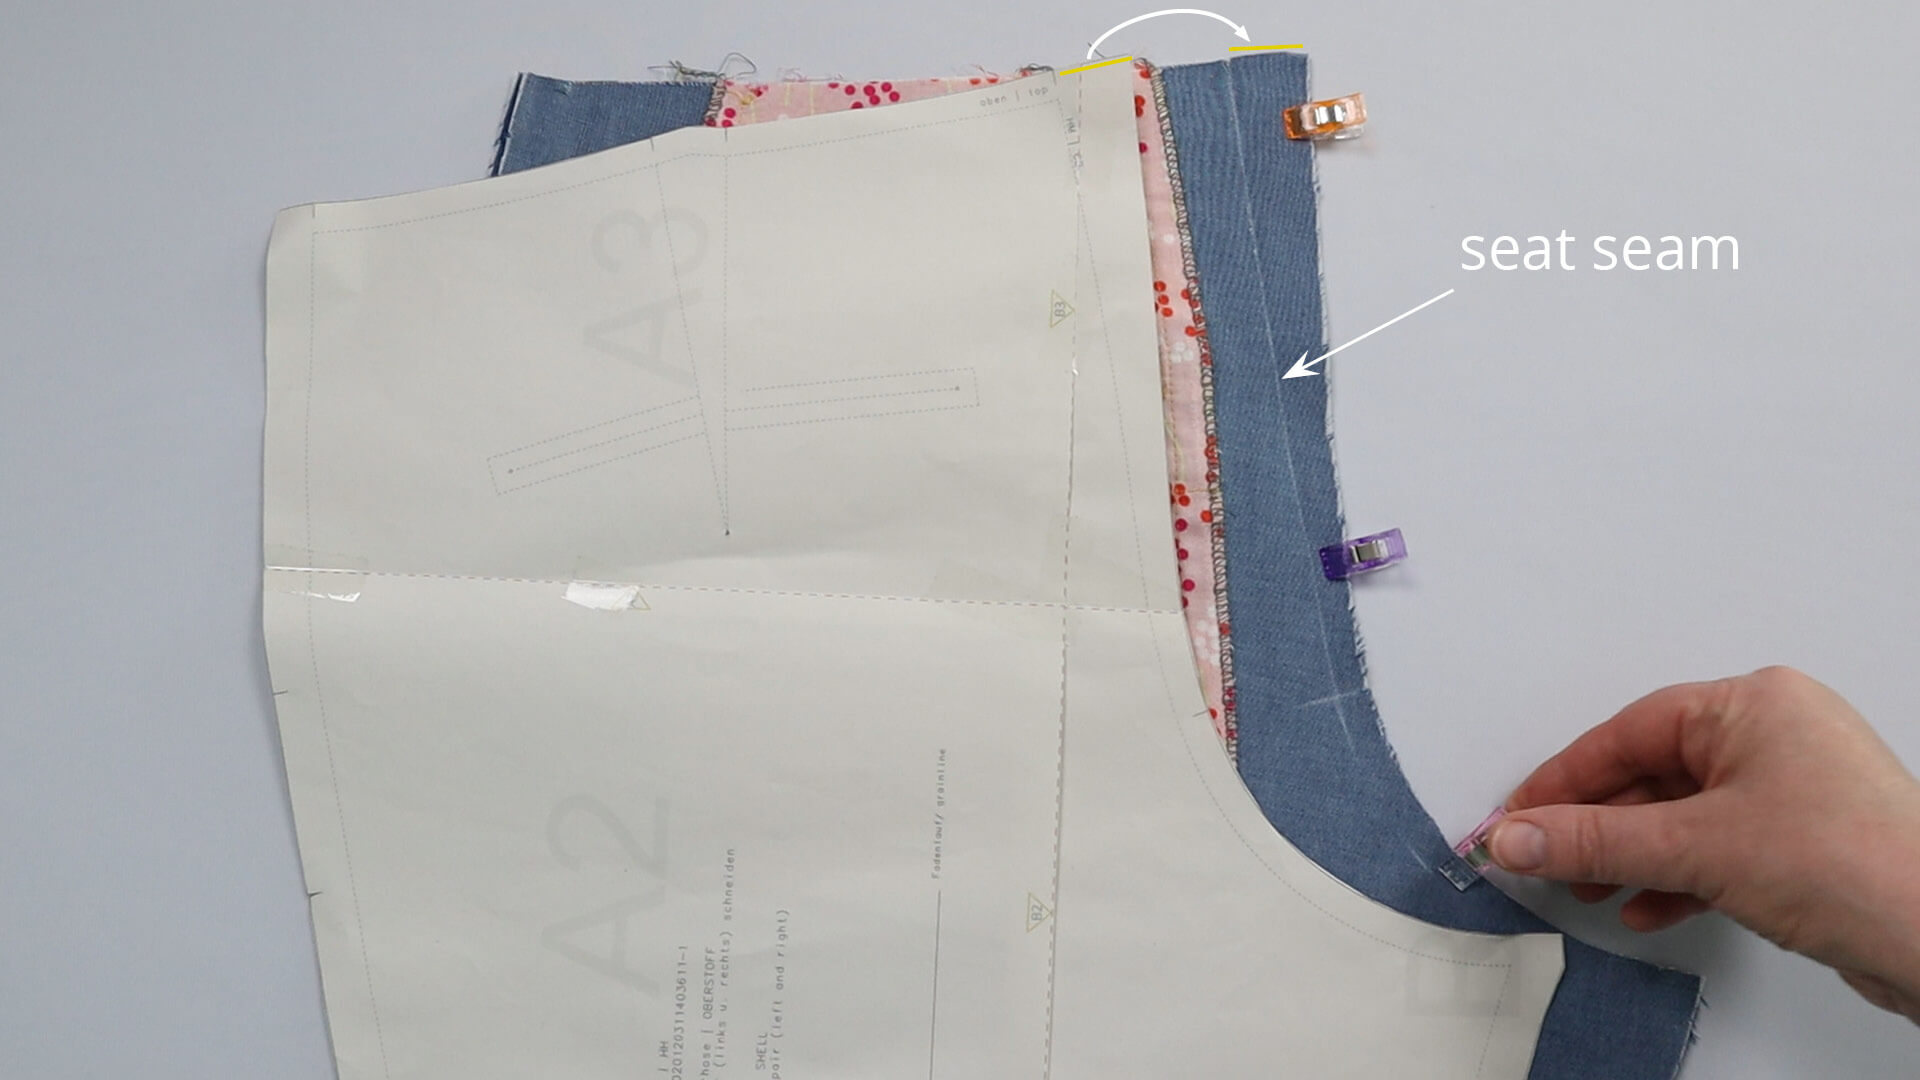
First I close the seat seam. To do this, I place the back pieces right sides facing. Often the seam lines run parallel to the cut edge. In some of our patterns, the seam allowance is wider towards the waistband to make it easier to adjust the waist size later. The width of the seam allowance at the seat seam is 10 mm from the inner leg seam to the next notch. On the pattern you can see how wide the seam allowance is at the waistband edge. I mark the seam line on the wrong side of the fabric using chalk or a fabric marker. You can use the pattern as a guide and transfer the seam line. I pin the pieces in place and sew them together with a straight stitch.
If you topstitch the seat seam from the right side , a simple straight stitch is sufficient. If you don’t want to topstitch from the outside, I recommend topstitching the back seam twice or using a triple straight stitch, for example.
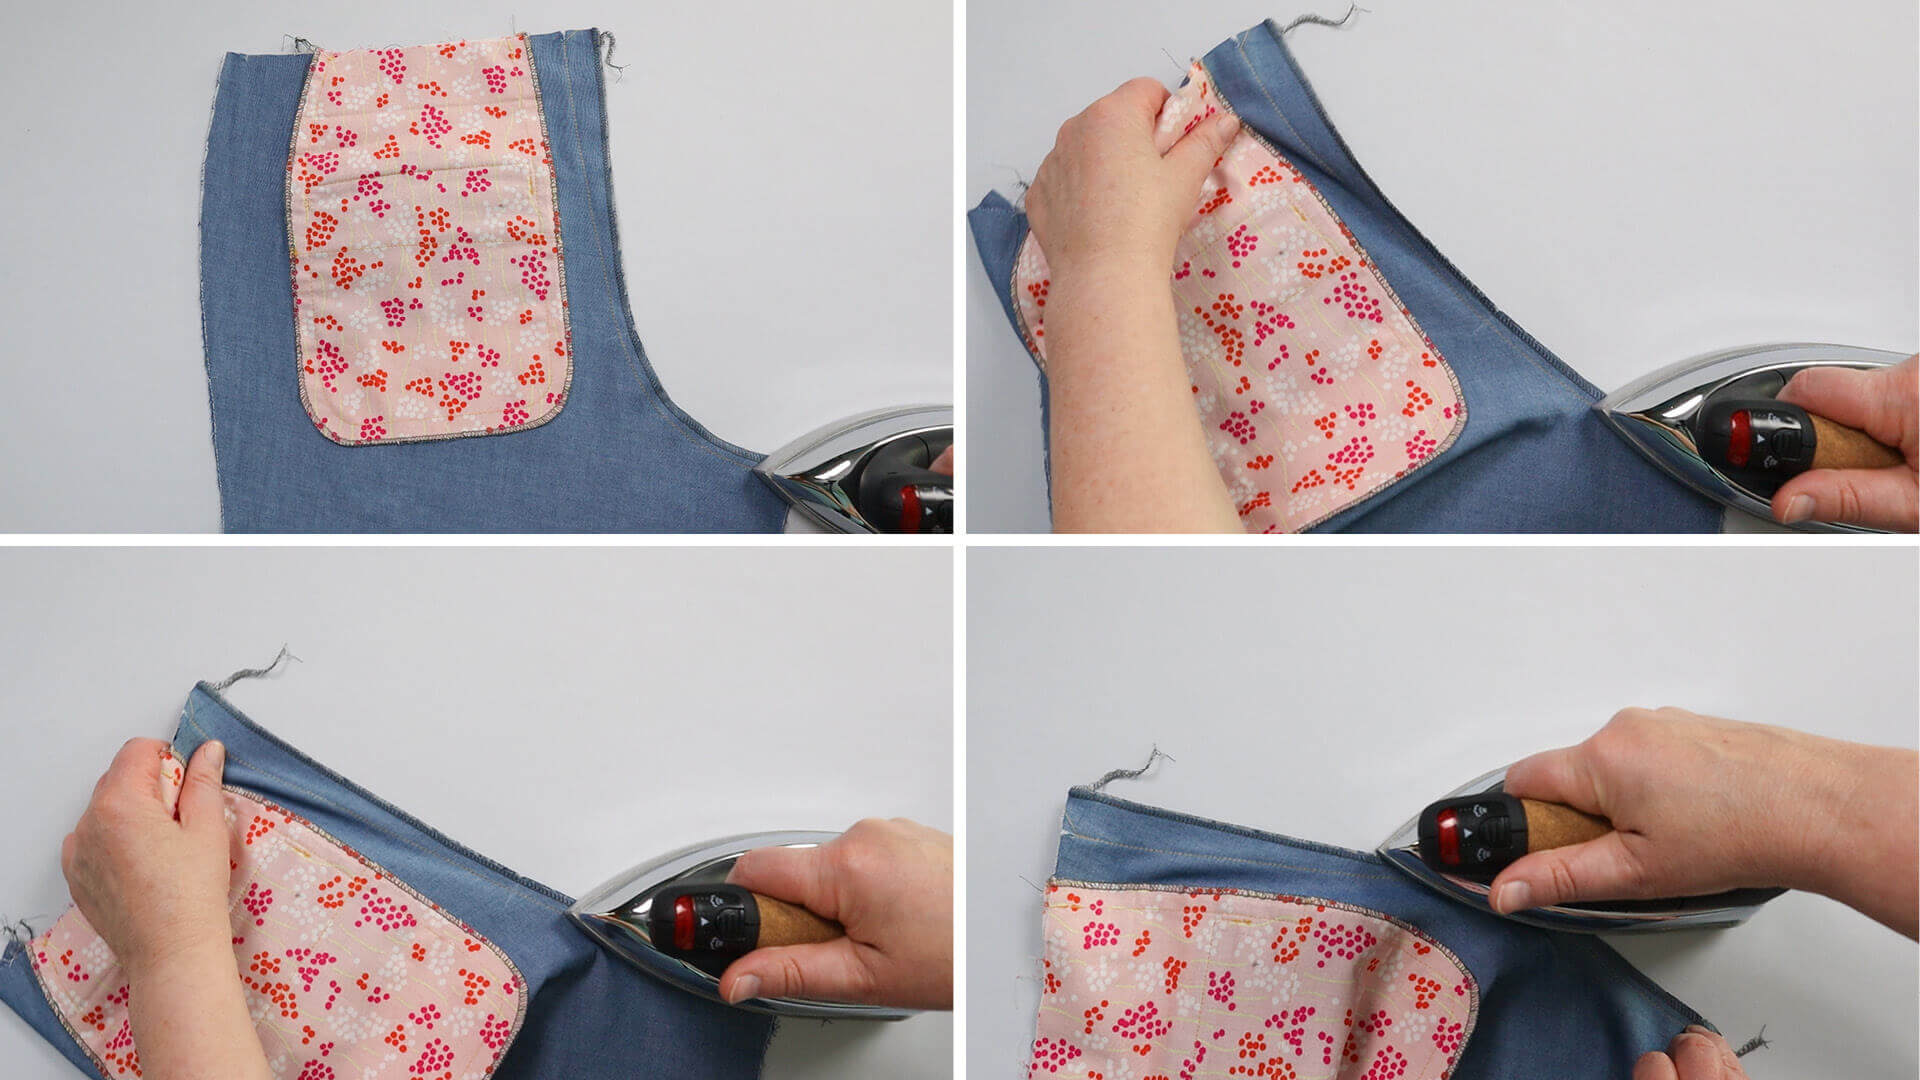
I stretch the seam allowance in the curve by pressing. Caution – the seam itself should not be stretched so much. I finish the cut edge with the overlocker.

Then I topstitch the seam with a 2 mm distance from center back seam. This means that it is on the same side as the crotch seam on the front trousers. You can decide on the width and number of topstitchings.
3. Close the inner leg seam
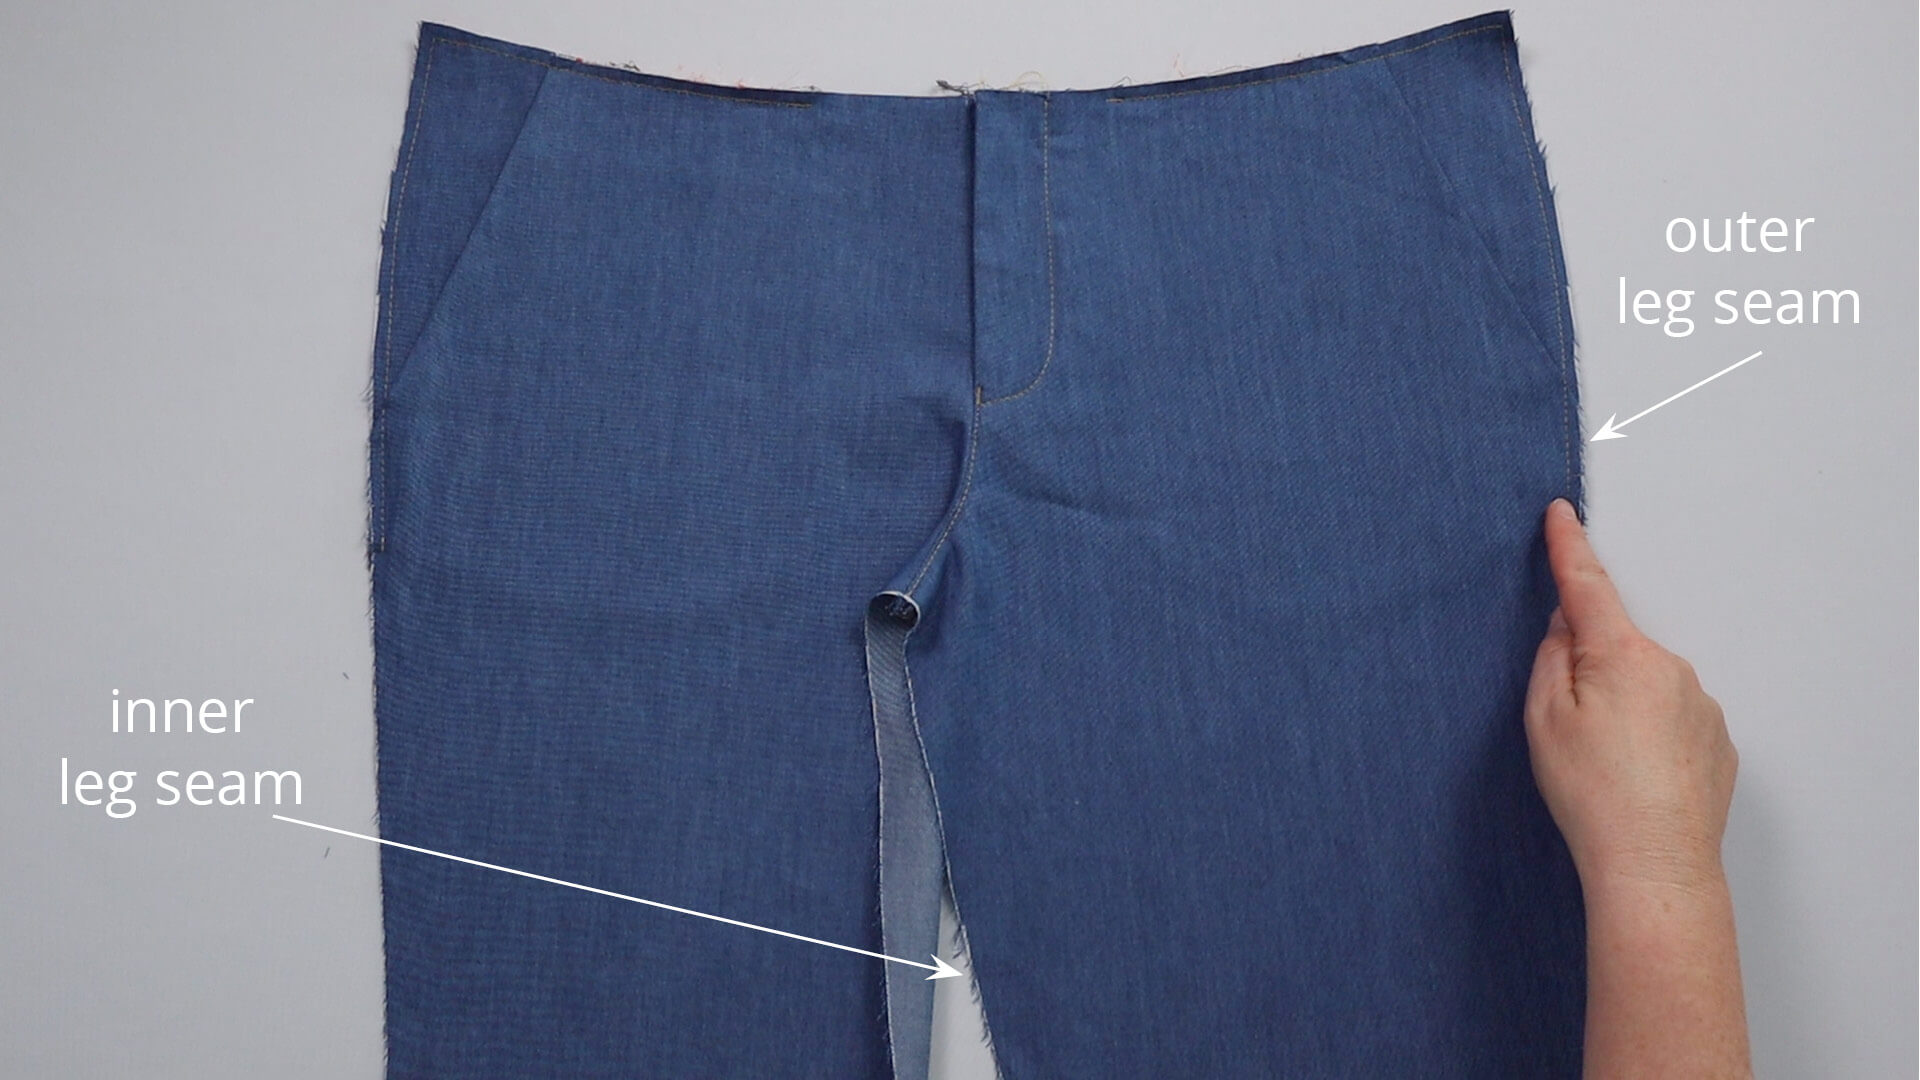
Now it’s time for the leg seams. First I decide whether I want to topstitch the leg seams on the outer or inner seam. If you want to place a pocket on the outer seam, you must close it first. In my example, I will topstitch the inner leg seam by 2 mm. Therefore I close this seam first.
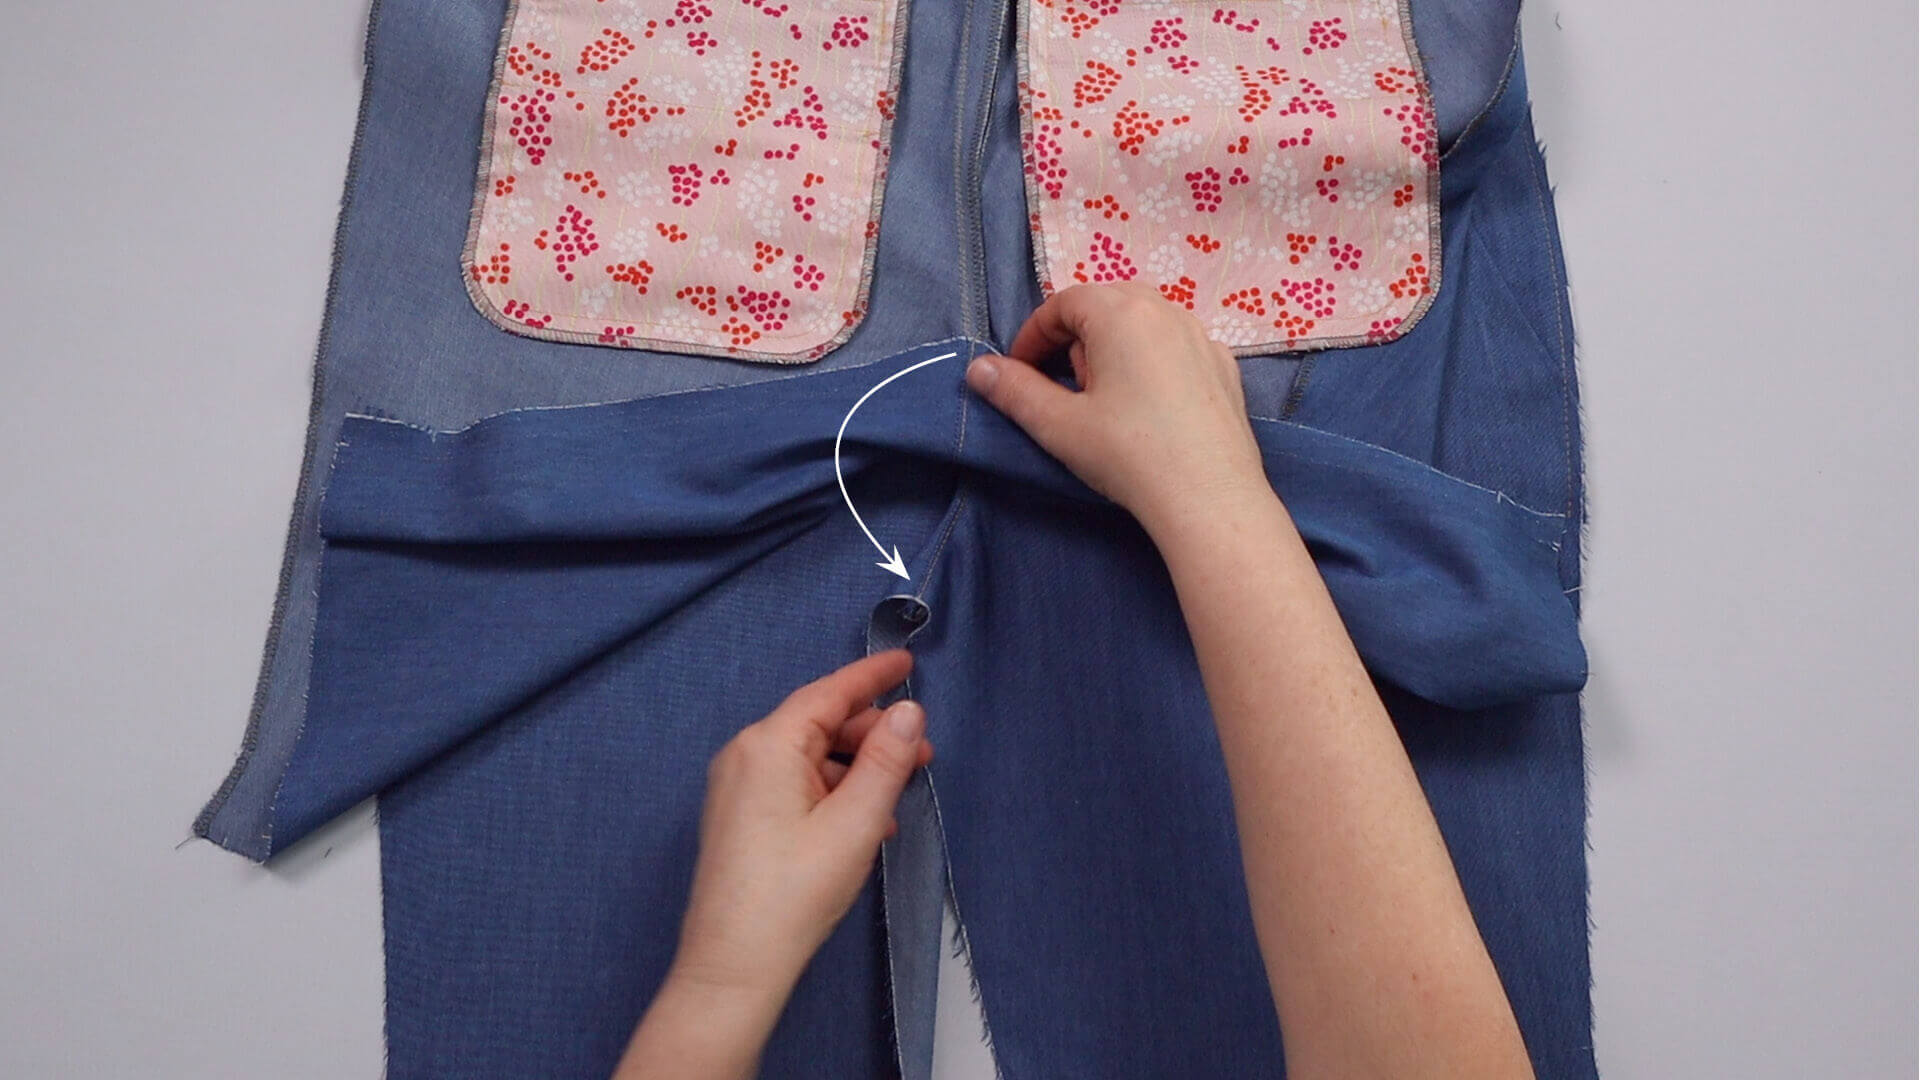
I place the back trousers on the matching front trousers right sides together and pin them in place, starting at the crotch seam. This is the point where the crotch and seat seams of the front and back trousers meet.
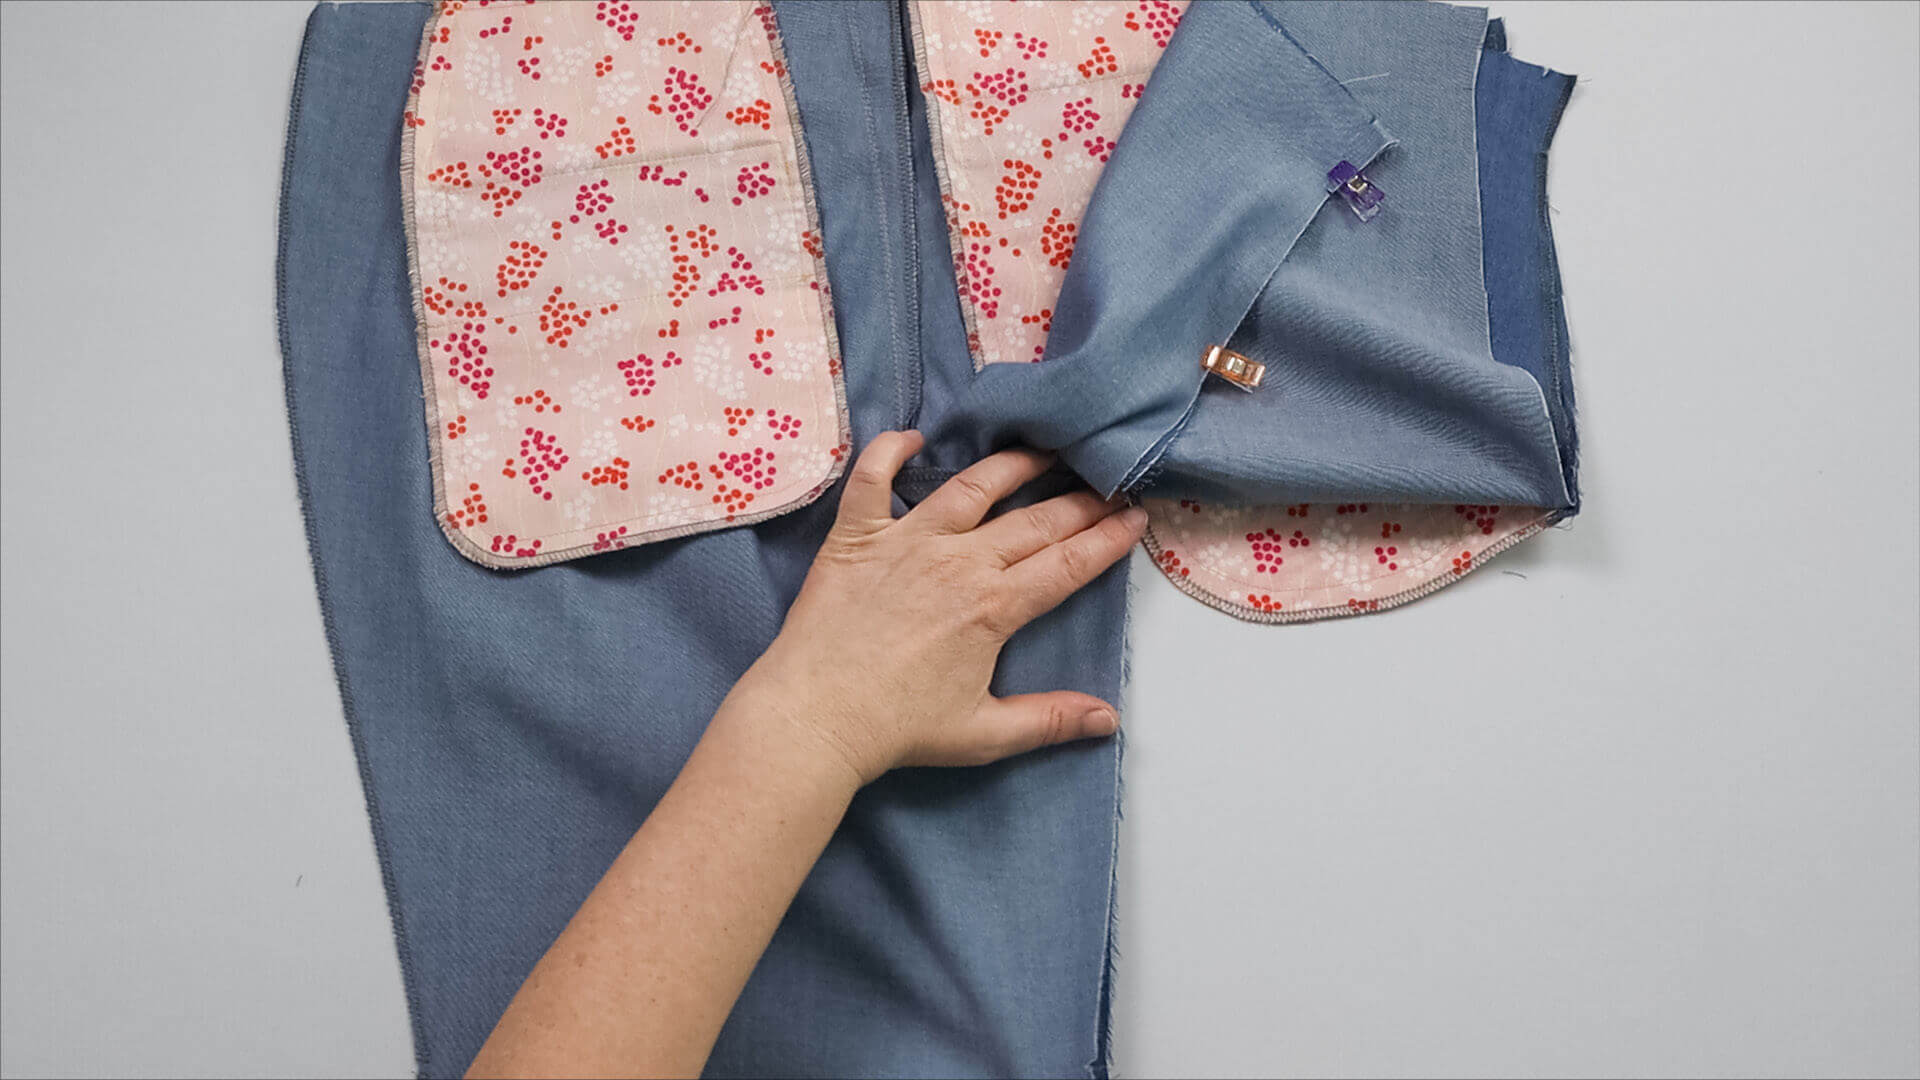
If I have pants that are longer than knee-length, I first pin the area from the hem to the knee. From the knee to the crotch seam, the back trousers must be stretched slightly to the length of the front trousers. This stretch is taken into account in the pattern for a better fit.
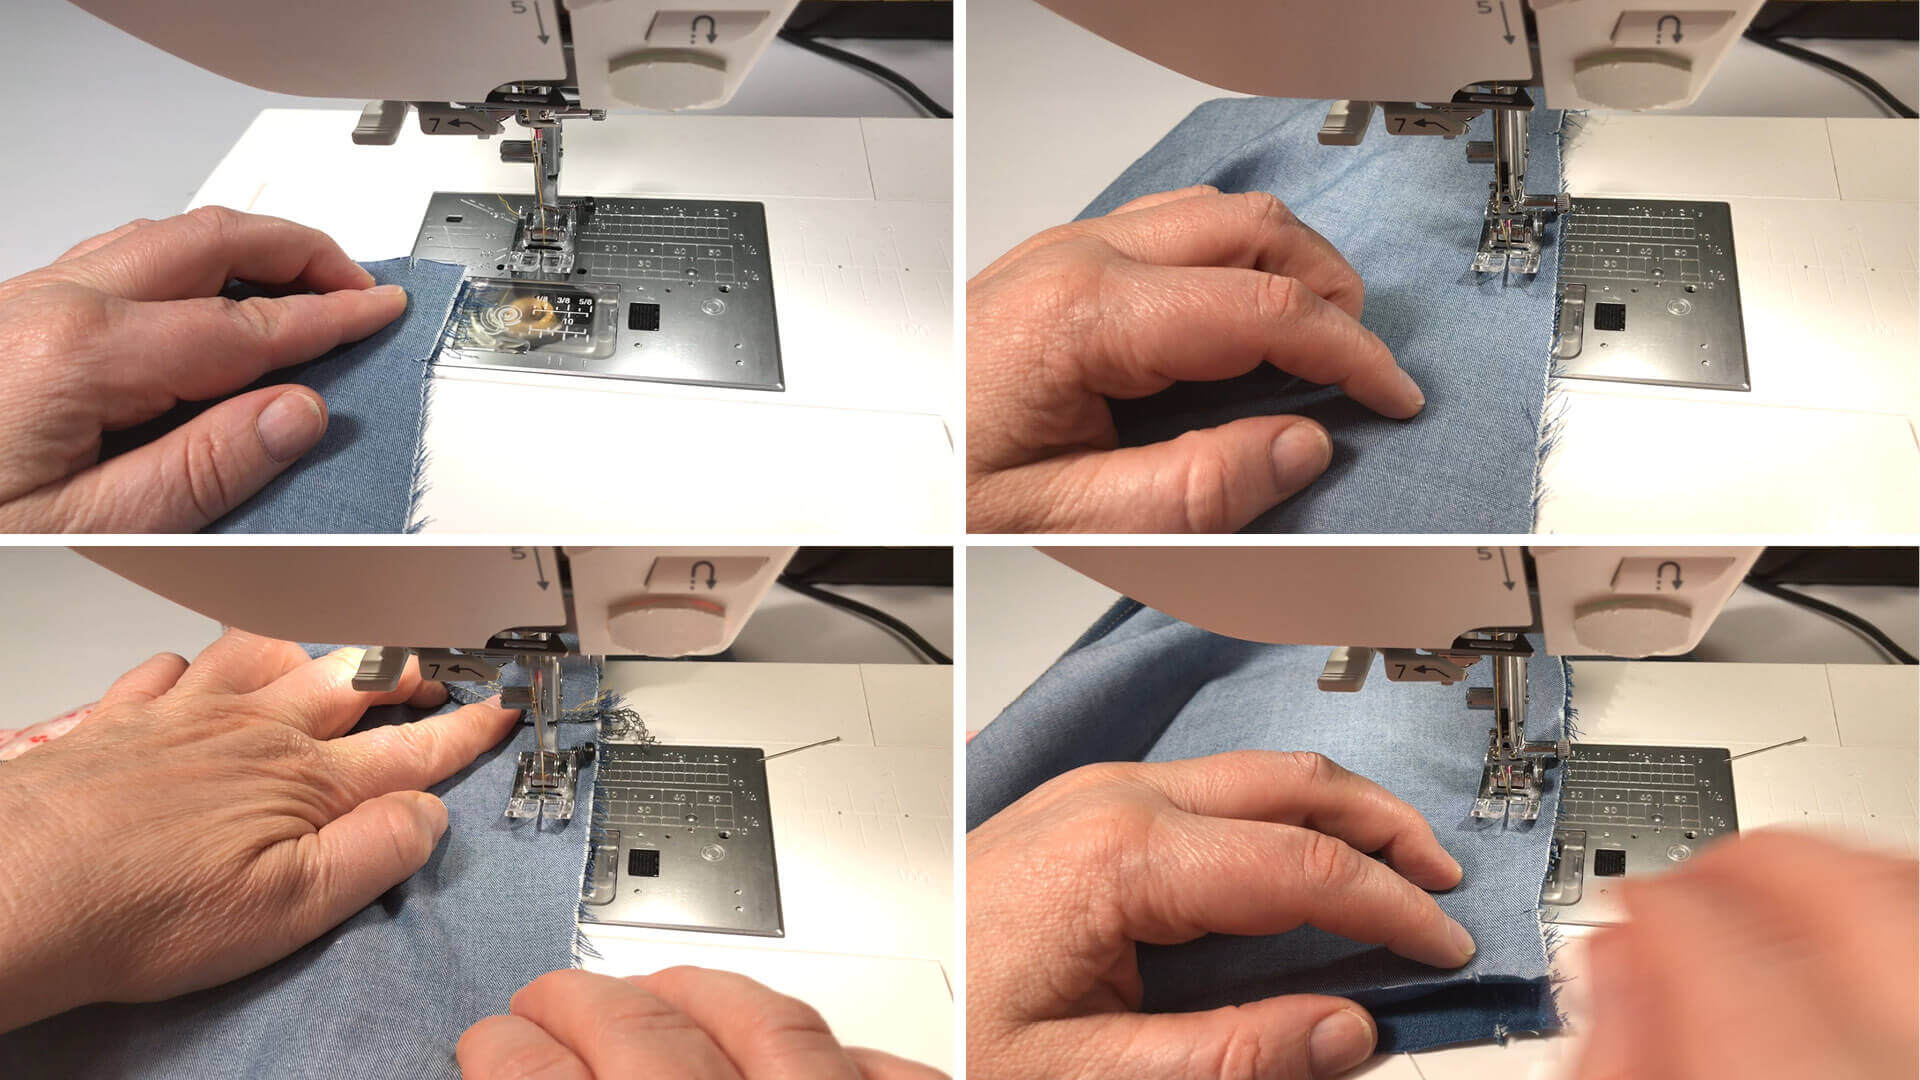
Now I sew the seams with a straight stitch. You can measure the width of the seam allowance on the pattern. In my example, it’s 15 mm. I overlock both layers together at the inner leg seam and serge all the four outer leg edges.
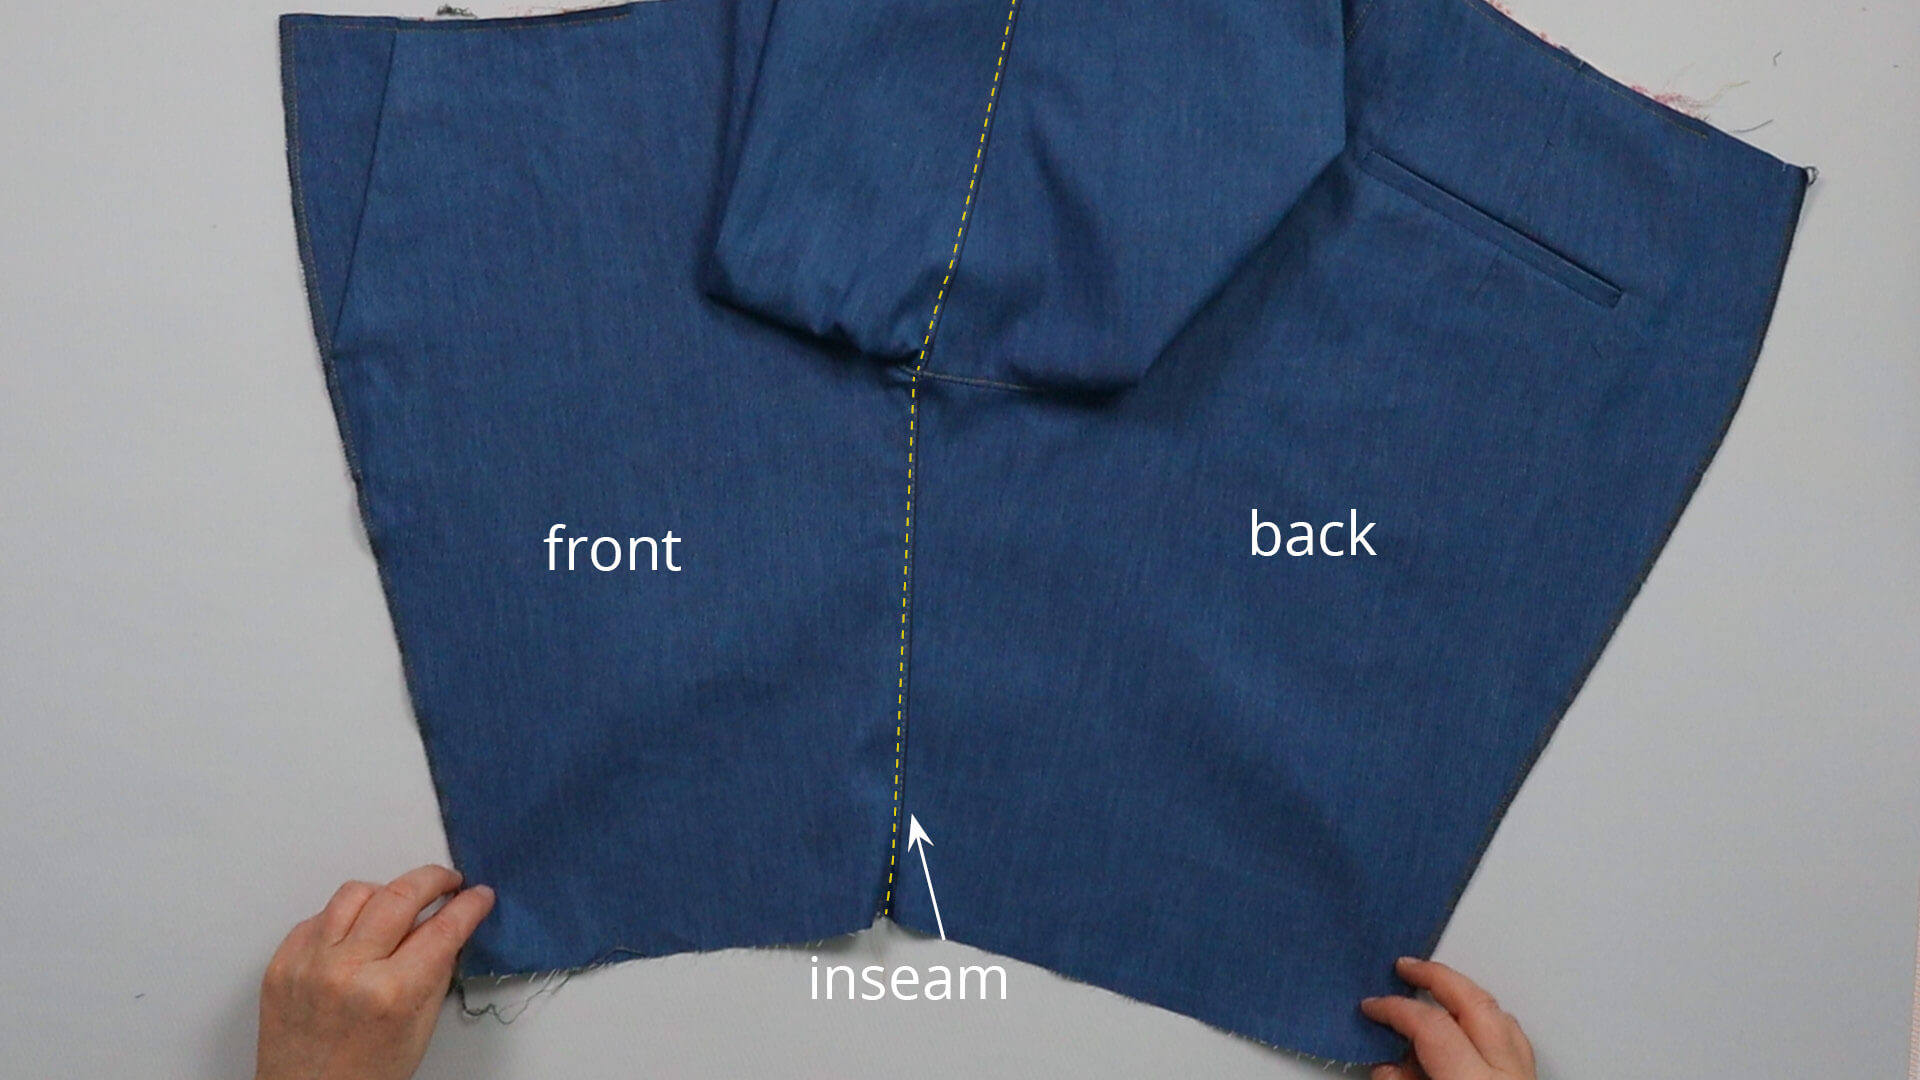
Now I topstitch the inner leg seam onto the front trousers by 2 mm. As the outer leg seams are not yet sewn together, I can still carry out this step comfortably.
4. Close the outer leg seam
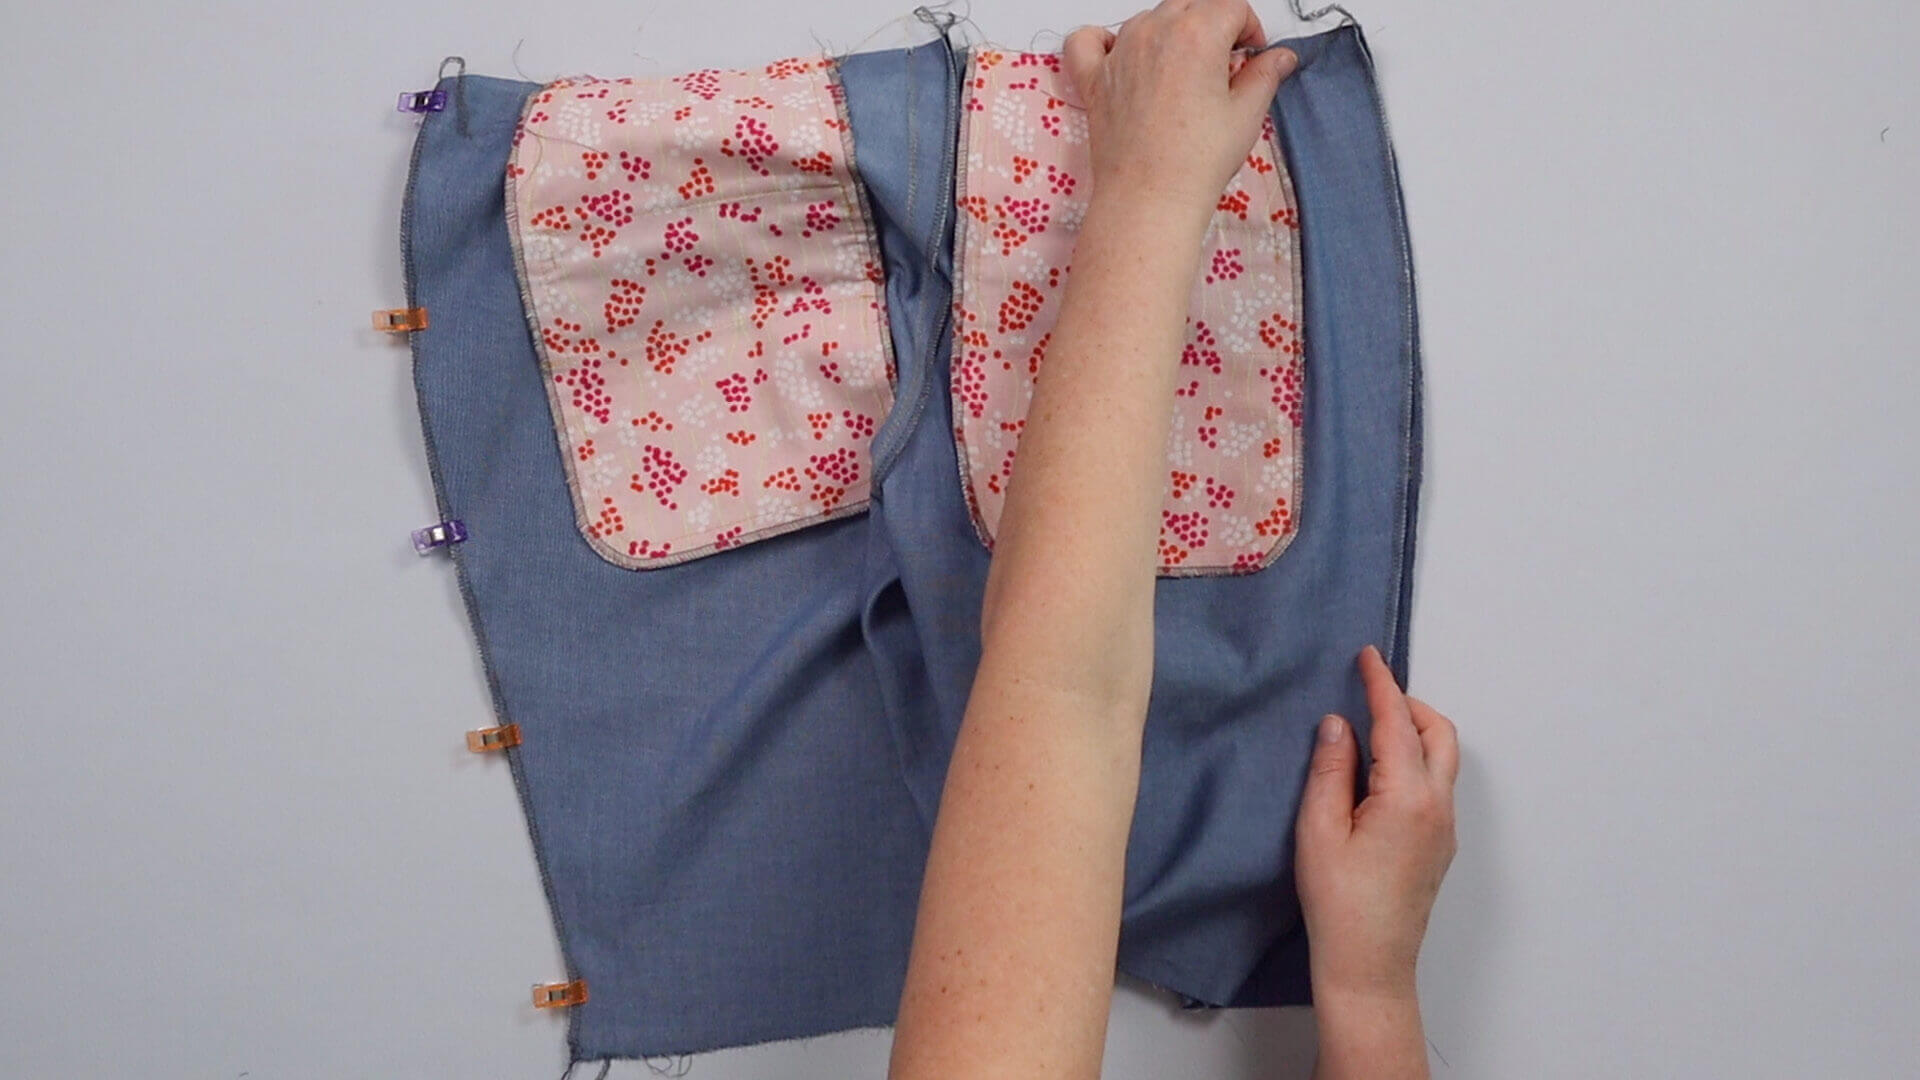
Now I pin the front and back trousers in place at the side seam, right sides facing. I close the seam with a straight stitch. Again you can find the width of the seam allowance on the pattern.
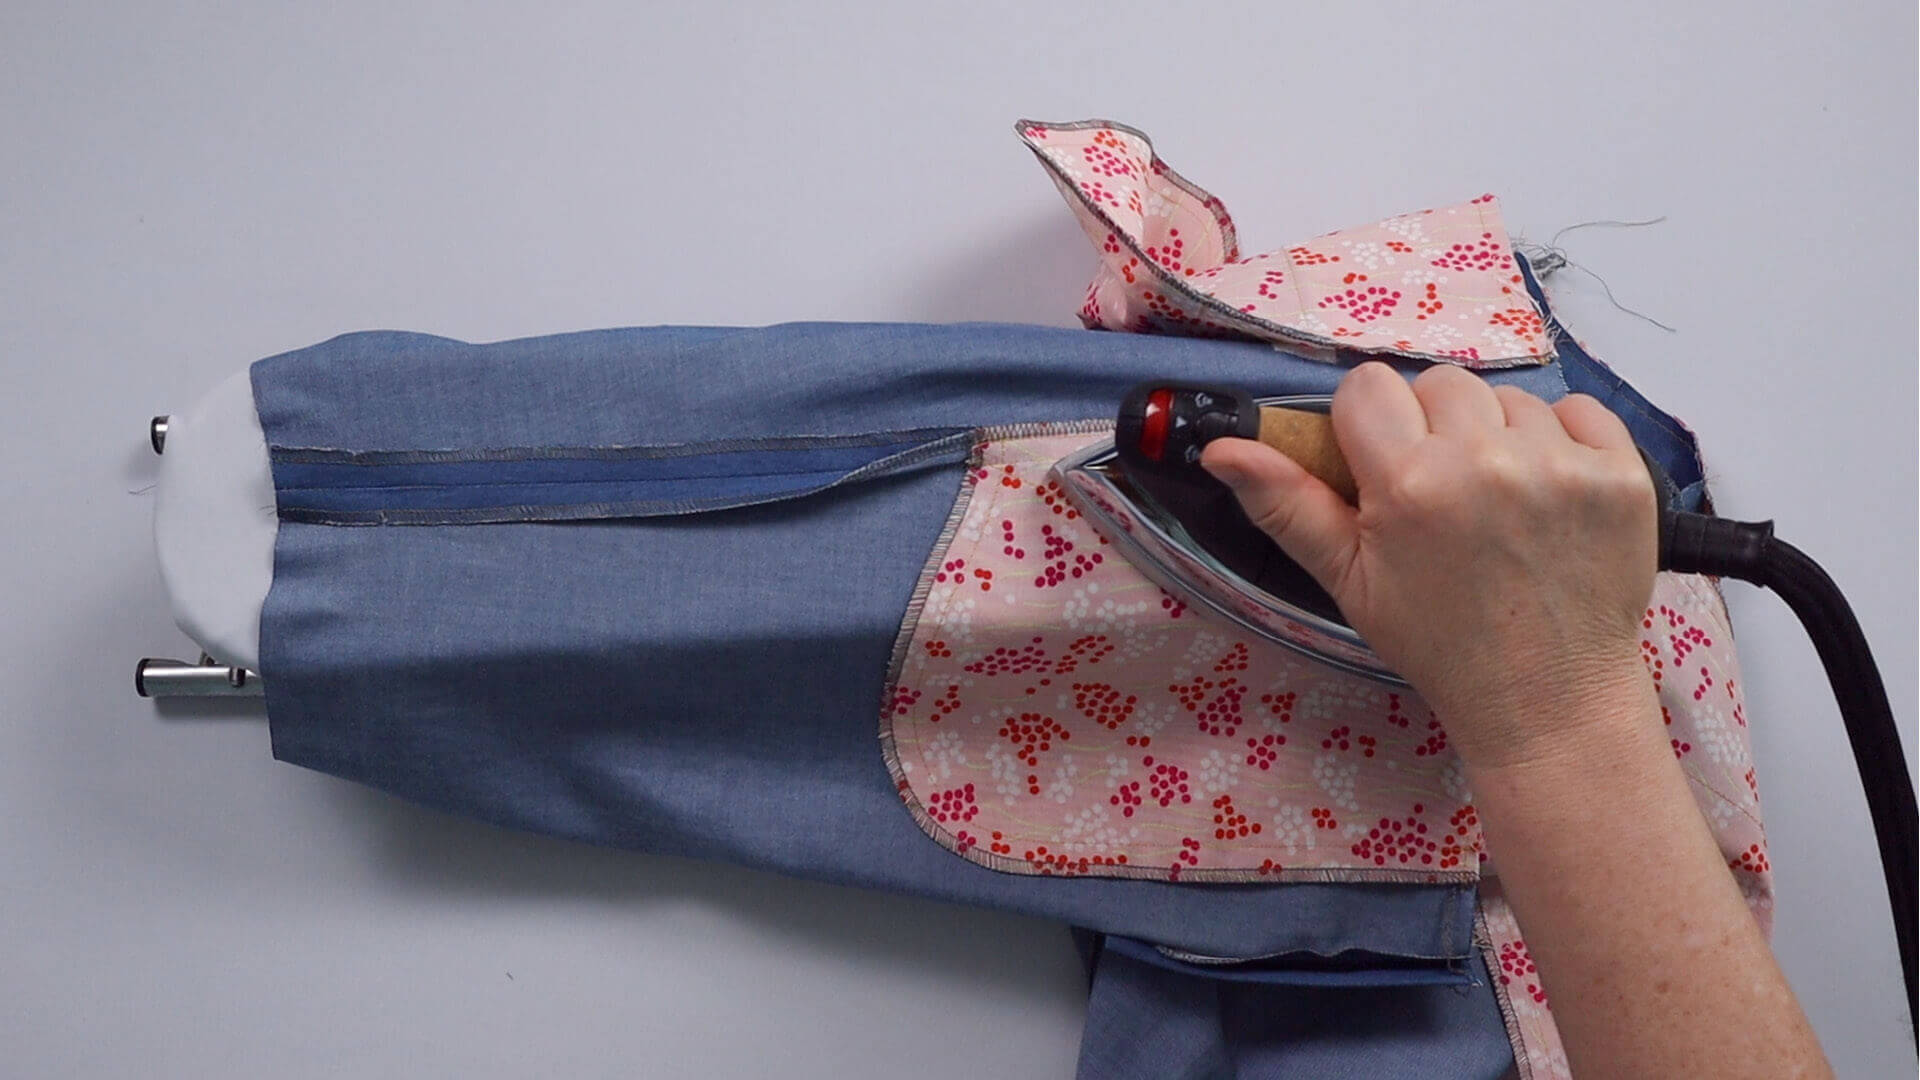
I press this seam open from the bottom of the trouser pocket to the hem. In the upper area of the pocket bag, I press the seam over towards the back of the trousers.
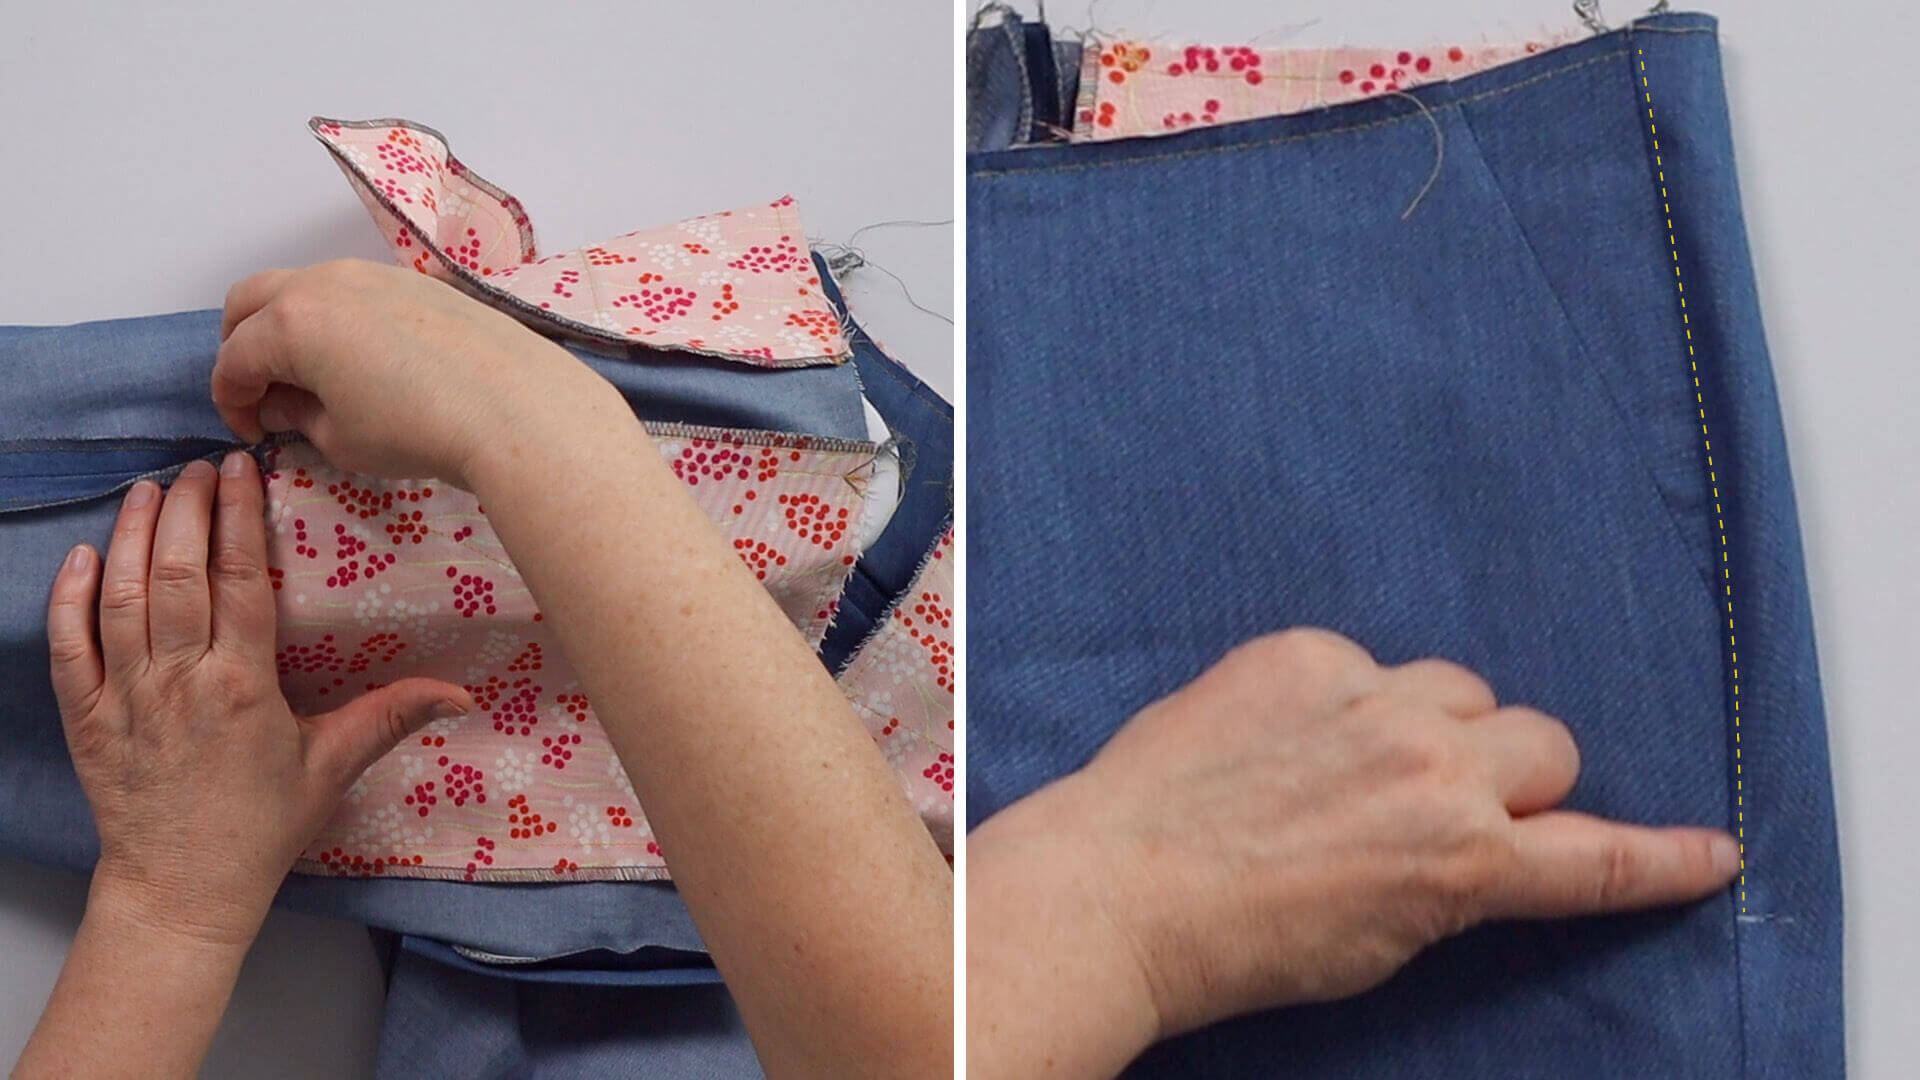
I will topstitch the side seam from the top to the end of the front pocket bag. To do this, I mark the end of the pocket bag on the right side of the fabric. Then I topstitch the seam onto the back trousers by 2mm. You can also omit this step if you don’t want this visible seam on the outside.
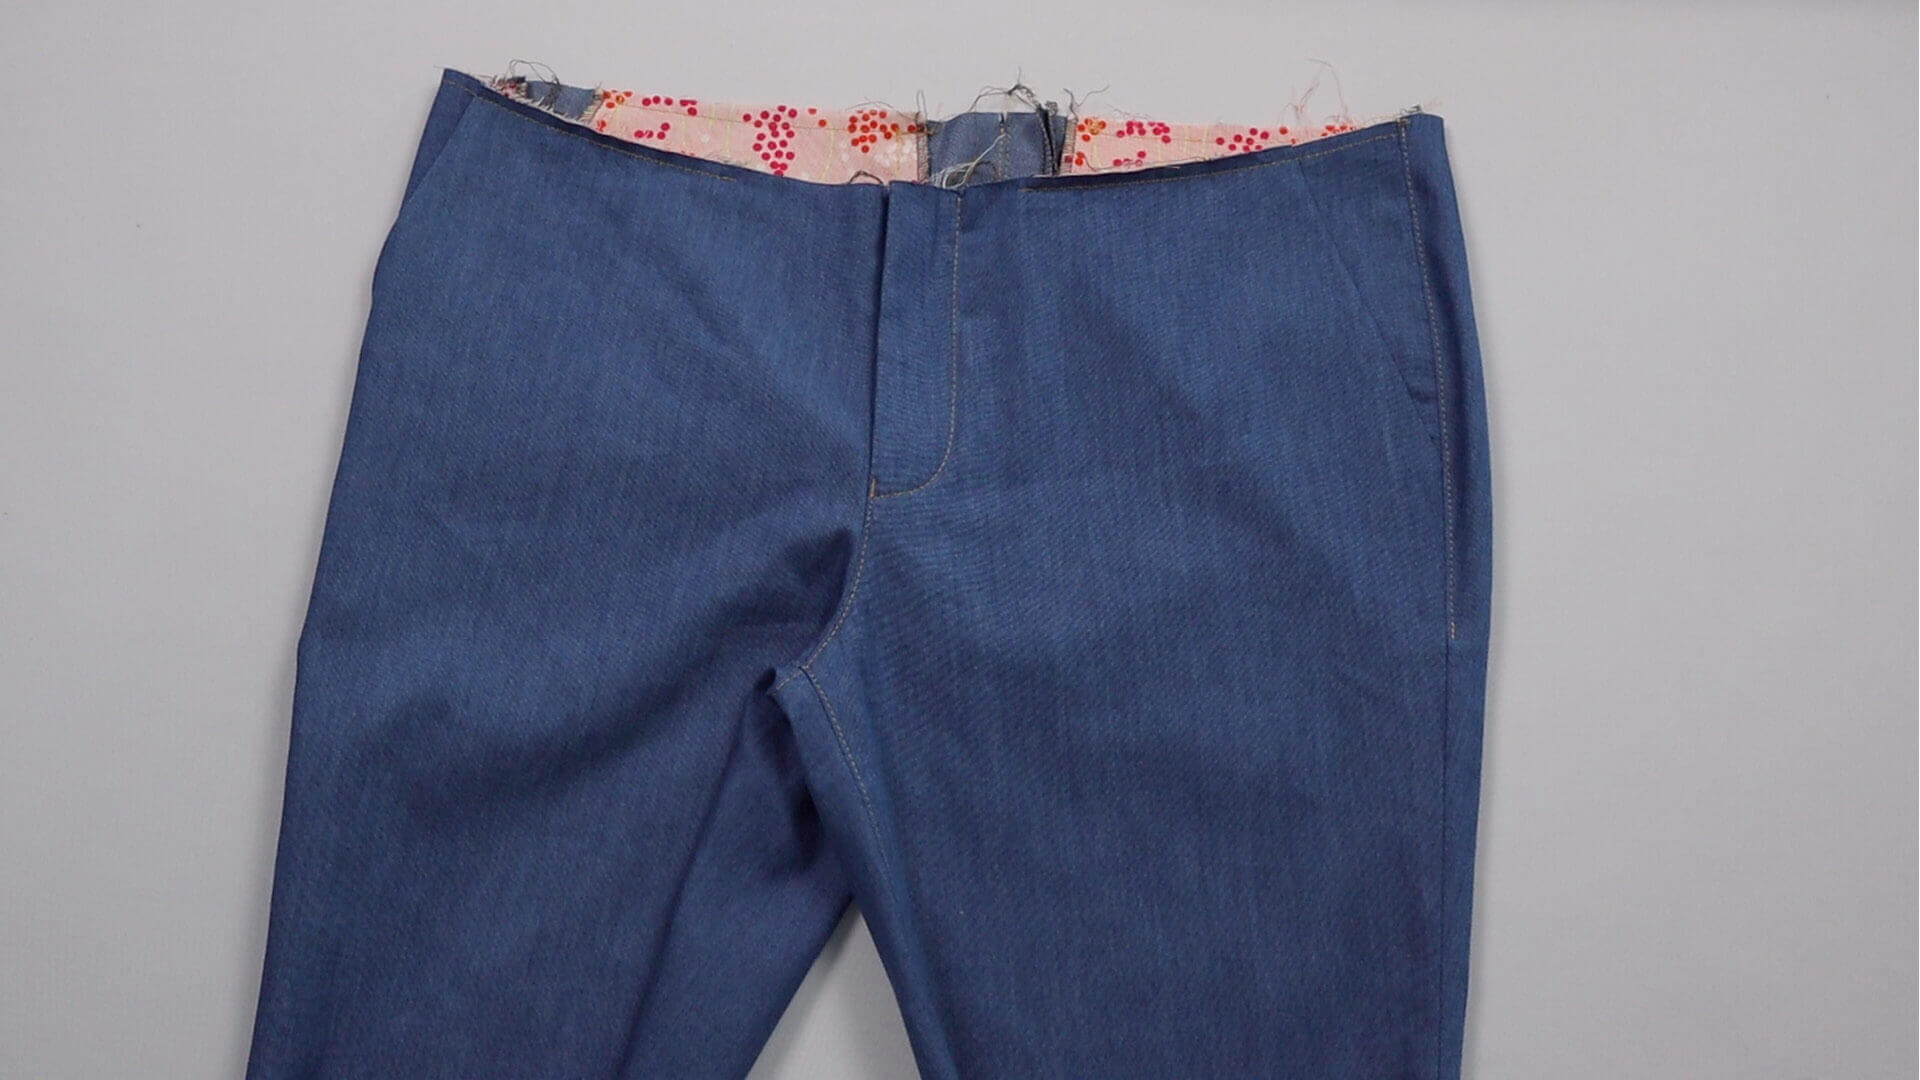
Below you will find the link to the next step:
If you’re not quite ready yet and perhaps want to start at the beginning, you’ll find some links here:


