Loading cart contents...


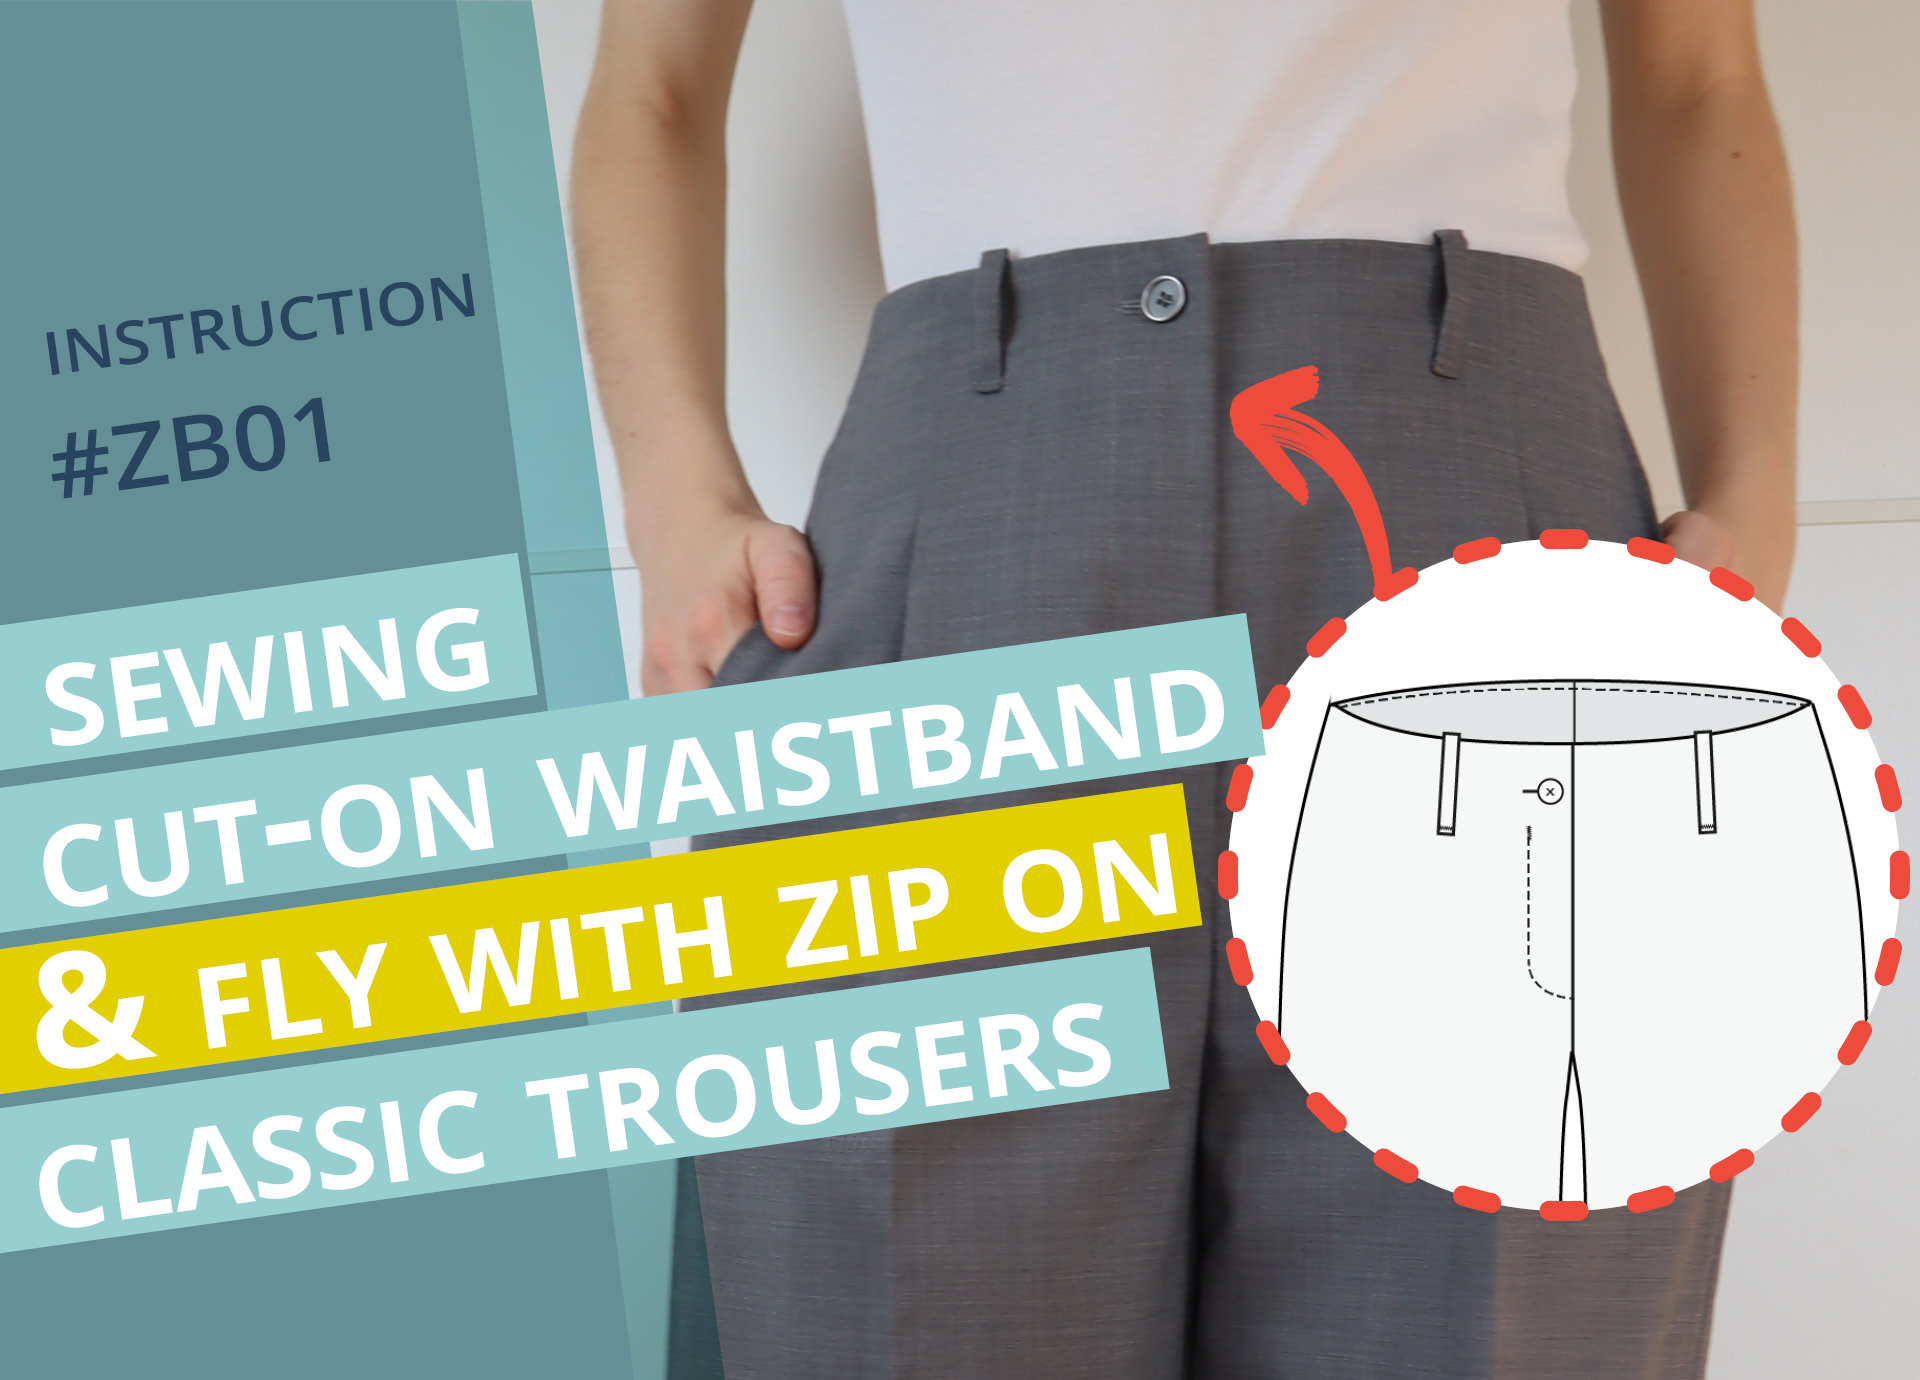
Sewing cut-on waistband and fly with zipper on classic trousers #ZB01
In the following step-by-step instructions, I explain how to sew a cropped waistband and the fly with zipper on classic trousers.
I also explain how a zipper can be shortened if necessary and how the belt loops are sewn. The process is relatively time-consuming, but the result is worth all the effort. Have fun and good luck!
1. This is required:

Pattern pieces made from main fabric:
- Left and right trouser leg with the pockets already worked in and the side seams closed
- fly facing (ZB)
- fly (ZU)
- belt loops (GS)
- front waistband facing (BB VH) – 1 pair
- back waistband facing (BB HH) – 1 pair
Pattern pieces from interfacing:
- fly facing (EZB)
- fly (EZU)
- front waistband facing (EBB VH) – 1 pair
- back waistband facing (EBB HH) – 1 pair
Paper pattern pieces:
- Template for fly stitching (P-SZ)
- Template for the belt loops (P-GS)
- Template for the waistband buttonhole (P-BK)
- Front and back waistband facing (BB-VH and BB-HH) for the position of the belt loops
Tools and aids:
- zipper (see pattern or PDF instructions for length)
- 1 or 2 buttons or trouser hooks for the waistband
- pins or clips
- scissors
- chalk or marker pen
- long ruler
- basting thread and sewing needle if necessary
- suitable sewing thread and sewing needle if necessary
- a thick thread for turning the belt loops
- a piece of thin (lining) fabric for cutting the bias strips or ready-made bias tape for edging the bottom edge of the waistband
2. cut back the front edge for the slit

My front trousers here in the example have pleats and are lined, which is why I have already cut back the front edge on the side where the fly stitching will be later. If you have already done this, you can skip straight to step 3.
If you are working without a knee lining, the two parts are still identical and the front edge must be cut back. I will now explain how to do this and what you need to bear in mind.

Which of the front trouser parts I trim the front edge of depends on which side I want to access the fly from later. Classic ladies’ trousers often have the fly from the left side, while the fly from the right side is often seen on chinos and usually on men’s trousers. I’ll show you the classic women’s fly version here. For the other version, I would work in reverse.

I lay the pattern piece on top and mark this overhanging amount parallel to the front edge. I cut away the narrow strip of fabric at the marking.

The corresponding front waistband facing is also shortened by the same amount at the front edge. I lay the facing in front of me with the wrong side of the fabric facing up, i.e. the way it will later lie under the front pieces, mark the amount on the same side as on the trousers and cut it away.
3. pocket opening for wing pockets
If you have opted for wing pockets, i.e. one of the “banana”, “French” or “square” pocket shapes, the pocket opening must be closed a little at the top.

I measure the width of a waistband piece and mark the value minus 1 cm from the upper edge along the pocket opening.
I pin the opening just below this marking.

Then I topstitch the pocket opening, starting at the top edge, exactly on the existing seam. I turn the fabric at the marking, sew towards the edge, turn again and then topstitch close to the edge.

Alternatively, you can also fasten the pocket opening invisibly by hand.
Option: Close pleats

If your trousers have pleats, these should also be closed to at least the same height. I have already done this here – as described in the instructions for the pleats.
4. join the waistband facings for the cut-on waistband

Now join the back and front waistband facing at the side seam. To do this, lay the waistband facing right sides together at the side edge and pin them together.

You can see the width of the seam allowances on the notches or measure them in the pattern.

The facings are then sewn together with the corresponding seam width.

Then I finish the seam allowances with the overlock or a zig-zag stitch and press them open.
5. neaten the bottom edge of the waistband facing
How you finish the bottom edge of the waistband is a matter of taste.

The simplest solution is to overlock them. You could also hem them with bias tape. You can find instructions for this in instruction B04.
6. prepare the belt loops
Next, I prepare the belt loops. I don’t want any visible stitching on my belt loops.

To achieve this, I first tie the turning thread in the middle of the short end on the right side of the fabric. It must be a few cm longer than the fabric strip.

I then fold the strip in half along the long edge. The thread is at the fold.

I sew the long side of the strip together with a 4mm seam width.

Then I press the seam allowances open.

To turn, I pull the turning thread so that the right side of the fabric is on the outside.

The strip is now ironed smooth. I make sure that the seam is approximately in the middle of the strip.

I now cut the belt loops from the long strip. I use the small template for the belt loop to mark the appropriate cutting length.
7. sew belt loops to the cut-on waistband
I sew the belt loops into the upper edge of the waistband so that I don’t have to sew them onto the upper edge of the cut-on waistband later.

The positions for the belt loops are marked on the waistband pattern pieces. You can recognize them by the closely spaced notches or as a line. If not already transferred to the fabric as a notch, I mark the position of the belt loops on the trouser parts. Of course, you can also choose other positions and design them however you like.

Now I place the belt loops with the inside, i.e. the side with the seam, on the outside of the pants and pin them flush to the top edge.
I place the other trouser part mirrored and pin the belt loops in the opposite direction.

I sew them on with an auxiliary seam with a 5 mm edge distance within the seam allowances.
8. prepare fly pieces and neaten cut edges

If you have not already done so, iron the interfacing onto the wrong side of the fly and fly facing.

I then fold the bottom of the slit in half lengthwise, right sides facing and pin the raw edges together.
I sew the narrow ends together with a 10 mm seam width, turn the piece to the outside and press it in half.

Now finish the raw edges with an overlock or zig-zag stitch: the double long edge at the bottom of the fly and the rounded back edge and the front edge up to the notch on the fly facing.

If not already done, finish the front edge of the front piece on the bottom edge and the crotch/seat seam. If you do not topstitch the waistband facing to the bottom edge later, also finish the top edge of the trouser parts
9. prepare the zipper

The required zipper length is noted on the pattern for the front trousers. You can also find it in the PDF instructions that you received with your pattern.
If you don’t have a zipper of the specified length, you can easily shorten a slightly longer plastic spiral zipper yourself.

To do this, I first mark the required length, measured from the top of the zipper.

I then stitch across the marked end. You can either sew back and forth several times or use a zigzag stitch.
I cut off the excess tape approx. 1.5 cm below this.

I cut the spiral back to approx. 5 mm below the locking mechanism.

To prevent the zipper from shrinking later, I iron it over again or steam it.
10. sew on the zipper on the underlap side

On the left front piece, I mark 7 mm from the front cutting edge. From the top edge, I mark the width of the waistband facing minus 1 cm. This is a distance of 5 cm for a 6 cm facing width.

Then I fold the ribbon that is sewn on over at the top so that it is as close as possible to the end of the spiral and the top edge ends behind the ribbon at the side. I pin it in place like this.

At the marking, I place the zipper right sides together on the front piece, i.e. with the slider on the right side of the fabric, and pin it in place.

Then I topstitch the zipper tape narrow-edged.
I open the zipper in the upper part so that the slider does not interfere with the sewing.
11. sew the left waistband facing and fly to the cut-on waistband

I lay the left trouser leg so that the left side of the fabric of the front trousers is facing me and mark a distance of 11 millimeters from the top edge at the front.

Then I push the fly under the front edge so that it lies exactly on the marking at the top and protrudes 2 millimeters from the serged long edge. I pin it in place like this.
I mark about 2 centimetres upwards from the end of the fly. I sew the fly underlap up to this mark, starting at the top edge, with a seam width of 10 millimeters.

I make sure that I sew the front part exactly in or directly next to the seam that I used to sew the zipper on.

This is what the connected fly looks like.

Now place the waistband facing right sides together and flush with the top edge on the left trouser component and pin it in place.
The side seams meet exactly. At the front, the facing is flush with the front piece, i.e. 2 millimeters from the edge of the underlap. I also pin the pieces flush at the back.

I sew on the front edge from the inside, as I can sew there again exactly in the seam I used to sew on the underlap.

I leave out the first 4 centimetres of the top edge and then sew this section with a zipper foot, which allows me to get past the inside fly underlap more easily.
12. prepare the right fly facing and waistband facing

Now place the waistband facing right sides together flush with the top edge of the right trouser component.
If you want to use a concealed hook instead of a buttonhole, you should now attach it to the facing side.

I fold the bottom edge of the waistband over to the inside by 9 millimeters over a length of about 3 centimeters and iron it in place.

From there, I start to pin the facing at the front and the top edge to the center back. At the side seam, I again make sure that they meet exactly.
Then I lay the front edge of the fly facing flush, right sides together, on the front trousers so that the notches at the end of the fly meet exactly. I mark this height again clearly and pin the edges together. At the top, the raw edge is slightly above the pressed bottom edge of the waistband facing.

The facing is now sewn onto the top edge and the front edge up to the fly end with a seam width of 10 millimetres and secured at the fly end with a forward and backward stitch.

At the fly end, I cut the seam allowance to just before the last stitch.

Then fold the facing to the side and topstitch down the seam along the narrow edge on the facing side.
13. edgestitching the inseams of the cut-on waistband

The inseam on both trouser panels is pressed to the facing side.

You can then edgetstitch them on the facing – as far as you can reach.
14. turn and iron the waistband edge

Before I turn the cut waistband to the outside, I cut off the top of the seam allowance diagonally on the left at the fly underlap.

For turning the corners, this time I’ll show you a variation where the seam allowances are not trimmed at the corner. To do this, I reach into the corner with my thumb, fold the seam allowance of the short seam straight inwards and place the seam allowance of the long edge over it.

Then I hold the layers with my thumb, forefinger and middle finger in front of the top seam and turn the outside over with the other hand.

If necessary, you can now shape the corner again with an edge shaper.

Then the corners and the upper waistband edges of both trouser parts are ironed. I make sure that the facing seam is slightly offset inwards. When ironing, I lay everything flat so that nothing is distorted.

I secure the upper edges with clips.

When ironing the fly facing, I make sure that the bottom edge is flush with the raw edge of the front trousers. Then I also pin the fly facing.
15. join trouser legs
Preparations

Before the trouser legs can be joined together, the seam at the fly underlap must be pressed to the front.

If you have not already done so, you will need to clip the fly end so that the cut edge of the crotch curve is facing forward.
If the center front that you marked for the fitting is no longer visible, mark it again at a distance of 7 mm from the seam.
Now the trouser legs can be joined.
As already explained in the fitting instructions, I first transfer the seam width and seam line of the center back from the pattern to the wrong side of the fabric of the right trouser leg.

Perhaps the “old lines” are still visible, otherwise transfer them again from the pattern to the trouser part.
The amount for the seam width at the top edge also applies to the waistband, as can be seen in the pattern. I mark the fly end on the front trousers.

Then I place the two trouser parts inside each other, right sides facing.
To do this, first I turn the left trouser leg over so that the right side of the fabric is visible on the outside.

I then slide the turned left leg into the right trouser leg on which I have marked the seam line.

Make sure that the inner leg seams meet exactly in the crotch curve before you pin them.
I lay the back trousers on top of each other at the seat seam and pin them together starting from the waistband edge.
At the front, I also make sure that the pieces are flush at the crotch curve and that the center front fits exactly on top of each other.

Now the seam is sewn together from the back edge of the waistband to the exact end of the fly using a fairly short stitch length of approx. 2 cm and secured with front and back stitches.

You can exert a slight pull in the area of the lower seat seam, as this area will be under a lot of strain later on.

I stretch the seam allowance of the crotch curve on the back trousers by pressing so that there is no tension in this area later.

Press the seam allowance at the center back open up to the bottom notch on the seat seam.

To prevent the seam allowances on the overlocked bottom edge of the facing from peeking out when the facing is open, you can fold them diagonally inwards, iron them in place and secure them with a small hand stitch.

Here you can see how the seams meet exactly at the center back.
I now press the waistband edge at the center back over again and pin it in place.
16. sew the zipper to the fly facing

Next, the zipper is joined to the fly facing. I place the front centers on top of each other at the marking and pin them at the edge.

Then I lay the fly area flat in front of me with the inside facing up. If you have a sleeve board, you can use this to lay the trousers over. I fold the fly underlap to the side and insert a hand measure between the facing and the front so that I don’t catch the front when pinning the zipper tape to the fly facing.

Then I stitch the zipper tape onto the fly facing with a narrow edge.

This is how the fly facing with sewn-on zipper now looks from the back.
17. pin the bottom edge of the facing to the cut-on waistband

Now attach the bottom edge of the waistband facing to the cut-on waistband.
You can do this with a topstitch visible from the outside or attach the facing in several places almost invisibly in the seam shadow or with the belt loops.
In the sketch you can see how the trousers will look with visible or invisible sewn on waistband facing.

For the version with visible stitching, first measure the visible facing width on the inside.

This measurement minus 1 cm is the distance to the top edge of the waistband, which will later be used to topstitch the facing in place. Mark the measurement all around on the outside of the trousers.

If you want to attach the waistband facing invisibly, there are various options. For example, you can attach the facing in the seam shadow of the center back and side seams and also to darts and any existing pleats.

Alternatively, you can sew the waistband facing to the seam allowances and, if available, the pocket bags from the inside with a few hand stitches. If you are sewing belt loops onto your trousers, the facing can also be held in place by these alone.

Before I attach the facing to the cut-on waistband, I lay the trousers flat at the waistband edge and pin the bottom edge of the facing neatly in place.
Insert the pins at right angles to the stitching direction. If you are stitching the facing all the way around, this means across the waistband edge.

I will sew the facing in the seam shadow of the outer seams, so I pin the needles at the bottom edge of the waistband at right angles to these longitudinal seams.
18. topstitch the fly facing and attach the waistband facing to the cut-on waistband

Before I topstitch the fly facing, I mark the fly stitching and attach the fly facing to the front trousers.
To do this, I place the template on the outside of the right front piece at the center front and flush with the top and mark the line.

If you work hooks into the waistband, you can topstitch the slit starting from the top edge.
For buttonholes, mark the visible waistband width minus 1 cm from the top as the starting point. If you topstitch the waistband facing from the outside, you have already marked this height.

Now I place the hand measure under the fly facing so that I only gather the two outer layers of fabric together when pinning.
If you want to make buttonholes with the machine, I recommend inserting a folded piece of fabric or stabilizer in the buttonhole area between the front piece and the facing and pinning it in place. This creates a balance to the seam allowances at the edge, as some machines have problems with the different heights.

Before I topstitch the fly from the outside, I check again whether the fly facing with the zipper is really under the waistband facing.
The fly can now be topstitched. As already mentioned, for buttonholes from the marking, otherwise from the top edge of the cut-on waistband.
I lock the start of the seam with a forward and backward stitch and sew along the marked line. You can also put the paper template on and sew exactly along it.

When I reach the curve, I fold up the fly underlap at the bottom so that I don’t accidentally topstitch over it.
Also make sure that the seam allowance of the crotch seam is on the side on which you topstitch the fly facing.

Now attach the waistband facing to the cut-on waistband as described above. If you stitch it in place all the way around and the slit is stitched from the top edge, you can end at the fly stitching so that the stitching does not cross over. Of course, you can also topstitch to the front edge if you prefer.
Since I have chosen the finish without visible topstitching, I now sew the waistband facing only in the seam shadow of the center back and the side seams.
19. connect fly underlap

The fly underlap needs to be fastened in the lower area.

I pin it at the attachment seam…

… and in the rounding of the fly facing.

Then I sew the bottom of the fly underlap to the seam allowance.

At the curve, I join the fly facing and underlap with a short seam or a small bar tack. I use the zipper foot to get as close as possible to the seam.

The seam at the bottom of the underlap is now edgestitched to the narrow edge of the front.

Depending on the design, the fly end can be locked from the outside with a hand or machine stitch – crosswise or lengthwise. I am using a lengthwise bar tack with a narrow zigzag stitch, 1.5 mm wide and 0.4 mm long. It is best to test the stitch before sewing it to the trousers.
20. work the buttonhole into the cut-on waistband
The buttonhole is now worked into the cut-on waistband on the overlap side. If you have opted for the wider waistband version, two buttonholes are provided.
As described above, you can also use trouser hooks as an alternative. Depending on the variant, you have either already worked them in or can now sew them on.

I transfer the starting point and direction of the buttonhole from the template to the cut-on waistband.

The length of the buttonhole depends on the button size.

I use the buttonhole function on my sewing machine for sewing. It is best to test the buttonhole on a scrap piece first. If you need more instructions here, please refer to instruction B03.
I carefully cut open the finished buttonhole.
21. sew belt loops onto the cut waistband

Before I sew on the button or the bar of the trouser hook and attach the belt loops, I iron the edge of the waistband thoroughly.

To leave enough room for the belt height or thickness, I fold the belt loops down about 3 mm above the waistband edge and pin them in place.

I then fold the bottom edge over by about 6 mm and secure it with either a short straight stitch or a narrow, tight zigzag stitch.

To ensure that the presser foot is at the correct height when sewing and that the fabric is transported better, it is helpful to place a double-folded piece of fabric, for example a small scrap from the belt loop cutting, in front of and, if necessary, behind the loop. Alternatively, you can also use a plastic height compensator.
I use the scissors to push the flap under the loop. To stitch completely parallel to the edge, it can be helpful to place a narrow strip of paper under the presser foot as a guide.
22. sew button or bar to the cut waistband

To mark the button position, I close the zipper and make sure that the center front is also overlapped at the top edge of the waistband.
Then I mark the position of the button through the outer opening of the buttonhole and sew on the button so that it lies against the edge of the buttonhole after closing.
If you are using a trouser hook, you will now sew on the bridge. Lay the trousers down as described above, fold the overlap slightly to the side and mark the position for the bridge on the underlap.

Finally, I remove all basting threads, if there are any left, and iron the trousers again.

And your trousers with the cut-on waistband are finished!
I hope you have a lot of fun wearing them.