The cutting of fabrics and materials
You can fill books with the topic of fabric cutting and this has already been done many times. Therefore, in this step-by-step guide, I will only explain a few basic terms and explain how a smartPATTERN sewing pattern is constructed.
Basically, the aim is to cut the fabrics and materials in the shape of the pattern pieces. I have explained how to prepare your pattern for cutting here.
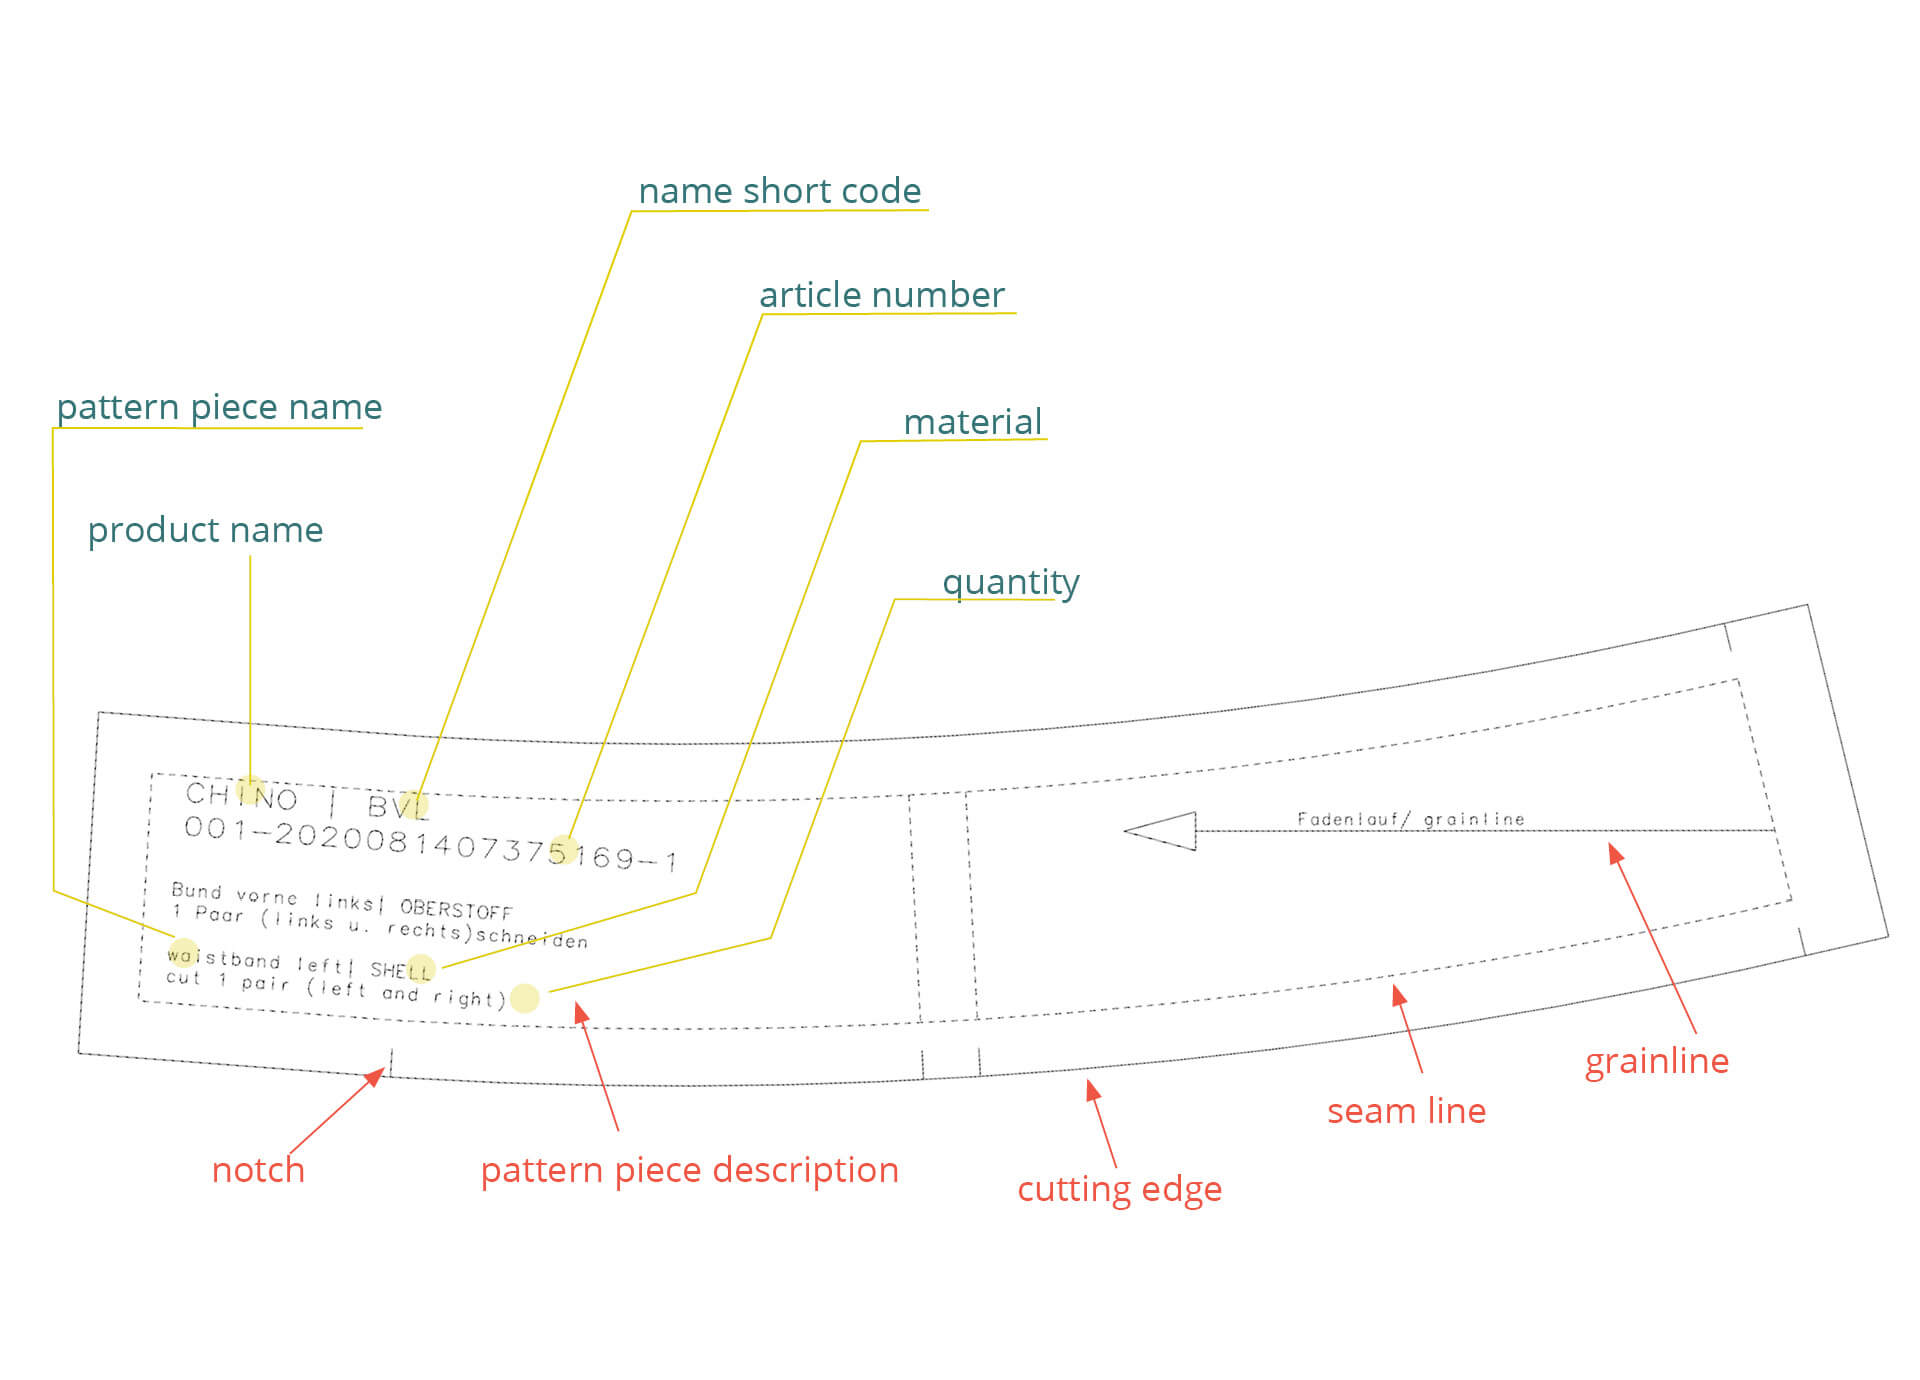
All seam allowances are already included in the smartPATTERN sewing patterns. This means that you can cut the pattern pieces out of the fabric directly along the outer contour (the cutting line). The inner dashed line, which usually runs parallel to the cutting line, is the seam line. Internal marking lines are also shown as dashed lines. The short, approx. 4 mm long lines running at right angles to the cut edge are known as “notches”.
In the illustration you can see the system according to which the pattern pieces are labeled:
- Line 1: PRODUCT| NAME SHORT CODE
- Line 2: Article number
- Line 5: pattern piece name|MATERIAL
- Line 6: Required number of pieces cut
- Lines 3 and 4: German translation of lines 5 and 6
The product name and article number are identical on all pattern pieces of a pattern.
2. Prepare fabrics
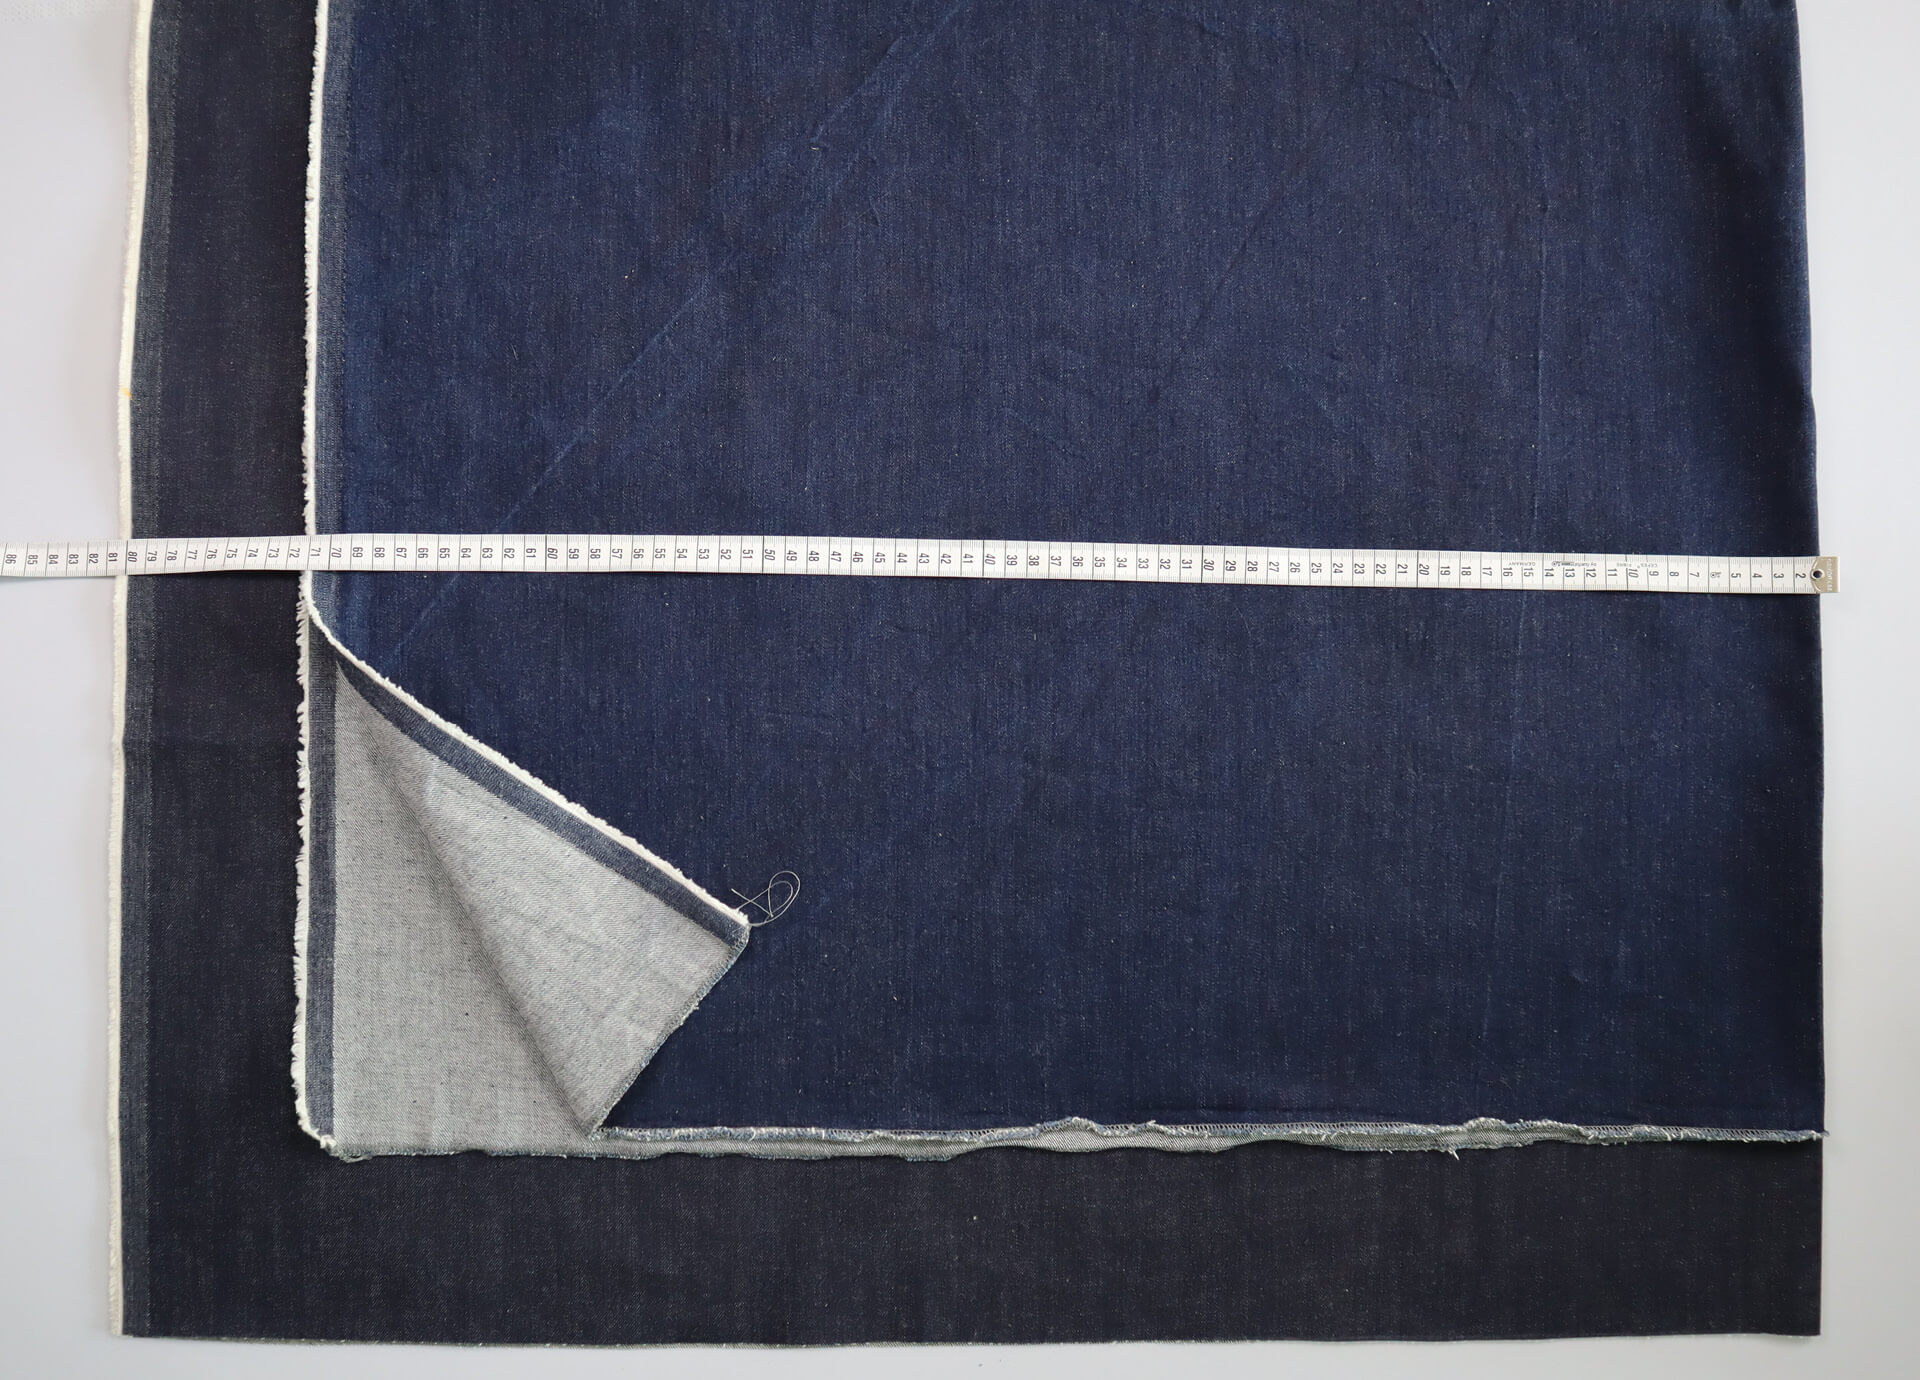
I generally recommend washing and ironing outer and lining fabrics before cutting them out. Some fabrics shrink a lot the first time you wash them and it would be a shame if your work no longer fits later! To be on the safe side, you should clarify how the materials are to be cared for and whether and at what temperature they can be washed and ironed when buying the fabric.
3. Fabric layout
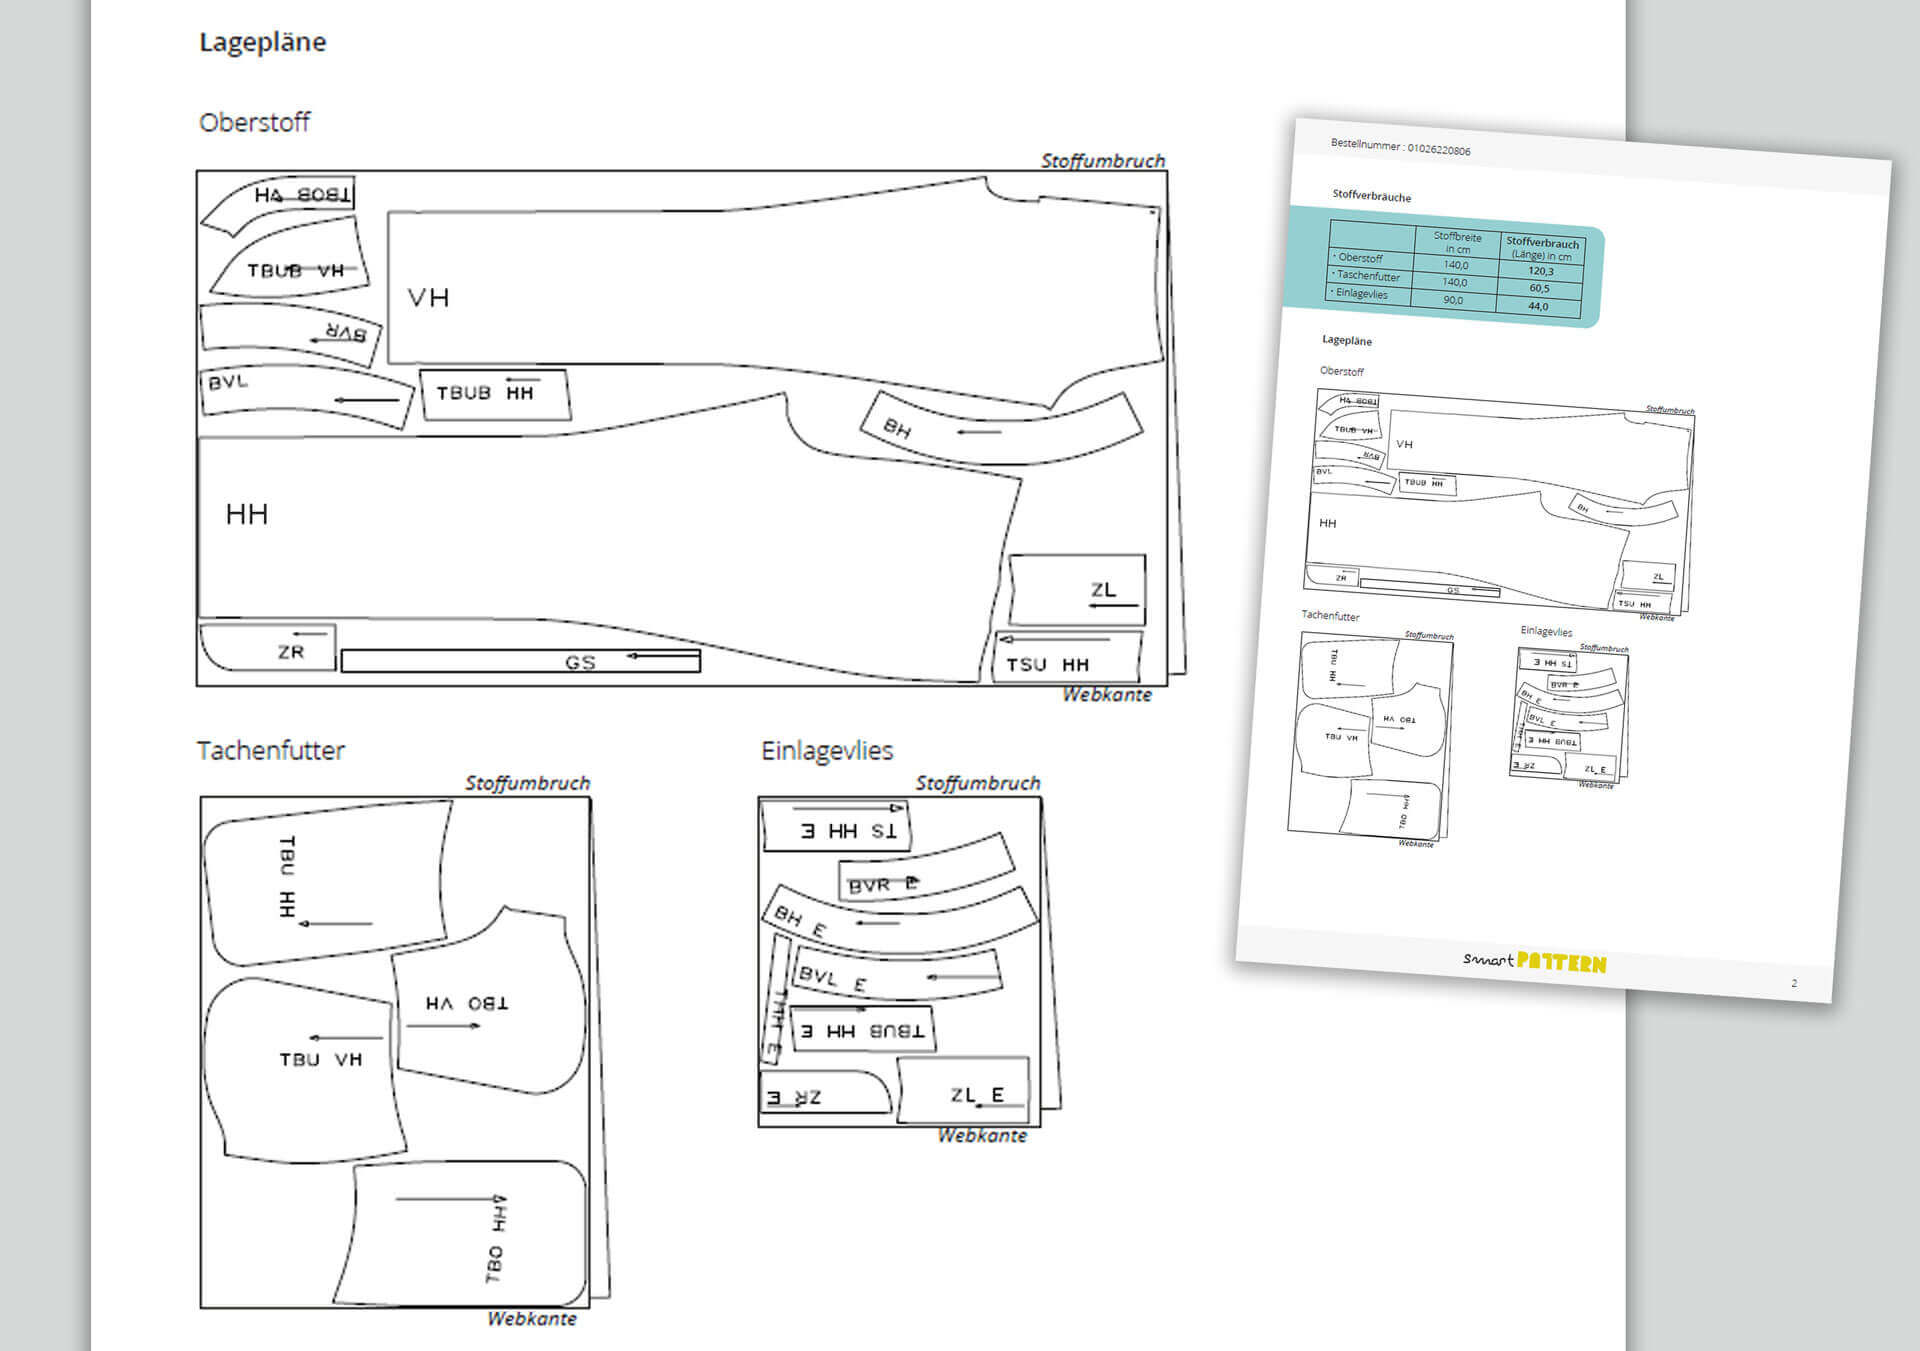
In the sewing instructions that you receive together with your pattern, you will find fabric layout plans for the materials of your project (not including the templates, these only serve as an aid). These show how you can place the pattern pieces on the fabrics and whether the fabric is open or folded. The example layplans refer to the fabric width specified in the list of fabric consumption. This width may differ from the width of your fabrics. The fabric layout plans are therefore for orientation purposes only.
You can recognise which pattern pieces are shown in the fabric layout plan by the “NAME SHORT CODE”.
4. Cutting in single or double fabric layer
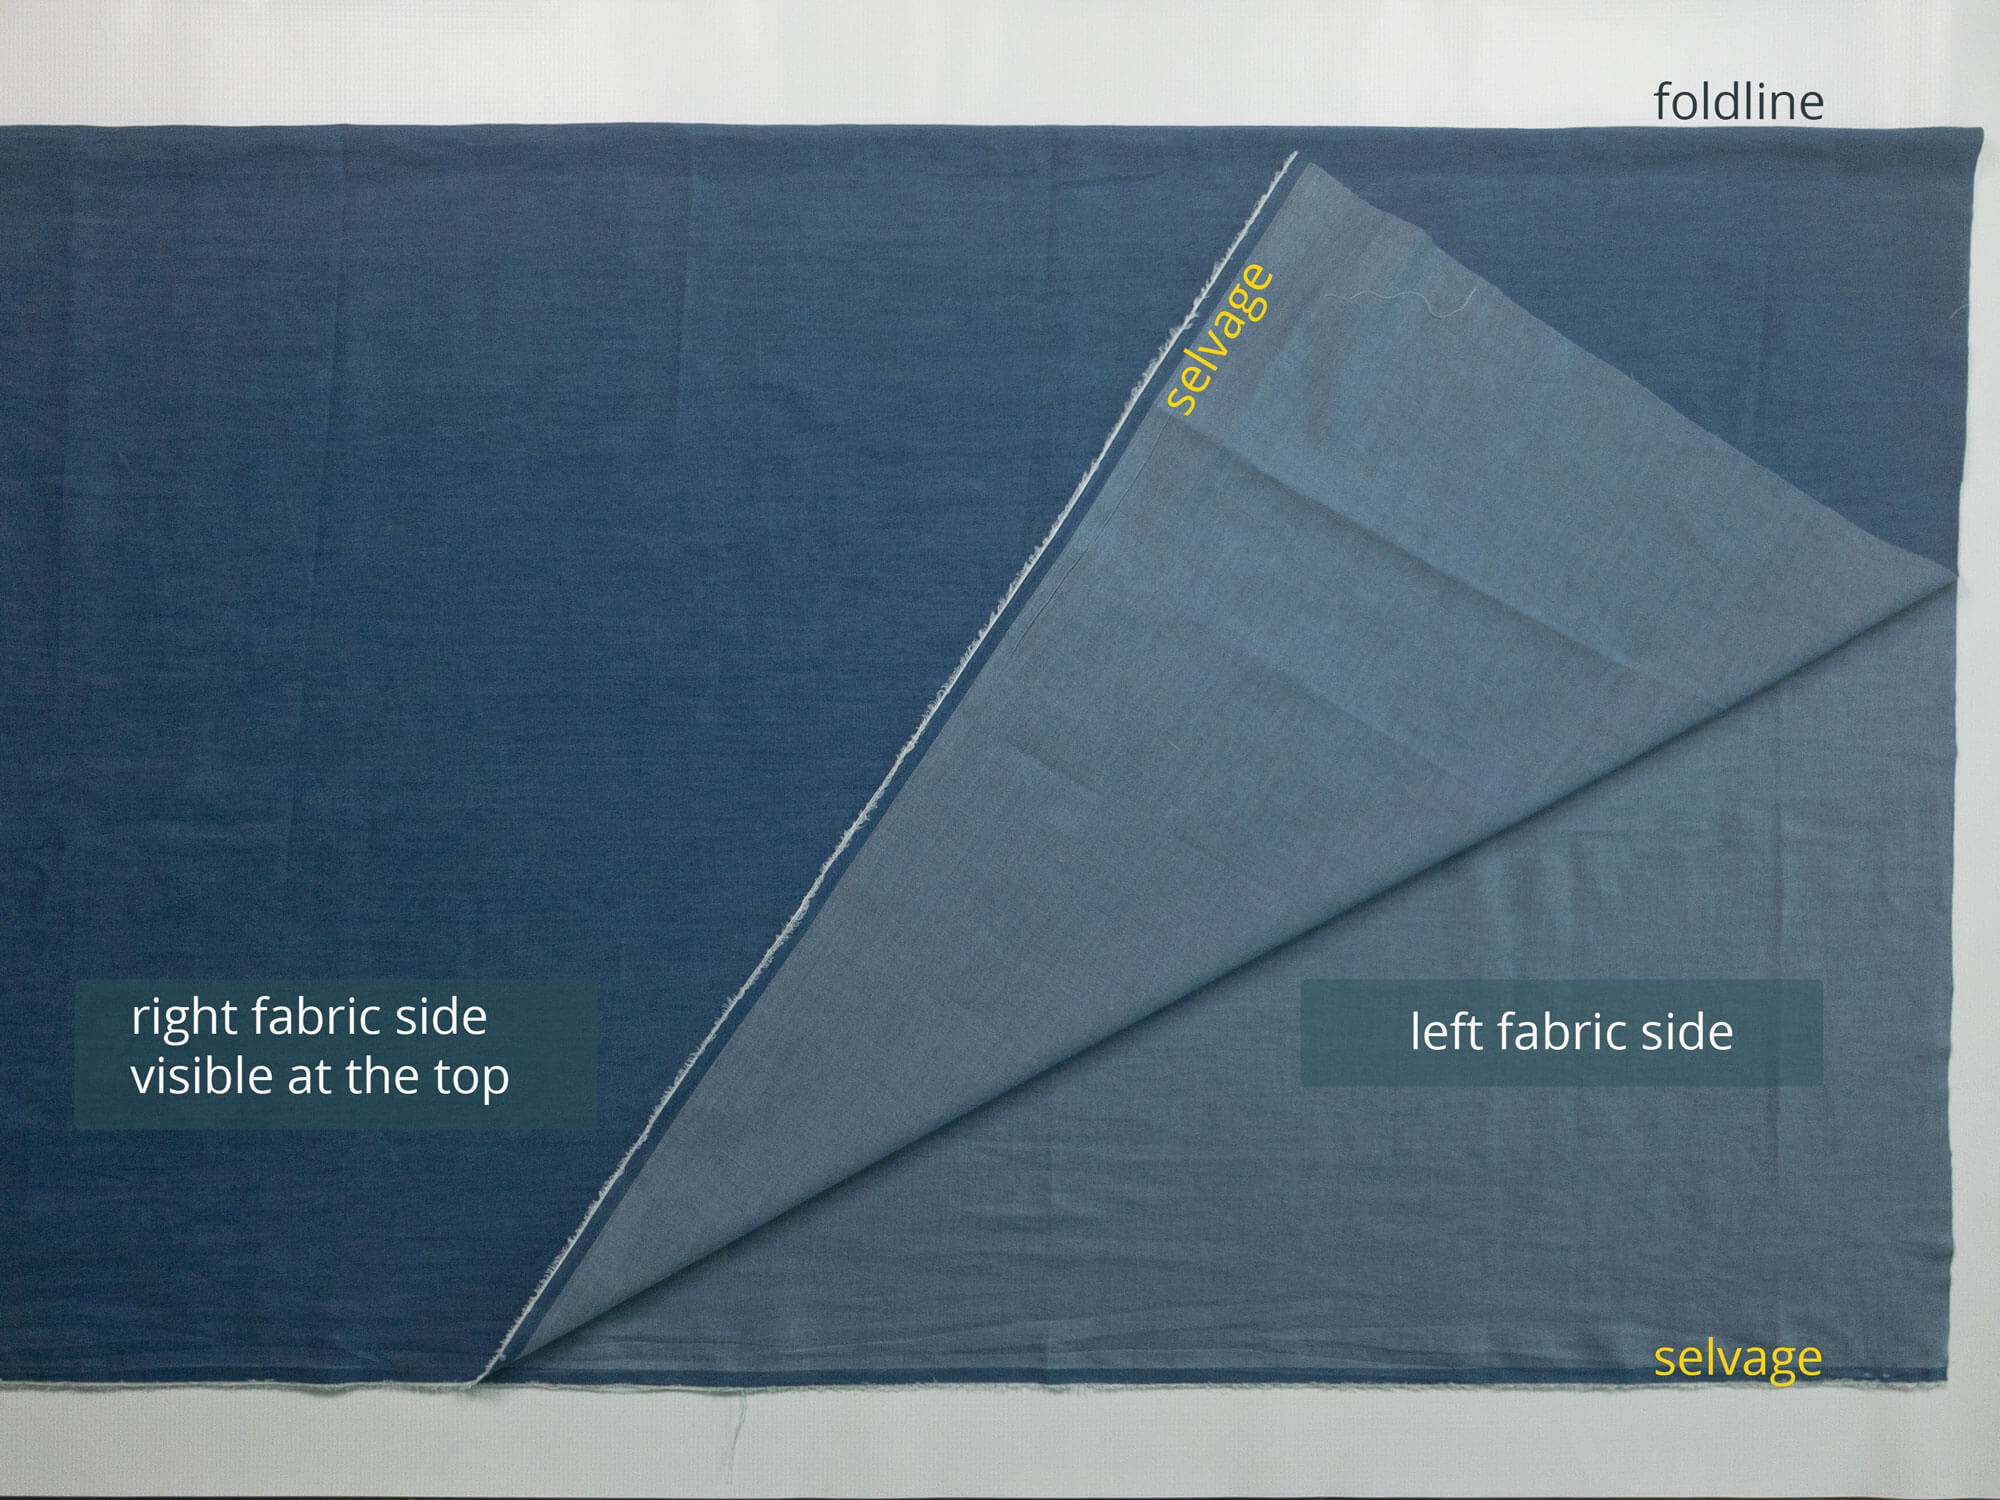
With the “open cut”, the fabric is laid out in one layer; the selvedges are visible on both sides. In “folded cutting”, selvedge is placed on selvedge and the material is folded in half so that it “breaks” in the middle. This folded edge is also called a “foldline”. You can see whether the pattern pieces are cut in a single or double layer of fabric from the layplans in your sewing instructions.
When cutting the fabrics, the outer fabric side (also called the “pretty” or “right” side of the fabric) is facing upwards and visible. In reverse, this means that the inner side of the fabric (also known as the wrong side of the fabric) is facing the tabletop or, if the material is folded, towards the inside.
On the fusible interfacings, the side with the adhesive dots corresponds to the wrong side of the fabric. Note that this side is at the bottom when cutting.
5. Cutting along the grainline
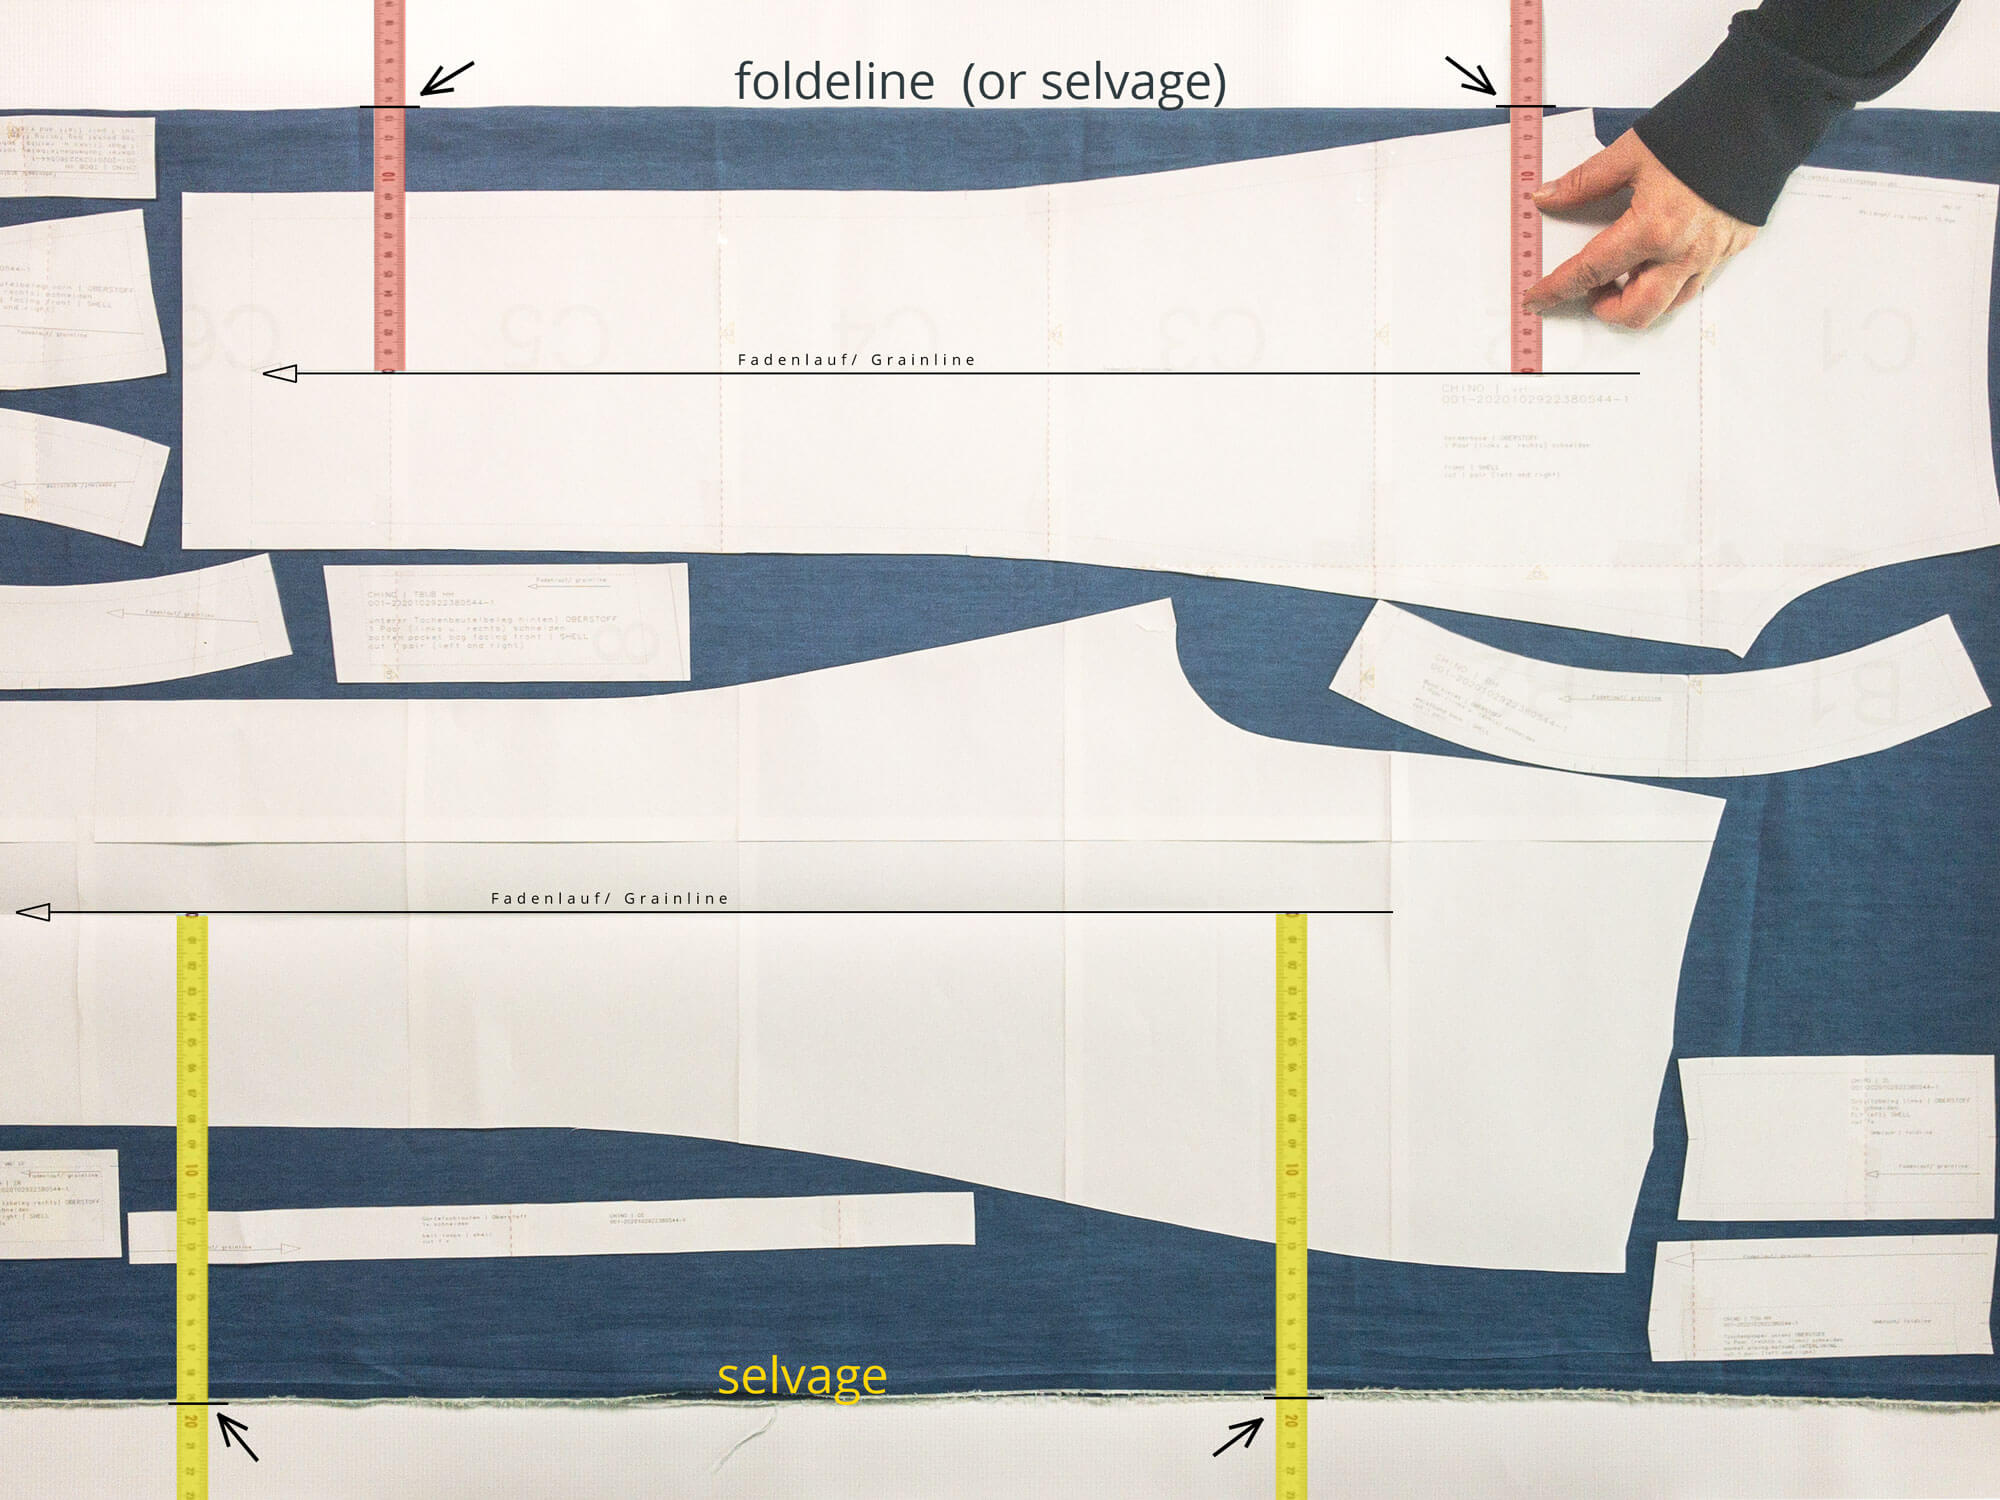
When laying out the pattern pieces, it is important to take the grain into account. The grainline on the pattern pieces ist the line with the arrowhead, it is also labeled “grainline”.
Place the pattern pieces on the fabrics so that the grainline runs parallel to the selvedge or the foldline. Here you can use a tape measure to help you adjust and measure the distances to the selvedge or foldline.
With patterned, structured or shiny outer fabrics in particular, it can be important that the arrowhead of the grainline points in the same direction on all parts, i.e. the arrow for the grainline always points from top to bottom.
Tip
If you use selvage denims, you can “ignore” the grain for certain details, e.g. the coin pocket and the back trouser pockets. It is then possible to use the selvedges for the upper pocket edges.
6. Number of pattern pieces
Line 6 of the pattern piece labeling indicates how often you need to cut the individual pieces. If a pattern piece is required as a “pair”, i.e. once from the left and once from the right, you only place it once when double-layered and it is then automatically available as a “pair”. You can lay out the pattern pieces so that you can see the lines and the lettering or you can lay them out mirrored if this is advantageous for fabric consumption. In the latter case, transfer the grainline to the unmarked side, e.g. by folding it, so that you can recognize it when cutting. After cutting, these parts can then be mirrored, so that you can also transfer the notches. Pattern pieces that are only needed once should be cut through the top layer when folded.
For single layer cutting, you must mark the pattern pieces that are required as a pair once with cutting chalk or a trick marker. For the second piece, place the pattern piece the other way round, i.e. mirrored along the grainline. Then the labeled side of the pattern piece is not visible.
Once everything is in place, the cut parts are secured to prevent them from slipping. You can pin them in place with pins or weigh them down with small weights. You can use household items such as cups, coasters etc. as weights. Now you can finally grab the scissors and cut the fabrics into the appropriate shapes.
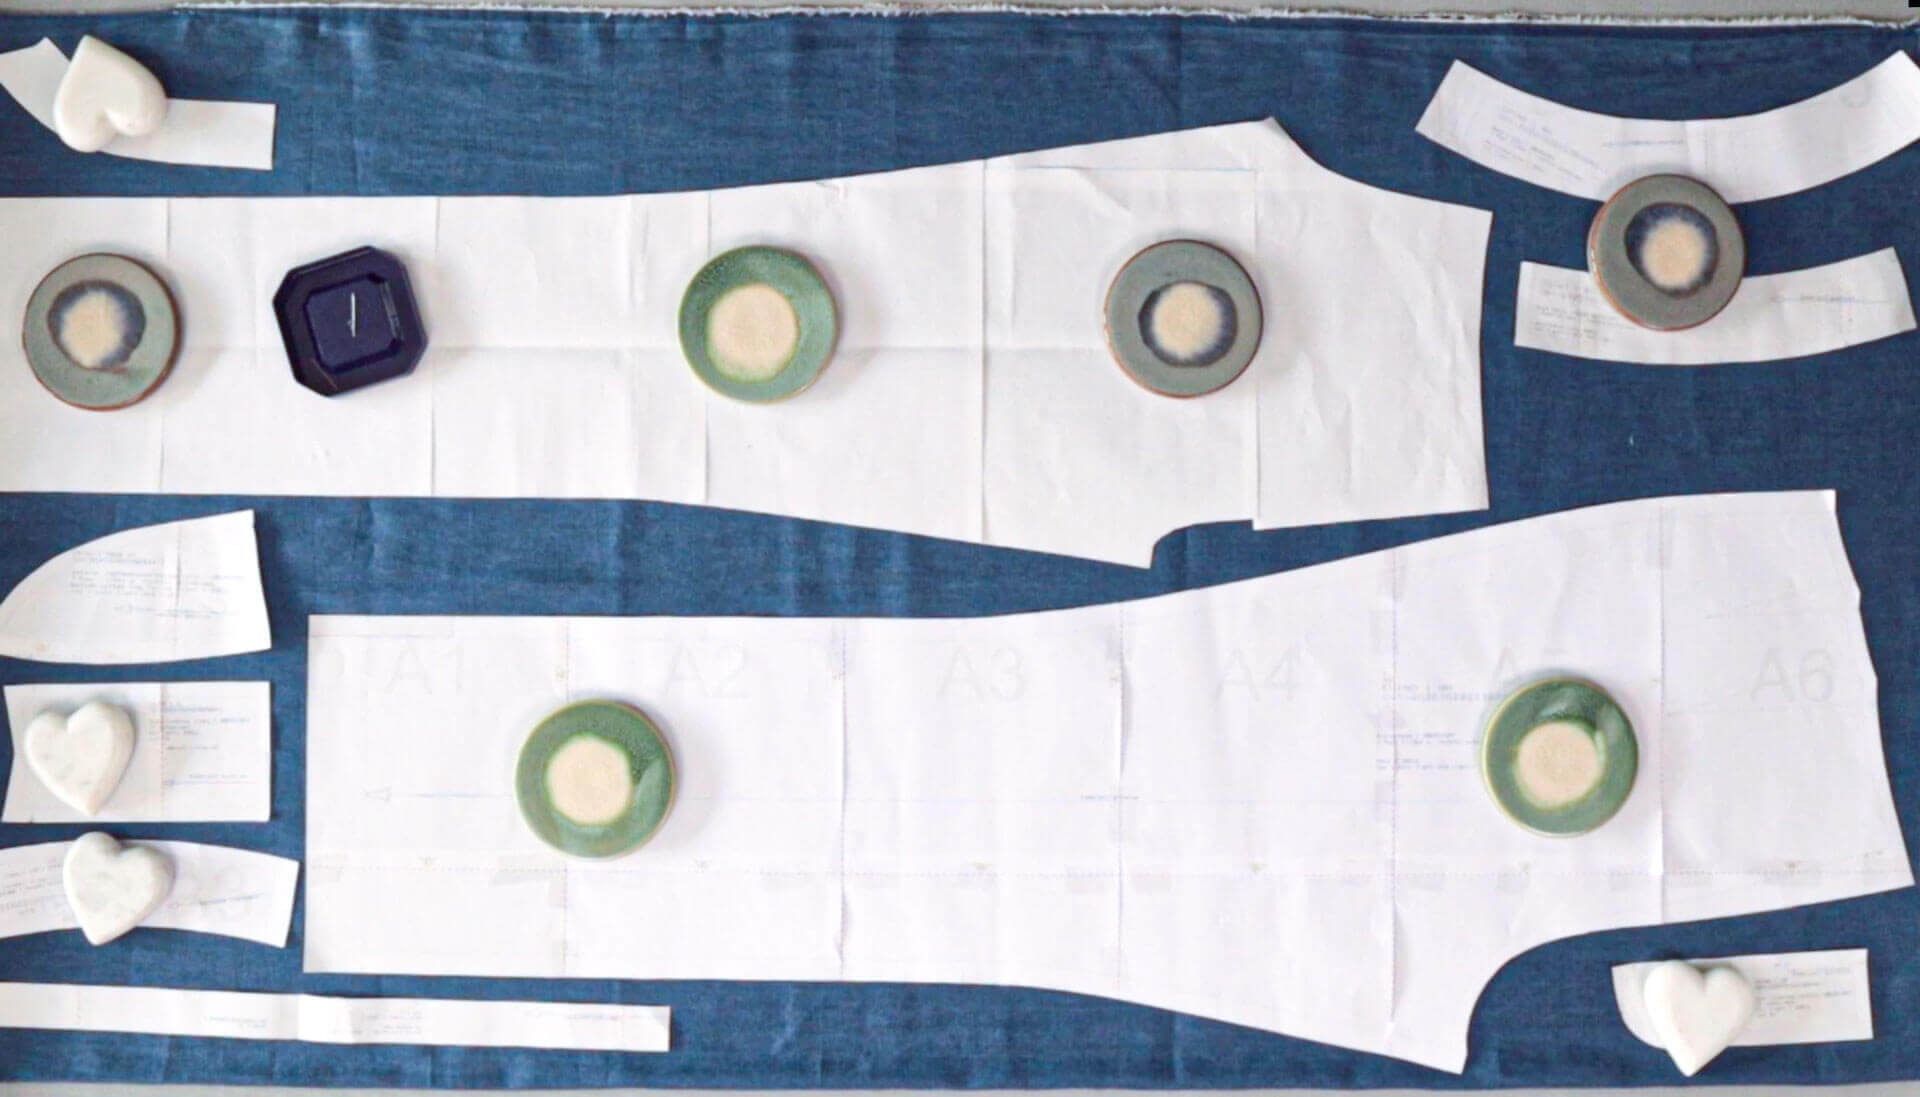
7. Transfer notches and mark fabric sides
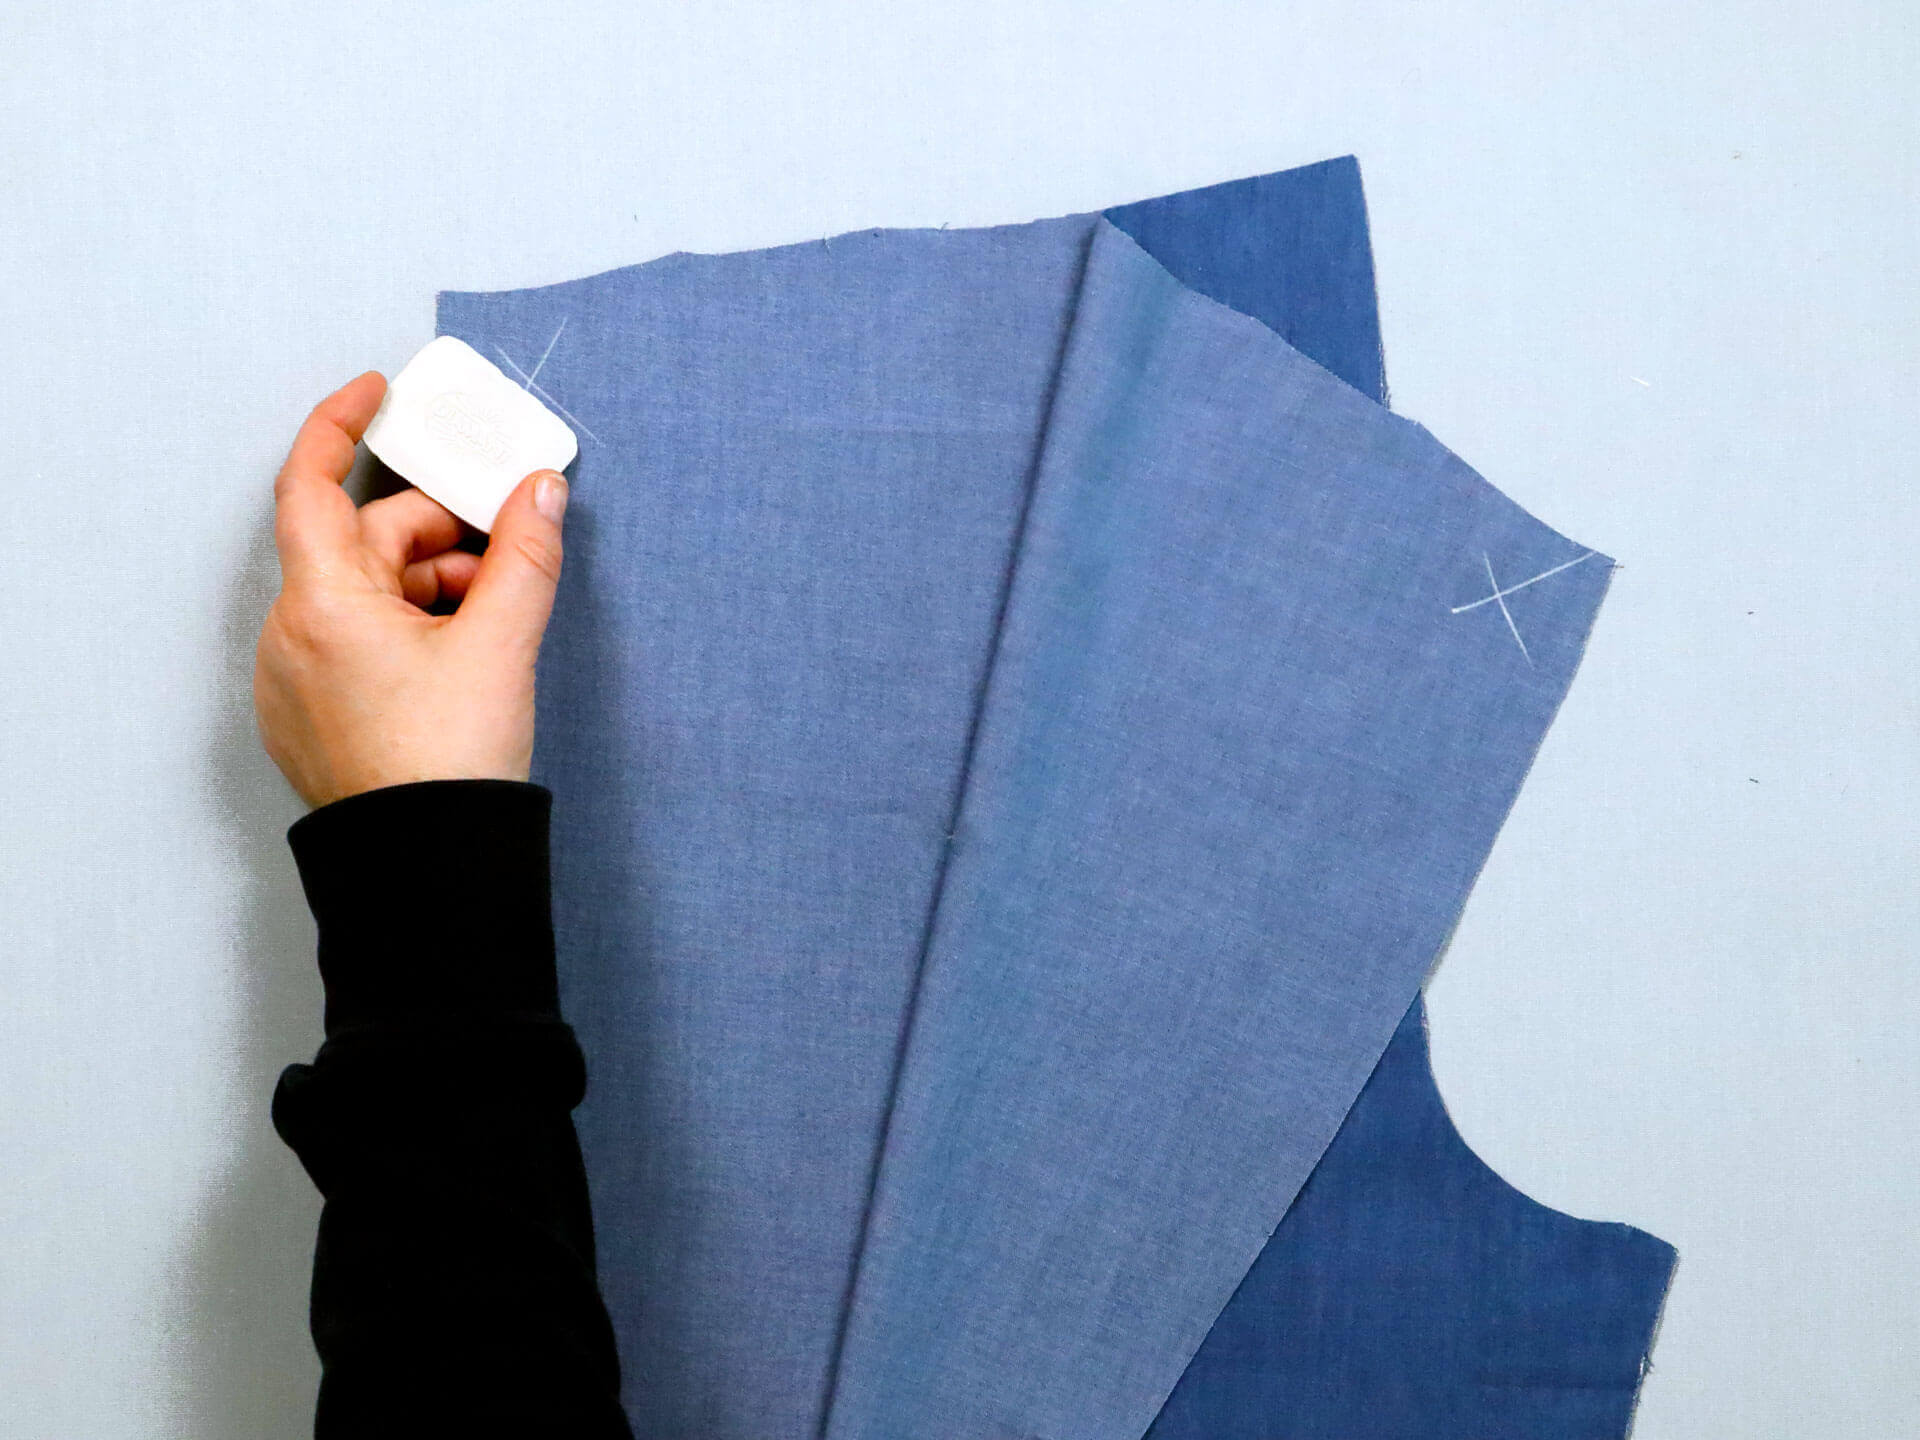
Transfer the notches (these are the short, approx. 4 mm long lines at right angles to the cut edge) onto the fabric as short incisions or with a marker pen. These are used for orientation when assembling the parts.
If the right and wrong sides of the fabric are difficult to distinguish from each other, it is advisable to mark the wrong side of the fabric with a symbol.
I use tailor’s chalk for this and draw a cross or the pattern piece abbreviation as a marker, for example.
I leave the paper pattern on my fabric for as long as possible, because I can find all the information here and can orient myself better. But now it’s finally time to start sewing. Have fun with it!


