Loading cart contents...


Take measurements – Men’s trousers
To take measurements the rigt way is important when configuring men’s made-to-measure trousers in our online store. Once you have selected the fit, leg shape etc., you will be asked to enter your body measurements. You will find a detailed description of each dimension in the configurator.
If you want to get an overview of the measuring process in advance, I will explain step by step in this guide how it works and which measurements are required to create your individual pattern.
Supplementing the images and explanatory text, the process of taking measurements is explained in the adjacent Vimeo video tutorials.
Take your time when taking measurements. The more carefully you do this, the better your pants will fit later!
You can download a PDF form here and enter your measurements step by step. This means you have them on hand in the right order when you configure your trousers.

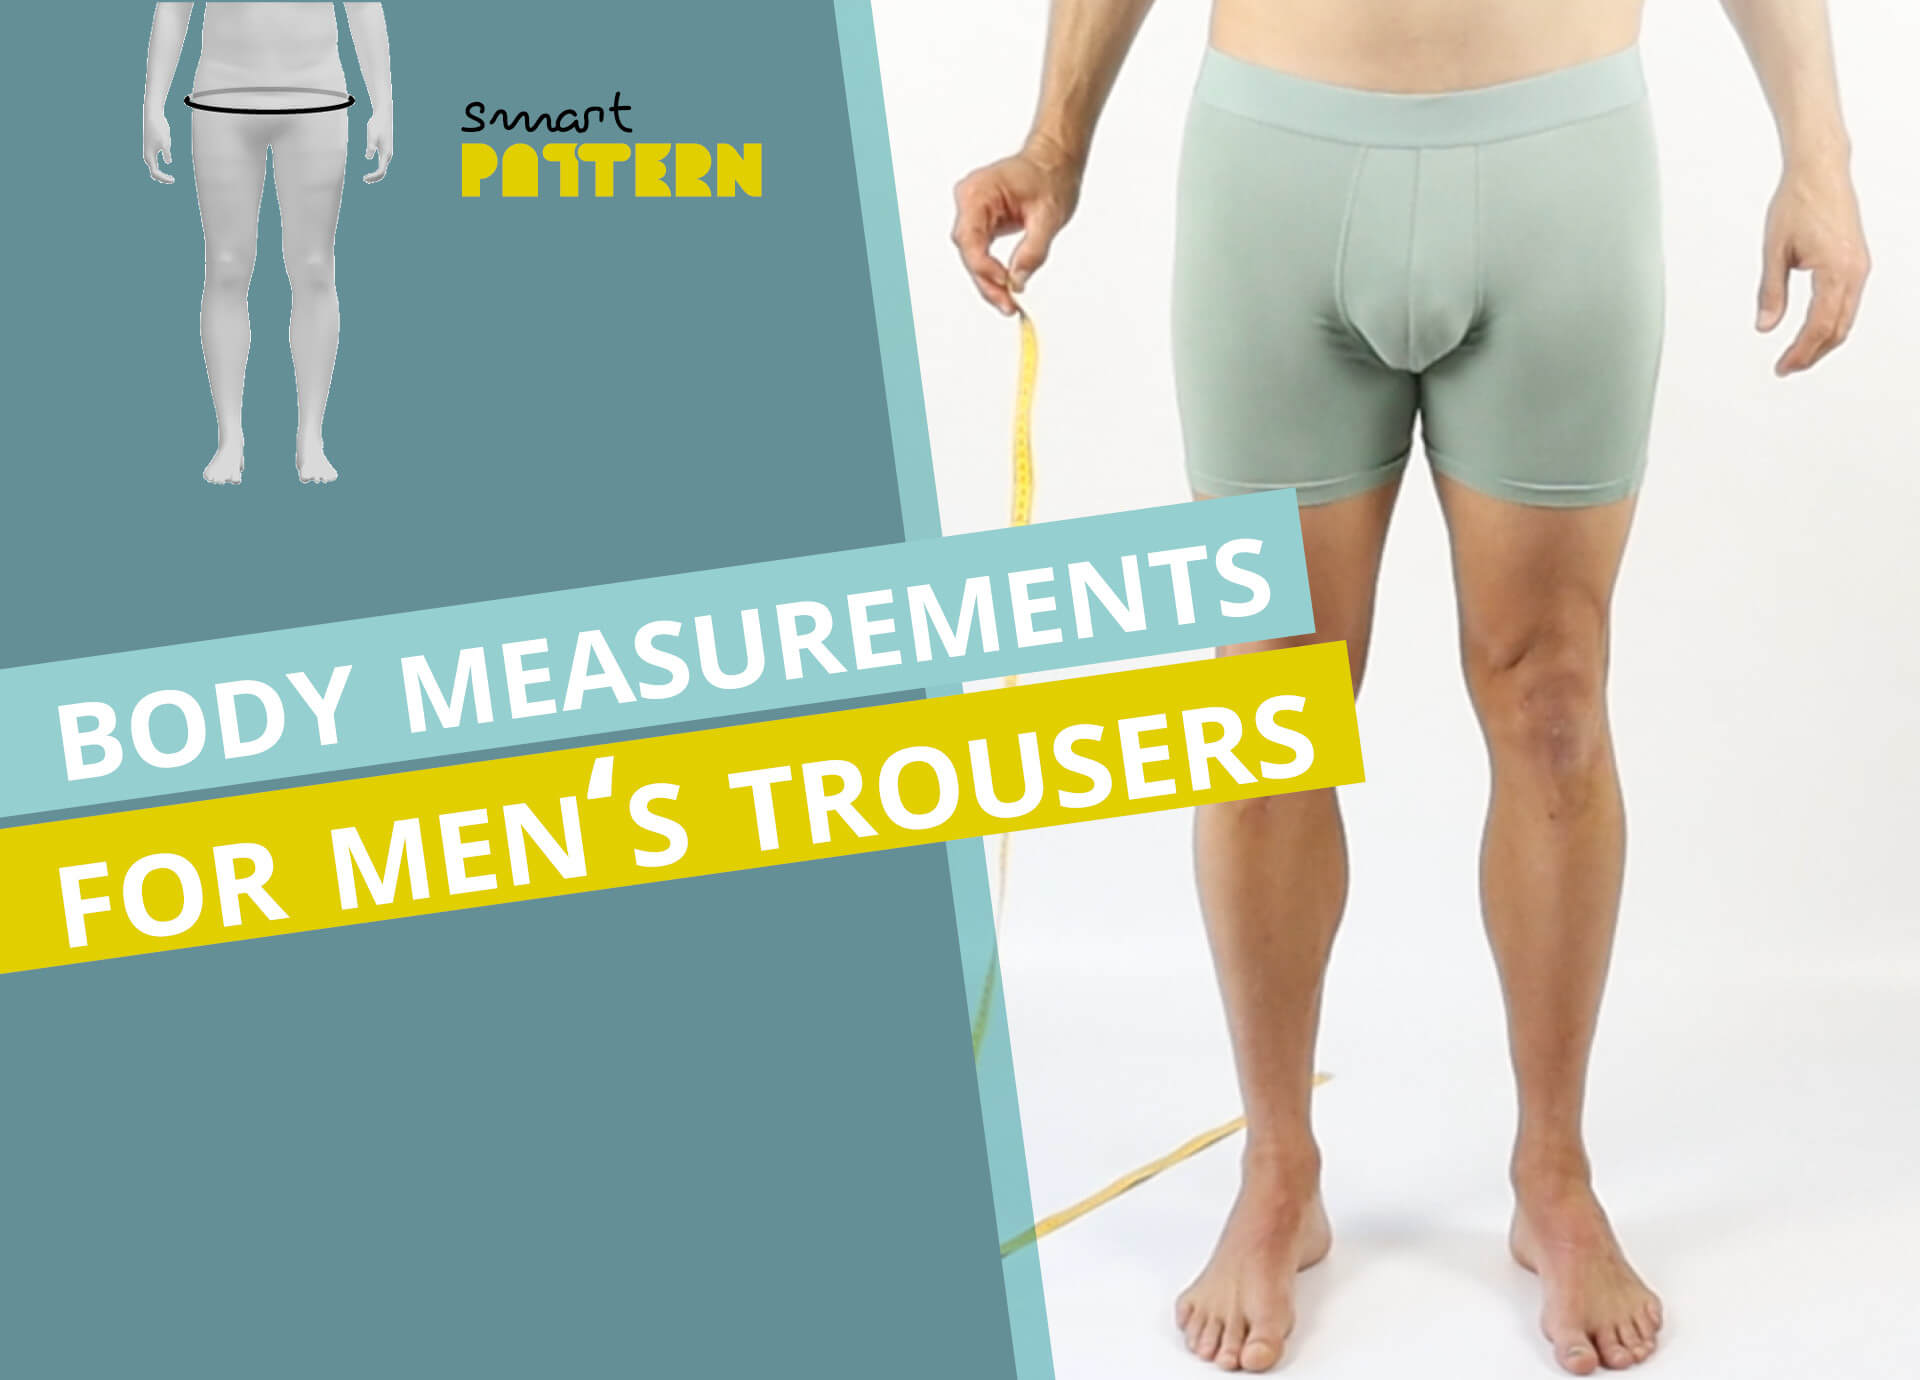
Measure the hip circumference at the fullest part of your buttocks.
Stand in front of a mirror with your feet about hip-width apart. Wrap the measuring tape around the hips and hold it together at one side. Move the tape slightly up and down until you find the widest point. Ensure the tape runs horizontally, lies smoothly against the body, and is not too tight. Then read the measurement.
2. Body height

Body height is the vertical measurement from the crown of the head to the floor, taken without shoes.
If you are configuring trousers with a wide hem that should fall over high heels, wear the heels during the measurement to ensure all length measurements are adjusted accordingly.
3. Take inseam measurements

The inner leg length is measured vertically from the lowest point of a close-fitting pair of underwear to the floor—without shoes, with feet slightly apart.
If you are measuring yourself, attach a measuring tape or ruler to the wall with the zero point at the bottom. To determine the lowest point of the crotch precisely, use a right-angled object (e.g., a narrow book) between your legs until it sits snugly against your underwear and flush with the wall. You can now read the value at the top edge of the object.
4. Side length to waistband topedge

Measure the side length along the outer leg from the floor (without shoes, with feet slightly apart) up to the desired waistband position.
It helps to wear a similar garment to get a sense of the correct waistband height. If measuring alone, fix the tape to the floor with adhesive tape. Stand with your foot next to the tape at about ankle height, guide it across the hip and up along your side to the intended waistband top. A lower waistband means a shorter measurement; for mid or high-rise, the value is correspondingly longer. Mark this waistband position, as it also defines where to measure the waist circumference.
5. Waistband circumference

The waistband circumference is measured around the body exactly at the height you defined for the waistband top in the previous step. These two measurements are linked.
Especially for mid to low-rise trousers, it’s best to measure the waist a bit snugly—not too loose—so that the waistband stays in place without a belt but still feels comfortable.
6. Thigh circumference

Measure the thigh circumference horizontally just below the crotch at the fullest part of the thigh.
Shift the tape slightly up and down until you find the widest spot. Do not pull the tape tight! It should lie flat but not constricting for comfort in the final garment. Measure both legs and use the larger value.
7. Mid-thigh circumference

Measure horizontally at the midpoint between the crotch and the top of the kneecap.
Ensure the tape lies smoothly. Measure both sides and use the larger value.
8. Knee circumference

Measure horizontally around the leg at the upper half of the kneecap.
The measuring tape should lie against the skin but not be tight. Measure both knees and use the larger value.
9. Calf circumference

Measure the calf circumference horizontally around the fullest part of the calf muscle.
Ensure the tape lies flat and does not dig into the skin. Measure both calves and use the larger value.
10. Heel instep circumference

Measure around the back of the heel at its most prominent point and over the highest point of the instep.
Measure both feet and use the larger measurement.
11. Buttocks shape

Enter a value between 1 and 5 for the shape of your buttocks in side view.
A value of 1 stands for a very flat buttocks, while 5 indicates a very prominent shape. Assess the shape from a side view. If unsure, simply use the default value of ‘3’.
12. Waistband slope
Enter a value between 1 and 5 for the waistband slope in side view.
By default, the course of the waistband from the side is slightly slanted. If you prefer the waistband line to be more straight, choose the value “1”. For a particularly slanted line, set the value to “5”. This is also the right choice if you want the trousers to sit low at the front, under the belly. If you’re unsure, just stick with the default setting “3”.
Plausibility check
After entering the hip circumference and body height, the configurator automatically checks the plausibility of the measurements entered. For example, the difference between the inside leg length and the side length, if it is very small, may be implausible if you have previously selected a high waistband height. You will then receive a message during configuration that the dimension deviates too much.
If this happens, you can cancel the measurement entry process and change the waistband height selection. Then check whether the following options still correspond to your selection, adjust them if necessary and enter your measurements again.
If something still doesn’t work, please send me an e-mail to hallo@smartpattern.de.